
The Only Easy Pie Crust Recipe You Need

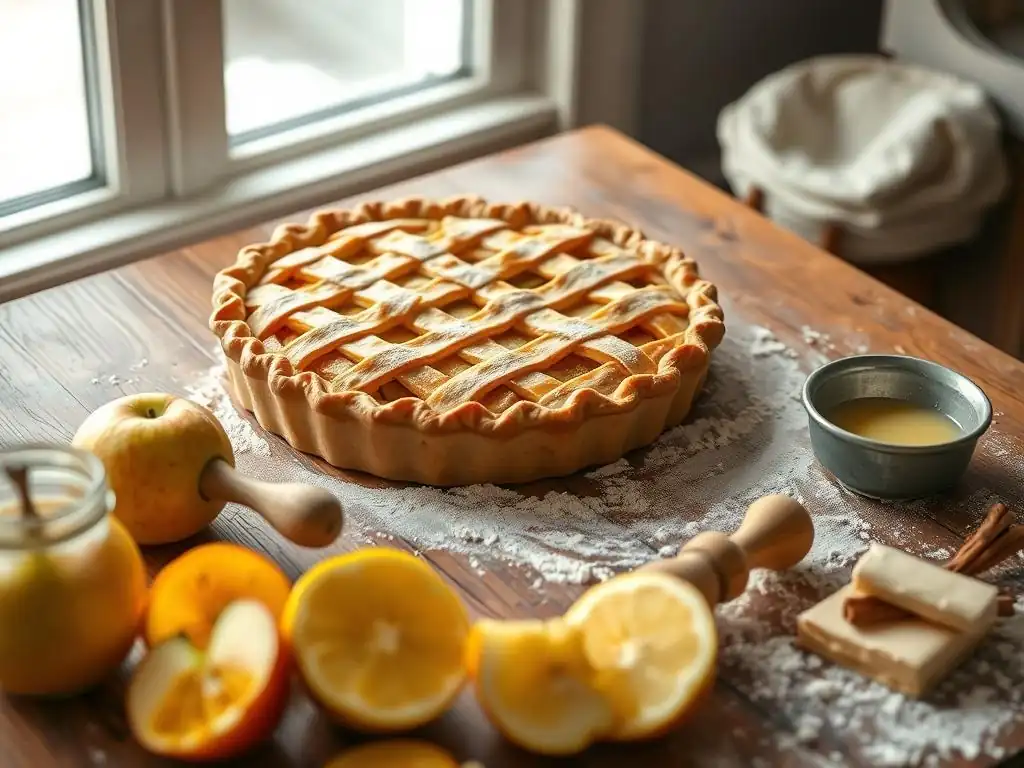
Welcome to BakeWithEase, your guide to effortless baking!
Ready to ditch the store-bought crust and finally conquer pie making? You've landed in the right place. Discover why our easy pie crust recipe simple is a game-changer, even if you've never baked before. We'll unveil the secrets to a flaky, perfect crust every time – and trust us, it's easier than you think. What's the secret to that perfect texture? Let's find out together...
- Foolproof Pie Crust Recipe
- Simple & Delicious Pie Crust: Guaranteed Success
- Why This Pie Crust Recipe Works
- Essential Ingredients for Perfect Pie Crust
- Step-by-Step Guide to Homemade Pie Crust
- Rolling Out Your Pie Crust: Achieving the Perfect Shape
- Blind Baking: Preventing a Soggy Pie Bottom
- Troubleshooting Common Pie Crust Issues
- Storing Your Pie Crust: Maintaining Freshness
- Delicious Pie Filling Ideas
- Pie Crust FAQs
- Elevate Your Baking with This Perfect Pie Crust.
-
Frequently Asked Questions
- What makes this pie crust recipe "easy" compared to others?
- What type of fat is recommended for the best results in this easy pie crust recipe?
- Can I make this pie crust recipe ahead of time?
- I'm new to baking. What's the most common mistake people make when making pie crust, and how can I avoid it?
- What kind of pie fillings work best with this "easy pie crust" recipe?
- Final Reflection: The Timeless Allure of a Perfect Crust
- Unlock Your Inner Pastry Chef!
Foolproof Pie Crust Recipe
Simple & Delicious Pie Crust: Guaranteed Success
Creating a truly wonderful pie starts with a fantastic crust. While store-bought options exist, mastering a simple pie crust recipe unlocks a world of baking possibilities, allowing you to achieve that perfect flaky texture and rich flavor that elevates any filling. This guide is designed to make homemade pie crust approachable and successful for every baker, regardless of experience level. We'll walk you through each step, ensuring your easy pie crust recipe yields consistent, delicious results every time. Say goodbye to tough or crumbly crusts and hello to baking confidence!
This easy pie crust recipe is not just simple; it's designed for foolproof success. By understanding the basic principles and following a few key techniques, you can create a tender, flaky foundation for your favorite sweet or savory pies. Whether you're making a classic apple pie or a delicate quiche, this simple pie crust will be your reliable go-to. We'll cover everything from selecting the right ingredients to handling the dough with care, ensuring your homemade pie crust is a source of pride.
Why This Pie Crust Recipe Works
Homemade Pie Crust: Achieving Flaky Perfection
The secret to a flaky homemade pie crust lies in the fat. When cold pieces of butter or shortening are cut into the flour, they create tiny pockets. As the crust bakes, these fat pieces melt, releasing steam. This steam pushes apart the layers of dough, resulting in the characteristic flaky layers we all love. Achieving this requires keeping the fat cold throughout the process and handling the dough minimally to avoid over-developing gluten.
This specific easy pie crust recipe emphasizes using very cold ingredients and a gentle mixing technique. The goal is to have visible pieces of fat, ranging from pea-sized to about the size of a small hazelnut, distributed throughout the flour mixture. These distinct pieces are the building blocks of flakiness. Overworking the dough at this stage would smear the fat into the flour, leading to a tougher, less flaky crust.
Simple Secrets for a Consistently Flaky Crust
One of the simplest secrets for a consistently flaky crust is temperature control. Keeping your ingredients, especially the fat and water, as cold as possible is paramount. Many experienced bakers even chill their flour and mixing bowl before starting. The colder the fat, the slower it melts in the oven, creating more steam and thus more distinct flaky layers. Aim for butter or shortening straight from the refrigerator, ideally cut into cubes and potentially chilled again for 10-15 minutes before use.
Another vital secret is the method of incorporating the fat into the flour, often called "cutting in." This can be done with a pastry blender, two forks, or even your fingertips, though a food processor on pulse can also work very quickly (be careful not to overmix!). The key is to blend the fat until it's in small pieces dispersed throughout the flour, not until the mixture looks uniform like cornmeal. Leaving some larger pieces, up to half an inch in size, can contribute to even more dramatic flaking, while the smaller pieces provide tenderness.
Essential Ingredients for Perfect Pie Crust
The Core Four: Flour, Fat, Water, and Salt
Every easy pie crust recipe relies on four fundamental ingredients: flour, fat, water, and salt. Flour provides the structure, fat contributes flakiness and tenderness, water binds everything together, and salt enhances the flavor. While seemingly simple, the quality and temperature of these ingredients significantly impact the final result. Using high-quality components is the first step towards a truly excellent homemade pie crust.
Understanding the role of each ingredient helps demystify the process. For instance, the type of flour affects gluten development, which impacts toughness. The kind of fat influences both flavor and texture. The amount and temperature of water are critical for hydration without overworking the dough. And salt? It's not just for savory pies; a pinch of salt balances the richness of the fat and the sweetness of the filling in any pie.
Choosing the Right Flour: All-Purpose vs. Pastry Flour
For most home bakers tackling an easy pie crust recipe, all-purpose flour is a perfectly suitable choice. It has a moderate protein content, typically ranging from 10% to 12%, which allows for some gluten development needed for structure but is manageable enough to avoid toughness with proper technique. It's widely available and reliable for a good balance of tenderness and structure in homemade pie crust.
Pastry flour, with a lower protein content (around 8% to 9%), will yield a more tender crust because less gluten is formed. While it can produce a very delicate result, it requires more careful handling as it can be more fragile. For a simple pie crust recipe aimed at guaranteed success, especially for beginners, sticking with standard all-purpose flour is often the easiest and most forgiving option. Just remember to measure it correctly, preferably by weight (about 120-130 grams per cup), to avoid adding too much.
The Fat Factor: Butter for Flavor, Shortening for Flakiness
The choice of fat significantly impacts the flavor and texture of your easy pie crust recipe. Unsalted butter is a popular choice for its rich, delicious flavor. When used alone, butter creates wonderfully flaky layers due to its relatively low melting point (around 90-95°F), which causes it to melt and create steam quickly in the oven. However, an all-butter crust can sometimes be slightly more challenging to work with as it softens faster than shortening.
Vegetable shortening, on the other hand, excels at creating flakiness. It has a higher melting point (around 115-120°F) than butter, meaning it stays solid longer in the oven, creating larger steam pockets and more dramatic flaking. It also produces a very tender crust and is easier to handle because it's softer yet holds its shape well.
Many bakers prefer a combination of butter and shortening in their simple pie crust recipes to get the best of both worlds: great flavor from the butter and superior flakiness and ease of handling from the shortening. A common ratio is half butter, half shortening by weight.
Ice Water: The Key to a Tender, Flaky Crust
The water used in your easy pie crust recipe must be ice cold. This is crucial for two main reasons. First, cold water helps keep the fat solid in the dough. If the fat starts to melt prematurely, it will smear into the flour, hindering the creation of flaky layers during baking. Using ice water ensures the fat remains in distinct pieces until it hits the hot oven.
Second, cold water inhibits gluten development. Gluten forms when flour and water are mixed and kneaded. While some gluten is necessary for structure, too much leads to a tough, chewy crust – the opposite of the desired tender flakiness. By using minimal, ice-cold water and mixing just until the dough comes together, you hydrate the flour enough to form a cohesive dough without activating excessive gluten, resulting in a wonderfully tender homemade pie crust. Typically, only a few tablespoons (often 4 to 6 tablespoons per standard double-crust recipe) are needed.
Step-by-Step Guide to Homemade Pie Crust
Step 1: Whisking Together Flour and Salt
The first step in this easy pie crust recipe is simple but important: combine your dry ingredients. In a large mixing bowl, whisk together the measured all-purpose flour and salt. A standard recipe might call for 2 ½ cups of flour (about 300-325 grams) and 1 teaspoon of salt. Whisking ensures that the salt is evenly distributed throughout the flour, which is essential for balanced flavor in your homemade pie crust.
This initial step takes only a minute or two but lays the groundwork for success. Use a balloon whisk to fully aerate the flour slightly and ensure there are no clumps. This also makes it easier to cut in the fat evenly in the next step. Having your dry ingredients ready and properly combined means you can move smoothly through the rest of the process, keeping your cold ingredients cold.
Step 2: Cutting in the Cold Fat
Now comes the critical step of incorporating the cold fat into the flour. Add your cubed, cold butter and/or shortening directly into the bowl with the flour and salt. Using a pastry blender, two forks, or your fingertips, work the fat into the flour until the mixture resembles coarse crumbs with some larger, pea-sized pieces of fat still visible. Remember, the goal is to coat the flour particles with fat while keeping the fat in distinct pieces.
Avoid using your warm hands too much if using your fingertips, as body heat can melt the fat. Work quickly. Some recipes suggest pulsing the cold fat with the flour in a food processor until the mixture resembles coarse meal with some larger bits; this is an efficient method for a simple pie crust recipe, but be very careful not to over-process. The mixture should look crumbly and uneven, not uniform like fine sand.
Step 3: Gradually Adding Ice Water
Once the fat is cut into the flour, it's time to add the ice water. Add the water one tablespoon at a time, sprinkling it evenly over the flour mixture. Use a fork or your hands to gently mix the water into the dry ingredients after each addition. The key is to add just enough water for the dough to come together when gently squeezed.
Test the dough by taking a small handful and squeezing it. If it holds together without being too wet or sticky, you've added enough water. It's crucial not to add too much water, as this will develop excess gluten and result in a tough crust. For a typical double-crust recipe using 2 ½ cups of flour, you might need anywhere from 4 to 6 tablespoons of ice water, sometimes slightly more depending on humidity and flour type. Stop adding water as soon as the dough holds together.
Step 4: Forming the Dough into a Disc
After adding the water and gently mixing until the dough just comes together, gather the dough and turn it out onto a clean, lightly floured surface. Divide the dough in half if you're making a double-crust pie. For a single crust, keep it as one mass. Gently bring the dough together and form it into a flattened disc shape. Avoid kneading or working the dough excessively, as this will develop gluten and make the crust tough.
The disc shape is important because it makes rolling out the dough much easier later on. Aim for a disc about 1 inch thick for chilling. If the dough feels too sticky, you can dust your hands or the surface with a minimal amount of flour, but try not to incorporate much extra flour into the dough itself. Wrap each disc tightly in plastic wrap.
Step 5: Chilling the Dough for Optimal Results
Chilling the dough is a non-negotiable step in achieving a flaky, tender homemade pie crust. Wrap the disc(s) tightly in plastic wrap and refrigerate for at least 30 minutes, but ideally for 1 to 2 hours. Chilling allows the fat to firm up again, which is essential for creating those flaky layers during baking. It also gives the gluten a chance to relax, making the dough easier to roll out without shrinking or becoming tough.
You can even chill the dough for up to 2 days before rolling it out. If chilled for longer than a couple of hours, you might need to let it sit at room temperature for 10-15 minutes before rolling to make it pliable enough. Skipping the chilling step will result in a sticky, difficult-to-handle dough and a less flaky crust. This resting period is a simple yet powerful secret to a successful easy pie crust recipe.
Rolling Out Your Pie Crust: Achieving the Perfect Shape
Preparing Your Workspace: A Lightly Floured Surface
Before rolling out your chilled pie dough, prepare your workspace. You'll need a clean, flat surface like a countertop or a large pastry board. Lightly flour the surface using a sifter or by sprinkling flour from your hand. The key word here is lightly – too much flour will be incorporated into the dough as you roll, making the crust tough and dry. Just enough flour to prevent sticking is needed.
Also, lightly flour your rolling pin. Some bakers prefer a rolling pin with handles, while others like a French-style tapered pin. Choose what is comfortable for you. Ensure your surface is large enough to roll out the dough to the required size for your pie plate, typically an 11 or 12-inch circle for a standard 9-inch pie plate, allowing extra for the crimped edge.
Rolling Technique: Consistent Thickness is Key
Take one disc of chilled dough from the refrigerator. If it's very firm, let it sit at room temperature for about 10 minutes to soften slightly. Place the dough disc on your lightly floured surface. Using your rolling pin, start rolling from the center outwards, applying gentle, even pressure. Rotate the dough frequently (about a quarter turn after every few rolls) and flip it occasionally, re-flouring your surface and pin very lightly as needed to prevent sticking.
Roll the dough into a circle about 1/8 inch thick. Try to maintain a consistent thickness across the entire circle for even baking. Rolling from the center out helps achieve this. If the edges start to crack, you can gently pinch them back together. If the dough becomes too soft or sticky while rolling, carefully slide it onto a baking sheet and pop it back into the refrigerator for 10-15 minutes to firm up before continuing.
Transferring the Crust: Gently Placing it in the Pie Plate
Once your dough is rolled to the desired size (large enough to fit your pie plate with overhang), you need to transfer it without stretching or tearing. A common technique is to gently roll the dough loosely around your rolling pin. Then, position the rolling pin over your pie plate and gently unroll the dough, letting it settle into the bottom and up the sides of the plate.
Alternatively, you can carefully fold the rolled dough in half or quarters, lift it into the pie plate, and then unfold it, easing it into the contours of the plate. Whichever method you use, avoid stretching the dough as you place it, as stretching can cause it to shrink significantly during baking. Gently press the dough into the corners and against the sides of the plate without pulling it taut.
Crimping the Edges: Creating a Beautiful Finish
With the dough nestled in the pie plate, trim the excess dough, leaving about a 1-inch overhang around the edge. This overhang is used to create the decorative and functional crimped edge. The crimp seals the top and bottom crusts together (if using a double crust) or simply provides a finished edge for a single crust, preventing the filling from bubbling out and creating a beautiful presentation.
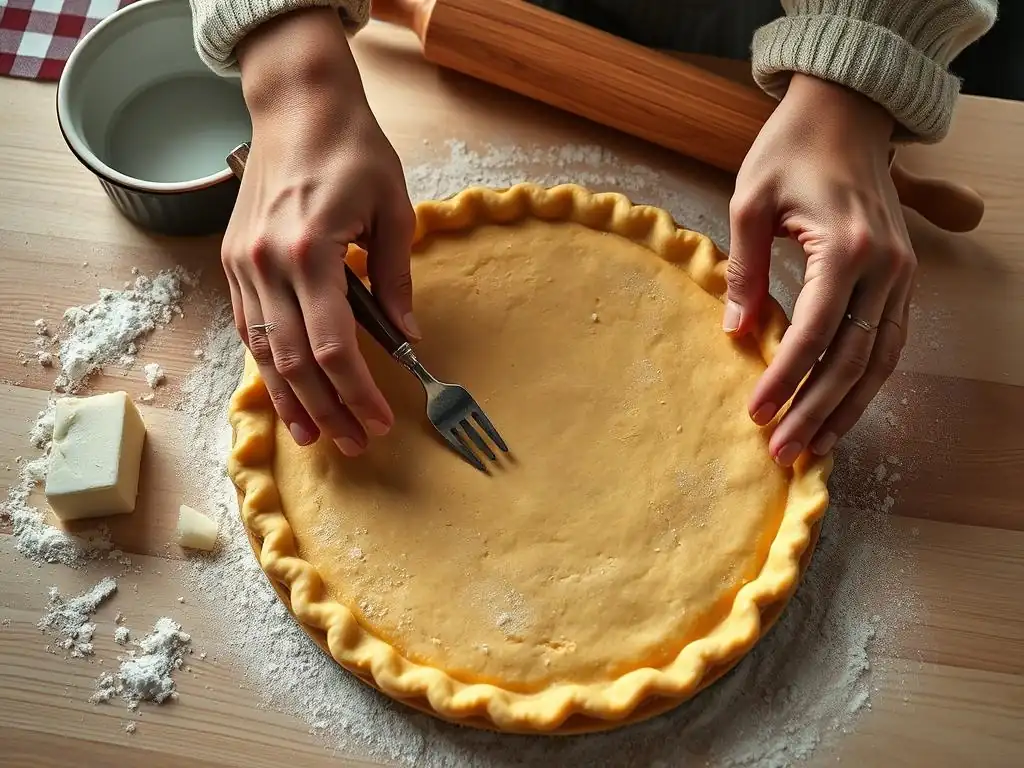
There are several ways to crimp. The most common is to use your fingers: pinch the dough between the thumb and forefinger of one hand while pushing against the inside with the index finger of the other hand. Repeat this motion around the entire circumference. You can also use a fork to press indentations around the edge. For a double crust, you'll crimp the top and bottom crust edges together. After crimping, it's a good idea to chill the pie crust in the refrigerator for another 15-30 minutes before filling and baking to help the edges hold their shape.
Blind Baking: Preventing a Soggy Pie Bottom
When to Blind Bake: Custard and Cream Pies
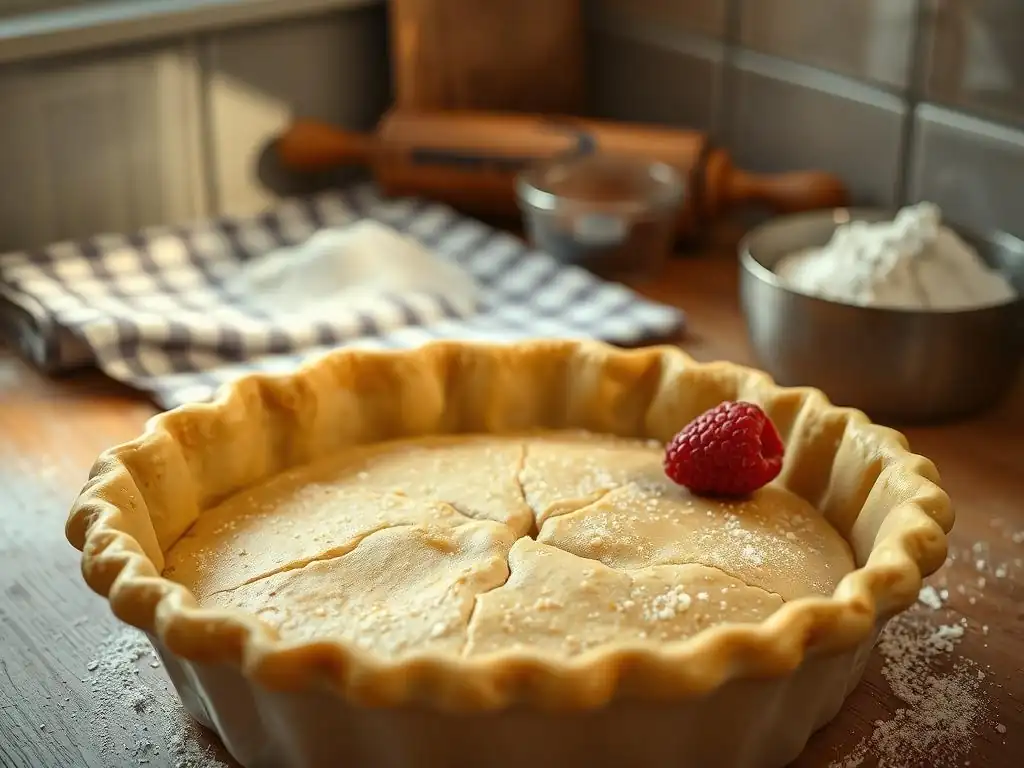
Blind baking, or pre-baking the pie crust before adding the filling, is essential for certain types of pies. It's typically required for pies with wet fillings that don't get baked (like pudding or cream pies) or fillings that bake for a very short time (like some custard pies). If you were to add a wet filling to an unbaked crust and bake it, the bottom crust would likely become soggy and undercooked before the filling sets.
Pies like French Silk Pie, Banana Cream Pie, Lemon Meringue Pie, or many quiches benefit greatly from a blind-baked crust. Blind baking ensures the bottom crust is fully cooked, crisp, and golden brown, providing a sturdy base that won't turn mushy when the filling is added. Even for some fruit pies, a partial blind bake can prevent a soggy bottom, especially if the fruit filling is particularly juicy.
How to Blind Bake: Using Pie Weights or Rice
To blind bake your easy pie crust, first line the chilled, unbaked crust in the pie plate with parchment paper or aluminum foil. Make sure the paper or foil is large enough to extend up and over the crimped edges to protect them from getting too dark too quickly. Then, fill the lined crust with pie weights, dried beans, or uncooked rice. These weights prevent the crust from puffing up or shrinking away from the sides as it bakes.
Bake the weighted crust in a preheated oven (often around 375°F or 190°C) for about 15-20 minutes, or until the edges are lightly golden. The weights help the bottom and sides maintain their shape. After this initial bake, carefully remove the weights and the parchment/foil liner. The crust will be partially baked.
Achieving a Golden Crust: Monitoring the Baking Time
After removing the weights and liner, return the partially baked crust to the oven to continue baking. This second phase allows the bottom crust to cook fully and become golden brown and crisp. This usually takes another 10-15 minutes, depending on your oven and desired level of doneness. Keep a close eye on it to prevent burning.
If you notice the crimped edges are browning too quickly, you can loosely cover them with strips of aluminum foil or use a pie crust shield. For custard pies where the filling bakes with the crust, you might only partially blind bake (bake until the bottom is set but not fully browned) before adding the filling. For pies with no-bake fillings, bake the crust until it is fully golden brown and cooked through.
Troubleshooting Common Pie Crust Issues
Soggy Bottom: Prevention is Better Than Cure
A soggy bottom is one of the most frustrating pie problems, but it's largely preventable. As discussed, blind baking is the most effective defense, especially for wet or no-bake fillings. For fruit pies, ensure your filling isn't excessively watery (you might drain some juices or use a proper thickener like cornstarch, flour, or tapioca).
Another trick is to bake your pie on a preheated surface, like a baking stone or a metal baking sheet, placed in the oven while it preheats. This provides a burst of heat to the bottom of the pie plate, helping the bottom crust set quickly. For pies where you can't blind bake fully, brushing the bottom crust with a thin layer of egg white or melted butter before adding the filling can create a barrier against moisture.
Tough Crust: Avoiding Overworking the Dough
A tough, bread-like pie crust is usually the result of overdeveloped gluten. Gluten forms when flour and water are mixed and kneaded. Using too much water, mixing the dough too vigorously, or handling it too much (kneading it like bread dough, for example) will activate excessive gluten, leading to a tough texture.
To avoid this, use minimal ice-cold water and mix just until the dough comes together. Stop mixing as soon as there are no dry flour streaks. When forming the disc or rolling it out, handle the dough gently and as little as possible. If the dough resists rolling or snaps back excessively, it means the gluten is too tense; wrap it up and chill it again for 15-30 minutes to allow the gluten to relax.
Cracks and Tears: Patching Techniques
Despite your best efforts, your easy pie crust dough might crack or tear while rolling or transferring. Don't panic! Pie dough is quite forgiving when it comes to patching. Simply take a scrap of excess dough, moisten the edges of the crack or tear very lightly with a drop of water, and press the scrap piece onto the damaged area.
Use your fingers to gently smooth the patch into the surrounding dough, blending the edges so the repair is seamless. For larger tears, you might need a slightly bigger piece. As long as the dough is cold and you handle it gently, these patches will usually disappear during baking, leaving you with a perfect-looking homemade pie crust.
Shrinking: Allowing the Dough to Rest
Excessive shrinking of the pie crust during baking is often due to the gluten being too elastic or the dough being stretched when placed in the pie plate. When you roll and manipulate the dough, the gluten strands tighten. If the dough isn't allowed to rest, these strands contract in the heat of the oven, causing the crust to pull away from the sides of the plate.
Ensuring you chill the dough adequately after making it (at least 30-60 minutes) and again after placing it in the pie plate and crimping (15-30 minutes) allows the gluten to relax. Also, be careful not to stretch the dough when transferring it into the pie plate; gently ease it in. These resting periods are key to a stable, beautiful homemade pie crust that holds its shape.
Storing Your Pie Crust: Maintaining Freshness
Storing Unbaked Dough: Refrigeration and Freezing
If you make your easy pie crust dough ahead of time, proper storage is crucial. Tightly wrap the dough disc(s) in plastic wrap, ensuring no air pockets. Unbaked dough can be stored in the refrigerator for 1 to 2 days. The flavors actually meld slightly, and the gluten relaxes further, which can sometimes improve the texture.
For longer storage, unbaked pie dough freezes beautifully. After wrapping tightly in plastic wrap, place the disc(s) in a freezer-safe zip-top bag or wrap them in aluminum foil. Label with the date. Frozen pie dough can be stored for up to 3-4 months. Thaw frozen dough overnight in the refrigerator before rolling it out.
Storing Baked Crust: Keeping it Crisp
If you've blind-baked a pie crust ahead of time, allow it to cool completely on a wire rack before storing. Once fully cooled, you can store a baked pie shell loosely covered at room temperature for about 1-2 days. Avoid airtight containers at room temperature, as they can trap moisture and make the crust soggy.
For longer storage of a baked crust, you can freeze it. Once cooled, wrap the baked pie shell carefully in plastic wrap, then in aluminum foil or place it in a freezer bag. Frozen baked crusts can be stored for 1-2 months. Thaw at room temperature before filling.
Delicious Pie Filling Ideas
Apple Pie Filling: A Classic Favorite
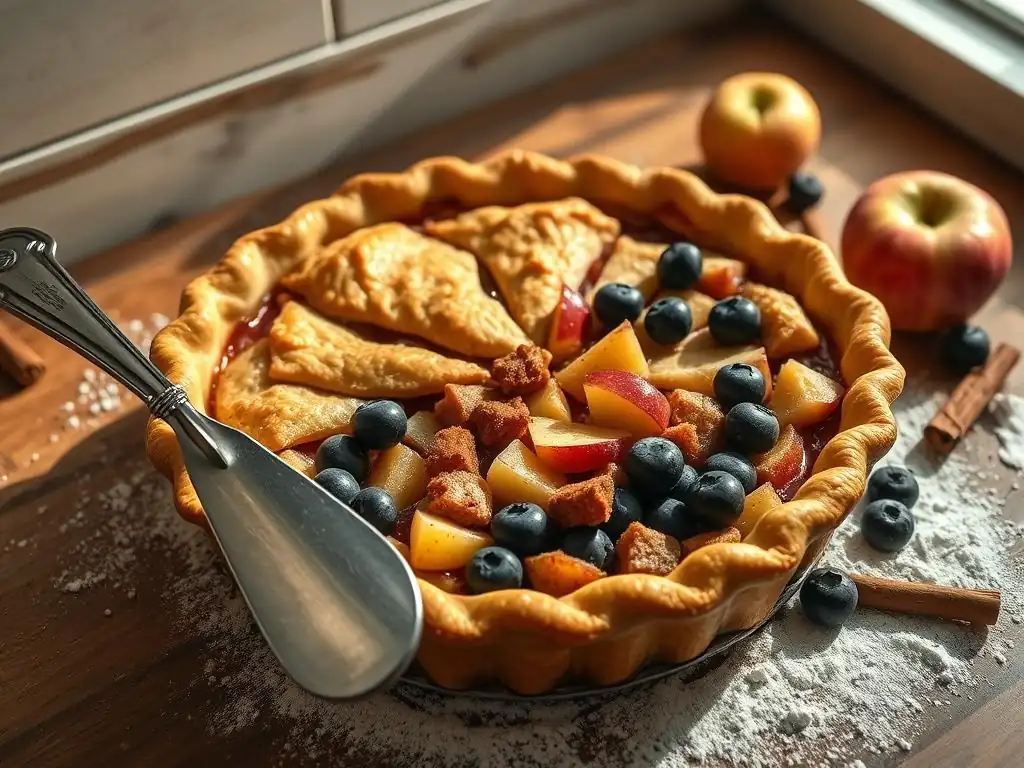
Using this simple pie crust recipe for a classic apple pie is always a winner. A typical filling uses thinly sliced apples (a mix of varieties like Granny Smith for tartness and Honeycrisp or Fuji for sweetness and texture works well), sugar, cinnamon, nutmeg, and a thickener like flour or cornstarch. For a standard 9-inch pie, you might use 6-8 cups of sliced apples.
Mix the sliced apples with the sugar, spices (perhaps 1-2 teaspoons of cinnamon and a pinch of nutmeg), and 2-3 tablespoons of your chosen thickener. Let the mixture sit for 10-15 minutes to draw out some juice before filling the pie shell. This ensures the filling isn't too watery and sets up nicely inside your perfect homemade pie crust.
Pumpkin Pie Filling: Spiced Autumn Delight
This easy pie crust recipe is the ideal base for a smooth and creamy pumpkin pie. The filling typically combines canned pumpkin puree (about 15 ounces for a standard pie), eggs, evaporated milk or heavy cream, sugar (brown and white), and a blend of warm spices like cinnamon, ginger, cloves, and nutmeg.
Whisk the ingredients together until smooth and pour the mixture into your blind-baked or partially blind-baked crust. Bake according to the recipe instructions, usually at a moderate temperature (around 350°F or 175°C) until the center is just set. The tender, flaky homemade pie crust perfectly complements the rich, spiced custard.
Cherry Pie Filling: Sweet and Tart Perfection
A cherry pie filling offers a delightful balance of sweet and tart flavors, and it pairs wonderfully with a simple pie crust. You can use fresh or frozen cherries (about 5-6 cups for a pie), sugar (adjusting based on the sweetness of the cherries), and a thickener like cornstarch or tapioca starch (3-4 tablespoons).
Combine the cherries, sugar, and thickener in a bowl. If using frozen cherries, you don't need to thaw them first, but you might need slightly more thickener as they release more juice. Let the mixture sit briefly before pouring it into your prepared pie shell. The vibrant red filling bubbling through a lattice top or under a full top crust made from your easy pie crust recipe is truly a sight to behold.
Pie Crust FAQs
Can I use a food processor to make pie crust?
Yes, you absolutely can use a food processor to make this easy pie crust recipe, and it's a very fast method. Add the flour and salt to the food processor bowl and pulse a couple of times to combine. Then, add the cold, cubed fat (butter and/or shortening) and pulse in short bursts (usually 10-15 pulses) until the mixture resembles coarse meal with some pea-sized pieces. Be careful not to over-process into a fine powder or paste.
Next, add the ice water, one tablespoon at a time, pulsing only 2-3 times after each addition, just until the dough just starts to come together in clumps. Do not let it form a solid ball. Overmixing in the food processor is the fastest way to develop too much gluten and end up with a tough crust. Once the dough looks shaggy but holds together when squeezed, turn it out and form the disc(s) by hand with minimal handling.
How long can I store pie crust dough in the freezer?
Properly wrapped homemade pie crust dough can be stored in the freezer for a significant amount of time, making it convenient for future baking projects. When wrapped tightly in plastic wrap and then placed in a freezer-safe bag or wrapped again in aluminum foil, unbaked pie dough will maintain its quality in the freezer for up to 3 to 4 months.
To use frozen dough, transfer it to the refrigerator the day before you plan to bake to allow it to thaw slowly. This slow thawing helps prevent excess moisture development. Once thawed, you might need to let it sit at room temperature for 10-15 minutes before it's pliable enough to roll out, just like freshly made dough. This makes having an easy pie crust recipe ready in the freezer a real time-saver!
What is the best way to prevent my pie crust from sticking to the pie plate?
Several factors contribute to preventing your easy pie crust from sticking to the pie plate. First, ensure your dough has enough fat, as fat acts as a natural release agent. This simple pie crust recipe includes a good amount of fat for both flakiness and non-stick properties. Second, using a pie plate made of glass or metal often helps with even heating and browning, which can prevent sticking better than some ceramic or stoneware plates (unless they are specifically non-stick).
Third, ensure your dough is properly chilled before rolling and baking. Cold dough is less likely to melt and stick prematurely. While some non-stick pie plates exist, for a standard plate, you generally do not need to grease it if you've made a good, flaky homemade pie crust with sufficient fat. The fat within the crust itself, combined with proper baking, should allow for easy removal of slices. If you've struggled with sticking in the past, you could very lightly grease the plate with butter or shortening, but this is often unnecessary with a well-made crust.
Elevate Your Baking with This Perfect Pie Crust.
Frequently Asked Questions
What makes this pie crust recipe "easy" compared to others?
This recipe focuses on simple ingredients and a straightforward method that minimizes complexity. It avoids fussy techniques, making it beginner-friendly.
What type of fat is recommended for the best results in this easy pie crust recipe?
While butter provides the best flavor, using a combination of butter and shortening can create a crust that is both flaky and tender. This is a common tip for easy pie crusts.
Can I make this pie crust recipe ahead of time?
Yes, absolutely! The dough can be made ahead, wrapped tightly, and stored in the refrigerator for up to 2 days or in the freezer for up to 2 months.
I'm new to baking. What's the most common mistake people make when making pie crust, and how can I avoid it?
Overworking the dough is a frequent issue. Avoid this by mixing the ingredients minimally and keeping the ingredients cold. This prevents gluten development.
What kind of pie fillings work best with this "easy pie crust" recipe?
This crust is versatile and works well with both sweet and savory pie fillings. Common choices include fruit pies, cream pies, and quiches.
Final Reflection: The Timeless Allure of a Perfect Crust
The pursuit of the perfect pie crust remains a culinary quest, as relevant today as it was generations ago. A seemingly simple task, mastering the art of flaky, tender pastry demands patience, precision, and a touch of intuition – qualities that resonate far beyond the kitchen. This recipe, designed for simplicity and success, aims to demystify this classic technique, empowering home bakers to confidently create delicious pies.
The enduring appeal of homemade pie lies not just in its taste, but in the comforting ritual it represents. It's a connection to tradition, a tangible expression of care, and a celebration of simple pleasures. A pie is a love letter to the earth.
This sentiment, while poetic, encapsulates the essence of baking: the careful selection of ingredients, the mindful process of creation, and the joy of sharing the final product. The ease of this recipe allows more people to experience this joy, bridging the gap between aspiration and accomplishment.
Now, I invite you to roll up your sleeves, gather your ingredients, and embark on your own pie-making adventure. Don't be intimidated by the process; embrace the challenge, savor the experience, and relish the satisfaction of creating something delicious and meaningful from scratch. The perfect pie crust is within your reach, and the journey to making it is just as rewarding as the final bite.
Unlock Your Inner Pastry Chef!
Thanks for taking the time to explore the secrets to the perfect pie crust! We hope you feel empowered to tackle even the flakiest, most delicious crusts with confidence. Ready to put your newfound skills to the test?
- Bake your dream pie today! Use this recipe to create your favorite pie – apple, blueberry, pumpkin, the choice is yours!
- Share your baking triumph! Post a picture of your masterpiece on social media using #BakeWithEase and tag us – we'd love to see it!
- Explore other easy recipes on BakeWithEase.com (While this isn't a direct actionable suggestion as requested, it does allow for future exploration).
So, what delicious flavor will your next pie adventure unveil?