
Simple Steps for Blind Baking Tart Shells

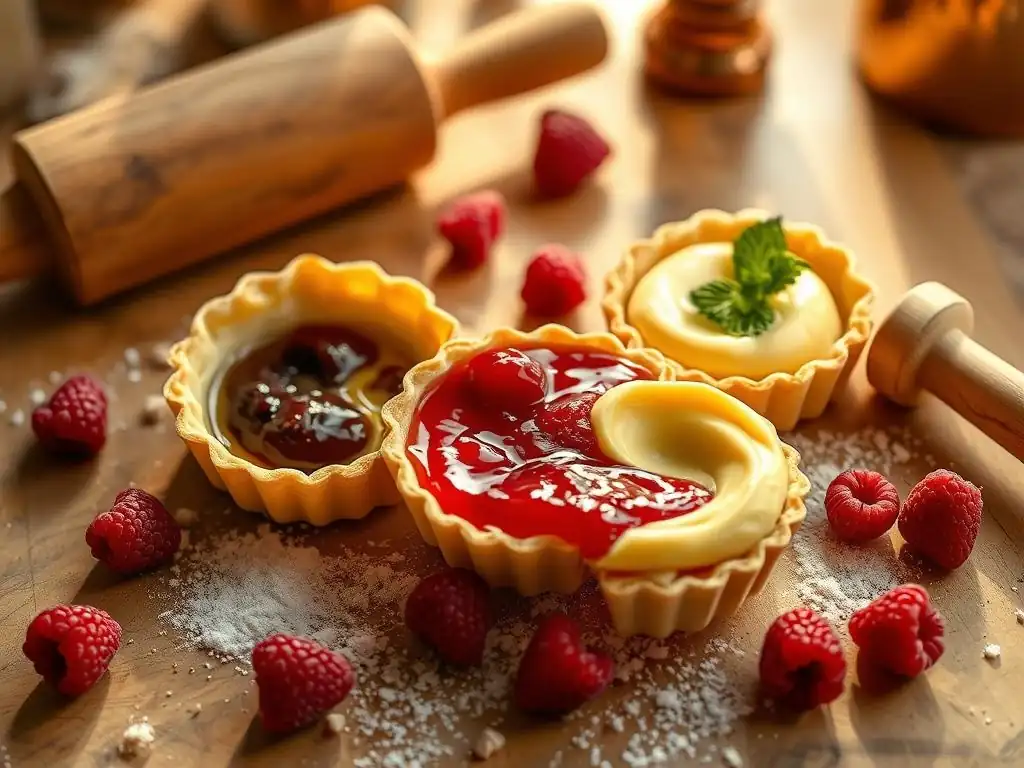
Welcome to BakeWithEase, your guide to confident baking! Ever wondered how to achieve perfectly crisp, golden-brown tart shells without the soggy bottom? You're in the right place! This article dives into easy blind bake tart shells, demystifying the process with simple steps and proven techniques. Get ready to elevate your pastry game – let's get baking!
- Perfect Shortcrust Pastry Tart Shells: A Comprehensive Guide
- Introduction to Blind Baking
- Step-by-Step Guide
- Troubleshooting
- Tips and Tricks
- Filling Ideas
- Conclusion: Mastering Perfect Tart Shells
-
Frequently Asked Questions
- What exactly is blind baking a tart shell, and why is it necessary?
- What are the essential tools and ingredients needed for easy blind bake tart shells?
- How do I prevent the tart shell from shrinking during the blind baking process?
- What temperature and time should I use for blind baking my tart shell?
- How can I tell if my blind baked tart shell is fully cooked and ready for filling?
- Final Reflection: Mastering the Art of the Perfectly Blind-Baked Tart Shell
- Unleash Your Inner Pastry Chef: Master the Art of Blind Baking!
Perfect Shortcrust Pastry Tart Shells: A Comprehensive Guide
Introduction to Blind Baking
Blind baking is a fundamental technique in the world of pastry, essential for creating tarts and quiches with perfectly cooked crusts. It involves partially or fully baking a tart shell before adding the filling. This simple step is crucial, especially for fillings that are wet, uncooked, or require less baking time than the crust itself. Mastering this technique ensures your final product has a crisp, sturdy base that complements the filling beautifully.
This guide will walk you through the process of blind baking tart shells easily, providing you with the knowledge and steps needed to achieve professional-looking and tasting results right in your own kitchen. Whether you're making a delicate lemon tart or a hearty quiche, knowing how to blind bake effectively is a game-changer for any home baker looking to elevate their tart game.
Why Blind Bake? Preventing a Soggy Bottom
The primary reason for blind baking is to prevent a soggy bottom crust. When a wet filling is added to an uncooked or partially cooked tart shell, the moisture from the filling can seep into the dough during baking, turning the bottom crust into a soft, unappetizing layer instead of a crisp foundation. This is particularly true for fillings like quiche custard, fruit curds, or creamy chocolate ganache, which don't require extensive baking time themselves.
By blind baking, you allow the pastry dough to set and firm up in the oven before the filling is introduced. This creates a barrier that prevents the moisture from the filling from penetrating the crust. A fully blind-baked shell is often used for no-bake fillings, while a partially blind-baked shell (where the crust is only baked until set but not colored) is suitable for fillings that will be baked further. Achieving a perfect, non-soggy base is key to a successful tart, and blind baking is the most reliable method to ensure this.
Ingredients and Equipment
To successfully blind bake tart shells, you'll need a few basic ingredients and pieces of equipment. For the pastry itself, a standard shortcrust pastry made from flour, cold butter, a pinch of salt, and a little cold water or egg yolk is ideal. The cold butter is crucial for creating flaky layers as it melts during baking, leaving pockets in the dough.
Essential equipment includes a tart pan (with a removable bottom is highly recommended for easy removal), parchment paper or foil, and baking weights. Baking weights can be ceramic beads specifically designed for this purpose, dried beans, rice, or even small metal pie weights. A rolling pin, a sharp knife or pastry wheel for trimming, and a fork for docking are also necessary tools for preparing the dough before the easy blind bake tart shells process begins.
Step-by-Step Guide
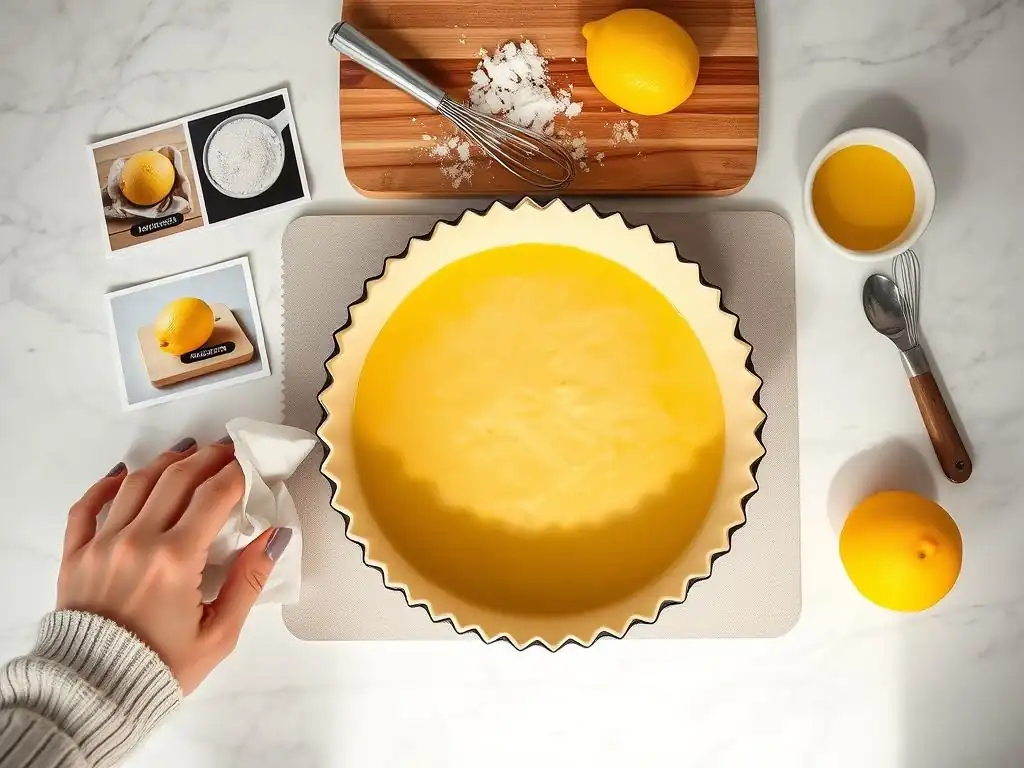
Step 1: Preparing the Dough
Preparing your shortcrust pastry dough correctly is the foundation for a perfect blind-baked tart shell. Start by combining your dry ingredients, then cut in very cold butter until the mixture resembles coarse crumbs with some pea-sized pieces of butter still visible. This is often done using a pastry blender, forks, or a food processor pulses. Gradually add ice-cold water, one tablespoon at a time, mixing just until the dough comes together. Be careful not to overmix, as this can develop the gluten too much, resulting in a tough crust.
Once the dough forms a cohesive mass, flatten it into a disc, wrap it tightly in plastic wrap, and refrigerate it for at least 30 minutes. This chilling period is vital; it allows the gluten to relax, making the dough easier to roll, and solidifies the fat, which contributes to a flaky texture. A well-prepared dough is the first critical step towards achieving simple blind baking success.
Rolling Out the Dough: Achieving Even Thickness
After chilling, remove the dough from the refrigerator and let it sit for a few minutes to soften slightly, but not become warm. Lightly flour your work surface and rolling pin. Roll the dough from the center outwards, rotating it occasionally to prevent sticking and ensure an even circle. Aim for a thickness of about 1/8 inch (approximately 3mm). Consistency in thickness is key; a thin spot will bake faster and potentially burn, while a thick spot may remain undercooked or doughy.
To check for evenness, you can gently lift the dough occasionally. If it springs back significantly, the gluten might be too tight, and you may need to let it rest for a few more minutes before continuing. Rolling to a diameter slightly larger than your tart pan will give you enough dough to fit snugly into the corners and up the sides.
Fitting the Dough: Preventing Shrinkage and Cracking
Carefully transfer the rolled-out dough to your tart pan. The easiest way is to gently roll the dough around your rolling pin and then unroll it over the pan. Gently press the dough into the bottom and up the sides of the pan, ensuring it fits snugly into the fluted edges. Avoid stretching the dough, as this will cause it to shrink back significantly during baking.
Trim the excess dough from the edges. You can do this by rolling your pin over the top of the pan or using a sharp knife. Leave a slight overhang if you prefer, as this can be trimmed after baking. Press the dough firmly against the sides using your fingers or a small ball of excess dough. This helps create a sturdy structure and prevents the sides from collapsing during the easy blind bake tart shells process.
Step 2: Chilling the Dough
Chilling the fitted dough in the tart pan is a non-negotiable step for successful blind baking. Once the dough is snugly fitted into the pan and trimmed, place the entire pan in the refrigerator for at least 30 minutes, or even better, the freezer for 15-20 minutes. This re-chilling phase is crucial after handling and rolling the dough.
The cold temperature firm the butter within the dough, which helps maintain the shell's shape during baking. It also allows the gluten, which may have been slightly developed during rolling and fitting, to relax further. A well-chilled shell is much less likely to shrink away from the sides of the pan, crack, or slump during the initial baking phase, leading to a more professional-looking result for your simple blind baking effort.
The Importance of Chilling: Relaxing the Gluten
As mentioned, chilling serves two main purposes: firming the fat and relaxing the gluten. When you roll and manipulate pastry dough, the gluten proteins in the flour can develop, creating elasticity. If the dough is baked while the gluten is still "tense," it will contract in the heat, causing the tart shell to shrink away from the sides of the pan.
Chilling allows these gluten strands to relax, reducing their tendency to contract. Simultaneously, the cold solidifies the butter. As the shell bakes, the solid butter creates steam, which helps lift and separate the layers of dough, resulting in a flaky crust. Without adequate chilling, you risk a shrunken, tough, and unevenly baked tart shell, undermining your efforts for an easy blind bake tart shells process.
Step 3: Preparing for Blind Baking
Before the tart shell goes into the oven for blind baking, a couple more preparatory steps are needed: docking the dough and lining it with parchment paper or foil and weights. These steps are simple but vital for controlling the baking process and ensuring an evenly baked crust.
This stage is where you set the conditions for your simple blind baking success. Taking the time to prepare the shell correctly at this point will prevent common issues like puffing, shrinking, and uneven browning, leading to a perfect base for your sweet or savory tart filling.
Docking the Dough: Releasing Steam
Docking involves pricking the bottom of the tart shell all over with a fork. This creates small holes that act as vents, allowing steam to escape from underneath the dough during baking. If steam is trapped, it can cause the bottom of the crust to puff up unevenly, creating large bubbles that distort the shape of the shell and make it difficult to fill.
Prick the dough evenly across the bottom, but avoid piercing the sides. Be thorough but not overly aggressive; you don't want to create large holes that filling could leak through later. Proper docking is a quick step that significantly contributes to a flat, even bottom crust after the easy blind bake tart shells process.
Parchment Paper and Weights: Ensuring Even Baking
After docking, line the chilled tart shell with parchment paper or aluminum foil. Make sure the paper or foil is large enough to cover the bottom and extend up the sides, creating a cup to hold the baking weights. Crumpling the parchment or foil first can help it fit more easily into the contours of the pan.
The purpose of the parchment/foil and weights is twofold: they prevent the dough from puffing up during baking, ensuring the bottom stays flat, and they hold the sides of the crust in place, preventing them from slumping down the pan as the butter melts. This simple technique is essential for maintaining the structure of the tart shell during blind baking.
Step 4: Adding Baking Weights
Once the tart shell is lined with parchment paper or foil, it's time to add the baking weights. Pour your chosen weights – ceramic beads, dried beans, rice, or pie weights – evenly into the lined shell. Fill the shell right up to the edges, ensuring the weights are distributed across the entire bottom and slightly up the sides.
The weight of these materials is what provides the necessary pressure to keep the dough in place and prevent it from lifting or shrinking. Using enough weight is key; too few weights, and the crust may still puff or slump. This step is integral to the easy blind bake tart shells method, ensuring a stable structure for the final product.
Choosing and Using Baking Weights or Beans
Ceramic baking beads or specialized metal pie weights are designed for this purpose and can be reused indefinitely. Dried beans or rice are common household alternatives, offering an economical option. If using beans or rice, be aware that once used for baking, they are typically not suitable for cooking afterward, as they can become very hard and dry. Keep a dedicated container of "baking beans" or "baking rice" for this use.
When using weights, ensure they are spread evenly. Pay particular attention to pushing them gently into the corners and up against the sides of the pan. This pressure helps define the shape of the fluted edges and prevents the sides from pulling away from the pan. Properly using weights is a fundamental technique for simple blind baking.
Step 5: Blind Baking: Time and Temperature
Blind baking is typically done in a moderately hot oven, usually around 375°F to 400°F (190°C to 200°C). The exact time will depend on whether you are partially or fully blind baking, the size of your tart shell, and your oven's calibration.
A common approach for simple blind baking involves two stages: baking with weights and then baking without weights. This ensures the crust sets firmly before achieving its final color and crispness. Always preheat your oven thoroughly before placing the tart shell inside for consistent results.
Baking with Weights: Setting the Crust
Place the prepared tart shell with parchment/foil and weights into the preheated oven. Bake for the initial period, usually 15-20 minutes. During this time, the heat sets the structure of the dough, and the weights prevent it from puffing or shrinking. You should see the edges of the crust start to look dry and set, though it won't have taken on much color yet.
After this time, carefully remove the tart pan from the oven. Lift out the parchment paper or foil holding the weights. Be cautious, as the weights and paper will be hot. Set them aside to cool for later use. The crust should now look dry and partially baked, ready for the second stage of the easy blind bake tart shells process.
Baking Without Weights: Achieving Color and Crispness
Once the weights are removed, return the tart shell to the oven. Continue baking for another 10-15 minutes, or until the crust is golden brown and looks dry and crisp all over. The exact time will depend on your desired level of browning and whether you are partially or fully blind baking. For a fully blind-baked shell (used for no-bake fillings), aim for a deep golden color. For a partially baked shell (for fillings that will be baked further), a lighter golden hue is sufficient.
Keep a close eye on the crust during this stage, as it can brown quickly. If the edges start to brown too fast, you can loosely cover them with thin strips of foil. This second baking phase without weights allows the bottom of the crust to fully cook and crisp up, preventing that dreaded soggy bottom.
Step 6: Cooling and Removing the Shell
Once the tart shell is perfectly blind-baked to your desired color and crispness, carefully remove it from the oven. Place the tart pan on a wire rack to cool completely. It is crucial to let the shell cool in the pan for at least 15-20 minutes before attempting to remove it.
Trying to remove a hot or warm blind-baked shell from the pan can cause it to break or crack, especially if using a pan with a removable bottom. The cooling process allows the butter in the crust to firm up again, making the shell more stable and less fragile. Patience at this stage is key to a successful transfer.
Cooling for Stability and Easy Removal
Cooling the tart shell on a wire rack ensures air circulates around the pan, facilitating even cooling. As the shell cools, it contracts slightly, making it easier to release from the sides of the pan. For pans with a removable bottom, place the pan on top of a can or inverted bowl and gently let the outer ring slide down.
Once the outer ring is removed, you can carefully slide the baked shell off the base. If the shell sticks slightly, a thin, flexible spatula run gently around the edge can help loosen it. A properly cooled and removed shell is ready to be filled, showcasing your successful simple blind baking technique.
Troubleshooting
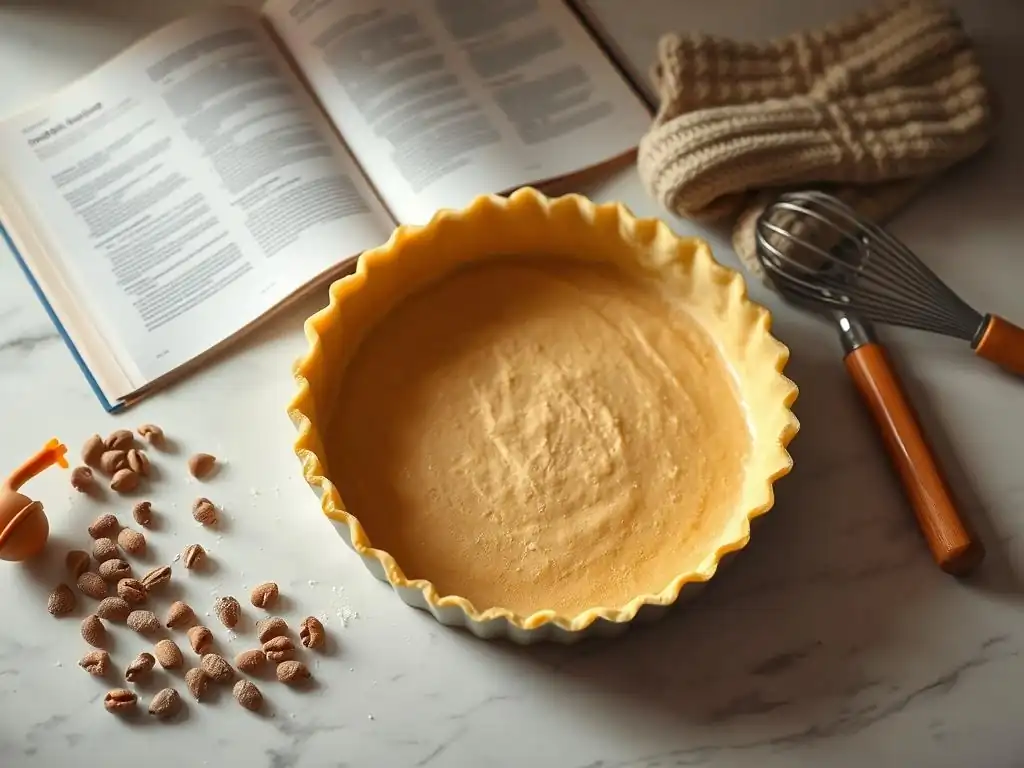
Even with careful steps, sometimes issues arise during blind baking. Understanding common problems and their solutions can save your tart and ensure your efforts for easy blind bake tart shells don't go to waste.
Addressing these issues proactively or reactively will help you refine your simple blind baking skills and consistently produce beautiful, functional tart shells.
Soggy Bottom: Causes and Solutions
The most common issue is a soggy bottom. This usually occurs because the crust wasn't baked long enough in the second stage (without weights) to fully crisp up, or the oven temperature was too low. It can also happen if a wet filling is added to a partially baked shell that wasn't quite set enough.
To prevent a soggy bottom, ensure you bake the shell until it is a deep golden brown, especially for fully blind-baked shells. Make sure your oven is accurately preheated. If using a wet filling in a partially baked shell, consider brushing the inside of the hot, partially baked crust with a thin layer of egg white (which coagulates quickly and creates a seal) before adding the filling and baking further. This creates a barrier against moisture.
Shrinkage: Prevention Techniques
Shrinkage, where the crust pulls away from the sides of the pan, is often caused by overworking the dough, insufficient chilling, or stretching the dough when fitting it into the pan. Overworked dough develops too much gluten, which contracts when heated. Insufficient chilling means the gluten hasn't relaxed, and the butter isn't firm enough to hold the shape.
To prevent shrinkage, handle the dough minimally, especially after adding water. Ensure the dough is well-chilled before rolling and fitting, and re-chill the fitted shell in the pan for at least 30 minutes before baking. When fitting the dough, press it gently into the pan without stretching it. Leaving a slight overhang before trimming can also help counteract minor shrinkage.
Uneven Baking: Ensuring Consistent Results
Uneven baking can result in some parts of the crust being too dark while others are pale, or the bottom being less cooked than the sides. This is often due to an unevenly heated oven or improper use of baking weights.
To ensure consistent results, always preheat your oven for at least 15-20 minutes before baking to ensure the temperature is stable and even. Use an oven thermometer to check your oven's accuracy. Ensure the baking weights are distributed evenly across the bottom and up the sides of the pan. If certain spots consistently brown faster, you can shield them with small pieces of foil during the second baking stage. Rotating the tart pan halfway through baking can also help promote even browning.
Tips and Tricks
Beyond the basic steps, a few extra tips can help you achieve even better results when you blind bake tart shells easily. These small adjustments can make a big difference in the final texture and appearance of your crust.
Incorporating these simple blind baking tips will further refine your technique and help you consistently turn out perfect tart shells ready for any filling.
Achieving a Golden-Brown Color
A beautiful golden-brown color indicates a well-baked and crisp crust. To achieve this, ensure your oven temperature is correct during the second baking phase (without weights). Don't be afraid to let the crust bake until it reaches a rich golden hue; pale crusts are often undercooked and prone to sogginess.
If you're worried about the edges browning too quickly while the bottom is still pale, use foil strips to cover the edges. Some bakers also like to brush the crust with an egg wash (a beaten egg mixed with a little milk or water) during the last few minutes of baking for an extra golden sheen and a slightly firmer surface.
Preventing Sticking
While using a tart pan with a removable bottom greatly aids removal, sticking can still occur, especially if the pan isn't non-stick or if the dough wasn't chilled properly. Ensure your pan is clean and dry before fitting the dough. If you're particularly concerned about sticking, you can lightly grease the pan with butter and flour it before adding the dough, even if using a non-stick pan.
Allowing the tart shell to cool completely in the pan before attempting to remove it is the most important step to prevent sticking. If it still feels stuck, gently running a thin, flexible spatula around the edge can help loosen it.
Make-Ahead and Storage
Blind-baked tart shells can be made ahead of time, which is a great convenience for entertaining or busy schedules. Once fully baked and completely cooled, the shells can be stored.
Wrap the cooled tart shell carefully in plastic wrap and then in aluminum foil to protect it from moisture and odors. Store it at room temperature for 1-2 days, or in the freezer for up to 1 month. Thaw frozen shells at room temperature before filling. This make-ahead option makes preparing tarts much simpler and ensures you always have a perfect base ready for your favorite fillings, enhancing the ease of your blind bake tart shells process.
Filling Ideas
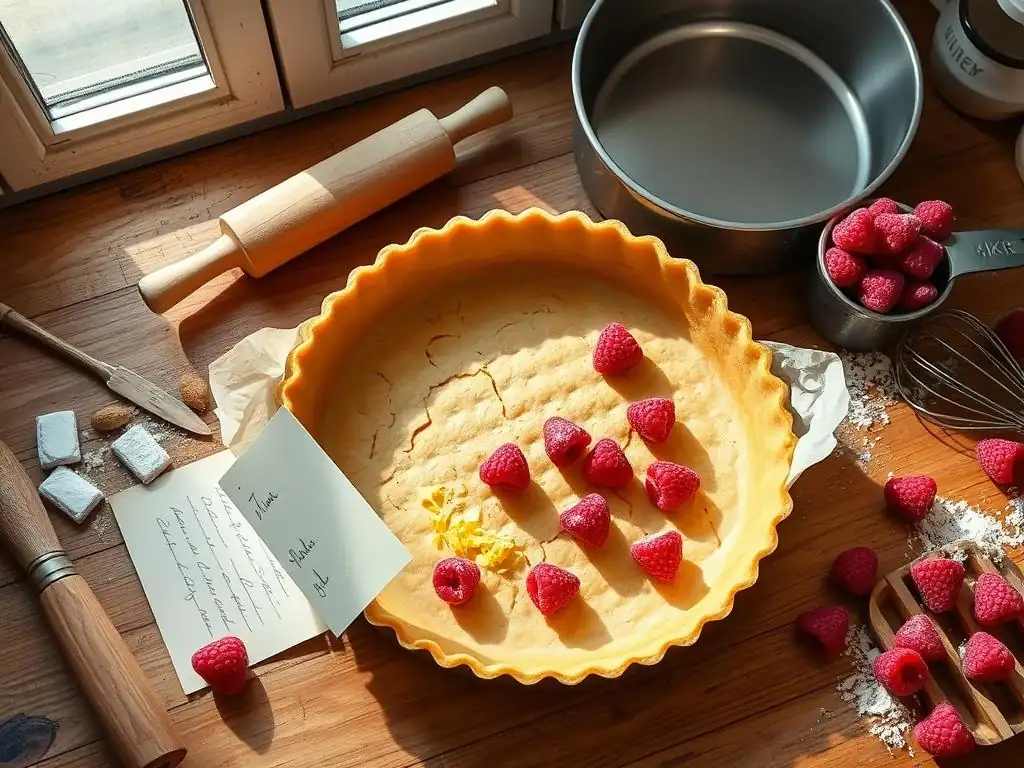
Once you've mastered blind baking, a world of delicious tart possibilities opens up! The type of blind baking (partial or full) required depends on the filling. For baked fillings like quiche, a partially blind-baked shell is often sufficient. For uncooked or no-bake fillings like chocolate ganache or fruit tarts with pastry cream, a fully blind-baked shell is necessary.
Having a perfectly baked base from your easy blind bake tart shells efforts means you can focus entirely on creating a spectacular filling.
Sweet Tart Fillings: Lemon Curd, Chocolate Ganache
Sweet tarts are a delightful way to showcase a perfectly crisp, blind-baked crust. Classic options include vibrant lemon curd, which provides a bright, tangy contrast to the buttery pastry. A fully blind-baked shell is essential for lemon curd tarts, as the curd is typically cooked separately and then poured into the cooled shell.
Another popular choice is rich chocolate ganache. Ganache is simply a mixture of melted chocolate and hot cream, poured into a fully blind-baked shell and left to set. Other ideas include pastry cream topped with fresh fruit, caramel tarts, or frangipane (almond cream) fillings, which are often baked within a partially blind-baked shell.
Savory Tart Fillings: Quiche Lorraine, Tomato and Goat Cheese
Blind baking is equally important for savory tarts, especially quiches. Quiche Lorraine, with its creamy custard, bacon, and cheese, requires a partially blind-baked shell to prevent the bottom from becoming soggy under the weight and moisture of the filling. The shell is baked until set, then the filling is added, and the tart is baked further until the custard is set and golden.
Other delicious savory fillings include tomato and goat cheese tarts, spinach and feta, or various roasted vegetable combinations. For most savory tarts that involve baking the filling, a partial blind bake is usually sufficient. The key is to ensure the base is set and slightly colored before adding the filling to create a robust foundation.
Conclusion: Mastering Perfect Tart Shells
Mastering the art of blind baking is a fundamental skill for any baker aspiring to create impressive tarts and quiches. By following these simple steps – from preparing and chilling the dough correctly, to using weights effectively, and baking in two stages – you can consistently achieve perfectly crisp, golden-brown tart shells without the dreaded soggy bottom.
Remember that practice makes perfect. Don't be discouraged if your first attempt isn't flawless. Pay attention to the details, understand the 'why' behind each step, and soon you'll be blind baking tart shells easily and with confidence. With a reliable technique for making a perfect base, the possibilities for delicious sweet and savory creations are endless. Happy baking!
Frequently Asked Questions
What exactly is blind baking a tart shell, and why is it necessary?
Blind baking is pre-baking a tart shell before adding the filling. This prevents a soggy bottom and ensures a crisp and flaky crust.
What are the essential tools and ingredients needed for easy blind bake tart shells?
You'll need a tart pan, pie weights (or dried beans/rice), parchment paper, and the ingredients for your tart dough, typically flour, butter, sugar, and water. High-quality ingredients will improve the flavor.
How do I prevent the tart shell from shrinking during the blind baking process?
Ensure your dough is chilled before and during the baking process. Use pie weights evenly distributed across the bottom of the shell.
What temperature and time should I use for blind baking my tart shell?
Generally, bake at 375°F (190°C) for 15-20 minutes with weights, then remove the weights and bake for another 5-10 minutes until lightly golden brown.
How can I tell if my blind baked tart shell is fully cooked and ready for filling?
The crust should be golden brown and firm to the touch. A slightly darker color indicates it is fully baked and stable enough for filling.
Final Reflection: Mastering the Art of the Perfectly Blind-Baked Tart Shell
The ability to create a flawlessly blind-baked tart shell is no longer a culinary mystery, but a readily accessible skill. This simple process, demystified through clear steps and helpful tips, unlocks a world of delicious possibilities for both novice and experienced bakers. The perfectly crisp, golden crust is the foundation upon which countless sweet and savory masterpieces are built.
The impact of mastering this technique extends far beyond the individual kitchen. It empowers home bakers to confidently tackle more ambitious recipes, fostering a sense of accomplishment and creativity. The joy of creating something beautiful and delicious from scratch is a powerful feeling, one that connects us to a rich culinary heritage. The best things in life are homemade.
This simple truth resonates deeply when you've successfully navigated the seemingly daunting process of blind baking and are rewarded with a perfectly formed tart shell.
Now, it's your turn. Don't let the fear of a soggy bottom hold you back any longer. Try these simple steps, experiment with different flours and fillings, and discover the immense satisfaction of crafting your own perfect tart shell. Embrace the process, celebrate your successes, and most importantly, enjoy the delicious results. The journey to mastering blind baking is a rewarding one, and the perfectly crisp crust awaits.
Unleash Your Inner Pastry Chef: Master the Art of Blind Baking!
Thanks for taking the time to learn about blind baking – we hope you now feel confident tackling flaky, perfectly-baked tart shells! Ready to put your newfound skills to the test?
- Bake your dream tart: Grab your favorite filling and create a stunning dessert. This is your chance to shine!
- Share your creations: Show us your beautifully blind-baked tarts on social media using #BakeWithEaseBlindBake – we’d love to see your masterpieces!
- Experiment with flavors: Try different fillings and crusts to discover your signature blind-baked tart. What unique flavor combinations will you create?
What delicious filling will you choose for your first perfect blind-baked tart?