
Brownie Bites for Beginners: Simple Recipe for Mini Treats

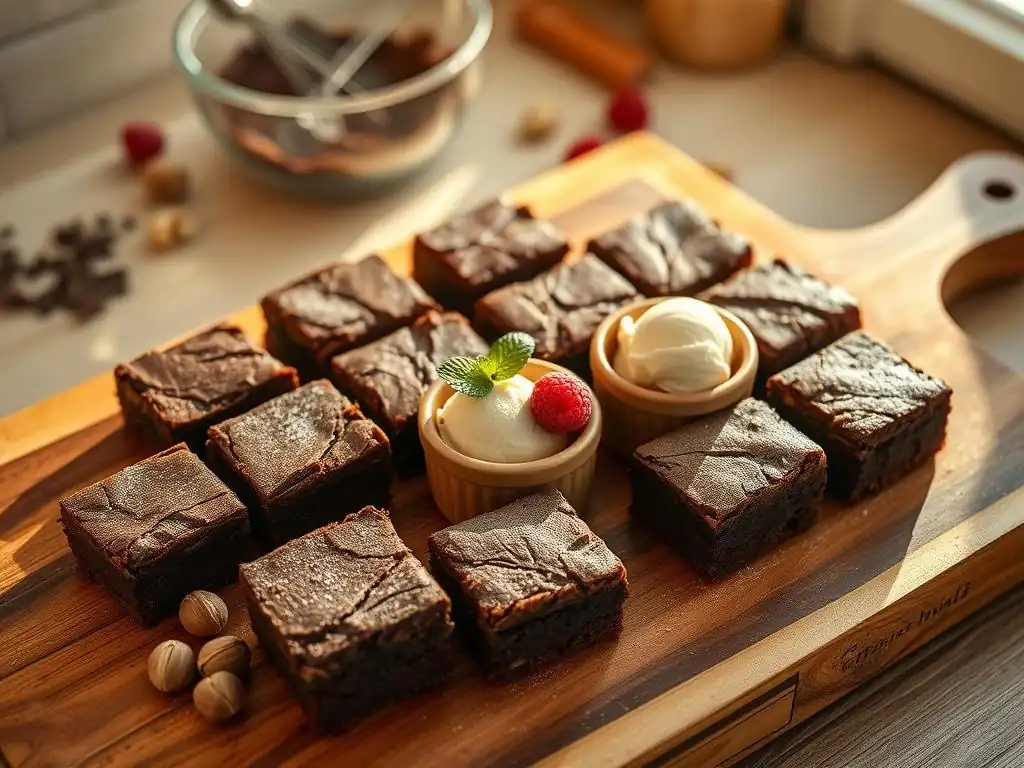
Welcome to BakeWithEase, your haven for effortless baking! Ever dreamt of whipping up decadent treats without the fuss? You're in the right place. Dive into our guide for an easy mini brownie recipe perfect for beginners, and discover just how simple creating delicious, bite-sized delights can be. Intrigued? Let's get baking and unlock the secrets to perfect brownie bites!
- Chocolate Brownie Bites: A Beginner's Recipe
- Baking Bliss: Mastering Mini Chocolate Brownies
- Why Choose Mini Brownies? Perfect Bite-Sized Treats
- Mastering the Mini Brownie Recipe: Ingredients and Equipment
- Step-by-Step: Creating Delicious Mini Brownies
- Tips and Tricks for the Best Mini Brownies Ever
- Mini Brownie Recipe: Printable Recipe Card
- Enjoy Your Homemade Mini Brownies!
- Frequently Asked Questions
- Final Reflection: The Enduring Allure of the Mini Brownie
- Unleash Your Inner Baker: Make These Brownie Bites Today!
Chocolate Brownie Bites: A Beginner's Recipe
Baking Bliss: Mastering Mini Chocolate Brownies
Welcome to Brownie Bite Baking: Your Beginner's Guide
Stepping into the world of baking can feel daunting, but starting with something simple and rewarding is key. Brownie bites offer the perfect entry point. They are inherently forgiving, require minimal specialized equipment, and deliver maximum chocolatey satisfaction in a conveniently small package. This easy mini brownie recipe is specifically designed with the novice baker in mind, breaking down each step into manageable actions that build confidence and skill. Forget complicated techniques; we're focusing on straightforward mixing and baking to achieve delicious results right from your first attempt.
Embarking on this baking adventure with an easy mini brownie recipe allows you to quickly see the fruits of your labor. Unlike yeast breads that require hours of proofing or delicate pastries needing precise folding, brownies come together relatively quickly. From gathering your ingredients to pulling the warm treats from the oven, you can often complete the process in under an hour, plus cooling time. This rapid turnaround makes brownie bites an ideal project for a lazy afternoon or a spur-of-the-moment craving, providing instant gratification and a tangible sense of accomplishment for beginner bakers.
Why Choose Mini Brownies? Perfect Bite-Sized Treats
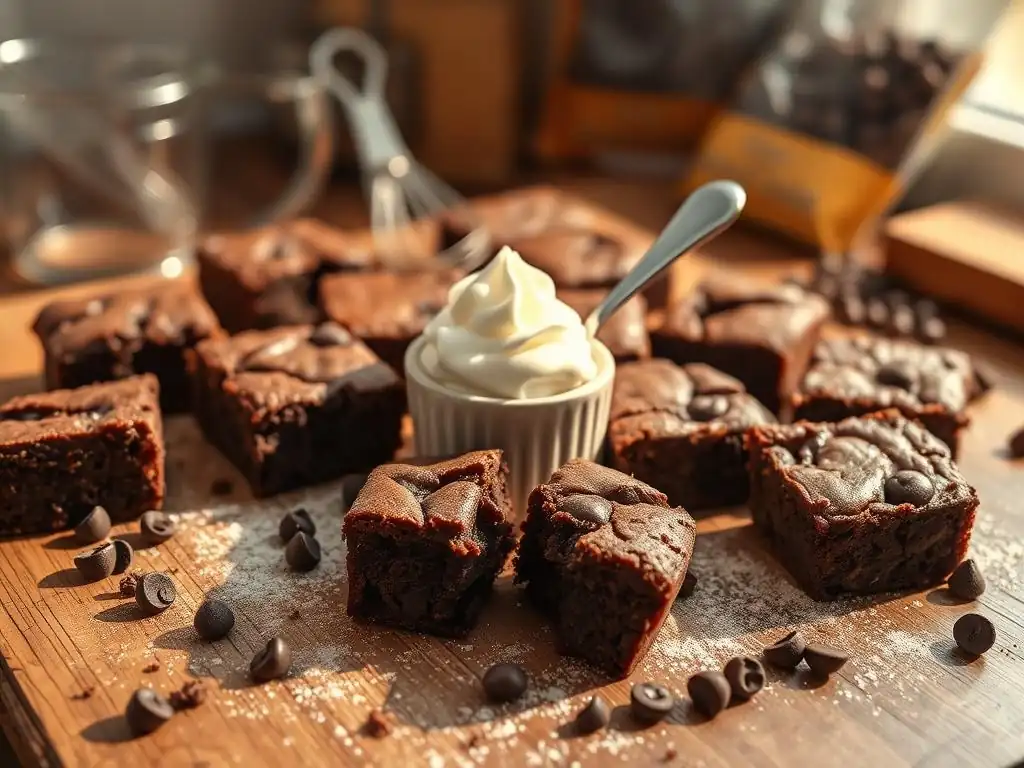
The Allure of Bite-Sized Desserts: Portability and Portion Control
Mini brownies, often referred to as brownie bites, possess a unique charm that goes beyond just being small. Their bite-sized nature makes them incredibly portable and perfect for sharing at parties, picnics, or simply packing into a lunchbox. You can easily transport a batch in a single container without worrying about slices shifting or crumbling. Furthermore, these tiny treats offer excellent portion control. Instead of committing to a large slice of a full-sized brownie, you can enjoy just one or two mini bites to satisfy your sweet tooth, making them a slightly less indulgent option for mindful eaters.
Beyond convenience, the appeal of bite-sized desserts lies in their perceived manageability. Offering guests a selection of mini treats encourages sampling and conversation, avoiding the formality of cutting and serving larger portions. For home bakers, mastering an easy mini brownie recipe means you're always ready to whip up a crowd-pleasing dessert that looks impressive arranged on a plate, yet required minimal fuss. The small size also means they cool faster, getting you closer to enjoying your homemade goodness sooner.
Mini Brownies: A Great Baking Project for Beginners
Choosing mini brownies as a first baking project is an excellent decision for several reasons. Brownie batter is notoriously forgiving; slight overmixing or minor variations in baking time are less likely to result in complete failure compared to delicate cakes or cookies. This resilience provides a safety net for beginners learning the ropes. Following an easy mini brownie recipe allows new bakers to focus on fundamental techniques like accurate measuring, proper mixing consistency, and recognizing visual cues for doneness, building a strong foundation for future baking endeavors.
The simple ingredients list for an easy mini brownie recipe also contributes to its beginner-friendly status. You won't need exotic flours or temperamental leaveners. Most ingredients are standard pantry staples like flour, sugar, cocoa powder, butter, and eggs. This accessibility means you can likely start baking almost immediately without a special shopping trip. The relatively short baking time (typically 20-25 minutes) minimizes the waiting period and reduces the chance of impatient peeking into the oven, which can affect baking consistency. It's a quick, low-stress project with a high chance of delicious success.
Mastering the Mini Brownie Recipe: Ingredients and Equipment
Gather Your Ingredients: Essential for Delicious Brownie Bites
Creating truly delicious chocolate brownie bites starts with having the right ingredients measured precisely. For this easy mini brownie recipe, we focus on quality pantry staples that come together to create a rich, fudgy texture. Using unsalted butter allows you to control the saltiness of the final product, while granulated sugar provides structure and sweetness. Unsweetened cocoa powder is crucial for that deep chocolate flavor; Dutch-process cocoa can offer a smoother, less acidic taste if you have it, but natural unsweetened cocoa works perfectly well too.
Salt is vital in baking to balance sweetness and enhance other flavors, so don't skip it. Vanilla extract adds a warm, aromatic note that complements the chocolate beautifully. Large eggs bind everything together and contribute to the fudgy texture; ensuring they are at room temperature helps them emulsify better with the butter and sugar, leading to a smoother batter. Finally, all-purpose flour provides the necessary structure to hold your brownie bites together. Accurate measurement of each ingredient is key to the success of this easy mini brownie recipe.
Ingredients:
- 1/2 cup (1 stick) unsalted butter
- 1 cup granulated sugar
- 1/2 cup unsweetened cocoa powder
- 1/4 teaspoon salt
- 1 teaspoon vanilla extract
- 2 large eggs
- 1/2 cup all-purpose flour
Essential Baking Equipment for Mini Brownies Success
You don't need a professional kitchen to bake this easy mini brownie recipe. A few basic pieces of equipment are all that's required to set you up for success. An 8x8 inch baking pan is the standard size for this recipe, yielding a good thickness for cutting into small bites. Lining the pan with parchment paper is a simple but crucial step; it prevents sticking and allows you to easily lift the cooled brownie slab out of the pan for clean cutting, making the process much less messy.
You will also need a couple of mixing bowls – one for melting butter and combining wet ingredients, and perhaps a smaller one for measuring dry ingredients. Measuring cups and spoons are non-negotiable for accuracy in baking; using the correct dry measuring cups (leveling off the top) and liquid measuring cups is important. While a hand mixer can make whisking faster, a simple whisk or even a sturdy wooden spoon is perfectly sufficient for mixing this easy mini brownie recipe by hand.
Equipment:
- 8x8 inch baking pan
- Parchment paper
- Mixing bowls
- Measuring cups and spoons
- Hand mixer or whisk
Step-by-Step: Creating Delicious Mini Brownies
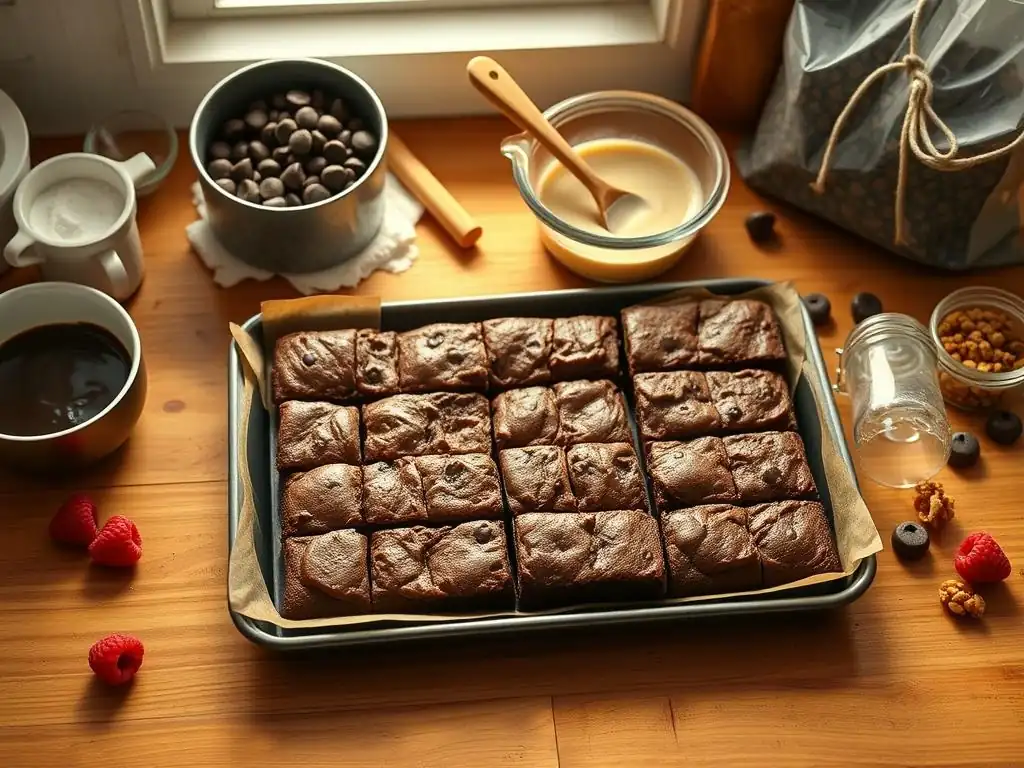
Step 1: Preparing the Brownie Batter
The first step in creating your easy mini brownie recipe is melting the butter. You can do this in a saucepan over low heat or in a microwave-safe bowl. Once melted, transfer the butter to a mixing bowl (if using a saucepan, you can often just continue in the pan off the heat). While the butter is still warm, whisk in the granulated sugar, unsweetened cocoa powder, and salt. Whisk vigorously for about 30-60 seconds; this initial whisking helps to dissolve some of the sugar and cocoa, contributing to a fudgier texture.
Next, stir in the vanilla extract. Then, add the two large eggs, one at a time, whisking well after each addition until fully incorporated and the mixture is smooth and glossy. This step is important for developing the texture. Finally, gradually add the all-purpose flour.
Switch from a whisk to a wooden spoon or spatula and mix gently until just combined. Be careful not to overmix the batter once the flour is added, as this can develop too much gluten and result in cakey, rather than fudgy, brownie bites. A few streaks of flour are okay; they will disappear during baking.
Melt butter, whisk in sugar, cocoa, and salt. Stir in vanilla, then eggs. Gradually mix in flour until just combined.
Step 2: Baking Your Mini Brownies to Perfection
Preheat your oven to 350°F (175°C). While the oven heats, line your 8x8 inch baking pan with parchment paper, leaving an overhang on the sides to act as handles later. Pour the prepared brownie batter evenly into the lined pan, spreading it into the corners with a spatula. Ensure the top is relatively smooth for even baking.
Place the pan in the preheated oven. Bake for 20-25 minutes. The exact time will depend on your oven and desired texture. For fudgier brownie bites, bake closer to 20 minutes. The edges should look set, but the center might still look slightly soft or moist. A toothpick inserted into the center should come out with moist crumbs attached, not completely clean (which indicates overbaking). If it comes out with wet batter, it needs more time. Keep an eye on them, especially during the last few minutes.
Pour batter into prepared pan. Bake at 350°F (175°C) for 20-25 minutes.
Step 3: Cooling and Cutting Your Brownie Bites
Once your mini brownies are baked, remove the pan from the oven and place it on a wire rack to cool completely. This step is crucial for achieving clean cuts and the best texture. Trying to cut warm brownies is messy and can result in crumbly edges. Allow them to cool in the pan for at least 1-2 hours, or ideally, place the pan in the refrigerator for about 30-60 minutes once it's cool enough to handle. Chilling them slightly makes cutting much easier.
Once completely cool (or slightly chilled), use the parchment paper overhang to lift the entire brownie slab out of the pan and place it on a cutting board. Using a sharp knife, cut the slab into small squares, approximately 1.5 to 2 inches in size. For cleaner cuts, wipe your knife blade clean with a damp cloth between cuts. An 8x8 inch pan typically yields about 24 small brownie bites. Arrange them on a serving plate or store them for later enjoyment.
Let cool completely before lifting out of pan and cutting into small squares.
Tips and Tricks for the Best Mini Brownies Ever
Preventing Common Brownie Baking Mistakes
One of the most frequent pitfalls when baking brownies is overmixing the batter after adding the flour. Overmixing develops gluten, which can lead to a tougher, cake-like texture instead of the desired fudgy richness. For this easy mini brownie recipe, mix the flour in gently until just combined – stop as soon as you no longer see dry streaks of flour. Another common error is overbaking. Baking too long will dry out your brownie bites, making them crumbly and less moist. Rely on the toothpick test and err on the side of slightly underbaked for maximum fudginess.
Using cold ingredients can also affect the outcome. Room temperature eggs emulsify better with the butter and sugar, creating a smoother, more cohesive batter. If you forget to take your eggs out ahead of time, you can quickly warm them by placing them in a bowl of warm (not hot) water for 5-10 minutes. Ensuring your oven temperature is accurate is also important; consider using an oven thermometer to verify. These simple steps can make a significant difference in the success of your easy mini brownie recipe.
Variations and Add-ins: Customizing Your Mini Brownie Recipe
While this easy mini brownie recipe is perfect as is, it also serves as a fantastic base for customization. Adding about 1/2 cup of chocolate chips (milk, dark, or white) to the batter before baking is a popular choice that boosts the chocolate factor and adds pockets of melty goodness. For a bit of crunch, stir in 1/2 cup of chopped nuts like walnuts or pecans. Toasting the nuts lightly beforehand can enhance their flavor.
Other delicious additions include swirls of caramel or peanut butter added to the top of the batter before baking, or scattering in dried fruit like cherries or cranberries. You could also add a pinch of espresso powder along with the cocoa to deepen the chocolate flavor. Feel free to experiment with your favorite mix-ins to make this easy mini brownie recipe uniquely yours. Just be mindful not to add too many heavy ingredients, as this can affect the bake time and texture.
Storing Your Delicious Mini Brownies for Lasting Freshness
Proper storage is key to keeping your homemade brownie bites fresh and delicious for as long as possible. Once completely cooled, store them in an airtight container at room temperature. Layering them between sheets of parchment paper can prevent them from sticking together. Stored correctly, your brownie bites should remain fresh and moist for about 3-4 days.
If you need to store them for longer, brownie bites freeze exceptionally well. Once cooled and cut, place them in a single layer on a baking sheet lined with parchment paper and freeze until firm (about 1-2 hours). Then, transfer the frozen brownie bites to a freezer-safe airtight container or bag, again using parchment paper between layers. Frozen brownie bites can last for up to 2-3 months. Thaw them at room temperature or gently warm them in the microwave for a few seconds before enjoying. This easy mini brownie recipe is perfect for making ahead!
Mini Brownie Recipe: Printable Recipe Card
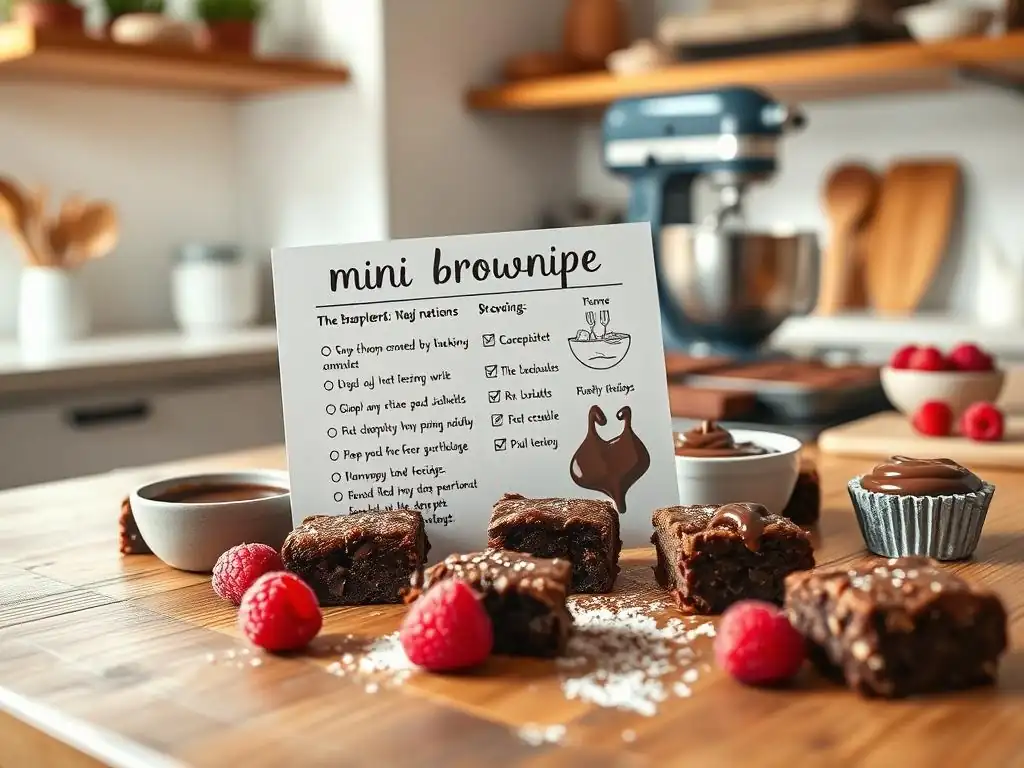
Recipe:
- Yields: Approximately 24 brownies
- Prep time: 10 minutes
- Cook time: 20-25 minutes
- Ingredients:
- 1/2 cup (1 stick) unsalted butter
- 1 cup granulated sugar
- 1/2 cup unsweetened cocoa powder
- 1/4 teaspoon salt
- 1 teaspoon vanilla extract
- 2 large eggs
- 1/2 cup all-purpose flour
- Equipment:
- 8x8 inch baking pan
- Parchment paper
- Mixing bowls
- Measuring cups and spoons
- Hand mixer or whisk
- Instructions:
- Preheat oven to 350°F (175°C). Line an 8x8 inch baking pan with parchment paper, leaving an overhang.
- Melt the butter in a bowl or saucepan. Whisk in sugar, cocoa powder, and salt until combined.
- Stir in vanilla extract. Add eggs one at a time, whisking until smooth.
- Add flour and stir gently with a spoon or spatula until just combined. Do not overmix.
- Pour batter into the prepared pan and spread evenly.
- Bake for 20-25 minutes, or until edges are set but the center is still slightly moist. A toothpick inserted in the center should have moist crumbs attached.
- Let cool completely in the pan on a wire rack. For easier cutting, chill in the refrigerator for 30-60 minutes.
- Lift brownies out of the pan using the parchment overhang. Cut into approximately 1.5 to 2 inch squares.
Enjoy Your Homemade Mini Brownies!
You've successfully baked a batch of delicious mini brownies following this easy mini brownie recipe! Take a moment to appreciate your baking accomplishment. These little chocolate gems are perfect for satisfying a sudden craving, sharing with friends and family, or bringing to your next gathering. Their rich, fudgy texture and intense chocolate flavor make them irresistible. Whether you're enjoying them warm from the oven (after cooling just enough to handle!) or at room temperature, they are sure to be a hit.
Now that you've mastered this easy mini brownie recipe, don't hesitate to share your success! Snap a picture of your beautiful brownie bites and share it. Let others know how simple and rewarding baking can be, especially with a straightforward recipe like this one. Did you add any fun variations? Tell us about them! Your baking journey has just begun, and these delightful mini treats are a wonderful first step. Keep baking, keep experimenting, and most importantly, keep enjoying the process and the delicious results!
Frequently Asked Questions
What makes this brownie bite recipe "easy" for beginners?
This recipe emphasizes simple ingredients and a straightforward baking process, making it perfect for those new to baking. It also provides clear, step-by-step instructions.
Can I substitute ingredients in this mini brownie recipe?
While possible, it's best to stick to the recipe for your first attempt. Substituting ingredients can affect the final texture and flavor, especially when starting out. Experienced bakers might experiment later.
How do I prevent my brownie bites from being dry?
Overbaking is the most common cause of dry brownies. Be sure to check for doneness a few minutes before the recommended baking time using a toothpick. Slightly underbaked is better than overbaked!
What's the best way to store leftover brownie bites?
Store leftover brownie bites in an airtight container at room temperature for up to three days, or in the refrigerator for up to a week. You can also freeze them for longer storage.
Can I add toppings or mix-ins to this mini brownie recipe?
Absolutely! Feel free to add chocolate chips, nuts, or sprinkles before baking. Just be mindful of the quantities to avoid affecting the baking time and texture. Get creative and have fun!
Final Reflection: The Enduring Allure of the Mini Brownie
The ease of baking mini brownies has democratized dessert, making delicious treats accessible to everyone, regardless of skill level. This simple recipe isn't just about creating bite-sized squares of chocolatey goodness; it's about unlocking the joy of baking for those who might otherwise feel intimidated by the kitchen. The accessibility of this recipe empowers individuals to create something beautiful and delicious, fostering a sense of accomplishment and pride.
The impact of simple recipes like this extends beyond the individual baker. It fosters a sense of community and shared experience, reminding us of the power of food to bring people together. Baking is at once child's play and adult joy. And love, of course.
This quote perfectly encapsulates the feeling of creating these mini brownies – a simple pleasure that connects us to our childhoods and to the people we share them with. The ease of the recipe allows for spontaneous baking, perfect for unexpected guests or a moment of self-care.
Now, I invite you to take what you've learned from this simple recipe and apply it to your own life. Don't be afraid to experiment, to adjust the recipe to your own tastes, and to share the joy of baking with others. Perhaps you'll discover a hidden talent, or simply create a delicious treat to brighten someone's day. Remember the power of a small act – a mini brownie, a kind gesture – to make a big difference. So, go forth and bake!
Unleash Your Inner Baker: Make These Brownie Bites Today!
Thanks for spending time with us and learning how to whip up these delicious brownie bites! You've gained a simple recipe for incredible mini-treats, perfect for any occasion. Now it's time to put your new skills to the test.
- Bake a batch of these brownie bites today! Use the recipe as a springboard – experiment with different mix-ins (chocolate chips, nuts, or even sprinkles!) to create your perfect bite.
- Share your creations! Post a picture of your brownie bites on social media and tag us – we’d love to see your baking masterpieces! #BakeWithEaseBrownies #BrownieBites
- Explore more easy baking recipes on BakeWithEase.com. We have tons of simple recipes, just like this one, designed to help you feel confident and joyful in the kitchen!
What unique twist will you add to these amazing brownie bites? Let us know in the comments!