
How Long Should You Proof Viennoiseries? Timing is Key

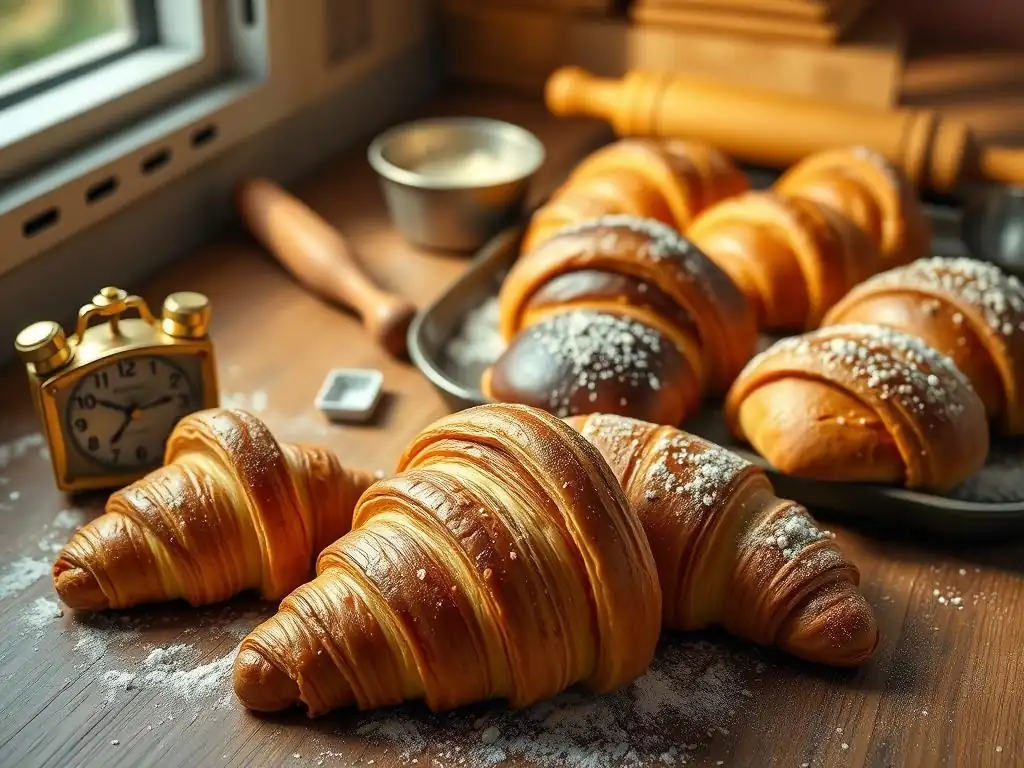
Welcome to BakeWithEase, your kitchen companion for unlocking baking brilliance! Ever wondered if you're really nailing that Viennoiseries proofing time? Getting it right is crucial for those flaky, buttery layers. Delve into our guide and discover the secrets to perfectly proofed pastries, ensuring bakery-worthy results every time. But how do humidity and temperature impact your proofing schedule? Read on to find out...
- How Long Should You Proof Viennoiseries? Timing is Key for Perfect Baking
- Understanding Viennoiseries Proofing: A Baker's Guide
- Factors Affecting Viennoiseries Proofing Time
- Viennoiseries Proofing Time Guide: Specific Examples
- Visual Cues for Properly Proofed Viennoiseries Dough
- Troubleshooting Viennoiseries Proofing Problems
- Tips for Optimizing Viennoiseries Proofing
- Baking Viennoiseries After Proofing: Key Steps
- Mastering Viennoiseries Proofing: Practice Makes Perfect
-
Frequently Asked Questions
- How crucial is proofing for Viennoiseries, and what happens if I skip it?
- What is the ideal temperature range for proofing Viennoiseries?
- How does humidity affect the Viennoiseries proofing time?
- What are some visual cues to look for to know when my Viennoiseries are properly proofed?
- Can I over-proof my Viennoiseries, and what are the consequences?
- Final Reflection: Mastering the Art of Viennoiserie Proofing
- Unlock Your Viennoiserie Potential!
How Long Should You Proof Viennoiseries? Timing is Key for Perfect Baking
Understanding Viennoiseries Proofing: A Baker's Guide
What is Proofing and Why is it Crucial for Viennoiseries?
Proofing, also known as final fermentation, is the critical stage after shaping and before baking where yeast in the dough produces carbon dioxide gas. This gas gets trapped within the gluten structure, causing the dough to expand and become light and airy. For delicate pastries like Viennoiseries – think croissants, pain au chocolat, or brioche – proper proofing is absolutely non-negotiable.
It's the phase that develops the final texture, contributes significantly to the flavor profile through yeast activity, and ensures the pastry achieves its intended volume and flakiness during the bake. Without adequate proofing, your beautiful shapes won't rise properly, resulting in dense, heavy, and potentially tough baked goods lacking that signature light interior and crisp exterior. Mastering the Viennoiseries proofing time guide is perhaps the most challenging, yet rewarding, aspect of making these pastries at home.
This specific phase is distinct from bulk fermentation, which happens before shaping. During proofing, the yeast is working in a less constrained environment, having already established a robust network during the initial rise. The goal here is maximum leavening potential just before the heat of the oven kills the yeast and sets the structure.
It's a delicate balance; under-proofed dough won't achieve full volume, while over-proofed dough can collapse, lose its structure, and develop an undesirable sour flavor. Achieving the perfect proof is the difference between a good pastry and a truly exceptional one, making this Viennoiseries proofing time guide essential for any aspiring baker.
The Science Behind Viennoiseries Proofing
At its core, proofing is a biological process driven by yeast metabolism. Yeast consumes sugars present in the dough and converts them into carbon dioxide gas and ethanol. The carbon dioxide is what creates the bubbles that inflate the dough.
Simultaneously, enzymatic reactions are occurring, breaking down starches into simpler sugars that feed the yeast, and breaking down proteins, which helps to relax the gluten network. This relaxation is vital; a relaxed gluten structure allows the dough to expand more easily with the gas produced, leading to a lighter crumb. The ethanol produced contributes to the complex flavors we associate with well-fermented doughs.
The rate of these reactions is heavily influenced by temperature and the amount of active yeast. For Viennoiseries, which often contain significant amounts of butter and sugar, the dough can be richer and heavier than standard bread doughs. This richness can sometimes slow down yeast activity slightly, requiring careful temperature control during proofing.
Furthermore, the lamination process (folding butter into dough layers) creates barriers within the dough, and proper proofing is needed to ensure the gas can inflate between these layers, contributing to the flaky texture. Understanding this underlying science is key to effectively using any Viennoiseries proofing time guide and making informed adjustments based on your specific conditions and dough.
Factors Affecting Viennoiseries Proofing Time
Yeast Activity and Its Impact on Proofing
The type and amount of yeast used are primary determinants of proofing speed. Active dry yeast and instant dry yeast are common choices, with instant yeast generally being more vigorous and requiring no rehydration step. Fresh yeast (compressed yeast) is also used and is very active but has a shorter shelf life. The quantity of yeast in a recipe is calibrated for a specific proofing time at a given temperature. Using more yeast than specified will significantly shorten the proofing time, potentially leading to rushed flavor development and structure issues. Conversely, too little yeast will prolong the process.
For example, a typical pain au chocolat recipe might call for around 1-2% instant dry yeast relative to the flour weight for an overnight cold proof, or slightly more for a warmer, faster proof. If you were to double the yeast, your proofing time at room temperature might be halved, perhaps going from 3 hours down to 1.5 hours.
It's crucial to measure yeast accurately, ideally by weight, as even small variations can drastically alter the proofing timeline outlined in a Viennoiseries proofing time guide. The age and vitality of your yeast also play a role; old yeast will be sluggish, if active at all, requiring much longer proofing times or potentially failing to proof entirely.
The Role of Temperature in Viennoiseries Dough Proofing
Temperature is arguably the most significant environmental factor influencing yeast activity and, therefore, proofing time. Yeast thrives in warm environments, with optimal activity generally occurring between 75°F and 85°F ( 24°C and 29°C). Within this range, proofing happens relatively quickly, often within 2-4 hours depending on the dough. However, higher temperatures can accelerate proofing too much, potentially leading to over-proofing before significant flavor development occurs, and can even melt the butter layers in laminated doughs, ruining the flaky structure.
Cooler temperatures, such as those found in a refrigerator ( 35°F to 40°F or 1.5°C to 4°C), dramatically slow down yeast activity. This technique, known as cold proofing, extends the proofing time significantly, often to 8-16 hours or even longer. While slower, cold proofing offers immense benefits for Viennoiseries: it allows for deeper flavor development through fermentation byproducts, it gives the baker more flexibility in timing, and crucially, it keeps the butter layers firm, which is essential for achieving those distinct, airy layers during baking. Many professional bakers utilize a cold Viennoiseries proofing time guide for superior results.
Humidity's Influence on Viennoiseries Proofing Time
Humidity levels in the proofing environment play a supporting, but still important, role. A dry environment can cause the surface of the dough to dry out and form a skin. This skin restricts the dough's ability to expand freely, potentially leading to uneven proofing or a tougher crust. A properly humid environment keeps the dough surface supple, allowing for maximum expansion.
Ideal humidity for proofing is typically around 70-80%. If you're proofing at room temperature, especially in a dry climate or during winter, covering your dough loosely with plastic wrap or placing it in a slightly humid environment (like a turned-off oven with a pan of hot water) is beneficial. While humidity doesn't directly speed up or slow down yeast activity like temperature does, maintaining the right level ensures the dough can reach its full potential volume and prevents surface issues that can impact the final bake, thus affecting the effective Viennoiseries proofing time guide you follow.
Dough Composition and Its Effect on Proofing Duration
The ingredients in your Viennoiseries dough directly impact how it proofs. Rich doughs, those high in sugar and fat (like butter), tend to proof more slowly than lean doughs (flour, water, yeast, salt). Sugar can initially compete with yeast for water, and in very high concentrations, can even inhibit yeast activity. Fat coats gluten strands, slightly impeding their development and the dough's ability to stretch, which can slow down expansion during proofing.
For instance, a rich brioche dough, with its high butter and egg content, will generally take longer to proof than a simpler croissant dough at the same temperature, assuming similar yeast percentages. The hydration level of the dough also matters; wetter doughs can sometimes proof slightly faster because the yeast has easier access to sugars and nutrients, and the gluten network is more extensible. Understanding how your specific recipe's composition influences the typical Viennoiseries proofing time guide is key to predicting and managing the process effectively.
Viennoiseries Proofing Time Guide: Specific Examples
Proofing Pain au Chocolat: A Detailed Timeline
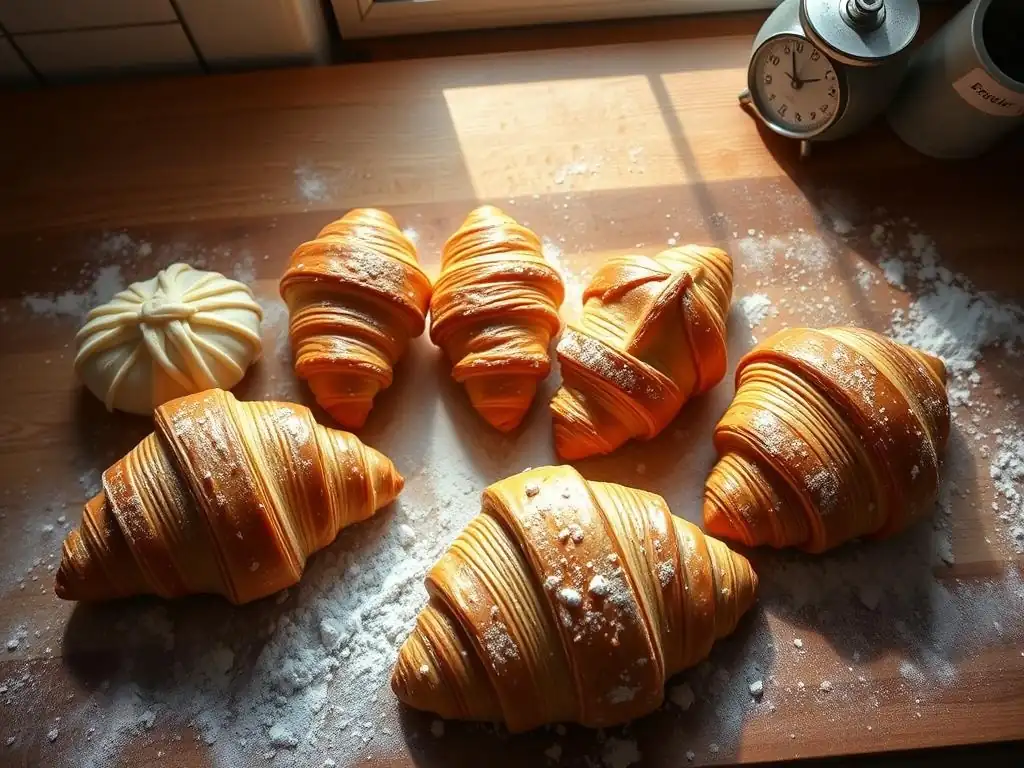
Proofing pain au chocolat, like croissants, requires careful attention to preserve the delicate laminated structure. The typical proofing environment for pain au chocolat is a warm, humid place, ideally around 75-78°F ( 24-26°C) with 70-80% humidity. At this temperature, proofing usually takes between 2 to 3 hours. During this time, the pastries should nearly double in size and appear visibly puffy and airy, but still hold their shape. The layers should be more defined, and you should be able to gently see the separation between them.
Alternatively, a cold proof in the refrigerator ( 35-40°F or 1.5-4°C) is highly recommended for superior flavor and structure. This process takes significantly longer, typically 8 to 12 hours, or even up to 15 hours. While slower, cold proofing allows for maximum flavor development and ensures the butter layers remain solid until baking, contributing to a more dramatic "oven spring" and flakier result. When ready, the pain au chocolat should still look puffy and jiggly, but not so much that the layers look like they might collapse. This extended Viennoiseries proofing time guide for pain au chocolat often yields the best texture and taste.
Croissant Proofing Time: Achieving the Perfect Flaky Texture
Croissants demand precise proofing to achieve their iconic flaky layers. Similar to pain au chocolat, the ideal warm proofing temperature is around 75-78°F ( 24-26°C) with high humidity. At this temperature, croissants typically require 2 to 3 hours to proof fully. They should increase significantly in volume, looking quite puffy and delicate. The individual layers should be distinct and visible, and the dough should have a slight jiggle when gently moved.
For best results, particularly for structure and flavor, a cold proof is often preferred. Refrigerating croissants at 35-40°F ( 1.5-4°C) for 10 to 14 hours allows for slow fermentation and keeps the butter firm. After cold proofing, some bakers allow the croissants to sit at room temperature for 30-60 minutes before baking to take the chill off, which can help with oven spring. Regardless of method, the visual cues are key: the croissants should look light and airy, not dense or tight, indicating they are ready for the oven according to this Viennoiseries proofing time guide.
Proofing Brioche: Tips for a Light and Airy Result
Brioche, being a rich, often highly enriched dough with butter and eggs, proofs differently from laminated doughs. While it doesn't rely on distinct layers, proper proofing is essential for its tender, airy crumb. Brioche can be proofed at room temperature ( 70-75°F or 21-24°C) or cold-proofed. At room temperature, proofing for shaped brioche (like loaves or rolls) typically takes 2 to 4 hours, or until the dough has nearly doubled in size and feels soft and pillowy.
Cold proofing brioche in the refrigerator for 8 to 16 hours is also very common and highly recommended. This slow fermentation develops deeper flavors and improves the texture. Cold-proofed brioche will look puffy but might not double in size as much as at room temperature in the fridge itself; the significant rise often happens during baking (oven spring). The dough should still feel light and soft. A good Viennoiseries proofing time guide for brioche will often suggest cold proofing as the preferred method for achieving the best flavor and crumb structure.
Kouign-Amann Proofing Time: Achieving a Buttery, Caramelized Crust
Kouign-Amann, another laminated pastry, is characterized by its layers of butter and sugar, which caramelize during baking. Like croissants and pain au chocolat, careful proofing is needed. The high sugar content in Kouign-Amann dough can sometimes slightly inhibit yeast activity compared to less sweet doughs. Warm proofing at around 75-78°F ( 24-26°C) with humidity is typical and may take 2.5 to 3.5 hours. The pastries should puff up and look visibly lighter, though the presence of sugar can sometimes make them look slightly less airy than croissants at the same stage.
Cold proofing Kouign-Amann is also an option, extending the time to 10 to 15 hours in the refrigerator. This method helps keep the butter and sugar layers distinct until baking, contributing to the desired crispy, caramelized exterior and tender interior. When proofed, they should look significantly larger than their shaped size and feel light. Following a detailed Viennoiseries proofing time guide specific to Kouign-Amann, paying close attention to visual cues, is vital due to the unique sugar content.
Visual Cues for Properly Proofed Viennoiseries Dough
How to Tell if Your Dough is Ready for Baking: The Finger Dent Test
One of the most reliable methods for checking if your Viennoiseries dough is perfectly proofed is the finger dent test. Gently press the surface of the dough with a floured finger to a depth of about half an inch. Observe how quickly the indentation springs back. If the indentation springs back immediately and completely, the dough is likely under-proofed. It needs more time for the gluten to relax and the gas production to reach its peak.
If the indentation springs back slowly, only partially filling the hole, the dough is perfectly proofed and ready for baking. The gluten structure is relaxed enough to expand, but still has enough strength to hold the gas. If the indentation remains completely or almost completely without springing back, the dough is over-proofed. The gluten structure has weakened too much, and the dough may collapse during handling or baking. This simple test is a crucial part of any practical Viennoiseries proofing time guide.
Observing Dough Volume: Is Your Viennoiseries Dough Proofed Enough?
Another key visual cue is the overall volume increase of the dough. Properly proofed Viennoiseries should have increased significantly in size from their shaped state. For most laminated pastries like croissants or pain au chocolat, this means nearly doubling in volume, sometimes slightly less depending on the richness of the dough and proofing temperature. They should look visibly puffy, airy, and feel light for their size.
It's important not to rely solely on volume increase, as different doughs and temperatures yield varying results. However, combined with the finger dent test, observing the volume gives you a strong indication. For instance, if your pain au chocolat has been proofing for 2 hours at 78°F and has barely increased in size, it suggests under-proofing, possibly due to low yeast activity or temperature. Conversely, if it has tripled in size and looks like it might burst, it's likely over-proofed. Learning to gauge the correct volume increase is a vital skill when following a Viennoiseries proofing time guide.
Recognizing Under-Proofed vs. Over-Proofed Viennoiseries Dough
Distinguishing between under- and over-proofed dough is crucial for successful baking. Under-proofed Viennoiseries will look dense and relatively small after proofing. When baked, they won't expand much, resulting in a heavy, tight crumb and potentially a tough texture. The layers in laminated doughs may not separate well.
Over-proofed dough, on the other hand, will look excessively large and potentially somewhat fragile or deflated. The surface might appear bubbly, and the dough may feel very soft or even slightly wet. When baked, over-proofed dough may collapse in the oven (lack of oven spring), resulting in a flat pastry with a coarse, irregular crumb and often a sour or alcoholic off-flavor due to excessive fermentation. The layers in laminated doughs might melt together. Mastering the visual cues outlined in this Viennoiseries proofing time guide helps you avoid these common pitfalls.
Troubleshooting Viennoiseries Proofing Problems
My Dough Isn't Rising: Common Proofing Issues and Solutions
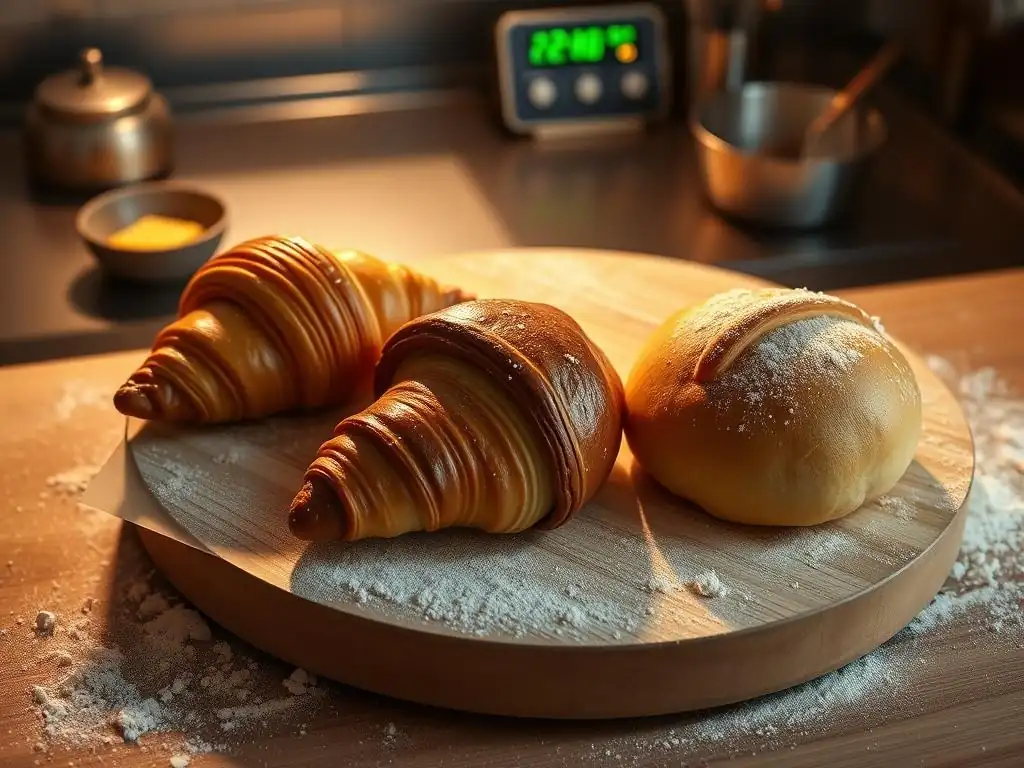
If your Viennoiseries dough isn't rising as expected, several factors could be at play. The most common issue is insufficient yeast activity. This could be due to inactive yeast (expired or improperly stored), the proofing environment being too cold (yeast is sluggish below 70°F or 21°C), or the dough itself being too cold after chilling steps. Rich doughs also proof slower.
- Check Yeast Viability: If using active dry yeast, proof it in warm water (
105-115°For40-46°C) with a pinch of sugar before adding to flour. If it doesn't foam within 10 minutes, get new yeast. - Increase Temperature: Move the dough to a warmer spot. A turned-off oven with the light on (creates a gentle warmth around
80-85°For27-30°C) or a proofing box works well. - Give it Time: If the temperature is correct but slow, it might just need more time, especially for rich or cold doughs. Be patient and monitor.
- Ensure Proper Mixing: Insufficient kneading can lead to poor gluten development, hindering expansion.
If the dough shows some signs of life but is very slow, these adjustments can often help get it back on track. This part of the Viennoiseries proofing time guide is about diagnosing and fixing issues proactively.
Over-Proofed Dough: Salvaging Your Viennoiseries
Discovering over-proofed dough can be disheartening, but sometimes it can be salvaged, especially if it hasn't completely collapsed. The primary issue is the weakened gluten structure. If the dough is only slightly over-proofed (still holding some shape but very soft), you might be able to bake it immediately, handling it very gently. It may still lack significant oven spring and have a slightly coarser crumb, but it might be acceptable.
If the dough has significantly collapsed or is extremely fragile, salvaging it for its intended shape (like a croissant) is difficult or impossible. However, you might be able to gently reshape it into something simpler, like rolls, or even punch it down, knead it very lightly to redistribute gas, and attempt a very short second proof (if the yeast still has energy). Be aware that the flavor might be more alcoholic or sour.
In many cases of severely over-proofed Viennoiseries, accepting the loss and starting fresh is the most practical approach to ensure quality results. This section is a tough but necessary part of any realistic Viennoiseries proofing time guide.
Adjusting Proofing Time Based on Environmental Conditions
Proofing times provided in recipes are always estimates based on typical kitchen conditions. You must be prepared to adjust based on your actual environment. A kitchen that is 68°F ( 20°C) will require significantly longer proofing time than one at 78°F ( 26°C). Humidity also plays a role, as discussed earlier.
Keep a thermometer and hygrometer in your proofing area to know the exact conditions. Use this knowledge to inform your timing. If your space is cooler than the recipe's assumed temperature, add more time; if warmer, reduce time. For every few degrees Celsius below the ideal range, the proofing time can easily double. Conversely, a few degrees above can halve it. Learning to read the dough itself (using the finger dent test and visual cues) is ultimately more important than strictly adhering to a published Viennoiseries proofing time guide without considering your environment.
Tips for Optimizing Viennoiseries Proofing
Creating the Ideal Proofing Environment at Home
Controlling the proofing environment is key to consistent results. Aim for a warm, draft-free spot with controlled humidity. An ideal temperature range for warm proofing Viennoiseries is typically 75-80°F ( 24-27°C). A simple way to create this environment is using your oven (turned off! ). Place a pan of hot water on the bottom rack and the dough on a rack above it. The residual heat and steam create a warm, humid microclimate.
Alternatively, dedicated proofing boxes offer precise temperature and humidity control. If proofing at room temperature, ensure the area isn't subject to drafts from windows or air conditioning/heating vents. Loosely covering the dough with plastic wrap or a damp towel helps maintain humidity and prevents drying. Consistent conditions allow you to rely more confidently on a standard Viennoiseries proofing time guide.
Using a Proofer for Consistent Viennoiseries Proofing
For bakers serious about Viennoiseries, a dedicated proofing box (or proofer) is an invaluable tool. These appliances allow you to set a specific temperature and humidity level, eliminating guesswork and variation caused by ambient conditions. This consistency is crucial for achieving reliable results, especially when working with delicate laminated doughs.
A proofer ensures that whether it's summer or winter, humid or dry, your dough proofs under the exact same conditions every time. This makes recipes and Viennoiseries proofing time guides much more predictable. While not strictly necessary for home baking, a proofer significantly increases the chances of success and allows for easier replication of professional results.
The Importance of High-Quality Ingredients for Successful Proofing
The quality of your ingredients directly impacts yeast activity and dough structure, thus affecting proofing. Use fresh, high-quality flour with the appropriate protein content (often bread flour for Viennoiseries). Ensure your yeast is fresh and active. Old or compromised yeast will result in slow or no proofing.
The quality and temperature of your butter are also paramount, especially for laminated doughs. Using butter with the correct plasticity and keeping it cold during the laminating stages ensures distinct layers. During proofing, high-quality butter is less likely to melt prematurely at slightly warmer temperatures, helping preserve the structure needed for a flaky result. Starting with the best possible ingredients sets the stage for successful proofing, complementing any Viennoiseries proofing time guide you follow.
Baking Viennoiseries After Proofing: Key Steps
Preheating Your Oven for Optimal Viennoiseries Baking
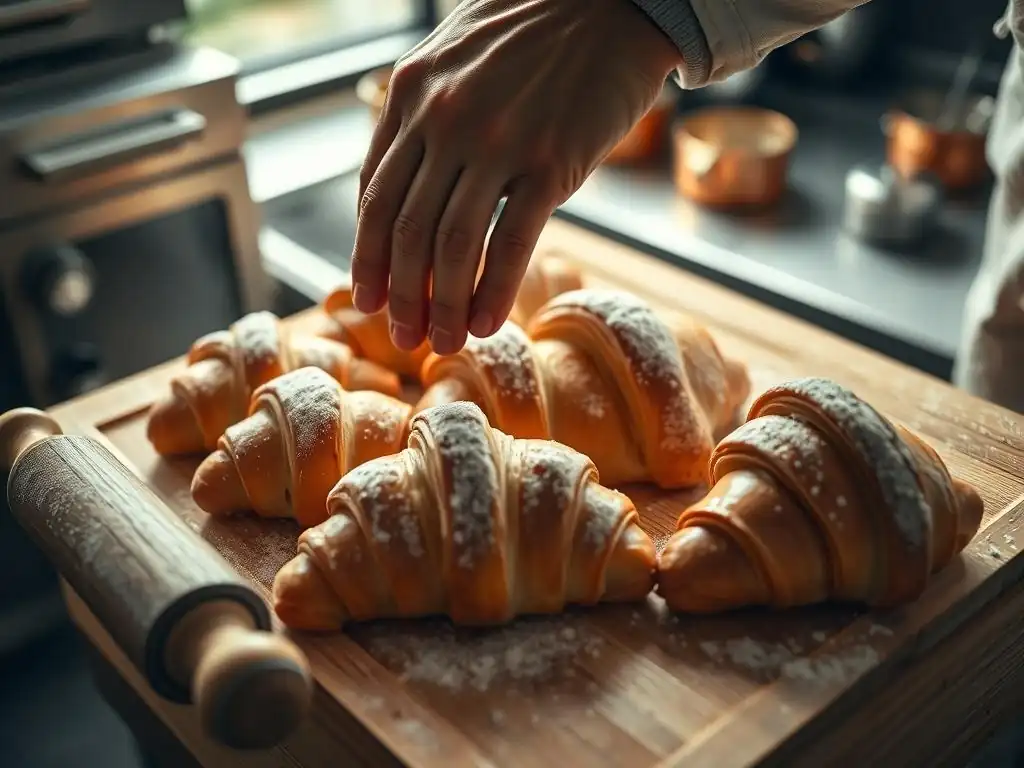
Proper oven preheating is absolutely critical for achieving the desired rise and texture in Viennoiseries. These pastries require a hot oven to create significant oven spring – the rapid expansion of the dough before the structure sets. A typical baking temperature for croissants or pain au chocolat starts high, often around 400-425°F ( 200-220°C), sometimes with a slight reduction after the initial rise.
Preheat your oven for at least 20-30 minutes, or even longer, after it reaches the set temperature. This ensures the oven walls, rack, and any baking surface (like a baking stone or steel) are fully heated, providing consistent, radiant heat from all sides. Placing proofed pastries into a well-preheated oven helps the butter layers melt just as the water in the dough turns to steam, creating lift and separation between layers. This rapid transition is essential for flakiness and relies heavily on the hot environment you create after carefully following your Viennoiseries proofing time guide.
Egg Wash Application for a Golden-Brown Finish
Applying an egg wash is a standard step before baking most Viennoiseries. An egg wash, typically made from a whisked egg (or just the yolk or white, depending on desired finish) mixed with a little water or milk, provides a beautiful golden-brown color and a slight sheen to the baked pastry. It also helps protect the surface from drying out during the initial stages of baking.
Apply the egg wash gently with a pastry brush just before placing the proofed Viennoiseries in the oven. Be careful not to let the wash pool around the base, as this can glue the layers together and inhibit rise. For laminated doughs, avoid brushing the cut edges where the layers are exposed, as this can also prevent the layers from separating properly. A careful, even application enhances the visual appeal of your perfectly proofed pastries.
Monitoring the Baking Process: Achieving the Perfect Color and Texture
Once in the oven, monitor your Viennoiseries closely. The initial phase is where oven spring occurs. After 10-15 minutes, the pastries should have puffed up considerably and started to develop color. You might then reduce the oven temperature slightly ( 375-400°F or 190-200°C) to ensure the interior bakes through without the exterior burning.
Total baking time varies depending on the size of the pastry and your oven, but typically ranges from 15-25 minutes for croissants or pain au chocolat, and longer for larger brioche loaves. The pastries are done when they are deeply golden brown all over, feel light when lifted, and sound hollow when tapped on the bottom. An under-baked Viennoiserie will be doughy inside, while an over-baked one will be dry. Trusting your Viennoiseries proofing time guide gets you to the oven, but visual cues and careful monitoring complete the process for a perfect bake.
Mastering Viennoiseries Proofing: Practice Makes Perfect
Mastering the art of proofing Viennoiseries is a journey that requires patience and practice. While this Viennoiseries proofing time guide provides essential information and typical timelines, the best teacher is experience in your own kitchen with your specific ingredients and equipment. Don't be discouraged by initial setbacks. Each bake, successful or not, offers valuable lessons.
Pay close attention to how your dough behaves at different temperatures and humidity levels. Keep notes on your proofing times, temperatures, and results. Learn to read the dough's visual cues and trust the finger dent test. With dedication and repeated practice, you'll develop an intuitive understanding of when your Viennoiseries dough is perfectly proofed and ready to transform into those flaky, airy, and delicious pastries you dream of.
Frequently Asked Questions
How crucial is proofing for Viennoiseries, and what happens if I skip it?
Proofing is essential for Viennoiseries like croissants and pain au chocolat. Skipping it results in a dense, unleavened product lacking the characteristic flaky texture.
What is the ideal temperature range for proofing Viennoiseries?
The ideal temperature range is generally between 75-80°F (24-27°C). This encourages yeast activity without melting the butter layers, which is critical for flaky results.
How does humidity affect the Viennoiseries proofing time?
Higher humidity can accelerate the proofing process. Conversely, low humidity may slow it down, requiring adjustments to the proofing time.
What are some visual cues to look for to know when my Viennoiseries are properly proofed?
Properly proofed Viennoiseries will appear puffy and doubled in size. They should also jiggle slightly when gently shaken, indicating sufficient air incorporation.
Can I over-proof my Viennoiseries, and what are the consequences?
Yes, over-proofing can lead to collapsed dough and a sour taste. The butter may also melt, resulting in a greasy and flat final product.
Final Reflection: Mastering the Art of Viennoiserie Proofing
The precise timing of viennoiserie proofing is not merely a technical detail; it's the cornerstone of achieving flaky, airy perfection. Get the timing wrong, and your painstaking efforts can result in dense, disappointing pastries. This guide has explored the nuances of proofing, from understanding the factors influencing timing to mastering the art of visual and tactile cues. But the journey to mastering viennoiserie doesn't end here.
The impact of this seemingly small detail – proofing time – on the overall quality of viennoiserie is profound. It's a testament to the delicate balance required in baking, where precision and patience intertwine. The proof is in the pudding,
as the saying goes, and in the case of viennoiserie, the proof is in the perfectly risen dough. This process, often overlooked, is where the true magic happens, transforming simple ingredients into exquisite pastries that delight the senses. The journey to understanding this process has been both challenging and rewarding, highlighting the importance of attention to detail in achieving culinary excellence.
Now, it's your turn. Take what you've learned here and experiment! Don't be afraid to adjust proofing times based on your environment and the specific recipe. Observe your dough closely, trust your instincts, and most importantly, enjoy the process of creating beautiful, delicious viennoiseries. Each perfectly formed croissant, pain au chocolat, or brioche is a testament to your dedication and understanding of this crucial step. The reward? The satisfaction of crafting something truly special, one perfectly proofed pastry at a time.
Unlock Your Viennoiserie Potential!
Thanks for taking the time to delve into the art of proofing viennoiseries! You now possess the knowledge to create perfectly risen pastries. Ready to put your new skills to the test?
- Bake your best batch yet: Use the timing guide from the article to proof your next batch of croissants, pain au chocolat, or other delightful treats. Pay close attention to the subtle signs of readiness!
- Share your baking triumphs (and challenges!): We’d love to see your perfectly proofed creations—or even those that need a little tweaking. Share your photos and experiences on our social media!
- Explore our other baking guides: Deepen your knowledge of viennoiserie and other baking techniques with our comprehensive collection of helpful articles and recipes.
What unique proofing technique will you experiment with next time?