
NoFail Cookies Start Here: Your First SliceandBake Adventure

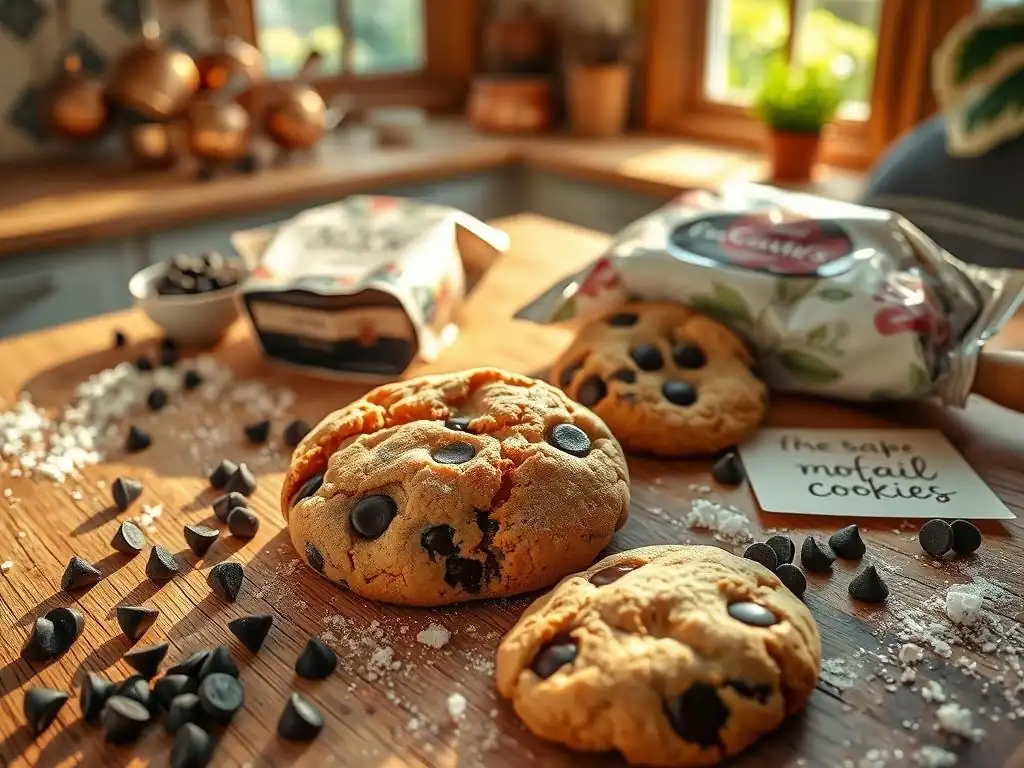
Welcome to BakeWithEase, your trusted companion on the journey to baking bliss! Ever dreamt of effortlessly whipping up a batch of melt-in-your-mouth cookies? This is where that dream takes flight. Dive into our guide to easy nofail chocolate chip cookies and discover the secrets to baking perfection, starting with your very first slice-and-bake adventure. Ready to unleash your inner baker? The deliciousness awaits!
- Welcome to Easy Baking: Your Slice-and-Bake Cookie Journey
- Why Slice-and-Bake? The Easiest Path to Homemade Cookies
- Easy NoFail Chocolate Chip Cookies: The Recipe Breakdown
- Step-by-Step Guide: Mastering the Slice-and-Bake Technique
- Troubleshooting Your Easy Chocolate Chip Cookies
- Variations and Add-Ins: Level Up Your Slice-and-Bake Game
- Storing Your Slice-and-Bake Cookies for Lasting Freshness
- More Beginner Baking Recipes from BakeWithEase
-
Frequently Asked Questions
- What makes these chocolate chip cookies "no-fail"?
- Can I substitute ingredients in this "Easy nofail chocolate chip cookies" recipe?
- How do I prevent my chocolate chip cookies from spreading too thin?
- What's the best way to store these "Easy nofail chocolate chip cookies"?
- I'm new to baking. Are there any other resources on BakeWithEase.com to help me?
- Final Reflection: The Sweet Success of Simple Baking
- Unleash Your Inner Baker: Start Baking Today!
Welcome to BakeWithEase, where our mission is to make baking accessible and enjoyable for everyone, regardless of your experience level. We understand that stepping into the kitchen to bake for the first time can feel a bit daunting, especially when faced with complex recipes. That's why we focus on breaking down techniques and providing clear, step-by-step instructions for classic treats like easy nofail chocolate chip cookies. Our goal is to build your confidence one successful bake at a time, turning potential kitchen mishaps into delicious victories.
We're dedicated to providing you with the foundational knowledge and simple recipes you need to create wonderful baked goods right in your own home. From understanding basic ingredients to mastering fundamental techniques, BakeWithEase is designed to be your trusted companion on your baking journey. This guide to slice-and-bake cookies is just one example of how we simplify the process, ensuring that even your very first batch of easy nofail chocolate chip cookies is a resounding success.
Slice-and-bake cookies represent one of the most forgiving and straightforward methods available, making them absolutely ideal for those new to baking. Unlike drop cookies, which can spread unpredictably, or rolled cookies that require precise cutting, slice-and-bake dough is formed into a firm log that holds its shape beautifully during baking. This inherent stability significantly reduces the chance of common beginner errors, practically guaranteeing delicious results. If you're aiming for easy nofail chocolate chip cookies on your first attempt, this technique is your secret weapon.
This method eliminates the guesswork involved in portioning dough and ensures consistent cookie size and thickness across the entire batch. By chilling the dough log, you make it firm enough to slice cleanly, resulting in uniform cookies that bake evenly. This consistency is key to achieving that perfect balance of chewy centers and slightly crisp edges that makes easy nofail chocolate chip cookies so beloved. It's baking simplified, designed for maximum success and minimal stress.
Convenience and Freshness: The Benefits of Slice-and-Bake
Beyond their beginner-friendly nature, slice-and-bake cookies offer unparalleled convenience and the luxury of freshly baked treats on demand. Preparing a batch of dough takes relatively little time – perhaps 15-20 minutes of active work – and once formed into logs, it can be refrigerated for up to 3 days or frozen for up to 2 months. This means you can have homemade cookie dough ready to go whenever a craving strikes or unexpected guests arrive. Imagine having easy nofail chocolate chip cookies ready to bake in just minutes!
The ability to bake only the desired number of cookies at a time is a significant advantage. Instead of committing to baking an entire batch of potentially 24-36 cookies at once, you can simply slice off four or six rounds from your chilled log. This flexibility ensures that you always have warm, fresh cookies straight from the oven, minimizing waste and maximizing that delightful aroma that fills your kitchen. It truly is the epitome of convenience meets homemade goodness.
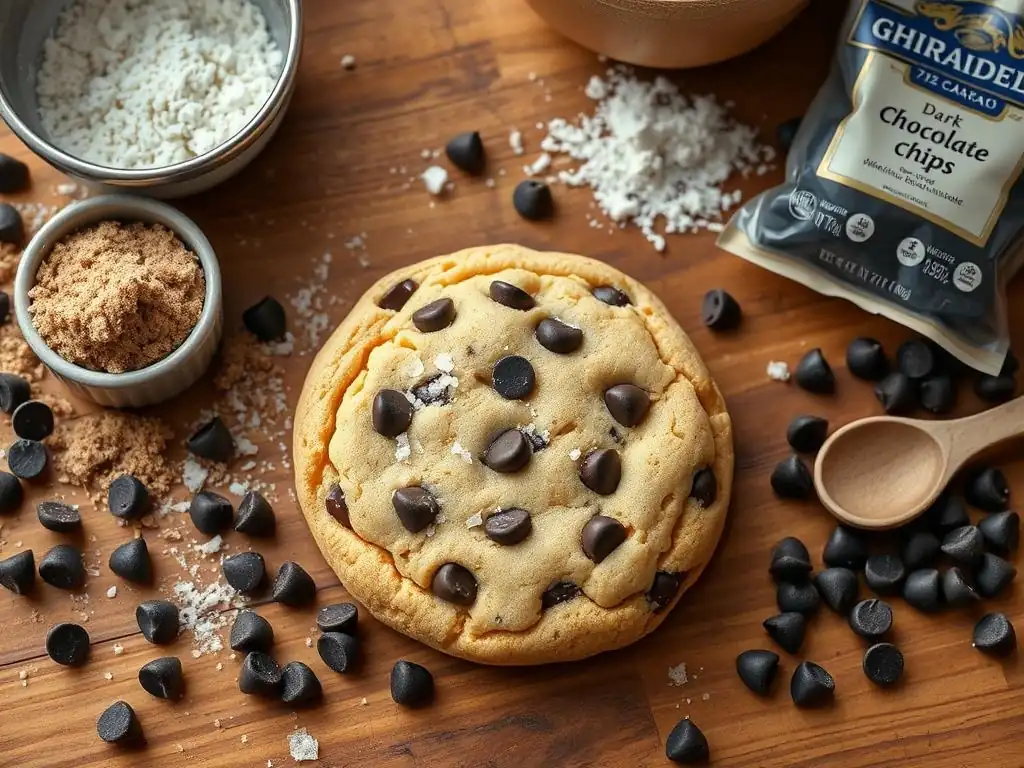
Ingredients for Your First Slice-and-Bake Batch
Unsalted Butter
Using unsalted butter gives you control over the saltiness of your cookies. Ensure it's softened to room temperature, but not melted, for proper creaming. Typically, a recipe calls for 1 cup (or 2 sticks) of softened unsalted butter.
Granulated Sugar
Granulated sugar provides sweetness and contributes to the cookie's structure and spread. About ½ cup is usually sufficient for a balanced sweetness in this type of cookie.
Brown Sugar
Light brown sugar adds moisture, chewiness, and a hint of caramel flavor. It's crucial for that classic chocolate chip cookie texture. A common amount is 1 cup, packed.
Large Eggs
Eggs bind the ingredients together and add richness. You'll typically need 2 large eggs, added one at a time.
Vanilla Extract
Vanilla enhances all the other flavors in the cookie. Use a good quality pure vanilla extract, usually 1-2 teaspoons.
All-Purpose Flour
Standard all-purpose flour provides the main structure. Measure it correctly by spooning it into the measuring cup and leveling off. A standard recipe often uses about 2 ¼ cups.
Baking Soda
Baking soda is a leavening agent that helps the cookies spread slightly and rise, contributing to a tender texture. You'll need about 1 teaspoon.
Salt
Salt balances the sweetness and brings out the flavor of the chocolate and vanilla. A quantity of ½ teaspoon is usually just right.
Chocolate Chips
The star of the show! Use your favorite kind – semi-sweet, milk, or dark. Approximately 1 ½ cups of chocolate chips are perfect for a generously studded cookie.
Mixing Bowls
You'll need at least two mixing bowls: one large bowl for the wet ingredients and another for whisking together the dry ingredients before combining them.
Measuring Cups and Spoons
Accurate measuring is key in baking, especially for easy nofail chocolate chip cookies. Have a set of dry measuring cups, liquid measuring cups, and measuring spoons ready.
Electric Mixer
An electric stand mixer or a hand mixer is highly recommended for creaming the butter and sugars effectively. It makes the process much easier and ensures a smooth, well-aerated base for the dough.
Plastic Wrap
Essential for wrapping the dough logs tightly before chilling. This prevents drying out and helps the logs hold their shape.
Baking Sheet
You'll need one or more sturdy baking sheets to bake your cookies on. Standard half-sheet pans work well.
Parchment Paper
Lining your baking sheet with parchment paper prevents sticking and makes cleanup a breeze. It also helps the cookies bake evenly.
Wire Rack
A wire cooling rack is necessary for allowing your baked cookies to cool completely, preventing the bottoms from getting soggy.
Step-by-Step Guide: Mastering the Slice-and-Bake Technique
Begin by creaming together the softened unsalted butter, granulated sugar, and packed brown sugar in your large mixing bowl using an electric mixer. Beat on medium speed for about 2-3 minutes until the mixture is light and fluffy. This creaming process incorporates air, which helps with the cookie's texture. Next, beat in the large eggs one at a time, mixing well after each addition, followed by the vanilla extract. Scrape down the sides of the bowl as needed to ensure everything is well combined.
In a separate medium bowl, whisk together the all-purpose flour, baking soda, and salt. Gradually add this dry ingredient mixture to the wet ingredients in the large bowl, mixing on low speed just until combined. Be careful not to overmix, as this can result in tough cookies. Finally, fold in the chocolate chips using a spatula or wooden spoon until they are evenly distributed throughout the dough. The dough should be relatively thick and slightly sticky but manageable.
Cream together butter and sugars. Beat in eggs and vanilla. Gradually add dry ingredients. Fold in chocolate chips.
This initial step of creaming butter and sugars is foundational for light, tender cookies. The incorporation of air during this phase provides lift and helps create that desirable texture. Adding eggs one at a time ensures they emulsify properly into the mixture, contributing to richness and binding. The gradual addition of dry ingredients prevents a cloud of flour and allows for gentle mixing, crucial for preventing gluten overdevelopment. Finally, folding in the chocolate chips by hand ensures they aren't broken down by the mixer and are evenly distributed for perfect bites in your easy nofail chocolate chip cookies.
2. Forming the Log: Shaping Your Slice-and-Bake Masterpiece
Turn the cookie dough out onto a clean surface. Divide the dough in half. Take one half and begin shaping it into a cylindrical log. Aim for a diameter of approximately 2 inches (about 5 cm). Gently roll the dough back and forth with your hands, applying even pressure to create a uniform thickness along the log. If the dough is too sticky, you can lightly flour your hands, but avoid adding too much extra flour.
Repeat the process with the second half of the dough. The goal is to create two logs of roughly the same size and shape. Uniform logs will result in cookies of similar size and baking time. Don't worry about achieving perfect cylinders; slight variations are fine, but try to make them as consistent as possible to ensure your easy nofail chocolate chip cookies bake evenly.
Divide dough in half. Roll each half into a log approximately 2 inches in diameter.
Dividing the dough makes the logs easier to handle and chill. Rolling the dough into a log shape is the defining step of the slice-and-bake method, pre-portioning the cookies. Aiming for a consistent 2-inch diameter is important because it dictates the size of your finished cookie rounds. Logs that are too thick might not bake through properly in the standard time, while logs that are too thin could spread excessively or become too crisp.
3. Chilling the Dough: Essential for Easy Slicing
Once your dough logs are formed, wrap each log tightly in plastic wrap. Ensure the wrap is snug against the dough, removing as much air as possible. This tight wrapping helps the logs maintain their shape and prevents the surface from drying out or developing a crust. Place the wrapped logs in the refrigerator.
Chilling is a non-negotiable step for slice-and-bake cookies. It firms up the butter and solidifies the dough structure, making it easy to slice clean rounds without the dough crumbling or squishing. The minimum chilling time is typically 2 hours, but for best results and the easiest slicing, chilling for 3-4 hours is recommended. You can also chill the dough for up to 3 days in the refrigerator, offering great flexibility.
Wrap logs tightly in plastic wrap. Chill for at least 2 hours or up to 3 days.
Proper chilling is the key differentiator for this method, ensuring your easy nofail chocolate chip cookies hold their shape perfectly. The cold temperature solidifies the fats, which not only makes slicing effortless but also contributes to less spread during baking and a better overall texture. Chilling for longer periods, up to three days, can actually deepen the flavor of the cookies as the ingredients meld together. This flexibility makes slice-and-bake dough perfect for preparing ahead of time.
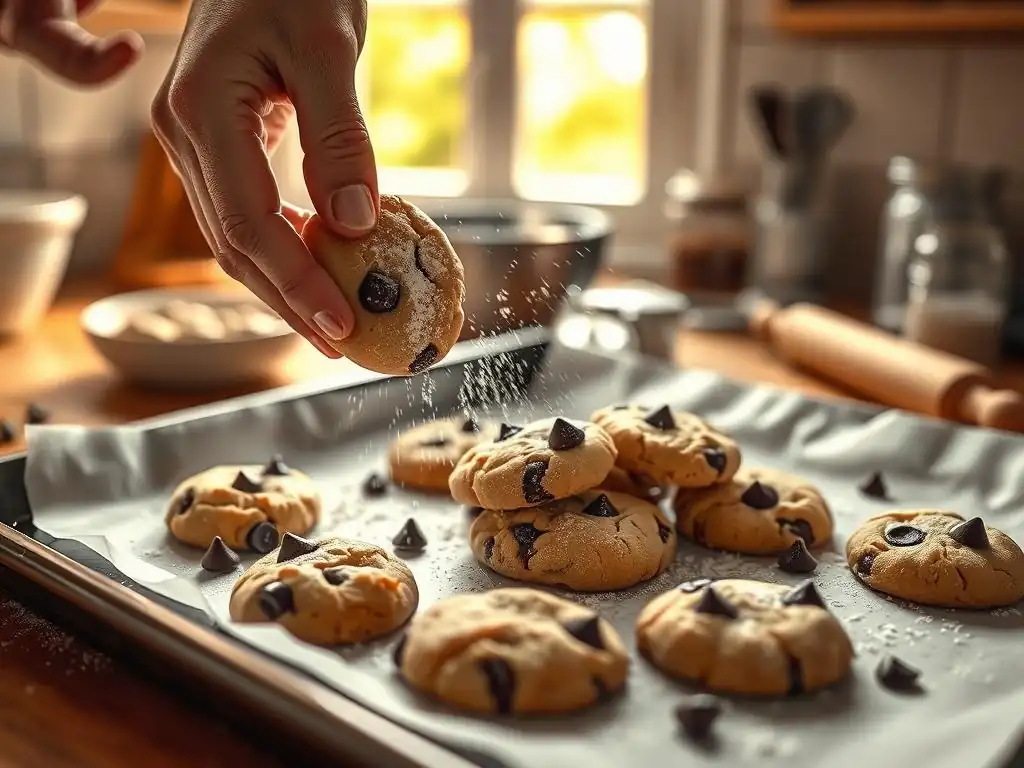
When you're ready to bake, preheat your oven to 375°F (190°C). Line your baking sheet(s) with parchment paper. Remove one log from the refrigerator. Using a sharp knife, slice the chilled dough into rounds approximately ½-inch thick. Try to make your slices consistent in thickness for even baking. Place the sliced rounds on the prepared baking sheet, leaving about 2 inches of space between them to allow for slight spreading.
Bake the cookies in the preheated oven for 8-10 minutes. Baking time can vary slightly depending on your oven and how thick you sliced the cookies. Look for the edges to be lightly golden brown and the centers to appear set but still slightly soft. Do not overbake, especially if you prefer a chewier cookie. A typical batch of 12 cookies might take around 9 minutes in a well-calibrated oven.
Preheat oven to 375°F (190°C). Slice chilled dough into ½-inch thick rounds. Place on parchment-lined baking sheet. Bake for 8-10 minutes.
Preheating the oven to the correct temperature is vital for consistent results. A temperature of 375°F (190°C) is standard for many cookies, promoting proper spread and browning. Slicing the chilled dough into consistent ½-inch rounds ensures that all cookies on the sheet bake at the same rate. Placing them on a parchment-lined baking sheet prevents sticking and facilitates easy removal, while adequate spacing allows air circulation and prevents the cookies from merging as they bake into perfect easy nofail chocolate chip cookies.
5. Cooling and Enjoying: Savoring Your Homemade Treats
Once the cookies are baked, remove the baking sheet from the oven. Let the cookies cool on the baking sheet for about 2-3 minutes. They will still be quite soft and fragile when they first come out, and this brief cooling period allows them to firm up slightly before handling.
After this initial cooling on the sheet, carefully transfer the cookies to a wire rack using a spatula. Allow them to cool completely on the wire rack. Cooling on a rack allows air to circulate around the entire cookie, preventing the bottoms from becoming soggy and helping them achieve the desired texture. Once fully cooled, they are ready to be enjoyed!
Let cookies cool on baking sheet for a few minutes before transferring to a wire rack to cool completely.
This two-stage cooling process is important for achieving the ideal cookie texture. The few minutes on the warm baking sheet allow the residual heat to finish setting the centers slightly, while preventing the cookies from breaking when lifted. Transferring them to a wire rack for complete cooling is essential for preventing condensation and ensuring a crisp edge, if desired, or a properly set chewy center. This final step ensures your easy nofail chocolate chip cookies have the best possible texture before you take that first delicious bite.
Common Slice-and-Bake Problems and Solutions
One common issue with slice-and-bake cookies is excessive spreading during baking, resulting in thin, flat discs instead of nicely shaped rounds. This is almost always due to the dough not being sufficiently chilled before slicing and baking. The butter needs to be firm to prevent rapid spread in the oven.
If you encounter this, simply place the remaining dough log back in the refrigerator for at least another hour, or even in the freezer for 20-30 minutes, before slicing and baking. Ensure your oven temperature is accurate as well; an oven that is too low can also contribute to over-spreading.
Another potential problem is cookies that bake unevenly or burn around the edges while the centers remain raw. This often indicates an issue with oven temperature or hot spots. Using an oven thermometer can verify your oven's accuracy (many home ovens are off by 25°F or more).
If your oven has hot spots, try rotating the baking sheet halfway through the baking time. If the edges are burning quickly, try reducing the oven temperature by 10-15°F (5-8°C) on subsequent batches and bake for an extra minute or two if needed. Finally, if your cookies seem dry or crumbly, it might be due to slightly too much flour or ingredients that were too cold when mixed.
For future batches, ensure butter is properly softened and measure flour accurately. For the current batch, you can sometimes salvage slightly dry dough by kneading in a tablespoon of milk before chilling and slicing, although this is best avoided by getting the initial dough consistency right for your easy nofail chocolate chip cookies.
Spreading: Chill dough longer.
Burning: Reduce oven temperature.
Dryness: Add a tablespoon of milk to the dough.
These quick fixes address the most frequent issues. Insufficient chilling is the primary culprit for spreading; more time in the fridge or a quick freeze firms the dough. Burning edges often points to an oven that's too hot or unevenly heated; checking temperature and potentially reducing it helps. While less common with slice-and-bake if the recipe is followed, dryness can sometimes be mitigated by adding a little liquid, though preventing it during mixing is preferable. These simple solutions help ensure your easy nofail chocolate chip cookies turn out perfectly.
Variations and Add-Ins: Level Up Your Slice-and-Bake Game
Explore Different Flavors: Beyond Chocolate Chip
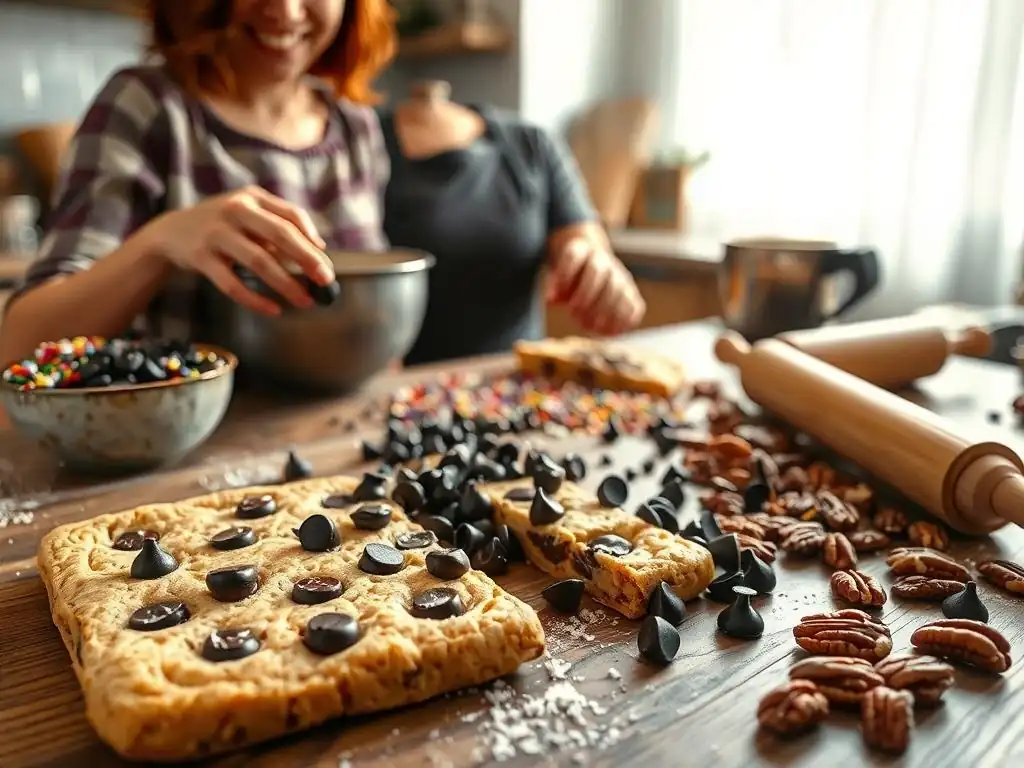
While easy nofail chocolate chip cookies are a fantastic starting point, the slice-and-bake method is incredibly versatile. Once you've mastered the basic dough, you can easily incorporate a variety of different flavors and mix-ins. Instead of just chocolate chips, try adding white chocolate chips, dark chocolate chunks, or even a mix of different types. Nuts are also a popular addition; chopped walnuts or pecans add a lovely crunch and nutty flavor. Approximately ½ cup of nuts can be folded in along with the chocolate chips.
Don't stop at nuts and chocolate! Get creative with other additions like toffee bits, shredded coconut, dried cranberries, or chopped pretzels for a sweet and salty twist. You can also play with extracts; replace some of the vanilla with almond extract for a different aroma, or add a touch of peppermint extract for holiday cookies. Just remember to keep the total amount of mix-ins roughly equivalent to the amount of chocolate chips specified in the original recipe (around 1.5 cups) to maintain the proper dough consistency for easy slicing and baking.
Add nuts, pretzels, or different types of chocolate chips.
Adding different mix-ins is a simple way to customize your easy nofail chocolate chip cookies dough. Incorporating about ½ cup of chopped nuts like walnuts or pecans adds texture and a different flavor dimension. For a fun twist, fold in ¾ cup of pretzel pieces along with ¾ cup of chocolate chips for a sweet and salty combination. Mixing semi-sweet chips with white chocolate chips (¾ cup each) provides a different sweetness profile. The key is to integrate these additions evenly into the dough before forming the logs.
To keep your freshly baked easy nofail chocolate chip cookies at their best, allow them to cool completely on a wire rack before storing. Once they are fully cooled, transfer them to an airtight container. Store the container at room temperature. Properly stored, baked slice-and-bake cookies will maintain their quality and freshness for about 3-5 days. For longer storage of baked cookies, you can freeze them in an airtight container or freezer bag for up to 2 months. Thaw at room temperature.
The true magic of slice-and-bake lies in storing the unbaked dough logs. Once you've wrapped your logs tightly in plastic wrap, they can be kept in the refrigerator for up to 3 days. For longer storage, place the wrapped logs inside a freezer bag or wrap them again in foil to prevent freezer burn, then freeze them for up to 2 months.
When you're ready to bake from frozen, simply slice the dough logs as usual (it might be slightly harder to slice) and place the rounds on your baking sheet. You might need to add 1-3 minutes to the baking time, but they will still bake into delicious, fresh easy nofail chocolate chip cookies on demand.
Store baked cookies in an airtight container at room temperature. Store unbaked dough in the freezer for up to 2 months.
Storing baked cookies properly prevents them from drying out and keeps them fresh for several days. An airtight container is crucial for this. The real convenience, however, comes from freezing the unbaked dough. By freezing the logs, you lock in the freshness and flavor, allowing you to have warm, homemade easy nofail chocolate chip cookies ready to bake whenever you desire, for up to two months after preparing the dough.
More Beginner Baking Recipes from BakeWithEase
Now that you've successfully baked your first batch of easy nofail chocolate chip cookies using the slice-and-bake method, you've built a solid foundation! This technique is just one of many simple approaches to baking that we explore here at BakeWithEase. We encourage you to continue your baking adventure and try other beginner-friendly cookie recipes available on our site. From simple sugar cookies you can decorate to classic peanut butter cookies that require just a few ingredients, there's a world of easy and delicious treats waiting for you.
Exploring different types of cookies will help you become more familiar with various dough consistencies, mixing methods, and baking times. Each recipe offers a slightly different challenge and opportunity to learn, reinforcing the basic principles you've already mastered. Look for recipes specifically categorized as "Beginner Baking Recipes" or within the "Easy Cookie Recipes" section to find your next project. With each successful bake, your confidence will grow, and soon you'll be tackling even more exciting recipes with ease.
Frequently Asked Questions
The recipe focuses on simple ingredients and clear instructions, minimizing common baking errors. We emphasize precise measurements and step-by-step guidance to ensure success, even for beginners.
While substitutions are possible, they can affect the final result. We recommend sticking to the recipe for best results, especially when learning. However, dark chocolate chips or different extracts can work well.
Chilling the dough before baking is key. This helps the butter solidify, preventing excessive spreading. Also, ensure your oven is at the correct temperature.
Store baked cookies in an airtight container at room temperature. This will keep them fresh for several days. You can also freeze the dough for baking later.
I'm new to baking. Are there any other resources on BakeWithEase.com to help me?
Yes! BakeWithEase.com offers a wealth of beginner-friendly recipes and detailed baking guides. Explore our website for step-by-step tutorials and helpful tips for various baking projects.
Final Reflection: The Sweet Success of Simple Baking
The seemingly simple act of baking a chocolate chip cookie holds a surprising power: the ability to connect us to comfort, tradition, and even a sense of accomplishment. Mastering this seemingly basic recipe, as explored throughout this article, unlocks a world of culinary confidence, proving that delicious results are within everyone's reach. It's not about complex techniques or rare ingredients; it's about understanding the fundamentals and embracing the process.
The joy of a perfectly baked cookie transcends mere taste; it's a tangible representation of effort rewarded, a small victory in a busy world. The satisfying aroma filling your kitchen, the warm, gooey texture melting in your mouth – these are sensory experiences that connect us to cherished memories and create new ones. As Julia Child wisely said, Find something you're passionate about and keep tremendously interested in it.
For many, that passion is found in the simple act of baking, and these no-fail cookies are the perfect gateway.
Now, I invite you to step into your kitchen, armed with this newfound knowledge and a newfound confidence. Don't be afraid to experiment, to adjust the recipe to your liking, to share your creations with loved ones. The journey of baking is as rewarding as the destination, and these easy no-fail chocolate chip cookies are just the beginning of your culinary adventures. So, preheat your oven, gather your ingredients, and let the sweet scent of success fill your home. You've got this!
Unleash Your Inner Baker: Start Baking Today!
Thanks for joining us on this delicious journey into the world of slice-and-bake cookies! You've learned the secrets to perfectly crispy edges and melt-in-your-mouth centers – now it's time to put your new skills to the test.
Here's how to keep the baking magic alive:
- Bake a batch of your own slice-and-bake cookies! Use your newfound knowledge to create your own flavor combinations – maybe even try adding some chocolate chips or nuts! This is your chance to shine!
- Share your creations! Snap a picture of your delicious cookies and tag us on social media – we'd love to see your baking masterpiece.
- Explore more easy baking recipes on BakeWithEase.com – we have tons of ideas waiting for you!
Ready to create your next baking adventure? What unique flavor combination are you excited to try?