
Mother’s Day GlutenFree Lemon Elderflower Drip Cake

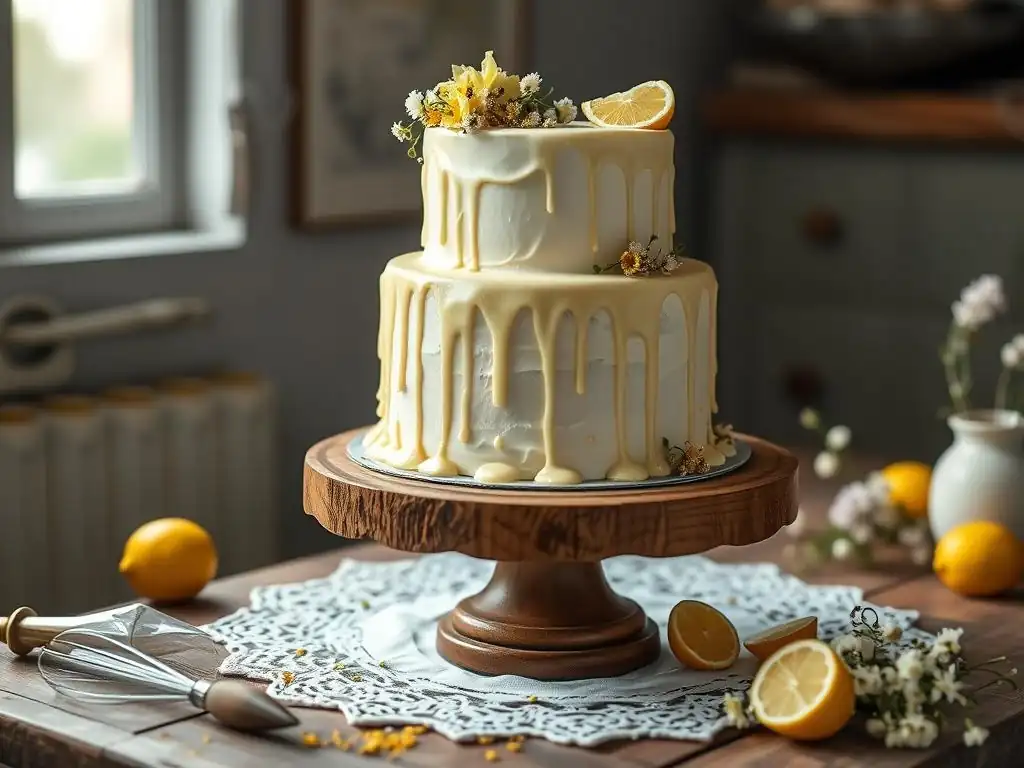
Welcome to BakeWithEase, your kitchen companion for turning baking dreams into delicious reality! Are you ready to create a show-stopping dessert that’s both stunning and suitable for dietary needs? Our latest recipe unveils the secrets to a GlutenFree Lemon Elderflower Drip Cake perfect for Mother's Day – or any special occasion. But what makes this cake truly exceptional? Keep reading to discover the simple steps and expert tips that will have everyone asking for seconds!
- Gluten-Free Raspberry Rose Cake with Pistachio Crumb: A BakeWithEase Recipe
- Introduction: The Perfect Gluten-Free Celebration Cake
- Understanding Gluten-Free Baking for Cakes
- Recipe: Gluten-Free Raspberry Rose Cake with Pistachio Crumb
- Variations and Customizations for Your Gluten-Free Cake
- Storing and Serving Your Gluten-Free Raspberry Rose Cake
- Conclusion: A Memorable Gluten-Free Treat
- Frequently Asked Questions
- Final Reflection: A Slice of Joy, a Taste of Connection
- Unleash Your Inner Baker: Make Mom's Day Unforgettable!
Gluten-Free Raspberry Rose Cake with Pistachio Crumb: A BakeWithEase Recipe
Introduction: The Perfect Gluten-Free Celebration Cake
Celebrate with a Delicious & Gluten-Free Raspberry Rose Cake
Celebrating special moments often involves delicious food, and cake holds a central place in festivities like birthdays, anniversaries, or simply gathering with loved ones. For those navigating dietary restrictions, specifically gluten intolerance or celiac disease, finding a truly spectacular cake can sometimes feel challenging. However, the world of gluten-free baking has blossomed, offering incredible options that rival their traditional counterparts in taste, texture, and appearance. This Gluten-Free Raspberry Rose Cake with Pistachio Crumb is designed to be just such a showstopper, proving that dietary needs don't mean compromising on celebration.
The demand for high-quality gluten-free baked goods has seen significant growth in recent years. Reports indicate the global gluten-free products market was valued at billions of U.S. dollars in recent years and is projected to continue expanding, showing a clear consumer desire for accessible and delicious options.
This surge reflects not only the increasing diagnosis of celiac disease but also a growing number of individuals choosing gluten-free diets for perceived health benefits. Creating recipes like this raspberry rose cake directly addresses this need, providing a reliable and delightful option for home bakers to confidently prepare for any celebratory occasion, ensuring everyone can partake in the joy of cake.
Why This Gluten-Free Raspberry Rose Cake is Perfect for Celebrations
This particular Gluten-Free Raspberry Rose Cake stands out for celebrations due to its sophisticated flavor profile and stunning visual appeal. The delicate floral notes of rose pair beautifully with the bright, slightly tart sweetness of raspberry, creating a combination that feels both elegant and refreshing. This is complemented by the earthy crunch of the pistachio crumb, adding a delightful textural contrast that elevates each bite. Unlike some simpler gluten-free cakes that can sometimes lack complexity, this recipe offers a multi-layered sensory experience perfect for making an occasion feel truly special.
Furthermore, the structure of this cake, designed for layering and frosting, makes it an ideal canvas for decoration, including the popular drip effect if desired (though this specific recipe focuses on a crumb topping). The combination of vibrant raspberry, soft pink frosting, and green pistachios is visually appealing and festive. Offering a homemade gluten-Free Raspberry Rose Cake shows thoughtfulness and care for guests with dietary needs, ensuring they feel included and catered for. It’s a testament to how far gluten-free baking has come, allowing complex, flavorful, and beautiful cakes to be enjoyed by everyone at the table.
Understanding Gluten-Free Baking for Cakes
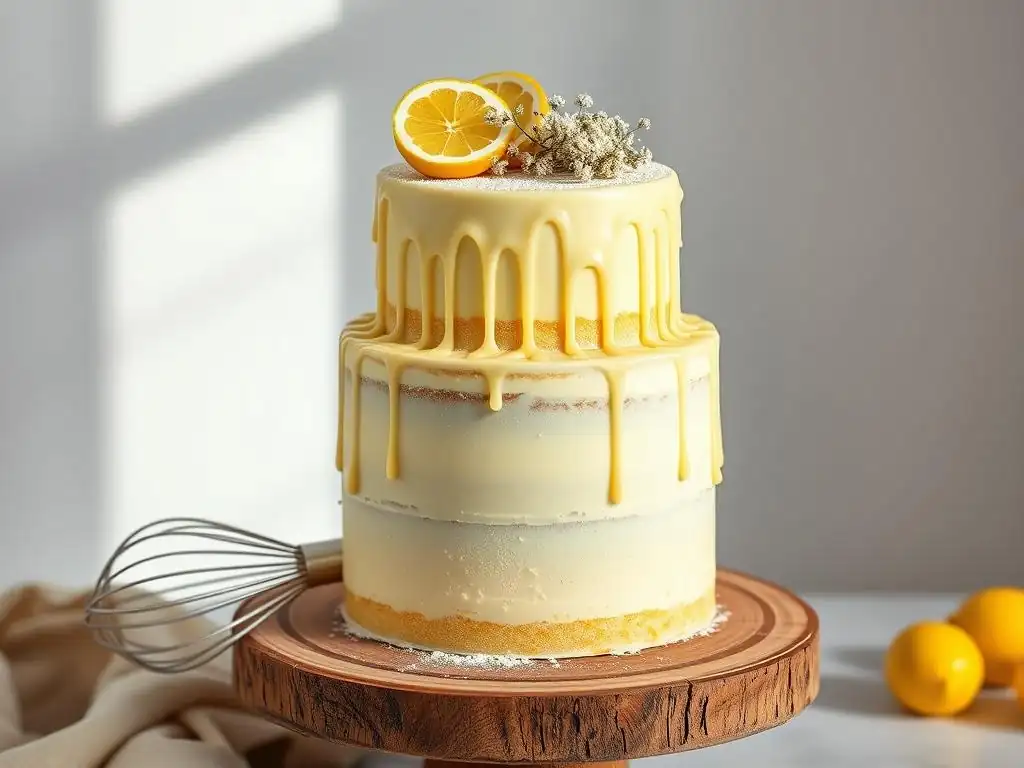
Key Ingredients for Gluten-Free Cake Success
Achieving a light, moist, and well-structured gluten-free cake depends heavily on the careful selection and balance of ingredients, particularly the flour blend. Unlike wheat flour, which contains gluten to provide structure and elasticity, gluten-free baking relies on a combination of flours and starches derived from grains like rice, corn, sorghum, and teff, as well as tubers like potato and tapioca.
A typical gluten-free all-purpose flour blend might contain approximately 60-70% rice flour (white and/or brown), 20-30% starch (tapioca, potato, or cornstarch), and 10-20% other flours (like sorghum or millet). Using a pre-mixed blend labeled "1-to-1" or "cup-for-cup" can simplify things, but understanding the components helps in troubleshooting.
Beyond the flour blend, binders are crucial in gluten-free cake recipes to mimic the function of gluten, holding the cake together and providing structure. Common binders include xanthan gum or psyllium husk powder. Xanthan gum is often used in small amounts, typically around 1/4 to 1/2 teaspoon per cup of gluten-free flour blend for cakes, though this can vary by recipe and blend.
It helps prevent crumbling and gives the cake a more cohesive crumb. Psyllium husk can also be used, sometimes requiring slightly more volume than xanthan gum and needing hydration first. Fats (like butter or oil), eggs, and liquids are also vital, often used in slightly different ratios compared to traditional baking to ensure adequate moisture and tenderness in the absence of gluten's binding properties.
Tips for Achieving the Perfect Gluten-Free Cake Texture
One of the most common challenges in gluten-free cake baking is achieving a moist, tender crumb rather than a dry, crumbly one. Proper hydration is key. Gluten-free flours tend to absorb more liquid and can result in a drier texture if the liquid content isn't adjusted. Ensure your batter has enough moisture, sometimes slightly more than a traditional recipe might call for, and avoid over-mixing, which can develop any residual protein and lead to a tougher texture. Gentle mixing until just combined after adding wet ingredients to dry is often recommended.
Baking time and temperature also play a critical role. Over-baking is a primary culprit for dry gluten-free cakes. Ovens can vary, so using an oven thermometer is a good practice.
Bake the cake at the specified temperature, typically around 350°F (175°C), and begin checking for doneness a few minutes before the minimum bake time indicated in the recipe. A cake is usually done when a toothpick inserted into the center comes out clean or with only a few moist crumbs attached. Allowing the cake layers to cool properly in the pan for a short period before transferring them to a wire rack can also help retain moisture, typically 10-15 minutes in the pan before a full transfer.
Recipe: Gluten-Free Raspberry Rose Cake with Pistachio Crumb
Ingredients List: Gluten-Free Raspberry Rose Cake
Gluten-Free Cake Base Ingredients
- 2 ½ cups (approx. 300g) gluten-free all-purpose flour blend (with xanthan gum)
- 1 ½ teaspoons baking powder
- ½ teaspoon baking soda
- ¼ teaspoon salt
- 1 ½ cups (300g) granulated sugar
- ½ cup (113g) unsalted butter, softened
- 2 large eggs, room temperature
- 1 teaspoon pure vanilla extract
- 1 cup (240ml) buttermilk or dairy-free alternative (e.g., plant-based milk mixed with 1 tbsp lemon juice or vinegar)
- ½ cup (120ml) vegetable oil
Raspberry Rose Syrup Ingredients
- ½ cup (120ml) water
- ½ cup (100g) granulated sugar
- ½ cup (approx. 60g) fresh or frozen raspberries
- ½ teaspoon rose water (adjust to taste)
Rose Buttercream Frosting Ingredients
- 1 cup (226g) unsalted butter, softened
- 4 cups (approx. 480g) powdered sugar, sifted
- ¼ cup (60ml) milk or dairy-free alternative
- 1 teaspoon pure vanilla extract
- ½ - 1 teaspoon rose water (adjust to taste)
- Pink food coloring (optional)
Pistachio Crumb Topping Ingredients
- ½ cup (approx. 60g) shelled pistachios, roughly chopped
- 1 tablespoon granulated sugar
- 1 tablespoon gluten-free flour blend
- 1 tablespoon cold unsalted butter, cut into small pieces
Step-by-Step Instructions: Baking Your Gluten-Free Masterpiece
Part 1: Preparing the Gluten-Free Raspberry Rose Cake Layers
Mixing the Gluten-Free Cake Batter
Preheat your oven to 350°F (175°C). Grease and flour two 8-inch round cake pans with gluten-free flour. In a medium bowl, whisk together the gluten-free flour blend, baking powder, baking soda, and salt. Set aside. In a large bowl, cream together the softened butter and granulated sugar until light and fluffy, typically for 3-5 minutes using an electric mixer. Beat in the eggs one at a time, ensuring each is fully incorporated before adding the next. Stir in the vanilla extract.
In a separate small bowl, whisk together the buttermilk and vegetable oil. Gradually add the dry ingredients to the wet ingredients, alternating with the buttermilk mixture, beginning and ending with the dry ingredients. Mix on low speed just until combined and no dry streaks remain. Be careful not to overmix. The batter should be smooth but not overworked.
Baking the Gluten-Free Cake Layers
Divide the batter evenly between the two prepared cake pans. Smooth the tops with a spatula. Bake in the preheated oven for 30-35 minutes, or until a toothpick inserted into the center of each cake comes out clean. Baking times can vary slightly depending on your oven and the specific gluten-free flour blend used; checking around the 30-minute mark is recommended.
Once baked, remove the cakes from the oven and let them cool in their pans on a wire rack for about 15 minutes. This allows the cakes to set slightly, reducing the risk of breaking when you remove them. After 15 minutes, carefully invert the cakes onto the wire rack to cool completely. Ensure the cakes are entirely cool before attempting to frost them, which usually takes at least an hour.
Part 2: Making the Raspberry Rose Syrup
Infusing the Cake with Flavor
While the cakes are cooling, prepare the raspberry rose syrup. In a small saucepan, combine the water, sugar, and raspberries. Bring the mixture to a simmer over medium heat, stirring occasionally until the sugar dissolves and the raspberries break down, about 5-7 minutes. Remove from heat and let the mixture steep for about 10-15 minutes to allow the raspberry flavor to infuse.
Strain the syrup through a fine-mesh sieve into a small bowl, pressing gently on the solids to extract as much liquid as possible. Discard the solids. Stir the rose water into the warm syrup. The amount of rose water can be adjusted based on your preference; start with ½ teaspoon and add more a drop at a time if you desire a stronger floral note.
Once the cake layers are completely cool, use a skewer or toothpick to poke small holes evenly across the top of each layer. Gently brush or spoon the warm raspberry rose syrup over the top of both cake layers, allowing it to soak in. This step adds significant moisture and flavor, preventing the common issue of dry gluten-free cakes.
Part 3: Whipping Up the Rose Buttercream Frosting
Achieving the Perfect Buttercream Consistency
To make the rose buttercream frosting, ensure your softened butter is truly soft but not melted. In a large bowl, beat the softened butter with an electric mixer on medium speed until creamy and smooth, about 2-3 minutes. Gradually add the sifted powdered sugar, one cup at a time, mixing on low speed until just combined before increasing the speed to medium. Scrape down the sides of the bowl as needed.
Once all the powdered sugar is incorporated, the mixture will be quite thick. Gradually add the milk (or dairy-free alternative), vanilla extract, and rose water. Beat on medium-high speed for 3-5 minutes until the frosting is light, fluffy, and spreadable. Add a few drops of pink food coloring if desired to achieve a lovely rose hue. If the frosting is too thick, add a tiny bit more milk; if too thin, add a little more sifted powdered sugar. The goal is a smooth, pipeable, yet stable consistency perfect for frosting layers and decorating.
Part 4: Assembling the Gluten-Free Raspberry Rose Cake
Layering and Frosting the Cake
Once the cake layers have completely cooled and absorbed the syrup, and the frosting is ready, it's time to assemble your masterpiece. Place one cake layer on your serving plate or cake stand. If your layers baked with a slight dome, you can gently level them with a serrated knife for a flatter surface, though this is optional. Apply a generous layer of rose buttercream frosting on top of the first layer, spreading it evenly to the edges.
Carefully place the second cake layer on top of the first, aligning the edges. Apply a thin "crumb coat" of frosting all over the top and sides of the cake. This thin layer traps any loose crumbs. Refrigerate the cake for about 20-30 minutes to allow the crumb coat to firm up. Once chilled, apply the remaining frosting, using an offset spatula to create a smooth finish or decorative swirls as desired.
Part 5: Creating the Pistachio Crumb Topping
Achieving the Perfect Crumb Texture
While the assembled cake is chilling, prepare the pistachio crumb topping. In a small bowl, combine the roughly chopped pistachios, granulated sugar, and gluten-free flour blend. Add the cold butter pieces. Use your fingers or a pastry blender to cut the butter into the dry ingredients until the mixture resembles coarse crumbs. Avoid overworking the mixture; you want distinct crumbs, not a paste.
Spread the crumb mixture onto a small baking sheet lined with parchment paper. Bake in the preheated oven (or a toaster oven) at 350°F (175°C) for about 8-10 minutes, or until the crumbs are lightly golden brown and fragrant. Watch carefully, as nuts can burn quickly. Remove from the oven and let the crumb topping cool completely on the baking sheet. As it cools, it will become crispier. Once cooled, gently break apart any larger clusters.
BakeWithEase Pro Tip: Preventing Gluten-Free Cakes from Drying Out
One of the most frequent issues encountered in gluten-free baking is the tendency for cakes to dry out much faster than their wheat-based counterparts. This is primarily because gluten provides structure and helps retain moisture. Without it, moisture evaporates more readily during baking and cooling.
A key strategy to combat this is incorporating additional moisture sources into the batter and after baking. Using fats like oil (which stays liquid at room temperature and coats flour particles better than solid butter) or adding ingredients like applesauce, yogurt (if not dairy-free), or even a little sour cream can significantly improve moisture content and tenderness. For instance, replacing a portion of the butter with oil in this recipe contributes to a moister crumb.
Beyond batter composition, applying a simple syrup or flavored syrup, like the raspberry rose syrup in this recipe, is a highly effective technique. Brushing or spooning syrup over the warm or cooled cake layers allows the liquid to soak into the crumb, adding flavor while simultaneously preventing dryness. This method is a baker's secret weapon for ensuring gluten-free cakes remain deliciously moist for longer, often adding an extra layer of flavor complexity that complements the cake's profile. Storing the finished cake properly, as discussed later, also plays a vital role in maintaining moisture.
Variations and Customizations for Your Gluten-Free Cake
Adding Fresh Raspberries or Other Berries
Incorporating fresh fruit directly into the cake batter can add bursts of flavor and moisture, creating a delightful contrast to the cake's texture. For this Gluten-Free Raspberry Rose Cake, you could gently fold a cup of fresh raspberries into the batter just before dividing it into the pans.
It's often recommended to toss the berries in a tablespoon of gluten-free flour blend first; this helps prevent them from sinking to the bottom during baking. The heat of the oven will soften the raspberries, releasing their juices and infusing the cake with bright, tangy notes that pair wonderfully with the rose.
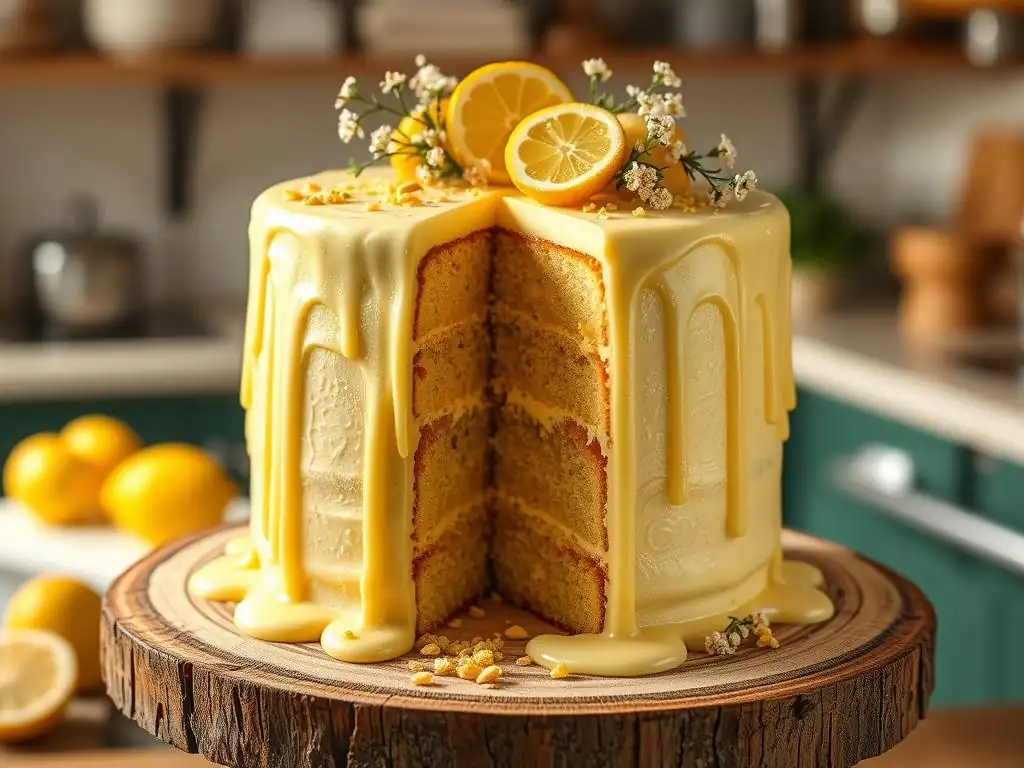
Alternatively, consider adding other berries that complement the rose flavor profile. Fresh strawberries, blueberries, or a mix of berries could work beautifully. For instance, a glutenfree lemon elderflower drip cake often features berries like raspberries or blueberries, demonstrating how well fruit integrates into delicate, floral-flavored gluten-free cakes. Using different berries will subtly change the flavor profile; blueberries offer a milder, sweeter note, while strawberries add a classic pairing with rose. Ensure the berries are washed and dried thoroughly before adding them to the batter to avoid introducing excess moisture that could affect the cake's structure.
Adjusting the Raspberry and Rose Flavors
The intensity of both the raspberry and rose flavors in this cake can be easily adjusted to suit personal preference. For a more pronounced raspberry flavor, you could increase the amount of raspberries used in the syrup or even add a tablespoon or two of raspberry puree to the cake batter itself. Using a high-quality raspberry extract in addition to the syrup could also boost the fruit notes, though be mindful that extracts are potent and should be used sparingly, perhaps starting with just half a teaspoon.
Similarly, the rose flavor can be adjusted by varying the amount of rose water in both the syrup and the buttercream. Rose water intensity can differ between brands, so it's best to add it gradually, tasting as you go, until you reach your desired level – from a subtle hint to a more distinct floral presence.
Using a small amount of rose extract is another option for a stronger flavor, but like raspberry extract, it should be used cautiously. Experimenting with these ratios allows you to tailor the cake perfectly, whether you prefer the delicate background note found in many glutenfree lemon elderflower drip cake recipes or a bolder floral statement.
Making it Dairy-Free: A Gluten-Free and Dairy-Free Option
Adapting this recipe to be both gluten-free and dairy-free is quite straightforward, making it accessible for guests with multiple dietary needs. The primary dairy components are butter and buttermilk in the cake batter and butter and milk in the frosting. For the cake, swap the unsalted butter for a good quality plant-based butter stick designed for baking.
Ensure it's softened to the correct consistency. Replace the buttermilk with a dairy-free alternative, such as almond milk, soy milk, or oat milk, mixed with one tablespoon of lemon juice or apple cider vinegar and left to sit for 5-10 minutes until it curdles slightly, mimicking the acidity of buttermilk.
For the rose buttercream frosting, use plant-based butter sticks again as the base. Replace the milk with any unsweetened dairy-free milk alternative. The consistency might vary slightly depending on the brand of plant-based butter and milk used, so you may need to adjust the amount of powdered sugar or liquid slightly to achieve the perfect spreadable consistency. Many vegan butter brands now perform very similarly to dairy butter in frostings, allowing for a smooth, fluffy texture and stable structure, ensuring your gluten-free and dairy-free raspberry rose cake is just as delicious and beautiful as the original version.
Storing and Serving Your Gluten-Free Raspberry Rose Cake
Best Practices for Keeping Your Cake Fresh
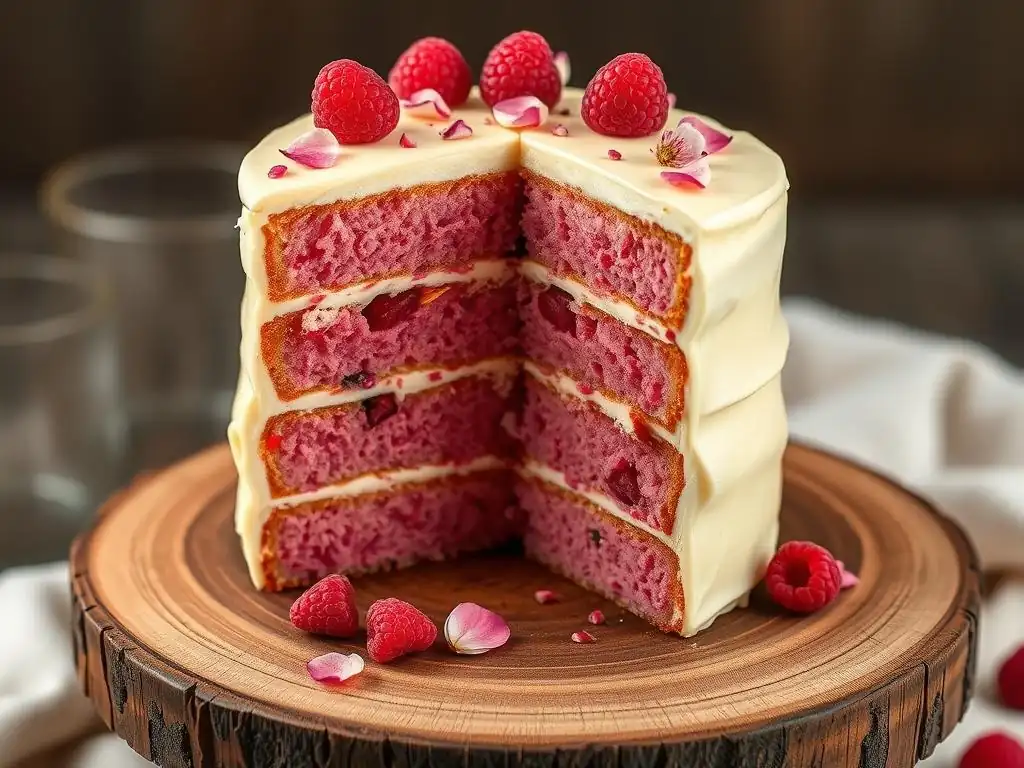
Proper storage is crucial for maintaining the moisture and flavor of any cake, and it's particularly important for gluten-free cakes, which can dry out more quickly than those made with wheat flour. Once the Gluten-Free Raspberry Rose Cake is fully assembled and frosted, the best way to keep it fresh is to store it in an airtight container. If you don't have a container large enough, cover the cake stand or plate securely with plastic wrap, ensuring the wrap doesn't touch the frosting too much.
At room temperature, a frosted gluten-free cake will typically stay fresh for about 1-2 days. For longer storage, refrigerate the cake. When stored in an airtight container in the refrigerator, it can last for up to 5-7 days. To prevent the frosting from absorbing odors from the fridge, double-wrap it or use a very secure container. Before serving a refrigerated cake, it's best to let it sit at room temperature for 30-60 minutes to allow the frosting and cake layers to soften slightly, improving the texture and bringing out the full flavors.
Serving Suggestions for the Perfect Dessert
Serving your Gluten-Free Raspberry Rose Cake with Pistachio Crumb is the final step in presenting this delightful dessert. For the cleanest slices, use a sharp knife dipped in hot water and wiped clean between cuts. This helps prevent the frosting from sticking and tearing. The cake is lovely on its own, but a few simple accompaniments can elevate the serving experience.
Consider serving slices with a dollop of fresh whipped cream or a scoop of vanilla bean ice cream. A few fresh raspberries or a sprinkle of additional chopped pistachios on the plate can add extra visual appeal and reinforce the flavors within the cake. A light drizzle of extra raspberry rose syrup or a coulis made from pureed raspberries could also be a beautiful and tasty addition. Whether served simply or with elegant garnishes, this Gluten-Free Raspberry Rose Cake is sure to be a memorable and much-appreciated dessert at any gathering.
Conclusion: A Memorable Gluten-Free Treat
Creating this Gluten-Free Raspberry Rose Cake with Pistachio Crumb is a rewarding experience, resulting in a cake that is not only safe for those with gluten sensitivities but is genuinely delicious for everyone. It challenges the old notion that gluten-free baking is somehow inferior, demonstrating that with careful ingredient selection and technique, you can achieve cakes that are moist, flavorful, and beautiful enough for any celebration. From the tender, syrup-infused layers to the delicate rose buttercream and crunchy pistachio topping, every component works together to create a truly special dessert.
We love seeing what you bake! If you make this Gluten-Free Raspberry Rose Cake or any other glutenfree lemon elderflower drip cake or gluten-free creation inspired by BakeWithEase, we encourage you to share your results. Baking is a journey, and seeing your successful bakes and hearing about your experiences is incredibly rewarding for us and inspiring for the entire community. Sharing your photos and feedback helps others on their gluten-free baking path and celebrates the joy of creating delicious treats that everyone can enjoy. Happy baking!
Frequently Asked Questions
What makes this cake suitable for Mother's Day?
This Gluten-Free Lemon Elderflower Drip Cake is perfect for Mother's Day due to its delicate flavor profile, elegant presentation, and the fact that it's gluten-free, catering to those with dietary restrictions, making it a thoughtful and inclusive treat.
Is this cake recipe difficult for beginner bakers?
While the cake looks impressive, BakeWithEase provides step-by-step instructions and focuses on easy-to-find ingredients, making it manageable for bakers of all levels, including beginners.
What makes this cake Gluten-Free?
The recipe utilizes gluten-free flour blends instead of traditional wheat flour, ensuring the cake is safe and enjoyable for individuals with gluten sensitivities or celiac disease.
Can I substitute the elderflower liqueur or syrup?
Yes, you can substitute the elderflower liqueur or syrup with lemon extract or juice for a similar citrusy flavor, although the elderflower's unique taste will be missed.
Where can I find the complete recipe for this cake?
The complete recipe for the Mother’s Day Gluten-Free Lemon Elderflower Drip Cake can be found on BakeWithEase.com, your go-to resource for baking recipes and tips.
Final Reflection: A Slice of Joy, a Taste of Connection
The simple act of baking, especially a celebratory cake like this gluten-free lemon elderflower drip cake, transcends mere culinary creation; it becomes a powerful symbol of love, connection, and shared moments. This recipe, designed for those with dietary restrictions, proves that deliciousness and inclusivity can coexist beautifully. The vibrant flavors and elegant presentation offer a delightful experience for everyone, regardless of dietary needs.
Creating this cake wasn't just about following a recipe; it was about reconnecting with the heart of what Mother's Day represents. It's about celebrating the women who nurture and support us, and finding ways to show our appreciation in meaningful ways. The process itself—from carefully measuring ingredients to the satisfying drip of the glaze—became a meditative practice, a way to honor the quiet moments of connection that are often overlooked. The best things in life are the people we love, the places we've been, and the memories we've made along the way.
This sentiment perfectly encapsulates the spirit behind this recipe and the celebration it embodies.
This Mother's Day, and every day, I encourage you to consider the power of shared experiences. Whether it's baking a cake, sharing a meal, or simply spending quality time together, find ways to nurture the relationships that matter most. Don't be afraid to experiment in the kitchen, to adapt recipes to suit your needs and preferences, and to create memories that will last a lifetime. Let the sweet taste of this gluten-free lemon elderflower drip cake be a reminder of the joy found in connection and the beauty of simple celebrations.
Unleash Your Inner Baker: Make Mom's Day Unforgettable!
Thanks for joining us on this delicious journey! We hope you've gained the confidence to tackle this stunning Gluten-Free Lemon Elderflower Drip Cake. Now, it's time to put your newfound skills to the test!
- Bake the cake this weekend: Surprise Mom with a homemade treat she'll adore. This recipe is easier than you think!
- Share your creation: Post a picture of your masterpiece on social media and tag us @BakeWithEase – we'd love to see it!
- Explore our other gluten-free recipes: Discover more delicious and allergy-friendly bakes on our website for future baking adventures. (bakewithease.com - This part would be removed before final implementation)
Ready to create a Mother's Day memory she'll cherish? What's your favorite part of the baking process?