
Advanced Flour Blends: Creating Your Signature Pizza Crust

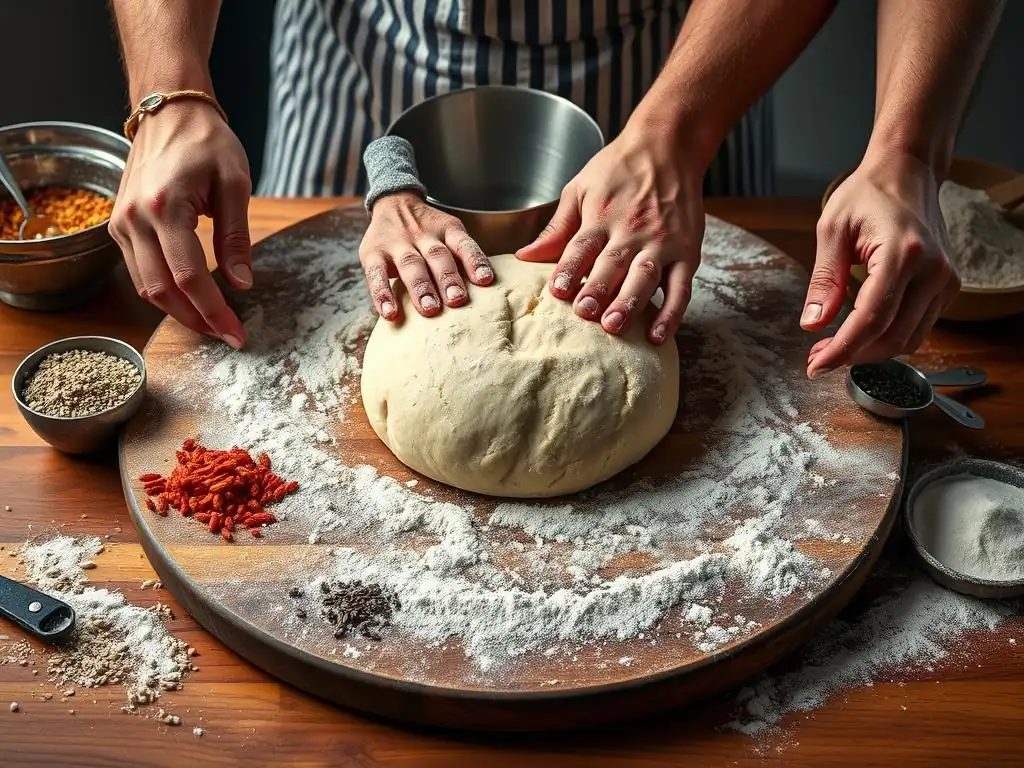
Welcome to BakeWithEase, your kitchen companion for unlocking baking brilliance! Ready to elevate your pizza game? This week, we're diving deep into the art of perfecting your signature pizza crust flour. Discover the secrets to crafting the ideal blend, and prepare to create a crust that's uniquely yours. Intrigued? Let's get started!
- Advanced Flour Blends: Creating Your Signature Pizza Crust - BakeWithEase
- Introduction: Elevate Your Pizza Dough with Flour Blends
- Understanding Pizza Flour Basics: Key Ingredients and Their Roles
- Exploring Advanced Flour Blends for Pizza Crust Perfection
-
Crafting Your Signature Pizza Crust Flour Blend: A Step-by-Step Guide
- Step 1: Defining Your Ideal Pizza Crust Characteristics (Texture, Flavor, Color)
- Step 2: Selecting the Right Flour Components for Your Blend
- Step 3: Experimenting with Flour Ratios: A Practical Approach
- Step 4: Documenting Your Flour Blend Recipes and Results
- Step 5: Adjusting and Refining Your Blend for Consistent Results
- Advanced Techniques for Working with Flour Blends
-
Troubleshooting Common Issues with Flour Blends in Pizza Dough
- Dough Too Sticky: Adjusting Hydration and Flour Ratios
- Dough Too Dense: Improving Gluten Development and Proofing
- Crust Lacks Flavor: Enhancing Flavor with Specific Flour Combinations
- Uneven Baking: Optimizing Oven Temperature and Baking Time
- Dough Tears Easily: Balancing Gluten Strength and Relaxation
- Examples of Successful Signature Pizza Crust Flour Blends
- Storing Your Flour Blends for Optimal Freshness
- Conclusion: Mastering Flour Blends for Unforgettable Pizza
-
Frequently Asked Questions
- What makes flour blends superior to using a single type of flour for pizza crust?
- How does protein content in flour impact the final pizza crust?
- What are some common flours used in pizza crust blends, and what properties do they contribute?
- Where can I find specialty flours like "00" flour, and is it necessary for a truly authentic pizza crust?
- How do I adjust my recipe when experimenting with different flour blends for my pizza crust?
- Final Reflection: The Alchemy of Flour and the Perfect Crust
- Unleash Your Inner Pizzaiolo: Craft the Perfect Crust!
Advanced Flour Blends: Creating Your Signature Pizza Crust - BakeWithEase
Introduction: Elevate Your Pizza Dough with Flour Blends
Why Experiment with Flour Blends for Pizza Crust?
Venturing beyond a single type of flour opens up a world of possibilities for your pizza crust. Different flours possess unique characteristics in terms of protein content, starch composition, and flavor profile, all of which directly impact the final texture, rise, and taste of your dough. By carefully combining these flours, you gain precise control over elements like crispness, chewiness, aroma, and even the color of the crust, moving you closer to perfecting signature pizza crust flour that is uniquely yours.
Experimenting with flour blends allows bakers to tailor their dough to specific cooking methods or desired outcomes. For instance, a blend designed for a screaming hot pizza oven might prioritize flours that crisp up quickly, while a blend for a home oven might focus on achieving a good rise at slightly lower temperatures. This level of customization is key to perfecting signature pizza crust flour, enabling you to consistently produce a crust that stands out and perfectly complements your toppings.
The Journey to a Signature Pizza Crust: Beyond Basic Flour
Creating a signature pizza crust goes far beyond simply following a standard recipe; it involves a deep understanding of ingredients and technique. While basic recipes often call for just one type of flour, such as all-purpose or bread flour, mastering flour blends is the next step in elevating your pizza game. This journey requires curiosity, patience, and a willingness to experiment with different ratios and types of grain.
Perfecting signature pizza crust flour involves understanding how different components interact – how adding a percentage of whole wheat impacts hydration and fermentation, or how semola contributes to a rustic texture. It's about learning to predict and control these variables to achieve a consistent and superior result every time you bake, transforming your home kitchen into a true pizzeria laboratory.
Understanding Pizza Flour Basics: Key Ingredients and Their Roles
The Importance of Gluten Development in Pizza Dough
Gluten, a protein network formed when water is added to flour and kneaded, is absolutely critical for the structure of pizza dough. It provides the elasticity that allows the dough to be stretched thinly without tearing and the strength to trap gases produced during fermentation, resulting in a light and airy crust with a good rise. The amount and quality of gluten vary significantly between different flour types.
Flours with high protein content, typically above 12%, develop strong gluten networks ideal for chewy crusts, like those found in New York-style pizza. Flours with lower protein, around 10-11%, develop weaker gluten, often preferred for more tender crusts or specific techniques. Understanding this relationship is fundamental to perfecting signature pizza crust flour, as the protein content of your blend directly dictates the dough's handling characteristics and final texture.
Common Pizza Flour Types: 00 Flour, Bread Flour, and All-Purpose Flour
00 Flour: This Italian-milled flour is finely ground and often has a moderate to high protein content (typically 10-12.5%). Its fine texture absorbs liquid quickly and contributes to a smooth dough and a tender, often crispy crust, especially when baked at high temperatures. It's a staple for Neapolitan-style pizza.
Bread Flour: With a higher protein content (usually 12-14%), bread flour develops a strong, elastic gluten network. This is excellent for creating chewy crusts with a significant rise. It's a popular choice for New York-style pizza and is a versatile base for many flour blends aimed at perfecting signature pizza crust flour.
All-Purpose Flour: A general-use flour with a moderate protein content (around 10-12%), all-purpose flour is less specialized but widely available. It can produce a decent crust, though it may lack the specific characteristics achievable with dedicated pizza flours or blends. It serves as a good starting point for beginners before exploring more advanced flour options.
Assessing Flour Quality: Protein Content, Ash Content, and Gluten Strength
Protein content is the most commonly referenced metric, directly correlating to gluten potential. Higher protein means more potential for gluten development and a chewier crust. Ash content, a measure of the mineral content remaining after burning a flour sample, indicates how much of the outer bran layer was included in the milling process. Lower ash content (like in refined 00 flour) typically results in a whiter crumb, while higher ash content (common in whole wheat or less refined flours) contributes more flavor and color.
Gluten strength is not just about the quantity of protein but also its quality. Some flours have proteins that form stronger, more extensible gluten networks than others. This strength affects how well the dough stretches and holds its shape during proofing and baking. Factors like flour freshness and proper storage also play a role in maintaining optimal gluten potential, essential when perfecting signature pizza crust flour blends.
Exploring Advanced Flour Blends for Pizza Crust Perfection
Combining Different Flours for Enhanced Texture and Flavor
Blending flours allows you to combine the desirable traits of each type, creating a synergy that a single flour cannot achieve. For example, you might combine the fine texture and crisping ability of 00 flour with the chewiness and rise of bread flour to get a crust that's both tender inside and crisp outside. This strategic mixing is at the heart of perfecting signature pizza crust flour.
Beyond texture, different flours bring unique flavors. Whole wheat adds nuttiness, spelt offers a subtle sweetness, and rye contributes tang. By incorporating these in varying percentages, you can build layers of flavor into your crust, making it a more integral part of the overall pizza experience rather than just a vehicle for toppings.
Semola Rimacinata: Adding Crunch and Nutty Flavor to Your Pizza
Semola rimacinata is a twice-milled durum wheat flour commonly used in pasta making, but it also has a fantastic application in pizza dough blends. Its granular texture is coarser than typical wheat flour, and it imparts a slightly nutty flavor and a wonderful, rustic crunch to the crust's exterior, particularly the rim.
Incorporating semola rimacinata into your blend, perhaps at 10-20% of the total flour weight, can dramatically improve the texture of your crust. It helps create a more open crumb structure and gives the dough a beautiful golden hue. This addition is a popular technique among those focused on perfecting signature pizza crust flour with unique textural elements.
Whole Wheat Flour: Achieving a Rustic and Earthy Pizza Crust
Adding whole wheat flour to your pizza blend introduces fiber, nutrients, and a distinct earthy, slightly nutty flavor. It results in a denser crumb and a browner crust compared to dough made solely with white flour. While 100% whole wheat pizza can be heavy, blending it with white flour allows you to capture its flavor and nutritional benefits without sacrificing too much lightness.
A common starting point for whole wheat in a pizza blend is 15-30%. Be aware that whole wheat flour absorbs more water than white flour, so you may need to increase your dough's hydration slightly when incorporating it. This adjustment is crucial when perfecting signature pizza crust flour that includes whole grains.
Spelt Flour: Adding a Slightly Sweet and Nutty Flavor
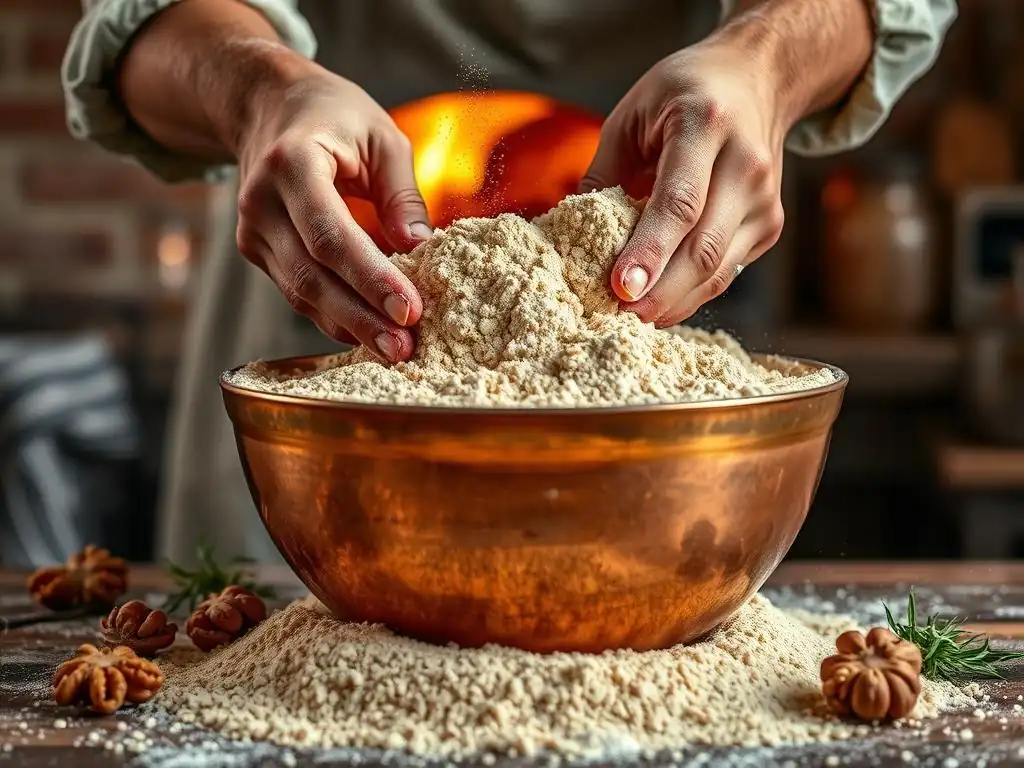
Spelt is an ancient grain with a unique protein structure that makes it more easily digestible for some people. When used in pizza dough, it imparts a pleasant, slightly sweet, and nutty flavor profile. Spelt gluten is weaker than modern wheat gluten, so using 100% spelt can result in a less elastic dough.
Blending spelt flour with strong bread flour or 00 flour is an excellent way to introduce its desirable flavor and nutritional qualities while maintaining dough structure. A blend containing 10-25% spelt can add complexity and tenderness to your crust, contributing significantly to perfecting signature pizza crust flour with a touch of ancient grain character.
Rye Flour: Contributing a Tangy and Complex Flavor Profile
Rye flour is known for its distinctive tangy and slightly sour flavor, especially when used in sourdough applications. It has a different gluten structure than wheat, containing pentosans that contribute to stickiness. Like spelt, 100% rye dough can be dense and difficult to work with for pizza.
Incorporating a small percentage of rye flour, perhaps 5-10%, into a wheat flour blend can add subtle depth and complexity to the crust's flavor. This is particularly effective for sourdough pizza crusts, where the rye complements the natural tang of the starter. Using rye is an advanced step in perfecting signature pizza crust flour for those seeking truly unique taste profiles.
Crafting Your Signature Pizza Crust Flour Blend: A Step-by-Step Guide
Step 1: Defining Your Ideal Pizza Crust Characteristics (Texture, Flavor, Color)
Before you start mixing, envision the perfect crust. Do you want it super crispy, light and airy, or chewy? What kind of flavor profile are you aiming for – classic, nutty, or tangy? What color should the crust be? Jot down these characteristics.
This initial step is crucial for guiding your flour selection and ratios. For example, if you want a very airy, light crust that blisters beautifully at high heat, you'll lean heavily on finely milled, moderate-protein flours. If chewiness and a rustic flavor are key, higher protein bread flour and some whole grains will be essential components in perfecting signature pizza crust flour.
Step 2: Selecting the Right Flour Components for Your Blend
Based on the characteristics defined in Step 1, choose the flours that possess those traits. Refer back to the descriptions of 00, bread, semola, whole wheat, spelt, and rye flours. Consider their protein content, texture, and flavor contributions.
For instance, to achieve a balance of crispness and chewiness with some visual appeal, you might select 00 flour, bread flour, and a touch of semola rimacinata. If a rustic, flavorful crust is the goal, a combination of bread flour, whole wheat, and perhaps a hint of spelt could be your choice for perfecting signature pizza crust flour.
Step 3: Experimenting with Flour Ratios: A Practical Approach
This is where the real fun begins! Start with small batches, perhaps enough for just one or two pizzas. Begin with simple two-flour blends (e.g., 70% bread flour, 30% 00 flour) and adjust from there. Once you're comfortable, introduce a third flour at a small percentage (e.g., 60% bread, 30% 00, 10% semola).
- Start with a base flour (like bread or 00) making up the majority (60-80%).
- Add secondary flours (like 00, semola, whole wheat) in significant percentages (15-30%).
- Introduce tertiary flours (like spelt, rye) in smaller percentages (5-10%) for flavor nuances.
Example Starting Ratios:

- Crispy/Chewy Blend: 65% Bread Flour, 30% 00 Flour, 5% Semola Rimacinata
- Rustic/Flavorful Blend: 75% Bread Flour, 15% Whole Wheat, 10% Spelt Flour
Remember that hydration will need to be adjusted for each blend. Whole wheat and semola typically require more water than white flours. This iterative process of adjusting ratios is key to perfecting signature pizza crust flour.
Step 4: Documenting Your Flour Blend Recipes and Results
Keep detailed notes! For each experiment, record:
- The exact percentage or weight of each flour used.
- The total flour weight.
- The hydration percentage (water weight divided by total flour weight).
- Salt, yeast/starter, and any other ingredients used.
- Mixing, kneading, and proofing times/temperatures.
- Baking temperature and time.
- Observations on dough handling (sticky? elastic? strong? ).
- Observations on the baked crust (crispness, chewiness, flavor, color, rise).
- [ ] Date:
- [ ] Blend Name: [e.g., "Blend A - First Try"]
- [ ] Flour 1: [Type] - [Weight/Percentage]
- [ ] Flour 2: [Type] - [Weight/Percentage]
- [ ] Flour 3: [Type] - [Weight/Percentage]
- [ ] Total Flour: [Weight]g
- [ ] Hydration: [Percentage]% ([Water Weight]g)
- [ ] Yeast/Starter: [Amount]
- [ ] Salt: [Amount]
- [ ] Notes on Mixing/Kneading:
- [ ] Notes on Proofing:
- [ ] Baking Details: [Temp]°F/[Temp]°C, [Time] min
- [ ] Crust Evaluation: [Crispness], [Chewiness], [Flavor Notes], [Color], [Rise]
- [ ] Overall Impression:
This documentation is invaluable for tracking your progress and replicating successful blends, truly aiding in perfecting signature pizza crust flour.
Step 5: Adjusting and Refining Your Blend for Consistent Results
Based on your notes from Step 4, identify what worked and what didn't. Was the crust not crispy enough? Increase the 00 or semola. Was it too dense? Reduce the whole wheat or increase hydration slightly. Lacking flavor? Try adding a small percentage of rye or spelt.
Refine your ratios incrementally, perhaps changing one flour percentage by 5-10% at a time. Repeat the baking process and document the results again. Continue this iterative process until you consistently achieve the ideal crust characteristics you defined in Step 1. This dedication to refinement is the final step in truly perfecting signature pizza crust flour.
Advanced Techniques for Working with Flour Blends
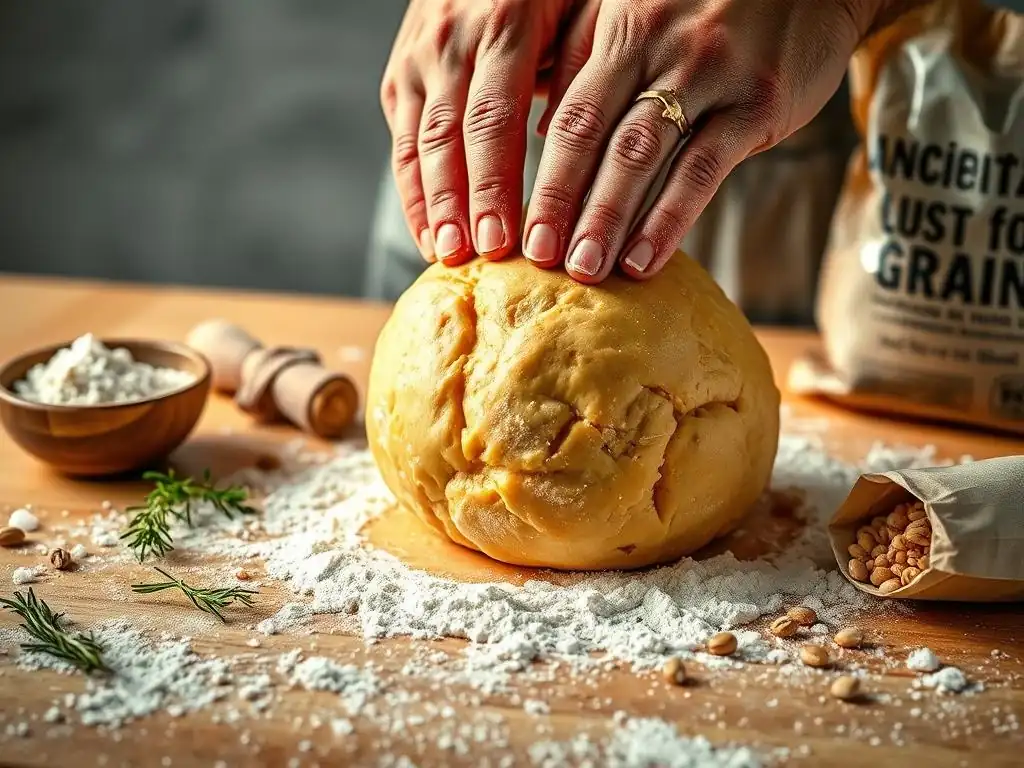
Hydration Levels: Adapting to Different Flour Blends
Flour blends often require different hydration levels compared to single-flour doughs. Flours like whole wheat, spelt, and semola typically absorb more water than refined white flours like 00 or standard bread flour due to their higher fiber and protein content. A blend containing a significant percentage of these flours will likely need a higher hydration percentage to achieve a workable dough consistency.
Start with a hydration level you'd typically use for your base flour (e.g., 60-65% for bread flour). If your blend includes higher-absorption flours, increase the hydration gradually by 2-5% in subsequent tests until the dough feels right – hydrated but not overly sticky, able to form a windowpane test. Perfecting signature pizza crust flour involves understanding how your specific blend interacts with water.
Kneading Techniques: Optimizing Gluten Development for Mixed Flours
The optimal kneading time and technique can vary depending on the flours in your blend. Blends with a high percentage of strong bread flour will require thorough kneading (either by hand or machine) to develop robust gluten. However, blends containing weaker flours like spelt or rye, or those with semola, might benefit from gentler handling or shorter kneading times followed by rest periods (autolyse or stretch-and-folds).
For blends with weaker or non-wheat flours, techniques like the autolyse (mixing flour and water and letting it rest before adding salt and yeast) can help kickstart gluten development and improve dough handling. Incorporating stretch-and-folds during bulk fermentation can also build strength without the need for intensive kneading. Experimenting with these techniques alongside your blend is key to perfecting signature pizza crust flour's texture.
Proofing and Fermentation: Tailoring to Your Flour Blend's Characteristics
Different flour blends can ferment at different rates and behave uniquely during proofing. Flours with higher ash content or the presence of bran can sometimes accelerate fermentation slightly. The gluten structure developed by your blend will also affect how well the dough holds its shape during proofing.
Observe your dough closely. Does it rise quickly or slowly? Does it hold tension well or spread out? Adjust proofing times and temperatures accordingly. Colder fermentation (like a long overnight proof in the refrigerator) often works well with blends, developing complex flavors. Pay attention to the dough's feel and appearance rather than strictly adhering to time limits, as this adaptability is vital for perfecting signature pizza crust flour.
Baking Temperatures and Times: Achieving the Perfect Crust Color and Texture
The composition of your flour blend influences how the crust browns and crisps in the oven. Flours with higher sugar content or higher ash content tend to brown faster. Blends with semola can develop a particularly nice golden color and crisp exterior.
High temperatures (450°F - 550°F / 230°C - 290°C or even higher on a pizza steel or stone) are generally ideal for most pizza crusts, cooking them quickly and promoting oven spring. However, you might need to slightly adjust baking time or position in the oven based on how quickly your specific blend achieves the desired color and crispness. Documenting these baking outcomes is the final step in perfecting signature pizza crust flour through practical application.
Troubleshooting Common Issues with Flour Blends in Pizza Dough
Dough Too Sticky: Adjusting Hydration and Flour Ratios
If your dough feels excessively sticky and difficult to handle after mixing and initial kneading, it's likely over-hydrated for your specific flour blend. Some flours absorb water differently, and your initial hydration guess might be off.
To fix this, gradually add small amounts of your flour blend (a tablespoon at a time) during the final stages of kneading until the dough reaches a manageable consistency. For future batches using the same blend, reduce the initial hydration percentage by 2-3% and test again. This fine-tuning is part of perfecting signature pizza crust flour.
Dough Too Dense: Improving Gluten Development and Proofing
A dense baked crust can stem from insufficient gluten development or inadequate proofing. If the dough lacked elasticity during kneading or didn't rise well, the gluten network might be too weak to support the structure.
Ensure you are kneading enough to develop the gluten network for your blend – aim for a smooth, elastic dough that passes the windowpane test (stretching a small piece thinly without tearing). Also, check your proofing environment: is it warm enough? Are you proofing for long enough? Sometimes, a longer, slower cold fermentation can improve both gluten structure and flavor, contributing to perfecting signature pizza crust flour that is light and airy.
Crust Lacks Flavor: Enhancing Flavor with Specific Flour Combinations
If your baked crust tastes bland, your flour blend might be too reliant on neutral-flavored white flours. The flavor of the flour itself is a key component of a great pizza crust.
Consider incorporating flours known for their flavor contribution. Adding 10-20% whole wheat, 5-10% rye, or 10-15% spelt can introduce nutty, earthy, or tangy notes. Using a long, cold fermentation (24-72 hours in the refrigerator) also allows enzymes in the flour to break down starches into sugars, developing more complex flavors regardless of the blend composition, aiding in perfecting signature pizza crust flour's taste.
Uneven Baking: Optimizing Oven Temperature and Baking Time
Unevenly baked crusts (some parts burnt, others pale) can be caused by inconsistent oven temperature, improper placement of the pizza stone/steel, or the pizza being too close to a heating element. Different flour blends can also brown at different rates.
Ensure your oven is fully preheated, including your pizza stone or steel, for at least 30-60 minutes. Position the stone/steel correctly (often on a rack in the upper third of the oven for top-down heat). If your blend browns very quickly, you might need to slightly lower the temperature or move the pizza to a lower rack towards the end of baking. Practice with your specific blend to find the optimal bake time and temperature for perfecting signature pizza crust flour.
Dough Tears Easily: Balancing Gluten Strength and Relaxation
Dough that tears easily when stretching might indicate either insufficient gluten development or excessive gluten tightness (lack of relaxation). Blends with weaker flours can inherently have less tear resistance.
If the dough feels strong but springs back excessively and tears when stretched, it needs more rest. Give it another 15-30 minutes covered at room temperature to allow the gluten to relax. If the dough feels weak and tears without much resistance, it likely needs more kneading to develop the gluten network, or your blend might benefit from a higher percentage of a strong flour like bread flour when perfecting signature pizza crust flour.
Examples of Successful Signature Pizza Crust Flour Blends
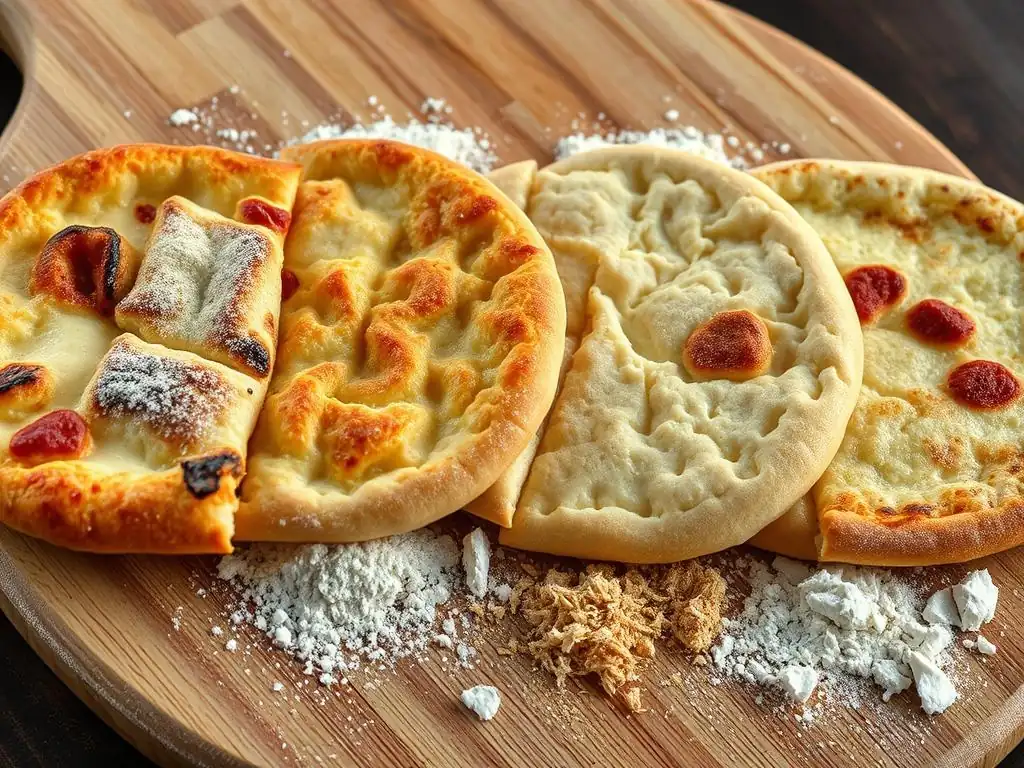
The Neapolitan-Inspired Blend
This blend aims for a very light, airy, and slightly crispy crust with beautiful blistering, typically baked at extremely high temperatures. It heavily relies on finely milled, moderate-protein flour.
A classic approach involves using 100% Italian 00 flour. However, some bakers find blending 00 flour (perhaps 70-80%) with a small percentage of high-protein bread flour (20-30%) can add just enough structure to make the dough more manageable and slightly chewier without sacrificing the characteristic lightness and blistering, a common route when perfecting signature pizza crust flour for high-heat ovens.
The New York-Style Blend
Known for its balance of chewiness and crispness, this style requires a dough with good elasticity and strength. It's often baked at slightly lower temperatures than Neapolitan, allowing for a longer bake that develops a sturdy base.
A common blend starts with a base of high-protein bread flour (70-80%) and incorporates all-purpose flour (20-30%) to temper the chewiness slightly and aid in crisping. Some variations might include a tiny percentage (1-2%) of diastatic malt powder to promote browning and crisping, a technique often used in perfecting signature pizza crust flour for this style.
The Artisan Sourdough Blend
This blend focuses on developing complex flavors through wild fermentation and often incorporates whole grains for added character. The goal is a crust with a tangy flavor, an open crumb, and a rustic appearance.
A blend using bread flour as the base (60-70%) combined with whole wheat (15-25%) and perhaps a small percentage of rye or spelt (5-10%) works well. The whole grains contribute flavor and nutrients for the sourdough starter, while the bread flour provides the necessary structure. Achieving this balance is key to perfecting signature pizza crust flour with sourdough.
The High-Hydration Blend
Designed for experienced bakers seeking an extremely open, airy crumb structure, often achieved with techniques like no-knead or minimal kneading and long fermentation. These doughs are typically very wet and sticky.
This often involves a blend of high-protein bread flour (70-80%) with a significant portion of 00 flour (20-30%) or even a small amount of high-extraction flour. The combination provides enough protein for structure at high hydration levels (75%+). Perfecting signature pizza crust flour at high hydration requires understanding how different flours absorb and retain water.
The Gluten-Free Blend
Creating a signature gluten-free pizza crust requires a careful balance of alternative flours to mimic the structure and texture provided by wheat gluten. This is a distinct challenge in perfecting signature pizza crust flour for specific dietary needs.
A successful gluten-free blend often combines a starchy flour (like rice flour or potato starch), a protein-rich flour (like chickpea or brown rice flour), and sometimes a binder (like psyllium husk or xanthan gum). Ratios vary greatly, but a mix like 40% brown rice flour, 30% white rice flour, 20% potato starch, and 10% tapioca starch, plus a binder, is a common starting point.
Storing Your Flour Blends for Optimal Freshness
Proper Storage Containers and Conditions
Once you've created your perfect signature pizza crust flour blend, proper storage is essential to maintain its quality and freshness. Oxygen, light, moisture, and heat are the enemies of flour. Store your blends in airtight containers, such as glass jars with tight-fitting lids or food-grade plastic containers.
Choose a cool, dark place for storage, like a pantry away from the oven or stovetop. Temperatures below 70°F (21°C) are ideal. For longer-term storage, especially for whole grain components which can go rancid faster due to their oils, consider storing your blend in the refrigerator or freezer.
Maintaining Flour Quality Over Time
Even when stored correctly, flour doesn't last forever. White flour blends can typically be stored for 6-12 months, while blends containing whole grains or high-fat flours might only last 3-6 months at room temperature. Refrigeration or freezing can extend shelf life significantly.
Before using a stored blend, give it a smell test. Fresh flour has a neutral or slightly sweet aroma. If it smells musty, stale, or oily (especially whole grain blends), it's past its prime and won't produce the best results for perfecting signature pizza crust flour. Label your containers with the blend components and the date you mixed it to keep track of freshness.
Conclusion: Mastering Flour Blends for Unforgettable Pizza
The Art and Science of Creating Your Perfect Pizza Crust
Creating your signature pizza crust flour blend is a journey that combines the precision of science with the intuition of art. It requires understanding the fundamental properties of different flours – their protein content, absorption rates, and flavor profiles – and then creatively combining them to achieve a desired outcome. Every adjustment to your blend is a hypothesis, and every bake is an experiment, bringing you closer to your ideal crust.
Perfecting signature pizza crust flour isn't just about the blend itself; it's also about mastering the techniques for working with it – adjusting hydration, adapting kneading, and tailoring proofing and baking. This holistic approach is what transforms good pizza into unforgettable pizza, allowing you to express your unique taste and skill through your crust.
Continuing Your Flour Blend Exploration and Development
The world of flour is vast and ever-evolving, with new varieties and milling techniques constantly emerging. Don't stop with just one signature blend! Continue to explore different flours, experiment with new combinations, and refine your techniques.
Perhaps you'll develop different blends for different occasions – a quick-bake blend for weeknights, a long-fermentation blend for weekends, or a special blend for a specific topping combination. The process of perfecting signature pizza crust flour is a continuous learning experience that promises endless delicious possibilities.
Frequently Asked Questions
What makes flour blends superior to using a single type of flour for pizza crust?
Flour blends allow you to customize your pizza crust's texture and flavor. Different flours contribute varying protein levels and gluten strength, impacting the final chewiness and crispness. Blending offers more control than using a single flour.
How does protein content in flour impact the final pizza crust?
Higher protein content, typically found in bread flour, results in a stronger gluten network, leading to a chewier crust. Lower protein flours, like all-purpose, produce a softer, more tender crust. Experimenting with ratios is key.
What are some common flours used in pizza crust blends, and what properties do they contribute?
Bread flour provides strength and chewiness. Semolina flour adds a slightly nutty flavor and crisp texture. All-purpose flour offers a balance of tenderness and structure.
Where can I find specialty flours like "00" flour, and is it necessary for a truly authentic pizza crust?
Specialty flours like "00" are often found at specialty grocery stores or online retailers. While it can enhance authenticity, it's not strictly necessary. Bread flour or all-purpose flour can also work well.
How do I adjust my recipe when experimenting with different flour blends for my pizza crust?
Start by substituting a small percentage of your usual flour with the new flour. Monitor the dough's hydration and elasticity closely. You may need to adjust the water content and kneading time to achieve the desired consistency.
Final Reflection: The Alchemy of Flour and the Perfect Crust
The pursuit of the perfect pizza crust is more than just a culinary quest; it's a journey of understanding the fundamental building blocks of flavor and texture. This exploration into advanced flour blends reveals that achieving a truly signature crust isn't about following a single recipe, but about mastering the nuanced interplay of different flours and their impact on the final product. The knowledge gained here empowers home bakers to transcend pre-packaged mixes and create something truly unique.
The impact of flour choice on the final pizza experience is profound, extending far beyond simple texture. It influences the rise, the chewiness, the browning, and even the subtle notes of flavor in the crust. This journey of experimentation has reinforced for me the importance of understanding the "why" behind each ingredient, not just the "how." The best things in life are simple, but not easy.
This perfectly encapsulates the challenge and reward of crafting a truly exceptional pizza crust. The seemingly simple act of baking becomes an art form when you understand the subtle dance between hydration, protein content, and the unique characteristics of different flour types.
Now, it's your turn to embark on this exciting culinary adventure. Don't be afraid to experiment, to deviate from established recipes, and to discover your own signature blend. The perfect pizza crust isn't a destination, but a continuous process of refinement and discovery. Embrace the challenge, savor the process, and most importantly, enjoy the delicious results of your flour-based alchemy. The journey to perfecting your signature pizza crust awaits!
Unleash Your Inner Pizzaiolo: Craft the Perfect Crust!
Thanks for exploring the world of advanced flour blends with us! You've now got the knowledge to elevate your pizza game to the next level. Ready to put your new skills to the test?
- Bake your signature pizza: Use your newfound knowledge to experiment with different flour blends and create a crust that truly reflects your taste. Don't be afraid to get creative!
- Share your masterpiece: Post a picture of your perfect pizza on social media and tag us @BakeWithEase – we’d love to see your creation!
- Explore our other recipes: Dive deeper into the world of baking by checking out our other expert-crafted recipes on BakeWithEase.com (This could be removed if external links are disallowed).
What unique flour blend will you create for your next pizza night? Let us know in the comments!