
Crumb Coat Like a Pro: The Secret to Smooth Frosting

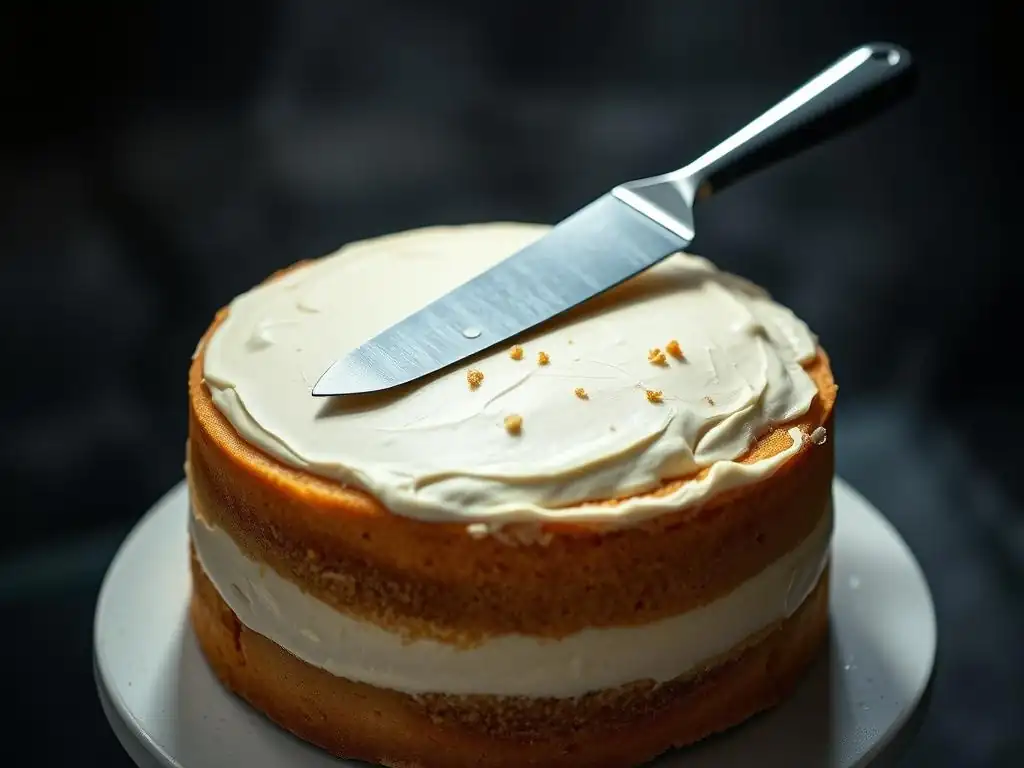
Welcome to BakeWithEase, your haven for baking bliss! Ever wonder how professional bakers achieve that flawlessly smooth finish on their cakes? Unlock the secret with our guide to the easy crumb coat frosting technique. Discover how this simple step can transform your baking, preventing crumbs from ruining your masterpiece and creating a perfect canvas for stunning decorations. Ready to elevate your pastry game? Let's dive in!
- Bake Like a Boss: Your Guide to Perfect Crumb Coating
- Understanding the Importance of a Crumb Coat
- Easy Crumb Coat Technique: A Step-by-Step Guide
- Troubleshooting Common Crumb Coat Problems
- Advanced Crumb Coating Techniques
- Beyond the Basics: Level Up Your Cake Frosting Game
- Mastering the Art of Cake Frosting: Final Thoughts on Crumb Coating
- Frequently Asked Questions
- Final Reflection: Mastering the Crumb Coat: A Foundation for Baking Bliss
- Unleash Your Inner Cake Artist: Master the Crumb Coat!
Bake Like a Boss: Your Guide to Perfect Crumb Coating
Achieving that picture-perfect, smooth frosting finish on your cakes can feel like a daunting task, especially when pesky crumbs keep getting in the way. You spend time baking beautiful layers, mix up a delicious frosting, and then as you apply it, crumbs from the cake mix into your lovely frosting, creating an uneven, messy surface. This is a common frustration for many bakers, but there's a simple yet incredibly effective solution: the crumb coat.
Mastering the crumb coat frosting technique easy steps can truly elevate your cake decorating game from homemade to professional-looking. It's a foundational skill that ensures a clean canvas for your final layer of frosting or intricate decorations.
Think of the crumb coat as a primer for your cake. Just like you wouldn't paint a wall without preparing it first, you shouldn't apply a final layer of frosting without sealing in those loose crumbs. This thin layer of frosting acts as a barrier, trapping any stray cake particles so they don't contaminate your beautiful, smooth final layer.
It's a crucial step in the process of creating a flawless cake finish, whether you're aiming for sharp edges, a rustic swirl, or intricate piping. This guide will walk you through the simple crumb coat frosting technique easy for anyone to follow, ensuring your next layer cake looks as good as it tastes.
Understanding the Importance of a Crumb Coat
What is a Crumb Coat and Why Do You Need One?
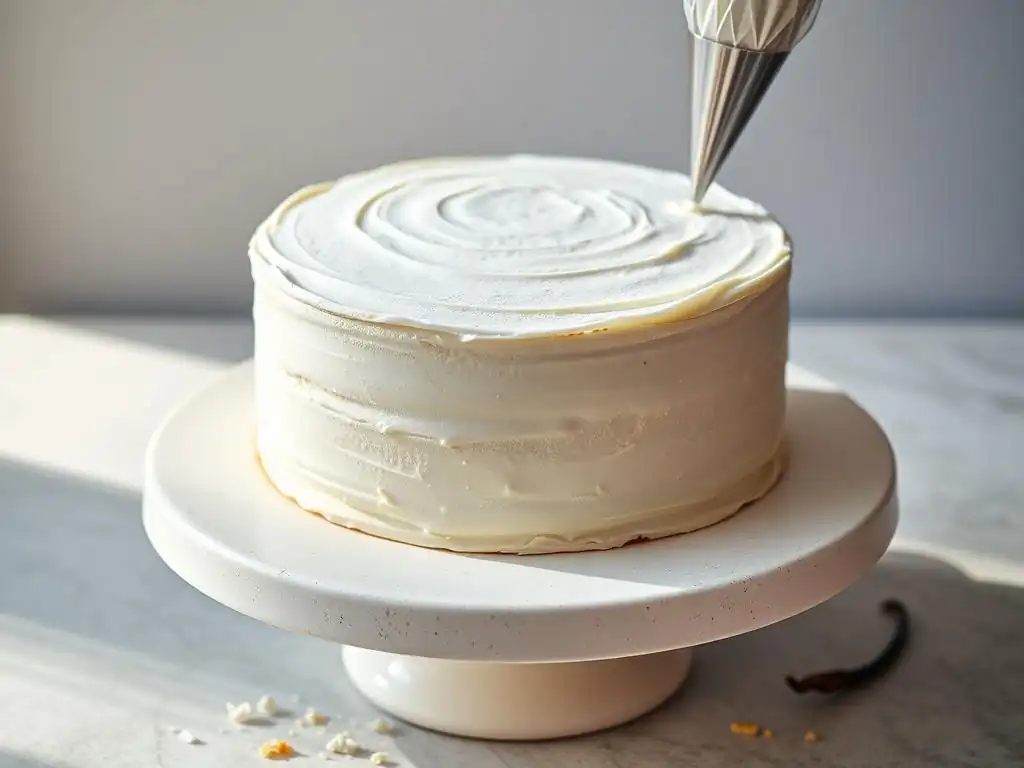
A crumb coat is essentially a very thin layer of frosting applied directly to the cake layers after they have been stacked. Its primary purpose is to trap and seal any loose crumbs that naturally come off the cake's surface during the stacking and frosting process. It's not meant to be a thick, decorative layer, but rather a functional one that prepares the cake for its final frosting. Without this initial barrier, those fine cake crumbs would inevitably mix into your smooth, final layer of frosting, creating an undesirable texture and appearance.
The necessity of a crumb coat becomes particularly evident when working with delicate cakes, like sponge cakes or those with a looser crumb structure. Even dense cakes can shed crumbs, and a crumb coat ensures that your final frosting application is clean and smooth. It also helps to fill in any small gaps or imperfections on the cake's surface, providing a more even foundation for the final frosting. This basic crumb coat frosting technique easy step is vital for achieving professional-looking results.
Preventing Crumbs in Your Final Frosting: The Crumb Coat's Role
The most significant role of the crumb coat is crumb prevention. When you apply frosting directly to a cake, especially the sides, the friction of the spatula or piping bag can pull small pieces of cake off. These crumbs then get mixed into your main bowl of frosting or spread onto the surface, making it impossible to achieve a perfectly smooth finish. The thin, sticky layer of the crumb coat acts like a glue, holding all those potential rogue crumbs firmly in place.
Once the crumb coat is applied and chilled, it creates a stable, crumb-free surface. Your final, thicker layer of frosting can then be applied smoothly over this hardened shell without picking up any crumbs. This simple technique is a game-changer for anyone struggling with crumb-filled frosting and is a core part of mastering the crumb coat frosting technique easy for beginners. It ensures that the beautiful color and smooth texture of your final frosting remain pristine.
Achieving a Professional Finish: Crumb Coating for Smooth Cake Frosting
Beyond just trapping crumbs, a crumb coat significantly contributes to achieving a professional, smooth finish on your final cake. By applying a thin, even layer and then chilling the cake, the crumb coat helps to set the cake's shape and stabilize the structure. This is particularly helpful for taller layer cakes. It also gives you a chance to assess the cake's surface and make minor adjustments before the final frosting goes on.
A well-applied and chilled crumb coat provides a firm, level base. When you apply the final layer of frosting, it glides smoothly over this surface, allowing you to create sharp edges and a perfectly flat or textured top without the frustration of dragging crumbs. The crumb coat frosting technique easy to implement is the secret weapon of many professional bakers for creating cakes that look as though they came straight from a bakery display case.
Easy Crumb Coat Technique: A Step-by-Step Guide
Step 1: Preparing Your Cake for Crumb Coating
Leveling Your Cake Layers for Even Frosting Application
Before you even think about frosting, ensure your cake layers are level. Uneven layers can lead to a lopsided cake and make applying an even crumb coat, and subsequently the final frosting, much more difficult. Use a serrated knife, a cake leveler tool, or even dental floss to carefully slice off any domes from the top of your cooled cake layers. Aim for flat, consistent layers. This foundational step, while not directly part of the crumb coat frosting technique easy application itself, is critical for the overall success of your frosted cake.
Having level layers means that when you stack them, the cake is stable and straight. This makes applying the thin crumb coat much easier, as you won't be trying to compensate for sloped surfaces. It also ensures that the frosting layers between the cakes and the final exterior crumb coat are of a consistent thickness, contributing to a more professional and aesthetically pleasing final product.
Cooling Cake Layers Completely: A Crucial First Step
This is non-negotiable: your cake layers must be completely cool before you attempt to apply any frosting, including the crumb coat. Warm or even slightly warm cake is fragile and will crumble excessively when you try to spread frosting on it. It will also melt your frosting, creating a greasy, sliding mess that is impossible to work with. Allow cakes to cool in their pans for about 10-15 minutes after baking, then invert them onto a wire rack to cool completely.
For best results, especially when using the crumb coat frosting technique easy method, let your cakes cool at room temperature for several hours, or even chill them in the refrigerator for 30-60 minutes after they've cooled down. Cold cake is much firmer, less likely to crumble, and easier to handle, making the crumb coating process significantly smoother and more effective.
Step 2: Selecting the Right Frosting for Your Crumb Coat
Best Types of Frosting for Crumb Coating: Buttercream and Ganache
While you can technically use almost any frosting for a crumb coat, certain types work better than others. Buttercream (like American, Swiss Meringue, Italian Meringue, or French) and ganache are generally considered the best choices. Buttercream is versatile, easy to spread, and firms up nicely when chilled, effectively trapping crumbs. Ganache, especially dark chocolate ganache, also sets up firmly and provides a smooth, stable base.
These types of frostings have a consistency that allows them to be spread thinly and evenly without dragging too many crumbs initially. They also harden sufficiently in the refrigerator to create that essential barrier. Lighter, fluffier frostings like whipped cream or some mousses are not suitable as they don't have the structure to trap crumbs effectively or provide a stable base when chilled. Using a stable frosting is key to a successful crumb coat frosting technique easy application.
Achieving the Right Frosting Consistency for Easy Application
The consistency of your frosting is paramount for a smooth crumb coat. The frosting should be soft enough to spread easily without tearing the cake, but not so soft that it's runny. If your frosting is too stiff, it will pull crumbs and potentially damage the cake's structure. If it's too loose, it won't effectively trap crumbs or provide a stable base when chilled.
A good consistency for a crumb coat is similar to softened butter or thick Greek yogurt – smooth and spreadable, but holds its shape somewhat. If your buttercream is too stiff, you can add a tiny splash of milk or cream (a teaspoon at a time) and mix until it reaches the desired consistency. If it's too soft, chilling it for a few minutes can help. Getting this consistency right is a key part of the crumb coat frosting technique easy process.
Step 3: Applying the Crumb Coat
Thin Layer Application: The Key to an Effective Crumb Coat
Remember, the crumb coat is not the final layer. It should be applied very thinly, just enough to cover the entire surface of the cake (top and sides) and trap any loose crumbs. You don't need a lot of frosting for this step. In fact, using too much frosting in the crumb coat can make the final frosting step more difficult and result in an overly thick layer of frosting on your finished cake.
Focus on creating a sheer wash of frosting. The goal is to seal the cake's surface, not to build up a thick layer. You will likely see crumbs embedded in this layer – that's exactly what you want! This thin application is fundamental to the crumb coat frosting technique easy approach, as it uses minimal frosting and chills quickly.
Using an Offset Spatula for Smooth Crumb Coat Application
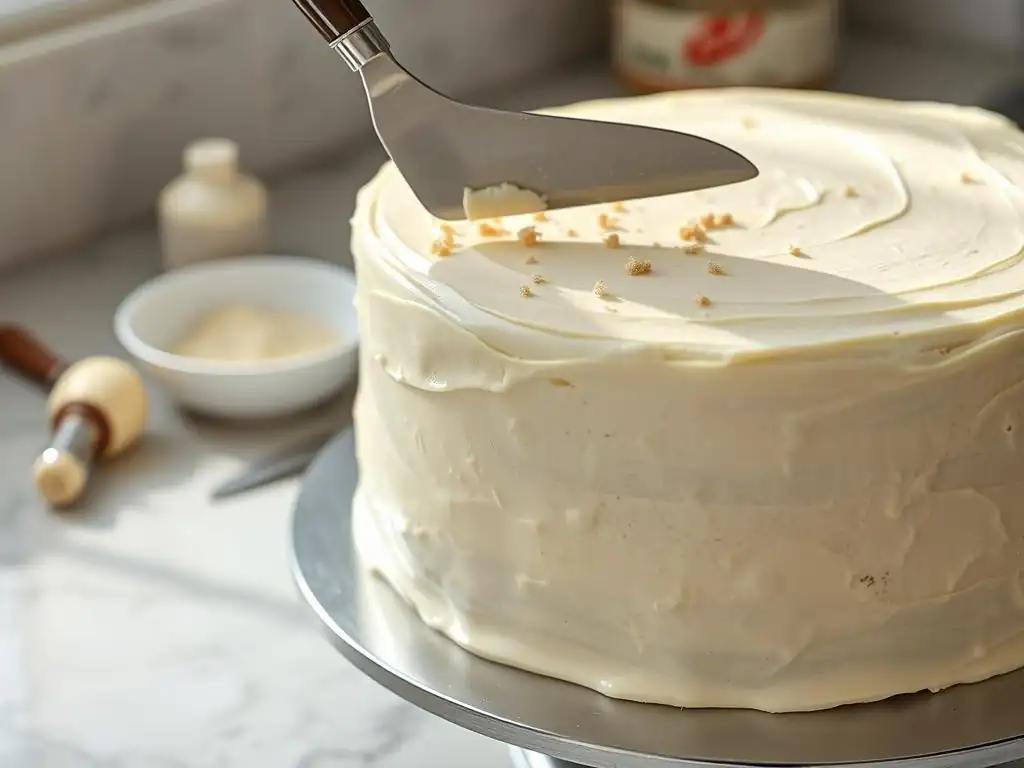
An offset spatula is the best tool for applying the crumb coat. The offset handle keeps your hand clear of the cake, allowing you to spread the frosting smoothly. Start by placing a dollop of frosting on top of the cake. Use the offset spatula to spread it thinly over the top surface, pushing any excess over the sides. Then, use the spatula to apply the frosting to the sides, working your way around the cake.
Use light pressure and try to work quickly but carefully. The goal is to cover the cake completely with a thin layer. Don't worry about making it perfectly smooth at this stage; its purpose is functional, not decorative. An offset spatula makes this application step of the crumb coat frosting technique easy and efficient.
Tips for Avoiding Crumbs During Crumb Coat Application
Even with a cool cake, you might encounter some crumbs. To minimize them, use minimal frosting and light pressure. Don't overwork the frosting or go back and forth too many times over the same spot. Apply the frosting in one general direction. If your spatula picks up crumbs, wipe it clean on the edge of your frosting bowl or a paper towel before dipping it back into the clean frosting or continuing to spread.
If you find a particularly crumbly spot, you can gently dab frosting onto it with the spatula instead of spreading. Alternatively, some bakers find it helpful to use a piping bag fitted with a plain round tip to pipe thin lines of frosting onto the cake first, then smooth them out with the spatula. This can reduce friction and minimize crumb lift, making the crumb coat frosting technique easy even on tricky cakes.
Step 4: Chilling the Crumb Coated Cake
Why Chilling is Essential After Crumb Coating
Chilling the cake after applying the crumb coat is a non-negotiable step. This is where the magic happens! As the chilled air hits the thin layer of frosting, it firms up and hardens, effectively locking all those trapped crumbs in place. This creates a stable, smooth, and crumb-free surface that is ready for your final layer of frosting.
Chilling also helps to set the structure of the cake and the crumb coat itself, making the cake easier to handle when applying the final frosting. It provides a firm base that won't shift or tear as you spread the thicker layer. This chilling step is integral to the success of the crumb coat frosting technique easy process.
How Long to Chill Your Cake for Optimal Results
The optimal chilling time can vary depending on the type of frosting used, the thickness of the crumb coat, and the temperature of your refrigerator. As a general guideline, chill the cake for at least 15-30 minutes. You'll know it's ready when the crumb coat is firm and no longer tacky to the touch. You should be able to gently touch it without frosting coming off on your finger.
For best results, especially if you have time, chilling the cake for 30-60 minutes, or even longer, is beneficial. Some bakers even chill crumb-coated cakes overnight. The firmer the crumb coat, the easier it will be to apply your final layer of frosting smoothly and without picking up any crumbs. This chilling period is a critical pause in the crumb coat frosting technique easy timeline.
Troubleshooting Common Crumb Coat Problems
Dealing with Crumbs Pulling into the Frosting
This is the most common issue! If you're seeing lots of crumbs pulling into your frosting as you apply the crumb coat, several factors could be at play:
- Cake isn't cold enough: Ensure your cake layers are thoroughly chilled.
- Frosting is too stiff: The friction from stiff frosting will tear the cake. Soften your frosting slightly.
- Too much pressure: Use a light hand when spreading. Let the frosting do the work.
- Overworking the area: Try to cover sections with minimal strokes. Wipe your spatula clean frequently.
- Very delicate cake: Some cakes are just crumbly. In this case, applying the crumb coat with a piping bag and then gently smoothing might help, or try the double crumb coat technique.
Fixing Uneven Crumb Coats
An uneven crumb coat isn't the end of the world, as it's just the base layer. However, significant unevenness can make the final frosting application tricky. If you notice large gaps or very thin spots during application, simply add a tiny bit more frosting to that area and gently smooth it out. Don't try to make it perfect, just ensure the cake is completely covered. The chilling step will help firm up whatever is there.
If the crumb coat is very lumpy after chilling, you can gently shave off major bumps with a warm, dry offset spatula before applying the final frosting. Ultimately, the goal is coverage and crumb trapping, not perfection at this stage of the crumb coat frosting technique easy process.
Preventing the Crumb Coat from Sticking to the Spatula
If the crumb coat is sticking excessively to your spatula as you try to smooth it (after chilling, for example, if you need to make minor adjustments), your spatula might not be clean or smooth, or the crumb coat might not be fully set. Ensure your spatula is clean and dry. For smoothing chilled crumb coats, warming the spatula slightly by dipping it in hot water and wiping it dry can help it glide more easily.
Also, ensure the crumb coat has chilled sufficiently to become firm. A crumb coat that is still too soft will stick to the spatula and pull. Patience during the chilling phase is key to a successful crumb coat frosting technique easy process.
Advanced Crumb Coating Techniques
Double Crumb Coating for Extra Protection
For very dark or moist cakes that are prone to excessive crumbling, or for cakes where you need an exceptionally smooth and sharp final finish, a double crumb coat can be beneficial. After applying the first thin crumb coat and chilling it until firm (about 15-30 minutes), apply a second, slightly thicker layer of frosting over the first. This second layer helps to further smooth the surface and ensures absolutely no crumbs escape.
Chill the cake again after applying the second crumb coat until it is very firm (30-60 minutes or longer). This technique adds an extra step but provides a very stable and perfectly smooth base for your final frosting, taking your crumb coat frosting technique easy approach to the next level.
Using a Piping Bag for Precise Crumb Coat Application
As mentioned earlier, using a piping bag (fitted with a large round tip or just the end snipped off) can be an effective way to apply the crumb coat, especially on crumbly cakes or for achieving very straight sides. Pipe lines of frosting horizontally around the sides of the cake and swirls on top. Then, use your offset spatula or a bench scraper to smooth the piped frosting into a thin, even layer.
Piping the frosting reduces the direct friction between the spatula and the cake surface, minimizing the likelihood of pulling crumbs. It also helps ensure you apply a consistent amount of frosting around the cake, making the smoothing process easier. This method is a slightly more advanced take on the basic crumb coat frosting technique easy method but can yield excellent results.
Crumb Coating Different Cake Shapes: Round and Square Cakes
The basic crumb coat frosting technique easy steps apply to most cake shapes, but there are slight nuances. For round cakes, use your offset spatula to apply frosting to the top, pushing excess over the edge. Then, apply frosting to the sides, using a turntable if you have one, which makes it much easier to rotate the cake smoothly while holding your spatula steady against the side.
For square cakes, the principle is the same – top first, then sides. However, achieving sharp corners requires a bit more care. Ensure frosting is pushed right into the corners on the top, and applied evenly to the sides.
When smoothing the sides, you can use a bench scraper held perpendicular to the cake board, dragging it along the sides to create a flat surface and defined edges. Then, gently pull the frosting from the edges towards the center on the top surface. The crumb coat doesn't need perfect corners, but getting a good base here helps for the final frosting.
Beyond the Basics: Level Up Your Cake Frosting Game
The Relationship Between Crumb Coat and Final Frosting
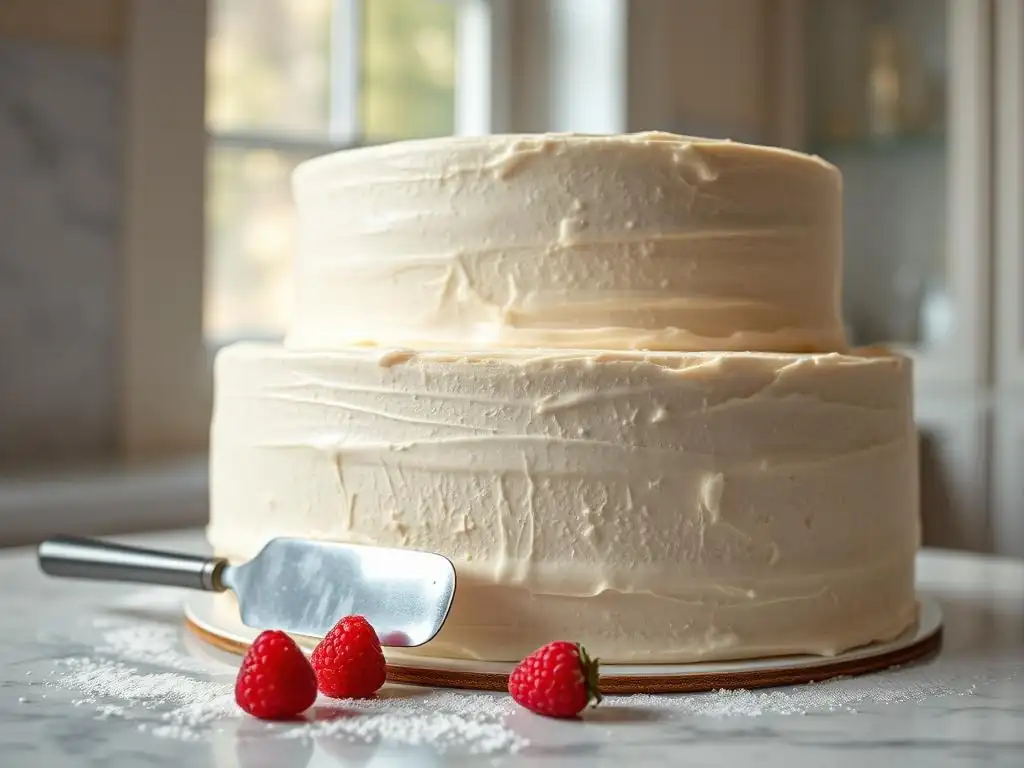
Understanding the symbiotic relationship between the crumb coat and the final frosting is key to mastering cake decoration. The crumb coat provides the essential foundation – a stable, sealed, and hopefully smooth surface. The final frosting is where you add thickness, color, flavor, and texture, achieving the desired aesthetic. A good crumb coat makes applying the final frosting significantly easier and more successful.
If your crumb coat is smooth and firm, your final frosting will glide on effortlessly, allowing you to achieve sharp edges, smooth sides, or beautiful textures without fighting against crumbs or uneven surfaces. The thickness of your final frosting layer can vary depending on your recipe and desired look, but having that solid crumb coat underneath ensures its integrity and appearance. This relationship highlights why the crumb coat frosting technique easy step is so critical.
Decorating Techniques That Work Best with a Smooth Crumb Coat
A smooth, firm crumb coat opens up a world of decorating possibilities. Techniques that rely on a flawless surface truly benefit from this step. These include:
- Achieving Sharp Edges: A firm, level crumb coat is essential for using bench scrapers or spatulas to create crisp, professional sharp edges on your final frosting.
- Smooth Sides: Effortlessly smooth the final frosting layer without dragging crumbs.
- Applying Fondant: While not covering fondant application here, a crumb coat (often with ganache or firm buttercream) is vital for creating a perfectly smooth base for fondant.
- Textured Finishes: Techniques like palette knife painting, creating swirls, or using decorating combs are much cleaner and more defined when applied over a crumb-free base.
- Piping Details: Piping intricate borders or details directly onto the cake is easier and looks much cleaner when the base is smooth and stable.
Mastering the Art of Cake Frosting: Final Thoughts on Crumb Coating
Mastering the crumb coat frosting technique easy steps outlined here is a fundamental skill that will dramatically improve the look of your layer cakes. It might seem like an extra step, but the time and frustration it saves by preventing crumb issues are well worth it. A good crumb coat sets you up for success, turning the potentially messy task of final frosting into a smooth, enjoyable process.
Practice this technique on your next cake. Focus on getting the cake cold, the frosting consistency right, applying a thin layer, and chilling thoroughly. Once you see the difference it makes, the crumb coat will become an indispensable part of your cake decorating routine. So go ahead, give the crumb coat frosting technique easy method a try, and get ready to create beautifully frosted cakes that are truly bake like a boss worthy!
Frequently Asked Questions
What exactly is a crumb coat, and why is it important?
A crumb coat is a thin layer of frosting applied to a cake before the final layer. It's crucial because it traps loose crumbs, preventing them from mixing into your final frosting layer.
How thick should the crumb coat frosting be?
The crumb coat should be thin, just enough to seal in the crumbs. Aim for a layer about 1/8 inch thick. You should still be able to faintly see the cake underneath.
What type of frosting is best for a crumb coat?
While any frosting can be used, a stiffer frosting is often preferred for a crumb coat. This helps to more effectively trap the crumbs and create a stable base.
Can I use the same frosting for the crumb coat and the final coat?
Yes, you absolutely can! Just make sure you have enough frosting prepared. Using the same frosting ensures a consistent flavor and appearance for your cake.
How long should I chill the crumb-coated cake before frosting the final layer?
Chilling the cake is essential. Aim for at least 30 minutes in the refrigerator or 15 minutes in the freezer. This allows the crumb coat to firm up, preventing crumbs from being pulled into the final frosting layer.
Final Reflection: Mastering the Crumb Coat: A Foundation for Baking Bliss
The seemingly simple crumb coat is, in reality, the cornerstone of flawlessly frosted cakes. It's not just about aesthetics; a well-executed crumb coat ensures a professional-looking finish and prevents those frustrating crumbs from ruining your beautiful buttercream. This technique, once mastered, elevates your baking game from amateur to artisan.
The impact of a perfect crumb coat extends beyond just the visual appeal. It's about the confidence it instills, the satisfaction of achieving a technique that many find challenging, and the joy of creating something truly beautiful. The best things in life are homemade,
and a perfectly frosted cake is a testament to that sentiment. This simple technique unlocks a world of creative possibilities, allowing you to confidently tackle intricate designs and stunning cake creations.
Now, it's your turn. Don't be intimidated by the seemingly complex world of cake decorating. Remember the steps, practice the technique, and embrace the process. The next time you frost a cake, remember the power of the crumb coat – a small step that leads to extraordinary results. You'll find that the satisfaction of a perfectly smooth finish is as sweet as the cake itself. Go forth and create baking magic!
Unleash Your Inner Cake Artist: Master the Crumb Coat!
Thanks for joining us on this crumb coat journey! You've now got the skills to create flawlessly smooth frosting every time. Ready to put your new knowledge into practice?
- Bake a cake and try your new crumb coat technique! We bet you'll be amazed at the difference.
- Share your crumb coat creations on social media using #BakeWithEaseCrumbCoat – let's see those stunning results!
- Leave a comment below and tell us: What's your biggest crumb coat challenge, and how did you overcome it (or how will you tackle it now)?