
Bake Quick Breads Without Special Equipment

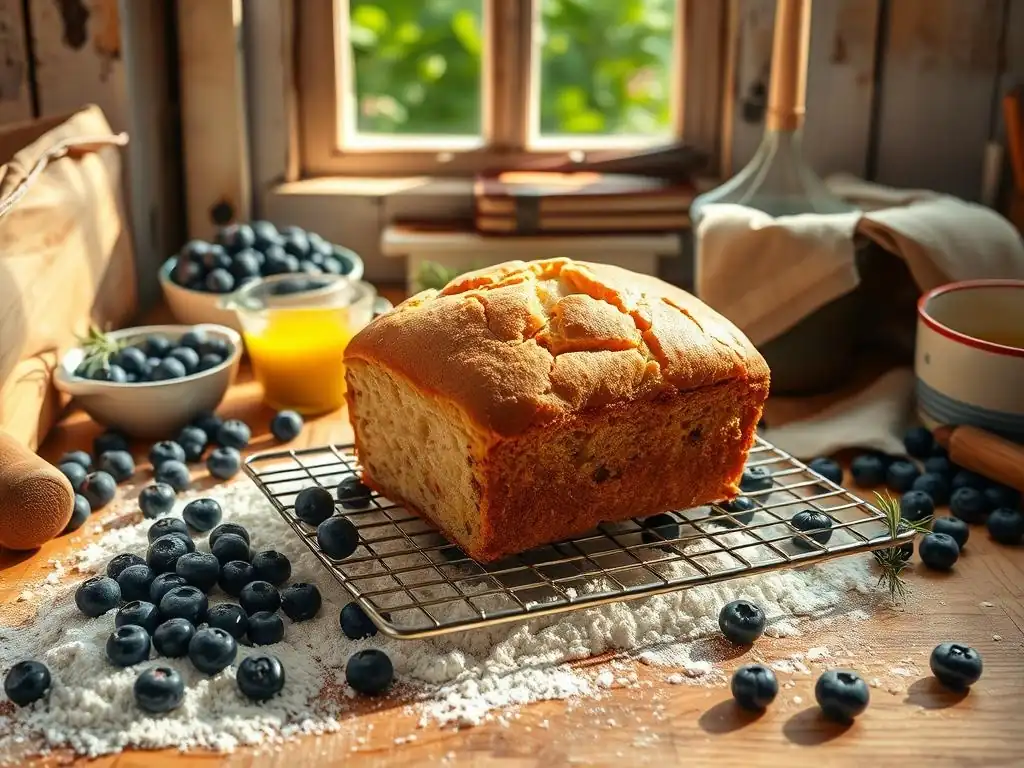
Welcome to BakeWithEase, your kitchen companion for unlocking the joys of baking! Ever dreamed of enjoying freshly baked bread without the fuss of specialized equipment? Discover the secrets to our Easy No-Equipment Quick Bread and prepare to be amazed. Learn how simple ingredients and clever techniques can yield delicious results, even if you're a beginner. Ready to bake? Let's get started and prove that great bread is within everyone's reach!
- Bake Quick Breads Without Special Equipment: Easy No-Equipment Recipes
- Introduction to Easy Quick Breads: No Special Equipment Needed
- Essential Ingredients for Easy No-Equipment Quick Breads
- Must-Have Tools (That Aren't Really Special) for Quick Bread Success
- Easy No-Equipment Quick Bread Recipes for Beginners
- Troubleshooting Common Quick Bread Baking Problems (No Equipment Required)
- Tips and Tricks for No-Equipment Quick Bread Baking Success
- Conclusion: Enjoying the Simplicity of Quick Bread Baking with BakeWithEase
-
Frequently Asked Questions
- What exactly is a no-equipment quick bread, and why is it considered "easy"?
- What are some common ingredients needed for most easy no-equipment quick bread recipes?
- How do quick breads differ from traditional yeast breads in terms of preparation?
- Can I customize no-equipment quick bread recipes with different flavors or additions?
- What are some essential tips for ensuring my no-equipment quick bread turns out perfectly moist and delicious?
- Final Reflection: The Joy of Effortless Baking
- Unleash Your Inner Baker: Quick Breads Made Easy!
Bake Quick Breads Without Special Equipment: Easy No-Equipment Recipes
Introduction to Easy Quick Breads: No Special Equipment Needed
What are Quick Breads and Why Bake Them?
Quick breads are a fantastic entry point into the world of baking, especially for beginners. Unlike yeast breads, which rely on fermentation and require kneading and multiple rise times, quick breads use chemical leaveners like baking powder and baking soda. This means they come together, bake, and are ready to enjoy in a fraction of the time – often under an hour and a half from start to finish. Think muffins, scones, pancakes, and of course, loaf-style quick breads like banana bread or cornbread. Their simplicity makes them incredibly forgiving and accessible.
The appeal of baking quick breads lies in their speed and versatility. They are perfect for a last-minute breakfast treat, a simple dessert, or a comforting snack. Because they don't require the development of gluten structure through kneading, the mixing process is minimal, often just combining wet and dry ingredients until just mixed. This ease of preparation, combined with delicious results, makes baking an easy no-equipment quick bread a rewarding experience for anyone, regardless of their baking background or the gadgets they own.
The Beauty of Baking Quick Breads Without Special Tools
One of the most liberating aspects of baking quick breads is that you truly don't need a lot of fancy equipment. Forget stand mixers, dough hooks, or proofing baskets. The magic of an easy no-equipment quick bread is that it can be mixed and baked using tools you likely already have in your kitchen drawers. A simple bowl, a whisk or fork, a spoon or spatula, and a baking pan are often all it takes.
This minimalist approach not only makes baking less intimidating but also proves that delicious, homemade goods are within reach for everyone. You don't need to invest hundreds of dollars in specialized equipment to bake beautiful and tasty quick breads. Mastering the art of a simple quick bread using only basic tools builds confidence and demonstrates that baking is about understanding ingredients and technique, not just owning the latest gadgets.
Essential Ingredients for Easy No-Equipment Quick Breads
Basic Pantry Staples for Quick Bread Baking
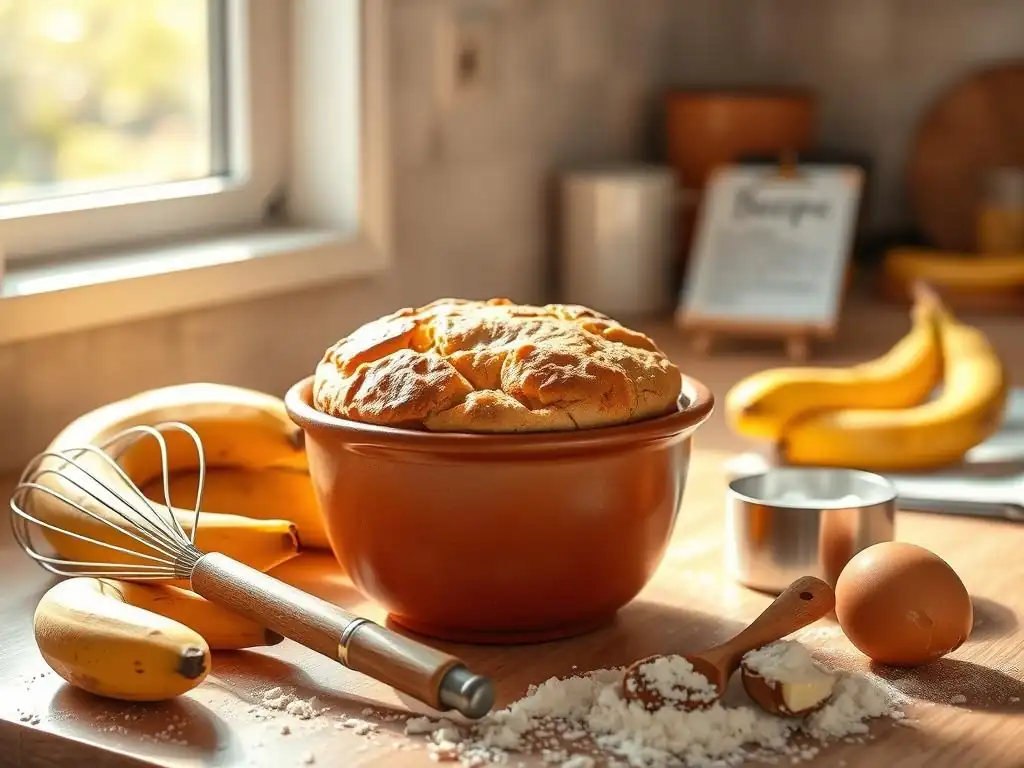
Most easy no-equipment quick bread recipes rely on a core set of ingredients that are likely already in your pantry. The foundation is typically flour – all-purpose flour is the most common and versatile choice for beginners. You'll also need a leavening agent, usually baking powder, baking soda, or a combination, which provides the 'quick' rise. Sugar is essential for sweetness and moisture, and you might use granulated sugar, brown sugar, or even honey or maple syrup depending on the recipe.
Fats and liquids are also key. Butter, oil (like vegetable or canola), or melted coconut oil provide richness and moisture. Liquids can range from milk or buttermilk to yogurt, sour cream, or even mashed fruits like bananas or applesauce, which add moisture and flavor. Eggs act as a binder and contribute to structure and richness. Having these staples on hand means you're often just a few steps away from baking a delicious simple quick bread.
Ingredient Substitutions for Beginner Bakers: BakeWithEase Tips
Baking is often seen as a precise science, but with quick breads, there's often room for flexibility, especially for beginners or when you're missing an ingredient. For example, if a recipe calls for buttermilk and you don't have it, you can easily make a substitute: add 1 tablespoon of white vinegar or lemon juice to 1 cup of milk and let it sit for 5-10 minutes until it curdles slightly. This mimics buttermilk's acidity, which reacts with baking soda for leavening.
Another common substitution involves fats. If a recipe calls for melted butter, you can often use a neutral-flavored oil like vegetable or canola oil in the same quantity. For leaveners, be careful – baking powder and baking soda are not always interchangeable, as baking soda requires an acidic ingredient (like buttermilk, yogurt, or molasses) to activate.
However, if you're out of baking powder, you might be able to use a combination of baking soda and cream of tartar (about 1/4 teaspoon baking soda plus 1/2 teaspoon cream of tartar per teaspoon of baking powder), though results can vary. These simple swaps make baking an easy no-equipment quick bread even more accessible.
Must-Have Tools (That Aren't Really Special) for Quick Bread Success
Everyday Kitchen Essentials for Baking Quick Breads
Baking an easy no-equipment quick bread relies on tools you probably use daily. A set of mixing bowls in various sizes is crucial for combining ingredients. You'll need dry measuring cups (like 1 cup, 1/2 cup, 1/3 cup, 1/4 cup) and liquid measuring cups (a clear cup with a spout, usually 1-cup or 2-cup size). Measuring spoons (1 tablespoon, 1 teaspoon, 1/2 teaspoon, 1/4 teaspoon) are essential for leaveners, salt, and extracts.
For mixing, a whisk or even just a fork works perfectly for wet ingredients and dry ingredients initially. A wooden spoon or a rubber spatula is ideal for combining wet and dry ingredients without overmixing, which is key for tender quick breads. Finally, you'll need a baking pan – a standard loaf pan (approximately 9x5 inches) is typical for many quick bread recipes, but muffin tins, square pans, or even round cake pans can be used depending on the recipe. These are all common items found in most kitchens.
Affordable Alternatives to Fancy Baking Equipment
Don't have a dedicated set of dry measuring cups? A standard coffee mug often holds close to 1 cup (though it's best to verify with water and a liquid measuring cup once). Small spoons from your cutlery set can approximate measuring spoons in a pinch, though this is less precise. Instead of a rubber spatula, the back of a large spoon or even a sturdy dinner knife can help scrape down bowl sides.
As for pans, while a loaf pan is standard for many easy no-equipment quick bread recipes, you can get creative. Mini loaf pans, muffin tins (adjusting baking time significantly), or even oven-safe glass containers of similar volume can work. The goal is to use what you have. For example, instead of a pastry blender for cutting in cold butter (like for scones), two forks or your fingertips work just as well. The beauty of baking a simple quick bread is its adaptability to whatever tools are on hand.
Easy No-Equipment Quick Bread Recipes for Beginners
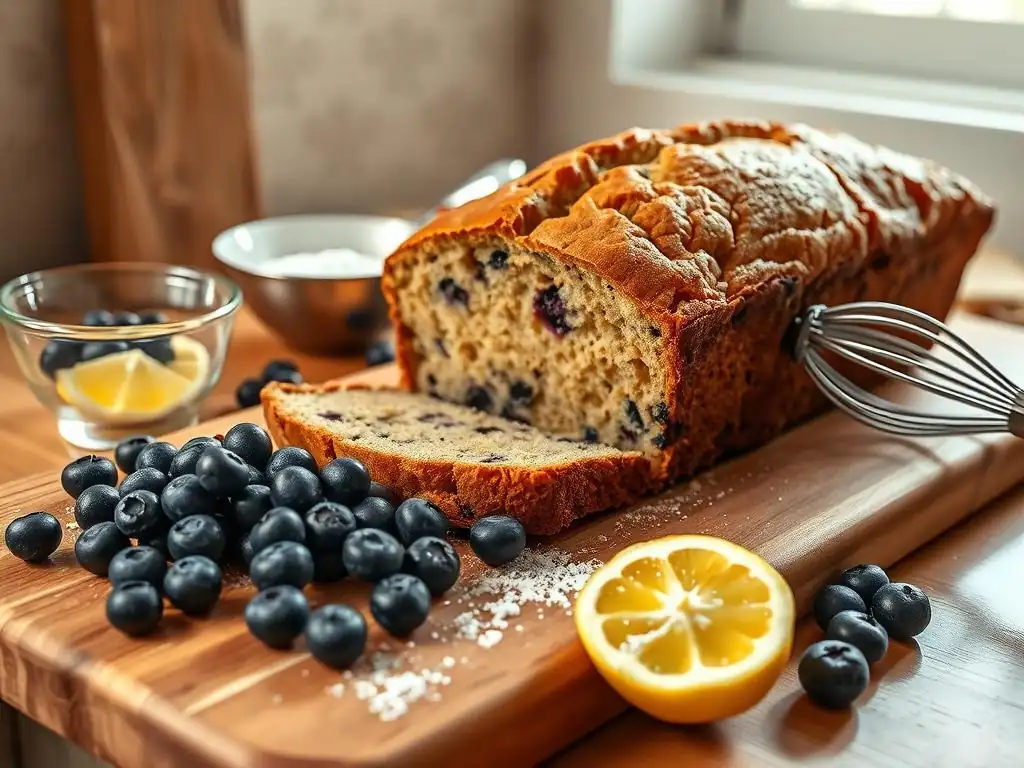
Recipe 1: No-Mixer Banana Bread: A BakeWithEase Favorite
This classic is the quintessential easy no-equipment quick bread. It requires minimal mixing and uses up those ripe bananas beautifully. You won't need anything more than bowls, basic measuring tools, and a loaf pan. The texture is moist and tender, perfect for slicing and sharing.
Step-by-Step Banana Bread Recipe Using Basic Kitchen Tools
Here’s a simple guide to making delicious banana bread without a mixer:
- Ingredients:
- 2-3 very ripe bananas, mashed
- 1/3 cup melted butter or oil
- 1/2 cup granulated sugar (or 1/4 cup granulated + 1/4 cup brown sugar)
- 1 large egg, lightly beaten
- 1 teaspoon vanilla extract
- 1 1/2 cups all-purpose flour
- 1 teaspoon baking soda
- 1/2 teaspoon salt
- Optional: 1/2 cup chopped nuts or chocolate chips
- Instructions:
- Preheat your oven to 350°F (175°C). Grease and flour a 9x5 inch loaf pan.
- In a medium bowl, mash the ripe bananas thoroughly with a fork. Aim for a relatively smooth consistency, though small lumps are fine.
- Add the melted butter or oil to the mashed bananas and stir with a spoon or spatula until combined.
- Stir in the sugar, beaten egg, and vanilla extract until the mixture is well blended.
- In a separate larger bowl, whisk together the flour, baking soda, and salt. Ensure the baking soda is evenly distributed.
- Pour the wet ingredients into the bowl with the dry ingredients.
- Using a spoon or spatula, gently fold the ingredients together just until no dry streaks of flour remain. Do not overmix – a few small lumps are okay. If adding nuts or chocolate chips, fold them in now.
- Pour the batter into the prepared loaf pan and spread evenly.
- Bake for 50-65 minutes, or until a toothpick inserted into the center comes out clean. Baking time can vary slightly depending on your oven and the pan material.
- Let the banana bread cool in the pan for 10 minutes before inverting it onto a wire rack to cool completely before slicing.
This recipe is a prime example of an easy no-equipment quick bread – relying purely on simple mixing and basic ingredients for a delightful result.
Baking Tips for Perfect Banana Bread Without Special Equipment
Achieving a moist and tender no-mixer banana bread is easy with a few tips. First, ensure your bananas are truly ripe – the more brown spots, the better! Ripe bananas are sweeter and easier to mash, contributing significantly to moisture and flavor. Use a fork to mash them; a blender or food processor can make them too liquidy.
Secondly, avoid overmixing the batter. Overmixing develops gluten in the flour, which can result in a tough, dense quick bread instead of a light, tender one. Mix only until the dry ingredients are just incorporated. Lastly, baking time is crucial. Start checking around 50 minutes with the toothpick test. If the top seems to be browning too quickly, you can loosely tent the loaf with aluminum foil for the remaining baking time. Cooling completely before slicing helps the bread set properly.
Recipe 2: Simple No-Knead Soda Bread: A Beginner's Delight
Irish soda bread is perhaps the simplest loaf-style quick bread there is. It requires no yeast, no kneading, and minimal ingredients. Its signature is the criss-cross cut on top, which isn't just for looks – it helps the bread bake evenly. This is truly an easy no-equipment quick bread that's ready from start to table in about an hour.
Easy Instructions for Baking Soda Bread with Minimal Tools
Here’s how to make a rustic soda bread with just a bowl and a baking sheet:
- Ingredients:
- 4 cups all-purpose flour
- 1 teaspoon baking soda
- 1 teaspoon salt
- 1 tablespoon granulated sugar (optional, for a slightly sweeter loaf)
- 1 3/4 cups buttermilk (or milk + 1 tbsp vinegar/lemon juice)
- Instructions:
- Preheat your oven to 425°F (220°C). Lightly flour a baking sheet or line it with parchment paper (if you have it).
- In a large bowl, whisk together the flour, baking soda, salt, and sugar (if using).
- Make a well in the center of the dry ingredients. Pour in the buttermilk.
- Using one hand (or a spoon/spatula), quickly mix the wet and dry ingredients together until a shaggy dough forms. Don't overmix; it should still be quite sticky.
- Turn the dough out onto a lightly floured surface. Gently shape it into a round loaf, about 7-8 inches in diameter and 1 1/2 - 2 inches high. Handle the dough as little as possible.
- Place the loaf onto the prepared baking sheet. Using a sharp knife, score a deep 'X' into the top of the loaf, extending almost to the edges. This helps the heat penetrate the center.
- Bake for 35-45 minutes, or until the crust is golden brown and the bottom sounds hollow when tapped.
- Let the bread cool on a wire rack. Soda bread is traditionally served warm.
This simple quick bread recipe highlights how basic ingredients and minimal effort can yield a satisfying loaf, perfect for your easy no-equipment quick bread repertoire.
Variations and Flavor Additions for Your No-Knead Soda Bread
While traditional soda bread is plain, you can easily add flavorings to customize your simple quick bread. Try adding 1/2 cup of raisins or currants to the dry ingredients before adding the buttermilk for a touch of sweetness. A tablespoon of caraway seeds adds a classic Irish flavor. For an herbed version, incorporate 1-2 tablespoons of chopped fresh herbs like rosemary or chives.
You can also experiment with different flours. Substituting a small amount (say, 1/4 to 1/2 cup) of whole wheat flour or oat flour can add texture and flavor, though it might require a tiny bit more buttermilk. Remember that because this is a no-knead quick bread, the key is gentle handling to keep it tender.
Recipe 3: Effortless No-Equipment Cornbread: A Rustic Treat
Cornbread is a wonderfully versatile easy no-equipment quick bread, perfect served warm with butter or as a side to chili and stews. This version requires minimal mixing and can be baked in a variety of pans, including a simple square baking dish or even a cast iron skillet if you have one.
BakeWithEase's Guide to Delicious Cornbread Without Fancy Gadgets
Here’s how to whip up a quick, moist cornbread using everyday kitchen tools:
- Ingredients:
- 1 1/2 cups cornmeal
- 1 cup all-purpose flour
- 1/2 cup granulated sugar (adjust to preference, traditional is less sweet)
- 1 tablespoon baking powder
- 1/2 teaspoon salt
- 1 cup milk (or buttermilk)
- 1/2 cup vegetable oil or melted butter
- 2 large eggs, lightly beaten
- Instructions:
- Preheat your oven to 400°F (200°C). Grease an 8x8 inch square baking pan or a 9-inch round pan. (If using a cast iron skillet, preheat it in the oven with a tablespoon of oil before adding batter).
- In a large bowl, whisk together the cornmeal, flour, sugar, baking powder, and salt until well combined.
- In a separate medium bowl, whisk together the milk (or buttermilk), oil/melted butter, and beaten eggs.
- Pour the wet ingredients into the bowl with the dry ingredients.
- Using a spoon or spatula, stir the ingredients together just until the dry ingredients are moistened. A few lumps are okay. Avoid overmixing.
- Pour the batter into the prepared hot pan.
- Bake for 20-25 minutes, or until the edges are golden and a toothpick inserted into the center comes out clean.
- Let the cornbread cool in the pan for a few minutes before slicing and serving warm.
This recipe is another excellent example of an easy no-equipment quick bread, relying on simple mixing and basic ingredients for a comforting result.
Serving Suggestions and Complementary Dishes for Cornbread
Effortless no-equipment cornbread is incredibly versatile. It's fantastic served warm with just a pat of butter, perhaps drizzled with honey. It makes an excellent side dish for hearty meals like chili, beef stew, or pulled pork. For breakfast or brunch, try crumbling it into a bowl and serving with milk and a sprinkle of sugar, or use leftovers in cornbread stuffing.
You can also easily customize this simple quick bread. Add 1/2 cup of shredded cheddar cheese and a chopped jalapeño pepper to the batter before baking for a savory, spicy kick. Or stir in 1/4 cup of honey or maple syrup for a sweeter loaf. The possibilities are wide open, making cornbread a go-to for your easy no-equipment quick bread baking.
Troubleshooting Common Quick Bread Baking Problems (No Equipment Required)
Even with an easy no-equipment quick bread, you might encounter issues. Here are some common problems and how to fix them using just your understanding of the process.
What to Do If Your Quick Bread is Too Dry
A dry quick bread is often the result of too much flour or overbaking. Flour is notoriously tricky to measure accurately without a scale. When measuring with cups, avoid scooping directly from the bag, which compacts the flour. Instead, gently spoon flour into your dry measuring cup and level it off with a straight edge (like a knife). This method, called the spoon-and-level method, can prevent adding an extra 1/4 cup or more of flour per cup.
If your bread is already baked and dry, there's no way to add moisture back into the crumb itself. However, you can rescue it by serving it in ways that add moisture. Toast slices and serve with plenty of butter, jam, or honey. Use it in a bread pudding or French toast recipe, where it will soak up liquid. For future baking, ensure accurate measuring and test for doneness with a toothpick at the lower end of the recommended baking time.
Fixing a Quick Bread That Didn't Rise Properly
If your simple quick bread turned out dense and flat, the most likely culprits are inactive leavening agents (baking powder/soda) or overmixing. Baking powder and soda lose their potency over time, often after 6-12 months once opened. To test baking powder, add a teaspoon to a few tablespoons of hot water; it should bubble vigorously. For baking soda, add a teaspoon to a few tablespoons of vinegar; it should also fizz strongly. If they don't react, they need replacing.
Overmixing, as mentioned, develops gluten, which can make the bread tough and prevent it from rising fully. Ensure you are mixing wet and dry ingredients only until just combined – a few lumps are perfectly acceptable. Also, check your oven temperature if possible (an oven thermometer is a useful, inexpensive tool). An oven that's too cool might not activate the leaveners effectively before the structure sets.
Preventing a Soggy Bottom in Your No-Equipment Quick Breads
A soggy or gummy layer at the bottom of your easy no-equipment quick bread often indicates that the bottom isn't cooking as quickly as the top. This can happen if the oven rack is too low, the pan material isn't conducting heat well, or the bread is underbaked in the center.
To prevent this, ensure your oven rack is positioned in the middle of the oven. If you consistently get soggy bottoms, try placing a baking sheet on the rack below your quick bread pan; this can help deflect direct bottom heat and promote more even baking. Ensure you are baking for the full recommended time and that a toothpick inserted deep into the center comes out clean, not with wet batter (moist crumbs are fine). Using a lighter-colored metal pan often results in a more evenly baked bottom compared to dark metal or glass pans.
Tips and Tricks for No-Equipment Quick Bread Baking Success
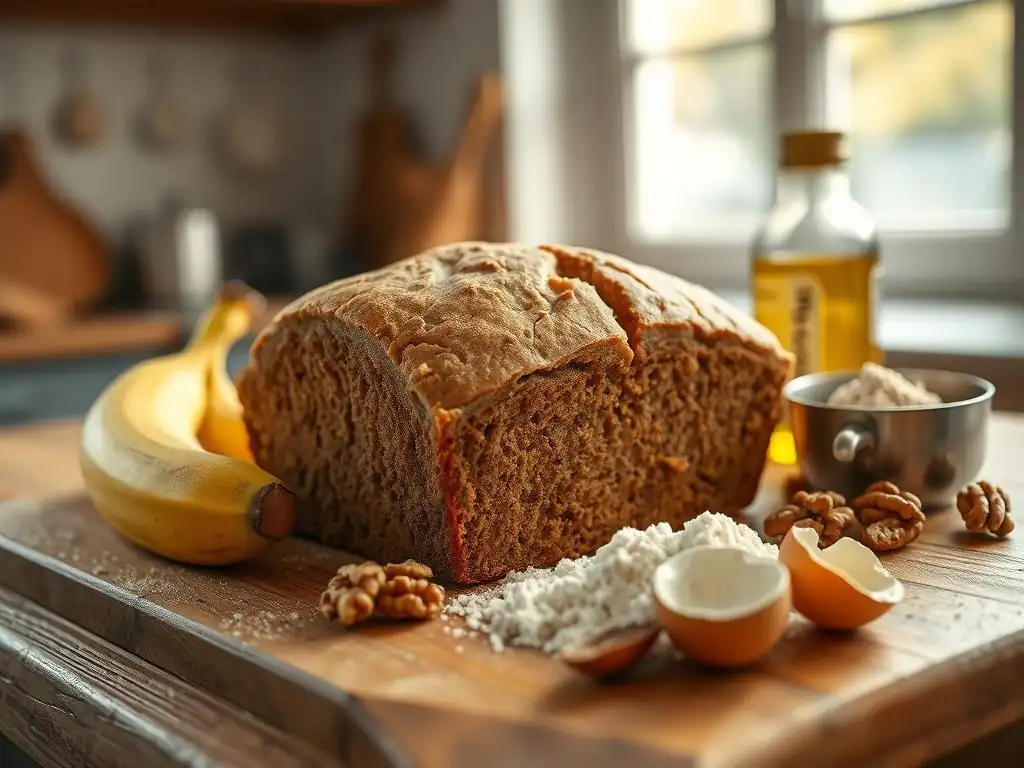
Mastering an easy no-equipment quick bread is about smart techniques and understanding the fundamentals.
Measuring Ingredients Accurately Without Special Scales
While scales offer the most accuracy, you can achieve reliable results with cups and spoons by following best practices. For dry ingredients like flour, use the spoon-and-level method: lightly spoon flour into the cup until overflowing, then level off the excess with a straight edge. Don't tap or shake the cup, as this compacts the flour. For sugar, brown sugar should be packed into the cup, while granulated sugar should be spooned and leveled.
Liquids should be measured in a liquid measuring cup placed on a flat surface, reading at eye level. Measuring spoons should be filled and leveled off. While not as precise as a scale, consistently using these methods will give you repeatable results for your simple quick bread recipes.
Achieving Even Baking Without a Rotating Oven
Most home ovens have hot spots. To ensure your easy no-equipment quick bread bakes evenly without a convection feature or rotating racks, simply rotate your baking pan halfway through the baking time. For a loaf pan, this means turning it 180 degrees.
This simple action helps different parts of the loaf get equal exposure to the oven's heat, leading to a more uniform rise and browning. Pay attention to how your oven typically bakes – if you notice the back is always hotter, rotating is even more important.
Storing and Freezing Your Easy No-Equipment Quick Breads
Proper storage helps keep your simple quick bread fresh. Once completely cooled, wrap loaf-style quick breads tightly in plastic wrap, then place in a ziptop bag or airtight container. Stored at room temperature, most quick breads will stay fresh for 2-3 days. For longer storage, quick breads freeze exceptionally well.
To freeze, ensure the bread is completely cooled. Wrap the loaf or individual slices tightly in plastic wrap, then wrap again in aluminum foil or place in a freezer-safe bag or container. Label with the date. Frozen quick bread can last for 2-3 months. Thaw overnight at room temperature or gently warm slices in a toaster oven.
Conclusion: Enjoying the Simplicity of Quick Bread Baking with BakeWithEase
Mastering the Art of Quick Breads Without Breaking the Bank
As you've seen, baking delicious quick breads doesn't require a kitchen full of expensive gadgets. The beauty of an easy no-equipment quick bread lies in its simplicity and reliance on basic techniques and common tools. By understanding the role of key ingredients and mastering simple mixing and baking methods, you can confidently create a wide variety of comforting loaves, muffins, and more. This approach makes baking accessible and enjoyable for everyone, proving that homemade goodness is truly achievable without special equipment.
Embracing the world of simple quick bread baking with minimal tools opens up a world of possibilities. From classic banana bread to rustic soda bread and versatile cornbread, these recipes are just the beginning. You've now built a foundation for easy no-equipment quick bread success, relying on skill and pantry staples rather than costly machinery.
Further Baking Adventures with Beginner Baking Recipes
With your newfound confidence in baking easy no-equipment quick breads, you're well-prepared to explore other beginner-friendly baking recipes. Many simple cakes, cookies, and muffins also require only basic mixing tools and common pans. Continue to explore recipes that build on these fundamental techniques.
BakeWithEase offers many more beginner baking recipes that minimize the need for specialized equipment. As you become more comfortable, you can gradually explore slightly more complex recipes, but remember that many impressive baked goods are simply variations on basic principles, achievable with the tools you already have. Enjoy the process, experiment with flavors, and share your delicious, easy no-equipment quick bread creations!
Frequently Asked Questions
What exactly is a no-equipment quick bread, and why is it considered "easy"?
No-equipment quick bread refers to breads made without specialized baking equipment, like stand mixers or bread machines. They are considered easy because the recipes are often simple to follow and require minimal mixing using only readily available tools.
What are some common ingredients needed for most easy no-equipment quick bread recipes?
You'll typically need basic ingredients like flour, leavening agents (baking powder or baking soda), salt, sugar, a liquid (milk or buttermilk), and fat (oil or melted butter). The key is that these are staple pantry items, making them easy to find.
How do quick breads differ from traditional yeast breads in terms of preparation?
Quick breads rely on chemical leavening agents rather than yeast, meaning they don't require proofing or a long rising time. This makes the baking process significantly faster and more straightforward.
Can I customize no-equipment quick bread recipes with different flavors or additions?
Absolutely! Quick breads are incredibly versatile. You can easily add fruits, nuts, spices, chocolate chips, or even vegetables to create unique flavor combinations and enhance the bread's texture.
What are some essential tips for ensuring my no-equipment quick bread turns out perfectly moist and delicious?
Avoid overmixing the batter, as this can lead to a tough bread. Also, be sure to preheat your oven properly and use the correct baking time and temperature to ensure even cooking and a golden-brown crust.
Final Reflection: The Joy of Effortless Baking
The accessibility of baking, even without specialized equipment, is more relevant than ever in today's busy world. It's a powerful reminder that creating delicious, homemade treats doesn't require a professional kitchen or a hefty investment in gadgets. The simple act of baking can be a source of comfort, creativity, and connection, regardless of your skill level or resources.
This exploration of quick bread recipes adaptable to everyday tools has underscored for me the enduring power of simple pleasures. The process itself—mixing, kneading (or not! ), and the eventual aroma of warm bread—is deeply satisfying. It's a tangible connection to a more traditional way of life, a counterpoint to the often-frantic pace of modern living. Baking is at once child's play and adult joy. And love, of course.
This quote perfectly encapsulates the experience of making quick breads, especially when you realize how easily accessible it is.
Now, I invite you to embrace the simplicity and joy of baking without limitations. Try one of the recipes from this article, adapt it to your own preferences, and share the experience with loved ones. Remember, the most important ingredient isn't a fancy stand mixer; it's the love and care you put into the process. Let the aroma of freshly baked bread fill your home and your heart.
Unleash Your Inner Baker: Quick Breads Made Easy!
Thanks for taking the time to explore the world of quick breads with us! We hope you now feel empowered to bake delicious treats without any fancy equipment. Ready to get started?
- Bake your first quick bread today! Choose your favorite recipe from the article and get baking. It’s easier than you think!
- Share your baking success! Snap a picture of your creation and post it on social media using #BakeWithEase. Let's inspire each other!
- Consider experimenting with different flours and add-ins to discover your unique flavor combinations. What exciting variations will you try next?
Ready to transform your kitchen into a quick bread haven?