
Your Guide to Impressive & Easy NoBake Desserts

Welcome to BakeWithEase!
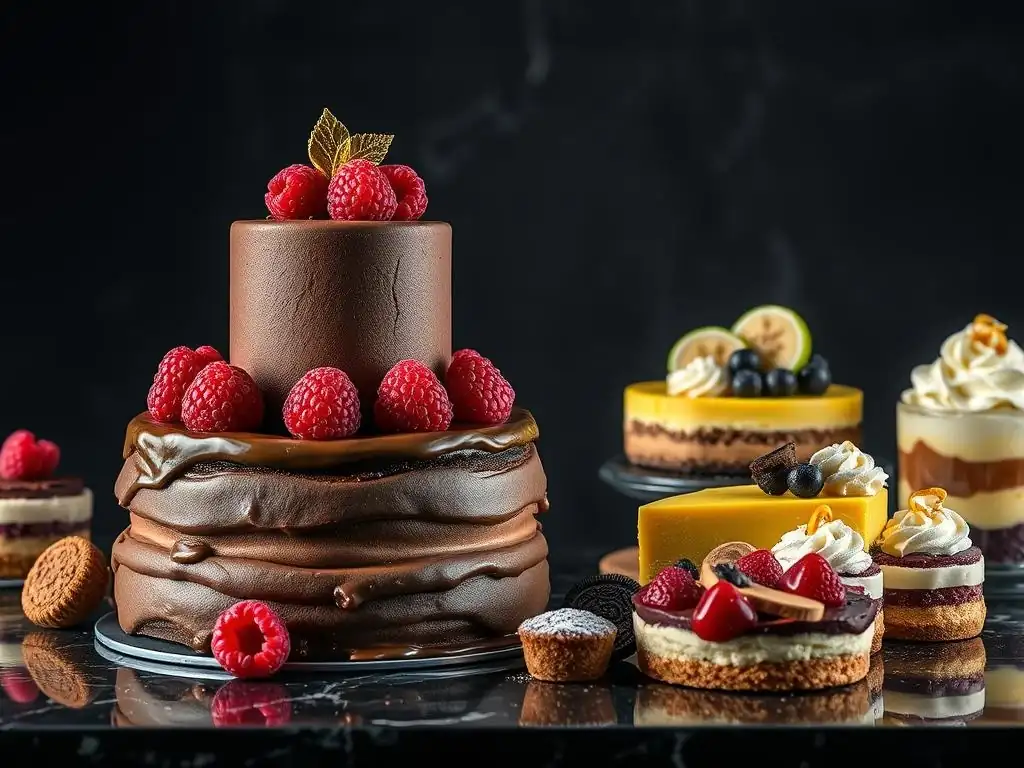
Tired of turning on the oven? Dive into a world of effortless indulgence with our collection of no bake dessert recipes. Discover how to create stunning sweets with simple ingredients and minimal effort. Whether you're a baking novice or just looking for a quick treat, get ready to impress with these easy-to-follow recipes. Curious to see what delectable delights await? Let's get started!
- Introduction to Easy No-Bake Dessert Recipes
- Must-Try No-Bake Dessert Recipes for Beginners
- No-Bake Dessert Techniques & Tips for Success
- No-Bake Dessert Recipe Variations and Customizations
- Storing and Serving Your No-Bake Desserts
- Conclusion: Unleash Your Inner Baker with No-Bake Desserts
- Frequently Asked Questions
- Final Reflection: The Sweet Simplicity of No-Bake Bliss
- Unleash Your Inner Pastry Chef: No-Bake Deliciousness Awaits!
Introduction to Easy No-Bake Dessert Recipes
Why Choose No-Bake Desserts? Convenience and Simplicity
No-bake dessert recipes offer a fantastic entry point into the world of sweet treats without the need for an oven. This convenience is a major draw, especially during warm weather when turning on the oven is the last thing you want to do. Imagine whipping up a delicious dessert in under 30 minutes of active time, chilling it in the refrigerator, and having a spectacular treat ready to serve later. It's perfect for busy weeknights or impromptu gatherings.
Beyond just avoiding heat, easy no-bake desserts streamline the entire process. You typically don't need to worry about precise oven temperatures, baking times, or uneven cooking. Many recipes rely on simple techniques like mixing, layering, and chilling. This simplicity reduces the potential for common baking mishaps, making success much more achievable for novice bakers. It's a low-stress way to satisfy your sweet tooth and impress friends and family.
Baking Made Easy: Perfect for Beginners
For anyone new to baking, the idea of using an oven, dealing with leavening agents, and monitoring internal temperatures can be intimidating. No-bake dessert recipes bypass many of these complexities, providing a confidence-building experience. They focus on fundamental kitchen skills like measuring, mixing, and assembling, which are transferable to other cooking and baking endeavors.
Starting with easy no-bake desserts allows beginners to achieve delicious results quickly, fostering a sense of accomplishment. Instead of wrestling with finicky cake batters or challenging bread doughs, you can create creamy pies, layered parfaits, or rich bars with minimal effort. This positive reinforcement is crucial for encouraging continued exploration in the kitchen and gradually tackling more complex baking projects.
Must-Try No-Bake Dessert Recipes for Beginners
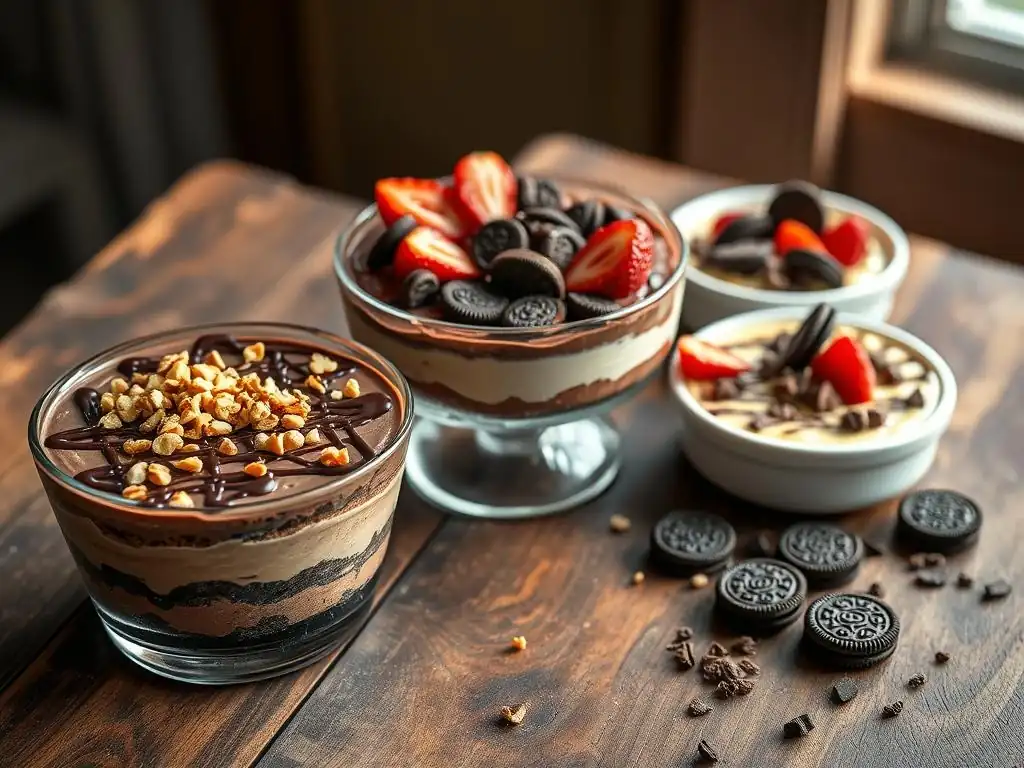
No-Bake Chocolate Dream Bars: A Rich and Decadent Treat
These bars are a true crowd-pleaser, featuring layers of chocolatey goodness and a simple crust. They are incredibly rich and satisfy even the most intense chocolate cravings. The combination of a crunchy base, creamy filling, and luscious topping makes for a delightful texture and flavor experience that requires zero oven time.
Making No-Bake Chocolate Dream Bars is straightforward, involving just a few steps: preparing the crust, making the chocolate cream cheese layer, adding a chocolate pudding layer, and finishing with whipped topping. Each layer is simple to assemble, and the chilling time does the rest of the work. This recipe is a prime example of impressive yet easy no-bake dessert recipes that deliver on flavor and presentation.
Ingredients for Chocolate Dream Bars
- 1 1/2 cups graham cracker crumbs
- 6 tablespoons melted butter
- 1 (8 ounce) package cream cheese, softened
- 1 cup powdered sugar
- 1 teaspoon vanilla extract
- 1 (12 ounce) container frozen whipped topping, thawed and divided
- 2 (3.9 ounce) packages instant chocolate pudding mix
- 3 cups cold milk
Step-by-Step Instructions for Making Chocolate Dream Bars
- Combine graham cracker crumbs and melted butter in a bowl. Press firmly into the bottom of a 9x13 inch pan. Chill for 10 minutes.
- In a large bowl, beat softened cream cheese and powdered sugar until smooth. Stir in vanilla extract and 1 1/2 cups of the thawed whipped topping. Spread this mixture evenly over the chilled crust.
- In another bowl, whisk together instant chocolate pudding mix and cold milk until thickened, about 2 minutes. Pour carefully over the cream cheese layer.
- Gently spread the remaining whipped topping over the pudding layer.
- Cover and refrigerate for at least 4 hours, or preferably overnight, before cutting into bars and serving.
Classic No-Bake Cheesecake: Creamy and Irresistible
A classic no-bake cheesecake offers the luxurious texture and tangy-sweet flavor of traditional cheesecake without the risk of cracks or uneven baking often associated with baked versions. This dessert relies on cream cheese, sugar, and often a stabilizer like gelatin or whipped cream to achieve its signature creamy consistency. It's significantly lighter than baked cheesecake, making it a refreshing option after a meal.
Creating a perfect no-bake cheesecake involves blending the filling ingredients until smooth and then allowing ample time for chilling. The chilling process is crucial for the filling to set properly and achieve that desirable firm-yet-creamy texture. Pairing it with a simple graham cracker crust makes for a timeless combination that's both elegant and incredibly easy to prepare, solidifying its place among beloved easy no-bake dessert recipes.
No-Bake Cheesecake Ingredients List
- 1 1/2 cups graham cracker crumbs
- 6-8 tablespoons melted butter
- 2 (8 ounce) packages cream cheese, softened
- 1 cup powdered sugar
- 1 teaspoon vanilla extract
- 1/4 cup cold water
- 1 tablespoon unflavored gelatin powder (optional, for firmer set)
- 2 cups heavy cream, whipped to stiff peaks
Simple Steps to a Perfect No-Bake Cheesecake
- Mix graham cracker crumbs and melted butter. Press firmly into the bottom of a 9-inch pie plate or springform pan. Chill for at least 15 minutes.
- If using gelatin: Sprinkle gelatin powder over the cold water in a small bowl. Let stand for 5 minutes to bloom. Heat gently (microwave for 10-15 seconds or over hot water) until completely dissolved. Let cool slightly.
- In a large bowl, beat softened cream cheese, powdered sugar, and vanilla extract until smooth and fluffy.
- If using gelatin: Gradually beat the cooled, dissolved gelatin into the cream cheese mixture.
- Gently fold in the whipped heavy cream until no streaks remain.
- Pour the filling into the chilled crust. Smooth the top with a spatula.
- Cover and refrigerate for at least 4-6 hours, or until completely set. Serve chilled, optionally topped with fruit or sauce.
No-Bake Peanut Butter Cup Dessert: A Peanut Butter Lover's Delight
This indulgent dessert layers peanut butter and chocolate flavors over a crunchy base, reminiscent of everyone's favorite candy cup. It's incredibly rich and satisfying, combining creamy textures with sweet and salty notes. The beauty of this no-bake treat lies in its simplicity – minimal ingredients and straightforward assembly make it accessible for bakers of any skill level.
The typical structure involves a cookie or graham cracker crust, a creamy peanut butter layer, and a smooth chocolate topping. Some variations might include chocolate chips or chopped peanut butter cups folded into layers. The key is allowing sufficient chilling time for the layers to set, resulting in a dessert that slices beautifully and tastes even better. It's a guaranteed hit for anyone who loves the classic peanut butter and chocolate combination, making it a standout among easy no-bake dessert recipes.
What You'll Need for Peanut Butter Cup Dessert
- 1 1/2 cups chocolate cookie crumbs (like Oreos, filling removed)
- 6 tablespoons melted butter
- 1 (8 ounce) package cream cheese, softened
- 1 cup creamy peanut butter
- 1 cup powdered sugar
- 1 teaspoon vanilla extract
- 1 (12 ounce) container frozen whipped topping, thawed
- 1 1/2 cups semi-sweet chocolate chips
- 1/2 cup heavy cream
Easy Assembly Instructions
- Combine chocolate cookie crumbs and melted butter. Press firmly into the bottom of a 9x13 inch pan. Chill for 15 minutes.
- In a large bowl, beat softened cream cheese and peanut butter until smooth. Add powdered sugar and vanilla extract, beating until well combined. Gently fold in half of the thawed whipped topping. Spread this mixture over the chilled crust.
- Place chocolate chips in a heatproof bowl. Heat heavy cream in a small saucepan or microwave until just simmering. Pour hot cream over chocolate chips and let stand for 5 minutes. Whisk until smooth and glossy (this is your ganache).
- Pour the chocolate ganache over the peanut butter layer.
- Carefully spread the remaining whipped topping over the chocolate layer.
- Cover and refrigerate for at least 4 hours, or until set.
No-Bake Strawberry Shortcake Parfaits: Light and Refreshing
These parfaits offer a lighter, fruitier alternative to some of the richer no-bake options. They layer fresh strawberries, whipped cream or a creamy filling, and pieces of pound cake, angel food cake, or even crumbled cookies. The result is a bright, airy dessert that's perfect for spring and summer, showcasing the natural sweetness of the fruit.
Putting together strawberry shortcake parfaits is incredibly simple, often requiring just slicing fruit, whipping cream, and layering components in individual glasses or jars. This makes them not only easy to make but also easy to serve and customize. They are excellent for using seasonal berries and provide a visually appealing dessert that tastes as good as it looks, fitting perfectly into the category of delightful easy no-bake dessert recipes.
Ingredients for Strawberry Shortcake Parfaits
- 4 cups fresh strawberries, hulled and sliced
- 2-4 tablespoons granulated sugar (adjust to taste)
- 1 store-bought pound cake or angel food cake, cut into 1-inch cubes
- 2 cups heavy cream
- 1/2 cup powdered sugar
- 1 teaspoon vanilla extract
Layering Your Perfect Parfait
- In a medium bowl, gently toss sliced strawberries with granulated sugar. Let sit for 10-15 minutes to macerate and release juices.
- In a separate bowl, beat heavy cream with powdered sugar and vanilla extract until stiff peaks form.
- Gather your serving glasses or jars. Place a layer of cake cubes at the bottom of each glass.
- Spoon a layer of macerated strawberries (including some juice) over the cake.
- Add a layer of whipped cream.
- Repeat the layers: cake, strawberries, whipped cream, until the glass is full, ending with a dollop of whipped cream and a few strawberry slices on top.
- Serve immediately or chill for up to 2 hours before serving. Note: For best texture, parfaits are often best assembled closer to serving time to prevent the cake from becoming too soggy.
No-Bake Dessert Techniques & Tips for Success
Mastering the No-Bake Crust
A solid no-bake crust provides the essential base and structure for many easy no-bake desserts like cheesecakes and bars. The most common type is a crumb crust, typically made from graham crackers, but cookie crumbs or even crushed pretzels can be used.
The key is getting the right ratio of crumbs to melted fat (usually butter) so that the crust holds together when chilled but isn't overly greasy or hard. A good starting point is about 1 1/2 cups of fine crumbs mixed with 6 to 8 tablespoons of melted butter for a standard 9-inch pie plate or the bottom of a 9x13 inch pan.
Pressing the crumb mixture firmly and evenly into the pan is crucial. Using the bottom of a glass or a flat measuring cup helps compact the crumbs, ensuring the crust doesn't fall apart when you slice the dessert. Chilling the crust before adding the filling is also a vital step. This allows the butter to solidify, binding the crumbs together and creating a firm foundation. Even a quick 15-minute chill in the freezer or 30 minutes in the refrigerator can make a significant difference in the crust's stability.
Graham Cracker Crust Secrets
Achieving a perfect graham cracker crust starts with finely ground crumbs. You can achieve this using a food processor or by placing crackers in a zip-top bag and crushing them with a rolling pin. Aim for a fine, sand-like consistency for the best texture.
The amount of butter is key; too little, and the crust is crumbly; too much, and it's greasy. Starting with 6 tablespoons per 1.5 cups of crumbs and adding a bit more if needed until the mixture resembles wet sand is a good approach. Pressing it firmly into the pan is non-negotiable for a crust that holds its shape.
Alternative Crust Options
While graham crackers are classic, feel free to experiment!
- Chocolate Cookie Crust: Use chocolate sandwich cookies (like Oreos, often with the filling removed) for a rich, dark base.
- Vanilla Wafer Crust: Crushed vanilla wafers provide a milder, buttery flavor.
- Gingersnap Crust: Offers a spicy kick that pairs well with pumpkin or apple fillings.
- Pretzel Crust: Creates a unique sweet and salty contrast, excellent with peanut butter or caramel.
- Shortbread Crust: Crushed shortbread cookies give a buttery, delicate base.
The principle remains the same: crush, mix with melted butter, press, and chill.
Achieving the Perfect No-Bake Filling
The texture of a no-bake filling is paramount. It needs to be smooth, creamy, and set firmly enough to slice, but not so firm that it feels rubbery. Many no-bake fillings rely on a base of cream cheese or whipped cream (or both), sweetened and flavored. Ensuring your cream cheese is fully softened to room temperature before mixing is vital for a lump-free, smooth filling. Beat it on its own first until creamy before adding other ingredients.
Stabilizing agents are often used to help no-bake fillings set. Unflavored gelatin is a common choice, providing a reliably firm set. Whipped cream, when folded in, adds airiness and helps thicken the mixture as it chills. Some recipes use instant pudding mixes, which contain starches and stabilizers that thicken when combined with milk. Understanding how these components work helps troubleshoot issues like a filling that's too soft or too hard.
Using Gelatin Correctly
Gelatin is a powerful setting agent for no-bake dessert recipes, but it requires proper handling. Always "bloom" powdered gelatin first by sprinkling it over cold liquid (usually water or juice) and letting it sit for about 5 minutes. This allows the granules to absorb the liquid and swell.
After blooming, the gelatin needs to be dissolved completely before being added to your filling mixture. You can do this by gently heating the bloomed gelatin (microwave for 10-20 seconds or place the bowl over hot water) until it's clear and there are no visible granules. Crucially, let the dissolved gelatin cool slightly before incorporating it into your main filling mixture to avoid melting or curdling other ingredients like cream cheese or whipped cream. Gradually whisking it in ensures even distribution.
Cream Cheese Tips for Smooth Fillings
Cream cheese is the backbone of many creamy no-bake fillings, especially cheesecakes and bars. For the smoothest texture, always start with cream cheese that is genuinely at room temperature. This means leaving it out on the counter for at least 30-60 minutes before you begin. Cold cream cheese will result in a lumpy filling, no matter how much you beat it.
Beat the softened cream cheese by itself in a bowl until it's light and fluffy before adding sugar or other ingredients. This initial step breaks down the block and creates a smooth base. Scrape down the sides and bottom of the bowl frequently to ensure everything is incorporated. If your filling still seems a bit lumpy, a quick blitz with an immersion blender or transferring it to a food processor can help achieve ultimate smoothness before chilling.
Garnishing and Presentation: Making Your No-Bake Desserts Shine
Garnishing is the final touch that elevates simple easy no-bake desserts into impressive creations. Even the most basic no-bake treat can look spectacular with a thoughtful garnish. Think about colors, textures, and complementary flavors. Fresh berries are a classic choice for cheesecakes and parfaits, adding vibrant color and a burst of freshness. Chocolate shavings or cocoa powder can enhance chocolate-based desserts. A simple dusting of powdered sugar adds a touch of elegance.
Presentation goes beyond just the garnish; how you slice or serve the dessert matters. For bars, clean cuts with a warm knife make a difference. For parfaits, layering the ingredients neatly in clear glasses showcases the different components. Serving slices on attractive plates or presenting the whole dessert on a nice stand adds to the visual appeal, proving that easy no-bake dessert recipes can be just as stunning as baked goods.
Simple Garnishing Ideas
Here are a few easy ways to add flair to your no-bake creations:
- Fresh Fruit: Berries (strawberries, raspberries, blueberries), sliced kiwi, mango cubes.
- Chocolate: Chocolate shavings (use a vegetable peeler on a chocolate bar), cocoa powder dusting, chocolate chips, chocolate syrup drizzle.
- Whipped Cream/Topping: Pipe decorative swirls using a piping bag fitted with a star tip.
- Nuts/Seeds: Chopped nuts (pecans, walnuts), toasted coconut flakes.
- Cookies/Crumbs: Reserve some crust crumbs or crush extra cookies for sprinkling on top.
- Sauces: Fruit sauces, caramel sauce, or hot fudge sauce drizzled over individual servings.
Plating Techniques for No-Bake Desserts
How you plate your no-bake dessert can enhance the eating experience.
- For bars and solid desserts, use a sharp knife heated under hot water and wiped dry to make clean cuts.
- Serve slices on simple, elegant plates to let the dessert stand out. A swirl of sauce or a sprig of mint on the plate can add a professional touch.
- Parfaits and layered desserts are best served in clear glasses, jars, or bowls to showcase the beautiful layers.
- For individual servings of mousses or puddings, consider serving them in small ramekins or decorative cups.
- Ensure your serving spoon or spatula is clean between servings to keep edges tidy.
No-Bake Dessert Recipe Variations and Customizations
Adapting Recipes to Dietary Needs
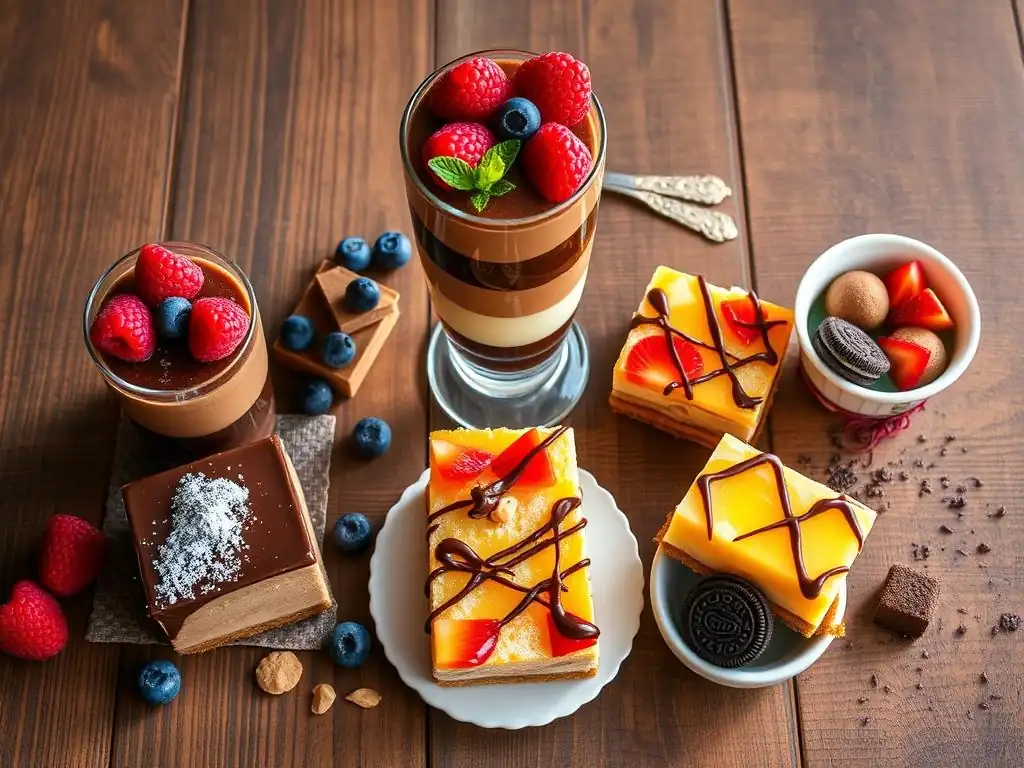
One of the great things about many easy no-bake dessert recipes is how adaptable they can be for various dietary needs. Swapping ingredients often doesn't involve complex chemical reactions like in baking, making substitutions more straightforward. For instance, crusts can often be made gluten-free, and creamy fillings can be adapted to be vegan.
While specific ingredient swaps might slightly alter the texture, the core principles of mixing, layering, and chilling remain the same. This flexibility allows everyone to enjoy delicious no-bake treats, regardless of restrictions. Exploring these variations expands the repertoire of easy no-bake desserts you can confidently make.
Gluten-Free No-Bake Desserts
Making a no-bake dessert gluten-free primarily involves substituting the crust component. Instead of using traditional graham crackers or cookies made with wheat flour, opt for gluten-free alternatives.
- Gluten-Free Graham Crackers: Readily available in most supermarkets. Use them exactly as you would regular graham crackers for the crust.
- Gluten-Free Cookies: Many types of gluten-free cookies (like chocolate sandwich cookies or shortbread) can be crushed and used for a crust.
- Nut & Seed Crusts: A crust can be made from finely ground nuts (like almonds or pecans) mixed with melted butter or coconut oil. Add a touch of sugar or sweetener.
- Coconut or Cereal Crusts: Crushed gluten-free cereals or toasted coconut flakes can also form a base when mixed with fat.
The filling is often naturally gluten-free, but always check ingredient labels on items like pudding mixes or flavorings to be sure.
Vegan No-Bake Dessert Options
Creating vegan easy no-bake desserts involves replacing dairy and other animal products.
- Crust: Use vegan butter or coconut oil instead of dairy butter for crumb crusts. Ensure the cookies or crackers used are vegan (check labels for dairy, eggs, honey).
- Cream Cheese: Use plant-based cream cheese alternatives, which are widely available.
- Whipped Cream: Use coconut cream (the thick part from a can of full-fat coconut milk, chilled), or store-bought vegan whipped toppings made from soy, oat, or other plant bases.
- Milk: Use plant-based milks like almond, soy, oat, or cashew milk for pudding or filling bases.
- Gelatin: Replace animal-based gelatin with plant-based agar-agar powder or flakes. Note: Agar-agar requires boiling to dissolve and sets more firmly than gelatin, so follow specific vegan recipes carefully.
- Sweeteners: Ensure sugar is vegan-friendly (some white sugars are processed with bone char; look for organic or specifically labeled vegan sugars).
Many fruit-based no-bake desserts like sorbets or certain types of puddings are naturally vegan or easily adapted.
Flavor Variations: Experimenting with No-Bake Recipes
Once you're comfortable with basic easy no-bake dessert recipes, don't hesitate to get creative with flavors! The simple nature of these desserts makes them excellent canvases for experimentation. Start by thinking about classic flavor pairings or seasonal ingredients.
You can easily swap extracts, add spices, incorporate fresh fruit, or mix in different types of chocolate or nuts into the base recipes provided earlier. Want a lemon cheesecake instead of classic? Add lemon zest and juice. Craving something tropical? Mix in mashed banana or pureed mango into a creamy filling. These small changes can yield dramatically different and exciting results, keeping your no-bake repertoire fresh and fun.
Adding Extracts and Spices
Extracts and spices are simple ways to infuse flavor into your no-bake fillings and toppings.
- Extracts: Vanilla extract is standard, but try almond extract with cherry or berry flavors, peppermint extract with chocolate, or citrus extracts (lemon, orange) for brightness. A little goes a long way, start with 1/2 teaspoon and add more if needed.
- Spices: Ground cinnamon, nutmeg, or ginger can be added to crusts or creamy fillings, especially for autumnal flavors. A pinch of salt can enhance sweetness and balance flavors. Consider adding cardamom to a cream cheese filling or chili powder to a chocolate ganache for an unexpected twist.
Incorporating Fresh Fruits
Fresh fruits are perfect partners for easy no-bake desserts, adding natural sweetness, acidity, and vibrant color.
- Folding In: Gently fold diced or pureed soft fruits like berries, peaches, or mashed banana into creamy fillings just before chilling.
- Layering: As seen with the strawberry parfaits, layering slices or chunks of fruit between creamy layers is simple and effective.
- Toppings: Use fresh fruit as a beautiful and healthy garnish on top of cheesecakes, tarts, or puddings.
- Sauces: Cook down fruits like berries or cherries with a little sugar and lemon juice to create a simple fruit sauce for drizzling over your dessert.
Storing and Serving Your No-Bake Desserts
Proper Storage Techniques for No-Bake Treats
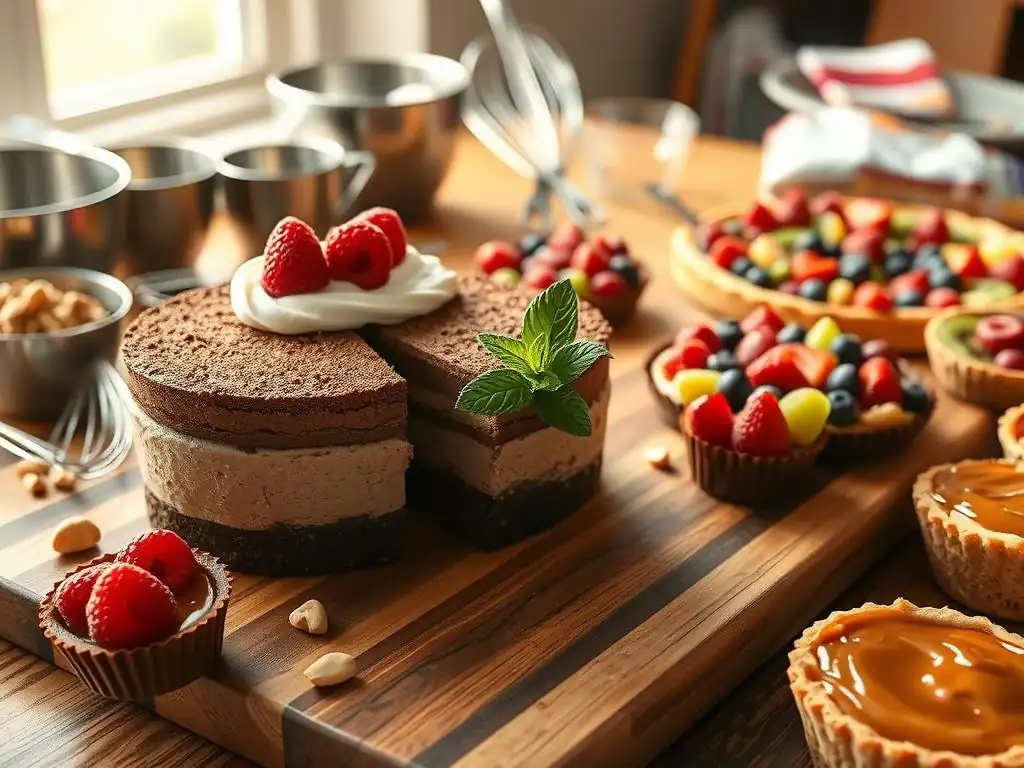
Proper storage is essential for maintaining the texture and freshness of your easy no-bake desserts. Since they rely on chilling to set, they must be kept cold. The refrigerator is your best friend here. Ensure desserts are tightly covered to prevent them from absorbing odors from other foods in the fridge and to keep them from drying out. Plastic wrap pressed directly onto the surface of creamy fillings can help prevent a skin from forming.
Most no-bake desserts, particularly those with dairy or fruit, are best consumed within 3-5 days when stored correctly in the refrigerator. Layered desserts like parfaits with cake or cookies might soften over time, so they are often best enjoyed within 24-48 hours. Freezing is an option for some no-bake treats like cheesecakes or bars, extending their shelf life significantly, often up to 1-2 months. Wrap them tightly in plastic wrap and then foil before freezing.
Tips for Serving and Enjoying No-Bake Desserts
Serving no-bake desserts is generally straightforward, as they are ready to eat straight from the fridge. For desserts that are very firm, like those set with gelatin or frozen, allowing them to sit at room temperature for 10-15 minutes before slicing can make them easier to cut and improve the texture slightly.
Presenting the dessert nicely, as discussed in the garnishing section, adds to the enjoyment. Serve slices of bars or cheesecakes with a clean, warm knife for the neatest portions. For parfaits or individual servings, ensure spoons are easily accessible. Encourage guests to appreciate the different textures and flavors in each bite. Enjoy the compliments on your impressive (and secretly easy!) no-bake dessert recipes!
Conclusion: Unleash Your Inner Baker with No-Bake Desserts
No-Bake Desserts: A Gateway to Baking Confidence
Easy no-bake dessert recipes are more than just simple treats; they are a fantastic stepping stone for anyone looking to gain confidence in the kitchen, especially beginners interested in baking. By focusing on fundamental techniques like measuring, mixing, and chilling, these recipes remove the intimidation often associated with using an oven and complex baking science. Successfully creating a delicious no-bake treat provides a tangible win, building skills and enthusiasm for tackling more involved culinary projects down the road.
Embracing the world of no-bake desserts teaches valuable lessons about ingredient ratios, texture manipulation through chilling, and the importance of patience while waiting for things to set. These experiences are directly applicable to other areas of baking and cooking. So, start with a simple chocolate bar or a classic cheesecake, master a few easy no-bake dessert recipes, and feel your confidence grow. You'll soon find yourself ready to explore new challenges.
Explore More Beginner Baking Recipes at BakeWithEase.com
Ready to continue your baking journey? BakeWithEase.com is dedicated to making baking accessible and enjoyable for everyone. We offer a wide variety of beginner baking recipes, from simple cookies and muffins to more challenging cakes and breads, all explained with clear, step-by-step instructions.
Whether you want to perfect your chocolate chip cookie game, bake your first loaf of yeast bread, or dive deeper into decorating cakes, you'll find the resources and guidance you need. Our collection includes recipes categorized by skill level and type, making it easy to find your next baking adventure. Continue building on the confidence you gained with easy no-bake dessert recipes and discover the joy of creating all sorts of baked goods right in your own kitchen.
Frequently Asked Questions
What exactly constitutes a "no-bake" dessert?
A no-bake dessert is any sweet treat that doesn't require the use of an oven or other heat source for the main cooking process. This often relies on chilling or freezing to set ingredients.
Are no-bake desserts only for beginners?
Not at all! While they are easy to make, no-bake desserts can be incredibly impressive and sophisticated. They're perfect for any skill level.
What are some common ingredients used in no-bake recipes?
Common ingredients include cream cheese, graham crackers, chocolate, whipped cream, and various fruits. These create a variety of textures and flavors.
Can I adapt baked dessert recipes to be no-bake?
Sometimes, but not always directly. You'll need to consider how the baking process affects the texture and flavor. You may need to adjust liquid ratios or use setting agents like gelatin.
How long do no-bake desserts typically need to chill before serving?
The chilling time varies depending on the recipe, but generally, allow at least 2-4 hours for the dessert to fully set. Some require overnight chilling for optimal results.
Final Reflection: The Sweet Simplicity of No-Bake Bliss
The enduring appeal of no-bake desserts lies not just in their ease of preparation, but in their ability to deliver impressive results with minimal effort. In a world increasingly demanding our time and attention, these recipes offer a welcome respite, a delicious shortcut to satisfying sweet cravings without sacrificing elegance or taste. They're a testament to the fact that sometimes, the simplest creations are the most rewarding.
The joy of a perfectly chilled, creamy no-bake dessert transcends mere culinary satisfaction; it's a symbol of shared moments, of effortless hospitality, and of the simple pleasure of indulging in something sweet. The best things in life are simple.
This quote perfectly encapsulates the spirit of these recipes, reminding us that extraordinary experiences don't always require extraordinary effort. The ease with which these desserts can be made allows us to focus on what truly matters: connecting with loved ones over a shared treat.
Now, I invite you to explore the world of no-bake desserts beyond these recipes. Experiment with flavors, textures, and presentations. Don't be afraid to get creative and personalize these recipes to reflect your own unique style. Remember the joy of creating something delicious and beautiful without the stress of complicated techniques. Let the sweet simplicity of no-bake baking bring a little extra joy into your life and the lives of those you share it with.
Unleash Your Inner Pastry Chef: No-Bake Deliciousness Awaits!
Thanks for joining us on this delicious journey into the world of no-bake desserts! We hope you've discovered some sweet inspiration and easy recipes to impress your friends and family. Ready to take your baking (or rather, non-baking!) skills to the next level?
- Dive into our extensive No-Bake Recipe Collection: Explore even more amazing recipes, perfect for any occasion, skill level, or dietary need! (Think vegan options, gluten-free delights, and more!)
- Share your creations: Tag us on social media with your stunning no-bake masterpieces! We can't wait to see what you whip up.
- Challenge yourself: Try a recipe that's a little outside your comfort zone – you might surprise yourself with how easy and rewarding it is!
What's your favorite no-bake dessert to make (or eat!)? Let us know in the comments below!