
Level Up Your Layers: Tools for Perfectly Flat Cakes

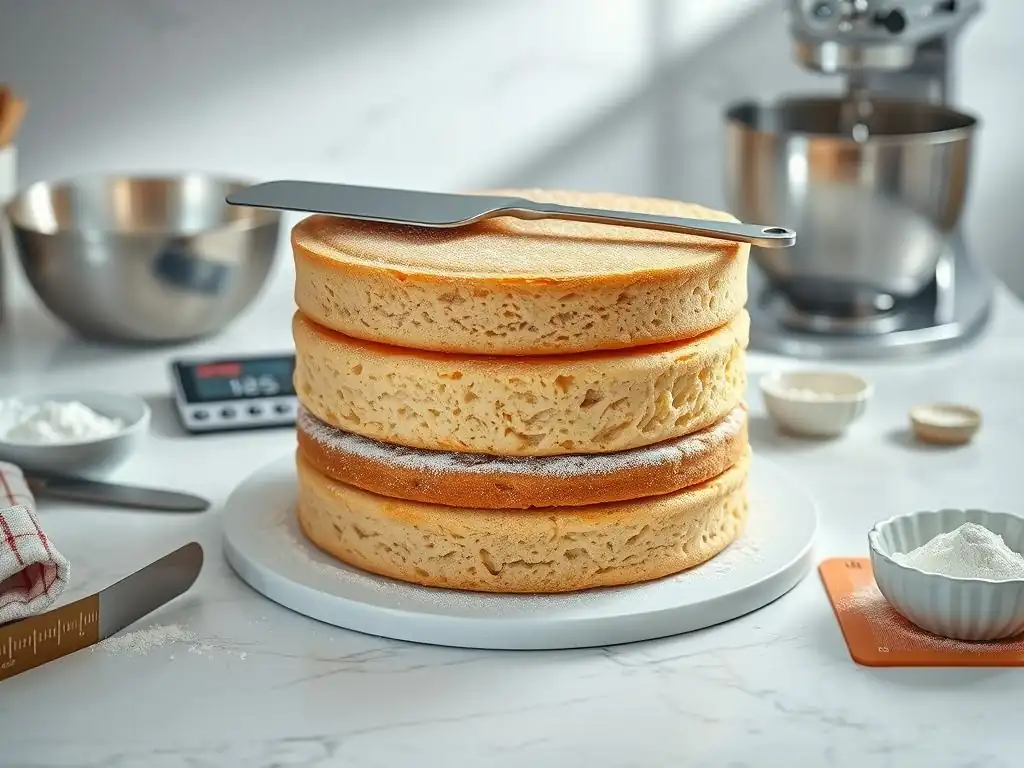
Welcome to BakeWithEase, where baking dreams become delicious realities! Tired of lopsided cakes and uneven layers? Discover the secrets to achieving perfectly flat cake layers in our latest guide. Uncover the essential tools and techniques that will transform your baking from frustrating to flawlessly formed. Dive in and learn how to level up your layer cakes today!
- Bake Perfectly Flat Cake Layers: The Key to Stunning Cakes
- Why Perfectly Flat Cake Layers Matter for Cake Decorating
- Essential Tools for Baking Flat Cake Layers
- Techniques for Achieving Perfectly Flat Cake Layers
- Beyond the Tools: Tips for Consistently Flat Cakes
- Alternatives to Leveling: Embracing Imperfection and Creative Solutions
- Maintaining Your Cake Leveling Tools for Longevity
- Frequently Asked Questions
- Final Reflection: The Pursuit of the Perfect Layer
- Unlock Your Inner Cake Artist: Master the Art of Flat Layers!
Bake Perfectly Flat Cake Layers: The Key to Stunning Cakes
Creating stunning, professional-looking cakes often starts with a solid foundation – perfectly flat cake layers. While a rustic, domed cake has its charm, achieving level layers is crucial for multi-tiered cakes, intricate frosting designs, and a polished finish. Baking perfectly flat cake layers isn't just about following a recipe; it involves understanding how heat distribution affects your batter and employing the right tools and techniques to control the outcome. This guide will walk you through the essential equipment and methods to banish those frustrating domes and sunken centers, setting you up for cake decorating success.
Mastering the art of baking flat cakes elevates your skills significantly. Imagine stacking three or four layers of cake that are all precisely the same height and perfectly level. This not only makes the assembly process smoother but also ensures your final decorated cake stands tall and stable. Whether you're aiming for sharp buttercream edges, smooth ganache drips, or elaborate fondant decorations, starting with perfectly flat cake layers is the non-negotiable first step to achieving those picture-perfect results you see in bakeries.
Why Perfectly Flat Cake Layers Matter for Cake Decorating
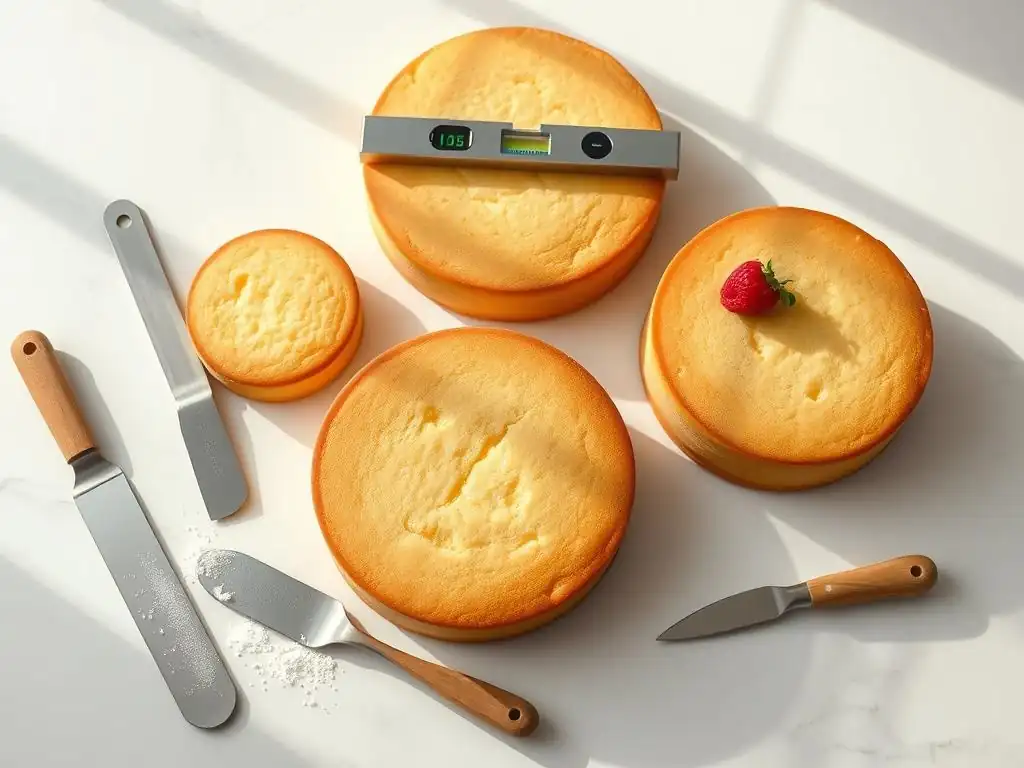
Achieving perfectly flat cake layers is more than just an aesthetic preference; it's a fundamental requirement for successful cake assembly and decoration, especially as you move beyond simple single-layer cakes. Uneven layers can complicate frosting application, lead to structural instability, and ultimately detract from the visual appeal of your finished creation. Understanding why level layers are so important is the first step towards prioritizing the tools and techniques needed to produce them consistently.
When your cake layers are perfectly flat, stacking becomes effortless. Each layer sits flush against the next, creating clean lines and an even height across the entire cake. This is particularly critical for tiered cakes, where the weight distribution needs to be balanced to prevent leaning or collapse. Flat layers also ensure that your filling is distributed evenly between layers, providing a consistent flavor and texture experience with every slice.
Achieving Professional Cake Finishes with Level Layers
Professional cake decorators meticulously level their cake layers because it directly impacts the final finish. A cake made with perfectly flat cake layers provides a smooth, even surface for applying frosting, fondant, or other coverings. This allows for sharp edges, smooth sides, and flawless finishes that are difficult, if not impossible, to achieve with domed or uneven layers.
Consider applying a smooth buttercream finish or covering a cake with fondant. If the cake layers underneath are uneven, the frosting or fondant will highlight these imperfections, resulting in bulges, dips, or an overall lopsided appearance. Leveling ensures that the canvas you're working on is perfectly flat, allowing your decorative skills to shine without being hindered by the cake's structure. For example, achieving those popular sharp buttercream edges often requires starting with layers that are trimmed to within a millimeter or two of perfect flatness across their entire surface.
The Impact of Uneven Layers on Cake Stability and Aesthetics
Uneven cake layers significantly compromise both the structural integrity and the visual appeal of a cake. A domed layer creates an unstable base for the layer above it, often requiring excessive frosting to fill the gap, which can lead to the upper layer sliding or the cake leaning over time. Similarly, layers with significant dips or slopes make it challenging to stack evenly and can cause the entire structure to become wobbly, especially with heavier fillings or multiple tiers.
Aesthetically, uneven layers are immediately noticeable, particularly when the cake is sliced. The varying heights and irregular shape of the layers create an unprofessional look. Furthermore, uneven layers can lead to inconsistent frosting thickness, with some areas having too much and others too little, affecting the overall balance of flavors and textures. For instance, a three-layer cake with layers varying in height by just half an inch can look significantly less polished than one where all layers are consistently 1.5 inches tall after leveling.
Essential Tools for Baking Flat Cake Layers
Achieving perfectly flat cake layers isn't solely dependent on your baking technique; having the right tools plays a significant role. From the pans you bake in to the gadgets you use for leveling, each piece of equipment contributes to controlling the baking process and refining the final shape of your cake layers. Investing in quality tools designed for this specific purpose can dramatically improve your results and make the process more efficient and enjoyable.
Think of these tools as your allies in the battle against the dreaded cake dome. They are designed to mitigate common baking issues like uneven heat distribution and inconsistent rising. While some tools are used during the baking process itself, others are essential for post-baking adjustments. Combining effective techniques with the appropriate tools is the most reliable path to consistently producing perfectly flat cake layers that are ready for decorating.
Leveling Tools: Your Secret Weapon for Flat Cakes
Even with the best baking practices, cakes often develop a slight dome. This is where leveling tools become indispensable. These tools allow you to trim off the raised portion of the cake, leaving you with a perfectly flat surface ready for stacking. Using a dedicated leveling tool is far more effective and accurate than attempting to freehand the job with a regular knife.
Leveling tools ensure that you remove just the necessary amount of cake to achieve a flat top, without taking off too much or creating an uneven cut. This precision is key to maintaining consistent layer height, which is vital for a balanced and stable stacked cake. Whether you prefer a simple serrated knife designed for cakes or a more adjustable wire leveler, incorporating a leveling tool into your post-baking routine is essential for achieving perfectly flat cake layers.
Cake Levelers: A Detailed Guide
Cake levelers are specialized tools designed specifically for slicing off the top portion of a cake layer to create a flat surface. They offer a more controlled and consistent cut compared to using a standard knife, making them a favorite among both amateur and professional bakers aiming for perfectly flat cake layers. Understanding the different types available and how to use them properly is crucial for best results.
These tools typically feature a sharp blade or wire attached to a frame, often with adjustable height settings. This allows you to set the precise height at which you want to slice, ensuring all your layers are uniform. Using a cake leveler helps minimize waste by making a clean, even cut right where you need it, eliminating the guesswork and potential for crooked slices that come with freehand cutting.
Types of Cake Levelers: Serrated Knives, Wires, and Adjustable Levelers
There are several types of cake levelers, each with its own advantages. The simplest is a long, serrated knife specifically designed for slicing cakes; its length allows for a single, sweeping cut across the entire diameter. More common are wire levelers, which consist of a thin wire stretched between two legs or a frame. These are often adjustable, allowing you to set the wire height using notches or a sliding mechanism. Adjustable levelers are popular because they offer flexibility in layer thickness.
For example, a basic wire leveler might have 5-7 height settings, allowing you to easily create layers ranging from about 0.75 inches to 2 inches thick from a standard cake. Some advanced models feature a sturdy frame with multiple wires or a rotary blade, offering even greater precision and stability for larger or denser cakes. While a good serrated knife can work for smaller cakes, adjustable wire levelers are generally preferred for their ability to ensure consistent height across multiple layers and different cake sizes, making perfectly flat cake layers more attainable.
How to Use a Cake Leveler for Even Cake Layers
Using a cake leveler is straightforward but requires a steady hand and a level surface. First, ensure your cake layer is completely cooled, preferably chilled slightly, as this makes it firmer and easier to slice cleanly. Place the cake on a flat surface, like a cutting board or cake stand. Adjust your wire or blade leveler to the desired height, typically just below the highest point of the dome.
Hold the leveler with both hands, keeping the feet or base firmly on the surface next to the cake. Gently draw the leveler through the cake with a sawing motion. Do not press down; let the wire or blade do the work. Keep the leveler parallel to the surface you're working on throughout the cut to ensure a perfectly flat cake layer. Practice makes perfect, and soon you'll be able to level cakes quickly and cleanly, resulting in consistently flat tops ready for frosting and stacking.
Baking Pans for Even Baking: Avoiding Domes and Crowns
The type and quality of your baking pans significantly influence how evenly your cake bakes and whether it develops a large dome. Pans made from materials that conduct heat efficiently and evenly are crucial for preventing hot spots that cause the edges to set too quickly while the center continues to rise excessively. Choosing the right pans is a foundational step towards baking perfectly flat cake layers.
Investing in good quality pans designed for cake baking can make a noticeable difference. Pans with straight sides and a consistent thickness promote even heat distribution from all directions. While technique is important, starting with a pan that encourages uniform baking is a major advantage in achieving a cake that rises evenly across its surface, minimizing the need for excessive leveling after baking.
Choosing the Right Cake Pan Material: Aluminum, Silicone, and Non-Stick
Different pan materials conduct heat differently, impacting how your cake bakes. Aluminum pans are widely considered the best for even heat distribution, which helps prevent the edges from over-baking before the center is done. Anodized aluminum, in particular, offers excellent heat conductivity and durability. Steel pans, especially non-stick coated ones, can heat up faster and retain heat longer, sometimes leading to thicker crusts or more pronounced domes if not managed carefully.
Silicone pans are flexible and non-stick but don't conduct heat as efficiently as metal, which can sometimes result in cakes that are paler on the sides. For consistently baking perfectly flat cake layers with minimal domes, many professional bakers recommend using heavy-gauge, light-colored aluminum pans. For instance, a standard 8-inch round anodized aluminum pan is often preferred over a dark non-stick steel pan of the same size for its ability to promote a more even rise and reduce dome formation by up to 30% in some recipes.
Cake Strips and Baking Belts: Preventing Uneven Rising
Cake strips, also known as baking belts, are fabric bands soaked in water and wrapped around the outside of cake pans before baking. Their purpose is to insulate the sides of the pan, preventing them from heating up too quickly. This forces the cake to bake more evenly from the edges to the center, promoting a flatter top and reducing the size of the dome.
When you use cake strips, the outer edges of the cake don't set and firm up as rapidly as the center. This allows the entire batter to rise at a more uniform rate, rather than the center pushing up significantly higher after the edges have stopped expanding. For example, using a properly soaked cake strip on an 8-inch cake pan can reduce the height of the final dome by 50% or more compared to baking without one, making it much easier to achieve perfectly flat cake layers with minimal trimming.
Accurate Measuring Tools: Precision for Consistent Results
Precision in measuring ingredients is fundamental to successful baking, and it's especially critical when aiming for perfectly flat cake layers. Small variations in the amount of flour, sugar, leavening agents, or liquid can significantly alter the batter's consistency and how it behaves in the oven. Using accurate measuring tools ensures that your recipe yields consistent results every time.
Relying on imprecise measurements can lead to cakes that are too dense, too fragile, or that rise unevenly. For instance, using too much leavening can result in an aggressive rise that collapses in the center or creates a large, uneven dome. Conversely, too little liquid can create a stiff batter that bakes unevenly. Proper measurement is the first step in controlling the variables that affect your cake's structure and rise.
The Importance of Precise Measurements in Cake Baking
Baking is often described as a science because it relies on precise ratios and chemical reactions. Unlike cooking, where you can often adjust ingredients by taste, baking requires accuracy. The ratio of flour to liquid, sugar, fat, and leavening agents determines the cake's structure, texture, and how it rises. Even a slight over-measurement of flour (say, an extra quarter cup in a recipe calling for two cups) can significantly change the batter consistency and lead to a denser cake that might not rise evenly.
Similarly, accurately measuring leavening agents like baking powder or baking soda is crucial. Using a level teaspoon is important; even a slightly mounded teaspoon can contain 10-15% more leavening than intended, potentially causing the cake to rise too quickly and then fall, or create an exaggerated dome. Precise measurements are non-negotiable for achieving perfectly flat cake layers and consistent results batch after batch.
Recommended Measuring Cups and Spoons: Dry vs. Liquid Measures
Using the correct type of measuring tool for different ingredients is essential for accuracy. Dry ingredients like flour, sugar, and baking powder should be measured using nested dry measuring cups or, ideally, a kitchen scale for the most precise results. Dry measuring cups should be filled by spooning the ingredient into the cup and leveling off the excess with a straight edge, like the back of a knife. Packing down flour, for example, can add significantly more to the cup than intended – up to 25% more by weight.
Liquid ingredients, such as milk, water, or oil, should be measured using clear liquid measuring cups with a spout. These cups have headspace above the highest measurement mark to prevent spills, and they should be placed on a flat surface, with the baker bending down to read the measurement at eye level. Using dry measuring cups for liquids or vice versa will lead to inaccurate measurements, directly impacting the success of achieving perfectly flat cake layers and the overall quality of your bake.
Techniques for Achieving Perfectly Flat Cake Layers
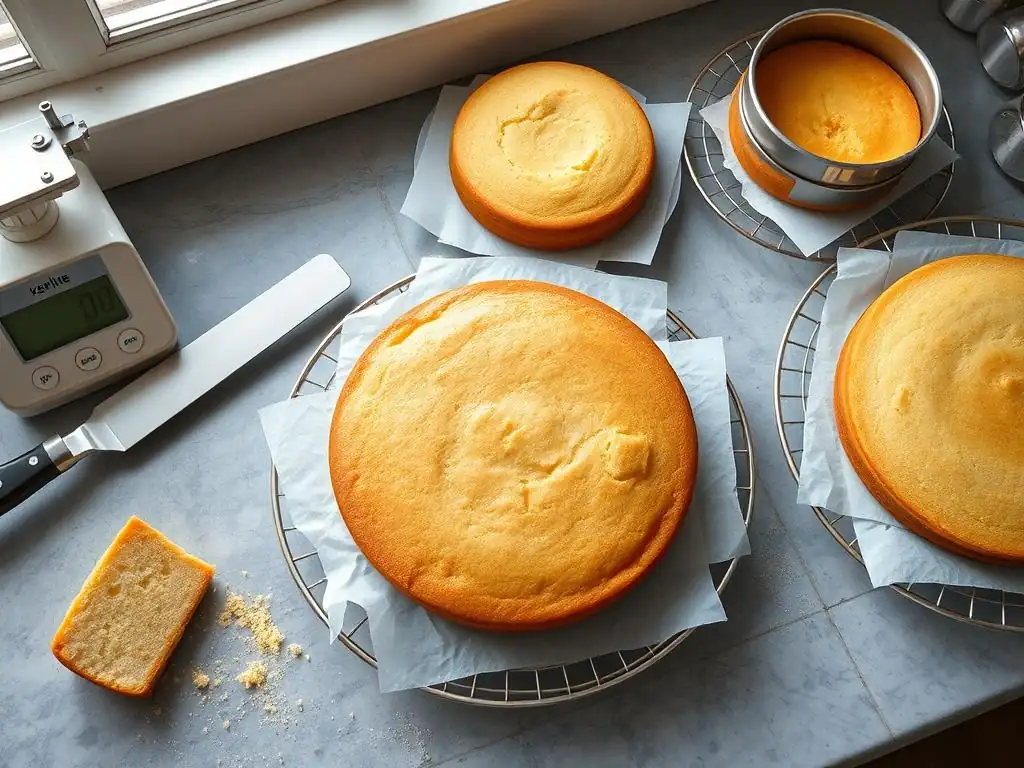
While tools are important, technique is equally vital in the quest for perfectly flat cake layers. How you prepare your batter, distribute it in the pan, and manage the baking process in the oven all play significant roles in determining the final shape of your cake. Combining the right tools with sound baking techniques creates the perfect synergy for consistent, level results.
Mastering these techniques allows you to minimize the dome before the cake even comes out of the oven, reducing the amount of leveling needed. This not only saves cake but also helps retain moisture and a tender crumb near the top surface. From oven temperature adjustments to batter handling, small tweaks in your process can yield noticeable improvements in the flatness of your cake layers.
Adjusting Oven Temperature for Even Baking
Oven temperature is a critical factor in cake baking. If the oven is too hot, the edges of the cake can set too quickly while the center continues to rise rapidly, resulting in a pronounced dome. Baking at a slightly lower temperature for a longer time can promote more even rising and reduce dome formation. For example, if a recipe calls for 350°F (175°C), trying 325°F (160°C) might yield a flatter top, though it will increase the baking time.
It's also important to know your oven's true temperature. Many home ovens calibrate inaccurately, sometimes by as much as 25-50°F. Using an oven thermometer is highly recommended to ensure you're baking at the intended temperature. Baking at the correct, slightly lower temperature allows the cake to cook more gently and evenly from the edges to the center, significantly helping in achieving perfectly flat cake layers.
The Importance of Even Batter Distribution
Ensuring your batter is evenly distributed in the pan is a simple yet effective technique for promoting a flat top. Once the batter is poured into the prepared pan, gently spread it towards the edges using an offset spatula or the back of a spoon. You want the center to be slightly less full than the edges, or at least perfectly level.
This is because the edges of the cake will heat up and set faster than the center due to their proximity to the pan sides. By slightly mounding the batter towards the edges, you counteract this tendency. As the cake bakes, the center will rise to meet the edges, resulting in a flatter surface. A simple trick is to gently tap the pan on the counter a couple of times after filling to help the batter settle evenly and release any large air bubbles, contributing to perfectly flat cake layers.
Using Baking Strips to Promote Even Baking and Flat Tops
As mentioned earlier, baking strips are incredibly effective for promoting even baking and reducing domes. Properly soaking the fabric strips in cold water and wringing out the excess before wrapping them snugly around the outside of the cake pan provides insulation. This insulation slows down the heating of the pan's edges.
The cooler edges mean the cake sets slower at the sides, allowing the center to catch up in terms of rising. This creates a more uniform temperature gradient across the cake, encouraging the entire surface to rise at a similar rate. Using baking strips is a passive yet powerful technique that significantly increases your chances of pulling perfectly flat cake layers out of the oven with minimal or no dome, saving you time and cake when leveling.
The Poke and Level Method: A Quick Fix for Minor Imperfections
While not a replacement for proper baking techniques, the poke and level method is a clever trick for correcting minor domes during baking. If you notice your cake developing a dome about halfway through the baking time, you can gently poke the highest point of the dome with a skewer or toothpick a few times.
This releases some of the trapped steam and allows the batter in the center to settle slightly. Be gentle and quick to avoid deflating the cake. After poking, the dome may subside slightly and bake flatter. This method is best for small to moderate domes and, combined with other techniques, can help salvage a cake that's starting to dome excessively, getting you closer to perfectly flat cake layers without needing heavy post-bake trimming.
Beyond the Tools: Tips for Consistently Flat Cakes
Achieving perfectly flat cake layers isn't just about the tools you use or the techniques during baking. What happens after the cake comes out of the oven is equally important. Proper cooling and storage methods can prevent warping, shrinking, or damage that could compromise the flatness you worked so hard to achieve. Attention to these post-baking steps is crucial for maintaining the integrity of your layers.
Furthermore, understanding common baking pitfalls and how to troubleshoot them can save you from frustrating results. Sometimes, issues leading to uneven layers stem from problems with ingredients, batter preparation, or even your oven itself. Being able to identify and address these issues will improve your consistency and help you bake perfectly flat cake layers more reliably in the future.
Cooling Cake Layers Correctly: Preventing Warping
Cooling cake layers properly is essential to prevent them from warping or cracking, which can ruin their flatness. Once a cake comes out of the oven, it's still very fragile. Let it cool in the pan on a wire rack for the amount of time specified in the recipe, usually 10-20 minutes. This allows the cake to firm up enough to handle without breaking.
After the initial cooling period in the pan, invert the cake onto a wire rack to cool completely. Cooling on a wire rack allows air to circulate around the entire cake, preventing condensation that can make the bottom soggy and potentially cause it to stick or warp. Ensure the rack is flat and the cake is centered to avoid uneven cooling and warping. Cooling completely before handling or leveling is key to maintaining perfectly flat cake layers.
Storing Cake Layers Properly Before Decorating
If you're not decorating your cake layers immediately, proper storage is vital to keep them fresh, moist, and perfectly flat. Once completely cooled, wrap each layer individually in plastic wrap, ensuring it's airtight. For extra protection against drying out, you can wrap them again in aluminum foil.
Properly wrapped cake layers can be stored at room temperature for a day or two, in the refrigerator for up to a week, or frozen for several months. Freezing can actually make leveling easier as the cake is firmer when slightly frozen. When storing, ensure the layers are placed on a flat surface so they don't bend or warp. Stacking wrapped layers is fine, but place them on a flat tray or surface to support their weight and maintain their perfectly flat shape.
Troubleshooting Common Cake Baking Problems
Sometimes, despite your best efforts, cakes don't bake perfectly. Understanding common issues like over-mixing or oven hot spots can help you identify the cause of uneven layers and take steps to prevent them in the future. Troubleshooting is a key part of becoming a better baker and consistently achieving perfectly flat cake layers.
Keeping a baking journal can be helpful. Note the recipe, ingredients used (including temperature), mixing time, oven temperature (verified with a thermometer), baking time, and the outcome (e.g., large dome, sunken center, uneven rise). Reviewing this information can help you spot patterns and pinpoint what might be causing your cakes to bake unevenly or develop significant domes.
Addressing Common Baking Issues: Over-mixing the batter
Over-mixing cake batter, especially after adding flour, develops the gluten in the flour excessively. This can result in a tough, dense cake with a less tender crumb. It can also contribute to uneven rising, potentially causing the cake to dome significantly or even sink in the middle if the structure becomes too rigid and then collapses.
To avoid over-mixing, mix the batter just until the ingredients are combined. For most cake recipes, this means mixing the wet and dry ingredients together only until no streaks of flour remain, usually less than 60 seconds on low speed or gentle folding by hand. Learning to recognize the correct batter consistency is crucial for achieving a tender crumb and promoting a more even rise, leading to perfectly flat cake layers.
Addressing Common Baking Issues: Oven Hot Spots
Oven hot spots are areas within your oven that are significantly hotter than others. These hot spots can cause certain parts of your cake to bake faster and rise higher than others, leading to uneven layers or lopsided domes. Common culprits include faulty heating elements, poor insulation, or even the placement of your baking rack too close to a heating element.
Using an oven thermometer can help you identify if your oven temperature is accurate overall, but it won't pinpoint hot spots. If you suspect hot spots, you can try rotating your cake pan halfway through the baking time to ensure it bakes more evenly. Some bakers place an oven stone or a baking sheet on the rack below the cake to help absorb and radiate heat more evenly. Understanding and mitigating hot spots is vital for consistently baking perfectly flat cake layers.
Alternatives to Leveling: Embracing Imperfection and Creative Solutions
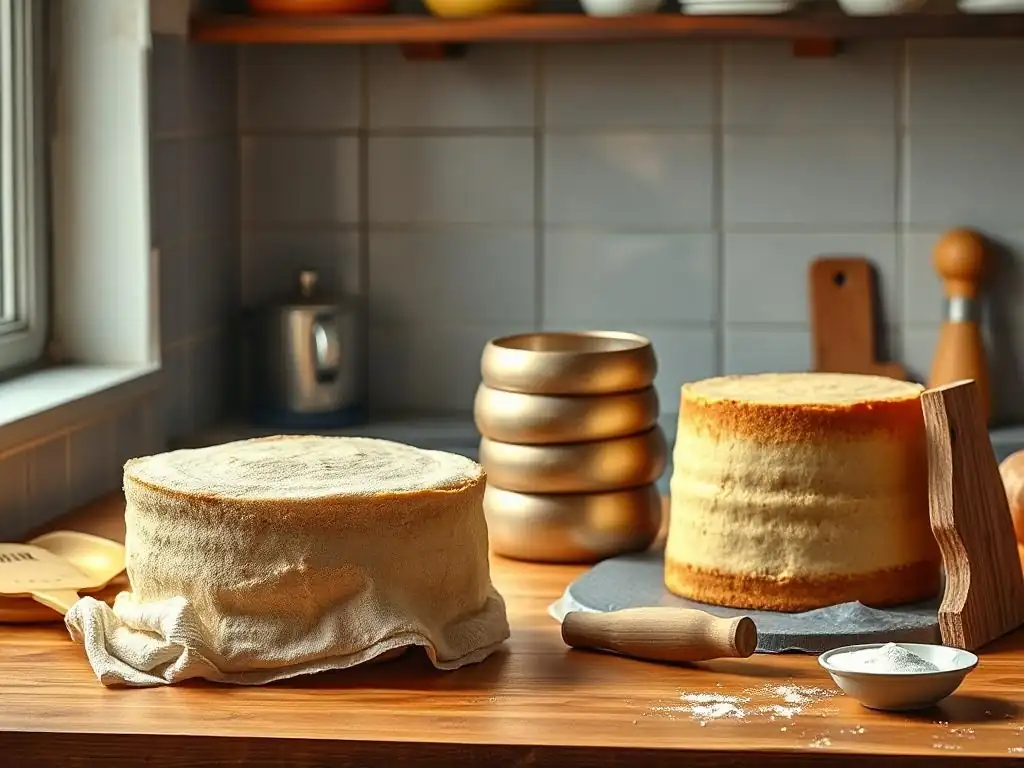
While achieving perfectly flat cake layers is often the goal for structured and decorated cakes, it's worth noting that not all cakes require this level of precision. Sometimes, embracing the natural shape of a cake, dome and all, can lead to beautiful and unique results. There are also creative ways to compensate for minor imperfections without reaching for a cake leveler.
Considering alternatives allows for flexibility and creativity in your baking and decorating. It reminds us that baking is also an art form, and sometimes the beauty lies in the less-than-perfect. Understanding these alternatives can expand your cake decorating repertoire and provide solutions when you don't have the time or tools for perfect leveling.
The Rustic Cake Look: Celebrating Imperfect Layers
The "rustic" or "naked" cake trend celebrates the natural look of cake layers, often with minimal frosting on the sides. In this style, a small dome or slight unevenness isn't necessarily a flaw; it can add to the charm and homemade feel. Embracing the rustic look means accepting the cake's natural shape as part of the design, rather than something to be corrected.
For a rustic cake, you might simply trim off any excessive dome (say, more than an inch high) but leave smaller imperfections. The focus shifts from perfect geometry to texture and natural appearance. This approach can be liberating and allows you to create beautiful cakes without the pressure of needing perfectly flat cake layers for stacking. It's a celebration of the cake itself, in its most authentic form.
Using Filling to Compensate for Minor Imperfections
If your cake layers have minor dips or a slight slope but aren't severely domed, you can often use your filling to compensate. A thicker filling, like buttercream, ganache, or a stable cream cheese frosting, can be strategically applied to fill in low spots and create a level surface for the next layer.
When assembling, place the layer with the imperfection dip-side up. Pipe or spread a generous amount of filling into the dip, then level it across the surface. When you add the next layer, it will sit evenly on the leveled filling. This method works well for minor height discrepancies of perhaps 0.25 to 0.5 inches. It's a simple trick that can help you achieve a stable, seemingly flat stack even if your perfectly flat cake layers weren't quite perfect out of the oven.
Maintaining Your Cake Leveling Tools for Longevity
Taking care of your baking tools ensures they remain effective and last for years. Cake levelers, baking pans, and measuring tools all require proper cleaning and storage to maintain their accuracy and functionality. Neglecting tool maintenance can lead to decreased performance, rust, or damage, making it harder to consistently achieve perfectly flat cake layers.
Investing time in tool maintenance is an investment in your baking success. Clean tools perform better and last longer, saving you money in the long run. Simple habits like washing pans promptly and storing levelers safely can make a big difference in their lifespan and effectiveness.
Proper Cleaning and Storage for Cake Levelers
Cake levelers, especially wire ones, are delicate and require careful handling. After use, immediately clean off any cake crumbs or frosting. For wire levelers, a soft brush or damp cloth is usually sufficient. Avoid harsh scrubbing or putting them in the dishwasher, as this can damage the wire or frame. Serrated knife levelers can typically be washed by hand with warm, soapy water. Ensure they are completely dry before storing to prevent rust.
Store cake levelers carefully to protect the wire or blade. Many wire levelers come with protective sleeves or can be hung to prevent the wire from bending or snagging. Serrated knives should be stored in a knife block or with a blade guard. Proper storage prevents damage that could lead to uneven cuts, ensuring your leveler remains capable of creating perfectly flat cake layers.
Extending the Life of Your Baking Pans
Proper care of your baking pans is essential for consistent baking results and longevity. Always grease and flour or line pans with parchment paper as directed by the recipe to prevent sticking. After baking, allow pans to cool slightly before washing. Wash pans with warm, soapy water and a non-abrasive sponge. Avoid metal scrubbers on non-stick surfaces.
For aluminum pans, avoid acidic cleaners or dishwashers, as they can cause discoloration and damage the anodized finish. Ensure pans are thoroughly dried before stacking or storing to prevent corrosion. Storing pans properly, ideally with a paper towel or cloth between them to prevent scratching, will keep them in good condition. Well-maintained pans heat more evenly, contributing to your ability to bake perfectly flat cake layers batch after batch.
Frequently Asked Questions
How important are perfectly flat cake layers for a good cake?
Perfectly flat layers are crucial for achieving a professional look and ensuring even frosting distribution. They also prevent the cake from being unstable and prone to tipping. A flat cake is a more visually appealing cake.
What tools are most effective for baking perfectly flat cake layers?
A cake leveler is highly recommended to evenly trim domes. Baking strips help ensure even baking and prevent the formation of a dome. Finally, accurate measuring cups/spoons are essential.
Why do cakes often bake with a dome in the center?
The center of the cake batter often cooks faster than the edges, leading to a rise in the middle. This is due to uneven heat distribution within the oven. It is also affected by using too much baking powder or soda.
Can I achieve flat cake layers without special tools?
Yes, but it requires careful attention. You can try using a damp towel wrapped around the cake pan or lowering the oven temperature. These methods help slow down the baking process and encourage even rising.
What are the key ingredients that affect cake layer flatness?
The balance of leavening agents (baking powder/soda) is critical. Too much can cause excessive rising and doming. Also, the consistency of the batter plays a role; a very thick batter might not spread evenly.
Final Reflection: The Pursuit of the Perfect Layer
The quest for perfectly flat cake layers isn't just about aesthetics; it's about achieving baking mastery and unlocking the potential for truly stunning cakes. A flawlessly level layer is the foundation upon which incredible creations are built, ensuring even frosting, clean cuts, and a professional finish that elevates any celebration. This pursuit, while seemingly simple, speaks to a deeper desire for precision and control in the kitchen.
The impact of achieving that perfect layer extends beyond the visual. It's a testament to understanding the science behind baking – the interplay of ingredients, temperature, and technique. It's a feeling of accomplishment, a quiet pride in mastering a skill that many find challenging. As Julia Child famously said, Find something you're passionate about and keep tremendously interested in it.
For many bakers, that passion is found in the pursuit of the perfectly flat cake layer, a seemingly small detail that speaks volumes about dedication and skill.
Now, consider your own baking journey. What techniques have you found most effective in achieving level layers? What challenges have you overcome? Remember the feeling of satisfaction when you finally achieve that perfectly flat surface. Don't be afraid to experiment, to refine your methods, and to embrace the learning process. The pursuit of the perfect layer is an ongoing journey, a testament to your growth as a baker. Embrace the challenge, and let the pursuit of perfection inspire you to create truly magnificent cakes.
Unlock Your Inner Cake Artist: Master the Art of Flat Layers!
Thanks for joining us on this baking adventure! You’ve just learned the secrets to achieving perfectly flat cake layers – a game-changer for stunning, professional-looking cakes. Ready to put your new skills to the test?
- Bake your dream cake: Use your newfound knowledge to create that show-stopping cake you've always envisioned. Experiment with different flavors and frostings!
- Share your creation: Tag us on social media with your perfectly flat cake masterpieces! We'd love to see your baking journey.
- Challenge a friend: Dare a fellow baker to try these techniques and share their results! Let's see who can bake the flattest cake.
What amazing cake masterpiece will you create with your newly perfected flat layers?