
The Secret to Shiny Chocolate Decorations: Tempering Explained

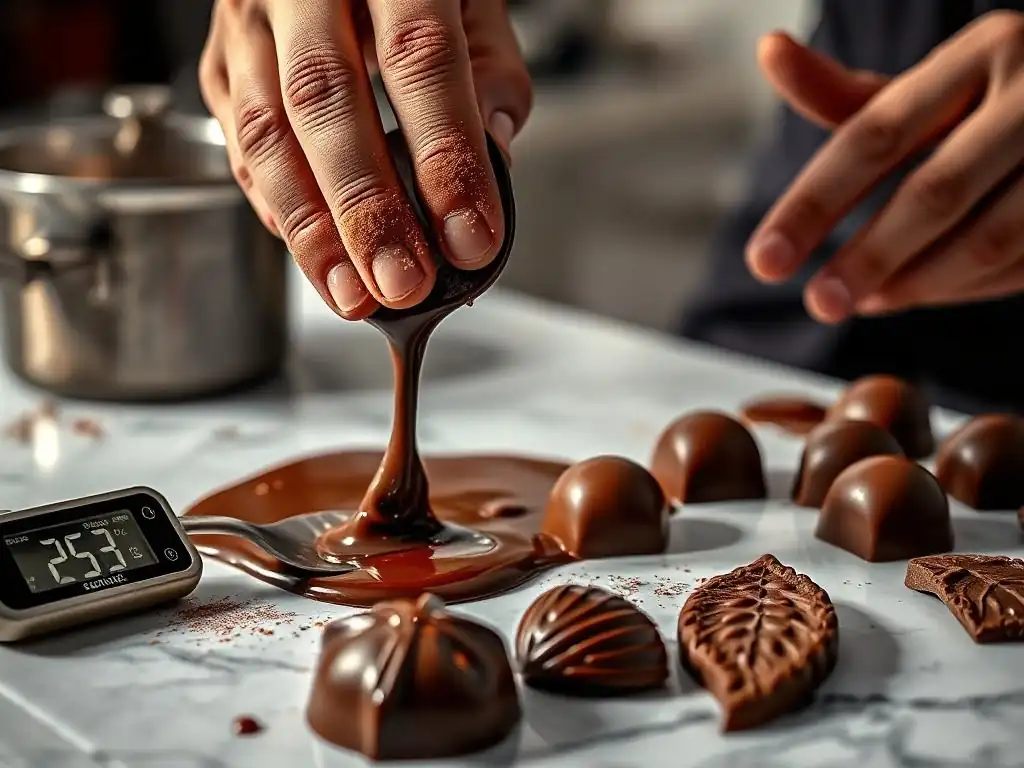
Welcome to BakeWithEase, your kitchen companion on the journey to baking brilliance! Ever wondered how professional bakers achieve those flawlessly shiny chocolate decorations? Unlock the secrets of tempering chocolate for decorations and say goodbye to dull, streaky results. Dive in to discover a step-by-step guide that demystifies this advanced technique, transforming you into a chocolate decorating master!
- Introduction to Tempering Chocolate for Decorations on BakeWithEase
- Understanding the Science Behind Chocolate Tempering
- The Essential Tools for Tempering Chocolate at Home
- Tempering Chocolate Methods: A Step-by-Step Guide
- Achieving the Perfect Temper: Temperature Guidelines for Different Chocolates
- Testing Your Tempered Chocolate: The Snap Test and Beyond
- Troubleshooting Common Tempering Problems
- Using Tempered Chocolate for Decorations: Ideas and Techniques
- Storing Tempered Chocolate Decorations for Optimal Freshness
- Advanced Techniques: Coloring and Flavoring Tempered Chocolate
- Conclusion: Mastering the Art of Tempering Chocolate for Exquisite Decorations
-
Frequently Asked Questions
- What is tempering chocolate and why is it important?
- What happens if I don't temper chocolate before making decorations?
- What are the different methods for tempering chocolate?
- What temperature should I aim for when tempering dark, milk, and white chocolate?
- What are some common mistakes to avoid when tempering chocolate?
- Final Reflection: The Enduring Allure of Perfectly Tempered Chocolate
- Unleash Your Inner Chocolatier: Master the Art of Tempering!
Introduction to Tempering Chocolate for Decorations on BakeWithEase
Why Tempering Chocolate is Crucial for Professional-Looking Decorations
Achieving that beautiful, glossy finish and satisfying snap on your homemade chocolate decorations isn't just about using good chocolate; it's about mastering the technique of tempering chocolate for decorations. Untempered chocolate, when it cools and solidifies, does so unevenly. The cocoa butter crystals within the chocolate form in unstable structures, leading to a dull, streaky appearance and a soft, crumbly texture that melts too easily at room temperature. Imagine crafting delicate chocolate curls for a cake, only for them to lose their shape and shine within minutes of being plated – that's the frustration tempering prevents.
Tempering stabilizes the cocoa butter crystals, encouraging them to form a specific, stable crystalline structure. This stable structure is what gives tempered chocolate its desirable properties: a brilliant shine, a clean snap when broken, resistance to melting at room temperature (it typically melts around body temperature, 30-32°C or 86-90°F, depending on the type), and a smooth, non-greasy mouthfeel. For anyone serious about elevating their dessert presentation, understanding and applying the principles of tempering chocolate for decorations is an essential skill that transforms simple chocolate into stunning edible art.
What You'll Learn: Mastering Chocolate Tempering for Stunning Results
This guide on BakeWithEase will walk you through everything you need to know to confidently temper chocolate for decorations. We'll demystify the science behind why tempering works, breaking down the role of cocoa butter and how crystal formation affects your final product. You'll learn to distinguish between untempered and properly tempered chocolate by sight and feel, equipping you with the knowledge to troubleshoot common issues.
Furthermore, we will explore various practical methods for tempering chocolate at home, from the classic seed method to working with marble slabs, and even using specialized equipment. We'll provide specific temperature guidelines for dark, milk, and white chocolate, as their compositions require different handling. By the end of this article, you'll be equipped with the techniques to create stable, shiny, and delicious chocolate decorations that will impress everyone who sees (and tastes!) them.
Understanding the Science Behind Chocolate Tempering
The Role of Cocoa Butter Crystals in Chocolate Structure
Chocolate's unique melting properties and texture are primarily due to cocoa butter, the fat component derived from cocoa beans. Cocoa butter is polymorphic, meaning it can solidify into different crystalline forms, or polymorphs. Scientists have identified at least six different crystal forms, each with a distinct melting point. These forms are often referred to by Roman numerals (Form I through Form VI). Untempered chocolate contains a mix of unstable crystal forms (Forms I through IV), which are soft and melt at lower temperatures, leading to bloom and poor structure.
The goal of tempering chocolate is to encourage the formation of the stable Form V crystal structure. This specific crystal form is the most desirable because it is stable at room temperature, melts sharply just below body temperature (giving that smooth melt-in-your-mouth sensation), and provides the characteristic shine and snap of well-tempered chocolate. By carefully controlling the temperature of the chocolate during melting and cooling, we guide the cocoa butter molecules to align into this preferred Form V structure, making tempering chocolate for decorations a scientific process as much as an art.
Untempered vs. Tempered Chocolate: Visual and Textural Differences
The difference between untempered and tempered chocolate is immediately apparent. Untempered chocolate often looks dull and matte shortly after it solidifies, sometimes developing grayish streaks or patches on its surface. This visual defect is known as "fat bloom," caused by unstable fat crystals migrating to the surface. Its texture is typically soft or crumbly, and it melts very easily in your hand, often feeling waxy or greasy on the tongue because the various crystal forms melt unevenly over a wider temperature range.
In contrast, properly tempered chocolate has a beautiful, even sheen and a smooth surface free of streaks or bloom. When you break a piece, it produces a distinct, sharp snap, particularly with dark chocolate. Tempered chocolate is firm at room temperature and resists melting when handled briefly. When you eat it, it melts cleanly and smoothly in your mouth. These properties are essential when using tempered chocolate for decorations, as they ensure your creations are not only visually appealing but also stable and pleasant to eat.
The Essential Tools for Tempering Chocolate at Home
Must-Have Equipment: Thermometers, Bowls, and Spatulas
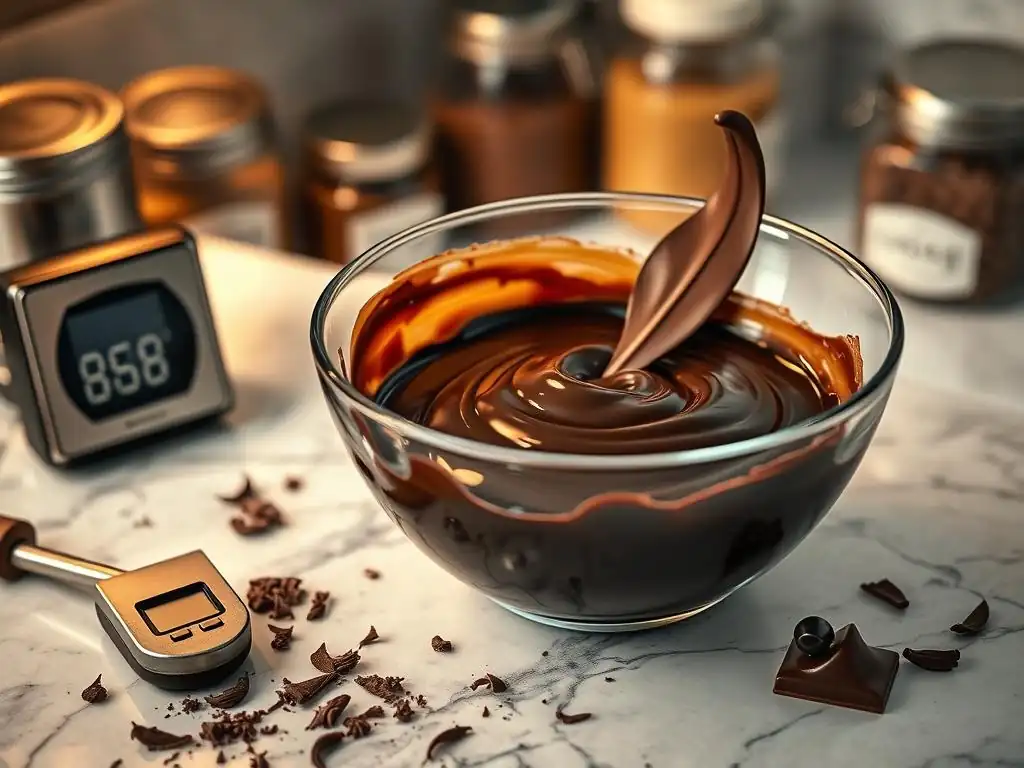
To successfully temper chocolate for decorations, a few key pieces of equipment are indispensable. First and foremost is an accurate thermometer. Since tempering relies on precise temperature control, a digital instant-read thermometer or a dedicated chocolate thermometer is highly recommended. These allow you to monitor the chocolate's temperature within a degree or two, crucial for hitting the correct ranges for melting, cooling, and working.
You'll also need heatproof bowls, such as glass or stainless steel, preferably two nested over a pot of simmering water for the double boiler method (though a microwave can also be used carefully). Avoid plastic bowls, as they can retain moisture and fat residues which can seize the chocolate. Finally, sturdy spatulas are necessary for stirring the chocolate evenly and ensuring consistent temperature throughout the mass. Silicone spatulas are ideal as they are flexible and easy to clean.
Optional but Helpful: Marble Slabs and Chocolate Melters
While not strictly necessary for all methods, a marble slab is a classic tool for the tabliering method of tempering chocolate for decorations. Marble's natural coolness helps quickly lower the chocolate's temperature while you work it, promoting the desired crystal formation. A large, clean marble slab (or even a granite countertop) provides an excellent surface for this technique. You'll also need metal scrapers or spatulas to work the chocolate on the slab.
For those who plan on doing a significant amount of tempering, especially for intricate decorations or large batches, a dedicated chocolate tempering machine can be a worthwhile investment. These machines automate the process of melting, cooling, and holding chocolate at the precise working temperature. They often use induction heating or circulating warm air to maintain the temper, making it easier to keep tempered chocolate for decorations in a usable state for extended periods. While an investment, they simplify the process significantly.
Tempering Chocolate Methods: A Step-by-Step Guide
Method 1: Seed Tempering - The Traditional Approach
The seed tempering method is one of the most common and accessible ways to temper chocolate for decorations at home. It involves melting chocolate and then introducing finely chopped, already-tempered chocolate ("seed" chocolate) to initiate the formation of stable crystals as the mixture cools.
Step 1: Melting the Chocolate
Start by finely chopping your chocolate. This helps it melt more evenly. Place about two-thirds of your chocolate in a heatproof bowl. Melt it gently using a double boiler (a bowl set over a pot of simmering water, ensuring the bottom of the bowl doesn't touch the water) or carefully in a microwave on low power, stirring frequently. Heat the chocolate until it reaches its initial melting temperature: around 45-50°C (113-122°F) for dark chocolate, 40-45°C (104-113°F) for milk, and 38-40°C (100-104°F) for white. Ensure all solid pieces are melted.
Step 2: Adding Seed Chocolate
Remove the melted chocolate from the heat (or microwave). Add the remaining one-third of the finely chopped, untempered chocolate (the "seed"). The seed chocolate should ideally be in small pieces or callets from a reliable source, as these are typically pre-tempered by the manufacturer.
Step 3: Stirring and Monitoring Temperature
Stir the mixture continuously with a spatula. The heat from the melted chocolate will begin to melt the seed chocolate. As you stir, the temperature of the chocolate will gradually decrease. Keep stirring until all the seed chocolate is melted and the mixture reaches the target working temperature for your type of chocolate (see the "Achieving the Perfect Temper" section). The continuous stirring helps distribute the stable crystals from the seed chocolate throughout the batch and ensures even cooling.
Step 4: Testing for Temper
Once the chocolate reaches the correct working temperature and is completely smooth, perform a temper test. Dip the tip of a clean knife, spoon, or piece of parchment paper into the chocolate. Let it sit at room temperature (ideally around 20-22°C or 68-72°F) for a few minutes. If the chocolate is properly tempered, it should set quickly (within 3-5 minutes) and appear shiny and smooth, with no streaks. If it sets slowly or looks dull, it needs more tempering.
Method 2: Tabliering - Tempering on a Marble Slab
Tabliering, or tempering on a marble slab, is a classic professional method that uses the cool surface of marble to rapidly cool and agitate the chocolate, promoting stable crystal formation.
Step 1: Melting and Pouring Chocolate onto the Slab
Melt your chocolate using the same method and to the same initial temperature as in Step 1 of the seed method. Once fully melted, pour about two-thirds of the melted chocolate directly onto a clean, cool marble or granite surface. Keep the remaining one-third of the melted chocolate in the bowl, warmed gently over the double boiler (off the heat) or kept warm in the microwave on a very low setting, just enough to prevent it from solidifying.
Step 2: Moving and Cooling the Chocolate
Using metal scrapers or spatulas, begin to spread and scrape the chocolate back and forth across the marble surface. This action cools the chocolate rapidly while agitating it, encouraging the cocoa butter to form stable Form V crystals. Continue working the chocolate in this manner until it thickens slightly and reaches a cooler temperature – typically around 27-28°C (80-82°F) for dark chocolate, or slightly lower for milk/white. It should feel cool to the touch but still be fluid enough to work.
Step 3: Scraping and Combining the Chocolate
Scrape the cooled, thickened chocolate from the marble slab and return it to the bowl with the remaining one-third of warm, melted chocolate. Stir the mixture thoroughly. The warmer chocolate will slightly raise the temperature of the cooled chocolate, bringing the entire batch up to the correct working temperature range for tempering chocolate for decorations. Stir until the mixture is completely smooth and homogeneous.
Step 4: Testing for Temper
Perform the same temper test as described in Method 1. Dip a clean tool or parchment strip into the chocolate and let it set at room temperature. If it sets quickly (within 3-5 minutes) with a shiny, smooth finish and a good snap when cooled, your chocolate is tempered and ready for use in decorations. If not, you may need to adjust the temperature slightly or re-seed if using the seed method.
Method 3: Using a Chocolate Tempering Machine
A chocolate tempering machine offers the most consistent and easiest way to temper chocolate for decorations, especially for larger quantities or continuous use.
Step 1: Setting Up the Machine
Set up the tempering machine according to the manufacturer's instructions. Ensure the bowl or reservoir is clean and dry. Most machines require you to set the desired temperature for melting and then the holding temperature for tempering.
Step 2: Adding and Melting the Chocolate
Add your chopped chocolate or callets to the machine's bowl. Set the machine to the initial melting temperature (refer to the machine's guide and the chocolate type guidelines). The machine will gently heat the chocolate while stirring (many have built-in agitators) until it is fully melted.
Step 3: Maintaining Temperature and Temper
Once melted, the machine will typically guide you to add 'seed' chocolate or manually adjust the temperature down to the correct working temperature for tempering chocolate for decorations. The machine then maintains this precise temperature, keeping the chocolate in temper for hours, allowing you to work on intricate decorations without the chocolate solidifying or losing its temper. This is particularly useful for complex chocolate work.
Achieving the Perfect Temper: Temperature Guidelines for Different Chocolates
Hitting the right temperatures is critical for successful tempering chocolate for decorations. These ranges encourage the stable Form V crystal formation while keeping the chocolate fluid enough to work with.
Dark Chocolate Tempering Temperatures
Dark chocolate, with its higher cocoa solids and often higher cocoa butter content, requires the highest temperatures for tempering.
- Melting: Heat dark chocolate to 45-50°C (113-122°F). This ensures all unstable crystals are melted.
- Cooling/Seeding: Cool dark chocolate down to 27-28°C (80-82°F) while stirring or working it. If using the seed method, add seed chocolate during this phase.
- Working/Holding: Gently rewarm or hold dark chocolate at a working temperature of 30-32°C (86-90°F). This temperature range keeps the stable Form V crystals intact and the chocolate fluid.
Milk chocolate contains milk solids and typically less cocoa butter than dark chocolate, requiring slightly lower temperatures.
- Melting: Melt milk chocolate to 40-45°C (104-113°F).
- Cooling/Seeding: Cool milk chocolate down to 26-27°C (79-81°F) while stirring or working.
- Working/Holding: Gently rewarm or hold milk chocolate at a working temperature of 28-30°C (82-86°F). Working above this range can cause the stable crystals to melt.
White Chocolate Tempering Temperatures
White chocolate contains no cocoa solids, only cocoa butter, sugar, and milk solids. It is the most sensitive to heat and requires the lowest tempering temperatures.
- Melting: Melt white chocolate to 38-40°C (100-104°F). Be extra careful not to overheat white chocolate, as it scorches easily.
- Cooling/Seeding: Cool white chocolate down to 25-26°C (77-79°F) while stirring or working.
- Working/Holding: Gently rewarm or hold white chocolate at a working temperature of 27-29°C (81-84°F). This narrow range is crucial for maintaining temper in white chocolate for decorations.
Testing Your Tempered Chocolate: The Snap Test and Beyond
Once you believe your chocolate is tempered, testing it is essential before proceeding with your decorations. This ensures your efforts won't result in dull, bloomed finishes.
The Importance of the "Snap"
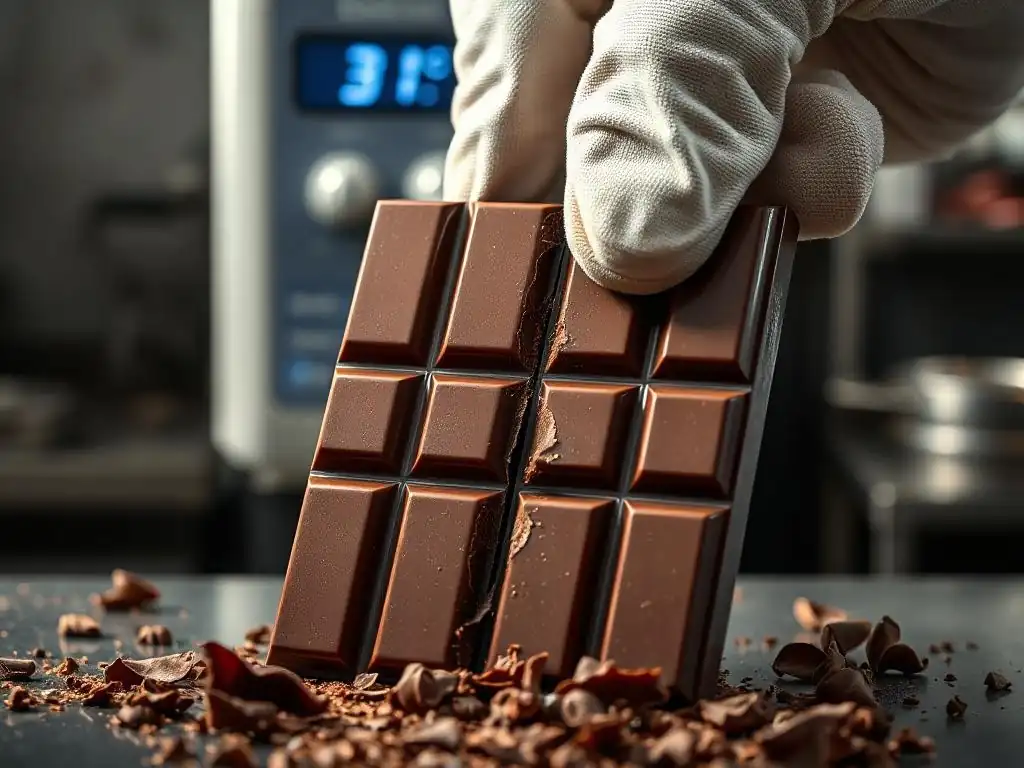
The "snap" test is a classic indicator of properly tempered chocolate, particularly dark chocolate. Take a small piece of your cooled, solidified chocolate (from your test piece or a small amount spread thin). When you break it, it should produce a clean, sharp snap rather than bending or crumbling softly. This snap is a direct result of the stable Form V crystal structure providing rigidity to the solidified chocolate. If it bends or breaks with a dull sound, the temper is likely off.
For milk and white chocolate, the snap might be less pronounced than with dark chocolate due to their different compositions, but they should still break cleanly with some resistance, not bend limply. This physical test, combined with visual cues, provides confidence that your tempering chocolate for decorations was successful.
Visual Cues: Shine and Smoothness
Beyond the snap, the appearance of your cooled chocolate test piece is a primary indicator of successful tempering. Properly tempered chocolate will set quickly (within 3-5 minutes at room temperature, faster if placed briefly in a cool spot like a fridge for just a minute) and have a high, uniform gloss or shine across its surface. It should be smooth and free of any streaks, swirls, or grayish/white patches (fat bloom).
If your test piece sets slowly, looks dull, streaky, or shows signs of bloom, the chocolate is not in temper. This means the cocoa butter crystals did not align correctly into the stable Form V structure. You'll need to re-melt the chocolate and repeat the tempering process, paying close attention to the temperature ranges and ensuring adequate stirring or working during the cooling phase.
Troubleshooting Common Tempering Problems
Even experienced bakers encounter issues when tempering chocolate for decorations. Knowing how to identify and fix these common problems is key to success.
Chocolate Seizing: Causes and Solutions
Seizing is perhaps the most frustrating problem when working with chocolate. It occurs when chocolate suddenly transforms from a smooth, fluid state into a thick, lumpy, and unusable mass. The most common cause is the introduction of even a tiny amount of water or steam. Chocolate is hydrophilic, meaning it attracts and absorbs moisture. When water is added, it binds with the sugar particles in the chocolate, causing them to clump together and create that seized texture. Overheating can also sometimes cause seizing or a similar grainy texture by burning the sugar or cocoa solids.
If your chocolate seizes due to water, it can be difficult to fully recover for fine decoration work requiring a smooth finish. Some sources suggest stirring in a teaspoon of melted vegetable shortening or a liquid fat like grapeseed oil (not water-based liquids like milk or cream) per cup of seized chocolate to try and smooth it out, but the texture may still be compromised. Prevention is better: ensure all your equipment is perfectly dry and be cautious of steam when using a double boiler. If using a microwave, avoid covering the bowl, which can trap condensation.
Bloom Formation: Preventing and Addressing It
Chocolate bloom appears as a grayish or whitish film or streaks on the surface of chocolate. There are two main types: fat bloom and sugar bloom. Fat bloom, the most common issue related to tempering, is caused by unstable cocoa butter crystals melting and recrystallizing on the surface.
This happens when chocolate is stored at inconsistent temperatures, melts partially and re-solidifies untempered, or was never properly tempered in the first place. Sugar bloom, less common in tempering issues, results from moisture on the surface dissolving sugar crystals, which then recrystallize as visible white spots or a gritty texture when the moisture evaporates.
Preventing fat bloom when tempering chocolate for decorations relies entirely on achieving and maintaining proper temper, and then storing the finished decorations correctly. Addressing existing bloom: while bloomed chocolate is perfectly safe to eat, its appearance and texture are compromised. The good news is that bloomed chocolate can often be re-tempered. By melting it down thoroughly (ensuring all unstable crystals are destroyed) and then going through the tempering process again, you can often restore its shine and snap, making it suitable for new decorations.
Over-Tempered Chocolate: How to Fix It
Over-tempered chocolate is less common than untempered or seized chocolate but can still cause problems. This typically happens during the cooling phase of tempering, particularly with the tabliering method, if the chocolate cools too much or is worked excessively. The chocolate will become too thick and pasty to work with effectively for molding, dipping, or creating delicate decorations. It might solidify too quickly when you try to use it.
If your chocolate becomes too thick during the tempering process, it likely means it has cooled below the ideal working temperature range, and too many stable crystals have formed, making it difficult to pour or spread smoothly. To fix this, gently warm the chocolate back up slightly, just enough to bring it back into its correct working temperature range (e.g., 30-32°C for dark).
Do this very gradually, perhaps over a warm water bath (off the heat) or in the microwave on the lowest setting for just a few seconds at a time, stirring constantly. Be careful not to overheat it past the maximum working temperature, or you will melt the stable crystals and lose the temper entirely, requiring you to start over.
Using Tempered Chocolate for Decorations: Ideas and Techniques
Once you've successfully tempered your chocolate, a world of decorative possibilities opens up! Tempered chocolate's stability and shine make it perfect for various techniques.
Creating Chocolate Curls and Shavings
One of the simplest yet most elegant uses for tempered chocolate for decorations is creating curls and shavings. Pour a thin layer of tempered chocolate onto the back of a baking sheet or a cool surface. Let it set partially – it should be firm but still slightly pliable. Then, use a metal scraper, a wide, sharp knife held at an angle, or a vegetable peeler to push or pull across the chocolate, creating delicate rolls or curls. The size and shape of the curls depend on the angle and pressure you apply and how set the chocolate is.
For shavings, let the tempered chocolate set completely into a solid block or sheet. Then, use a sharp knife or peeler to shave off fine pieces. Both curls and shavings add beautiful texture and a professional touch to cakes, pastries, and plated desserts. Because the chocolate is tempered, these decorations will hold their shape and shine at room temperature.
Molding Chocolate Shapes and Figures
Tempered chocolate is essential for creating solid, shiny chocolate shapes using molds. Pour the tempered chocolate into clean, dry chocolate molds (plastic or silicone are common). Tap the molds gently on the counter to release air bubbles. Scrape off any excess chocolate from the top using an offset spatula for a clean edge. Allow the chocolate to set completely at room temperature or in a cool, dry place (like a cool pantry, not the fridge unless your kitchen is very warm, as rapid cooling can sometimes affect shine).
Once fully set and firm, the tempered chocolate shapes should contract slightly and release easily from the molds, revealing perfect, glossy forms. This technique is perfect for making anything from simple squares and hearts to intricate figures, edible logos, or seasonal shapes for cupcakes and cakes. Using tempered chocolate for decorations ensures these molded pieces are stable, easy to handle, and look professionally made.
Making Chocolate Decorations for Cakes and Desserts
Tempered chocolate can be used in countless ways to adorn cakes and desserts. You can pipe intricate designs directly onto parchment paper using a piping bag filled with tempered chocolate. As it sets, the piped shapes become solid decorations that can be carefully peeled off and placed onto your creation. Think delicate chocolate lattices, abstract swirls, or personalized messages.
You can also dip fruits (like strawberries or orange segments), cookies, or confections into tempered chocolate for a shiny, hard coating. Creating chocolate "sails" or abstract shards involves spreading tempered chocolate thinly onto parchment or acetate, letting it set partially, and then shaping it before it fully hardens. Once completely set, these unique tempered chocolate decorations can be carefully handled and positioned on cakes for dramatic effect.
Storing Tempered Chocolate Decorations for Optimal Freshness
Proper storage is crucial to maintain the shine, snap, and quality of your tempered chocolate decorations. Incorrect storage can lead to bloom or absorption of odors.
Proper Storage Containers and Conditions
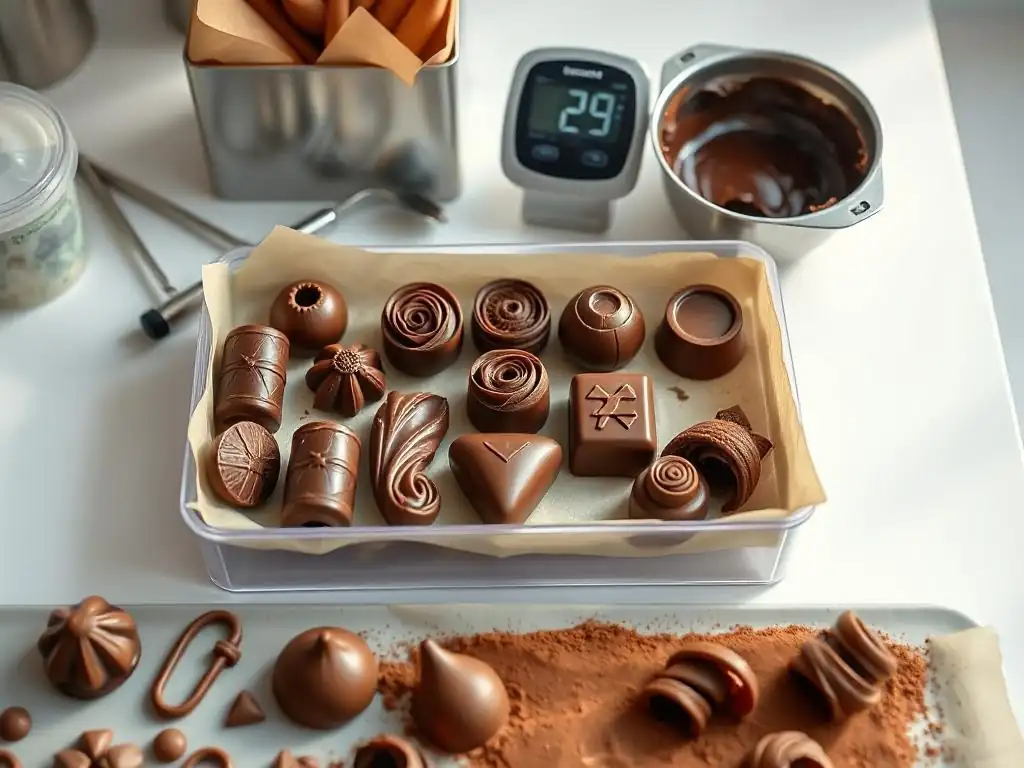
Store your tempered chocolate decorations in airtight containers. This protects them from moisture, odors, and temperature fluctuations. Use rigid containers to prevent the delicate decorations from being crushed. Layer the decorations carefully, perhaps separating layers with parchment or wax paper if necessary, though tempered chocolate is fairly resistant to sticking.
The ideal storage environment for tempered chocolate is cool, dry, and dark, with a consistent temperature. An ambient temperature of 18-20°C (64-68°F) and low humidity (below 50%) is perfect. A cool pantry or cellar is often suitable. Avoid storing tempered chocolate decorations in the refrigerator if possible, as the humidity and fluctuating temperatures can cause sugar bloom. If you must refrigerate due to a warm climate, place the airtight container inside another sealed bag or container to minimize condensation upon removal, and allow it to come to room temperature very gradually before opening the container.
Shelf Life of Tempered Chocolate
Properly tempered chocolate, stored correctly, has a relatively long shelf life, primarily limited by the expiration date of the chocolate itself. Generally, dark tempered chocolate can last for several months (often 6-12 months or even longer) if stored under ideal conditions, though its peak flavor might diminish over time. Milk and white tempered chocolate have shorter shelf lives due to their milk content, typically remaining fresh for 3-6 months.
While technically safe to eat beyond these periods if stored correctly (assuming no mold or off odors), the quality, especially the flavor and texture, may degrade. Always check the chocolate's best-by date and inspect your decorations for any signs of bloom or staleness before using them. The stability achieved by tempering chocolate for decorations helps them last longer and look better than untempered versions.
Advanced Techniques: Coloring and Flavoring Tempered Chocolate
Once you're comfortable with basic tempering, you can explore ways to enhance your tempered chocolate for decorations with vibrant colors and intriguing flavors.
Using Food Coloring for Vibrant Chocolate Decorations
Coloring chocolate requires specific types of food coloring. Standard water-based gel or liquid food colorings will cause tempered chocolate to seize immediately because, as discussed, water is chocolate's enemy. You must use oil-based or powder-based food colorings specifically designed for chocolate or candy making. These colorings disperse in the fat of the chocolate without causing it to seize.
Add the coloring gradually to your melted, tempered chocolate, stirring gently until the desired hue is achieved. A little coloring often goes a long way. Using colored tempered chocolate for decorations allows you to create visually stunning pieces, whether you're making brightly colored molded shapes, intricate piped designs, or painting directly onto chocolate surfaces. Ensure the coloring is fully dispersed for an even color.
Infusing Flavors into Tempered Chocolate
Adding flavors to tempered chocolate can elevate your decorations from visually appealing to a full sensory experience. Like coloring, you must be careful about the type of flavoring used to avoid seizing. Use oil-based flavorings or extracts, not alcohol-based ones (unless the amount is minuscule and won't introduce significant moisture). Examples include citrus oils, peppermint oil, or professional candy flavorings.
Add flavorings sparingly to your melted, tempered chocolate, stirring well to distribute evenly. Start with a drop or two, taste a small cooled sample, and add more if needed, as oil-based flavors can be potent. You can also add finely ground spices (like cinnamon or chili), coffee powder, or even inclusions like crushed nuts or dried fruit after the chocolate is tempered and just before using it, as these additions don't interfere with the tempering process itself. Flavoring your tempered chocolate for decorations adds another layer of sophistication to your baking creations.
Conclusion: Mastering the Art of Tempering Chocolate for Exquisite Decorations
Frequently Asked Questions
What is tempering chocolate and why is it important?
Tempering chocolate is the process of stabilizing the cocoa butter crystals in the chocolate. This is crucial for creating chocolate that is shiny, smooth, and snaps when broken, ideal for decorations.
What happens if I don't temper chocolate before making decorations?
Untempered chocolate will be dull, streaky, and soft, making it difficult to work with and less visually appealing. It will also melt easily at room temperature, ruining your decorations.
What are the different methods for tempering chocolate?
Common methods include seeding, tabliering (or marble slab method), and using a chocolate tempering machine. Each method focuses on carefully controlling the temperature to achieve the desired crystal structure.
What temperature should I aim for when tempering dark, milk, and white chocolate?
Generally, dark chocolate should be tempered to around 88-90°F (31-32°C), milk chocolate to 84-86°F (29-30°C), and white chocolate to 82-84°F (28-29°C). Always consult your chocolate packaging for specific recommendations.
What are some common mistakes to avoid when tempering chocolate?
Avoid overheating the chocolate, introducing water, and failing to properly seed the chocolate with stable crystals. Also, ensure your tools and environment are clean and dry to prevent issues.
Final Reflection: The Enduring Allure of Perfectly Tempered Chocolate
The art of tempering chocolate, once a closely guarded secret of pastry chefs, is now within everyone's reach, and its impact on the visual appeal of desserts is undeniable. A perfectly tempered chocolate shell, whether a delicate ganache, a vibrant candy shell, or an intricately designed decoration, elevates a simple dessert into a masterpiece. The smooth shine, the satisfying snap, the sheer elegance – these are the hallmarks of expertly tempered chocolate, and understanding the process unlocks a world of creative possibilities.
The influence of this seemingly simple technique extends far beyond the professional kitchen. It empowers home bakers to achieve professional-looking results, fostering a sense of accomplishment and pride in their creations. The meticulous process itself becomes a meditative practice, a quiet counterpoint to the often-frantic pace of modern life. The details are not the details. They make the design.
– Charles Eames. This quote perfectly encapsulates the importance of mastering tempering; the seemingly small details of temperature control and precise handling create a profound difference in the final product.
Now, it's your turn. Don't be intimidated by the process. Experiment with different types of chocolate, practice your techniques, and embrace the journey of learning. The satisfaction of creating flawlessly tempered chocolate decorations is a reward in itself, and the joy it brings to those who receive your creations is immeasurable. So, gather your ingredients, embrace the challenge, and unlock the secret to creating truly stunning, unforgettable chocolate masterpieces.
Unleash Your Inner Chocolatier: Master the Art of Tempering!
Thanks for joining us on this chocolatey adventure! You've now unlocked the secrets to perfectly tempered chocolate – the key to creating stunning, shiny decorations that will wow your friends and family. Ready to put your new skills to the test?
- Create your masterpiece! Try tempering some chocolate and decorating your next baked good. Let your creativity flow!
- Share your creations: Post a picture of your perfectly tempered treats on social media and tag us – we'd love to see them! Use #BakeWithEaseTempering.
- Explore more chocolate techniques: Dive deeper into the world of chocolate by exploring our other recipes and tutorials on BakeWithEase.com (While not linking, this subtly mentions the website)
What delicious chocolate creation will you temper first?