
Molding Chocolate Like a Pro: Using Properly Tempered Chocolate.

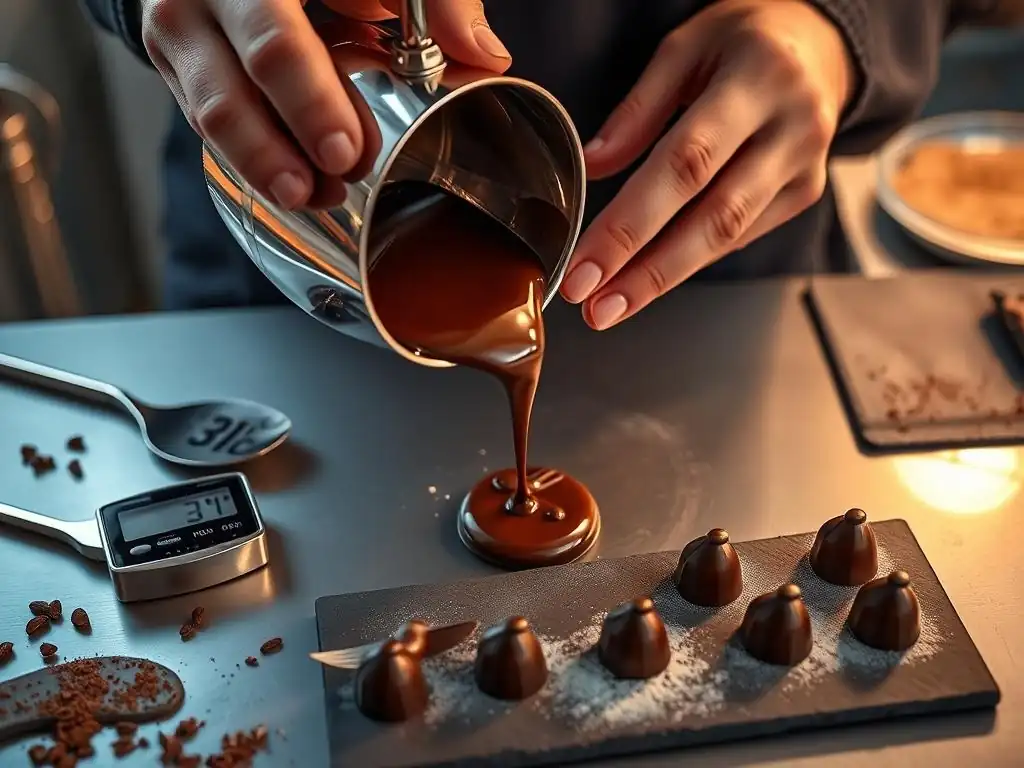
Welcome to BakeWithEase, your haven for baking brilliance! Ever dreamt of creating flawlessly glossy chocolate sculptures? This week, we're diving deep into advanced techniques with our guide to tempered chocolate molding techniques. Unlock the secrets to achieving that perfect snap and shine, and discover how to transform simple chocolate into edible masterpieces. Curious about mastering the art of tempering and molding? Read on to discover the insider tips and tricks that will elevate your chocolate creations!
- Understanding the Importance of Tempered Chocolate for Molding
- Mastering the Art of Chocolate Tempering for Perfect Molds
- Chocolate Molding Techniques for Stunning Results
- Troubleshooting Common Chocolate Molding Problems
- Advanced Tempered Chocolate Molding Projects
- Storing Your Masterpieces: Maintaining the Quality of Tempered Chocolate Moldings
-
Frequently Asked Questions
- What is tempered chocolate, and why is it important for molding?
- What are some common methods for tempering chocolate for molding?
- What are the key temperature ranges for tempering different types of chocolate?
- How can I tell if my chocolate is properly tempered before molding?
- What are some common mistakes to avoid when molding tempered chocolate?
- Final Reflection: The Enduring Allure of Perfectly Tempered Chocolate
- Unleash Your Inner Chocolatier: Master the Art of Tempering!
Understanding the Importance of Tempered Chocolate for Molding
Why Tempering Chocolate is Crucial for Professional-Looking Molds
Achieving glossy, crisp, and stable chocolate molds isn't just about having the right mold; it's fundamentally about using properly tempered chocolate. Tempering is the process of carefully melting and cooling chocolate to specific temperatures to stabilize the cocoa butter crystals. Without proper tempering, molded chocolate will appear dull, may develop white streaks or spots (bloom), and will be soft and difficult to release from the mold cleanly.
Think of a beautiful chocolate bar from a high-end chocolatier – its snap, shine, and smooth texture are all thanks to precise tempering. Mastering tempered chocolate molding techniques is essential for professional results at home.
Furthermore, tempered chocolate has a higher melting point than untempered chocolate, making it more stable at room temperature. This means your beautiful molded creations will hold their shape better, whether they are standalone figures, bonbons, or decorative elements. A well-tempered chocolate mold will contract slightly as it cools, making demolding significantly easier. For instance, a chocolate shell for a bonbon made with untempered chocolate might stick stubbornly to the mold, break upon release, and melt quickly in your fingers, whereas one made with properly tempered chocolate will pop out easily and remain firm.
The Science Behind Tempering: Cocoa Butter Polymorphism and Crystal Stabilization
The magic behind tempered chocolate lies in the unique properties of cocoa butter, the fat component in chocolate. Cocoa butter can crystallize in six different forms, known as polymorphs (Types I through VI), each with a different melting point and structure. When you melt chocolate, all these crystal forms are destroyed. As it cools, if left to cool randomly, it will form a mix of unstable, low-melting-point crystals (like Types I, II, III, and IV). These unstable crystals lead to bloom, a dull appearance, and a soft texture.
Tempering is the process designed to encourage the formation of only the stable, desirable Type V crystal form. Type V crystals are stable at room temperature, melt around 31-32°C (88-90°F) for dark chocolate, and are responsible for the chocolate's snap, shine, and smooth melt-in-your-mouth texture.
By heating chocolate to a specific temperature (melting all crystals), cooling it down to a temperature where Type V crystals begin to form, and then gently reheating it slightly (melting unstable crystals but preserving Type V), you "seed" the chocolate with these perfect crystals, ready for molding. This precise control over cocoa butter crystallization is the heart of effective tempered chocolate molding techniques.
Untempered vs. Tempered Chocolate: Visual and Textural Differences
The contrast between untempered and tempered chocolate is stark and immediately noticeable. Untempered chocolate, after cooling, typically looks dull and cloudy, often exhibiting grayish streaks or patches known as fat bloom. It will feel soft or crumbly rather than firm and snappy, and it melts very easily, even just from the heat of your hand. When you break it, it offers little to no resistance or satisfying snap.
Conversely, properly tempered chocolate is visually stunning. It has a beautiful, even, glossy surface without any streaks or dull spots. When you break a piece, it produces a distinct, sharp snap. It feels firm and solid at room temperature and melts smoothly and evenly on the tongue, not instantly in your fingers. These visual and textural cues are the hallmarks of chocolate prepared using effective tempered chocolate molding techniques and are what elevate homemade chocolates from good to exceptional.
Mastering the Art of Chocolate Tempering for Perfect Molds
Choosing the Right Chocolate for Molding: Couverture Chocolate Selection
For professional-quality tempered chocolate molding techniques, selecting the right chocolate is paramount. The best choice is couverture chocolate. Couverture chocolate is a high-quality chocolate that contains a significantly higher percentage of cocoa butter (typically 32-39%) compared to standard baking or eating chocolate. This higher cocoa butter content makes it more fluid when melted, which is crucial for thin, even coatings and filling molds without air bubbles. The extra cocoa butter also facilitates easier tempering and results in a superior shine and snap.
When choosing couverture chocolate, consider the percentage of cocoa solids for flavor profile – dark chocolate can range from 50% to 80% or more, milk chocolate typically 30-40%, and white chocolate around 20-35% cocoa butter (no cocoa solids). Brands like Callebaut, Valrhona, and Guittard are popular choices among professionals due to their consistent quality and excellent tempering properties. Using high-quality couverture is the first step to mastering tempered chocolate molding techniques.
Essential Equipment for Tempering Chocolate and Molding
Having the right tools makes the tempering and molding process much smoother and increases your chances of success. You will need a reliable heat source – either a double boiler setup (a bowl over a pot of simmering water) or a microwave. Crucially, you need an accurate thermometer capable of measuring temperatures in the ranges required for chocolate tempering (typically 25°C to 55°C or 77°F to 131°F); an instant-read digital thermometer or an infrared thermometer works well.
Other essential items include a sturdy heatproof bowl (glass or stainless steel are good), a flexible spatula for stirring, and your chosen chocolate molds. Polycarbonate molds are highly recommended for tempered chocolate molding techniques as they are rigid, durable, and produce the highest shine. Silicone molds can be used but often result in a less glossy finish and can be trickier for achieving a clean snap. Having clean, dry equipment is critical, as even a drop of water can cause the chocolate to seize.
Step-by-Step Guide: Tempering Chocolate Using the Seeding Method
The seeding method is one of the most reliable tempered chocolate molding techniques for home bakers. Here's how it generally works:
- Melt: Gently melt about 2/3 of your finely chopped couverture chocolate or fèves (callets) in a heatproof bowl set over a pot of barely simmering water (double boiler) or in the microwave on 50% power, stirring frequently. Melt dark chocolate to about 45-50°C (113-122°F), milk chocolate to 40-45°C (104-113°F), and white chocolate to 35-40°C (95-104°F). Ensure no water or steam gets into the chocolate.
- Cool & Seed: Remove the bowl from the heat (or microwave) and dry the bottom. Add the remaining 1/3 of the finely chopped, untempered chocolate (the "seed" chocolate) to the melted chocolate. Stir continuously with a spatula. The seed chocolate helps cool the melted chocolate down and introduces stable Type V crystals. Continue stirring until the temperature drops to the working temperature: about 31-32°C (88-90°F) for dark, 29-30°C (84-86°F) for milk, and 28-29°C (82-84°F) for white chocolate. All the seed chocolate should be melted, or remove any small unmelted pieces.
- Reheat (Optional & Slight): If the chocolate cools below the working temperature, you can gently warm it slightly over the double boiler or with a heat gun very briefly to bring it back up to the correct range, but do not exceed the working temperature. The chocolate is now tempered and ready for molding using effective tempered chocolate molding techniques.
This process ensures the cocoa butter forms the stable Type V crystals needed for a shiny, snappy finish. Maintaining the chocolate within its working temperature range while molding is key to successful tempered chocolate molding techniques.
Alternative Tempering Methods: Tabliering and Microwave Tempering Techniques
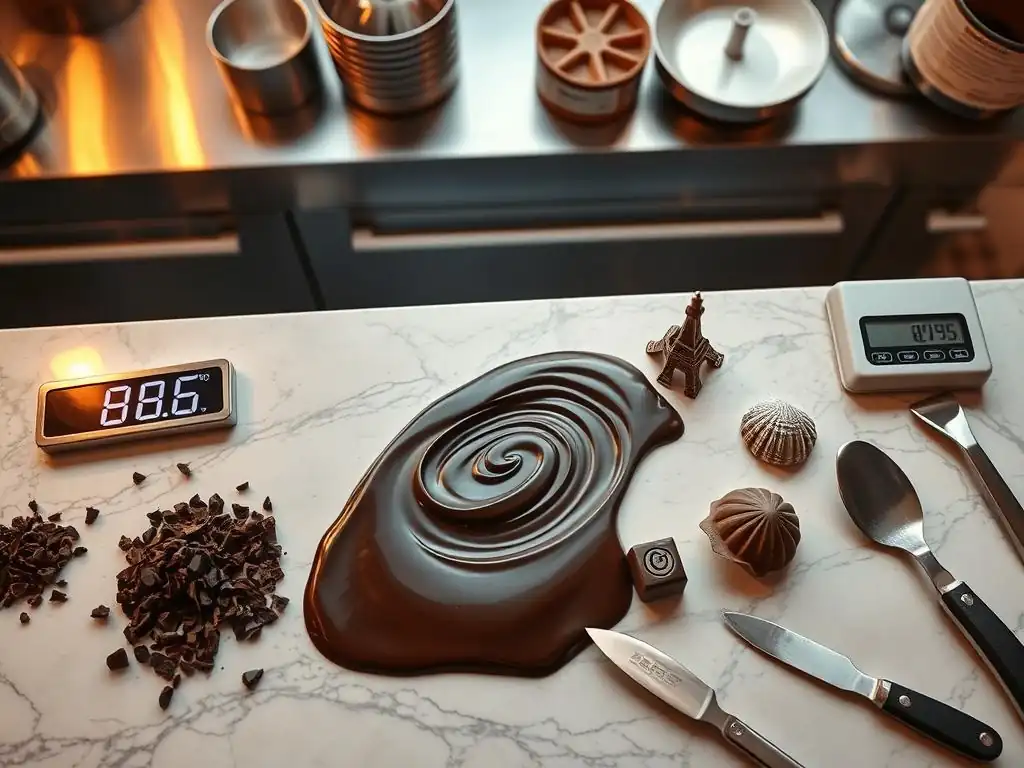
While seeding is popular, other tempered chocolate molding techniques exist. The tabliering or marbling method involves melting chocolate completely (to the same initial temperatures as the seeding method) and then pouring about 2/3 of it onto a clean, cool surface, like a marble slab or granite countertop. Using a metal scraper and spatula, you spread and scrape the chocolate back and forth, cooling it down and encouraging crystal formation, until it thickens and reaches the working temperature (e.g., 31-32°C for dark).
The cooled chocolate is then scraped back into the bowl with the remaining 1/3 of the warm chocolate, mixed until homogenous, and checked for working temperature. This method requires practice and a suitable cool surface but is very effective.
Microwave tempering is the simplest method, suitable for smaller quantities. Finely chop the chocolate and place it in a microwave-safe bowl. Heat on 50% power in short bursts (30-60 seconds initially, then 15-30 seconds), stirring thoroughly after each burst. Continue until the chocolate is mostly melted but a few small lumps remain.
Remove from the microwave and stir vigorously. The residual heat should melt the remaining lumps, bringing the chocolate to working temperature. Check the temperature with a thermometer. This method relies on careful heating to avoid overheating and destroying the desired crystals, making it a quick option for certain tempered chocolate molding techniques.
Chocolate Molding Techniques for Stunning Results
Preparing Your Chocolate Molds: Cleaning and Polishing for a Professional Finish
Proper preparation of your chocolate molds is just as important as the tempering itself for achieving a professional finish using tempered chocolate molding techniques. Molds, especially polycarbonate ones, must be absolutely clean and dry. Any residual chocolate, grease, or even water droplets will prevent the tempered chocolate from setting correctly and releasing cleanly, often resulting in dull spots or sticking.
After washing your molds with warm, soapy water (avoid harsh detergents that can leave residue), rinse them thoroughly and dry them completely. For the best shine, polish the cavities of clean, dry polycarbonate molds with a soft lint-free cloth or cotton balls. This removes any microscopic dust particles and creates a perfectly smooth surface for the tempered chocolate to set against, ensuring that beautiful, mirror-like finish characteristic of expert tempered chocolate molding techniques.
Filling the Molds: Techniques for Avoiding Air Bubbles
Filling your molds correctly is crucial for achieving solid, flawless chocolate pieces free of unsightly air bubbles, a key aspect of successful tempered chocolate molding techniques. Once your chocolate is perfectly tempered and at the correct working temperature, pour or spoon it into the mold cavities, slightly overfilling them.
Immediately after filling, gently tap the mold several times against your work surface. This helps the chocolate settle and encourages any trapped air bubbles to rise to the surface and pop. You can also use a spatula to gently vibrate the chocolate within the cavities.
For deeper molds or complex shapes, you might need to tap quite firmly. Scrape the excess chocolate off the top of the mold using a bench scraper or straight spatula held at a 45-degree angle, pulling it across the surface to leave only the chocolate within the cavities. This results in clean edges and ensures the chocolate is level with the mold surface.
Setting the Chocolate: Optimal Temperature and Time for Solidification
After filling and scraping, the tempered chocolate needs to set properly. The optimal environment for setting molded chocolate using tempered chocolate molding techniques is a cool, stable temperature, ideally between 18-20°C (64-68°F). Avoid placing the molds in a regular refrigerator, as the high humidity can cause condensation, leading to sugar bloom, and the temperature is often too low, which can shock the chocolate and affect the crystal structure.
Allow the molds to sit undisturbed on a flat surface at this cool room temperature. Small molds (like bonbons) may set in 20-30 minutes, while larger pieces might take 1-2 hours. You'll know the chocolate is set when it contracts slightly and the bottom of the mold appears matte rather than glossy. If the chocolate doesn't easily release or still looks glossy on the mold surface after this time, it might not have been properly tempered or the room is too warm.
Demolding Your Chocolate: Gentle Techniques for Perfect Release
Demolding is the final step in tempered chocolate molding techniques, and it requires a gentle touch. Once the chocolate has fully set and appears matte on the bottom, it should have contracted slightly and pulled away from the sides of the mold cavities. This contraction is a sign of successful tempering.
To demold, invert the mold over a clean surface lined with parchment paper or a silicone mat. Gently flex the mold, or tap it firmly against the surface. The chocolate pieces should pop out easily. Do not try to force them out if they are sticking, as this can break the chocolate or scratch the mold.
If they don't release easily, it's likely the chocolate isn't fully set or wasn't properly tempered. You can try chilling the mold in the refrigerator for just 5-10 minutes (no longer!) to see if the slight temperature drop aids contraction, then try demolding again. Patience and a gentle approach are key here.
Troubleshooting Common Chocolate Molding Problems
Streaky or Dull Chocolate: Identifying Tempering Issues
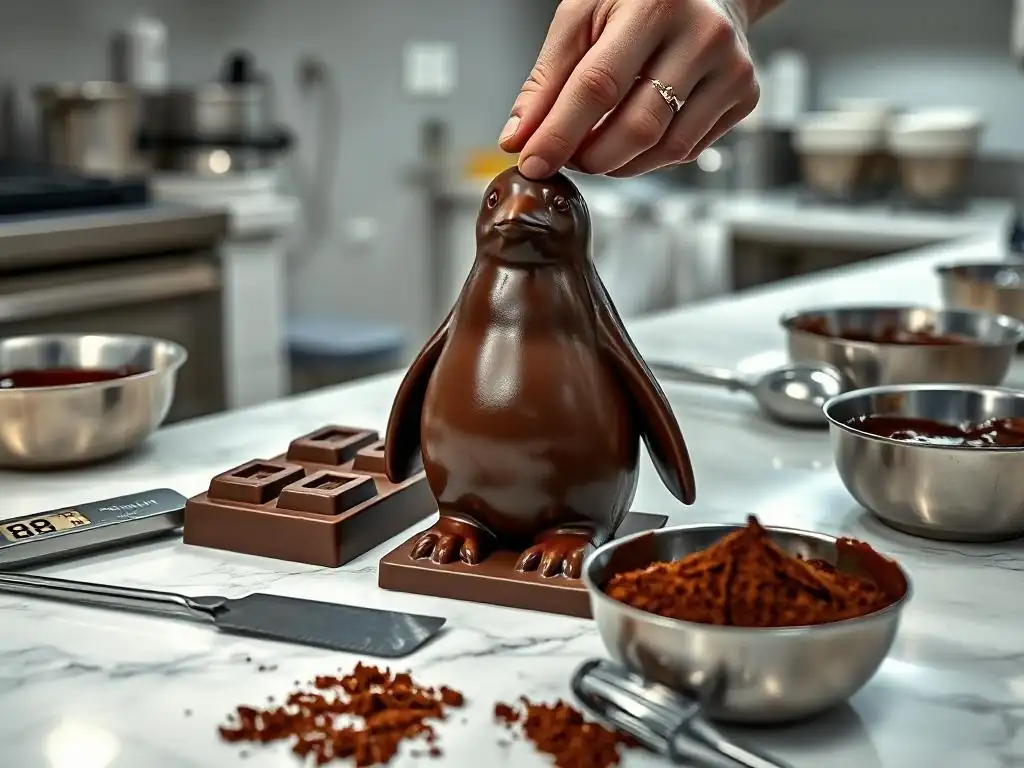
One of the most common problems encountered when using tempered chocolate molding techniques is a dull, streaky, or grayish appearance on the finished chocolate. This is almost always a sign that the chocolate was not properly tempered. It means that unstable cocoa butter crystals (not the desirable Type V) formed during cooling.
Causes include:
- Not reaching the correct initial melting temperature (some unstable crystals remained).
- Not cooling the chocolate sufficiently during the seeding or tabliering process to allow Type V crystals to form.
- Overheating the chocolate during the reheating phase, melting the Type V crystals.
- The chocolate being too warm while molding, causing the temper to break.
- Cooling the chocolate too slowly or in too warm an environment.
The solution is to remelt the chocolate completely (ensuring it reaches the initial melting temperature to destroy all crystal forms) and repeat the tempering process carefully, paying close attention to the temperatures at each stage.
Air Bubbles in Your Chocolate Molds: Prevention and Solutions
Finding small holes or voids (air bubbles) in your finished chocolate pieces is frustrating but usually preventable with good tempered chocolate molding techniques. Air bubbles get trapped when the chocolate is poured into the mold too quickly or when the mold isn't properly agitated afterward.
Prevention is the best solution:
- Pour the chocolate slowly and steadily into the lowest point of the mold cavity.
- Slightly overfill the cavities to allow a buffer for bubbles to escape.
- Tap the mold firmly and repeatedly against your work surface immediately after filling. A chocolate vibrating table is used professionally for this purpose, but manual tapping is effective at home.
- Use a spatula to gently spread and encourage the chocolate into all corners of intricate molds.
If you discover bubbles after demolding, unfortunately, there's no fix for that specific piece. You'll need to remelt and re-mold, focusing on better filling and tapping techniques.
Chocolate Sticking to the Mold: Release Techniques
When chocolate sticks to the mold instead of releasing cleanly, it's usually due to one of several issues related to tempered chocolate molding techniques. The most likely culprits are improper tempering (the chocolate didn't contract properly), the chocolate wasn't fully set, or the mold wasn't perfectly clean and dry.
If the chocolate is sticking:
- Ensure the chocolate is fully set. It should look matte on the bottom and feel firm.
- Try chilling the mold in the refrigerator for a very short period (5-10 minutes) to encourage a final contraction. Do not leave it in too long.
- Make sure you are flexing or tapping the mold correctly and firmly enough.
- For future batches, double-check your tempering process, ensure your molds are spotless and polished, and allow adequate setting time in a cool, dry environment.
Sometimes, complex mold shapes can be trickier; gently twisting or flexing different parts of the mold can help loosen the chocolate.
Bloom on Tempered Chocolate: Understanding and Avoiding Fat Bloom
Bloom is the appearance of a whitish, powdery, or streaky coating on the surface of chocolate. There are two types: sugar bloom (caused by moisture) and fat bloom (caused by improper tempering or poor storage). When discussing tempered chocolate molding techniques, we are primarily concerned with fat bloom. Fat bloom occurs when unstable cocoa butter crystals melt and recrystallize on the surface, often due to temperature fluctuations or improper tempering allowing unstable crystals to form in the first place.
Avoiding fat bloom requires:
- Perfectly tempering the chocolate to ensure only stable Type V crystals are present before molding.
- Setting the chocolate in a cool, stable environment (18-20°C / 64-68°F) away from temperature swings.
- Storing the finished molded chocolates correctly (see the final section).
While bloomed chocolate is still safe to eat, its texture and appearance are compromised. The best way to avoid it is meticulous adherence to proper tempered chocolate molding techniques from start to finish.
Advanced Tempered Chocolate Molding Projects
Creating Layered Chocolate Molds: Combining Flavors and Textures
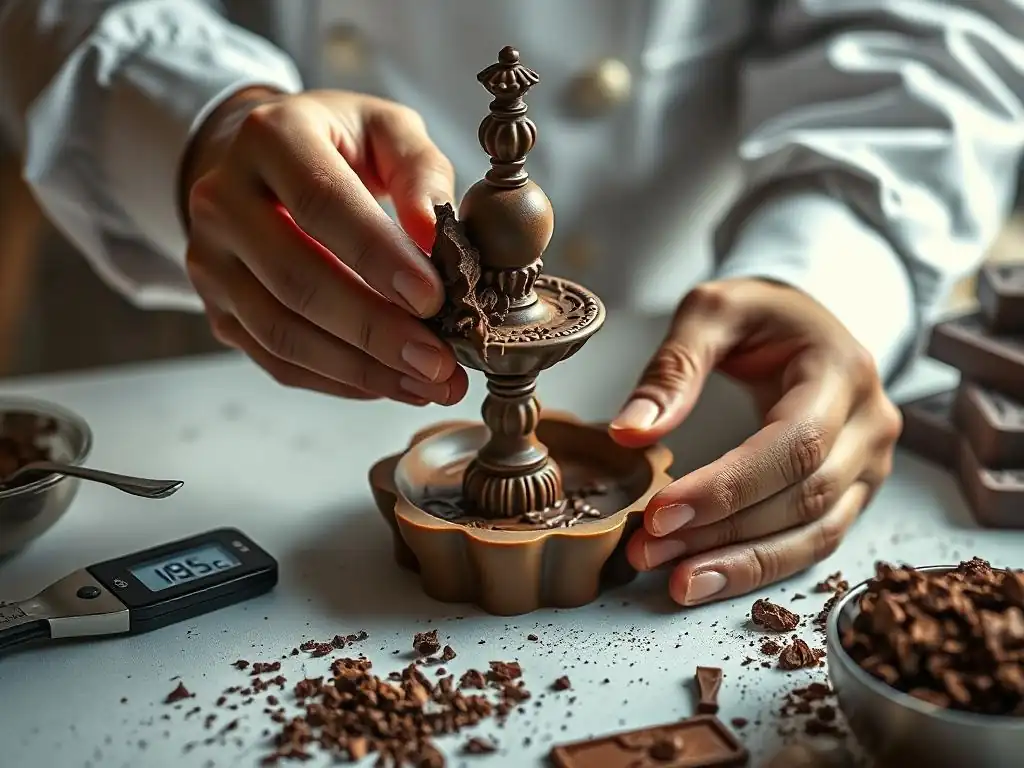
Once you've mastered basic tempered chocolate molding techniques, you can explore more advanced projects like creating layered molds. This involves pouring different types of tempered chocolate (dark, milk, white, or even colored chocolate) or adding fillings in layers. For example, you might pour a thin layer of tempered dark chocolate into the mold, let it set slightly until firm but not hard, then add a layer of caramel or ganache filling, and finally cap it with another layer of tempered dark chocolate.
Alternatively, you can create visual layers by pouring one color or type of tempered chocolate, letting it set, and then pouring a second color on top. Ensure each layer is at the correct working temperature when pouring to prevent the layers from melting into each other or the temper from breaking. Tapping the mold after each chocolate layer helps eliminate bubbles and ensures clean layers. This technique allows for stunning visual effects and exciting flavor combinations within a single molded piece, showcasing advanced tempered chocolate molding techniques.
Molding Chocolate Decorations: Garnishes for Cakes and Desserts
Tempered chocolate molding techniques aren't just for solid bars or bonbons; they are also perfect for creating elegant and intricate chocolate decorations to elevate cakes, pastries, and desserts. Using small, detailed molds (like those for leaves, flowers, or geometric shapes), you can mold various garnishes. Ensure the molds are clean and polished for the best shine.
Pour tempered chocolate into the decorative molds, tap to remove bubbles, and scrape off the excess. Let them set completely at room temperature. Once set, they should pop out easily, providing beautiful, edible embellishments. For example, molding dozens of small chocolate leaves can turn a simple cake into a showstopper. These molded decorations are more stable and professional-looking than decorations made from untempered chocolate, holding their shape and shine longer on display.
Working with Colored Cocoa Butter for Intricate Designs
Adding color to your molded chocolates takes tempered chocolate molding techniques to the next level. This is typically done using colored cocoa butter, which is cocoa butter mixed with fat-soluble food coloring. Colored cocoa butter must also be tempered before use, usually to a slightly lower temperature than chocolate (around 28-29°C or 82-84°F).
You can paint designs directly into the cavities of your polycarbonate molds with tempered colored cocoa butter using small brushes or airbrushes. Allow the cocoa butter to set (it sets quickly). Then, you can backfill the mold with your tempered chocolate. The colored cocoa butter adheres to the chocolate as it sets, creating vibrant patterns or solid colored shells. For instance, you could paint red hearts, green leaves, or abstract splatters in the mold before pouring the main chocolate color, resulting in professional-looking, multi-colored molded chocolates.
Storing Your Masterpieces: Maintaining the Quality of Tempered Chocolate Moldings
Proper Storage Techniques to Prevent Blooming
Once you've successfully created beautiful molded chocolates using expert tempered chocolate molding techniques, proper storage is crucial to maintain their quality, shine, and prevent bloom. Store tempered chocolate in a cool, dry place with a stable temperature. The ideal storage temperature is typically between 15-18°C (59-64°F) and low humidity (below 50%).
Avoid storing chocolate in the refrigerator if possible, as the high humidity and low temperature can cause condensation when the chocolate is brought back to room temperature, potentially leading to sugar bloom. If refrigeration is necessary in a very warm climate, place the sealed container in a secondary airtight container to protect it from moisture and bring it back to room temperature very slowly within the secondary container before opening. Store away from strong odors, as chocolate can absorb smells.
Shelf Life of Tempered Chocolate Moldings
The shelf life of your tempered chocolate moldings depends primarily on the type of chocolate used and any fillings. Pure molded chocolate (dark, milk, or white) made with proper tempered chocolate molding techniques and stored correctly has a relatively long shelf life. Dark chocolate, due to its lower milk and sugar content, can last for several months, often up to a year, without significant loss of quality, provided it remains tempered and stored properly.
Milk and white chocolate have shorter shelf lives, typically 4-6 months, because they contain more dairy and sugar, which are more perishable. If your molded chocolates contain fillings like ganaches, caramels, or fruit purees, their shelf life will be dictated by the filling's ingredients. Ganaches might last 2-4 weeks, while fillings with fresh cream or fruit will be shorter, perhaps only a week or two, even when stored correctly. Always store filled chocolates in an airtight container to prevent drying out or absorbing moisture.
Frequently Asked Questions
What is tempered chocolate, and why is it important for molding?
Tempered chocolate has a stable crystal structure, resulting in a smooth, glossy finish and a satisfying snap. Without proper tempering, chocolate will be dull, streaky, and soft, making it unsuitable for molding.
What are some common methods for tempering chocolate for molding?
Common methods include seeding, tabliering (or marble slab tempering), and using a tempering machine. Each method aims to bring the chocolate to the correct temperature range and stabilize the cocoa butter crystals.
What are the key temperature ranges for tempering different types of chocolate?
Generally, dark chocolate is tempered between 88-91°F (31-33°C), milk chocolate between 84-88°F (29-31°C), and white chocolate between 82-84°F (28-29°C). These are approximate and can vary slightly.
How can I tell if my chocolate is properly tempered before molding?
A properly tempered chocolate will have a glossy sheen and set quickly at room temperature. You can also perform a "snap test": snapping a piece of tempered chocolate should produce a sharp, clean break.
What are some common mistakes to avoid when molding tempered chocolate?
Avoid introducing water or steam to the chocolate, as this can cause it to seize. Also, ensure your molds are clean and dry before pouring in the tempered chocolate for best results.
Final Reflection: The Enduring Allure of Perfectly Tempered Chocolate
The art of tempering chocolate isn't just about achieving a glossy sheen; it's about unlocking the full potential of this beloved ingredient, ensuring a satisfying snap and a melt-in-your-mouth experience that elevates any confection. In a world increasingly focused on instant gratification, mastering the nuances of tempered chocolate offers a rewarding counterpoint – a testament to patience, precision, and the enduring power of traditional techniques.
The impact of properly tempered chocolate extends far beyond the individual enjoyment of a perfectly formed truffle or elegantly decorated bonbon. It represents a connection to a rich culinary history, a legacy of skilled chocolatiers who have perfected these techniques over centuries. The secret to good chocolate is in the tempering.
– While the exact source is unknown, this simple statement encapsulates the profound truth at the heart of chocolate making. The smooth, consistent texture and vibrant shine achieved through tempering are not merely aesthetic; they are indicators of quality, care, and a deep respect for the craft.
Now, consider your own approach to chocolate work. Will you settle for a dull, grainy finish, or will you embrace the challenge of mastering tempering, unlocking the true potential of your creations? Take the time to practice the techniques outlined in this article, and you'll discover a new level of satisfaction in your chocolate-making journey. The rewards – a superior product, a deeper understanding of the craft, and the pride of creating something truly exceptional – are well worth the effort. Let the journey begin!
Unleash Your Inner Chocolatier: Master the Art of Tempering!
Thanks for taking the time to explore the world of perfectly tempered chocolate! You've now got the knowledge to create stunning, professional-looking confections. Ready to put your new skills to the test?
- Dive straight into your next chocolate project! Try making those truffles you've always dreamt of, or experiment with a new ganache recipe using your perfectly tempered chocolate.
- Share your creations! Post photos of your chocolate masterpieces on social media and tag us – we'd love to see your results!
- Challenge yourself: Try tempering a new type of chocolate – white, milk, or even a flavored variety.
What delicious chocolate creation will you tackle first?