
Isomalt vs. Sugar: Which Material to Use for Your Decorations?

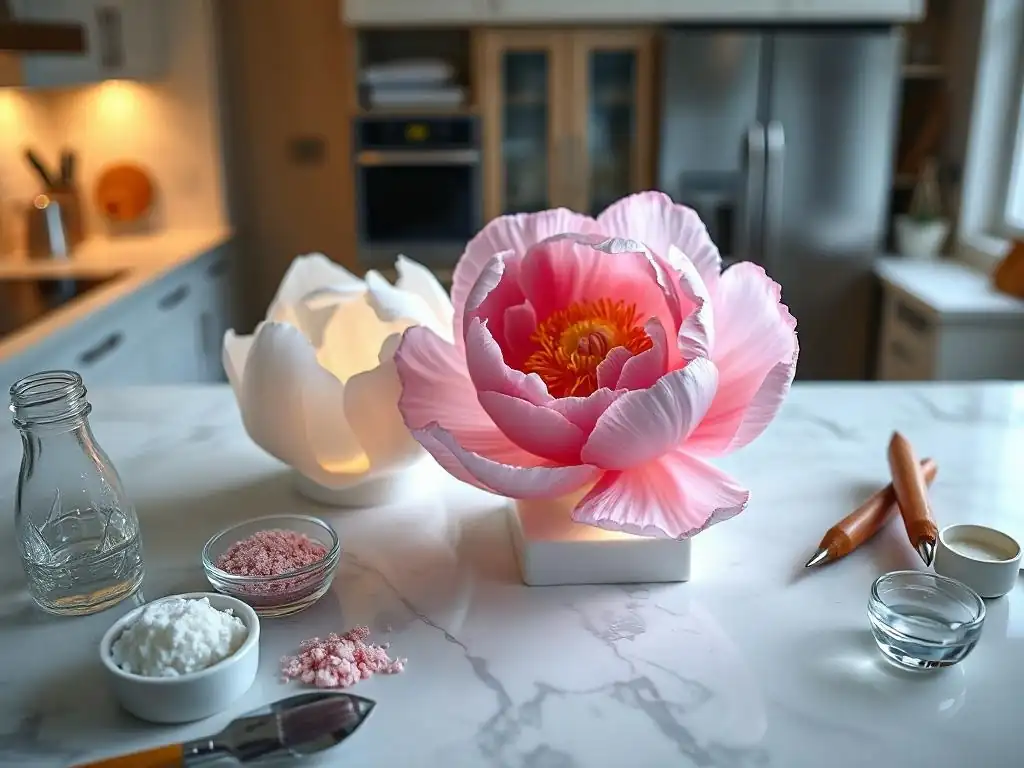
Welcome to BakeWithEase, your trusted companion in the delightful world of baking! Ever wondered about the secret to creating stunning, crystal-clear decorations that elevate your desserts to a whole new level? Dive in as we explore the fascinating debate of Isomalt vs. Sugar for your edible masterpieces. Discover the pros and cons of each, and unlock the secrets to crafting dazzling Isomalt decorations with our easy recipes and techniques. Are you ready to transform your baking into edible art? Let's get started!
- Isomalt vs. Sugar: Which Material to Use for Your Decorations? – A Comprehensive Comparison for BakeWithEase
- Key Differences Between Isomalt and Sugar in Decorative Baking
- Advantages of Using Isomalt for Baking Decorations
- Benefits and Limitations of Using Sugar for Decorative Baking
- Step-by-Step Guide: Creating Stunning Decorations with Isomalt
- Step-by-Step Guide: Crafting Decorative Sugar Elements for Cakes and Pastries
- Isomalt vs. Sugar: Which Material Should You Choose for Your Next Decoration Project?
- Enhancing Your Baking Skills with Isomalt Decorations Easy Recipes and Sugar Techniques
- Conclusion: Making Informed Choices for Beautiful, Durable Baking Decorations Using Isomalt and Sugar.
-
Frequently Asked Questions
- What is Isomalt and how does it differ from sugar in baking decorations?
- Are Isomalt decorations easy to create, even for beginners?
- What are the advantages of using Isomalt over sugar for cake decorations?
- Where can I find reliable "Isomalt decorations easy recipes" suitable for home baking?
- What safety precautions should I take when working with melted Isomalt?
- Final Reflection: The Sweet Science of Isomalt Decoration
- Unleash Your Inner Sugar Artist: Master Isomalt & Sugar!
Isomalt vs. Sugar: Which Material to Use for Your Decorations? – A Comprehensive Comparison for BakeWithEase
Understanding Isomalt Decorations: Easy Recipes and Basic Properties
Isomalt is a sugar substitute derived from beet sugar, specifically a disaccharide alcohol. Chemically, it's a blend of two disaccharides: gluco-mannitol and gluco-sorbitol. Unlike traditional sugar, which is sucrose, Isomalt undergoes a two-step process involving enzymes and hydrogenation to achieve its unique properties. This chemical structure is key to why Isomalt behaves differently, particularly its resistance to crystallization and its higher melting point, making it a favored medium for intricate sugar work and Isomalt decorations.
Exploring Isomalt decorations easy recipes often highlights its user-friendly nature, especially for those new to sugar artistry. Its higher melting point, around 300-340°F (150-170°C), compared to sugar's 320-340°F (160-170°C) when cooked to hard crack stage, means it stays workable for longer periods without becoming brittle too quickly.
This extended working time allows bakers more opportunity to shape, pull, or blow the material into delicate forms like flowers, ribbons, or geometric structures, reducing the frantic pace often associated with hot sugar work. Furthermore, Isomalt absorbs significantly less moisture from the air than sugar, giving finished Isomalt decorations a much longer shelf life and preventing them from becoming sticky or cloudy in humid conditions.
What Is Sugar in Baking Decorations? Types and Uses Explained
Sugar, specifically sucrose derived from sugarcane or sugar beets, is the traditional and most common sweetener used in baking and confectionery. For decorative purposes, various forms of sugar are utilized, including granulated sugar, caster sugar (superfine), powdered sugar (confectioners' sugar), and brown sugar. Each type has distinct properties that lend themselves to different applications, from creating simple sugar glazes with powdered sugar to crafting complex pulled and blown sugar sculptures from cooked granulated sugar.
The use of sugar in decorative baking spans centuries and encompasses a wide array of techniques. Basic techniques include making simple syrup for glazes or soaking cakes, creating royal icing from powdered sugar and egg whites for piping intricate designs, or using granulated sugar to create caramel for spun sugar nests or poured decorations. More advanced methods involve cooking sugar to high temperatures (up to 340°F or 170°C for hard crack stage) to achieve the correct consistency for pulling, blowing, or casting, techniques that require speed and precision due to sugar's tendency to cool and harden rapidly.
Key Differences Between Isomalt and Sugar in Decorative Baking
Chemical Composition and Physical Characteristics of Isomalt vs. Sugar
The fundamental difference lies in their chemical makeup. Sugar (sucrose) is a disaccharide composed of one glucose molecule and one fructose molecule. Isomalt, while also a disaccharide alcohol derived from sugar, is a mixture of two isomers: alpha-D-glucopyranosyl-1,6-mannitol-dihydrate and alpha-D-glucopyranosyl-1,1-sorbitol. This specific arrangement makes Isomalt much more resistant to hydrolysis (breaking down in the presence of water) and crystallization compared to sucrose.
Physically, this translates into several key distinctions important for decorators. Isomalt tends to be less sticky and more stable than cooked sugar. When melted, Isomalt remains clear and doesn't readily brown or caramelize like sugar, which is a major advantage for creating transparent or vibrant colored pieces. While both can be brittle when hard, Isomalt is generally perceived as slightly more durable and less prone to shattering under minor stress compared to delicate pulled or blown sugar pieces.
Melting Points and Workability for Sugar Work and Isomalt Decorations
Working temperatures are a critical factor differentiating these materials. Granulated sugar, when cooked for decorative purposes like pulling or blowing, typically reaches temperatures between 300°F and 340°F (150°C and 170°C). It transitions rapidly through stages like soft ball, firm ball, hard ball, soft crack, and hard crack. Achieving the hard crack stage is essential for solid, non-sticky decorations, but sugar becomes very hot and cools extremely fast, leaving a narrow window for manipulation.
Isomalt, on the other hand, melts at a slightly lower temperature initially, around 248°F (120°C), but is typically heated higher, to about 300-340°F (150-170°C), to remove residual moisture and achieve the proper consistency for working. Its key advantage in workability is that it maintains a pliable state for a longer duration than cooked sugar at similar temperatures. This extended working time is why many find Isomalt decorations easy recipes to follow, as it allows for more deliberate shaping and fewer rushed moments, reducing frustration, especially for beginners.
Flavor Profiles and Sweetness Levels Compared
Taste is a significant difference between the two. Sugar is known for its pure, sweet flavor that is universally appealing and integrates seamlessly into desserts. Cooked sugar, especially when slightly caramelized, can develop richer, more complex notes. The primary appeal of traditional sugar decorations is that they are fully edible and taste good, complementing the dessert they adorn.
Isomalt has a much milder sweetness than sugar, often described as about 40-50% as sweet as sucrose. It has a clean taste but can sometimes leave a slight cooling sensation in the mouth, similar to other sugar alcohols. While technically edible, large quantities of Isomalt can have a laxative effect, a common characteristic of sugar alcohols. For purely decorative elements that may not be intended for consumption (like large showpiece components), the milder flavor is less of a concern. However, for smaller, edible decorations, the less intense sweetness means Isomalt decorations won't overpower the flavor of the dessert itself.
Advantages of Using Isomalt for Baking Decorations
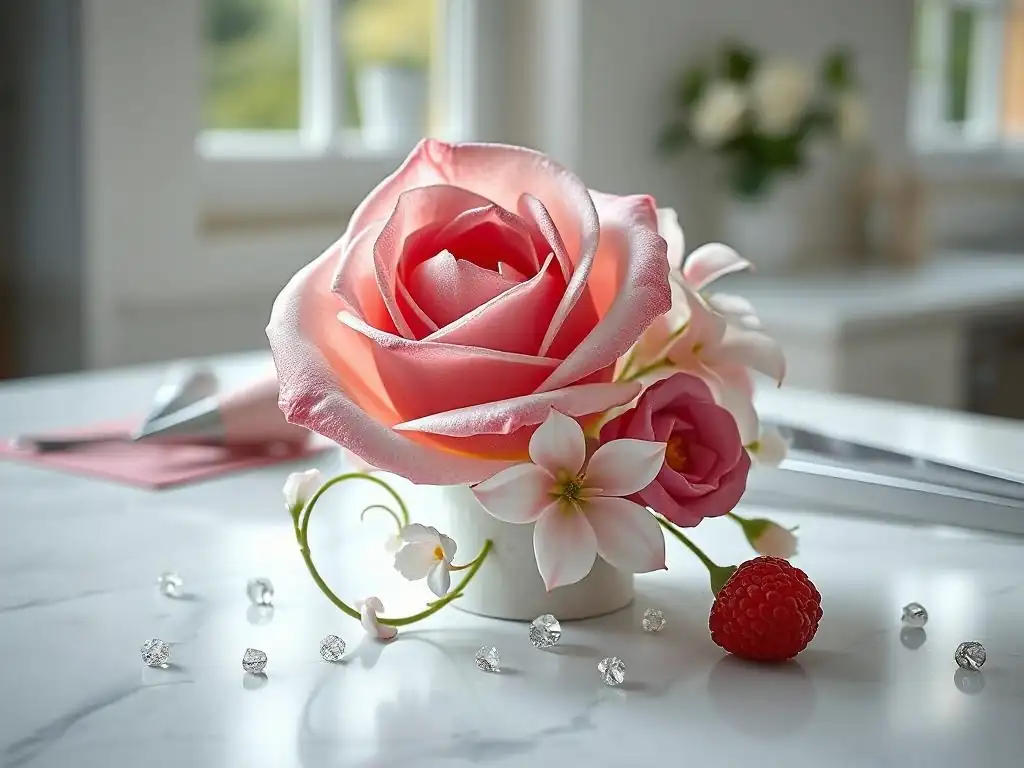
Isomalt Decorations Easy Recipes: Benefits for Beginners and Experts
One of the most compelling advantages of Isomalt is its accessibility, making Isomalt decorations easy recipes a popular choice for bakers of all skill levels. For beginners, the longer working time is invaluable. While hot sugar can transition from pliable to brittle in seconds, Isomalt offers a more forgiving timeframe, allowing newcomers to practice techniques like pulling, blowing, or casting without the intense pressure of speed. This reduces waste and builds confidence.
Experienced sugar artists also benefit from Isomalt's properties. Its resistance to crystallization means achieving clear, smooth finishes is more reliable than with sugar, which can unexpectedly crystallize if not handled perfectly. Furthermore, Isomalt's ability to hold vibrant colors without browning allows for stunning, visually consistent pieces. Creating intricate Isomalt decorations is often less stressful due to this stability, enabling complex designs that might be too challenging or risky with traditional sugar.
Isomalt’s Resistance to Humidity and Its Impact on Decoration Longevity
Humidity is the nemesis of traditional sugar decorations. Cooked sugar is highly hygroscopic, meaning it readily absorbs moisture from the air. In humid environments, spun sugar collapses, pulled sugar pieces become sticky and cloudy, and solid cast sugar decorations can weep and lose their shape within hours. This severely limits the shelf life and display time of sugar pieces, often requiring them to be made just before serving.
Isomalt, in stark contrast, is significantly less susceptible to moisture absorption. While not entirely immune, Isomalt decorations can withstand much higher humidity levels for extended periods without degrading. This makes Isomalt ideal for decorations that need to be prepared in advance, transported, or displayed for several hours or even days, such as those used on wedding cakes or large exhibition pieces. The durability offered by Isomalt's humidity resistance is a major factor in its widespread adoption for professional showstopper cakes and durable Isomalt decorations.
Health and Dietary Considerations When Choosing Isomalt
From a dietary perspective, Isomalt offers certain advantages over sugar. It is classified as a sugar alcohol and has a lower caloric value than sugar (approximately 2 calories per gram compared to sugar's 4 calories per gram). More importantly, Isomalt has a minimal impact on blood glucose levels, making it a suitable sweetener for individuals managing diabetes or those following a low-glycemic diet. Its glycemic index is significantly lower than that of sugar.
However, it's important to note the potential digestive effects. Like other sugar alcohols, consuming large quantities of Isomalt can cause gastrointestinal distress, including bloating, gas, and a laxative effect. While this is less of a concern for small, purely decorative pieces, it's a factor to consider if the decorations are intended to be fully eaten, especially by individuals sensitive to sugar alcohols. For creating Isomalt decorations easy recipes for edible elements, moderation in consumption should be advised.
Benefits and Limitations of Using Sugar for Decorative Baking
Traditional Sugar Decorations: Techniques and Challenges
Traditional sugar work, using cooked sugar, offers a classic approach to cake decoration with techniques like pulling, blowing, casting, and spinning. Pulled sugar involves stretching and folding warm sugar to create ribbons and shapes, while blown sugar uses air to inflate a sugar mass into delicate hollow forms. Casting involves pouring hot sugar into molds, and spun sugar creates fine threads by flicking hot sugar from a fork. These techniques, when mastered, can produce breathtakingly beautiful and intricate art pieces.
However, working with hot sugar presents significant challenges. Sugar heats to extremely high temperatures, posing a serious burn risk. Its rapid cooling means there is a very short window to manipulate the sugar before it becomes hard and brittle, requiring speed, confidence, and practice. Crystallization is another common issue; if the sugar syrup isn't cooked correctly or if stray sugar crystals contaminate the mixture, the entire batch can turn grainy and unusable for clear decorations. These difficulties make traditional sugar work less forgiving than Isomalt decorations easy recipes.
Flavor Impact and Texture Variations in Sugar-Based Decorations
One of sugar's main benefits is its delicious flavor. Cooked sugar decorations, from simple caramel shards to intricate spun sugar, add a sweet, often slightly caramelized taste that complements most desserts. Unlike Isomalt, sugar decorations are fully and safely edible in reasonable quantities, contributing both visually and gastronomically to the overall dessert experience.
Texture is another area where sugar shines. Depending on the technique, sugar can be manipulated into a variety of textures: the delicate, airy crunch of spun sugar; the smooth, hard glassiness of poured or blown sugar; or the slightly chewy texture of pulled sugar (if not cooked to the hard crack stage). This versatility in texture allows for dynamic decorative elements that provide an interesting contrast to softer cake or pastry components. However, this texture is highly susceptible to moisture, quickly turning sticky or soft in humid conditions.
Cost and Availability Factors for Sugar vs. Isomalt
Sugar is widely available and relatively inexpensive, making it an accessible option for bakers everywhere. Granulated sugar can be purchased at virtually any grocery store, and the cost per pound is quite low. This low barrier to entry makes experimenting with basic sugar decoration techniques, like caramel or simple poured shapes, very affordable for beginners.
Isomalt, while becoming more common, is generally more expensive and less readily available than sugar. It is typically found in specialty baking supply stores or online. The cost per pound of Isomalt is significantly higher than that of granulated sugar, which can be a consideration for large projects or for bakers on a tight budget. While the ease of use and durability of Isomalt can offset the cost in some cases, especially for professional work or complex Isomalt decorations, sugar remains the more economical choice for everyday decorative baking.
Step-by-Step Guide: Creating Stunning Decorations with Isomalt
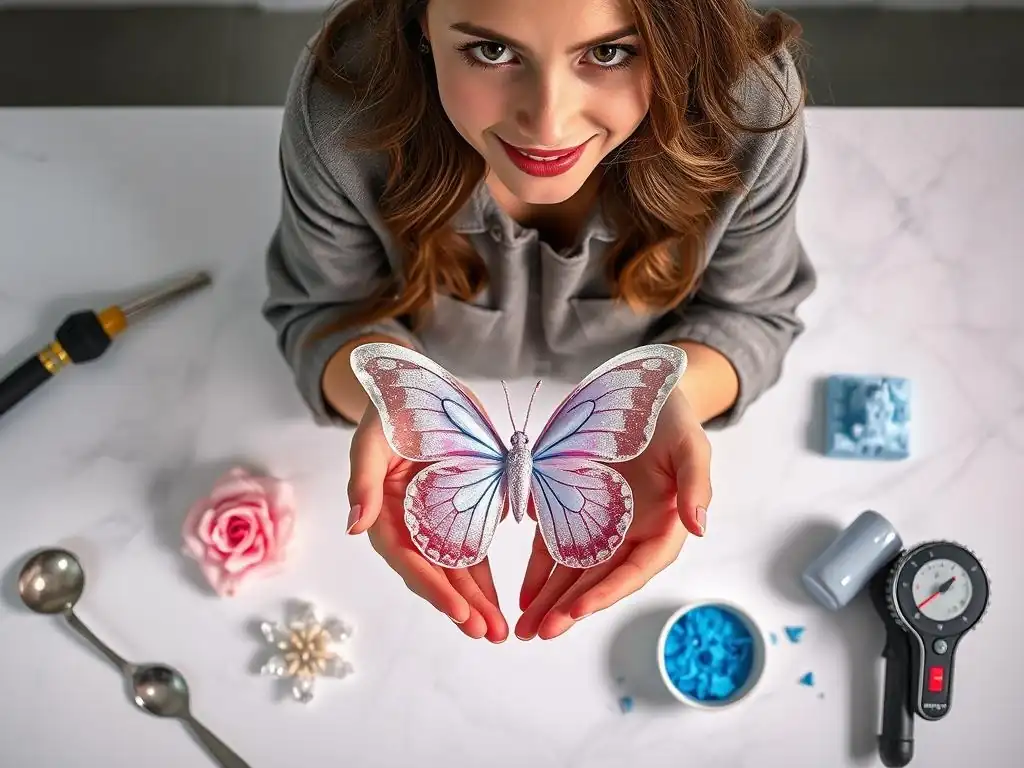
Preparing Isomalt for Decoration: Essential Tools and Ingredients
Creating beautiful Isomalt decorations requires careful preparation and the right tools. You will need:
- Isomalt granules or sticks (specify quantity based on project, e.g., 1 cup)
- Distilled water (optional, a few tablespoons per cup of Isomalt, used to help dissolve)
- Food coloring specifically designed for candy or chocolate (gel or powder works best)
- Flavoring oils (optional, designed for candy making)
- A heavy-bottomed saucepan or pot
- A candy thermometer capable of reading up to 350°F (175°C)
- Silicone mats or heat-resistant surfaces
- Heat-resistant gloves (crucial for safety!)
- Molds (silicone or specialized candy molds work well)
- A heat lamp (optional, to keep Isomalt pliable)
To begin, measure your Isomalt into the saucepan. If using water, add just enough to moisten the granules – too much water will require longer cooking time. Heat the mixture gently over medium heat, stirring occasionally until the Isomalt dissolves. Once dissolved, stop stirring to prevent crystallization and increase the heat slightly. Insert your candy thermometer and bring the temperature up to 320-340°F (160-170°C). Ensure the Isomalt is completely clear and free of bubbles before proceeding.
Stepwise Process for Making Clear and Colorful Isomalt Decorations
Once the Isomalt reaches the target temperature, carefully remove it from the heat. Wait for a few moments for the large bubbles to subside. If adding color or flavor, do so now, stirring gently to incorporate. Remember that a little candy color goes a long way for vibrant Isomalt decorations.
Now, you can use the hot Isomalt for various techniques:
- Pouring: Carefully pour the Isomalt onto silicone mats to create shards, or into silicone molds for specific shapes.
- Casting: Pour into specialized casting molds.
- Pulling/Blowing: Allow the Isomalt to cool slightly on a silicone mat until it's warm enough to handle with heat-resistant gloves. Pull and fold the mass to incorporate air for shine (pulling), or use a pump to inflate it into shapes (blowing).
Work quickly but deliberately, using your heat lamp if necessary to keep sections warm and pliable. Trim edges or excess Isomalt while it's still warm. Once cooled completely, the Isomalt decorations will be hard and stable.
Troubleshooting Common Issues in Isomalt Decoration Recipes
Even with Isomalt decorations easy recipes, you might encounter some issues. One common problem is cloudiness. This can happen if the Isomalt wasn't heated high enough to drive off all moisture, or if it absorbed moisture from the air while cooling. Ensure you heat it to the recommended temperature range (320-340°F) and store finished pieces in an airtight container with a desiccant packet if humidity is high.
Another issue is breakage. While more durable than sugar, Isomalt pieces can still be fragile, especially delicate pulled or blown components. Handle cooled pieces carefully. If a piece breaks, you can often gently warm the edges with a small torch or heat gun and fuse them back together, though this requires practice. If the Isomalt becomes too hard to work with while pulling or shaping, briefly placing it under a heat lamp or in a very low oven (around 200°F / 90°C) can soften it, but be careful not to melt it completely again.
Step-by-Step Guide: Crafting Decorative Sugar Elements for Cakes and Pastries
Techniques for Heating and Shaping Sugar for Decorative Purposes
Working with hot sugar requires speed, precision, and safety precautions. Start by combining granulated sugar with a small amount of water (e.g., 1 cup sugar to 1/4 cup water) in a clean, heavy-bottomed saucepan. Heat over medium heat, stirring initially to dissolve the sugar. Once it boils, stop stirring to prevent crystallization. Use a pastry brush dipped in water to wash down any sugar crystals that form on the sides of the pan.
Monitor the temperature with a candy thermometer. For techniques like pulling, blowing, or spinning, you need to reach the hard crack stage, typically between 300°F and 340°F (150°C and 170°C). Once the temperature is reached, immediately remove the pan from the heat and plunge the bottom into a bowl of ice water for a few seconds to stop the cooking process. Carefully pour the hot sugar onto a silicone mat. Allow it to cool slightly until it's pliable enough to handle with heat-resistant gloves, but before it becomes brittle – this is the critical, short working window.
Tips for Achieving Glossy, Crisp Sugar Decorations
Achieving a beautiful, glossy finish on sugar decorations is a mark of successful sugar work. The key is preventing crystallization throughout the process. Ensure your pan is clean, use a small amount of water to dissolve the sugar initially, and resist the urge to stir once the syrup is boiling. Washing down the sides of the pan with a wet pastry brush helps remove stray crystals that could seed the mixture.
When working with the sugar, handle it as little as possible and work quickly. For pulled sugar, pulling and folding the sugar incorporates air, which adds shine and opacity. For blown sugar, maintaining consistent heat and working fluidly helps keep the surface smooth. For poured decorations, ensure the sugar is free of bubbles before pouring. Once formed, sugar decorations are best left untouched to cool completely. Storing them immediately in a low-humidity environment (like a box with desiccant packets) is crucial to maintain their crisp texture and glossy appearance.
Safety Precautions When Working with Hot Sugar
Working with sugar heated to over 300°F (150°C) is inherently dangerous and requires extreme caution. Burns from hot sugar are severe and can cause deep tissue damage. Always wear heat-resistant gloves when handling hot or warm sugar, whether pulling, blowing, or shaping. Long sleeves and closed-toe shoes are also recommended to protect your skin from accidental drips or spills.
Ensure your workspace is clear and non-slip. Have a bowl of ice water ready nearby as an immediate cooling measure for minor burns (though for significant burns, seek medical attention immediately). Never leave heating sugar unattended. Keep children and pets away from the workspace. Dispose of hardened sugar scraps carefully, ensuring they are fully cooled before handling. Safety is paramount when engaging in traditional sugar work techniques.
Isomalt vs. Sugar: Which Material Should You Choose for Your Next Decoration Project?
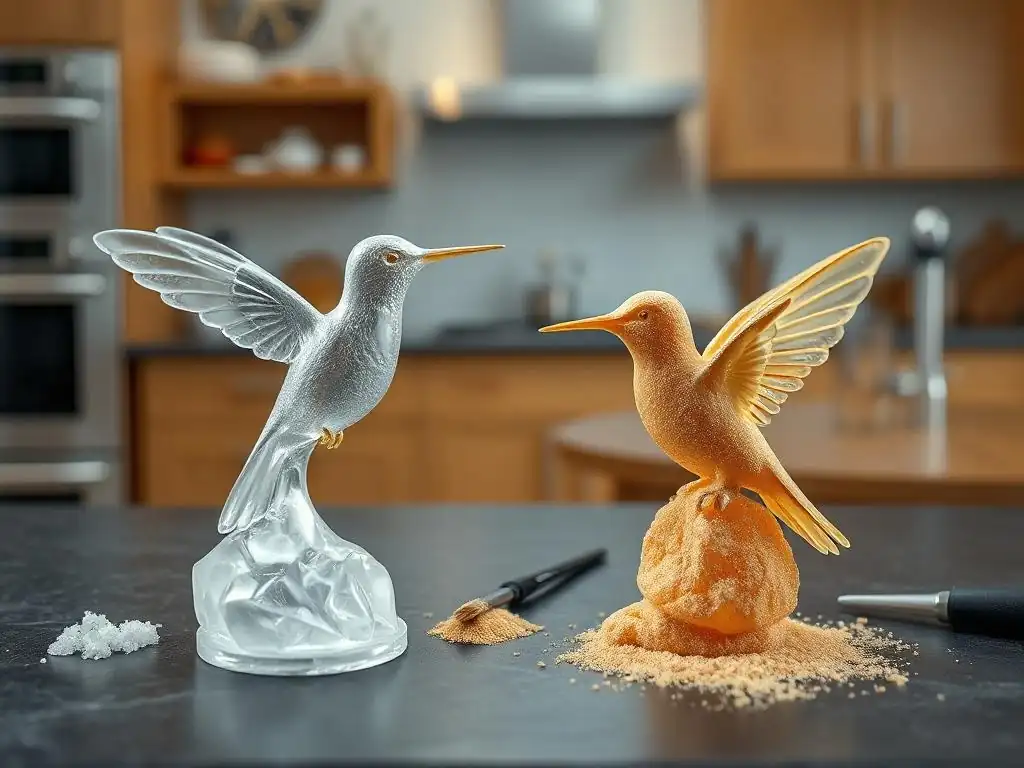
Matching Decoration Types with Material Strengths and Suitability
Choosing between Isomalt and sugar depends heavily on the type of decoration you envision and its intended environment. For delicate, transparent, or vibrantly colored pieces that need to withstand some handling and humidity – such as blown spheres, intricate pulled flowers, or clear poured gems for a tiered cake – Isomalt is often the superior choice. Its stability, longer working time, and resistance to moisture make it ideal for complex or pre-made Isomalt decorations.
Traditional sugar is excellent for classic techniques like spun sugar nests, simple poured shards that will be consumed immediately, or caramel work. Its flavor is a significant advantage for edible decorations. Sugar is also suitable for techniques like royal icing (using powdered sugar) or fondant (which often contains sugar) which create different types of decorative elements entirely. If humidity is not a factor and you prioritize taste and traditional aesthetics, sugar can be perfectly suitable.
Considerations for Skill Level and Time Investment
Your current skill level in sugar artistry should influence your choice. For beginners looking to dip their toes into pulled or blown sugar techniques, starting with Isomalt is often recommended. The extended working time provided by Isomalt decorations easy recipes allows for a more forgiving learning curve, reducing frustration and waste compared to the rapid hardening of sugar. This makes the initial investment in learning the techniques more productive.
Mastering traditional sugar work requires significant practice, patience, and speed due to its challenging nature. While rewarding, it often involves more failed attempts initially. If you have limited time or are just starting out with 3D sugar art, Isomalt offers a quicker path to successful results for techniques like pouring or simple pulling. Experienced sugar artists may be comfortable with both, choosing based on the specific project needs and desired outcome.
Final Recommendations Based on Decoration Style and Desired Outcome
For showpiece cakes, competitions, or decorations that require advance preparation, transportation, or display in potentially humid conditions, Isomalt is generally the preferred material due to its durability and humidity resistance. It allows for intricate, stable, and visually stunning elements that last. If your goal is clear, vibrant, or purely sculptural non-edible art, Isomalt is the clear winner.
If the decorations are intended to be fully edible, consumed with the dessert, and will be served shortly after creation in a controlled environment, traditional sugar offers superior flavor. For classic techniques like spun sugar or simple caramel work where humidity isn't a major issue, sugar is economical and traditional. Consider the balance between visual impact, durability, edibility, cost, and your comfort level with the working properties of each material when making your final decision for Isomalt vs. sugar.
Enhancing Your Baking Skills with Isomalt Decorations Easy Recipes and Sugar Techniques
Integrating Advanced Sugar Work and Isomalt Skills Into Your Baking Repertoire
Adding sugar work and Isomalt decoration skills to your baking repertoire opens up a world of creative possibilities. Mastering techniques in both mediums allows you to choose the best material for each specific decorative element on a cake or pastry. For instance, you might use stable Isomalt for structural elements or detailed pulled flowers that need to hold their shape, while using traditional sugar for delicate spun sugar accents or flavorful poured components that will be eaten immediately.
Developing proficiency requires practice, patience, and a willingness to experiment. Start with simple Isomalt decorations easy recipes, like pouring colored Isomalt shards or casting basic shapes in molds. Gradually progress to more complex techniques like pulling or blowing. Similarly, practice controlling sugar temperatures for simple caramel work before attempting spun or pulled sugar. Each attempt, successful or not, builds muscle memory and understanding of how these materials behave.
Recommended Resources and Tutorials for Mastering Isomalt and Sugar Decorations
There are many excellent resources available to help you master both Isomalt and sugar decoration techniques. Look for online tutorials, instructional videos from reputable sugar artists, and specialized books dedicated to sugar work. Many professional baking schools offer courses specifically on sugar and Isomalt artistry.
When searching for resources, look for those that emphasize safety, provide clear temperature guidelines, and offer step-by-step visual instructions. For Isomalt decorations easy recipes, seek out tutorials that break down techniques like melting, coloring, and pouring into manageable steps suitable for beginners. Engaging with online baking communities can also provide valuable tips, troubleshooting advice, and inspiration from others working with Isomalt and sugar.
Conclusion: Making Informed Choices for Beautiful, Durable Baking Decorations Using Isomalt and Sugar.
Frequently Asked Questions
What is Isomalt and how does it differ from sugar in baking decorations?
Isomalt is a sugar substitute often used in cake decorating. Unlike sugar, it's less prone to crystallization and is more resistant to humidity, making it ideal for creating stable and clear decorations.
Are Isomalt decorations easy to create, even for beginners?
While Isomalt requires careful handling due to its high temperature when melted, many easy recipes and tutorials are available. With proper instruction and practice, even beginners can create beautiful Isomalt decorations.
What are the advantages of using Isomalt over sugar for cake decorations?
Isomalt decorations are less sticky than sugar decorations, more resistant to humidity, and tend to have a clearer, glass-like finish. This makes them ideal for intricate designs and longer-lasting displays.
Where can I find reliable "Isomalt decorations easy recipes" suitable for home baking?
Websites like BakeWithEase.com often provide step-by-step guides and easy-to-find ingredient lists for Isomalt creations. Look for recipes specifically designed for beginners to ensure success.
What safety precautions should I take when working with melted Isomalt?
Melted Isomalt is extremely hot, so always use heat-resistant gloves and protect your work surface. Keep it away from children and pets and be prepared for potential burns by immediately cooling any affected area with cold water.
Final Reflection: The Sweet Science of Isomalt Decoration
The delicate art of isomalt crafting is experiencing a surge in popularity, moving beyond professional kitchens and into the enthusiastic hands of home bakers and decorators. This shift reflects a growing desire for visually stunning, unique, and surprisingly durable edible decorations, pushing the boundaries of what's possible in cake artistry and beyond. Isomalt offers a compelling alternative to sugar, providing a clarity and strength that traditional sugar simply can't match.
The journey from simple sugar work to the intricate world of isomalt has been a fascinating one, highlighting the transformative power of a single ingredient. The sheer versatility of isomalt, from delicate spun sugar to robust, sculpted pieces, is truly remarkable. It's a testament to the enduring human fascination with creating beauty through food. The most beautiful thing we can experience is the mysterious. It is the source of all true art and science.
- Albert Einstein. This quote resonates deeply, as the seemingly simple process of melting and shaping isomalt unlocks a world of artistic expression, revealing its inherent mysteries with each successful creation.
Now, it's your turn to explore the sweet science of isomalt. Don't be intimidated by the initial learning curve; embrace the challenge, experiment with the easy recipes outlined in this article, and watch your culinary creations transform. The journey of mastering isomalt is a rewarding one, filled with the joy of creation and the satisfaction of producing truly breathtaking edible art. So, gather your ingredients, ignite your creativity, and embark on this delicious adventure!
Unleash Your Inner Sugar Artist: Master Isomalt & Sugar!
Thanks for diving into the sweet world of isomalt and sugar with us! You've now got the knowledge to create stunning decorations. Ready to take your baking to the next level?
- Try a small isomalt project: Start with a simple isomalt swirl or shard – it's easier than you think! This is your chance to experiment and see the magic in action.
- Share your creations: Show us your sugar and isomalt masterpieces on social media using #BakeWithEaseIsomalt. Let's inspire each other!
- Explore advanced techniques: Dive deeper into the art of sugar work. Research spun sugar or intricate isomalt sculptures – the possibilities are endless!
What unique sugar or isomalt decoration will you create next?