
Saving Seized Chocolate: What to Do When Tempering Goes Wrong.

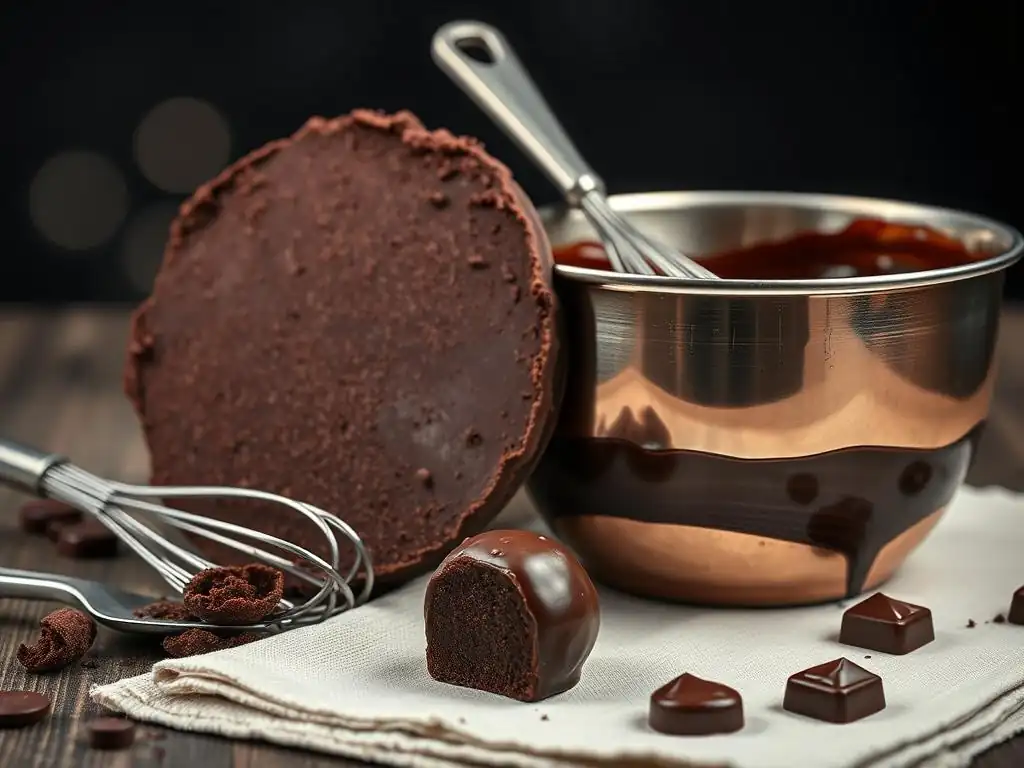
Welcome to BakeWithEase, where even baking blunders become learning opportunities! Ever faced the heartbreaking sight of seized chocolate mid-temper? Don't despair! This guide delves into the secrets of how to fix tempered chocolate easily, rescuing your creations and ensuring your advanced baking adventures remain a sweet success. Curious to learn the quick tricks to smooth perfection? Read on and unlock the secrets!
- Understanding Chocolate Tempering and Seizing
- Why Does Chocolate Seize During Tempering? Common Causes
- How to Fix Seized Chocolate: A Step-by-Step Guide to Rescue
- Preventing Chocolate Seizing: Best Practices for Perfect Tempering Every Time
- Advanced Techniques for Working with Chocolate
- Reusing Rescued Chocolate: Creative Ideas for Your "Fixed" Chocolate
- Mastering the Art of Tempering: A Summary for BakeWithEase Bakers
- Frequently Asked Questions
- Final Reflection: The Sweetness of Perseverance in Chocolate Tempering
- Rediscover Your Chocolate Confidence!
Understanding Chocolate Tempering and Seizing
What is Tempered Chocolate and Why Does It Matter?
Tempering chocolate is a crucial process in confectionery that involves carefully heating and cooling chocolate to specific temperatures. This controls the crystallization of cocoa butter, the fat component in chocolate. When successfully tempered, chocolate will set with a beautiful, glossy finish, a firm snap when broken, and a smooth texture that melts evenly in your mouth. It also helps prevent "bloom," the unsightly gray streaks or patches that can appear when chocolate isn't properly crystallized, making tempered chocolate essential for dipping, molding, and creating professional-looking confections.
Achieving perfectly tempered chocolate isn't just about aesthetics; it significantly impacts the quality and shelf life of your baked goods and candies. Properly tempered chocolate is stable at room temperature, less prone to melting quickly in your hands, and resistant to fat or sugar bloom for longer periods. Mastering this technique elevates simple treats into sophisticated desserts, allowing you to create everything from delicate chocolate shavings to sturdy chocolate shells for truffles, all with that satisfying shine and snap that signals quality.
Identifying Seized Chocolate: Signs and Symptoms
Seized chocolate is the baker's nemesis during tempering. It's a sudden, unwelcome transformation from a smooth, flowing liquid into a thick, grainy, or lumpy paste. Instead of pouring easily or coating smoothly, seized chocolate becomes stiff and unworkable, often resembling mud or curdled milk. This happens when the cocoa solids clump together, usually due to the introduction of moisture or excessive heat, disrupting the delicate structure of the melted chocolate.
Recognizing seized chocolate is straightforward: its texture is the giveaway. It loses its fluidity and becomes stiff, often with visible clumps or a gritty appearance. The beautiful sheen disappears, replaced by a dull, pasty look.
If you're trying to temper chocolate for dipping strawberries or molding figures and it suddenly changes from a silky liquid to a thick paste that won't coat evenly or flow, you've likely encountered seized chocolate. The good news is that this state isn't the end of the road; there are ways you can often fix tempered chocolate easily, or at least salvage it for other uses.
Why Does Chocolate Seize During Tempering? Common Causes
Moisture: The Number One Enemy of Smooth Chocolate
Even a tiny drop of water can cause chocolate to seize instantly. Chocolate contains sugar and cocoa solids, which are hydrophilic, meaning they attract and dissolve in water. When water is introduced, these particles are drawn to it, forming clumps and creating that thick, lumpy texture. This is why using dry utensils, bowls, and working in a low-humidity environment are absolutely critical when melting or tempering chocolate. Condensation from steam is a common culprit, so be extra careful when using a double boiler.
Think of it like adding a small amount of liquid to flour; it doesn't create a smooth batter but rather sticky clumps. Similarly, a small amount of moisture in melted chocolate causes the dry cocoa and sugar particles to seize up. While adding more liquid later can sometimes smooth it out (creating ganache, for instance), the initial small amount causes the seizing reaction. Preventing even a single drop of water from contacting your melted chocolate is the most important rule to avoid needing to fix tempered chocolate easily later.
Overheating: When Heat Turns Against You
Applying too much heat, or heating chocolate too quickly, can also cause it to seize or burn. Chocolate has a relatively low melting point, and the cocoa solids and sugar crystals within it are sensitive to high temperatures. Exposing chocolate to direct, high heat can scorch the cocoa solids and sugar, leading to a grainy, burnt taste and a thick, unmanageable texture. This is particularly true for white chocolate, which has a higher sugar content and is more susceptible to scorching.
Using gentle, indirect heat sources like a double boiler (ensuring the water isn't boiling vigorously and the bowl doesn't touch the water) or microwaving in short bursts (15-30 seconds) on medium power are best practices. Monitoring the temperature closely with a thermometer is key, especially when tempering, as exceeding the upper temperature limit can cause the cocoa butter crystals to break down improperly, potentially leading to a seized texture or bloom later. Controlled heating is paramount to avoid this common issue and successfully fix tempered chocolate easily if it happens.
Insufficient Fat Content: Choosing the Right Chocolate for Tempering
Not all chocolate is created equal, especially when it comes to tempering. The proportion of cocoa butter in chocolate significantly affects its melting properties and ability to temper correctly. Chocolate labeled as "couverture" chocolate contains a higher percentage of cocoa butter (typically 32-39%) compared to standard baking chocolate or chocolate chips. This higher fat content makes it more fluid when melted and easier to temper, resulting in a better shine and snap.
Using chocolate with insufficient fat, such as some chocolate chips which contain stabilizers to hold their shape during baking, can make tempering difficult or impossible. While you can melt these chocolates, they may not achieve the proper crystal structure for a true temper, or they might become thick and pasty more easily. For successful tempering and to minimize issues like seizing, always opt for high-quality couverture chocolate intended for melting and tempering. Choosing the right starting material is the first step to avoid needing to fix tempered chocolate easily.
Contamination: Keeping Your Chocolate Pure
Introducing foreign substances into melted chocolate can also disrupt its delicate structure and lead to seizing. This includes crumbs from other ingredients, residual soap from inadequately washed bowls or utensils, or even traces of oil or grease. Just like moisture, these contaminants can interfere with the smooth flow and proper crystallization of the chocolate.
Ensuring all your equipment is spotlessly clean and completely dry before it comes into contact with melted chocolate is vital. Avoid switching between tasks like melting chocolate and then immediately using the same spatula for another ingredient without thorough cleaning. A clean workspace and clean tools are fundamental to achieving smooth, tempered chocolate and preventing the kind of seizing that requires you to fix tempered chocolate easily.
How to Fix Seized Chocolate: A Step-by-Step Guide to Rescue
The "Adding Fat" Method: The Most Common Rescue Technique
This is often the simplest and most effective way to attempt to fix seized chocolate easily, especially if the seizing was caused by a tiny amount of moisture or slight overheating. The principle is to introduce more fat back into the mixture to help disperse the clumped cocoa solids and sugar, restoring fluidity.
Gathering Your Supplies: Cocoa Butter, 1-2 teaspoons per ounce of chocolate
To use this method, you'll need a neutral fat source. Melted cocoa butter is ideal as it's the fat naturally found in chocolate and won't affect the flavor or texture negatively. If cocoa butter isn't available, a neutral vegetable oil like refined coconut oil or grapeseed oil can work, but use sparingly as they can slightly alter the taste or mouthfeel. You will need approximately 1-2 teaspoons of melted fat for every ounce (about 28g) of seized chocolate. Ensure your fat is melted and warm, but not excessively hot.
The Process: Slowly Incorporating Fat Back In
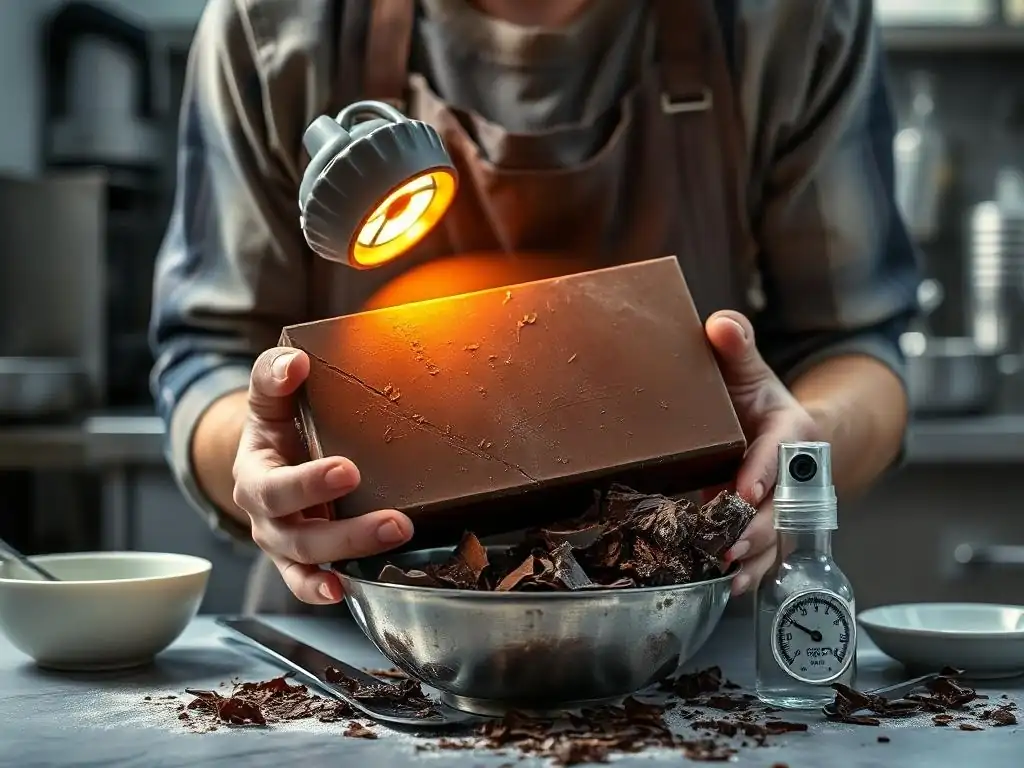
Place the seized chocolate in a heatproof bowl over a very gentle double boiler (or use a heat lamp, or even a warm, dry surface – avoid direct heat if possible). Gently warm the chocolate just enough to make it slightly pliable again. Slowly whisk in the melted fat, a tiny amount at a time (start with maybe half a teaspoon). Stir continuously and gently. As you stir, the chocolate should gradually begin to loosen and become smoother. Continue adding the fat, a little at a time, and stirring until the chocolate achieves a more pourable consistency.
Troubleshooting: What to Do If the Chocolate Still Isn't Smooth
If, after adding the recommended amount of fat and stirring, the chocolate remains grainy or thick, it might be beyond saving with this method alone, or the seizing was severe (perhaps due to significant burning or contamination). Don't keep adding excessive amounts of fat, as this can make the chocolate greasy.
At this point, the chocolate is unlikely to be suitable for tempering or fine confectionery work, but it can often still be salvaged for other uses where texture isn't paramount, such as making ganache or incorporating into batters, which we'll discuss later. Learning to fix tempered chocolate easily is sometimes about knowing when a full rescue isn't possible but salvage is.
The "Water Bath" Method: A Risky, But Effective Solution
This method seems counter-intuitive given that water causes seizing, but adding enough hot liquid can sometimes turn seized chocolate into a smooth ganache-like mixture. This method is not for tempering but for salvaging the chocolate for use in other recipes.
Understanding the Risks: Avoiding Further Seizing
Adding water to seized chocolate is a high-stakes move because adding too little or water that isn't hot enough can worsen the seizing. The goal is to add enough hot liquid (usually water) to fully hydrate the sugar and cocoa solids, essentially turning the mixture into a very concentrated ganache base. This method is best attempted when the seized chocolate is already warm and somewhat pliable.
The Process: Adding Small Amounts of Hot Water Carefully
Place the seized chocolate in a sturdy, heatproof bowl. Heat a small amount of water (start with 1-2 tablespoons for about 6-8 ounces of chocolate) until it is very hot, almost boiling. Pour a small portion of the hot water (e.g., half a tablespoon) into the seized chocolate. Stir vigorously with a whisk or spatula from the center outwards. The mixture might seize further initially, becoming even stiffer.
Do not stop stirring. Keep stirring firmly. As you incorporate the water, the mixture should eventually loosen and become smooth and glossy. Add more hot water, a tablespoon at a time, stirring constantly until the desired smooth consistency is reached.
Important Considerations: Type of Chocolate and Water Temperature
This method works best with dark or milk chocolate. White chocolate, with its high sugar content, is more prone to becoming greasy or simply not smoothing out properly with water. The water must be hot; using lukewarm or cold water will almost guarantee further seizing. The final product will be similar to a ganache and will not temper properly; it will set softer than tempered chocolate and won't have the same snap or shine. However, it successfully allows you to fix tempered chocolate easily in the sense of making it usable again for many applications.
The "Microwave" Method: A Quick Fix for Small Batches
For small amounts of slightly seized chocolate, the microwave can sometimes offer a quick rescue, primarily by very gently warming the chocolate to help redistribute fats.
Best Practices: Using Short Intervals and Monitoring
If your chocolate seized slightly due to cooling too much during tempering or perhaps a tiny bit of moisture, gentle, controlled heat might help. Place the seized chocolate in a microwave-safe bowl. Use a low to medium power setting (e.g., 50%). Heat in very short intervals, no more than 10-15 seconds at a time. After each interval, remove the bowl and stir the chocolate thoroughly, even if it doesn't look like it's melting or smoothing out.
The Process: Gentle Heating and Stirring
The key here is patience and gentleness. The heat from the microwave, combined with stirring, helps the cocoa butter become more fluid and coat the cocoa solids and sugar, potentially resolving minor seizing. Stirring is crucial as it helps distribute the heat evenly and encourages the mixture to smooth out. Continue heating in short bursts and stirring until the chocolate becomes smooth and fluid again.
When to Avoid This Method: When working with large batches or high-quality chocolate
This method is risky for large quantities of chocolate as it's harder to control the heat evenly, increasing the chance of burning or worsening the seize. It's also not recommended for very high-quality couverture chocolate where precise tempering is the goal, as microwave heating can be uneven and disrupt the desired crystal structure. It's best used as a last resort for small amounts or less critical applications when trying to fix tempered chocolate easily.
Preventing Chocolate Seizing: Best Practices for Perfect Tempering Every Time
Choosing High-Quality Chocolate: The Foundation of Success
Starting with high-quality couverture chocolate designed for melting and tempering is perhaps the most important step in preventing seizing. These chocolates have a higher cocoa butter content (typically 32% or more), which makes them more fluid when melted and less prone to seizing compared to standard baking chips or bars that contain less fat or added stabilizers. Invest in good chocolate, and you'll find the tempering process much smoother and less prone to issues requiring you to fix tempered chocolate easily.
A higher cocoa butter percentage provides a buffer against minor temperature fluctuations and helps maintain a smooth consistency throughout the melting and tempering process. Look for terms like "couverture" or check the ingredient list for a high percentage of cocoa butter. Using chocolate with appropriate fat content sets you up for success from the start.
Controlling Moisture: Maintaining a Dry Environment
Moisture is the primary cause of seizing. Ensure every piece of equipment that touches your chocolate – bowls, spatulas, whisks, thermometers – is perfectly dry. When using a double boiler, make sure the water simmers gently and doesn't touch the bottom of the chocolate bowl, and wipe away any condensation that forms on the bottom of the bowl. Avoid melting chocolate on humid days if possible, or use a dehumidifier in your workspace.
Even steam from a nearby kettle or dishwasher can be enough to introduce problematic moisture. Work in a dry, clean area, and cover your chocolate if you need to step away briefly, especially in a busy kitchen. Vigilance against even a single drop of water is key to preventing seizing and avoiding the need to fix tempered chocolate easily.
Precise Temperature Control: The Key to Smooth Tempering
Overheating is another major cause of seizing. Using a reliable thermometer is essential for monitoring the chocolate's temperature throughout the melting, cooling, and rewarming phases of tempering. Different types of chocolate have different temperature ranges for tempering ( dark: ~115-120°F melt, cool to ~88-91°F, rewarm to ~89-90°F; milk: ~105-115°F melt, cool to ~84-86°F, rewarm to ~86-88°F; white: ~100-110°F melt, cool to ~80-82°F, rewarm to ~82-84°F).
Avoid direct, high heat. Use a double boiler with simmering, not boiling, water, or microwave in short, controlled bursts. Remove the chocolate from the heat source before it reaches the target melting temperature, as residual heat will continue to warm it. Precise temperature management prevents scorching and helps the cocoa butter crystals form correctly, reducing the likelihood of seizing.
Stirring Techniques: Ensuring Even Heat Distribution
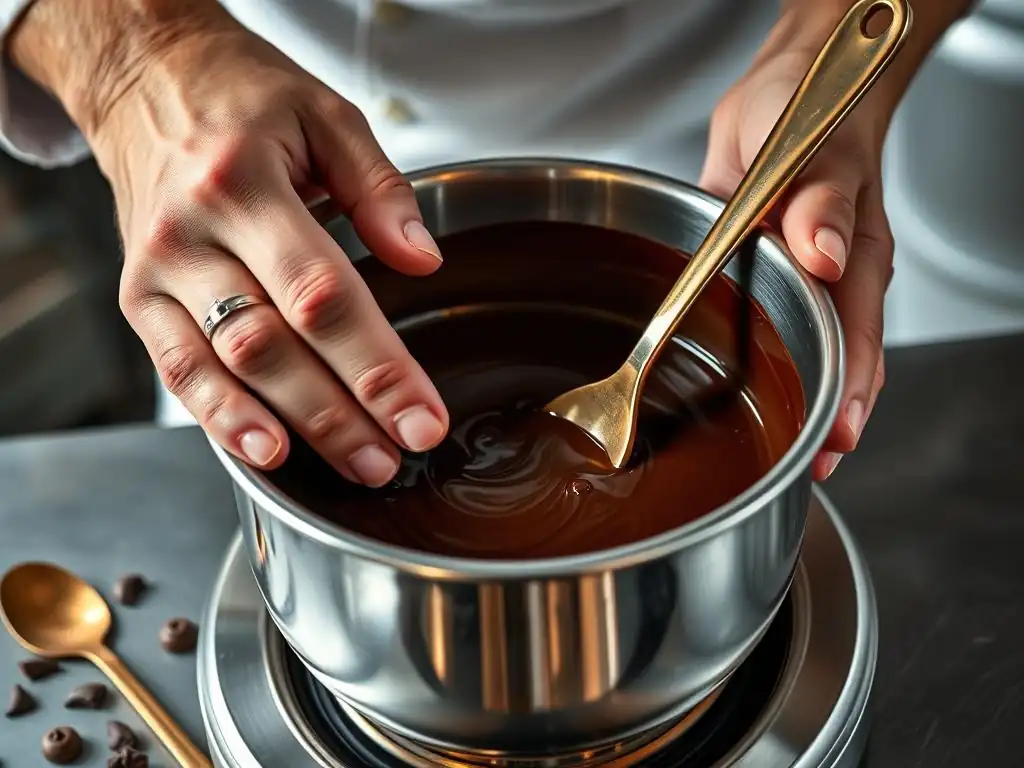
Proper stirring is important for even melting and temperature distribution. When melting chocolate, stir frequently to ensure that the chocolate on the bottom or sides of the bowl doesn't overheat while the rest remains solid. Gentle, continuous stirring helps the chocolate melt smoothly and evenly.
During the cooling and rewarming phases of tempering, stirring helps the cocoa butter crystals form correctly and distributes them throughout the chocolate. It also helps to quickly cool the chocolate during the cooling phase. Consistent, gentle stirring prevents hot spots and encourages a smooth, uniform consistency, making the tempering process more successful and less prone to seizing.
Using a Chocolate Tempering Machine: Automating the Process for Consistency
For serious chocolate work or larger batches, a dedicated chocolate tempering machine can be a worthwhile investment. These machines automatically heat, cool, and hold chocolate at precise temperatures, taking much of the guesswork and manual effort out of the process. They use methods like forced air or controlled heating elements to maintain the ideal temperature curve for perfect tempering.
While a machine won't prevent seizing caused by moisture or contamination, it significantly reduces the risk of seizing due to overheating or improper temperature control. It provides a consistent environment for the cocoa butter crystals to form correctly, leading to reliably tempered chocolate batch after batch. Using a tempering machine is a professional approach to fix tempered chocolate easily by preventing the problem in the first place.
Advanced Techniques for Working with Chocolate
Understanding Different Types of Chocolate and Their Tempering Needs
Different types of chocolate require slightly different handling during tempering due to their varying compositions. Dark chocolate has the highest percentage of cocoa solids and the least sugar (compared to milk and white), requiring the highest melting and working temperatures. Milk chocolate contains milk solids and more sugar than dark, tempering at slightly lower temperatures. White chocolate, made only from cocoa butter, sugar, and milk solids (no cocoa solids), is the most delicate, with the lowest tempering temperatures and the highest risk of scorching due to its sugar content.
Knowing these differences is vital for successful tempering. Attempting to temper white chocolate at dark chocolate temperatures will almost certainly lead to scorching and seizing. Always refer to specific temperature guidelines for the type of chocolate you are working with to ensure proper crystallization and avoid common pitfalls.
Dark Chocolate: Requires higher temperatures during tempering
Dark chocolate typically melts around 115-122°F (46-50°C). It's then cooled down to a crystallization temperature of 88-91°F (31-33°C) before being gently reheated to a working temperature of 89-90°F (31.5-32°C). Its higher cocoa solid content allows it to withstand slightly higher temperatures than milk or white chocolate.
Milk Chocolate: Tempers at a lower temperature than dark chocolate
Milk chocolate contains milk solids, which lower its melting point slightly. It melts around 105-115°F (40-46°C), is cooled to 84-86°F (29-30°C), and then reheated to a working temperature of 86-88°F (30-31°C). The milk solids also contribute to its creamier texture when tempered correctly.
White Chocolate: Most susceptible to scorching due to high sugar content
White chocolate, lacking cocoa solids but high in sugar and milk solids, has the lowest melting and tempering temperatures. It melts around 100-110°F (38-43°C), is cooled to 80-82°F (27-28°C), and reheated to a working temperature of 82-84°F (28-29°C). Its composition makes it particularly vulnerable to overheating and seizing, requiring very gentle heat.
Common Tempering Problems and How to Solve Them
Beyond seizing, bakers can encounter other issues during tempering. Understanding these problems helps in diagnosing and fixing them, leading to better results.
Chocolate Blooming: Causes and Solutions
Blooming appears as gray or white streaks or patches on the surface of set chocolate. It's usually caused by improper tempering (fat bloom, where cocoa butter separates) or storage in fluctuating temperatures (sugar bloom, where sugar crystals rise to the surface). Fat bloom means the cocoa butter didn't crystallize correctly; often, you can re-melt and re-temper the chocolate. Sugar bloom is caused by moisture drawing sugar to the surface; this chocolate can be re-melted and used in recipes where texture isn't critical, but the bloom itself cannot be removed.
Thick Chocolate: Causes and Solutions
Chocolate that is too thick after tempering might be slightly undertempered (not cooled enough) or has cooled too much below its working temperature. If slightly undertempered, you can try adding a little more finely chopped tempered chocolate ("seeding method") and stirring, or gently warming it back up to the working temperature while stirring constantly. If it's just cooled down, simply warm it back up to the correct working temperature. Sometimes, using chocolate with insufficient cocoa butter can also result in a thicker consistency.
Grainy Chocolate: Causes and Solutions
Grainy chocolate is often a sign of severe seizing (usually from moisture or significant overheating/burning) or sugar bloom. If caused by burning, the chocolate is likely unsalvageable for fine work and will have a burnt taste. If from moisture or sugar bloom, you can attempt the "adding fat" or "water bath" methods to smooth it out for use in other recipes, but it won't be suitable for tempering. Preventing moisture and controlling heat are the best ways to avoid grainy chocolate.
Reusing Rescued Chocolate: Creative Ideas for Your "Fixed" Chocolate
Just because your chocolate seized doesn't mean it's destined for the bin! While it might not be suitable for precise tempering tasks like dipping or molding where shine and snap are essential, seized or rescued chocolate is perfectly fine for many other delicious applications. Learning how to fix tempered chocolate easily also includes knowing how to repurpose it.
Making Chocolate Bark: A Simple and Delicious Treat
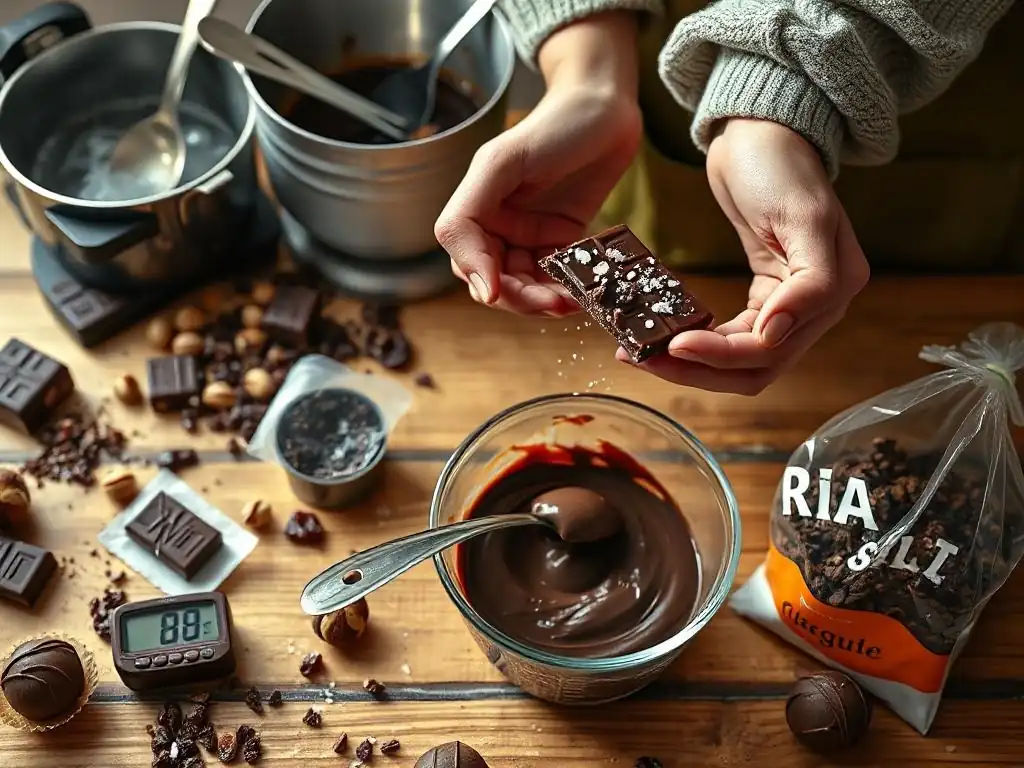
Rescued chocolate that has been smoothed out (especially using the "adding fat" method) is ideal for making chocolate bark. Simply spread the melted, smoothed chocolate thinly onto a parchment-lined baking sheet. Sprinkle with your favorite toppings – chopped nuts, dried fruit, pretzels, sprinkles, sea salt, or crushed candy canes. Let it cool and set completely at room temperature or in the refrigerator, then break it into pieces. The slight textural difference won't matter in bark, and it's a great way to salvage your chocolate.
Creating Chocolate Ganache: Perfect for Cakes and Pastries
Seized chocolate that has been smoothed out using the "water bath" method is essentially a form of ganache base. You can easily turn seized chocolate (rescued by either method) into a smooth ganache by heating cream and stirring it into the melted chocolate. Use standard ganache ratios (e.g., equal parts hot cream and chocolate by weight for a pourable ganache, or 1 part cream to 2 parts chocolate for a thicker filling or truffle base). The resulting ganache will be smooth and perfect for filling cakes, frosting cupcakes, making truffles, or using as a sauce.
Using it in Chocolate Desserts: Chocolate Lava Cakes
Rescued chocolate can be incorporated directly into many baked goods where its initial temper isn't relevant. Melted and smoothed seized chocolate can be stirred into cake batters, brownie recipes, or used in recipes like chocolate lava cakes. For instance, in lava cakes, the melted chocolate is a key component of the rich, molten center. Since the chocolate is melted again during baking, its previous seized state is irrelevant. Other uses include folding into cookie doughs (though the texture might be slightly different than using solid chocolate chips) or melting into hot chocolate drinks.
Mastering the Art of Tempering: A Summary for BakeWithEase Bakers
Tempering chocolate is a skill that requires practice, patience, and attention to detail. While seizing can be frustrating, understanding its causes – primarily moisture, overheating, insufficient fat, and contamination – is the first step to prevention. Fortunately, encountering seized chocolate doesn't have to mean disaster; knowing techniques to fix tempered chocolate easily, or at least salvage it, is a valuable part of a baker's repertoire.
The "adding fat" method is your best bet for minor seizing, aiming to restore fluidity without drastically changing the chocolate's composition. The "water bath" method, while risky for seizing itself, is effective for transforming seized chocolate into a usable ganache-like product. Microwave rescue is a quick fix for small, slightly thickened batches.
Ultimately, prevention through careful temperature control, moisture avoidance, using quality chocolate, and clean practices is the most reliable way to achieve that perfect shine and snap every time. Don't be discouraged by setbacks; with practice, you'll be able to fix tempered chocolate easily and confidently create beautiful chocolate confections.
Key Takeaways for Fixing Tempered Chocolate Easily
Here are the essential points to remember when faced with seized chocolate:
- Identify the cause: Was it moisture, overheating, or something else? This helps choose the rescue method.
- Assess the severity: Slightly thick? Or completely solid and grainy?
- Attempt rescue:
- Minor Seizing: Try the "Adding Fat" method (cocoa butter or neutral oil). Add small amounts of warm fat and stir gently.
- Severe Seizing (for salvaging): Try the "Water Bath" method. Add small amounts of very hot water and stir vigorously until smooth.
- Know when to pivot: If a full temper isn't possible, plan to use the rescued chocolate in other recipes like ganache, bark, or baked goods.
- Prevent next time: Review your process – ensure equipment is dry, control temperatures precisely, use quality chocolate, and avoid contaminants.
Resources for Further Learning: Links to other BakeWithEase Articles
To deepen your understanding of chocolate and refine your skills, explore these related articles on BakeWithEase:
- [Understanding Cocoa Butter: The Key to Perfect Chocolate Texture]
- [Mastering the Double Boiler: Gentle Heat for Delicate Ingredients]
- [Choosing the Right Chocolate for Baking: A Guide to Types and Quality]
- [Troubleshooting Chocolate Bloom: Why it Happens and How to Deal with It]
Frequently Asked Questions
What is tempered chocolate, and why is it important?
Tempered chocolate is chocolate that has been carefully melted and cooled to stabilize it for coating and molding. Proper tempering ensures a glossy finish and a satisfying snap when broken.
What does it mean when chocolate seizes?
Chocolate seizes when moisture comes into contact with it, causing it to clump and become grainy. This can happen during the tempering process if water or steam is introduced.
How can I fix seized chocolate easily?
To fix seized chocolate easily, add a small amount of vegetable oil or cocoa butter and stir until smooth. This helps to restore its texture and make it usable again.
Can I prevent chocolate from seizing during tempering?
Yes, to prevent seizing, ensure all tools are completely dry and avoid introducing any moisture. Use high-quality chocolate with a good cocoa butter content for better results.
What are some common mistakes in tempering chocolate?
Common mistakes include overheating the chocolate, introducing moisture, and not stirring enough. Following step-by-step guides can help avoid these pitfalls and achieve perfectly tempered chocolate.
Final Reflection: The Sweetness of Perseverance in Chocolate Tempering
The art of tempering chocolate, while seemingly simple, presents a constant challenge even to experienced chocolatiers. A single misstep can ruin an entire batch, leaving behind a frustrating mess of bloom and disappointment. But as this article has shown, understanding the science behind tempering and employing the right troubleshooting techniques can transform failure into success.
The journey of mastering chocolate tempering is a microcosm of life itself; it requires patience, precision, and a willingness to learn from mistakes. The process demands attention to detail, mirroring the dedication needed to achieve any worthwhile goal. The only way to do great work is to love what you do.
- Steve Jobs. This quote resonates deeply, as the passion for creating beautiful, flawlessly tempered chocolate fuels the perseverance needed to overcome the inevitable setbacks. The satisfaction of achieving that perfect shine, that satisfying snap, is a reward that far outweighs the initial challenges.
Now, consider your own projects, your own aspirations. What seemingly insurmountable obstacles have you faced? How can you apply the principles of careful observation, methodical troubleshooting, and unwavering persistence to overcome them? Remember the lessons learned from rescuing seized chocolate – the ability to adapt, to learn from failure, and to find the sweetness in the journey is key to achieving your own personal triumphs. Embrace the process, learn from your mistakes, and savor the sweetness of success.
Rediscover Your Chocolate Confidence!
Thanks for taking the time to learn about saving your seized chocolate! We hope you now feel more confident tackling tempering challenges. Ready to put your new skills to the test?
- Try tempering again, using the techniques discussed. Remember, practice makes perfect! Don't be discouraged by a setback.
- Share your successes (or even your chocolate mishaps!) in the comments below. Let's build a supportive community of bakers.
- Experiment with different chocolate types to see how their behavior varies during the tempering process. Discover your favorite!
What delicious creation will you tackle next with your perfectly tempered chocolate?