
Microwave Tempering: The Quick & Easy Way to Perfect Chocolate.

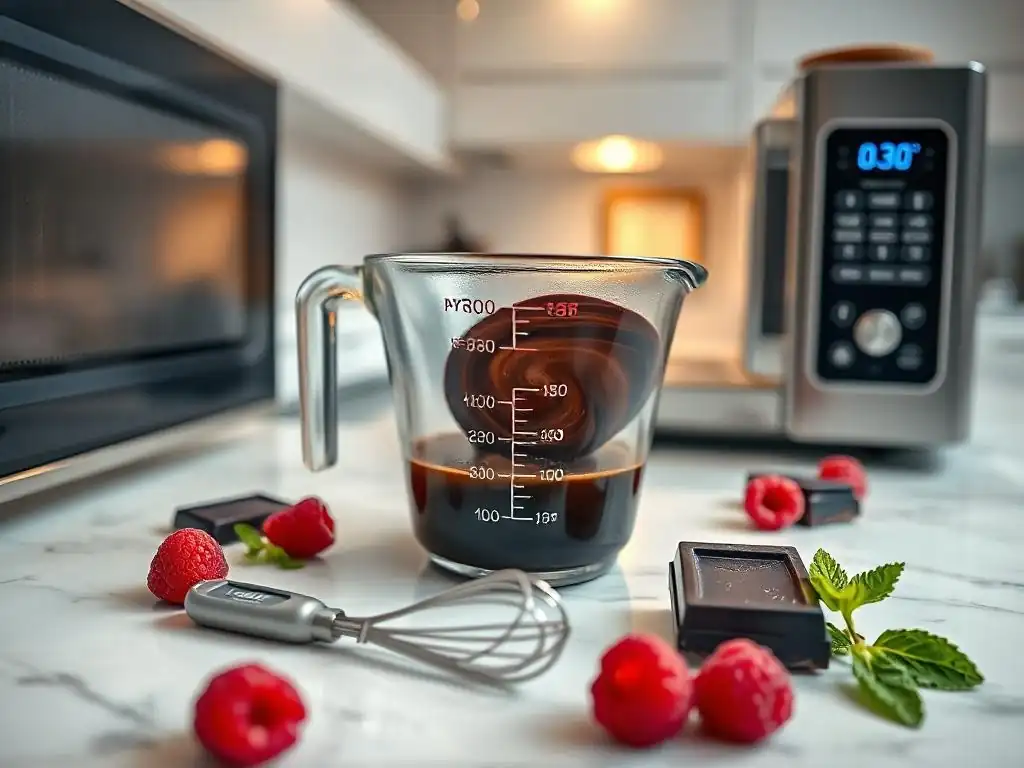
Welcome to BakeWithEase, your culinary companion for unlocking the secrets of perfect baking! Ever wondered if achieving flawlessly tempered chocolate could be faster and easier than you thought? Dive in as we explore the art of microwave tempering chocolate quickly, a game-changing technique that will elevate your desserts and confections to professional levels. Prepare to be amazed by this simple yet sophisticated approach and discover how to achieve that perfect snap and shine every time. Ready to revolutionize your chocolate creations? Let's get baking!
- Introduction to Microwave Tempering for Baking
- The Science Behind Tempering Chocolate
- Microwave Tempering Chocolate Quickly: A Step-by-Step Guide
- Troubleshooting Common Microwave Tempering Issues
- Tips and Tricks for Perfect Microwave Tempering Every Time
- Using Your Perfectly Tempered Chocolate
- Conclusion: Mastering Microwave Chocolate Tempering for Baking Success
-
Frequently Asked Questions
- How does microwaving chocolate help with tempering?
- What type of chocolate works best for microwave tempering?
- What's the key to preventing chocolate from seizing in the microwave?
- How do I know if my chocolate is properly tempered after microwaving?
- What are the common mistakes to avoid when microwave tempering chocolate?
- Final Reflection: The Enduring Allure of Perfectly Tempered Chocolate
- Unlock the Secrets to Perfectly Tempered Chocolate!
Introduction to Microwave Tempering for Baking
Why Temper Chocolate? Understanding the Importance for BakeWithEase Bakers
Tempering chocolate is a crucial step for many baking and confectionery applications, especially when you want a professional-looking finish. Untempered chocolate, when it cools and solidifies, often results in a dull, streaky appearance and a soft, crumbly texture that melts too easily at room temperature. Think of a beautiful chocolate-covered strawberry or a delicate chocolate decoration – if the chocolate isn't tempered, it will look messy and won't snap cleanly when bitten into. Tempering ensures the chocolate sets with a beautiful shine, a firm snap, and a smooth mouthfeel, making your baked goods and confections truly stand out.
For BakeWithEase bakers, understanding how to temper chocolate is key to elevating your desserts. Properly tempered chocolate is essential for creating glossy bonbons, crisp chocolate bark, elegant garnishes, and smooth coatings for cakes and pastries. It also helps prevent "fat bloom," the dusty white streaks that can appear on chocolate over time due to improper crystallization. Mastering a reliable tempering method means your chocolate creations will not only taste fantastic but also have that desirable, professional sheen and satisfying snap that impresses everyone.
Microwave Tempering: A Fast and Easy Chocolate Tempering Method
Traditional methods of tempering chocolate, like the tabling method or the double boiler method, can be time-consuming and require careful temperature control. This is where microwave tempering chocolate quickly comes into its own. It's a streamlined approach that uses short bursts of microwave power to melt the chocolate gradually, making it much more accessible for home bakers with limited time or specialized equipment.
The microwave method simplifies the process by allowing for precise, short heating intervals, reducing the risk of overheating. While it still requires attention to temperature and technique, it removes some of the mess and complexity associated with other methods. For anyone looking for a fast and easy chocolate tempering method to achieve beautifully set chocolate for their baking projects, microwave tempering is an excellent technique to add to your repertoire. It's particularly effective for smaller quantities of chocolate, making it perfect for decorating cakes or making a small batch of truffles.
The Science Behind Tempering Chocolate
Chocolate Crystals: Understanding Polymorphism in Chocolate
Chocolate is a fascinating substance due to its primary component, cocoa butter. Cocoa butter is polymorphic, meaning it can solidify into different crystalline structures depending on how it's heated and cooled. There are actually six known crystal forms of cocoa butter, labeled I through VI. These forms have different melting points and stability. For instance, Form I melts around 17°C (63°F), while the most stable and desirable form, Form V, melts around 34°C (93°F). Understanding these different crystal forms is fundamental to successfully tempering chocolate.
When you melt chocolate completely and let it cool without proper tempering, the cocoa butter solidifies haphazardly, forming a mix of less stable crystal types (Forms I, II, III, and IV). These unstable crystals lead to the undesirable characteristics of untempered chocolate: dull surface, soft texture, and susceptibility to bloom. The goal of tempering is to encourage the formation of only the stable Form V crystals, which align tightly together to create a strong, shiny structure that melts just below body temperature, giving that smooth melt-in-your-mouth feel.
Achieving Stable Beta Crystals for a Smooth Finish
The stable Form V crystals are often referred to as beta (β) crystals. These are the 'good' crystals we want to cultivate during the tempering process. Achieving a high proportion of these stable beta crystals is the secret to perfectly tempered chocolate.
The process involves melting the chocolate, then cooling it down to a specific temperature range while agitating it (like stirring), and finally warming it back up slightly. This temperature cycling is designed to melt the unstable crystals while keeping the stable beta crystals intact, which then act as 'seeds' to guide the formation of more beta crystals as the chocolate cools.
In the context of microwave tempering chocolate quickly, the method relies on carefully controlled heating to avoid melting all the crystals. By leaving a small amount of solid, untempered chocolate (containing desirable beta crystals) in the melted chocolate (the seeding step), you provide the necessary structure for the cocoa butter to crystallize correctly as it cools. The precision of microwave tempering lies in using short bursts of heat to reach the ideal working temperature without destroying the crucial beta crystal structure that gives chocolate its desired snap and shine.
Microwave Tempering Chocolate Quickly: A Step-by-Step Guide
Gathering Your Equipment for Microwave Tempering
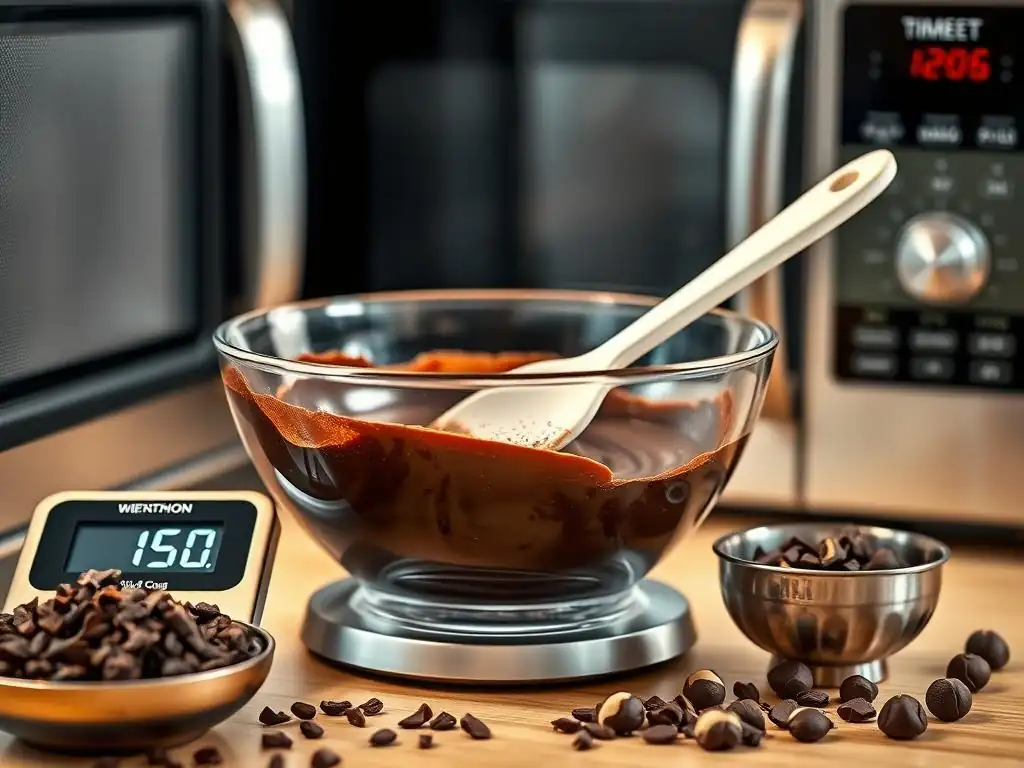
Successful microwave tempering chocolate quickly requires just a few simple tools you likely already have in your kitchen. Having everything ready before you start makes the process much smoother and helps prevent rushing, which can lead to mistakes like overheating. You don't need elaborate machinery, just the right basics to ensure precision and ease.
Essential Tools for Easy Microwave Chocolate Tempering
Here are the key items you'll need:
- Microwave oven (obviously!)
- Microwave-safe bowl (preferably glass or ceramic, as plastic can retain heat unevenly)
- Rubber spatula or spoon for stirring
- Digital thermometer (an instant-read thermometer is ideal for quick temperature checks)
- Sharp knife and cutting board (for chopping chocolate)
- The chocolate you want to temper
- Optional: Scale for weighing chocolate
Having these tools readily available allows you to focus on the process of microwave tempering chocolate quickly and effectively.
Step 1: Preparing the Chocolate for Microwave Tempering
Proper preparation is the first step towards achieving perfectly tempered chocolate using the microwave method. Simply throwing a large chunk of chocolate into the microwave isn't going to work efficiently or evenly. The key is to maximize the surface area so the chocolate melts consistently and quickly.
Chopping Chocolate for Even Melting
Start by finely chopping the chocolate you intend to temper. Use a sharp knife to cut the chocolate into small, uniform pieces, roughly the size of chocolate chips or even smaller. The smaller and more consistent the pieces, the more evenly the chocolate will melt when exposed to the microwave energy. This uniform melting is critical for successful microwave tempering chocolate quickly. Avoid using pre-melted or already liquid chocolate unless it's specifically designed for microwave use and you're following manufacturer instructions; typically, you start with solid chocolate.
For example, if you are tempering 200 grams of dark chocolate, chop it all finely. You'll use most of it for the initial melt and reserve about 20-25% (around 40-50 grams) as 'seed' chocolate later. This ensures you have enough surface area for the initial melt while keeping the seed chocolate in reserve.
Step 2: The Initial Melt: Microwaving the Chocolate
This step involves carefully melting the majority of your chopped chocolate. The microwave is excellent for this because it heats from within the chocolate, but it can also overheat very quickly if not managed properly. The goal is to melt most, but not all, of the chocolate while preserving some of the stable beta crystals.
Setting the Microwave Power for Effective Tempering
To prevent overheating and ensure a gentle, controlled melt, it's highly recommended to use a lower power setting on your microwave, typically 50% power. This allows the heat to distribute more evenly and reduces the risk of burning the chocolate. Place the bowl of chopped chocolate (remember, this is most of your chocolate, not the reserved seed) in the microwave. Heat in very short intervals, starting with perhaps 30 seconds, then reducing to 15 or even 10-second bursts.
After each interval, remove the bowl and stir the chocolate thoroughly. Even if it doesn't look melted on the surface, stirring helps distribute the heat and encourages the solid pieces to melt from the residual warmth. Continue heating and stirring until the chocolate is mostly melted, with just a few small lumps remaining. It should be about 80-90% melted. This careful, incremental heating is crucial for microwave tempering chocolate quickly without compromising quality.
Step 3: Seeding the Chocolate for Tempering
Once your chocolate is mostly melted with a few small lumps remaining, it's time to introduce the 'seed' chocolate. This is the reserved portion of finely chopped, untempered chocolate you set aside earlier. The seed chocolate contains stable beta crystals that will encourage the melted chocolate to crystallize correctly as it cools.
Using Seed Chocolate to Achieve Proper Temper
Add the reserved, finely chopped seed chocolate to the bowl of mostly melted chocolate. Stir continuously with your spatula. The warmth of the melted chocolate will melt the seed chocolate, but the crucial part is that the beta crystals within the seed chocolate will not melt if the temperature is within the correct range (typically below 34°C or 93°F for dark chocolate).
As you stir, these stable crystals disperse throughout the mixture, acting as templates for the other cocoa butter molecules to crystallize around as the temperature drops. Continue stirring until all the seed chocolate has melted and the mixture is smooth and uniform. This seeding step is vital for achieving proper temper when you microwave tempering chocolate quickly.
For instance, if you started with 200g of dark chocolate and reserved 50g as seed, you would add that 50g to the roughly 150g of mostly melted chocolate and stir until smooth. The exact amount of seed chocolate can vary, but typically 20-30% of the total weight works well.
Step 4: Monitoring the Chocolate Temperature
Throughout the seeding process and as you stir, it's essential to monitor the chocolate's temperature. This is where your digital thermometer comes in. The target temperature range for tempering varies slightly depending on the type of chocolate (dark, milk, or white).
Using a Thermometer for Accurate Temperature Readings
Stir the chocolate constantly to ensure the temperature is even throughout the bowl. Dip your digital thermometer into the chocolate, making sure the tip is fully submerged but not touching the bottom or sides of the bowl. Read the temperature. For dark chocolate, you are typically aiming for a working temperature between 31°C and 32°C (88°F and 90°F). For milk and white chocolate, the range is slightly lower, usually between 29°C and 30°C (84°F and 86°F).
If adding the seed chocolate cools the mixture too much and it starts to thicken significantly before reaching the target temperature range, you can give it one very short burst (5-10 seconds) in the microwave on 50% power, then stir immediately and check the temperature again. Be extremely cautious with this re-heating step to avoid overheating and destroying the temper. Maintaining the correct temperature is critical for successful microwave tempering chocolate quickly.
Step 5: Testing the Temper of Your Chocolate
Before you use your tempered chocolate for dipping or coating, it's crucial to perform a test to ensure it is properly in temper. Skipping this step can lead to disappointment with your final product if the chocolate hasn't crystallized correctly. A simple dip test is the most reliable method.
The Dip Test: Ensuring Proper Temper
To perform the dip test, take a small piece of parchment paper, wax paper, or the tip of a knife or spoon. Dip it into the tempered chocolate, allowing a thin layer to coat the surface. Shake off any excess chocolate and place the paper or utensil aside at room temperature (ideally around 20-22°C or 68-72°F). Do not place it in the refrigerator, as this will force it to set and give a false positive.
Observe the chocolate on the paper. If the chocolate is properly tempered, it should set and become firm within 3-5 minutes and have a glossy, streak-free surface. You should be able to touch it lightly without leaving a mark. If it remains soft, sticky, or develops dull streaks or patches as it sets, the chocolate is not in temper, and you will need to re-temper it. This simple test is a quick way to verify your microwave tempering chocolate quickly attempt was successful before committing your main batch.
Troubleshooting Common Microwave Tempering Issues
Even when using a fast and easy chocolate tempering method like the microwave, you might encounter some common issues. Knowing how to identify and fix them can save your chocolate and your project.
Chocolate Seizing: Prevention and Solutions
Chocolate seizing is perhaps the most frustrating issue. It happens when chocolate, particularly melted chocolate, comes into contact with even a tiny amount of water or steam. The sugar in the chocolate clumps up, turning the smooth liquid into a thick, grainy, unworkable paste. Preventing this is key: ensure all your equipment is completely dry, and avoid melting chocolate over direct steam unless using a proper double boiler setup (which isn't the microwave method! ).
If your chocolate seizes in the microwave tempering process, there are a couple of potential fixes depending on the severity. If it's just slightly thick and grainy, you can try stirring in a very small amount of warm, melted fat, like cocoa butter, vegetable oil, or clarified butter (start with perhaps a teaspoon per 100g of chocolate). Stir vigorously until smooth.
However, this added fat will slightly alter the chocolate's composition and may affect the final set. If the chocolate is severely seized into a solid lump, it's often best to accept that it can't be used for tempering applications. You can sometimes salvage it for baking purposes where texture is less critical, like brownies or cakes, by stirring in a liquid like hot cream (for ganache) or milk, but it won't yield a temperable product.
Overheating Chocolate: Avoiding Burnt Chocolate
Overheating is a major risk when you microwave tempering chocolate quickly, especially if you don't use short intervals and stir frequently. Burnt chocolate is irreversible – it develops a bitter, acrid taste and a gritty texture that cannot be fixed. Using 50% power and heating in very short bursts (10-15 seconds at the end) is the primary way to prevent this. Always stir between intervals, even if it doesn't look melted, to distribute heat and avoid hot spots.
If you accidentally overheat the chocolate slightly beyond the target tempering temperature (e.g., above 34°C/93°F for dark chocolate), you have essentially melted all the crystal forms, including the stable beta crystals. In this case, the chocolate is no longer in temper. You cannot simply cool it down and expect it to set correctly.
You will need to re-temper it. The easiest way to re-temper slightly overheated chocolate using the microwave method is to let it cool down naturally (or over a cool water bath, ensuring no water gets in) to below its melting point, then chop it finely if it solidified, and start the microwave tempering process again from Step 1.
Streaky Chocolate: Addressing Bloom Issues
Streaky or dull chocolate, often accompanied by a powdery white or grayish film (fat bloom), is a clear sign that the chocolate was not properly tempered or was stored improperly after tempering. This happens when unstable cocoa butter crystals migrate to the surface and recrystallize in an unappealing form. While bloom is harmless and the chocolate is still edible, it ruins the appearance and the desired snap.
If your chocolate sets with streaks or bloom after attempting microwave tempering chocolate quickly, it means the tempering process failed – you didn't achieve enough stable beta crystals. This could be due to overheating, not adding enough seed chocolate, or incorrect temperature control during the seeding/cooling phase. The solution is to re-temper the chocolate.
Simply melt the bloomed or streaky chocolate again, ensuring you don't overheat it this time, and repeat the microwave tempering steps precisely, paying close attention to temperatures and using sufficient seed chocolate. Once re-tempered and cooled correctly, it should set with a proper shine and snap.
Tips and Tricks for Perfect Microwave Tempering Every Time
Mastering microwave tempering chocolate quickly takes a little practice, but these tips can help increase your success rate and make the process even easier.
Choosing the Right Chocolate for Microwave Tempering
The quality and type of chocolate you use significantly impact the tempering process and the final result. Not all chocolates are created equal when it comes to tempering. Using couverture chocolate, which has a higher percentage of cocoa butter (typically 32-39%), is highly recommended. The extra cocoa butter makes it easier to melt smoothly and achieve proper crystallization compared to compound chocolates or baking chips that contain other fats.
While you can attempt to temper baking chips or standard chocolate bars, they often contain stabilizers or lower cocoa butter content that make achieving a stable temper more challenging. Look for high-quality chocolate labeled as "couverture" or with a clear percentage of cocoa solids. Dark chocolate is generally the easiest to temper, followed by milk, and then white chocolate, as their tempering temperature ranges decrease respectively. Using callets (small drops or discs of chocolate) can also speed up the initial melting process compared to a large bar.
Adjusting Tempering Times Based on Chocolate Type
As mentioned, different types of chocolate have slightly different tempering temperature ranges. This means the heating times in the microwave and the target temperature for the seeding step will vary. It's crucial to adjust your process accordingly.
| Chocolate Type | Initial Melting Temp (approx.) | Target Working Temp (approx.) |
|---|---|---|
| Dark Chocolate | Up to 45-50°C (113-122°F) | 31-32°C (88-90°F) |
| Milk Chocolate | Up to 40-45°C (104-113°F) | 29-30°C (84-86°F) |
| White Chocolate | Up to 40-45°C (104-113°F) | 28-29°C (82-84°F) |
Note: These are approximate ranges. Always check the specific recommendations for your chocolate if available.
When microwave tempering chocolate quickly, the initial melting phase (Step 2) might take slightly less time for milk and white chocolate compared to dark chocolate because their melting points are lower. The critical difference is the target working temperature after seeding (Step 4). Always use your thermometer and aim for the correct range for the specific chocolate you are using. Overheating beyond the initial melting temperature or failing to reach the correct working temperature during seeding will result in failed temper.
Maintaining Temper During Use
Once you've successfully tempered your chocolate using the microwave method and performed the dip test, you need to keep it within its working temperature range while you use it. As the chocolate cools, it will eventually set. If it gets too cool and thickens, it becomes difficult to work with and may start to set prematurely.
To maintain the temper while working, you can periodically give the bowl a very short (5-10 second) burst in the microwave on low power (50% or less), stirring thoroughly after each burst, just enough to bring it back to a workable consistency within the target temperature range. Alternatively, you can set the bowl over a very gently warm water bath (ensure the bottom of the bowl does not touch the water and no steam gets into the chocolate) or use a warming pad designed for chocolate.
Constant gentle stirring also helps keep the temperature even and the chocolate fluid. Mastering microwave tempering chocolate quickly includes knowing how to keep it ready for use.
Using Your Perfectly Tempered Chocolate
Congratulations! You've successfully used the microwave method to temper your chocolate. Now comes the fun part: using it to create beautiful, professional-looking treats. Perfectly tempered chocolate opens up a world of possibilities in baking and confectionery.
Applications for Tempered Chocolate in Baking
Tempered chocolate is essential for any application where you want a shiny, smooth, and snappy finish that holds its shape at room temperature. It's the secret behind many classic chocolate confections and decorations.
Making Chocolate Decorations and Coatings
Use your tempered chocolate to dip fruits, cookies, or pretzels. The chocolate will set quickly with a beautiful gloss. You can also spread it thinly on parchment paper and cut out shapes before it fully sets, or pipe intricate designs for elegant cake decorations. Creating chocolate curls or shards is also easy with tempered chocolate – simply spread it thinly on a cool surface and scrape it with a knife or scraper. The clean break and shine are hallmarks of properly tempered chocolate used for decorative purposes.
Creating Shiny Chocolate Candies
Homemade chocolate candies, truffles, and bonbons require tempered chocolate for their shell or coating. Dipping truffles in tempered chocolate gives them that satisfying shell that snaps when you bite into it. Pouring tempered chocolate into molds is how you create solid chocolate figures or filled bonbons with a smooth, glossy exterior that releases cleanly from the mold. The shine is a direct result of the stable beta crystals aligning correctly during cooling, a benefit of mastering microwave tempering chocolate quickly.
Storing Tempered Chocolate for Future Use
Ideally, you should use all your tempered chocolate once it's ready. However, if you have leftovers, you can store them. The key is to let it set completely at room temperature after you've finished your project. Do not refrigerate or freeze it immediately after tempering, as rapid cooling can sometimes disrupt the crystal structure.
Once fully set and hard, store the tempered chocolate in an airtight container in a cool, dry place, away from direct sunlight and strong odors. The ideal storage temperature is around 15-18°C (59-64°F). Stored correctly, properly tempered chocolate can retain its shine and snap for several months. If you need to use it again, you can gently re-melt it using the microwave tempering method (starting with chopping the solid chocolate into small pieces) or a double boiler. If it was properly tempered initially and stored well, it should be easier to bring back into temper on subsequent attempts.
Conclusion: Mastering Microwave Chocolate Tempering for Baking Success
Microwave tempering chocolate quickly is a fantastic skill for any home baker looking to elevate their chocolate work. It demystifies a process often seen as complex, making it accessible and achievable with standard kitchen equipment. By understanding the science of cocoa butter crystals and following the step-by-step process – from careful melting in short microwave bursts to seeding with solid chocolate and monitoring temperature – you can consistently achieve that desirable professional finish.
While it requires attention to detail and practice, the microwave method offers a fast and easy chocolate tempering solution for everything from simple chocolate-covered treats to intricate decorations and molded candies. Troubleshooting common issues like seizing or bloom by understanding their causes empowers you to fix mistakes and learn from them. With the right technique and a little patience, you'll be producing beautifully shiny, snappy tempered chocolate in no time, ready to enhance all your BakeWithEase creations.
BakeWithEase: Unleash Your Chocolate Baking Potential with Microwave Tempering
At BakeWithEase, we believe that mastering techniques like microwave tempering chocolate quickly should be an exciting part of your baking journey, not a daunting one. This fast and easy chocolate tempering method is a perfect example of how simple adjustments can yield impressive results. By incorporating perfectly tempered chocolate into your recipes, you're not just baking; you're crafting edible art with a professional touch.
From glazing a cake to making homemade Easter eggs or simply dipping your favorite cookies, having the confidence to temper chocolate means your desserts will look as incredible as they taste. Experiment with different types of chocolate and applications. Practice makes perfect, and with the microwave method, you have a reliable tool to achieve success. Unleash your chocolate baking potential and delight yourself and others with creations that boast that signature shine and snap, all made easier with microwave tempering.
Frequently Asked Questions
How does microwaving chocolate help with tempering?
Microwaving allows for controlled heating, which is essential for proper crystal formation in chocolate. This method helps prevent overheating and burning, making the tempering process more manageable.
What type of chocolate works best for microwave tempering?
Good quality chocolate with a high cocoa butter content generally works best. Chocolate chips can be used, but couverture chocolate offers superior results due to its formulation designed for tempering.
What's the key to preventing chocolate from seizing in the microwave?
The key is to microwave in short intervals and stir frequently. This distributes the heat evenly and prevents the chocolate from overheating, which can lead to seizing and a grainy texture.
How do I know if my chocolate is properly tempered after microwaving?
A properly tempered chocolate will have a glossy sheen and a crisp snap when broken. You can also test it by dipping a knife in the chocolate and observing if it sets up firmly within a few minutes at room temperature.
What are the common mistakes to avoid when microwave tempering chocolate?
Overheating the chocolate is the biggest mistake, leading to seizing. Also, introducing moisture or not stirring frequently enough can ruin the process. Using low-quality chocolate can also make it difficult to achieve a good temper.
Final Reflection: The Enduring Allure of Perfectly Tempered Chocolate
Microwave tempering offers a revolutionary approach to achieving professional-quality chocolate, making this once-daunting task accessible to home bakers and chocolate enthusiasts everywhere. The speed and convenience it provides are undeniably transformative, democratizing the creation of beautifully shiny, snappable chocolate that was previously the domain of skilled chocolatiers. This accessibility opens up a world of creative possibilities, from elegant bonbons to intricately decorated cakes.
The impact of readily available tempering techniques, like microwave tempering, extends beyond the individual kitchen. It empowers a new generation of home bakers to experiment with chocolate, fostering creativity and a deeper appreciation for this beloved ingredient. This accessibility also contributes to a broader culinary landscape where high-quality, aesthetically pleasing desserts are more easily attainable. The best things in life are simple, and the simplest things are often the most beautiful.
This sentiment perfectly captures the joy of creating perfectly tempered chocolate, a testament to the power of accessible techniques and a passion for culinary excellence.
Now, consider your own chocolate creations. Will you embrace the speed and efficiency of microwave tempering to elevate your baking game? Imagine the possibilities: smooth, glossy ganache, perfectly formed truffles, and exquisitely decorated cakes, all within reach. Don't be intimidated; experiment, learn, and enjoy the process of mastering this technique. The reward? The sheer satisfaction of creating truly exceptional chocolate that will delight you and those you share it with.
Unlock the Secrets to Perfectly Tempered Chocolate!
Thanks for diving into the world of microwave tempering with us! We hope you now feel confident in achieving that beautiful, glossy shine and satisfying snap in your chocolate creations. Ready to put your newfound skills to the test?
- Whip up your dream chocolate treat: Try the recipe you've been eyeing – you'll be amazed at the difference tempering makes! This is your chance to impress yourself (and others! ).
- Share your chocolate masterpiece: Post a picture of your creation on social media and tag us – we’d love to see your results! Use #BakeWithEaseTempering.
- Explore other tempering methods: Delve deeper into chocolate artistry by researching other techniques like seed tempering or using a melting pot.
What delicious chocolate creation will you tackle first? Let us know in the comments!