
Choosing the Best Chocolate for Tempering Success.

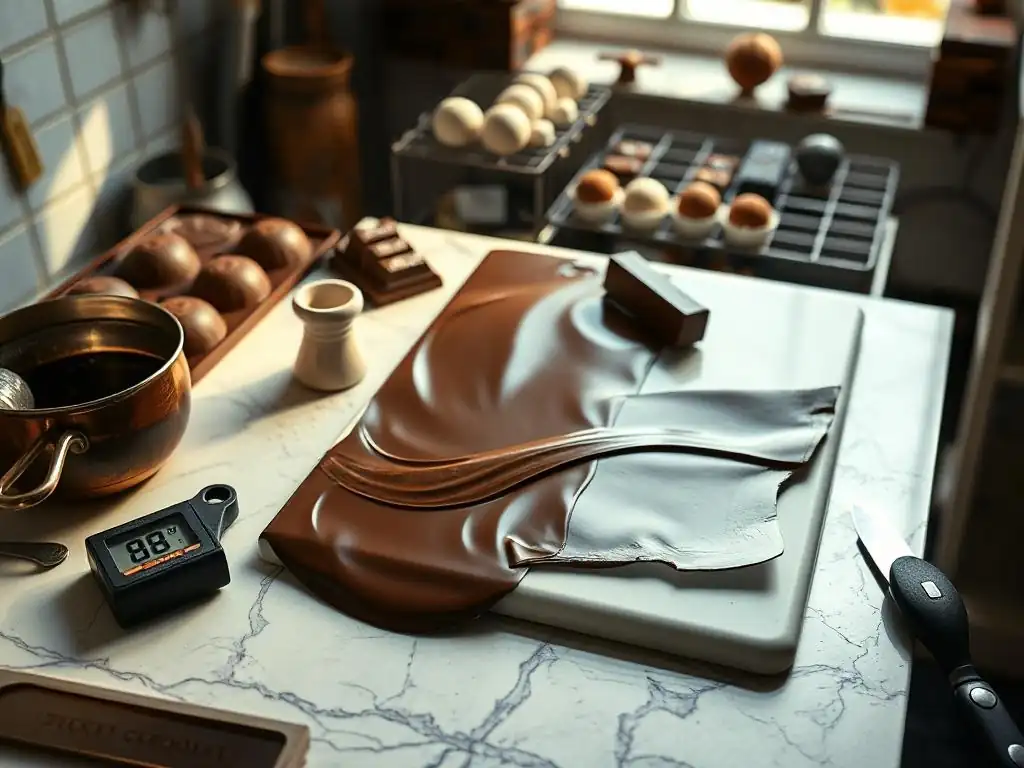
Welcome to BakeWithEase, where we unlock the secrets to baking brilliance! Ever wondered why your chocolate lacks that perfect shine and snap? Dive into our comprehensive guide, " Choosing the Best Chocolate for Tempering Success," a crucial step in mastering advanced baking techniques. Discover the secrets to achieving flawless chocolate tempering, even as a beginner. But which chocolate is truly the best for achieving that coveted finish? Let's explore the nuances and elevate your baking game, one delicious bite at a time!
Welcome to your ultimate chocolate tempering guide beginners! Mastering chocolate tempering is a game-changer for achieving that perfect glossy finish and satisfying snap. It might sound intimidating, but with the right knowledge and ingredients, it's entirely achievable. This guide will walk you through selecting the best chocolate to ensure your tempering journey starts off right.
- Understanding Chocolate Tempering Basics
- Key Factors in Selecting Chocolate for Tempering
- Types of Chocolate Ideal for Tempering
- Comparing Chocolate Brands for Tempering
- Common Mistakes to Avoid
- Tips for Successful Tempering
- Advanced Tempering Techniques
- Frequently Asked Questions
- Final Reflection: Mastering the Art of Chocolate Tempering
- Unlock Your Chocolate Tempering Mastery!
Understanding Chocolate Tempering Basics
Before we dive into choosing the right chocolate, let's demystify what tempering is all about and why it's a crucial step for many chocolate applications. For a chocolate tempering guide beginners, understanding the fundamentals is key.
What is Chocolate Tempering?
Chocolate tempering is a process of heating, cooling, and reheating chocolate to specific temperatures to stabilize the cocoa butter crystals. Cocoa butter is polymorphic, meaning its fat molecules can crystallize into six different forms (Form I through Form VI), each melting at a different temperature. Untempered chocolate contains unstable crystal forms, leading to poor texture and appearance.
When you melt chocolate directly from solid form, you destroy all the crystal structures. Tempering is about carefully guiding the cocoa butter back into forming primarily stable Form V crystals. These crystals melt sharply just below body temperature, giving chocolate its desirable mouthfeel, shine, and snap. Think of it like aligning tiny building blocks in a specific, strong pattern.
Why is Tempering Important?
Tempering is essential for achieving professional results when working with chocolate, especially for dipping, molding, or creating decorations. Untempered chocolate will cool with a dull, streaky, or grayish appearance (known as bloom), a soft or crumbly texture, and it won't contract properly when cooling in molds, making it difficult to release.
Properly tempered chocolate, on the other hand, sets firmly with a beautiful, high-gloss shine, a satisfying snap when broken, and melts smoothly in your mouth. It also has a higher melting point than untempered chocolate, making it more stable at room temperature and less prone to melting on touch. This is vital for candies, bonbons, and chocolate sculptures. For any chocolate tempering guide beginners, recognizing these desirable qualities is the first step.
Key Factors in Selecting Chocolate for Tempering
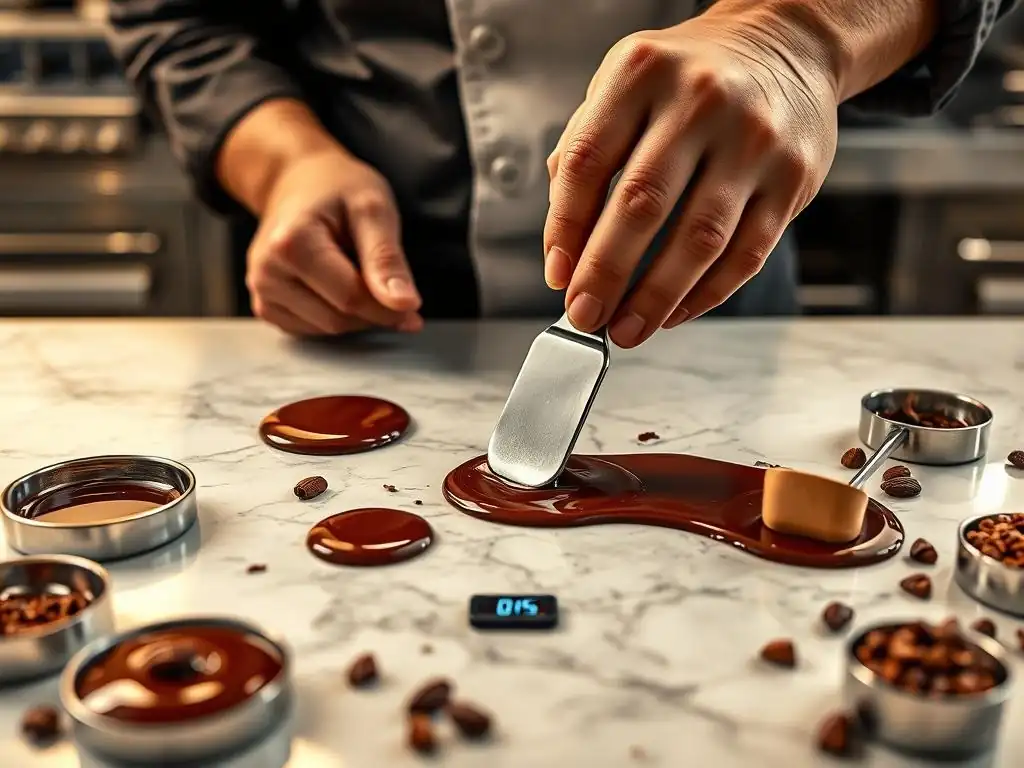
Not all chocolate is created equal when it comes to tempering. The composition of the chocolate significantly impacts how easily and successfully it can be tempered. Paying attention to a few key factors will make your tempering process much smoother.
Cocoa Content and Tempering
The percentage of cocoa content listed on a chocolate bar refers to the total amount of cocoa solids, which includes cocoa mass (cocoa solids and cocoa butter) and often additional cocoa butter. This percentage is a crucial indicator for tempering. Chocolates with higher cocoa content, particularly dark chocolates, generally contain a higher proportion of cocoa butter relative to other ingredients like sugar and milk solids.
A higher cocoa butter content typically makes chocolate easier to temper because cocoa butter is the component whose crystallization you are controlling. For example, a dark chocolate with 70% cocoa might have a higher cocoa butter content than one with 60%, requiring slightly different temperature curves but often being more forgiving for beginners due to the abundance of the key ingredient for crystal formation. This is a key consideration for any chocolate tempering guide beginners.
Cocoa Butter Quality
The quality and type of cocoa butter used in the chocolate are perhaps the most critical factors for successful tempering. High-quality chocolates, often labeled as "couverture," contain a higher percentage of cocoa butter (typically 32-39%) compared to standard eating chocolate (often around 25-30%). This extra cocoa butter provides the fluidity needed for proper crystallization during tempering.
Furthermore, the source and processing of the cocoa beans and subsequent cocoa butter affect its properties. Reputable chocolate manufacturers source high-quality beans and process them carefully to ensure the cocoa butter has the ideal composition for stable crystal formation. Using chocolate with lower quality or insufficient cocoa butter will make achieving and maintaining temper extremely difficult, often resulting in a dull finish even if the temperature curve is followed perfectly.
Sugar and Other Ingredients
While cocoa butter is the star of the show for tempering, other ingredients like sugar, milk solids (in milk and white chocolate), and emulsifiers (like soy lecithin) also play a role. Sugar and milk solids do not participate in the crystallization process; they are simply suspended within the cocoa butter matrix.
A higher proportion of sugar or milk solids (as found in milk and white chocolate) means a lower proportion of cocoa butter. This can make tempering more challenging as there is less cocoa butter to work with for forming the stable crystal structure.
Emulsifiers like lecithin help to improve the flow properties of the chocolate, which can aid in the tempering process by ensuring the cocoa butter crystals are evenly distributed. However, the presence of certain fats other than cocoa butter (like vegetable oils) can significantly hinder or even prevent proper tempering, which is why compound chocolate is not suitable for traditional tempering methods.
Types of Chocolate Ideal for Tempering
Understanding the different types of chocolate is essential for any chocolate tempering guide beginners. While tempering is primarily concerned with the cocoa butter content, the overall composition of dark, milk, and white chocolate requires slightly different approaches and yields different results.
Dark Chocolate Tempering
Dark chocolate is often considered the easiest type of chocolate to temper, making it an excellent starting point for a chocolate tempering guide beginners. It typically contains cocoa mass (cocoa solids and cocoa butter), sugar, and sometimes lecithin and vanilla. With cocoa content ranging from 50% to 100%, dark chocolate usually has a higher proportion of cocoa butter relative to sugar compared to milk or white chocolate.
The higher cocoa butter content in quality dark chocolate means there are more fat molecules available to form the desired stable crystals (Form V). The typical tempering temperature range for dark chocolate is around 113-120°F (45-49°C) for melting, cooling to 82-86°F (28-30°C) to encourage crystallization, and then warming slightly back up to a working temperature of 88-91°F (31-32°C). This wider temperature tolerance compared to milk or white chocolate makes it more forgiving for newcomers.
Milk Chocolate Tempering
Milk chocolate adds milk solids (like milk powder or condensed milk) to the mix, along with sugar, cocoa mass, and cocoa butter. The presence of milk solids and generally higher sugar content means milk chocolate has a lower percentage of cocoa solids and cocoa butter compared to most dark chocolates.
Tempering milk chocolate requires slightly lower temperatures than dark chocolate. The typical melting temperature is around 110-115°F (43-46°C), cooling to 79-82°F (26-28°C), and a working temperature of 86-88°F (30-31°C). The narrower temperature range and lower cocoa butter content can make milk chocolate tempering a bit trickier than dark chocolate for a chocolate tempering guide beginners, requiring more precise temperature control.
White Chocolate Tempering
White chocolate contains no cocoa solids, only cocoa butter, sugar, milk solids, lecithin, and vanilla. Despite the absence of cocoa solids, it still contains cocoa butter and therefore can be tempered. However, it is often considered the most challenging type of chocolate to temper successfully due to its composition.
White chocolate has the lowest melting point and requires the lowest tempering temperatures. The melting temperature is typically around 105-110°F (40-43°C), cooling to a narrow range of 77-80°F (25-27°C), and a working temperature of 84-86°F (29-30°C). The higher proportion of sugar and milk solids relative to cocoa butter, combined with the lower temperatures, means the margin for error is smaller, making it less recommended for a very first chocolate tempering attempt by beginners.
Couverture Chocolate Tempering
Couverture chocolate is a term specifically used for high-quality chocolate that contains a higher percentage of cocoa butter (typically 32-39%) than standard eating chocolate. This elevated cocoa butter content gives it superior flow properties when melted, which is essential for achieving a thin, even coating and proper crystallization during tempering.
Using couverture chocolate is highly recommended for anyone learning to temper, especially for a chocolate tempering guide beginners. The extra cocoa butter makes the process more forgiving and significantly increases the likelihood of achieving a beautiful, glossy, and snappy finish. While it might be slightly more expensive than standard chocolate chips or bars, the results are incomparably better for tempering purposes. Look for chocolate specifically labeled "couverture" when planning your tempering projects.
Comparing Chocolate Brands for Tempering
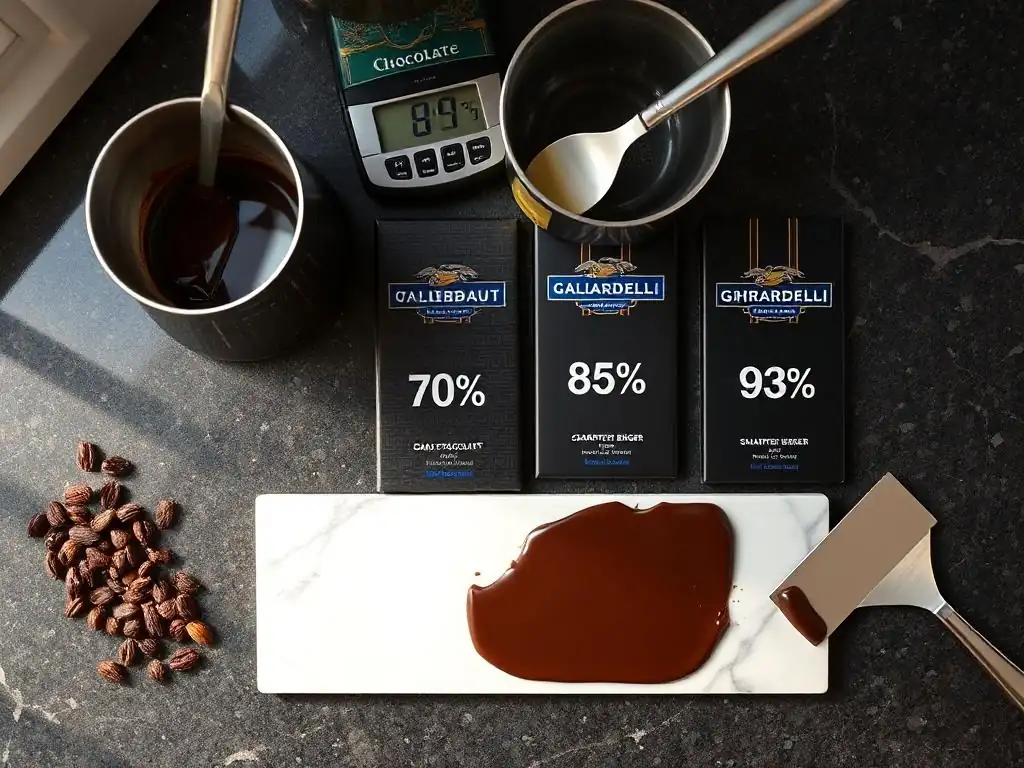
Choosing a reputable brand of chocolate, particularly couverture chocolate, can make a significant difference in your tempering success. Different brands use varying cocoa bean sources, processing methods, and specific formulations, all of which impact how the chocolate melts, crystallizes, and performs during tempering.
Valrhona: Tempering Performance and Flavor Profile
Valrhona is a premium French chocolate manufacturer widely regarded for its high-quality couverture chocolates. Their chocolates are known for their consistent performance in tempering and complex, nuanced flavor profiles, often highlighting specific cocoa bean origins. For example, their Guanaja 70% dark chocolate is a popular choice among professionals for its robust flavor and reliable tempering.
Valrhona couverture typically has excellent fluidity due to its high cocoa butter content, making it relatively straightforward to temper following standard temperature curves for its type (dark, milk, or white). While it's on the higher end price-wise, its reliability and exceptional taste make it a favorite for serious chocolatiers and a great option for a chocolate tempering guide beginners looking for top-tier results.
Callebaut: Tempering Performance and Flavor Profile
Callebaut is a Belgian chocolate manufacturer that is one of the world's largest producers of couverture chocolate. They are known for their wide range of products, consistent quality, and ease of use, making them a popular choice for both professional and home bakers. Their 811 dark chocolate and 823 milk chocolate are industry standards.
Callebaut chocolates are formulated specifically for tempering and offer reliable performance. They have good fluidity and are designed to temper smoothly, producing a good shine and snap. Their flavor profiles are often described as classic and balanced, making them versatile for various applications. Callebaut is an excellent choice for a chocolate tempering guide beginners as it offers high quality and predictable results at a more accessible price point than some ultra-premium brands.
Guittard: Tempering Performance and Flavor Profile
Guittard Chocolate Company is an American chocolate maker with a long history, known for its commitment to quality and sustainability. They produce a range of chocolates, including couverture, that perform well for tempering. Their chocolates often feature distinct American flavor profiles, which can differ slightly from European brands.
Guittard's couverture lines, like their Eureka Works 64% or Akoma 38% milk chocolate, are designed for melting and tempering. They offer good fluidity and temper reliably. Guittard provides a quality option with a slightly different flavor character, allowing bakers to explore variations. It's another solid choice for a chocolate tempering guide beginners looking for dependable performance and great taste from a domestic producer.
Considerations for Choosing Chocolate Brands
When choosing a brand for tempering, consider not only its reputation for tempering performance but also its flavor profile and how it will complement the other components of your recipe. Some brands offer single-origin chocolates with unique notes, while others provide blends designed for a classic chocolate taste.
Also, consider the form the chocolate comes in. Couverture is often sold in callets (small drops or buttons) or blocks. Callets are convenient as they melt more evenly, which is helpful for tempering. Blocks need to be finely chopped before melting. Finally, factor in availability and price; while premium brands offer excellent quality, reliable results can also be achieved with widely available, good-quality couverture from brands like Callebaut or Valrhona.
Common Mistakes to Avoid
Even with the best chocolate, tempering can go wrong. Being aware of common pitfalls can save you frustration and wasted chocolate. For a chocolate tempering guide beginners, understanding these mistakes is just as important as knowing the correct steps.
Using Old Chocolate
One of the most common mistakes is attempting to temper chocolate that is old or has been improperly stored. Over time, or when subjected to temperature fluctuations, chocolate can develop fat bloom or sugar bloom. While bloom doesn't necessarily make the chocolate unsafe to eat, it indicates that the cocoa butter crystals are already out of stable temper.
Attempting to temper chocolate that is already bloomed is significantly more difficult, if not impossible, to achieve a perfect temper. The existing unstable crystals can interfere with the formation of new, stable ones during the tempering process. Always start with fresh, good-quality chocolate that has been stored correctly in a cool, dry place away from direct light and strong odors.
Dealing with Chocolate Bloom
As mentioned, chocolate bloom is a visual sign that the chocolate's temper is lost. Fat bloom appears as a grayish, streaky, or hazy film on the surface and is caused by unstable cocoa butter crystals migrating and recrystallizing on the surface. Sugar bloom looks like a gritty, white powder and is caused by condensation dissolving sugar on the surface, which recrystallizes as water evaporates.
While bloomed chocolate can often be melted and used in applications where temper isn't critical (like brownies or ganache), it's not ideal for tempering. If you must use bloomed chocolate for tempering, ensure you fully melt it to a high enough temperature (e.g., 115-120°F for dark chocolate) to destroy all existing crystal structures before beginning the cooling and seeding process. However, starting with unbloomed chocolate is always recommended for the best chance of success as part of a chocolate tempering guide beginners.
Ignoring Fat Content
Not all chocolate bars or chips labeled "chocolate" are suitable for tempering. Many standard chocolate chips or baking bars contain stabilizers or fats other than cocoa butter (like palm oil or other vegetable oils) to help them hold their shape when baking. These added fats have different melting and crystallization properties than cocoa butter and will prevent the chocolate from tempering correctly.
Always check the ingredient list. For successful tempering, you need chocolate where cocoa butter is the primary or only fat listed, besides the fats naturally present in the cocoa mass. This is why using high-quality couverture chocolate, which is specifically designed for melting and tempering and has a high cocoa butter content (typically 32-39%), is crucial. Don't try to temper standard chocolate chips expecting a glossy, snappy finish; it simply won't work. This is a fundamental point for any chocolate tempering guide beginners.
Tips for Successful Tempering
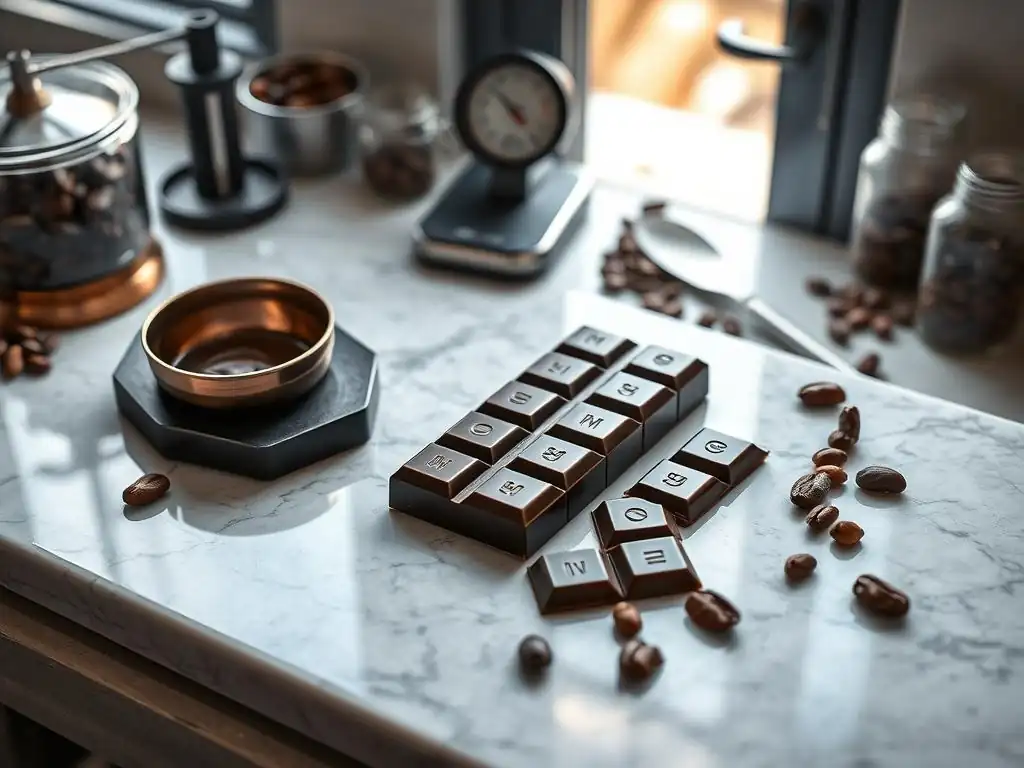
Beyond choosing the right chocolate, several practical tips can significantly improve your chances of achieving a perfect temper. Preparation, accurate temperature monitoring, and technique are key.
Preparing Chocolate for Tempering
Proper preparation before you even start melting is vital. First, ensure all your equipment – bowls, spatulas, thermometers, etc. – is completely dry. Even a tiny drop of water can seize the chocolate, turning it into a thick, unusable mass. Next, finely chop the chocolate if you are not using callets. Smaller pieces will melt more evenly and quickly, reducing the risk of scorching and making it easier to control the temperature.
Measure out the chocolate you need accurately. It's often helpful to reserve about 20-30% of the chopped chocolate to use for "seeding" later, especially if using the seeding method (explained below). Having everything ready and measured before you begin heating the chocolate minimizes distractions and allows you to focus on the critical temperature stages. This preparation step is essential for any chocolate tempering guide beginners.
Using a Chocolate Thermometer
Accurate temperature control is non-negotiable for successful tempering. You absolutely need a reliable thermometer that can read temperatures in the required ranges for melting, cooling, and working (typically between 77°F and 120°F). Digital instant-read thermometers are ideal as they provide quick and precise readings.
Regularly stirring the chocolate while heating and cooling is also important to ensure the temperature is uniform throughout the mass. Always take the temperature reading from the center of the chocolate, not touching the bottom or sides of the bowl, which might be hotter or cooler than the chocolate itself. Monitoring the temperature closely and moving promptly from one temperature stage to the next is crucial for encouraging the cocoa butter crystals to form correctly.
Seed Tempering Technique
The seed tempering method is one of the easiest and most reliable techniques for beginners. It involves melting about 70-80% of your finely chopped chocolate to its initial melting temperature (e.g., 115°F for dark chocolate), then removing it from the heat and stirring in the remaining 20-30% of un-melted, finely chopped chocolate (the "seed" chocolate).
The seed chocolate contains stable cocoa butter crystals (Form V). As the melted chocolate cools and you stir in the seed chocolate, these stable crystals act as templates, encouraging the liquid cocoa butter to crystallize into the desired Form V. Continue stirring until all the seed chocolate is melted and the mixture reaches the correct working temperature (e.g., 88-91°F for dark chocolate). This method is highly recommended in any chocolate tempering guide beginners because it simplifies the process of forming stable crystals.
Troubleshooting Tempering Problems
Sometimes, despite your best efforts, the chocolate doesn't temper correctly. Common signs include it not setting firmly, looking streaky or dull, or developing bloom after setting. If this happens, the most likely issue is that the cocoa butter crystals did not form correctly, usually due to incorrect temperatures during the cooling and working stages.
The good news is that tempered chocolate that has lost its temper can often be re-tempered. Simply reheat the chocolate slowly to the initial melting temperature (e.g., 115°F for dark chocolate) to melt all existing crystals, and then repeat the tempering process, paying close attention to the temperature points and ensuring thorough stirring. Don't give up! Practice makes perfect, and troubleshooting is part of learning, especially for a chocolate tempering guide beginners.
Advanced Tempering Techniques
Once you've mastered the basics of tempering plain chocolate, you can explore more advanced techniques to add flair and complexity to your chocolate creations. These methods build upon the fundamental principles of cocoa butter crystallization.
Working with Colored Cocoa Butter
Tempered chocolate can be colored using fat-soluble colors specifically designed for chocolate. However, for vibrant colors and ease of application, many chocolatiers use colored cocoa butter. This involves tempering pure cocoa butter and then mixing in fat-soluble powdered colors or using pre-colored cocoa butter.
Colored cocoa butter is often applied to the inside of chocolate molds before pouring in the tempered chocolate. It can be splattered, brushed, or airbrushed to create decorative effects. Like chocolate, colored cocoa butter also needs to be tempered to set correctly and adhere properly to the chocolate shell, typically around 86-88°F (30-31°C). This technique allows for stunning visual designs on bonbons and other molded chocolates.
Creating Chocolate Decorations
Tempered chocolate is the foundation for many beautiful chocolate decorations, from simple drizzles to intricate sculptures. Its ability to set firmly with a snap makes it ideal for creating elements that hold their shape. Techniques include piping designs onto parchment paper, spreading chocolate thinly and cutting shapes before it fully sets, or molding complex forms using polycarbonate molds.
For piping, tempered chocolate is placed in a piping bag, and designs are drawn onto a non-stick surface like acetate or parchment paper. As the chocolate cools, it hardens into the desired shape. Creating larger decorations or sculptures often involves building up layers of tempered chocolate or using molds and assembling pieces. Success hinges entirely on the chocolate being perfectly in temper to ensure the decorations are stable, shiny, and snap cleanly.
Storing Tempered Chocolate
Proper storage is crucial for maintaining the temper of finished chocolate products and for storing any leftover tempered chocolate. Once chocolate is tempered and sets, it should be stored in a cool, dry place with a relatively stable temperature, ideally between 60-68°F (15-20°C), and low humidity (below 50%).
Avoid storing tempered chocolate in the refrigerator or freezer if possible, as the temperature fluctuations and high humidity can cause condensation to form, leading to sugar bloom. Store chocolate away from strong odors, as it can absorb smells. If you have leftover tempered chocolate that is still in temper, you can let it solidify and store it properly. It can then be gently reheated to its working temperature (without exceeding it significantly) for reuse. Chocolate that has lost its temper during storage will need to be re-tempered before use in applications requiring temper.
Frequently Asked Questions
What type of chocolate is best for beginner chocolate tempering?
For beginners, we recommend using couverture chocolate with a higher cocoa butter content. This type of chocolate is more forgiving and melts more smoothly, making the tempering process easier.
What does "tempering" chocolate actually do?
Tempering chocolate creates stable cocoa butter crystals, resulting in a smooth, glossy finish and a satisfying snap. Untempered chocolate will be dull, streaky, and prone to blooming.
What tools are essential for successfully tempering chocolate at home?
A reliable digital thermometer is crucial for accurate temperature control. Also, you'll need a double boiler or microwave-safe bowl and a spatula for stirring.
Can I re-temper chocolate if I mess up the first time?
Yes, absolutely! If your chocolate seizes or doesn't temper correctly, you can re-melt it and start the tempering process again from the beginning, ensuring it reaches the correct temperatures.
Why is using high-quality chocolate important when tempering?
High-quality chocolate typically contains a higher percentage of cocoa butter, leading to a better and more stable temper. It also contributes significantly to the final flavor and texture of your chocolate creations.
Final Reflection: Mastering the Art of Chocolate Tempering
The pursuit of perfectly tempered chocolate, once a daunting task for beginners, is now more accessible than ever. Understanding the nuances of chocolate tempering—from choosing the right type of chocolate to mastering the techniques—is key to unlocking the world of professional-quality confectionery. This knowledge empowers home bakers and aspiring chocolatiers alike to create stunning, glossy, and deliciously snappable treats.
The journey of learning to temper chocolate is more than just a technical skill; it's a testament to patience, precision, and the rewarding satisfaction of creating something beautiful. It's a process that mirrors life itself – requiring careful attention to detail and a willingness to learn from mistakes. As renowned pastry chef, Jacques Torres, once said, Chocolate is a magical ingredient. It can transform a simple dessert into something extraordinary.
This sentiment perfectly encapsulates the transformative power of mastering chocolate tempering, elevating simple creations into works of art.
Now, it's your turn to embark on this delicious adventure. Don't be intimidated by the initial learning curve; embrace the process, experiment with different techniques, and savor the journey. Remember the key takeaways from this guide, practice consistently, and soon you'll be confidently creating flawlessly tempered chocolate masterpieces that will impress your friends, family, and yourself. The world of chocolate awaits – go forth and temper!
Unlock Your Chocolate Tempering Mastery!
Thanks for joining us on this chocolatey adventure! You've now gained valuable insights into choosing the perfect chocolate for flawless tempering. Ready to put your new knowledge into practice?
- Prioritize your perfect chocolate: Head to your local chocolatier or specialty grocery store and select the chocolate type that best suits your project, remembering the key characteristics we discussed.
- Try a tempering technique you haven't used before: Challenge yourself to master a new method—you might discover your new favorite!
- Share your tempered chocolate creations with us on social media! Use #BakeWithEaseTempering for a chance to be featured.
What delicious masterpiece will you create with your perfectly tempered chocolate?