
Secrets to Stunning Pulled Sugar Flowers: A StepbyStep Guide

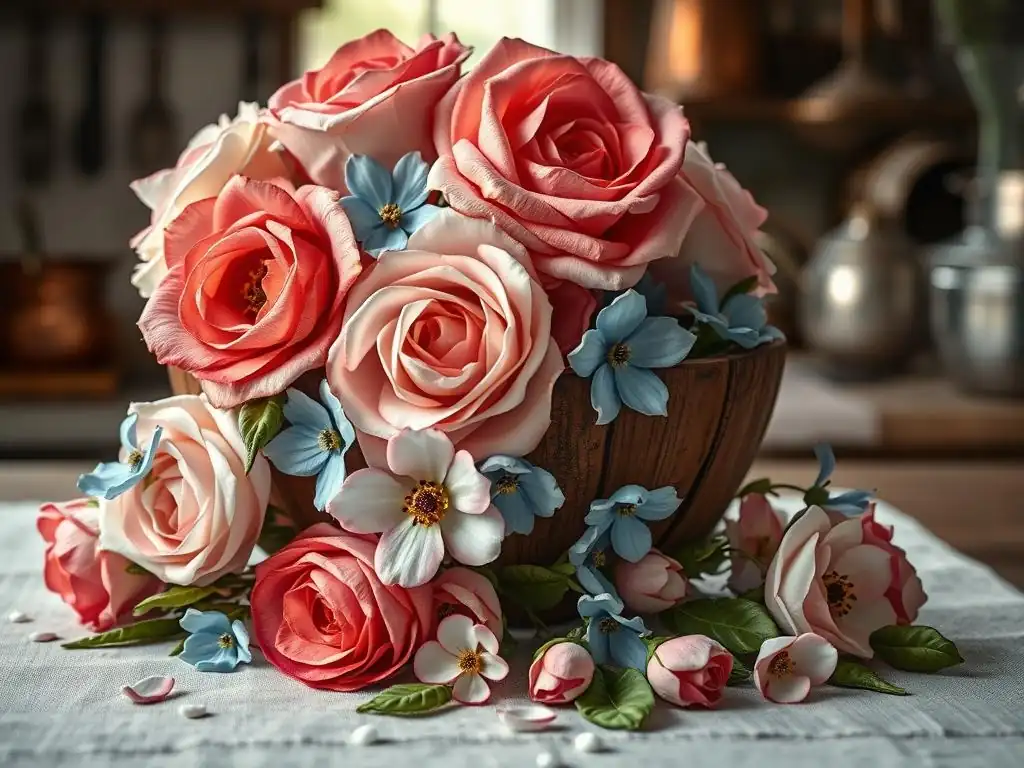
Welcome to BakeWithEase, where the magic of baking comes to life! Ever dreamt of crafting delicate, edible masterpieces? Dive into our Pulled Sugar Flower Tutorial Guide and unlock the secrets to creating breathtaking floral decorations. Prepare to transform simple sugar into stunning works of art, and elevate your baking from delicious to unforgettable. Ready to bloom?
- Introduction to Pulled Sugar Flowers: A Pulled Sugar Flower Tutorial Guide
- Essential Tools and Ingredients for Creating Stunning Pulled Sugar Flowers
- Preparing Your Sugar for Pulled Sugar Flower Crafting
- Step-by-Step Pulled Sugar Flower Tutorial Guide: Crafting Your First Flower
- Advanced Techniques to Enhance Your Pulled Sugar Flower Decorations
- Troubleshooting Common Issues in Pulled Sugar Flower Making
- Maintaining and Storing Pulled Sugar Flowers for Longevity
- Conclusion: Mastering the Art of Pulled Sugar Flowers with This Tutorial Guide
-
Frequently Asked Questions
- How difficult is it to make pulled sugar flowers for someone new to baking?
- What are the essential tools needed for making pulled sugar flowers?
- What kind of sugar is best for creating pulled sugar flowers?
- How do I prevent my pulled sugar from crystallizing while working with it?
- How long do pulled sugar flowers typically last, and how should they be stored?
- Final Reflection: The Enduring Bloom of Pulled Sugar Art
- Unleash Your Inner Sugar Artist!
Introduction to Pulled Sugar Flowers: A Pulled Sugar Flower Tutorial Guide
What Are Pulled Sugar Flowers? Understanding Sugar Art Decorations
Pulled sugar flowers are exquisite, delicate decorations crafted from a pliable sugar mixture that is heated, pulled, and shaped into realistic floral forms. This technique, often associated with advanced confectionery arts, transforms simple sugar, water, and glucose or corn syrup into stunning, edible sculptures. Unlike gum paste or fondant flowers, pulled sugar has a unique translucency and sheen, giving the finished pieces a fragile, glass-like appearance that catches the light beautifully. They are a testament to the sugar artist's skill and patience.
Creating these intricate pieces involves understanding the properties of sugar at different temperatures. The sugar mixture is cooked to a specific temperature, typically around 320°F (160°C), making it hard and brittle when cooled. However, by adding an interfering agent like glucose syrup and manipulating it while warm, it becomes flexible enough to be stretched and pulled into thin, petal-like shapes. Mastering this involves precise temperature control and quick, confident movements before the sugar cools and hardens completely.
Why Mastering Pulled Sugar Flower Techniques Elevates Your Cake Decorating Skills
Learning how to create pulled sugar flowers significantly elevates your cake decorating repertoire, moving beyond traditional methods like buttercream piping or fondant modeling. These sugar art decorations offer a level of elegance and sophistication that can transform a simple cake into a breathtaking centerpiece. Imagine a wedding cake adorned with shimmering, translucent sugar roses or a celebratory cake featuring vibrant, glass-like lilies – these are the possibilities unlocked by this skill.
Beyond the aesthetic appeal, mastering this craft demonstrates a high level of technical proficiency and dedication to sugar work. It requires understanding complex sugar chemistry, managing temperature, and developing a delicate touch. Including pulled sugar elements on your cakes sets your work apart, allowing you to command higher prices for custom designs and gain recognition for your artistry. This pulled sugar flower tutorial guide aims to equip you with the foundational knowledge to achieve this mastery.
Essential Tools and Ingredients for Creating Stunning Pulled Sugar Flowers
Key Ingredients for Pulled Sugar Flower Sugar Work
The foundation of any successful pulled sugar creation lies in using the correct, high-quality ingredients. The primary components are granulated sugar, water, and a glucose-based syrup (like corn syrup or specialized glucose syrup). Granulated sugar provides the structure, while water dissolves it for cooking.
The glucose syrup is crucial; it acts as an interfering agent, preventing the sugar from crystallizing as it cools and making it pliable enough to pull. A common ratio often starts with 2 parts sugar to 1 part glucose syrup and just enough water to dissolve the sugar, perhaps around 0.5 parts water, though recipes can vary slightly.
Optional ingredients can enhance the process and final product. A small amount of cream of tartar or vinegar can provide extra insurance against crystallization. Isomalt, a sugar substitute, is sometimes used instead of or in combination with sucrose because it is less prone to crystallization and remains pliable slightly longer, though it can be more expensive. Food coloring, specifically gel or powder colors designed for sugar work, is essential for bringing your flowers to life with vibrant or subtle hues.
Must-Have Tools for Sugar Pulling and Flower Shaping
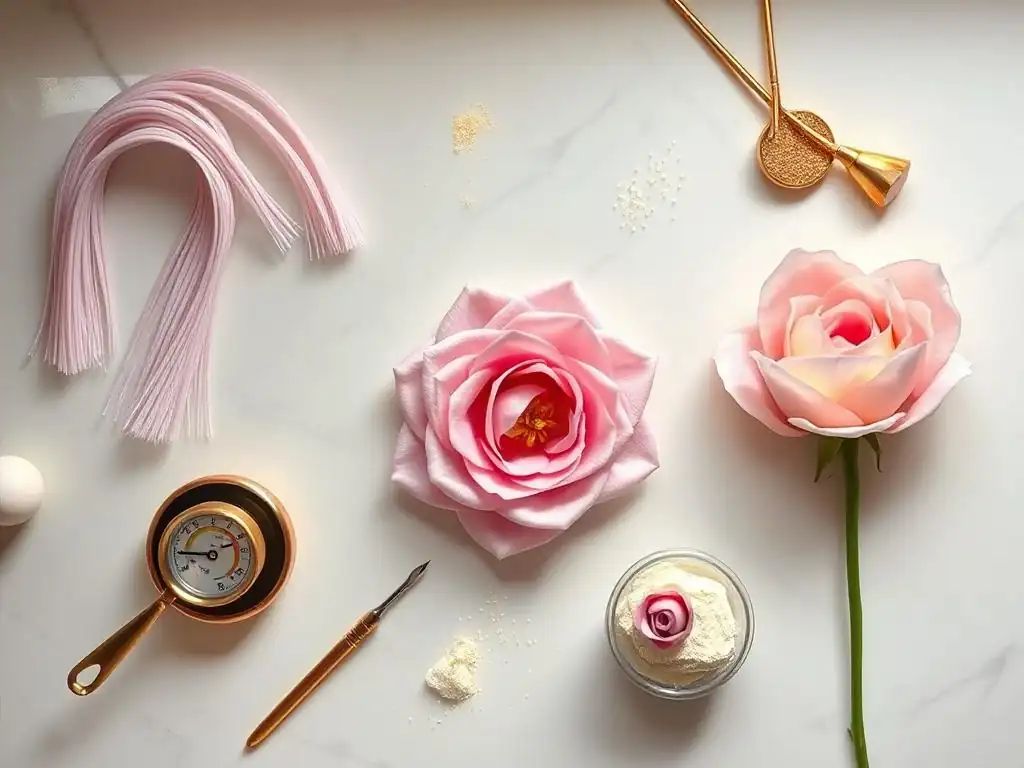
Working with hot sugar requires specific tools designed for safety and precision. A heavy-bottomed saucepan is essential for cooking the sugar mixture evenly and preventing burning. A candy thermometer is non-negotiable; accuracy in reaching and maintaining specific temperatures is critical for the sugar's texture and workability. Silicone mats or parchment paper are needed for pouring and cooling the hot sugar, as it won't stick to these surfaces.
For the actual pulling and shaping, you'll need protective heat-resistant gloves – multiple pairs are often recommended as they can get sticky. A heat lamp or warming box is invaluable for keeping small batches of sugar pliable while you work on individual petals or leaves. Essential shaping tools include scissors (dedicated sugar scissors are best), small spatulas, veining tools, and formers (like flower formers or even everyday items like spoons or bowls) to help shape petals and give them natural curves. Having these tools ready before you start is key to a smooth sugar-pulling process.
Safety Tips When Working with Hot Sugar
Safety is paramount when dealing with sugar heated to temperatures exceeding 300°F (150°C), as severe burns can occur. Always work in a calm, uncluttered environment where you won't be easily distracted or tripped. Wear appropriate clothing – long sleeves and pants can offer some protection against splatters, and closed-toe shoes are a must. Keep a bowl of ice water nearby; in case of a minor burn, immediately plunge the affected area into the ice water to cool the sugar and skin rapidly.
Heat-resistant gloves are mandatory when handling the warm sugar mixture. Be aware that even with gloves, you will feel the heat, and the sugar remains very hot for a significant time after being removed from the heat source. Never touch hot sugar with bare hands. Keep pets and small children away from the work area. Clean up spills immediately after the sugar has cooled and hardened, as attempting to wipe up hot, liquid sugar is extremely dangerous. Dissolve hardened sugar spills with hot water.
Preparing Your Sugar for Pulled Sugar Flower Crafting
Step-by-Step Guide to Making the Perfect Pulled Sugar Base
Creating the base sugar mixture is the critical first step in this pulled sugar flower tutorial guide. Begin by combining your measured sugar, glucose syrup, and water in a clean, heavy-bottomed saucepan. Stir gently only until the sugar is dissolved over low heat. Avoid stirring once the mixture comes to a boil, as this can encourage crystallization. Increase the heat to medium-high and insert your candy thermometer, ensuring the tip is fully submerged but not touching the bottom of the pan.
Cook the mixture steadily, monitoring the temperature closely. Skim off any foam or impurities that rise to the surface using a clean spoon. Continue cooking until the sugar reaches the hard crack stage, typically between 300°F and 320°F (149°C to 160°C). The exact temperature may vary slightly depending on humidity and desired pliability, but aiming for around 310°F (154°C) is a good starting point for pulling. Once the target temperature is reached, immediately remove the pan from the heat.
How to Achieve the Right Temperature and Consistency for Pulled Sugar
Achieving the correct temperature is non-negotiable for successful pulled sugar. Heating the sugar too little means it will remain sticky and won't hold its shape when pulled. Heating it too much will cause it to caramelize excessively, potentially turning brown and becoming too brittle to work with. A reliable candy thermometer is your best friend here. Calibrate your thermometer occasionally by testing it in boiling water (it should read 212°F or 100°C at sea level).
After removing the sugar from the heat, you need to cool it to a workable temperature. Pour the hot sugar onto a prepared silicone mat or lightly oiled marble slab. Do not scrape the pan, as this can introduce crystallized sugar bits. Allow the sugar to cool for several minutes until it forms a skin on top and the edges start to firm up, but the center is still liquid and very hot.
This cooling process is crucial for developing the right consistency for pulling – it needs to be cool enough to handle (with gloves!) but warm enough to be pliable. The ideal working temperature is often around 140°F to 160°F (60°C to 70°C), though you'll be handling it while much hotter initially.
Coloring Your Sugar: Tips for Vibrant and Natural Flower Colors
Coloring pulled sugar requires specific types of food coloring. Liquid food colorings contain water, which can cause the sugar to crystallize, making them unsuitable. Use gel or powder food colorings designed for candy making or sugar work. These colors are highly concentrated and water-free. Add the color after the sugar has reached its target temperature and has been poured onto the cooling surface, but before you begin pulling.
Add the color cautiously – a little goes a long way with concentrated gel or powder colors. You can add the color to a small portion of the sugar as you begin to fold and cool it on the mat. Knead the color into the sugar using your gloved hands, folding it repeatedly until the color is evenly distributed.
For realistic flower colors, think in layers. Start with a base color, and you can add subtle streaks or tips of a darker or complementary color later during the pulling process for natural variation, like the delicate pink tips on a white rose petal.
Step-by-Step Pulled Sugar Flower Tutorial Guide: Crafting Your First Flower
Step 1: Heating and Pulling the Sugar for Elasticity
Once your colored sugar has cooled to a workable temperature (warm enough to be pliable but cool enough to handle with gloves), it's time to start the pulling process, a key step in this pulled sugar flower tutorial guide. Gather a portion of the sugar – start with a manageable amount, maybe the size of a golf ball or small orange. Keep the rest of the sugar warm under a heat lamp if possible. Wearing your heat-resistant gloves, begin folding the sugar onto itself repeatedly.
As you fold and pull, you are incorporating air into the sugar, which changes its structure and makes it opaque and satiny. Stretch the sugar out into a rope, then fold it back onto itself. Repeat this pulling and folding motion. You'll notice the sugar changing from translucent to opaque and developing a beautiful sheen. The more you pull, the more opaque and airy it becomes. Pull until the sugar has a smooth, satiny texture and can be stretched without breaking too easily – this elasticity is crucial for forming thin petals.
Step 2: Shaping Petals and Leaves for Realistic Pulled Sugar Flowers
With your pulled sugar ready, take a small piece and quickly begin shaping your components. For petals, flatten a small ball of pulled sugar into a disk. Then, using your fingers (still gloved), gently stretch and thin the edges, creating a natural, curved shape. You can use veining tools or even press lightly against a textured surface (like a clean, food-safe leaf vein mold) to add realistic lines. Work quickly, as the sugar cools rapidly.
To create leaves, you'll typically use green-colored pulled sugar. Shape a piece into a leaf form, tapering one end for the stem attachment. Use a veining tool to press a central vein and smaller veins branching outwards. You can also use sugar scissors to snip edges for a more natural, serrated look on some leaves. Remember to keep your unused pulled sugar warm under the heat lamp to maintain its workability while you focus on shaping individual pieces.
Step 3: Assembling Flower Components with Precision
Assembling the flower requires working efficiently while the sugar pieces are still slightly warm and pliable enough to adhere to each other, or by using a tiny amount of freshly heated, clear sugar as "glue". Start with the center of the flower. This could be a small ball of sugar, or you might create a few small, tightly curled petals for the very middle. Build outwards, attaching petals one by one around the center.
Overlap the petals slightly, positioning them naturally like a real flower. Apply gentle pressure where the petals meet the base or each other to help them adhere. You can use a small, clean paintbrush to dab a tiny amount of warm, clear sugar syrup onto the attachment points if needed, but often, the residual heat of the pieces is enough. Work layer by layer, gradually increasing the size of the petals as you move outwards from the center, creating a fuller bloom.
Step 4: Adding Finishing Touches for Stunning Visual Appeal
Adding finishing touches elevates your pulled sugar flowers from good to stunning. Once the main structure of the flower is assembled, you can refine the shape of the petals while they are still slightly warm, gently curving or ruffling edges. Attach leaves to the base of the flower or onto a wire stem (ensure wires are properly taped for food contact if inserting into a cake).
Consider using a small amount of edible dusts or glitters to add shimmer or subtle shading. Apply petal dusts with a soft brush to add depth and realism to the sugar petals, mimicking the natural variations in real flower colors. For instance, a touch of pink dust on the edges of a white petal, or green dust near the base. Ensure all added elements are edible and food-safe if the flower is intended for consumption or direct contact with a cake. Allow the finished pulled sugar flowers to cool completely and harden before handling them further.
Advanced Techniques to Enhance Your Pulled Sugar Flower Decorations
How to Create Complex Flower Shapes and Layering Effects
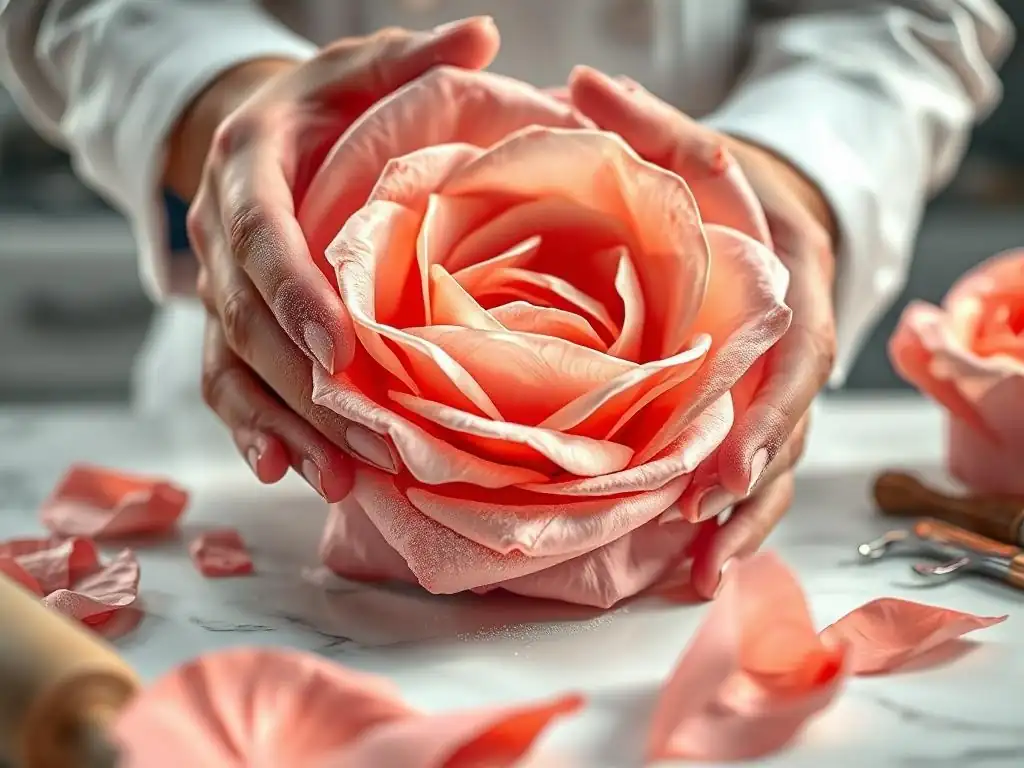
Moving beyond simple shapes in your pulled sugar flower sugar work involves mastering layering and structural complexity. To create flowers with many delicate petals, like peonies or dahlias, you need to prepare numerous petals of varying sizes efficiently. This often means working with multiple small batches of pulled sugar or having a reliable warming setup. Focus on creating a strong central structure to support the weight of subsequent layers.
Achieving realistic layering requires careful placement and shaping of each petal. Petals should overlap naturally, with inner petals being smaller and often more cupped, while outer petals are larger and flatter or slightly ruffled. Experiment with different pulling techniques – pulling faster or slower, thicker or thinner – to create petals with different opacities and textures. For instance, pulling sugar very thin can create delicate, almost transparent edges, perfect for certain flower types.
Using Texture and Veining Tools for Realistic Sugar Petals
Adding texture and veining is crucial for creating sugar art decorations that truly mimic nature. Veining tools, which come in various shapes and sizes, allow you to press realistic vein patterns onto your sugar petals and leaves while they are still warm and pliable. For leaves, a central vein and branching side veins are essential. For petals, the veining might be more subtle, radiating from the base.
Beyond specific veining tools, consider using natural textures. Gently pressing a pulled sugar petal onto a clean, food-safe surface with a subtle texture (like some silicone mats or even certain types of fabric impressions) before the sugar hardens can add interesting surface detail. You can also use sugar scissors to snip the edges of petals or leaves to create ruffled or serrated effects, adding another layer of realism to your pulled sugar flower tutorial guide creations.
Incorporating Pulled Sugar Flowers into Cake Designs
Integrating delicate pulled sugar flowers onto cakes requires careful planning and execution. Because pulled sugar is sensitive to moisture, it's best to place these decorations on cakes covered in fondant, ganache, or royal icing, which provide a stable, dry surface. Avoid placing them directly onto moist buttercream if the environment is humid or if the cake will sit for a long time, as they can absorb moisture and lose their shape or sheen.
Attach pulled sugar flowers using royal icing or melted candy melts, which dry hard and provide a secure bond. For flowers with wired stems, ensure the wires are properly taped with floral tape and inserted into food-safe flower picks or straws before inserting them into the cake to prevent direct contact. Position the flowers strategically to create focal points, cascades, or delicate accents, enhancing the overall design with the unique beauty of pulled sugar art.
Troubleshooting Common Issues in Pulled Sugar Flower Making
How to Prevent Sugar Crystallization and Breakage
Crystallization is a common nemesis in sugar work, turning your smooth mixture into a grainy, unusable mess. To prevent it, ensure your saucepan is spotlessly clean before you start. Use sufficient glucose syrup in your recipe, as it's a primary crystallization inhibitor. Avoid stirring the sugar mixture once it begins to boil; if sugar crystals form on the sides of the pan, use a clean brush dipped in water to gently wash them down.
Breakage, on the other hand, usually occurs when the sugar has cooled too much before pulling or shaping, or if it wasn't pulled sufficiently to develop elasticity. Ensure you are working with sugar that is warm enough to be pliable – use a heat lamp if needed. Pull the sugar until it has a satiny, opaque look and feels elastic, not brittle. If a piece breaks while shaping, you can sometimes gently warm the edges and re-fuse them, or simply discard the piece and start with fresh, warm sugar.
Fixing Color Bleeding and Uneven Petal Shapes
Color bleeding in pulled sugar can occur if too much coloring is used, or if the coloring isn't fully incorporated before pulling. To prevent this, use highly concentrated gel or powder colors sparingly. Ensure the color is thoroughly kneaded into the sugar while it's still warm and pliable, resulting in a uniform color before you begin shaping. If you notice streaks later, you can try folding the sugar a few more times if it's still warm enough.
Uneven petal shapes often result from inconsistent pulling or rushing the shaping process. Practice pulling sugar to achieve a uniform thickness and texture. When shaping petals, take a moment to evenly distribute the sugar before stretching and thinning the edges. If a petal isn't shaped correctly, and the sugar is still warm, you might be able to quickly rework it. Otherwise, it's better to discard it and shape a new one from fresh, warm sugar to maintain quality in your pulled sugar flower tutorial guide efforts.
Tips for Working with Pulled Sugar in Different Humidity Conditions
Humidity is the enemy of pulled sugar. Sugar is hygroscopic, meaning it absorbs moisture from the air, which causes it to become sticky, dull, and eventually collapse. On humid days, working with pulled sugar is significantly more challenging. If possible, choose a low-humidity day for your sugar work. Work in an air-conditioned environment, as air conditioning removes moisture from the air.
Keep your pulled sugar covered when not actively working with it to minimize exposure to air. Work in small batches, keeping the main supply of pulled sugar wrapped tightly or under a heat lamp. Once your sugar flowers are complete and hardened, store them immediately in an airtight container with desiccants (like food-grade silica gel packets) to protect them from moisture. This is crucial for preserving their delicate structure and sheen, especially if you live in a humid climate.
Maintaining and Storing Pulled Sugar Flowers for Longevity
Best Practices for Drying and Hardening Pulled Sugar Flowers
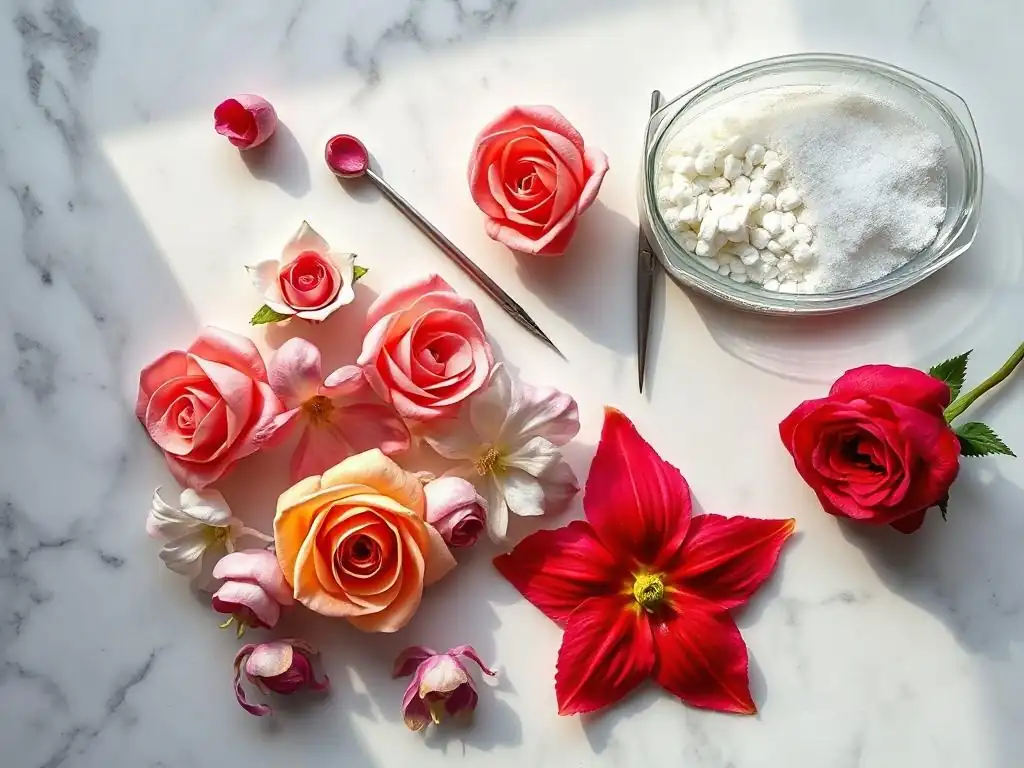
After shaping your pulled sugar flowers, they need time to fully harden and set. While the sugar hardens relatively quickly as it cools, allowing them to air dry completely is important before handling or storing them. Place the finished flowers on a silicone mat or parchment paper in a cool, dry place, away from direct sunlight or any sources of moisture.
The hardening process typically takes a few hours, depending on the size and thickness of the sugar pieces and the ambient humidity. Ensure they are completely hard and brittle before attempting to move or store them. Any residual warmth or softness can lead to deformation or breakage. Handle them with extreme care once hardened, as they are very fragile.
How to Store Pulled Sugar Flowers to Preserve Their Shape and Color
Proper storage is vital to maintain the beauty and longevity of your pulled sugar art decorations. The primary goal is to protect them from moisture, dust, and physical damage. Store finished flowers in airtight containers. Use containers with tight-fitting lids to create a seal against humidity.
Include food-grade desiccants, such as silica gel packets, inside the storage containers. These packets absorb moisture from the air, creating a dry microenvironment that is ideal for preserving sugar work. Place the desiccants in a way that they do not directly touch the sugar flowers. Store the containers in a cool, dry place, avoiding areas with fluctuating temperatures or high humidity, like kitchens or basements. With careful storage, pulled sugar flowers can last for extended periods, retaining their shape and vibrant colors until you are ready to use them.
Conclusion: Mastering the Art of Pulled Sugar Flowers with This Tutorial Guide
Next Steps to Advance Your Sugar Work and Decorations Skills
Completing your first pulled sugar flowers using this tutorial guide is a significant achievement! To further advance your sugar work and decorations skills, continue practicing the fundamental techniques: cooking sugar to the precise temperature, mastering the pulling process for optimal texture, and shaping petals and leaves with increasing speed and precision. Consider experimenting with more complex flower types, studying real flowers for inspiration on form, color, and structure.
Explore using different types of sugar or sugar substitutes like isomalt to understand how they affect the working properties. Learn techniques for creating realistic stems, buds, and accompanying elements like berries or leaves in different shades. Practice assembling larger and more intricate arrangements. Look for advanced tutorials or workshops focusing on specific pulled sugar techniques or challenging floral designs to push your boundaries and refine your artistry.
Encouragement to Experiment and Personalize Your Pulled Sugar Flower Designs
The true beauty of sugar art lies in its potential for creativity and personalization. While this pulled sugar flower tutorial guide provides a solid foundation, don't hesitate to experiment with different colors, shapes, and styles. Try creating fantasy flowers that exist only in your imagination. Mix and blend colors during the pulling process to achieve unique marbling or gradient effects.
Use pulled sugar in combination with other sugar art techniques, such as blown sugar or poured sugar, to create dynamic and multifaceted decorations. Personalize your designs to match specific cake themes or client requests. Each pulled sugar flower you create will be unique, reflecting your growing skill and artistic vision. Embrace the process, learn from any challenges, and enjoy the stunning, edible art you bring to life!
Frequently Asked Questions
How difficult is it to make pulled sugar flowers for someone new to baking?
While pulled sugar can be tricky, our step-by-step guide breaks down the process. With patience and practice, even beginners can create stunning sugar flowers.
What are the essential tools needed for making pulled sugar flowers?
You'll need a sugar thermometer, a silicone baking mat, a heat lamp or warming pad, and gloves. These tools are crucial for maintaining the correct sugar temperature and consistency.
What kind of sugar is best for creating pulled sugar flowers?
We recommend using granulated sugar for the best results. It provides the necessary clarity and pliability for creating intricate flower petals.
How do I prevent my pulled sugar from crystallizing while working with it?
Adding a small amount of cream of tartar or glucose syrup can help prevent crystallization. Also, avoid over-stirring the sugar during the cooking process.
How long do pulled sugar flowers typically last, and how should they be stored?
Pulled sugar flowers are sensitive to humidity and should be stored in an airtight container with a desiccant. Properly stored, they can last for several weeks.
Final Reflection: The Enduring Bloom of Pulled Sugar Art
The delicate art of pulled sugar flower creation, once a culinary secret guarded by a select few, is now blossoming into a widely accessible skill. This detailed guide has aimed to demystify the process, empowering aspiring artists to create breathtaking floral masterpieces. The intricate beauty of these edible works of art continues to captivate, proving that even the most challenging techniques can be mastered with patience and practice.
The journey of learning pulled sugar artistry is more than just acquiring a new skill; it's a deeply rewarding exploration of creativity and precision. It's a testament to the power of dedication and the beauty that emerges from meticulous attention to detail. As I've explored this craft, I've been reminded of the words of Auguste Rodin: Without labor, nothing prospers.
This sentiment resonates deeply, as the stunning results of pulled sugar work are a direct reflection of the time, effort, and passion invested.
Now, it's your turn to embark on this creative adventure. Don't be intimidated by the seemingly complex techniques; embrace the challenge, celebrate each small victory, and allow your imagination to bloom. Pick up your sugar, your tools, and let your artistic spirit guide you. The world awaits the unique beauty only you can create with pulled sugar flowers.
Unleash Your Inner Sugar Artist!
Thanks for joining us on this sweet journey into the world of pulled sugar flowers! We hope you now feel confident enough to create breathtaking blooms for your next cake masterpiece. Ready to take your skills to the next level?
- Craft your first sugar flower masterpiece: Choose your favorite color combination and give it a try! Use the techniques you just learned to create a stunning rose, or perhaps a delicate pansy – the possibilities are endless!
- Share your creations: Tag us on social media with your stunning pulled sugar flowers! We'd love to see what you create. Use #BakeWithEasePulledSugar.
- Explore advanced techniques: Dive deeper into pulled sugar artistry by experimenting with different colors, tools, and designs. Think intricate leaves, delicate vines, and maybe even miniature sugar figurines!
What incredible sugar flower design will you create first? Let us know in the comments below!