
Beyond Melting: Your First Steps into the Art of Chocolate Tempering.

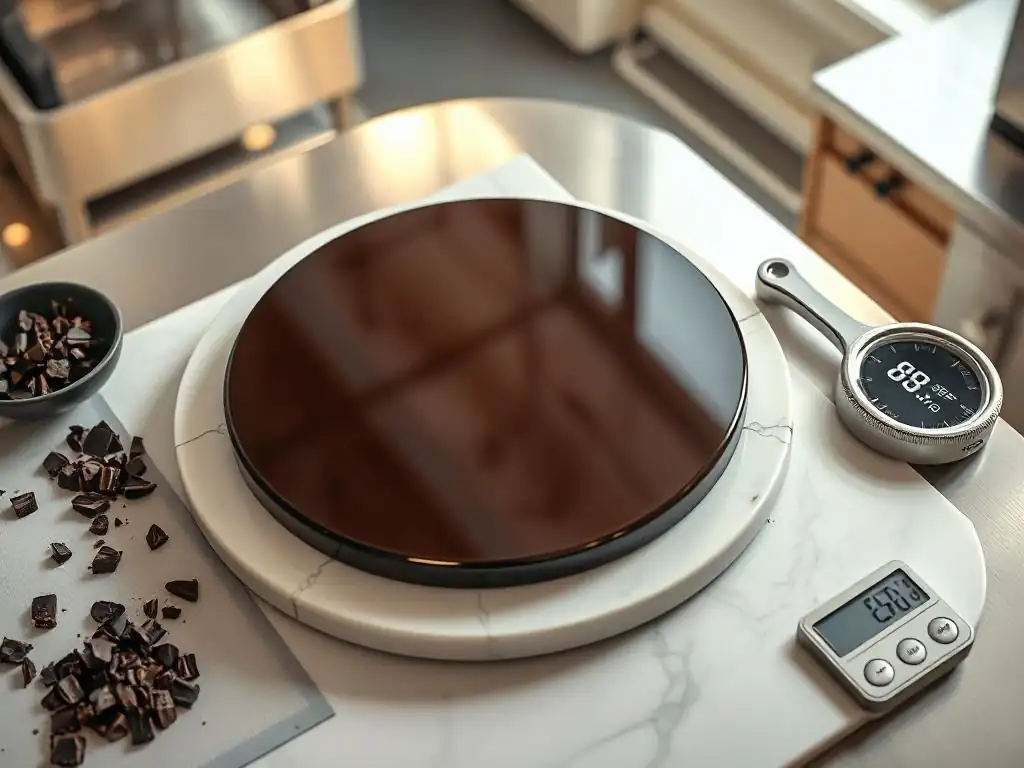
Welcome to BakeWithEase, where baking becomes an adventure for everyone! Ever wondered how to achieve that flawless, glossy shine on your chocolate creations? Dive in and unlock the secrets in our new Chocolate Tempering Beginner Guide. This isn't just about melting chocolate; it's about mastering an art. Ready to elevate your baking game? Let's get started!
- Chocolate Tempering Beginner Guide: Mastering the Basics of Chocolate Tempering
- Essential Tools and Ingredients for Successful Chocolate Tempering
- Step-by-Step Process of Chocolate Tempering for Beginners
- Common Chocolate Tempering Methods for Beginners
- Troubleshooting Chocolate Tempering: Fixing Common Issues
- Applying Tempered Chocolate in Baking: Beginner-Friendly Techniques
- Tips and Best Practices for Chocolate Tempering Success
- Advancing Beyond Basics: Next Steps After Mastering Chocolate Tempering for Beginners
-
Frequently Asked Questions
- What is chocolate tempering and why is it important?
- What are the different methods for tempering chocolate that a beginner can try?
- What equipment do I absolutely need to temper chocolate successfully?
- What are some common mistakes beginners make when tempering chocolate?
- How can I tell if my chocolate is properly tempered?
- Final Reflection: Unlocking the Secrets of Chocolate Tempering
- Unlock Your Inner Chocolatier: Master the Art of Tempering!
Chocolate Tempering Beginner Guide: Mastering the Basics of Chocolate Tempering
What Is Chocolate Tempering? Understanding the Science Behind Tempering Chocolate
Chocolate tempering is a crucial process in confectionery that involves heating, cooling, and reheating chocolate to specific temperatures. This controlled temperature manipulation encourages the cocoa butter fat molecules within the chocolate to form stable crystalline structures.
Cocoa butter can crystallize in six different forms, but only one, known as Form V, provides the desired characteristics of properly tempered chocolate: a glossy finish, a firm snap when broken, and resistance to melting at room temperature. Without tempering, chocolate hardens into a dull, brittle, or crumbly mass that melts easily and often develops gray streaks or patches, a defect known as "bloom."
The science behind tempering lies in stabilizing the cocoa butter crystals. When chocolate is simply melted and allowed to cool naturally, the cocoa butter forms a mix of unstable crystal types (Forms I through IV and VI). These unstable forms are larger, irregular, and melt at lower temperatures.
Tempering specifically promotes the formation of the smaller, more stable Form V beta crystals. These crystals are tightly packed and melt at a higher, more consistent temperature, typically around 88-91°F (31-33°C) for dark chocolate, making the final product stable at room temperature and giving it that desirable texture and appearance. Achieving this state requires melting out all unstable crystals and then carefully cooling while introducing or encouraging the formation of Form V crystals.
Why Proper Chocolate Tempering Matters in Advanced Baking Techniques
Achieving proper chocolate tempering is fundamental for many advanced baking and confectionery applications. It's not just about aesthetics; it significantly impacts the texture, stability, and shelf life of chocolate-based creations. For instance, molded chocolates require a crisp shell that releases cleanly from the mold and holds its shape. Properly tempered chocolate provides this firm structure and shrinks slightly upon cooling, facilitating easy demolding. Without tempering, molded chocolates would stick, be soft, and potentially develop bloom quickly.
Beyond molding, tempered chocolate is essential for dipping and coating. Think of chocolate-covered strawberries, truffles, or petit fours. A smooth, thin, and evenly applied coating that sets quickly and remains stable is achieved only through tempering. A poorly tempered coating would be thick, uneven, sticky, and prone to melting in your hands.
Furthermore, tempering prevents bloom, which is a common issue with untempered chocolate, especially during storage. This ensures that your finished products maintain their visual appeal and quality over time, which is critical for both professional presentation and satisfying results in home baking. Mastering this process is a key step in elevating your baking skills.
Essential Tools and Ingredients for Successful Chocolate Tempering
Choosing the Right Chocolate: Types and Cocoa Content for Tempering
Selecting the correct type of chocolate is the first crucial step in mastering chocolate tempering. Not all chocolate is created equal when it comes to this process. For best results, you should use real chocolate, which contains sufficient cocoa butter.
Compound chocolate or confectionery coating, often labeled as "chocolatey" or "candy melts," is made with vegetable fats instead of cocoa butter. These do not require tempering because they lack the complex crystalline structure of cocoa butter, but they also lack the flavor, texture, and snap of real chocolate. Look for chocolate labeled as "couverture" or high-quality bar chocolate that lists cocoa butter as a primary ingredient.
The cocoa content also matters, as it affects the specific temperatures required for tempering. Dark chocolate, typically with 50-70% or more cocoa solids, has a higher proportion of cocoa butter relative to milk and sugar compared to milk or white chocolate. This means it generally requires higher melting temperatures (around 115°F or 46°C) and tempering temperatures (88-91°F or 31-33°C).
Milk chocolate (around 30-40% cocoa solids) and white chocolate (cocoa butter, sugar, milk solids, no cocoa solids) contain more sugar and milk solids and less cocoa butter, thus requiring slightly lower temperatures for melting (around 105°F or 40°C) and tempering (86-88°F or 30-31°C). Using chocolate specifically designed for tempering (couverture) will yield the most consistent results due to its higher cocoa butter content (typically 32-39%).
Must-Have Equipment for Chocolate Tempering Beginners
While chocolate tempering can seem daunting, the basic equipment required is quite accessible for most home bakers. A reliable way to heat the chocolate is essential, and a double boiler (a heatproof bowl set over a saucepan of simmering water) is a classic method. This provides gentle, indirect heat, preventing the chocolate from burning. Alternatively, a microwave can be used, but it requires careful, short intervals of heating. You will also need a heatproof spatula, preferably silicone, for stirring.
Crucially, you need an accurate thermometer to monitor the chocolate's temperature at each stage of the tempering process. An instant-read digital thermometer is highly recommended for its speed and precision. Achieving and maintaining the correct temperatures is non-negotiable for successful tempering.
You will also need bowls – one for melting and potentially another for cooling if using the seeding method. Finally, a clean, dry workspace is vital, as even a tiny amount of water can cause the chocolate to seize and become unusable for tempering. A marble slab or a large, clean countertop is ideal for the tabling method, providing a cool surface for rapid cooling.
Step-by-Step Process of Chocolate Tempering for Beginners
Preparing Chocolate: Chopping and Melting Techniques
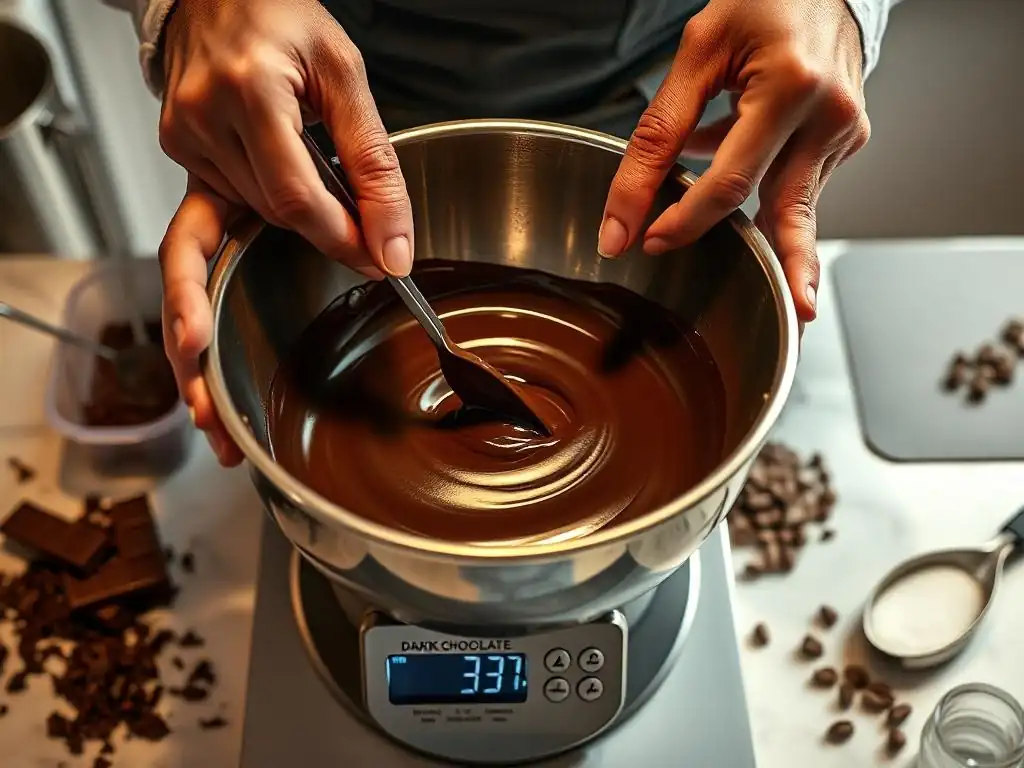
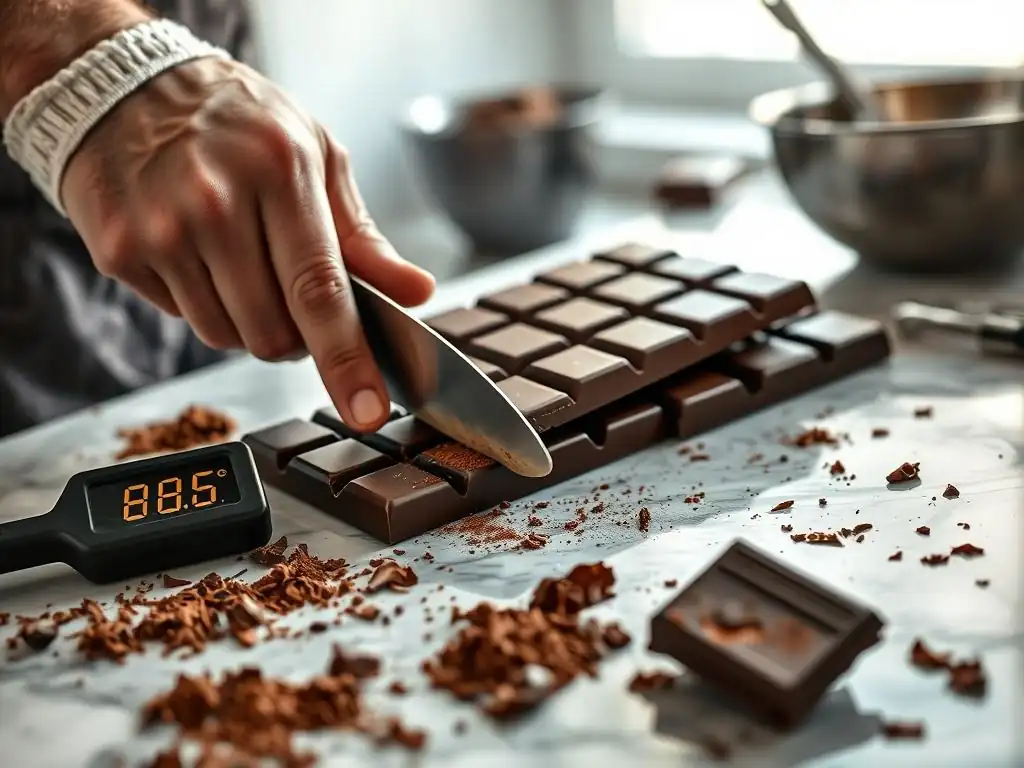
Before you begin the actual tempering process, proper preparation of the chocolate is essential. Start by finely chopping the chocolate into small, uniform pieces. This increases the surface area, allowing it to melt more evenly and quickly. Larger chunks will melt at different rates, making temperature control more challenging. For a pound of chocolate, chopping it into pieces roughly the size of chocolate chips or even smaller is ideal. Ensure your knife and cutting board are completely dry.
Melting the chocolate should be done gently to avoid burning or overheating. The most common method for beginners is using a double boiler. Place the chopped chocolate in a clean, dry heatproof bowl and set it over a saucepan containing about an inch or two of simmering, not boiling, water. The bottom of the bowl should not touch the water. Stir the chocolate gently and consistently as it melts.
Remove the bowl from the heat source when the chocolate is about two-thirds melted, and continue stirring until the residual heat melts the remaining pieces. This helps prevent overheating. For dark chocolate, aim to melt it to around 115°F (46°C). For milk or white chocolate, aim lower, around 105°F (40°C).
The Crucial Cooling and Reheating Stages Explained
Once the chocolate is fully melted to the initial high temperature, the next critical step in chocolate tempering is cooling it down while encouraging the formation of stable Form V crystals. The target cooling temperature varies by chocolate type: for dark chocolate, cool to around 80-82°F (27-28°C); for milk or white chocolate, cool to 78-80°F (26-27°C). This is where methods like seeding or tabling come into play.
During cooling, you are providing the ideal temperature range for those desired Form V crystals to begin forming. Stirring constantly during this phase is important to distribute the crystals evenly and prevent the chocolate from setting prematurely.
After cooling to the lower temperature, the chocolate needs a slight reheating to reach its working temperature. This final, careful reheating melts out any unstable crystals that might have formed during the cooling phase, leaving only the stable Form V crystals. The target working temperature is specific: 88-91°F (31-33°C) for dark chocolate, and 86-88°F (30-31°C) for milk and white chocolate.
This reheating is minimal and often achieved by returning the bowl briefly to the warm (but not hot) water bath or microwave for just a few seconds at a time, stirring constantly, until the target temperature is reached. The chocolate should now be fluid and ready to use for dipping, coating, or molding.
How to Achieve the Perfect Shine and Snap: Temperature Guidelines
Achieving the signature glossy shine and crisp snap of properly tempered chocolate is directly tied to hitting and maintaining the correct temperature ranges throughout the process. The initial melt point ensures all previous crystal structures are destroyed. The cooling phase, dropping to specific temperatures like 80°F for dark chocolate, is where the formation of stable Form V crystals is initiated. It's a delicate balance: too warm and unstable crystals remain; too cool and the chocolate will seize or set too quickly.
The final reheating stage, bringing dark chocolate back up to 88-91°F, is arguably the most critical for perfection. This narrow "working temperature" range is where the concentration of stable Form V crystals is optimal. Any unstable crystals that formed during cooling melt away, leaving a smooth, fluid chocolate dominated by the desired structure.
Using the chocolate within this range ensures it sets correctly with a beautiful shine and that satisfying snap when you break it. Working outside this range, even by a few degrees, can result in a dull finish, a soft texture, or the rapid onset of bloom. Constant temperature monitoring with a reliable thermometer is non-negotiable for consistent results.
Common Chocolate Tempering Methods for Beginners
Tabling Method: Pros, Cons, and How to Perform It
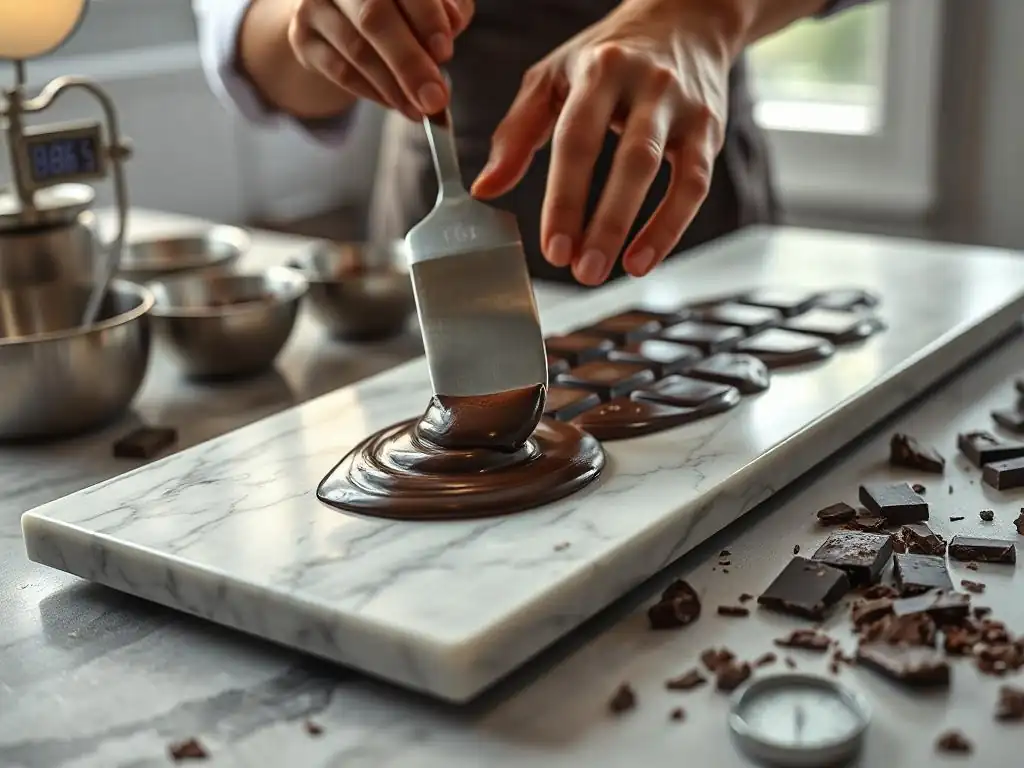
The tabling method, also known as the marble method, is a traditional technique for chocolate tempering often favored by professionals for its efficiency, though it can be intimidating for beginners. It involves pouring about two-thirds of the melted chocolate onto a clean, cool surface, typically a marble or granite slab. Using a metal scraper and spatula, you work the chocolate back and forth, spreading it thinly and gathering it repeatedly. This movement on the cool surface rapidly cools the chocolate and promotes crystal formation.
The pros of the tabling method include its speed and the ability to quickly cool a large amount of chocolate. When done correctly, it yields excellent results. However, the cons are significant for a chocolate tempering beginner guide: it requires practice to manage the chocolate's consistency, it can be messy, and it requires a suitable cool surface. To perform it, melt chocolate to the initial temperature (e.g., 115°F for dark). Pour 2/3 onto a clean marble slab.
Work it with a scraper, spreading and gathering until it thickens and reaches the target cooling temp (e.g., 80-82°F). Scrape the thickened chocolate back into the bowl with the remaining 1/3 unmelted chocolate. Stir until the mixture reaches the final working temperature (e.g., 88-91°F). The remaining chocolate helps to warm the cooled portion and temper the whole batch.
Seeding Method: A Simple Approach for Consistent Results
The seeding method is widely considered the most accessible chocolate tempering technique for beginners and is often recommended in a chocolate tempering beginner guide. It relies on adding already-tempered chocolate (the "seed") to melted, untempered chocolate to initiate and guide the crystallization process. The seed chocolate contains stable Form V crystals, which act as templates for the unstable crystals in the melted chocolate to mimic as it cools.
To use the seeding method, melt about two-thirds of your finely chopped chocolate to the initial high temperature (e.g., 115°F for dark). Remove from heat. Add the remaining one-third of the finely chopped chocolate (the seed) to the melted chocolate. Stir constantly. The seed chocolate will melt as it cools the larger batch.
Continue stirring until all the seed chocolate is melted and the overall mixture reaches the target working temperature (e.g., 88-91°F for dark). The key is to stir diligently to ensure even cooling and crystal development. If the chocolate is still too thick or hasn't reached the correct temperature after the seed has melted, you may need to gently warm it slightly, being extremely careful not to exceed the working temperature. This method is less messy than tabling and provides a more gradual cooling process.
Microwave Tempering: Is It Suitable for Beginners?
Microwave tempering is another method sometimes explored by those looking for a quick approach, and it can be suitable for small quantities of chocolate, even for a chocolate tempering beginner guide, if done with extreme caution. It's essentially a variation of the seeding method or a very controlled partial melt. The basic idea is to melt the chocolate just enough to break down most unstable crystals but leave some stable ones intact, or to use the partial melt to then add seed.
To attempt microwave tempering, place finely chopped chocolate in a microwave-safe bowl. Heat on medium or low power (e.g., 50%) for short intervals (e.g., 15-30 seconds), stirring thoroughly after each interval. It's crucial to stir even when the chocolate doesn't look melted, as heat distributes unevenly in a microwave. Continue heating and stirring until the chocolate is mostly melted, with a few small lumps remaining.
Remove from the microwave and stir continuously until the residual heat melts the remaining lumps and the chocolate reaches the target working temperature (e.g., 88-91°F for dark). The unmelted lumps act as the "seed." The main challenge is the risk of localized overheating ("hot spots") in the microwave, which can burn the chocolate or create stubborn unstable crystals that prevent proper tempering. Using a thermometer and very short bursts of power are essential for success with this method.
Troubleshooting Chocolate Tempering: Fixing Common Issues
Identifying and Correcting Chocolate Bloom
Chocolate bloom is one of the most common frustrations for a chocolate tempering beginner guide enthusiast. It appears as dull, grayish streaks or patches on the surface of chocolate. There are two main types: sugar bloom and fat bloom. Sugar bloom occurs when moisture comes into contact with chocolate, dissolving the sugar on the surface. As the water evaporates, the sugar recrystallizes into larger, visible crystals. This often happens in humid environments or when moving cold chocolate into a warm room, causing condensation. While visually unappealing, sugar bloom doesn't affect the taste or texture significantly.
Fat bloom, which is more common and directly related to improper chocolate tempering, occurs when the unstable cocoa butter crystals (Forms I-IV) melt and recrystallize into larger, visible crystals (Form VI) on the surface. This happens when chocolate is stored at inconsistent temperatures or wasn't properly tempered in the first place. It results in a dull, often greasy-looking surface and a softer texture.
The good news is that bloomed chocolate is not ruined. You can often melt it down and re-temper it. Simply melt the bloomed chocolate completely (to the initial high temperature, e.g., 115°F for dark) to destroy all existing crystal structures, then follow your preferred tempering method (seeding or tabling) from the beginning to create stable Form V crystals.
What to Do When Chocolate Is Too Thick or Grainy
If your chocolate becomes too thick or appears grainy during the tempering process, several issues could be at play. One common cause is simply letting the chocolate cool too much below the target working temperature. As chocolate cools, more crystals form, and if it gets too cold, it will start to set and become thick and difficult to work with.
Another possibility is the introduction of moisture; even a single drop of water or steam can cause chocolate to seize instantly, turning it into a thick, lumpy, unusable mass. Overheating the chocolate initially or during reheating can also cause it to become grainy or sludgy, as it can damage the cocoa butter.
If the chocolate is just slightly too thick because it cooled down, gently reheat it slightly to bring it back into the working temperature range (e.g., 88-91°F for dark). Use very short bursts in the microwave or a quick dip in a warm water bath, stirring constantly. If the chocolate has seized due to moisture, it's challenging to recover for tempering purposes.
You can sometimes rescue seized chocolate by stirring in a small amount of warm liquid fat, like vegetable oil or melted cocoa butter (about 1 tablespoon per 6 ounces of chocolate), to make a ganache-like consistency suitable for fillings, but it won't be temperable. If the chocolate is grainy from overheating, it may be permanently damaged; it's best to start with a fresh batch.
How to Recover Chocolate That Didn’t Temper Properly
Discovering your chocolate didn't temper correctly after it cools (it looks dull, melts easily, or has bloom) is frustrating, but it doesn't mean the chocolate is wasted. The primary reason for failure is usually incorrect temperatures or insufficient stirring during the cooling phase, resulting in a mixture of unstable crystal types. The solution is almost always to melt it down and try again, ensuring precise temperature control this time.
Collect all the chocolate that didn't temper properly. Melt it completely using a gentle method like a double boiler, ensuring it reaches the initial high temperature (e.g., 115°F for dark chocolate). This step is crucial to melt all existing crystal structures, stable or unstable. Once fully melted, remove it from the heat and re-temper it using a reliable method like seeding or tabling, paying strict attention to the cooling and reheating temperatures and stirring diligently. Use an accurate thermometer throughout. Think of it as a learning opportunity; each attempt helps you refine your technique for successful chocolate tempering.
Applying Tempered Chocolate in Baking: Beginner-Friendly Techniques
Coating and Dipping Pastries with Tempered Chocolate
One of the most satisfying applications of properly tempered chocolate for a chocolate tempering beginner guide is coating and dipping pastries. This technique is used for everything from truffles and cake pops to cookies and fruit. The beauty of using tempered chocolate is that it forms a thin, even, and hard shell that sets quickly, provides a satisfying snap, and doesn't melt immediately when held.
To coat or dip, ensure your items (like truffles or chilled fruit) are cool and dry. If they are too warm, they can melt the tempered chocolate coating. If they are wet, the chocolate can seize. Hold the item with a fork or dipping tool and immerse it completely in the bowl of tempered chocolate.
Lift it out, tapping the fork gently against the side of the bowl to allow excess chocolate to drip off. For an extra smooth finish, you can scrape the bottom lightly against the bowl rim. Place the coated item onto parchment paper or a wire rack set over parchment paper to set. The chocolate should set quickly at room temperature within a few minutes if properly tempered.
Creating Chocolate Decorations and Molds for Desserts
Tempered chocolate is essential for creating professional-looking chocolate decorations and using molds. Whether you want to make elegant chocolate curls, delicate filigree, or solid chocolate shapes, tempering provides the necessary structure and shine. Untempered chocolate would be soft, dull, and difficult to handle for such detailed work.
For simple decorations like drizzles or abstract shapes, you can pipe tempered chocolate directly onto parchment paper using a piping bag or a spoon. It will set into firm shapes. For more intricate decorations or using molds, ensure your molds are perfectly clean and dry. Gently pour or spoon the tempered chocolate into the mold cavities, tapping the mold lightly on the counter to remove any air bubbles.
Scrape off any excess chocolate from the top surface of the mold using an offset spatula for a clean finish. Place the filled mold in the refrigerator for just long enough for the chocolate to fully set (usually 10-20 minutes, depending on size). Once set, the tempered chocolate will have shrunk slightly and should release easily from the mold with a gentle twist or tap.
Using Tempered Chocolate for Glazes and Finishing Touches
Tempered chocolate isn't just for solid coatings; it can also be used for elegant glazes and finishing touches on cakes and pastries. While some glazes use untempered chocolate mixed with fat or liquid to achieve a soft set, a glaze made with tempered chocolate provides a firmer, glossy finish that is ideal for certain applications, particularly those requiring a stable, non-sticky surface.
To create a tempered chocolate glaze, ensure your glaze is within the working temperature range for your chocolate (e.g., 88-91°F for dark). It needs to be fluid enough to pour or spread smoothly. Pour the tempered chocolate over a chilled cake or pastry, allowing it to cascade down the sides.
The coolness of the cake will help the tempered chocolate set quickly into a smooth, shiny layer. For finishing touches like decorative swirls or fine lines, use a piping bag with a small tip filled with tempered chocolate. The tempered chocolate will set firmly, holding its shape beautifully and adding a professional flourish to your baked goods.
Tips and Best Practices for Chocolate Tempering Success
Maintaining Temperature Control for Perfect Results
Precision in temperature control is the single most critical factor for successful chocolate tempering. Even a few degrees outside the target ranges can lead to failure. Always use an accurate, instant-read thermometer to monitor the chocolate's temperature at every stage: initial melting, cooling, and final working temperature. Don't rely on guesswork or touch.
Beyond just hitting the numbers, maintaining the correct temperature while you are working with the chocolate is also important. Tempered chocolate will start to thicken and set if it cools below its working temperature. If you are working with a large batch or taking some time, you might need to gently rewarm the chocolate slightly to keep it in the ideal range.
This can be done by briefly returning the bowl to a warm (not hot) water bath or using very short bursts in the microwave, stirring constantly. Avoid letting the temperature drop too far, as this will require starting the tempering process over. A gentle heat source nearby can help maintain the working temperature if needed.
Storing Tempered Chocolate to Preserve Quality
Proper storage is key to preserving the quality and temper of your finished chocolate creations and any unused tempered chocolate. Once tempered chocolate has set, it should be stored in a cool, dry place away from direct sunlight and strong odors. The ideal storage temperature for tempered chocolate is typically between 60-68°F (15-20°C). Temperatures that are too warm can cause the stable Form V crystals to melt and lead to fat bloom upon re-cooling.
Avoid storing tempered chocolate in the refrigerator if possible, especially if the air is humid. The moisture and temperature fluctuations can cause sugar bloom. If refrigeration is necessary (e.g., in a very warm climate), place the chocolate in an airtight container to protect it from moisture and strong smells. When removing refrigerated chocolate, allow it to come to room temperature slowly within the container before opening it to prevent condensation from forming on the surface. Unused tempered chocolate that has set can be remelted and re-tempered, provided it wasn't overheated or contaminated during the initial process.
How to Practice and Improve Your Chocolate Tempering Skills
Mastering chocolate tempering is a skill that improves with practice. Don't be discouraged if your first few attempts aren't perfect. Even experienced chocolatiers have off days! Start with small batches of good quality dark chocolate, as it is generally considered the easiest to temper due to its higher cocoa butter content and wider working temperature range compared to milk or white chocolate.
Focus on perfecting one method, such as the seeding method, before trying others. Pay close attention to the temperatures and the consistency of the chocolate at each stage. Use a reliable thermometer religiously. Watch videos or tutorials demonstrating the technique to see what the chocolate's texture and flow should look like. Keep your workspace clean and dry. As you gain confidence, gradually increase the batch size or try tempering milk or white chocolate. Each attempt, successful or not, provides valuable experience that will contribute to your journey in mastering the art of chocolate tempering.
Advancing Beyond Basics: Next Steps After Mastering Chocolate Tempering for Beginners
Experimenting with Different Chocolate Types and Flavors
Once you've successfully tackled the basics outlined in this chocolate tempering beginner guide, it's time to broaden your horizons by experimenting with different types of chocolate. Move beyond standard dark, milk, and white chocolate and explore chocolates with varying cocoa percentages. Try a 75% or 80% cocoa dark chocolate to experience its deeper flavor and slightly different tempering characteristics. You can also venture into single-origin chocolates, which offer unique flavor profiles based on the cacao bean's source region.
Furthermore, consider working with flavored chocolates, such as those infused with coffee, caramel, or fruit essences, or even chocolates with inclusions like nuts or spices (though inclusions can make tempering slightly more challenging). Each type and flavor might behave slightly differently during the tempering process due to variations in composition, requiring minor adjustments to your technique or temperature points. Experimenting allows you to understand how chocolate's properties change and how to achieve perfect temper across a wider range of confectionery.
Incorporating Tempering Techniques into Complex Baking Recipes
With a solid foundation in chocolate tempering, you can start incorporating this skill into more complex baking projects. Move beyond simple dipped items and try creating layered chocolate desserts, intricate chocolate garnishes for pastries, or using tempered chocolate as a component in multi-part confections like bonbons with liquid centers or layered bars.
Consider making your own chocolate components for entremets or gâteaux, such as thin tempered chocolate discs for decoration or molded chocolate cups to hold fillings. You can also use tempered chocolate to coat internal layers of a cake or pastry to provide structure and prevent moisture migration. Mastering the ability to consistently produce properly tempered chocolate opens up a vast array of possibilities in advanced patisserie, allowing you to create desserts with professional finishes and textures that were previously out of reach.
Exploring Professional Chocolate Tempering Tools and Equipment
As you become more serious about incorporating tempered chocolate into your baking, you might consider exploring equipment used by professionals. While not strictly necessary for a chocolate tempering beginner guide, tools like a chocolate tempering machine can significantly simplify and automate the process, ensuring consistent results with larger quantities. These machines maintain the chocolate at the precise working temperature for extended periods.
Other tools include specialized infrared thermometers for quick surface temperature readings, larger marble slabs, or dedicated chocolate melters. While these represent a significant investment, they can be invaluable if you plan to work with tempered chocolate frequently or in larger volumes. Understanding how these tools function can also deepen your understanding of the tempering process itself, even if you stick to manual methods. Researching and potentially investing in professional-grade equipment is a natural step for those looking to advance their chocolate work to a higher level.
Frequently Asked Questions
What is chocolate tempering and why is it important?
Chocolate tempering is the process of stabilizing the cocoa butter crystals in chocolate. This results in a smooth, glossy finish and a satisfying snap. Without tempering, chocolate can be dull, streaky, and melt easily at room temperature.
What are the different methods for tempering chocolate that a beginner can try?
Beginner-friendly methods include seeding (adding tempered chocolate to melted chocolate) and tabliering (spreading melted chocolate on a cool surface). These methods are easier to control than some more advanced techniques.
What equipment do I absolutely need to temper chocolate successfully?
A reliable digital thermometer is essential for accurate temperature control. You'll also need a heat-safe bowl (glass or metal) and a spatula or scraper. A double boiler or microwave are also helpful for melting.
What are some common mistakes beginners make when tempering chocolate?
Overheating the chocolate is a frequent error, as it can ruin the cocoa butter structure. Also, failing to stir consistently and thoroughly can lead to uneven tempering.
How can I tell if my chocolate is properly tempered?
A small amount of tempered chocolate should set quickly and harden with a glossy shine when spread on parchment paper. The snap test is also a good indicator; properly tempered chocolate will break with a distinct snap.
Final Reflection: Unlocking the Secrets of Chocolate Tempering
The art of chocolate tempering, once shrouded in mystery, is now more accessible than ever. Mastering this technique isn't just about achieving a glossy sheen; it's about unlocking the full potential of chocolate, transforming it from a simple ingredient into a culinary masterpiece. This journey into the world of tempered chocolate opens doors to a level of confectionery artistry previously thought unattainable for the home baker.
The impact of understanding chocolate tempering extends far beyond the kitchen. It's a testament to the power of precision and patience, qualities that translate to countless other aspects of life. The meticulous process, with its careful temperature monitoring and constant attention to detail, mirrors the dedication required to achieve any worthwhile goal. The difference between ordinary and extraordinary is that little extra.
This quote perfectly encapsulates the transformative effect of mastering even the seemingly small details, as seen in the dramatic improvement in texture and snap achieved through proper tempering.
Now, it's your turn. Don't be intimidated by the initial steps; embrace the challenge. Remember the satisfaction of that first perfectly tempered piece, the satisfying snap, and the luxurious melt. Experiment, learn from your mistakes, and most importantly, enjoy the process. The journey of mastering chocolate tempering is a rewarding one, and the delicious results are a testament to your dedication and skill. So, grab your chocolate, your thermometer, and embark on your own culinary adventure. The world of perfectly tempered chocolate awaits!
Unlock Your Inner Chocolatier: Master the Art of Tempering!
Thanks for joining us on this delicious journey into the world of chocolate tempering! You've now unlocked the secrets to achieving that perfect, glossy shine and satisfying snap. Ready to put your new skills to the test?
- Dive into your first tempering project! Choose a simple recipe – maybe those luscious chocolate truffles or elegant bonbons – and let your newfound expertise shine.
- Share your chocolate creations! Post a photo on social media and tag us @BakeWithEase – we can't wait to see your masterpieces!
- Explore advanced tempering techniques. Once you've mastered the basics, delve into the world of different chocolate types and explore more complex recipes.
What delectable treat will you temper first? Let us know in the comments below!