
Your First Pulled Sugar Ribbon: A Beginner's Guide to Sugar Pulling

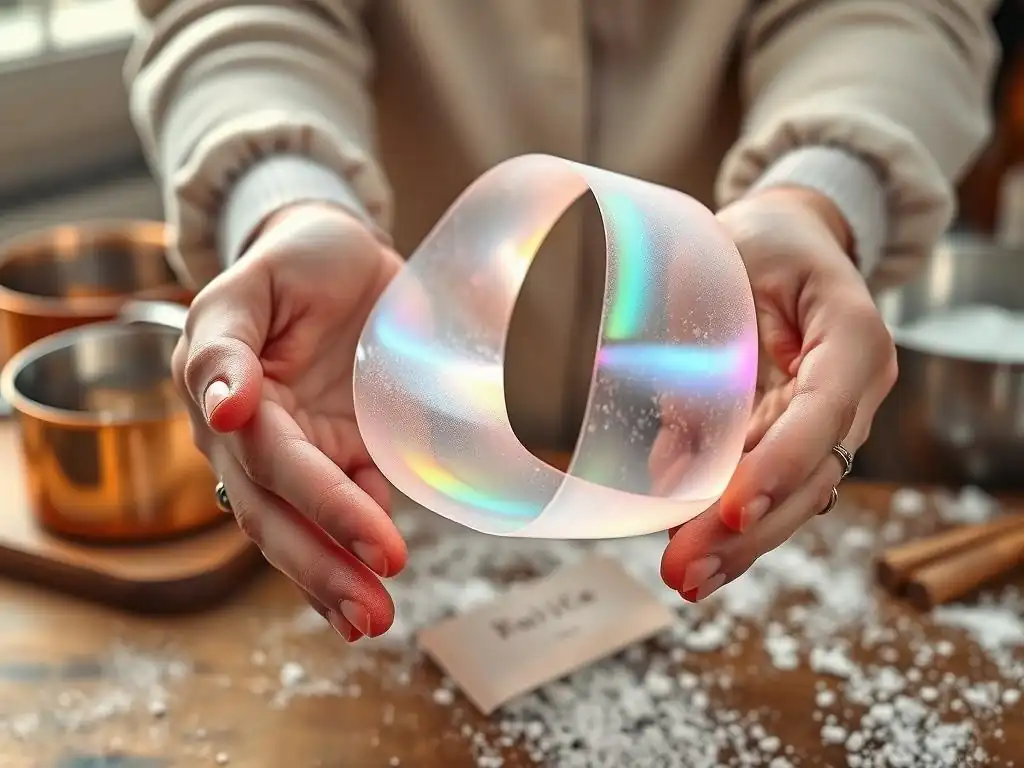
Welcome to BakeWithEase, your haven for baking mastery! Ever dreamt of creating stunning, glass-like decorations for your cakes and pastries? Now you can! Dive into our Easy Sugar Pulling Tutorial and discover the surprisingly simple secrets behind crafting elegant pulled sugar ribbons. Prepare to unlock a world of artistic possibilities – what will you create with this newfound skill?
- Introduction to Sugar Pulling: Creating Stunning Ribbons
- Step-by-Step: Easy Sugar Pulling Tutorial for Ribbons
- Shaping Your Pulled Sugar Ribbon
- Troubleshooting Common Sugar Pulling Problems
- Tips and Tricks for Perfect Pulled Sugar Ribbons
- Beyond the Basics: Advanced Sugar Pulling Techniques
- Storing Your Pulled Sugar Creations
- Conclusion: Mastering the Art of Sugar Pulling with Ease
-
Frequently Asked Questions
- What exactly is sugar pulling, and why should I try it?
- What are the essential tools I need to get started with easy sugar pulling?
- How does this easy sugar pulling tutorial differ from other methods?
- What's the most important factor for achieving a perfect sugar ribbon using this method?
- What are some other easy sugar pulling projects I can try after mastering the ribbon?
- Final Reflection: The Sweetness of Perseverance and the Art of Sugar Pulling
- Unleash Your Inner Sugar Artist: Master the Pulled Sugar Ribbon!
Introduction to Sugar Pulling: Creating Stunning Ribbons
What is Pulled Sugar and Why Make Ribbons?
Pulled sugar is a type of sugar work where cooked sugar syrup is cooled and then stretched and folded repeatedly until it becomes opaque and develops a beautiful, satiny sheen. This process changes the sugar's crystalline structure, trapping tiny air bubbles within, which gives it its characteristic look. While pulled sugar can be shaped into intricate figures like flowers, fruits, and even complex sculptures, starting with something simpler like ribbons is an excellent way to learn the fundamental technique. Ribbons are versatile and can add an elegant, professional touch to cakes, pastries, and desserts.
Making sugar ribbons allows you to practice the essential skills of handling hot sugar, understanding its temperature changes, and developing the feel for stretching and folding. These foundational techniques are critical for all subsequent sugar pulling projects. A simple ribbon might seem basic, but mastering the pull, the fold, and the twist to create a graceful shape provides a solid base. Plus, they look stunning and are relatively quick to produce once you get the hang of the easy sugar pulling tutorial steps.
Why Pulled Sugar Ribbons are Perfect for Beginners
Sugar pulling might sound intimidating, conjuring images of complex, delicate sugar sculptures found in professional patisseries. However, starting with ribbons simplifies the process considerably. Unlike intricate shapes that require precise manipulation and shaping skills, a ribbon primarily focuses on the pulling technique itself – achieving that signature sheen and texture. You don't need advanced sculpting tools or complex molds; often, your hands are the main instruments.
Focusing on ribbons for your first attempt allows you to concentrate on mastering the temperature control and the rhythmic stretching and folding that are the heart of sugar pulling. You can make mistakes, and the sugar can often be re-pulled (within limits), offering a forgiving learning curve. Many beginners find they can achieve a recognizable ribbon shape within their first few tries, building confidence quickly. This makes learning via an easy sugar pulling tutorial focused on ribbons a very rewarding starting point.
Essential Tools and Ingredients for Easy Sugar Pulling
Having the right tools is crucial for a safe and successful sugar pulling experience. You'll absolutely need a heavy-bottomed saucepan (stainless steel is ideal for even heating), a reliable candy thermometer, and a heat-resistant mat, preferably silicone, for pouring the hot sugar. Safety is paramount, so heat-resistant gloves are a non-negotiable item. You'll also need some basic kitchen tools like measuring cups and spoons.
For ingredients, the core is simple: granulated sugar, water, and often a small amount of an anti-crystallizing agent like corn syrup, glucose syrup, or cream of tartar. For about a cup and a half of granulated sugar (roughly 300 grams), you might use half a cup of water (about 120 ml) and a few tablespoons of corn syrup (around 30-45 ml). This basic ratio provides a good starting point for an easy sugar pulling tutorial batch. If you plan to add color or flavor, you'll also need gel food coloring and heat-resistant flavor extracts.
Step-by-Step: Easy Sugar Pulling Tutorial for Ribbons
Preparing Your Sugar Mixture for Pulling
Choosing the Right Sugar for Sugar Work
While most recipes call for standard granulated sugar, the quality can make a difference. Using a fine-grain, pure cane sugar can sometimes lead to clearer results and potentially reduce the risk of crystallization. Avoid using powdered sugar or brown sugar, as their composition and impurities will prevent them from reaching the necessary clear, high-temperature stage required for pulling. The goal is a pure sucrose solution.
For a successful easy sugar pulling tutorial, ensure your sugar is dry and free-flowing. Any clumps could indicate moisture, which might affect the cooking process and final texture. Some confectioners even gently warm their sugar in an oven at a very low temperature (around 150°F or 65°C) for a short period before mixing it with water, though this is often unnecessary for beginners using good quality sugar.
The Importance of Precise Measurements
Accuracy in measuring your ingredients is paramount in sugar work. Unlike baking where slight variations might be forgiving, the ratio of sugar to water directly impacts the final temperature the syrup needs to reach and its subsequent texture and stability. Too much water means you'll need to cook it longer, increasing the risk of burning; too little might cause crystallization.
For a typical batch suitable for an easy sugar pulling tutorial, a ratio of approximately 2 parts sugar to 1 part water by weight is common, along with about 10-15% of the sugar's weight in corn syrup or glucose. For instance, 300g sugar, 150g water, and 30-45g corn syrup. Using a digital scale is highly recommended for the most accurate measurements, ensuring consistent results batch after batch.
Cooking the Sugar Syrup to the Correct Temperature
Using a Candy Thermometer for Accuracy
Reaching the exact temperature is perhaps the most critical step in sugar pulling. The sugar syrup needs to reach the "hard crack" stage, which is typically between 300°F and 310°F (149°C and 154°C). Guessing the temperature is unreliable and will likely lead to failure – either the sugar will be too soft to pull or burnt and brittle. A good quality candy thermometer that clips securely to the side of your pan is essential.
Ensure the thermometer bulb is fully submerged in the syrup but does not touch the bottom of the pan, which could give a falsely high reading. Monitor the temperature closely as it approaches the target range; sugar temperature can rise rapidly in the final degrees. Having a thermometer is key to a successful easy sugar pulling tutorial.
Recognizing the Hard Crack Stage
The hard crack stage is characterized by the sugar syrup forming hard, brittle threads when a small amount is dropped into cold water. At lower temperatures, it would form soft balls (soft ball stage, around 235-245°F), firm balls (firm ball stage, around 245-250°F), or soft cracks (soft crack stage, around 270-290°F). The hard crack stage signifies that almost all the water has evaporated, leaving a very high concentration of sugar.
Visually, as the syrup approaches the hard crack stage, it will turn a very pale amber color. However, relying solely on color is risky, as it can go from perfect to burnt very quickly. Always use your candy thermometer as the primary indicator for this easy sugar pulling tutorial step. Once it hits 305°F (around 152°C) for a ribbon, it's generally ready, depending on humidity.
Cooling and Handling the Cooked Sugar
Pouring the Sugar onto a Silicone Mat
Once the sugar syrup reaches the target temperature, immediately remove the pan from the heat. Carefully and steadily pour the hot syrup onto a heat-resistant silicone mat placed on a sturdy, flat surface, like a countertop. Avoid scraping the sides or bottom of the pan, as this can introduce crystallized sugar particles back into the smooth syrup, potentially causing the entire batch to crystallize prematurely.
The silicone mat is crucial because it is non-stick and can withstand the high temperature of the sugar. Pouring it out helps the sugar begin to cool evenly and provides a manageable surface for handling once it solidifies slightly. This is a key step in preparing the sugar for the pulling process in your easy sugar pulling tutorial.
Allowing the Sugar to Cool Slightly
The sugar is extremely hot when first poured out and cannot be handled immediately. Allow it to sit on the silicone mat for several minutes. How long depends on the batch size and room temperature, but it typically takes between 5 to 15 minutes. The edges will start to cool and firm up first.
You'll know it's ready to handle when you can safely touch the edges (while wearing heat-resistant gloves!) and begin to fold them towards the center. The sugar should be pliable, like thick taffy, but not so hot that it's impossible to touch even with gloves. It should hold its shape somewhat when folded. This cooling phase is critical; too hot, and you risk burns and the sugar won't hold air when pulled; too cool, and it will harden before you can work it. Patience here is vital for your easy sugar pulling tutorial.
Adding Color and Flavor (Optional)
Using Gel Food Coloring for Vibrant Results
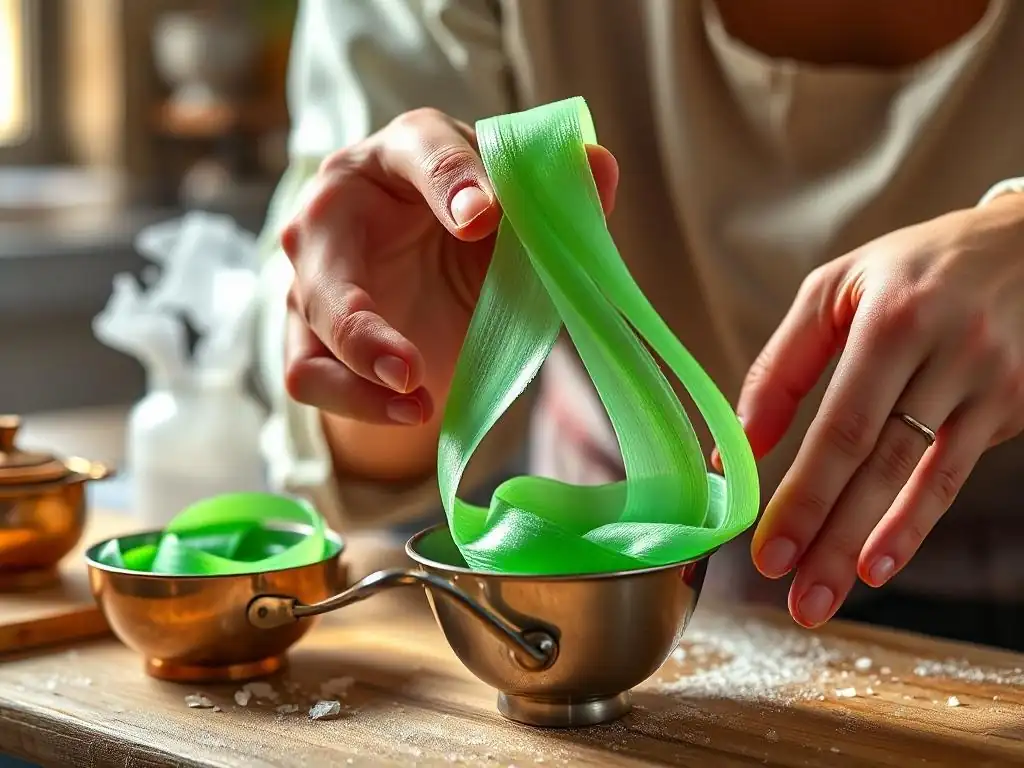
If you want colored sugar ribbons, gel food coloring is the best choice. Unlike liquid food coloring, gel colors are highly concentrated and add very little moisture to the sugar, which is essential as excess water can interfere with the sugar's structure. Add the gel color after you've poured the hot sugar onto the silicone mat and it has cooled slightly but is still very warm and pliable.
Apply a small amount of gel color directly onto the surface of the sugar mass. Then, wearing your heat-resistant gloves, begin folding the edges of the sugar towards the center, incorporating the color as you fold. Continue folding and kneading gently until the color is evenly distributed. Start with a small amount, as the color will intensify as you pull the sugar and incorporate air.
Flavor Extracts for Delicious Sugar Ribbons
Adding flavor extracts can make your sugar ribbons not only beautiful but also tasty. Choose extracts that are heat-resistant, such as those specifically designed for candy making. Standard alcohol-based extracts can evaporate or break down at high temperatures. Oil-based or concentrated candy flavorings are usually better options.
Add the flavor extract at the same stage as the color – after the sugar has cooled slightly on the mat but is still very warm and pliable. Add just a few drops, as these extracts are often very potent. Fold and knead the sugar to distribute the flavor evenly throughout the mass, just as you did with the color. Common flavors for sugar work include fruit flavors like raspberry or lemon, or classics like vanilla or peppermint.
The Pulling Technique: Creating the Ribbon Sheen
Folding and Stretching the Sugar
Once the sugar has cooled to a manageable temperature (around 160-180°F or 70-80°C), put on your heat-resistant gloves and begin the pulling process. Take the mass of sugar and fold it in half. Then, grasp the ends and gently stretch it out. Fold it in half again and stretch. Repeat this motion rhythmically.
The folding and stretching motion is what incorporates air into the sugar and changes its structure, turning it from translucent to opaque and giving it that characteristic pearly or satiny sheen. Don't pull too hard initially; let the sugar's pliability guide you. This repetitive action is the core of the easy sugar pulling tutorial for ribbons.
Maintaining the Sugar's Temperature
Pulled sugar is only workable within a specific temperature range. If it gets too cool, it will become brittle and hard to pull without breaking. If your sugar starts to stiffen, you can gently warm it under a heat lamp specifically designed for sugar work or in a warming box. Some people even work near a low-heat oven (turned off, using residual heat) or use a warm surface.
Conversely, if it's too hot, it will be too soft to hold its shape and difficult to incorporate air effectively. Working quickly but calmly is key. If you have a large batch, you might work with smaller portions, keeping the rest warm under a heat lamp. Maintaining the right temperature is crucial for a successful easy sugar pulling tutorial.
Achieving a Pearly Sheen in Your Pulled Sugar Ribbon
The beautiful satiny or pearly sheen is the visual indicator that you've successfully pulled the sugar and incorporated enough air. As you continue to fold and stretch, you'll notice the sugar gradually becoming less transparent and more opaque. The surface will start to develop a soft luster.
Keep pulling and folding until the sugar is uniformly opaque and has the desired sheen. For a ribbon, you want it to be smooth and satiny. Over-pulling can sometimes make the sugar too brittle, while under-pulling will leave it translucent and lacking that signature look. Practice helps you determine the right amount of pulling for your desired result in this easy sugar pulling tutorial.
Shaping Your Pulled Sugar Ribbon
Basic Ribbon Shapes and Designs
Once the sugar has been pulled to the correct opacity and sheen, it's time to shape it quickly before it hardens. For a basic ribbon, you can simply stretch the pulled sugar into a long, relatively flat strip. You can make it wider or narrower depending on your needs.
To create gentle waves or curves, you can lightly twist the ribbon as you lay it down or drape it over a form. Simple loops are made by bending the ribbon back on itself. The pliability lasts only for a short window, so have your design in mind and work efficiently to create your first shapes in this easy sugar pulling tutorial.
Creating Loops and Swirls
Loops are a classic sugar ribbon element. To create a loop, take a length of pulled sugar ribbon and gently bend one end back towards the middle, forming a loop. You can secure the end by pressing it lightly onto the main body of the ribbon or onto another loop.
Swirls can be made by twisting the ribbon along its length or by coiling a length of ribbon into a spiral shape. You can combine loops and swirls to create more elaborate ribbon arrangements, like bows. Work on a non-stick surface, like your silicone mat, as you shape to prevent sticking.
Adding Texture to Your Sugar Ribbon
While the pulling process gives the ribbon a smooth, satiny texture, you can add further texture if desired. This is typically done before the sugar hardens completely. You can use tools like the back of a knife, scissors, or even specialized sugar working tools to crimp, score, or cut the edges of the ribbon to create ruffles or serrated patterns.
For example, gently pressing the edge of a ruler along the length of a ribbon can create a subtle ribbed texture. Using sharp scissors to make small cuts along the edges can create a ruffled look. Experiment with different simple tools to see what textures you can achieve on your pulled sugar in this easy sugar pulling tutorial.
Troubleshooting Common Sugar Pulling Problems
Sugar Crystallization: Prevention and Solutions
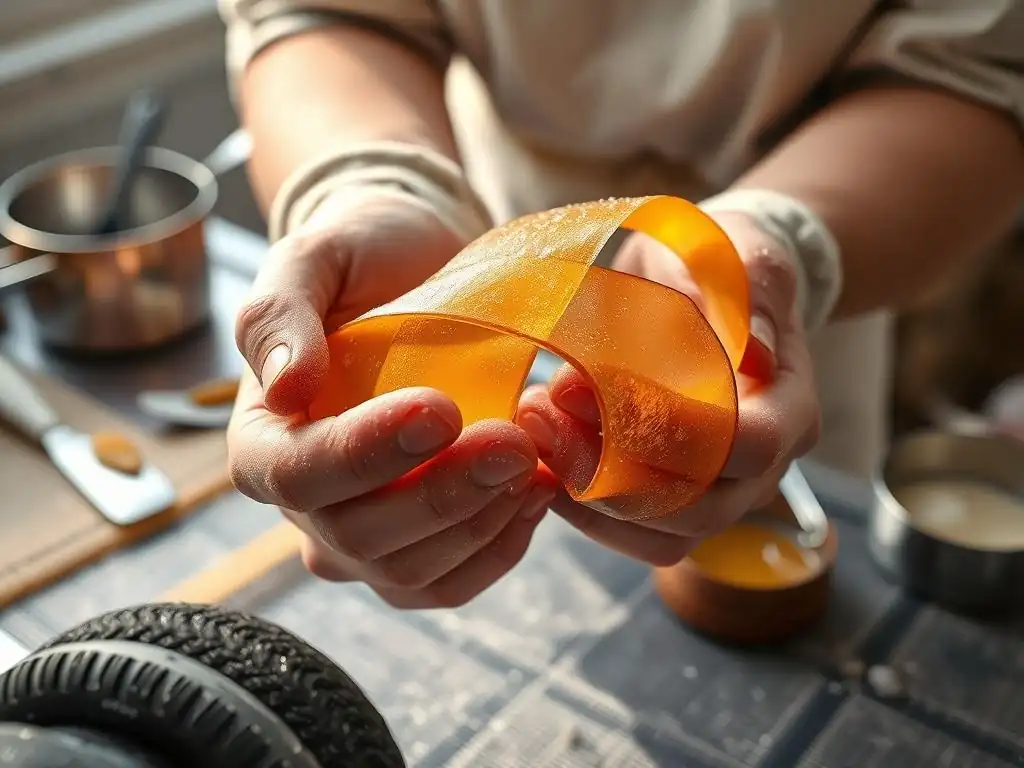
Crystallization is one of the most common frustrations in sugar work. It occurs when sugar crystals form in the syrup, causing it to turn cloudy, grainy, and hard prematurely, preventing it from being pulled. This can happen if sugar crystals are left on the sides of the pan while boiling, if you stir the syrup while it's boiling (which can splash crystals from the sides back in), or if you don't use an anti-crystallizing agent.
To prevent crystallization, ensure the sides of your pan are clean before you start. You can wipe down the sides with a wet pastry brush during cooking to dissolve any stray crystals. Using an anti-crystallizing agent like corn syrup (glucose) or cream of tartar is also crucial, as it interferes with the sugar's ability to form large crystals. If your sugar crystallizes, unfortunately, that batch is usually ruined for pulling and must be discarded or used for something else (like rock candy, perhaps). Prevention is key in this easy sugar pulling tutorial.
Sugar Burning: Avoiding Overcooking
Burning the sugar is another common issue, resulting in a bitter taste and dark color that makes it unusable for delicate decorations. Sugar burns when it gets too hot, typically significantly above the hard crack stage (over 320°F or 160°C). This often happens if the heat is too high, you cook it for too long, or you don't use a thermometer.
To avoid burning, use a heavy-bottomed pan that distributes heat evenly. Cook the sugar over medium heat and monitor the temperature constantly with a reliable thermometer. As it approaches the hard crack stage, watch it closely, as the temperature can rise very quickly. Once it hits your target temperature (e.g., 305°F), remove it from the heat immediately. A burnt batch cannot be salvaged for pulled sugar work.
Sugar Sticking: Tips for Easy Handling
Hot sugar is incredibly sticky and can cause severe burns. Sticking is a major challenge when you're learning. Wearing proper heat-resistant gloves is the most important safety measure. These gloves prevent burns and also make the sugar less likely to stick directly to your skin.
Working on a silicone mat is also essential, as sugar will not stick to it. Lightly greasing your gloves with a tiny amount of flavorless oil (like vegetable shortening) can also help prevent the sugar from sticking to the gloves themselves, making the pulling process smoother. However, use oil very sparingly, as too much can make the sugar greasy and dull. Keeping your tools and work surface clean also helps prevent sticking. These handling tips are vital for a smooth easy sugar pulling tutorial.
Tips and Tricks for Perfect Pulled Sugar Ribbons
Working in a Humidity-Controlled Environment
Humidity is the enemy of sugar work. Sugar is hygroscopic, meaning it absorbs moisture from the air. High humidity can cause your pulled sugar to become sticky, soft, and lose its shape or sheen, sometimes even melting. Ideally, work in a room with low humidity, below 40% if possible.
If you live in a humid climate, consider running a dehumidifier in the room where you plan to work for several hours before you start. Avoid working on rainy days or in steamy kitchens. A dry environment is crucial for successful sugar pulling and ensuring your ribbons stay beautiful and crisp. This is a pro tip for any easy sugar pulling tutorial.
Using Heat Lamps to Maintain Sugar Pliability
As mentioned earlier, pulled sugar is only workable within a specific temperature range. If you are working on a larger piece or need more time for intricate shaping, a heat lamp designed for sugar work can be invaluable. These lamps emit radiant heat that keeps the sugar warm and pliable without overheating it.
You can place the sugar mass under the heat lamp when you are not actively pulling or shaping a section. This allows you to work in stages and prevents the sugar from hardening prematurely. If you don't have a dedicated heat lamp, a regular incandescent lamp positioned close to your work area can provide some supplemental warmth, but be cautious not to get it too close or too hot.
Practicing Patience and Persistence
Sugar pulling is a skill that improves with practice. Your first attempt might not result in a perfect, glossy ribbon, and that's okay! The sugar might break, crystallize, or harden too quickly. Don't get discouraged. Each attempt is a learning experience.
Be patient with the process, especially the cooling and pulling stages. Rushing can lead to mistakes and burns. Persistence is key; try again, adjust your technique based on what went wrong, and you will gradually improve. Mastering an easy sugar pulling tutorial requires both patience and a willingness to keep practicing.
Beyond the Basics: Advanced Sugar Pulling Techniques
Creating Multi-Colored Ribbons
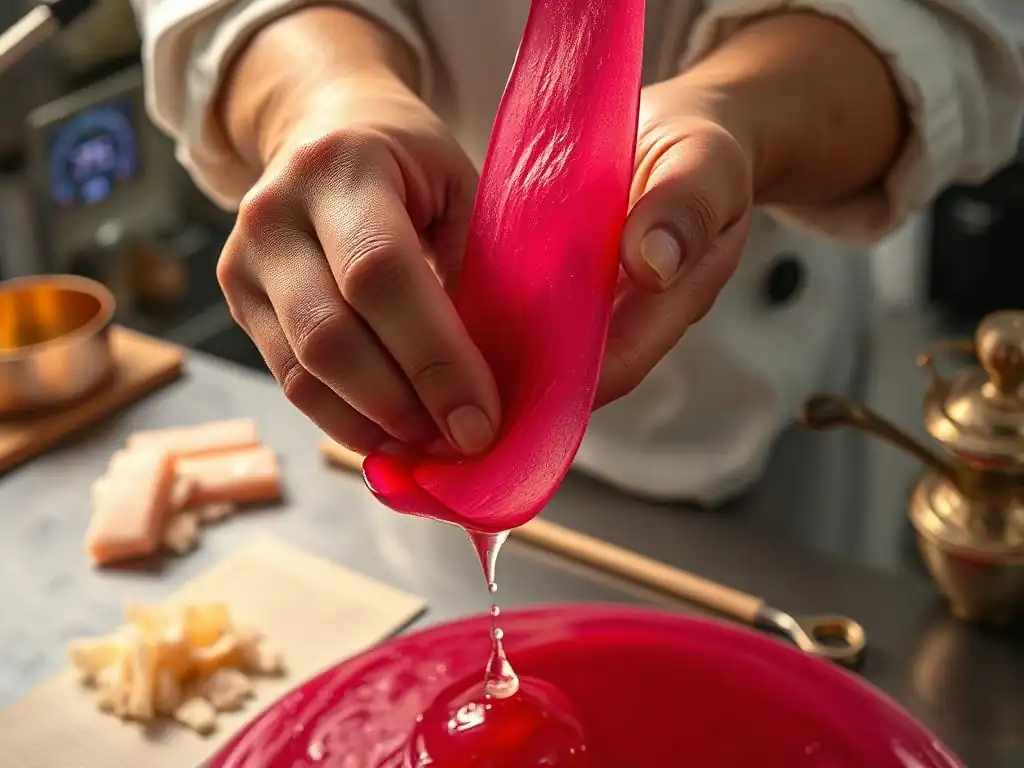
Once you are comfortable making single-color ribbons, you can try creating multi-colored effects. The simplest way is to pull two different colors of sugar separately until they are opaque, then twist the ropes of different colors together before the final pull or shaping.
Another technique is to add stripes of a different color of still-liquid, hot sugar onto the surface of the main sugar mass just as it begins to cool on the mat. As you fold and pull, these stripes will stretch and marble through the ribbon, creating beautiful swirling patterns. This requires careful timing and handling of hot sugar.
Incorporating Airbrushing for Stunning Effects
For even more visual complexity, pulled sugar creations can be airbrushed once they have hardened. Food-safe airbrush colors can be used to add shading, gradients, or intricate patterns onto the surface of the finished ribbons or other pulled sugar pieces.
Airbrushing allows for very fine detail and vibrant colors that are difficult to achieve by coloring the sugar mass itself. This technique is often used for adding realistic touches to pulled sugar flowers or creating dramatic effects on larger sculptures.
Making Pulled Sugar Flowers and Other Decorations
Ribbons are just the beginning! The same pulling techniques, combined with different shaping methods, can be used to create a vast array of sugar decorations. Pulled sugar can be shaped into delicate flower petals, leaves, fruits, animals, and abstract forms.
Creating these advanced shapes requires more skill in manipulating the pliable sugar, often involving cutting, stretching, and assembling multiple pieces. Specialized tools like sugar scissors or small knives are frequently used. While more challenging, mastering the easy sugar pulling tutorial for ribbons provides the fundamental skills needed to eventually attempt these more complex creations.
Storing Your Pulled Sugar Creations
Keeping Sugar Decorations Fresh
The biggest challenge in storing pulled sugar is protecting it from moisture. Because sugar is hygroscopic, exposure to humidity will cause it to soften, become sticky, and eventually lose its shape and sheen. The best way to store pulled sugar decorations is in an airtight container.
Use a container with a tight-fitting lid. You can layer the pieces gently, separating them with parchment paper to prevent sticking. Avoid refrigerating or freezing pulled sugar, as the condensation that forms when you remove it can ruin the decoration.
Preventing Sugar from Melting or Cracking
In addition to humidity, extreme heat can also damage pulled sugar, causing it to soften or melt. Store your creations in a cool, dry place, away from direct sunlight or heat sources like ovens or stoves. A pantry or cupboard is often ideal.
While sugar is somewhat flexible when first made, once it hardens completely, it becomes brittle. Handle finished pieces with extreme care to prevent them from breaking or cracking. Store them securely so they are not jostled or crushed.
Conclusion: Mastering the Art of Sugar Pulling with Ease
Enjoying Your First Pulled Sugar Ribbon and Continued Practice
Congratulations on making your first pulled sugar ribbon! It's a significant step into the fascinating world of sugar work. Achieving that satiny sheen and elegant shape is a rewarding experience. Display your ribbon proudly on a cake or dessert, or simply admire your handiwork.
Remember that sugar pulling is a skill that takes time and practice to perfect. Don't be discouraged by imperfections in your early attempts. Continue to practice the pulling technique, experiment with different colors and shapes, and gradually you'll build confidence and skill. This easy sugar pulling tutorial is just the beginning of your journey into creating stunning edible art with sugar.
Frequently Asked Questions
What exactly is sugar pulling, and why should I try it?
Sugar pulling is a technique where you manipulate cooked sugar into beautiful, sculptural shapes. It adds an elegant, professional touch to cakes and desserts, and it's a surprisingly achievable skill for beginners with the right guidance.
What are the essential tools I need to get started with easy sugar pulling?
You'll need a silicone mat, a heat lamp (or warming pad), food-safe gloves, and a thermometer to accurately monitor the sugar's temperature. These are the basic necessities for a successful pulled sugar ribbon.
How does this easy sugar pulling tutorial differ from other methods?
This tutorial focuses on simplicity and clarity, breaking down the process into easily manageable steps. We emphasize common mistakes and how to avoid them, ensuring a higher success rate for beginners.
What's the most important factor for achieving a perfect sugar ribbon using this method?
Maintaining the correct sugar temperature is absolutely critical. Too hot, and it's difficult to handle; too cold, and it becomes brittle. Consistent heat is key.
What are some other easy sugar pulling projects I can try after mastering the ribbon?
Once you've mastered the ribbon, you can explore sugar bows, simple flowers, or even delicate sugar cages. The possibilities are endless with a little practice and creativity!
Final Reflection: The Sweetness of Perseverance and the Art of Sugar Pulling
Mastering the art of pulled sugar isn't just about creating beautiful ribbons; it's about embracing the process, learning from failures, and celebrating the sweet victories along the way. The seemingly simple act of manipulating hot sugar into delicate, shimmering strands reflects a larger truth about pursuing any challenging skill: patience, precision, and a willingness to experiment are key ingredients for success. This beginner's guide aimed to demystify the process, and hopefully, it has empowered you to embark on your own sugar-pulling journey.
The enduring appeal of sugar pulling lies not only in the stunning visual results but also in the meditative quality of the craft. The focused concentration required to work with such a volatile material offers a welcome respite from the distractions of daily life. It's a reminder to slow down, appreciate the details, and find joy in the journey itself. As the renowned chef Julia Child once said, If you're afraid of butter, you're afraid of life.
Similarly, if you're afraid to experiment with sugar, you might be missing out on a surprisingly rewarding experience.
Now, it's your turn. Don't be intimidated by the initial challenges. Gather your ingredients, follow the steps outlined in this guide, and allow yourself the freedom to experiment. Embrace the inevitable imperfections – they are part of the learning process. Remember the satisfaction of creating your first perfect ribbon, the pride in mastering a new skill, and the sheer delight of indulging in the fruits of your labor. The world of sugar pulling awaits – dare to explore its sweet possibilities.
Unleash Your Inner Sugar Artist: Master the Pulled Sugar Ribbon!
Thanks for joining us on this sweet journey into the world of pulled sugar! We hope you've gained the confidence to tackle this seemingly magical technique. Now it's time to put your new skills to the test!
- Craft your first masterpiece: Try making a simple pulled sugar ribbon using the techniques we've outlined. Don't worry about perfection – the process is half the fun!
- Share your sugary success: Post a picture of your creation on social media and tag us! Let's inspire others to embrace the art of pulled sugar.
- Explore advanced techniques: Dive deeper into the world of pulled sugar by researching different shapes, colors, and flavor combinations. The possibilities are endless!
What unique design will you create with your newfound pulled sugar skills?