
Less Time, More Dessert: Quick NoBake Ideas for Busy Beginners

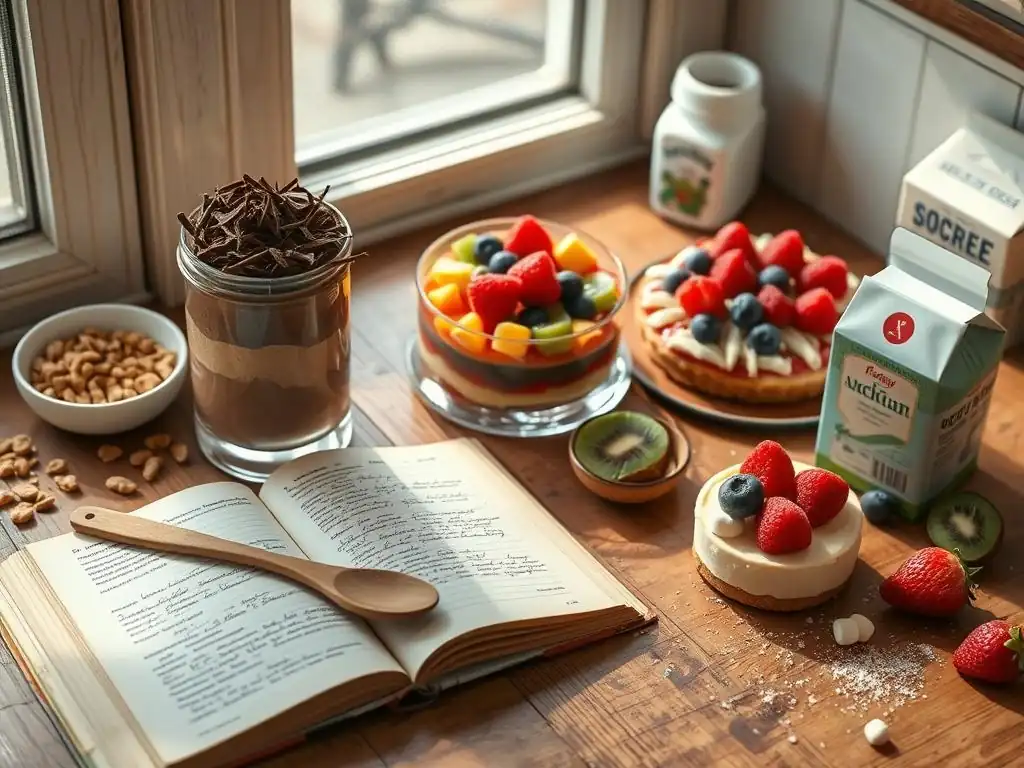
Welcome to BakeWithEase, where delicious desserts meet delightful simplicity! Tired of slaving over a hot oven but craving something sweet? You've landed in the right place. Discover the secrets to creating mouthwatering treats with our collection of no bake desserts for beginners. Get ready to whip up delightful masterpieces in minutes, proving that incredible flavor doesn't require hours in the kitchen. Intrigued? Keep reading to unlock a world of easy, breezy baking bliss!
- Introduction to Easy No-Bake Desserts for Beginners
- Mastering the Art of No-Bake: Essential Techniques and Tips
-
Top 5 Quick No-Bake Dessert Recipes Perfect for Beginners
- Recipe 1: Classic Chocolate Fridge Cake - A No-Bake Staple
- Recipe 2: Easy No-Bake Cheesecake Cups - Individual Servings
- Recipe 3: Peanut Butter No-Bake Bars - A Sweet and Salty Treat
- Recipe 4: Strawberry No-Bake Icebox Cake - Refreshing and Simple
- Recipe 5: Oreo No-Bake Dessert - A Crowd-Pleasing Favorite
- Customizing Your No-Bake Desserts: Variations and Add-ins
- Troubleshooting Common No-Bake Dessert Problems
- Conclusion: Enjoy Delicious No-Bake Desserts With Ease
- Frequently Asked Questions
- Final Reflection: Savor the Sweetness, Simplify Your Life
- Unleash Your Inner Pastry Chef: Quick Dessert Wins Await!
Introduction to Easy No-Bake Desserts for Beginners
Why Choose No-Bake Desserts? Perfect for Busy Schedules
Life can get hectic, leaving little time for elaborate kitchen projects. This is precisely where no-bake desserts shine, making them an absolute godsend for busy individuals and ideal no bake desserts beginners. Unlike traditional baked goods that require preheating ovens, precise temperature monitoring, and often lengthy baking times, no-bake options dramatically cut down on prep and cooking time.
Imagine whipping up a delicious treat in under 30 minutes of active work, followed by simple chilling – a stark contrast to recipes that might demand an hour or more of oven time plus cooling. This efficiency means you can satisfy a sweet craving or prepare a dessert for guests without dedicating your entire afternoon to the kitchen.
Moreover, the simplicity of no-bake desserts removes many common baking anxieties for beginners. There's no worry about dough rising correctly, cakes sinking, or cookies burning. The process typically involves mixing, layering, and chilling, relying on ingredients like melted butter, cream cheese, or gelatin to achieve the desired texture. This lower barrier to entry makes it incredibly encouraging for those just starting their dessert-making journey. You gain confidence by achieving delicious results quickly, building a positive association with making treats and making no bake desserts beginners a fantastic entry point into the world of sweets.
BakeWithEase: Your Guide to Effortless Dessert Making
At BakeWithEase.com, we understand that starting out can feel daunting, especially when faced with complex recipes and unfamiliar techniques. Our platform is designed specifically to demystify baking and dessert making, making it accessible and enjoyable for everyone, including those exploring no bake desserts beginners. We break down processes into simple, actionable steps, ensuring that even if you've never made a dessert before, you can follow along with confidence and achieve impressive results.
Our focus on easy no-bake recipes provides a perfect starting point. We highlight techniques that require minimal equipment and readily available ingredients, removing common hurdles. From simple ingredient swaps to essential tool recommendations, BakeWithEase equips you with the knowledge and resources needed to create delightful no-bake treats without the stress of traditional baking. Think of us as your friendly kitchen companion, guiding you through each step to turn simple ingredients into delicious, crowd-pleasing desserts perfect for any occasion, even when time is short.
Mastering the Art of No-Bake: Essential Techniques and Tips
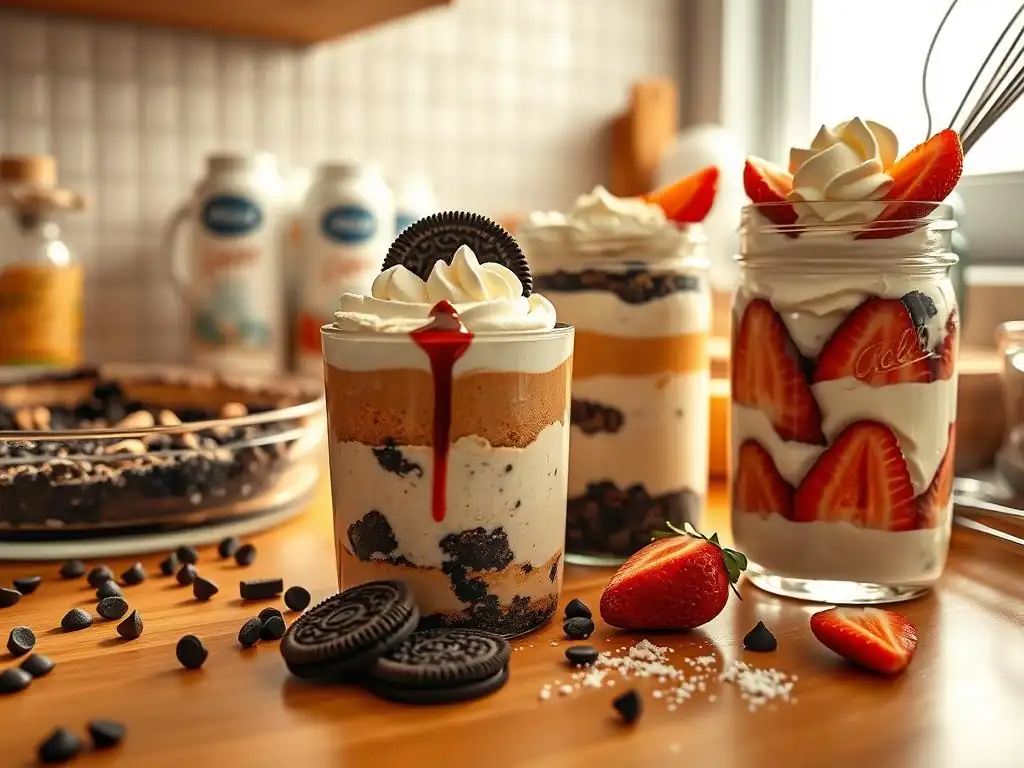
Simple Ingredient Substitutions for No-Bake Recipes
One of the beauties of many no-bake desserts is their flexibility when it comes to ingredients, which is great news for no bake desserts beginners. For instance, the classic crumb crust often calls for crushed Graham crackers mixed with melted butter. However, you can easily substitute Graham crackers with other types of cookies like digestive biscuits, shortbread, or even crushed Oreos for a different flavor profile.
If you're out of butter, solidified coconut oil can often work as a dairy-free alternative for binding crumbs, although it might impart a slight coconut flavor. Experimentation with different cookie types can lead to unique and delicious crust variations.
Fillings also offer room for creativity. Many creamy no-bake recipes use cream cheese, but you might substitute part of it with mascarpone for a richer texture, or even use Greek yogurt for a lighter, tangier result (though this may affect setting time and require stabilizers). Whipped cream is often used to lighten fillings; a dairy-free alternative like coconut cream (from a chilled can of full-fat coconut milk) can be whipped and used instead.
For thickening, cornstarch or gelatin are common; if you're avoiding gelatin, agar-agar is a plant-based alternative, but requires boiling to activate, so it's used differently than bloomed gelatin. Understanding these simple swaps empowers you to adapt recipes based on what you have on hand or dietary needs, making easy no-bake recipes even more accessible.
Essential Tools for Quick and Easy No-Bake Desserts
You don't need a professional kitchen setup to create fantastic no-bake desserts; in fact, the required tools are typically quite basic, perfect for no bake desserts beginners. A sturdy set of mixing bowls in various sizes is fundamental for combining ingredients.
You'll definitely need a whisk, either a manual one for whipping cream or combining lighter mixtures, or an electric hand mixer which significantly speeds up the process of whipping cream or beating cream cheese until smooth. A rubber spatula or wooden spoon is essential for folding ingredients and scraping down the sides of bowls, ensuring everything is evenly mixed.
Other useful tools include measuring cups and spoons for accurate ingredient quantities – precision is still key even in simple no-bake recipes. A rolling pin or the bottom of a glass is perfect for crushing biscuits or cookies for crusts. A springform pan is ideal for cheesecakes and layered desserts as it allows for easy removal, but a regular pie dish or even individual glasses or jars can work just as well for many simple no-bake desserts. Finally, a refrigerator is your most important "appliance" for setting these delightful treats.
Top 5 Quick No-Bake Dessert Recipes Perfect for Beginners
Recipe 1: Classic Chocolate Fridge Cake - A No-Bake Staple
This beloved no-bake classic is incredibly simple and requires minimal effort, making it a top choice for no bake desserts beginners. It’s essentially crushed biscuits coated in a rich chocolate mixture, then chilled until firm enough to slice. The beauty of this dessert lies in its texture – a delightful mix of crunchy biscuit pieces within a smooth, chocolatey base. It’s robust, keeps well in the fridge, and is wonderfully forgiving if your measurements aren't exact.
The preparation involves melting chocolate and butter, stirring in sweetener and cocoa powder, then folding in crushed biscuits. The mixture is pressed into a tin and left to chill for a few hours until solid. This hands-off chilling time is the longest part of the process, allowing you to focus on other tasks while your dessert firms up. It's a truly effortless way to create a decadent treat that appeals to almost everyone.
Ingredients for Classic Chocolate Fridge Cake
Here's what you'll typically need for a standard 8x8 inch tin:
- 200g digestive biscuits (or similar plain cookies)
- 150g unsalted butter
- 200g dark chocolate (or milk chocolate, or a mix), broken into pieces
- 4 tablespoons golden syrup (or honey/maple syrup)
- 2 tablespoons cocoa powder
- Optional: handful of dried fruit (raisins, cranberries) or nuts
Step-by-Step Instructions: Chocolate Fridge Cake
- Break the biscuits into small pieces. Aim for a mix of crumbs and larger chunks (about coin size) for texture. Do this by hand or in a plastic bag with a rolling pin.
- In a saucepan over low heat, melt the butter, chocolate, and golden syrup together. Stir continuously until smooth.
- Remove the pan from the heat and stir in the cocoa powder until fully combined and smooth.
- Add the crushed biscuits (and optional fruit/nuts) to the chocolate mixture. Fold gently until all biscuit pieces are coated.
- Line an 8x8 inch (20x20 cm) square tin with parchment paper, leaving some overhang to lift the cake out later.
- Pour the mixture into the prepared tin and spread it evenly, pressing down lightly with the back of a spoon or spatula to compact it.
- Place the tin in the refrigerator for at least 2-3 hours, or until completely firm.
- Once set, lift the cake out of the tin using the parchment paper overhang. Cut into squares or slices using a sharp knife.
Recipe 2: Easy No-Bake Cheesecake Cups - Individual Servings
Individual no-bake cheesecake cups are fantastic for beginners because they eliminate the stress of getting a whole cheesecake out of a pan. They are simple to assemble directly in serving glasses or jars, making them mess-free and perfect for entertaining. The classic combination of a crumb base and a creamy, tangy filling is universally loved, and the individual portions make serving a breeze.
Creating these involves mixing a simple biscuit crumb base, preparing a straightforward cream cheese filling, layering them, and chilling. There's no baking required, and the smaller size means they set relatively quickly compared to a large cheesecake. You can easily customize the toppings too, adding fresh fruit, chocolate shavings, or a dollop of whipped cream just before serving.
No-Bake Cheesecake Cup Ingredients
This recipe makes about 4-6 individual cups, depending on size:
- 100g digestive biscuits or Graham crackers, crushed
- 50g unsalted butter, melted
- 200g cream cheese, softened
- 50g icing sugar (powdered sugar)
- 1 teaspoon vanilla extract
- 150ml double cream (heavy cream), cold
- Optional: fruit, chocolate, or whipped cream for topping
Preparing No-Bake Cheesecake Cups: A Simple Guide
- Mix the crushed biscuits with the melted butter in a small bowl until the crumbs are evenly coated.
- Divide the biscuit mixture among your serving glasses or jars. Press it down firmly using the back of a spoon to create the base layer. Place these in the fridge while you make the filling.
- In a medium bowl, beat the softened cream cheese with the icing sugar and vanilla extract until smooth and creamy. An electric hand mixer works best here to ensure no lumps.
- In a separate bowl, whisk the cold double cream until stiff peaks form. Be careful not to over-whisk, or it will turn buttery.
- Gently fold the whipped cream into the cream cheese mixture using a spatula. Mix until just combined and smooth.
- Spoon or pipe the cheesecake filling over the biscuit bases in the glasses. Smooth the top.
- Chill in the refrigerator for at least 2-3 hours, or until the filling is set.
- Just before serving, add your desired toppings like fresh berries or a swirl of whipped cream.
Recipe 3: Peanut Butter No-Bake Bars - A Sweet and Salty Treat
These peanut butter bars are incredibly addictive and remarkably easy to make, making them a fantastic option for no bake desserts beginners looking for something different. They feature a dense, chewy peanut butter base topped with a layer of chocolate. The combination of sweet chocolate and salty peanut butter is a classic for a reason, and the texture of these bars is wonderfully satisfying.
The base is typically made from peanut butter, icing sugar, and sometimes crushed biscuits or oats, mixed together to form a pliable dough. This is pressed into a pan. A simple chocolate ganache or melted chocolate is then poured over the top and chilled until firm. The whole process takes minimal active time and results in a batch of delicious bars perfect for snacking or sharing.
Ingredients for Peanut Butter No-Bake Bars
For an 8x8 inch pan:
- 200g smooth or crunchy peanut butter
- 150g icing sugar (powdered sugar)
- 50g unsalted butter, melted
- Optional base additions: 50g crushed Graham crackers or quick oats
- 200g milk or dark chocolate, chopped
- 50g unsalted butter or 2 tablespoons vegetable oil (for the chocolate topping)
Making Peanut Butter No-Bake Bars: Quick and Easy
- In a large bowl, combine the peanut butter, icing sugar, and melted butter. If using, stir in the crushed Graham crackers or oats. Mix until everything is well combined and forms a thick, dough-like consistency.
- Line an 8x8 inch (20x20 cm) square tin with parchment paper.
- Press the peanut butter mixture evenly into the bottom of the prepared tin. Use the back of a spoon or your hands to compact it firmly.
- For the chocolate topping, melt the chopped chocolate and butter (or oil) together in a heatproof bowl set over a pan of simmering water, or in the microwave in short bursts, stirring frequently, until smooth.
- Pour the melted chocolate evenly over the peanut butter base, spreading it to the edges.
- Place the tin in the refrigerator for at least 1-2 hours, or until the chocolate layer is completely set.
- Once set, lift the bar out of the tin using the parchment paper. Cut into squares or rectangles using a sharp knife.
Recipe 4: Strawberry No-Bake Icebox Cake - Refreshing and Simple
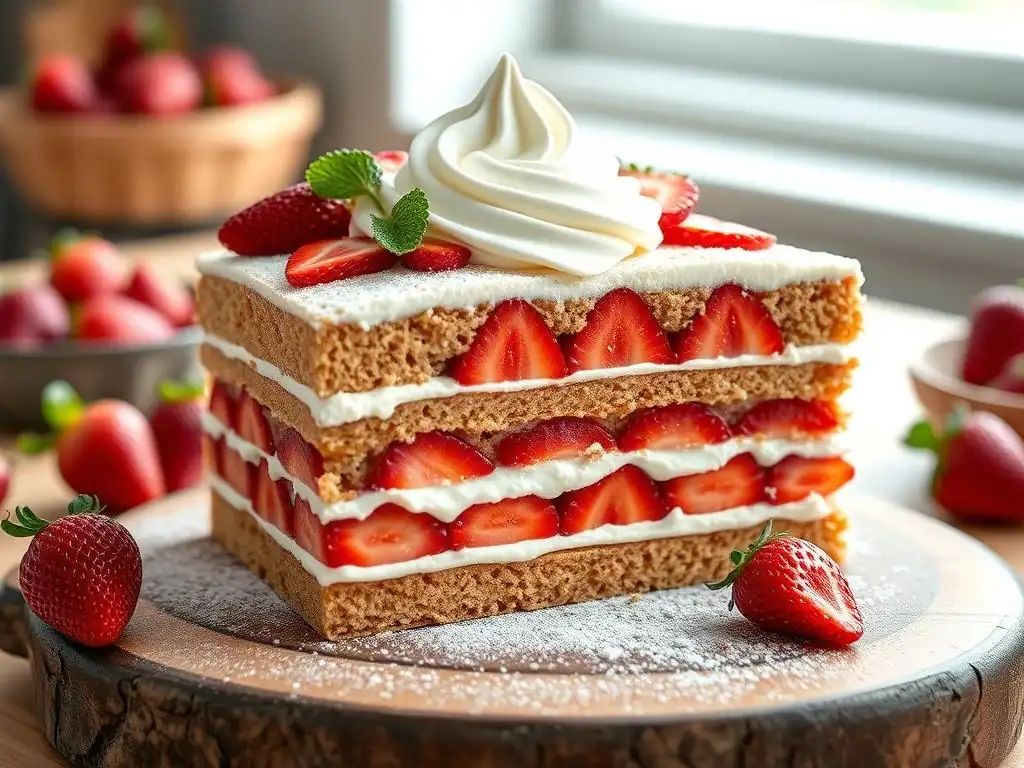
An icebox cake is perhaps one of the easiest and most impressive no-bake desserts, perfectly suited for no bake desserts beginners, especially in warmer months. It relies on the magic of refrigeration to soften cookies or wafers layered with whipped cream or a creamy filling, transforming them into a cake-like texture. The strawberry version is light, fruity, and incredibly refreshing.
The basic structure involves alternating layers of cookies (like wafer cookies or Graham crackers) and a strawberry-flavored whipped cream mixture. As the dessert chills, the moisture from the cream softens the cookies, creating a texture similar to cake layers. Fresh strawberries are often incorporated into the cream or layered between the cookie and cream layers, adding bursts of fresh flavor and beautiful color.
Strawberry No-Bake Icebox Cake: Ingredients Checklist
For a loaf pan or small rectangular dish:
- 200g thin wafer cookies (like Nilla wafers) or Graham crackers
- 400ml double cream (heavy cream), very cold
- 50g icing sugar (powdered sugar)
- 1 teaspoon vanilla extract
- 200g fresh strawberries, hulled and sliced thinly
- Optional: a few extra strawberries for garnish
Assembling Your Strawberry No-Bake Icebox Cake
- In a large bowl, whisk the very cold double cream with the icing sugar and vanilla extract until stiff peaks form. Be careful not to over-whisk.
- Gently fold about half of the sliced strawberries into the whipped cream.
- Line a loaf pan or suitable dish with plastic wrap, leaving plenty of overhang on the sides to cover the cake later.
- Place a single layer of wafer cookies or Graham crackers on the bottom of the pan, breaking them as needed to fit snugly.
- Spread an even layer of the strawberry whipped cream mixture over the cookies.
- Repeat the layering process: cookies, then cream, finishing with a layer of cream. You should aim for 3-4 layers of cookies.
- Cover the top with the plastic wrap overhang.
- Refrigerate for at least 4-6 hours, or preferably overnight, to allow the cookies to soften and the cake to set completely.
- To serve, unwrap the top, invert the cake onto a serving plate (or serve directly from the dish), and garnish with remaining fresh strawberry slices if desired.
Recipe 5: Oreo No-Bake Dessert - A Crowd-Pleasing Favorite
Few desserts are as universally loved and simple as an Oreo no-bake treat, making it a perfect entry point for no bake desserts beginners. This recipe typically features layers of crushed Oreos and a creamy, rich filling, often involving cream cheese and whipped cream. The chocolatey crunch of the Oreos contrasts wonderfully with the smooth filling, creating an irresistible combination.
There are many variations of this dessert, but a common one involves a crushed Oreo crust, followed by a layer of sweetened cream cheese mixture, then a layer of whipped topping or pudding, and finally, more crushed Oreos sprinkled on top. The assembly is straightforward and requires no cooking whatsoever, relying entirely on chilling time to set. It’s a guaranteed hit at any gathering and incredibly easy to scale up for larger crowds.
Oreo No-Bake Dessert: What You'll Need
For a 9x13 inch pan:
- Approx. 30-35 Oreo cookies (about 1 standard package)
- 100g unsalted butter, melted
- 225g cream cheese, softened
- 100g icing sugar (powdered sugar)
- 1 teaspoon vanilla extract
- 400ml double cream (heavy cream), cold, or 1 tub (approx. 250g) whipped topping (like Cool Whip)
- Optional: additional crushed Oreos or chocolate shavings for garnish
How to Make Oreo No-Bake Dessert: A Beginner's Guide
- Finely crush about 25-30 of the Oreo cookies. You can do this in a food processor or by placing them in a bag and crushing with a rolling pin. Reserve a few cookies for topping if desired.
- In a bowl, mix the crushed Oreos with the melted butter until evenly combined.
- Press this mixture firmly into the bottom of a 9x13 inch (23x33 cm) baking dish to form the crust. Refrigerate while you prepare the filling.
- In a large bowl, beat the softened cream cheese with the icing sugar and vanilla extract until smooth and creamy. Use an electric mixer for best results.
- If using double cream, whisk it in a separate bowl until stiff peaks form. Gently fold the whipped cream into the cream cheese mixture until just combined. If using pre-whipped topping, gently fold it into the cream cheese mixture.
- Spread the creamy filling evenly over the chilled Oreo crust.
- Crush the remaining reserved Oreos (if using) and sprinkle them over the top of the filling.
- Cover the dish and refrigerate for at least 4 hours, or preferably overnight, to allow the dessert to set firmly.
Customizing Your No-Bake Desserts: Variations and Add-ins
Adding Fruit to Your No-Bake Recipes
Incorporating fresh or prepared fruit is a fantastic way to add freshness, color, and natural sweetness to easy no-bake recipes, making them even more appealing for no bake desserts beginners. Sliced fresh berries (strawberries, raspberries, blueberries) are excellent additions to cheesecake fillings, layered desserts like icebox cakes, or simply as a vibrant topping. Their slight tartness balances the richness of creamy fillings.
For fruit that might brown quickly, like bananas, consider adding them just before serving, perhaps sliced on top of a peanut butter pie or layered in individual cups. Canned fruit fillings, like cherry or apple pie filling, can also be used as a quick topping or a layer within desserts, offering intense flavor and a jam-like texture. Remember that fruits with high water content might affect setting times, so sometimes adding them as a topping or layer rather than mixing them into the base filling is preferable.
Chocolate Variations: Dark, Milk, and White
Chocolate is a staple in many no-bake desserts, and simply changing the type of chocolate used can dramatically alter the flavor profile. While dark chocolate offers a deep, intense cocoa flavor, milk chocolate provides a sweeter, creamier taste that is often more approachable for many palates. White chocolate, with its rich, vanilla-like sweetness, can be used in fillings or as a drizzle for decoration.
When a recipe calls for melted chocolate, you can often swap between dark, milk, or white chocolate based on your preference, keeping in mind that white chocolate behaves slightly differently when melted and may require a little extra care to avoid seizing. Cocoa powder is also a key ingredient in many no-bake chocolate recipes, providing flavor without the need for melting. Using high-quality cocoa powder can make a significant difference in the depth of chocolate flavor in your easy no-bake treats.
Nutty Additions for Extra Flavor and Texture
Adding nuts or nut butters is a simple way to introduce delicious crunch and rich flavor to simple no-bake desserts for beginners. Chopped nuts like peanuts, walnuts, pecans, or almonds can be folded into crumb bases for added texture or sprinkled on top as a garnish. Toasted nuts offer an even deeper flavor profile. Be mindful of allergies, of course, and always inform guests if nuts are present.
Peanut butter, as highlighted in the no-bake bars recipe, is incredibly versatile. Almond butter, cashew butter, or even sunflower seed butter (for a nut-free option) can often be substituted in recipes calling for peanut butter, though the flavor and consistency might vary slightly. Adding a swirl of nut butter to a no-bake cheesecake filling or incorporating chopped nuts into a chocolate fridge cake mixture are easy ways to elevate these simple treats.
Troubleshooting Common No-Bake Dessert Problems
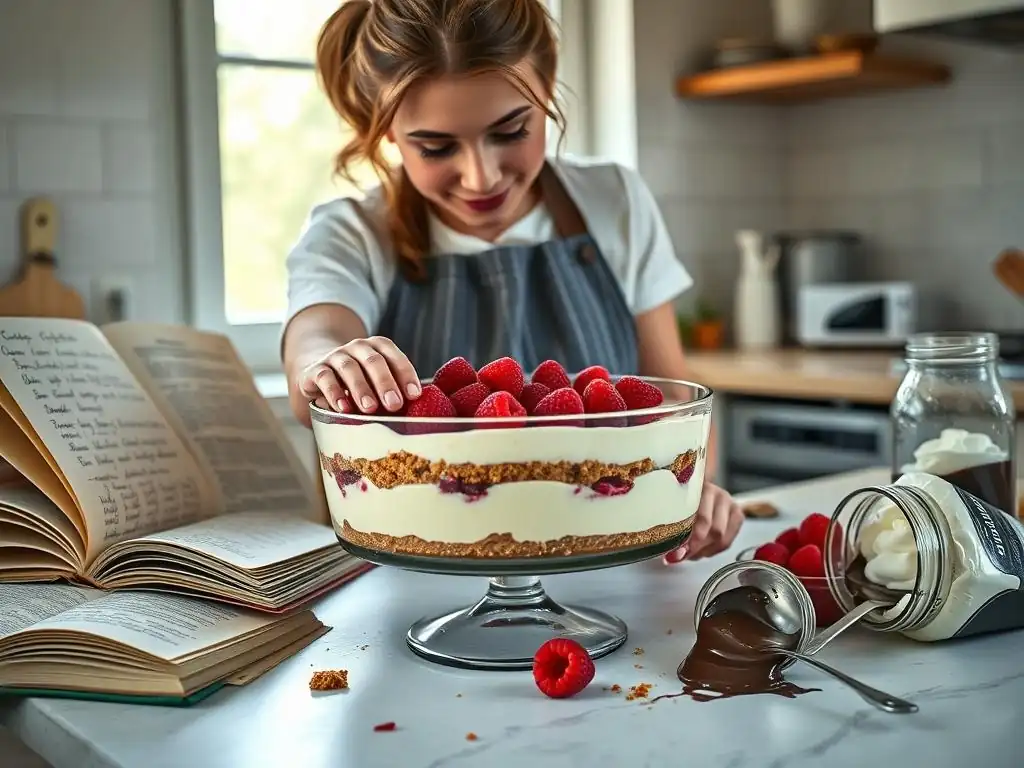
My No-Bake Dessert Isn't Setting: Solutions
One of the most frustrating issues for no bake desserts beginners is when a dessert doesn't firm up properly after chilling. The most common culprit is insufficient chilling time. Many no-bake recipes require several hours, often 4-6 hours or even overnight, for ingredients like cream cheese, whipped cream, or gelatin to fully set. Ensure you are giving it enough time in the refrigerator.
If time isn't the issue, check the ingredients used for setting. Recipes relying on whipped cream need it to be whipped to stiff peaks before folding, providing structure. If using gelatin, ensure it was properly bloomed (soaked in cold liquid until soft) and then dissolved completely (usually by heating gently) before being mixed into the main ingredients.
If it wasn't dissolved properly, it won't set the mixture. Sometimes, adding a small amount of cornstarch mixed with a little liquid and heated briefly can help thicken fillings that are too loose, though this is an extra step. Ensure your cream cheese was softened but not warm, as temperature affects how well it holds structure when mixed with whipped cream.
Dealing with a Crumbly Crust
A no-bake crumb crust should hold together when pressed firmly, but sometimes it can end up too crumbly. This usually indicates an incorrect ratio of crushed cookies/crackers to melted butter (or other binding agent). If the crust is too dry, there isn't enough melted butter to bind the crumbs together. The butter coats the crumbs and solidifies when chilled, creating a solid base.
To fix a crumbly crust mixture before chilling, you can melt a little more butter (start with 1-2 tablespoons) and mix it into the crumbs until they resemble wet sand and clump together when squeezed. If the crust is already pressed into the pan and chilled but still crumbly, it's harder to fix without starting over. However, ensuring you press the mixture very firmly into the pan before chilling is key – use the bottom of a glass or a flat measuring cup to really compact the crumbs.
Tips for Perfect No-Bake Dessert Presentation
Making your simple no-bake desserts look as good as they taste is easy and adds a professional touch, boosting confidence for no bake desserts beginners. For desserts made in a pan, lining the pan with parchment paper with overhang on the sides makes it incredibly easy to lift the entire dessert out before slicing, resulting in cleaner cuts. Chill your knife in hot water and wipe it clean between slices for sharp edges, especially for bars or cakes.
Individual desserts in glasses or jars are inherently attractive. Layering contrasting colors and textures (like a dark crumb layer, white cream layer, and bright fruit topping) creates visual appeal. Piping the top layer of cream or filling using a piping bag with a star tip gives a lovely finish. Simple garnishes like a sprinkle of cocoa powder, chocolate shavings, a dusting of icing sugar, a few fresh berries, or a sprig of mint can elevate the look of any no-bake creation significantly.
Conclusion: Enjoy Delicious No-Bake Desserts With Ease
Embrace the Simplicity of No-Bake Baking
Stepping into the world of no-bake desserts is an incredibly rewarding experience, especially for no bake desserts beginners. It proves that you don't need complex techniques or hours in front of a hot oven to create truly delicious and satisfying sweet treats. From rich chocolate fridge cakes to light and fruity icebox layered delights, the variety of easy no-bake recipes available means there's a perfect option for every taste and occasion, all achievable with minimal fuss.
These simple no-bake desserts offer a fantastic entry point into dessert making, building confidence and providing quick wins in the kitchen. They save time, reduce stress, and often require only basic kitchen tools. Embracing the simplicity of no-bake methods allows you to enjoy the process of making something sweet and share it with others, proving that less time in the kitchen can indeed mean more delicious dessert to enjoy.
Further Resources for Beginner Baking Recipes on BakeWithEase.com
Ready to explore more easy and delicious recipes beyond no-bake treats? BakeWithEase.com is your comprehensive resource for all things baking, tailored specifically for beginners. We offer a wide range of beginner baking recipes, from simple cookies and muffins to basic cakes and breads, broken down into easy-to-follow steps just like our no bake desserts beginners guides.
Our site features detailed explanations of fundamental baking techniques, tips for stocking your pantry, and troubleshooting advice for common baking hiccups. Whether you want to master classic chocolate chip cookies or try your hand at a simple loaf of bread, BakeWithEase provides the guidance and inspiration you need. Continue your baking journey with us and discover how enjoyable and accessible creating homemade baked goods can be.
Frequently Asked Questions
What exactly are no-bake desserts?
No-bake desserts are sweet treats that don't require the use of an oven. They often rely on chilling or freezing to set, making them perfect for when you want easy desserts without the heat.
Are no-bake desserts really easier than baked ones?
Yes, generally! They eliminate the guesswork of oven temperatures and baking times, focusing on simple mixing and chilling. This makes them ideal for beginners and those short on time.
What are some common ingredients used in no-bake desserts?
Common ingredients include things like cookies, graham crackers, chocolate, cream cheese, condensed milk, and fruit. These are easy to find and require minimal preparation.
Can I customize no-bake dessert recipes to my liking?
Absolutely! No-bake desserts are very adaptable. You can easily swap out ingredients, add extracts or spices, and adjust sweetness levels to suit your personal preferences.
What's the best way to store no-bake desserts?
Most no-bake desserts should be stored in the refrigerator to maintain their texture and prevent spoilage. Some, like icebox cakes, even benefit from being stored for a day or two to allow the flavors to fully meld together.
Final Reflection: Savor the Sweetness, Simplify Your Life
The relentless pace of modern life often leaves little time for the simple pleasures, like indulging in a delicious dessert. Yet, the craving for sweetness remains, a fundamental human need that deserves to be satisfied without sacrificing precious time. This article explored the delightful world of no-bake desserts, proving that creating something decadent and satisfying doesn't require hours in the kitchen. We've shown that even beginners can master these quick and easy recipes, unlocking a world of sweet possibilities.
The accessibility of no-bake desserts transcends mere culinary convenience; it's a testament to the power of slowing down and savoring the small moments. These recipes offer a chance to connect with loved ones, to create something beautiful with your own hands, and to experience the joy of sharing something homemade. As Julia Child wisely said, People who love to eat are always the best people.
These simple recipes are a gateway to fostering those connections and creating positive memories around the shared experience of enjoying something delicious and easily made.
Now, I invite you to embrace the simplicity and sweetness. Don't let the busyness of life steal your joy. Choose a recipe from this article, gather your ingredients, and embark on a culinary adventure that requires minimal time but yields maximum satisfaction. Remember the feeling of accomplishment, the pleasure of creating something delicious, and the joy of sharing it with others. Let the simple act of making and enjoying a no-bake dessert be a reminder to slow down, savor the moment, and find sweetness in the everyday.
Unleash Your Inner Pastry Chef: Quick Dessert Wins Await!
Thanks for taking the time to explore some delicious no-bake dessert ideas! We hope you're feeling inspired to create sweet treats without the fuss. Ready to get baking (or rather, assembling)?
- Dive into your first no-bake masterpiece: Choose one of the recipes from the article and give it a try! We're confident you'll be amazed at how easy it is.
- Share your sweet success: Snap a picture of your creation and tag us on social media – we love seeing your baking journey!
- Explore more no-bake adventures: Browse our website for even more simple, delicious recipes designed for busy lives.
What's your favorite quick dessert to whip up when you're short on time? Let us know in the comments below!