
Your Ultimate Guide to Baking Regional Breads of Europe

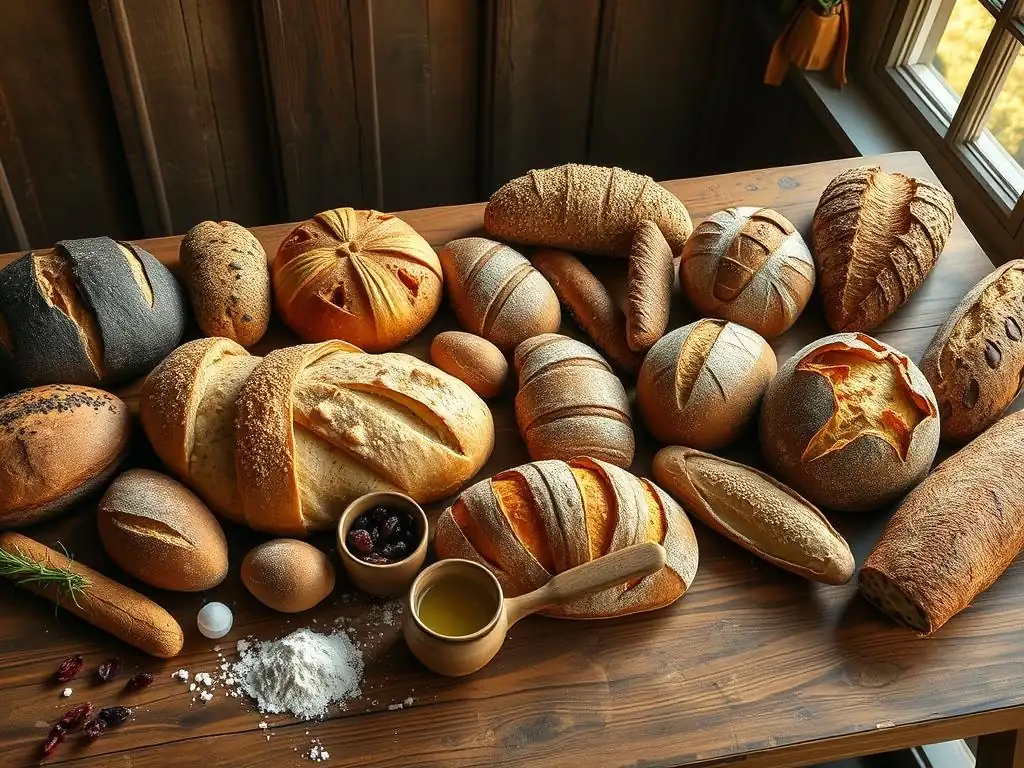
Welcome to BakeWithEase, your passport to the delicious world of baking! Are you ready to embark on a culinary journey across Europe? Unlock the secrets and discover the authentic flavors of European regional bread recipes with our comprehensive guide. From rustic Italian loaves to hearty German rye, prepare to be amazed at the variety and simplicity of these timeless traditions. What makes each region's bread unique, and how can you recreate these iconic flavors in your own kitchen? Let's find out!
- Exploring Regional Breads: A Baker's Journey Through Europe
- Introduction: Embracing the Diversity of Regional Breads
- Foundational Techniques for Baking Regional Breads
-
A Baker's Tour: Regional Bread Recipes and Techniques
- Sourdough Bread Baking in San Francisco: A Tangy Delight
- Bagels of New York: Boiling and Baking for Chewy Perfection
- Montreal Bagels: Sweetened Dough and Wood-Fired Baking
- Bialys of New York: A Dimpled Delight
- Fougasse from Provence: An Olive Oil-Infused Flatbread
- English Muffins: Griddle-Baked Breakfast Breads
- Tips for Baking Success and Adapting Recipes
- Advanced Techniques: Enhancing Flavor and Texture
- Conclusion: Sharing the Joy of Bread Baking
-
Frequently Asked Questions
- What makes European regional bread recipes unique?
- Where can I find easy-to-follow recipes for European regional breads?
- What are some examples of popular European regional breads?
- Do I need special equipment to bake European regional breads at home?
- Are European regional bread recipes difficult for beginner bakers?
- Final Reflection: A Crumb of Culture, A Loaf of History
- Unlock Your Inner Baker: A European Bread Journey Awaits!
Exploring Regional Breads: A Baker's Journey Through Europe
Introduction: Embracing the Diversity of Regional Breads
Discovering Regional Bread Traditions
Across continents, regional bread traditions tell stories of local ingredients, climate, and cultural heritage. From the dense, rye-rich loaves of Northern Europe, shaped by long, cold winters and fertile grain fields, to the light, airy flatbreads of the Mediterranean, infused with olive oil and sunshine, each bread is a unique reflection of its origin. Exploring these diverse regional bread recipes offers bakers a chance to connect with history and geography through the simple act of mixing flour, water, and leavening.
These traditions are not static; they evolve, adapting to new techniques and ingredients while retaining their core identity. Think of the variations in sourdough starters passed down through generations, or the specific types of grain favored in a particular valley. Understanding the context behind these regional bread recipes enriches the baking experience, transforming a simple loaf into a culinary artifact that carries centuries of tradition within its crust and crumb.
The Allure of Baking Regional Breads: Flavor, Technique, and History
Baking regional breads offers a profound connection to both the craft and the culture they represent. The distinct flavors come not just from ingredients but from specific fermentation methods, unique shaping techniques, and traditional baking environments like wood-fired ovens. For instance, the characteristic tang of San Francisco sourdough is primarily due to the specific strain of Lactobacillus sanfranciscensis dominant in starters there, thriving in the local environment.
Beyond flavor, mastering the techniques associated with these regional bread recipes provides a rewarding challenge. Learning to handle high-hydration dough for Italian ciabatta, or achieving the perfect chewiness in a New York bagel through boiling, expands a baker's skill set significantly. Each regional style presents specific nuances, from the scoring patterns on a French boule to the incorporation of seeds and grains in a German Vollkornbrot, making the journey through regional baking a continuous learning adventure.
Foundational Techniques for Baking Regional Breads
Essential Ingredients: Flour, Water, Salt, and Yeast (or Sourdough)
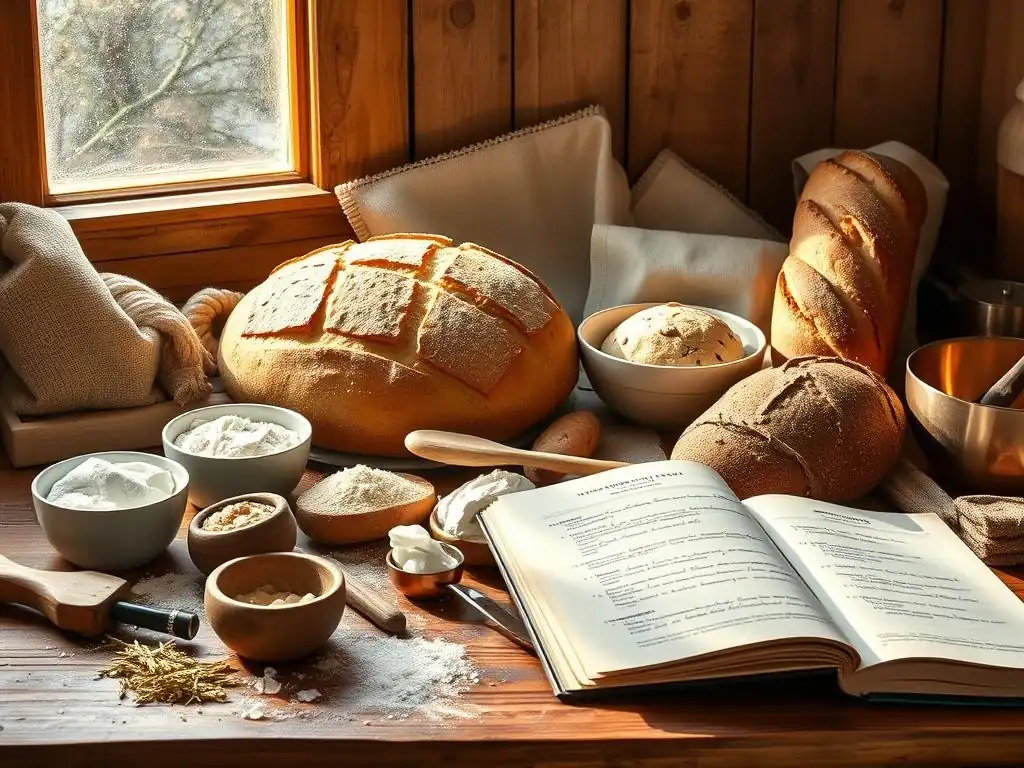
The foundation of almost all bread, including European regional bread recipes, lies in four simple ingredients: flour, water, salt, and a leavening agent. Flour provides the structure, its protein content (gluten) developing elasticity when hydrated. Different regional breads call for different flour types – high-protein bread flour for chewy bagels, lower-protein all-purpose flour for softer rolls, or rye flour for dense, flavorful loaves common in many European regional bread recipes.
Water hydrates the flour, activating the gluten and yeast. The ratio of water to flour, known as hydration, significantly impacts the dough's texture and the final bread's crumb. Salt is crucial for controlling yeast activity, strengthening gluten, and enhancing flavor. Leavening, whether commercial yeast for a quick rise or a sourdough starter for complex flavor and natural leavening, is what makes the bread light and airy, transforming a simple mixture into a risen loaf.
Understanding Dough Hydration and its Impact on Bread
Dough hydration is expressed as a percentage of the water weight relative to the flour weight. A dough with 60% hydration is relatively stiff and easy to handle, common in many enriched or traditional loaves. As hydration increases to 70%, 80%, or even 90%, the dough becomes stickier and more challenging to work with but yields a more open, airy crumb structure, characteristic of breads like ciabatta or some artisanal sourdoughs.
Working with high-hydration doughs requires different techniques, such as stretch-and-folds or coil folds, to develop gluten strength without excessive kneading. Lower hydration doughs, conversely, might benefit from more vigorous kneading. Understanding how hydration affects dough handling and the final bread texture is key to successfully baking a wide variety of regional bread recipes, allowing you to anticipate the dough's behavior and adjust your technique accordingly.
Mastering Shaping, Scoring, and Baking: Key Techniques for Success
Shaping dough gives the loaf its final form and builds tension in the surface, which helps with oven spring. Different regional breads have distinct shapes – the round boule, the elongated bâtard, the braided challah, or the unique leaf shape of fougasse. Practicing shaping techniques ensures an even rise and a visually appealing loaf, crucial for many regional bread recipes.
Scoring, or slashing the surface of the dough just before baking, is not merely decorative. It controls the direction of the oven spring, allowing the bread to expand without bursting haphazardly. Different scoring patterns are traditional for various types of bread. Finally, baking conditions – temperature, time, and steam – are critical. High initial heat and steam help the crust develop properly before hardening, allowing maximum expansion, especially important for achieving the characteristic crust of many European regional bread recipes.
A Baker's Tour: Regional Bread Recipes and Techniques
Sourdough Bread Baking in San Francisco: A Tangy Delight
San Francisco sourdough is perhaps the most famous American regional bread, renowned for its distinct, pronounced tang. This flavor profile is attributed to the unique microbial ecosystem of the starters cultivated in the Bay Area's specific climate, where Lactobacillus sanfranciscensis thrives alongside wild yeasts. Achieving this signature tang requires a healthy, active starter and specific fermentation schedules.
Baking San Francisco sourdough involves techniques like long bulk fermentation and often an extended cold proof in the refrigerator, which further develops the sour flavor. The dough is typically of moderate to high hydration, resulting in an open, irregular crumb. Baking is often done in a Dutch oven or with steam injection to create a thick, blistered crust.
The San Francisco Sourdough Starter: Cultivating Flavor
A San Francisco sourdough starter is a living culture of wild yeast and bacteria, primarily lactic acid bacteria like Lactobacillus sanfranciscensis. Cultivating one involves mixing flour and water and allowing wild microbes from the environment to colonize it. Regular feeding with fresh flour and water keeps the culture active and balances the yeast and bacterial populations.
The flavor of the starter, and thus the bread, is influenced by factors like feeding schedule, flour type, and temperature. A starter kept at cooler temperatures and fed less frequently tends to develop more acidity and tang. Maintaining a strong, vibrant starter is the cornerstone of baking authentic San Francisco sourdough.
Baking a Classic San Francisco Sourdough Boule: Achieving the Signature Tang
Baking a classic San Francisco sourdough boule involves several key steps after the dough is mixed and fermented. Following bulk fermentation, the dough is shaped into a round (boule) and typically proofed in a banneton, often for many hours in a cool environment like a refrigerator to enhance sourness.
Just before baking, the cold dough is scored and transferred to a preheated oven, often in a Dutch oven. The sealed environment of the Dutch oven traps steam released by the dough, promoting maximum oven spring and the development of a thin, crispy crust. Baking typically starts at a high temperature, around 450-500°F (230-260°C), which may be reduced later in the bake.
Bagels of New York: Boiling and Baking for Chewy Perfection
New York bagels are famous for their dense, chewy interior and slightly crisp exterior. Unlike many other bread products, they undergo a crucial step of boiling before baking. This brief dip in simmering water gelatinizes the starch on the surface of the dough, which helps create the unique texture and glossy crust during baking.
The dough itself is typically low-hydration and high in protein, often using high-gluten flour (protein content around 12-14%). This combination contributes significantly to the characteristic chewiness. After mixing and a relatively short bulk fermentation, the dough is shaped into rings and often undergoes a cold fermentation period, which develops flavor and improves texture before the boiling step.
The New York Bagel Dough: High Gluten and Unique Texture
The dough for New York bagels is distinctively stiff due to its low hydration, often around 50-55%, and high protein flour. This requires substantial mechanical development, either through intensive kneading in a mixer or significant manual effort. The high gluten content provides the structural integrity needed to withstand boiling and contributes to the dense, chewy crumb.
After mixing, the dough is typically given a short rest before being divided and shaped. Some recipes incorporate a small amount of malt syrup or sugar, but the key to the texture lies in the flour quality and the low water content, which limits gluten hydration compared to higher hydration doughs.
Boiling and Baking: The Secret to a Perfect Bagel
The defining step for New York bagels is the boil. Shaped bagels, often proofed in a cold environment, are briefly submerged in simmering water, sometimes with added malt syrup, honey, or baking soda, for typically 30-60 seconds per side. This process sets the outer layer of the dough, preventing excessive expansion in the oven and creating the characteristic chewy texture.
Immediately after boiling, the bagels are drained and baked in a hot oven, often around 400-450°F (200-230°C). The pre-gelatinized surface browns beautifully and develops a slight crispness, contrasting with the dense, chewy interior. This two-step cooking process is what distinguishes New York bagels from many other bread types.
Montreal Bagels: Sweetened Dough and Wood-Fired Baking
Montreal bagels offer a delightful alternative to the New York style, known for being smaller, sweeter, and traditionally baked in wood-fired ovens. The dough incorporates eggs and honey, giving it a slightly richer flavor and a hint of sweetness not found in their New York counterparts.
The shaping technique also differs; Montreal bagels are often shaped by wrapping a rope of dough around the hand and joining the ends, resulting in a larger hole and a slightly less uniform appearance than machine-rolled bagels. Like New York bagels, they are boiled, but the boiling water often contains honey, reinforcing the sweetness before they are baked.
The Montreal Bagel Dough: Honey-Sweetened and Distinct
The dough for Montreal bagels is enriched with eggs and sweetened with honey, typically added to both the dough itself and the boiling water. This gives the bagels a slightly golden hue and a noticeably sweeter profile compared to New York bagels. The hydration is also relatively low, contributing to a dense crumb, though perhaps slightly less intensely chewy than the New York style due to the added fat from the eggs.
The use of honey in the dough not only adds sweetness but also helps with browning during the high-temperature bake. The dough is mixed, kneaded, and shaped into rings, ready for their unique preparation steps.
Wood-Fired Baking: Achieving a Unique Flavor and Texture
The traditional method for baking Montreal bagels involves a wood-fired oven. After boiling in honey water, the bagels are threaded onto long wooden planks, often several dozen at a time, and then slid directly onto the hot floor of the oven. The intense, dry heat of the wood fire bakes them quickly, typically in just a few minutes per side.
This rapid, high-temperature baking imparts a subtle smoky flavor and creates a beautifully browned, slightly uneven crust. The combination of the sweet dough, honey boil, and wood-fired bake results in a distinctive bagel that is slightly crisp on the outside, dense and sweet within, and undeniably unique.
Bialys of New York: A Dimpled Delight
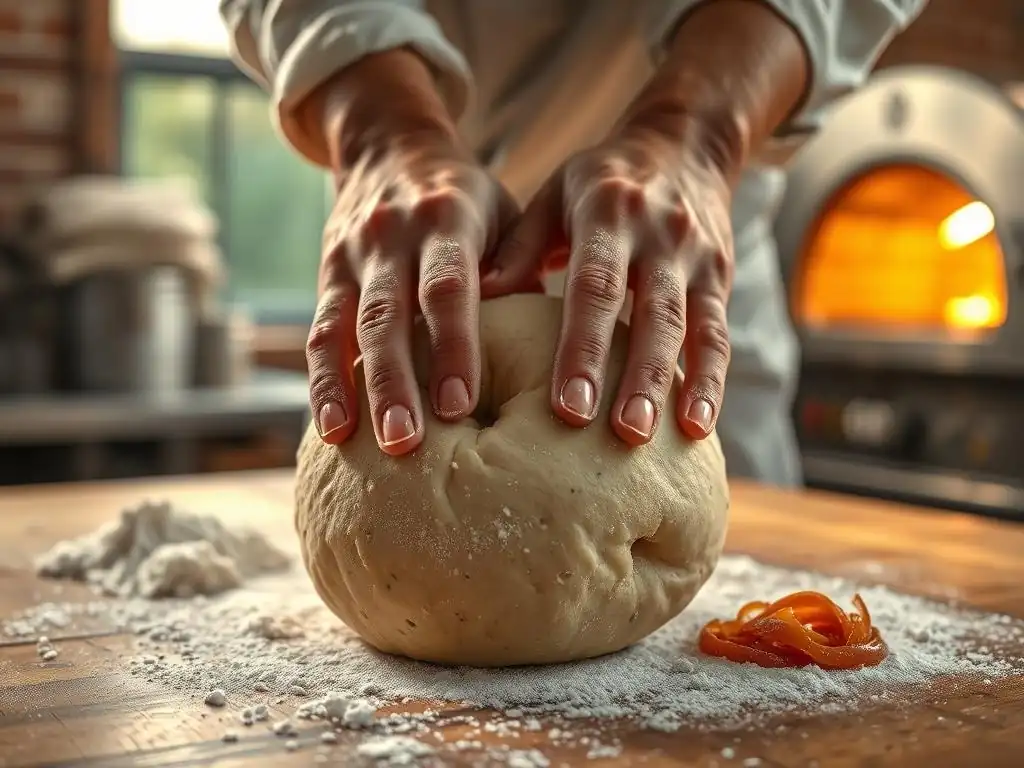
Bialys, or Bialystoker Kuchen, are a lesser-known but equally delicious regional bread from the Jewish communities of New York, originating from Bialystok, Poland. Unlike bagels, they are not boiled. Instead, they are small, round rolls with a depressed center, typically filled with sautéed onions or other savory ingredients before baking.
The texture of a bialy is softer and less chewy than a bagel, more akin to a roll or a soft flatbread. The defining feature is the central depression, which is created by pressing down on the dough before adding the filling, rather than forming a hole like a bagel.
The Bialy Dough: Similar to Bagels, But with a Unique Twist
Bialy dough shares some similarities with bagel dough, often being low to moderate hydration and using bread flour. However, it is typically kneaded until slightly softer and more extensible than bagel dough, as it doesn't need to withstand boiling. The dough is divided into small portions, rounded, and allowed to rest before being shaped.
The unique twist comes in the shaping: instead of forming a ring, the center of the small dough ball is pressed down and stretched outwards, creating a shallow well or dimple while leaving a raised rim around the edge. This well is designed to hold the traditional savory filling.
The Onion Filling: A Key Component of the Bialy's Flavor
The classic bialy filling is made from finely chopped onions, often sautéed until soft and slightly caramelized, and seasoned with poppy seeds and sometimes a touch of salt. This savory filling is placed generously into the central depression of the shaped dough just before baking.
During baking, the onion filling caramelizes further and infuses the surrounding bread with its flavor. The dough bakes around the filling, creating a delicious combination of soft bread and savory, slightly sweet onions. Other fillings, such as garlic or breadcrumbs, are also sometimes used, but the onion and poppy seed version remains the most traditional.
Fougasse from Provence: An Olive Oil-Infused Flatbread
Fougasse is a beautiful, rustic flatbread originating from Provence in Southern France. It is easily recognizable by its unique shape, which typically resembles a leaf or an ear of wheat, created by cutting slits in the dough before baking. The dough is rich with olive oil, which contributes to its tender crumb and flavorful crust.
Often flavored with herbs like Herbes de Provence, rosemary, or thyme, fougasse is a delightful accompaniment to meals or enjoyed on its own. Its open structure, created by the cuts, allows for a crisp crust and ensures quick baking. It is a staple in bakeries throughout Provence and a wonderful example of a regional bread recipe tied to local ingredients and climate.
Preparing the Fougasse Dough: Incorporating Olive Oil and Herbs
The dough for fougasse is typically a relatively simple lean dough (flour, water, salt, yeast) enriched generously with olive oil. The olive oil makes the dough softer, more pliable, and contributes significantly to the final flavor and texture. Good quality extra virgin olive oil is often preferred for its distinct taste.
Herbs, such as dried or fresh rosemary, thyme, or a blend of Herbes de Provence, are frequently kneaded into the dough or sprinkled on top before baking. Olives, sun-dried tomatoes, or cheese can also be added, creating delightful variations of this classic European regional bread recipe.
Shaping and Baking: Creating the Leaf-Like Design
Shaping fougasse is its most distinctive step. After the dough has risen, it is gently flattened or rolled into an oval or rectangular shape. Then, using a knife or a pizza cutter, large slits are cut into the dough, creating a pattern that resembles a leaf or a ladder. These cuts are stretched open slightly before the dough is transferred to a baking sheet.
Baking is done in a hot oven, often around 425-450°F (220-230°C). Because it is a flatbread with many openings, fougasse bakes relatively quickly, typically in 15-25 minutes, until golden brown and crisp. The open structure ensures that the entire bread develops a flavorful crust.
English Muffins: Griddle-Baked Breakfast Breads
English muffins are unique among many regional breads because they are primarily cooked on a griddle rather than baked in an oven. These small, round, leavened breads are famous for their "nooks and crannies," the irregular pockets in the interior that are perfect for soaking up butter and jam.
While they share the name "muffin," their preparation is much closer to bread than cake-like muffins. The dough is soft and slightly sticky, typically enriched with milk and sometimes a little sugar or butter. The griddle-cooking process is key to developing their specific texture and creating those sought-after nooks and crannies.
The English Muffin Dough: A Light and Airy Texture
The dough for English muffins is softer and wetter than many traditional bread doughs, often having a hydration level that results in a sticky consistency. This soft dough is essential for achieving the characteristic airy texture and the development of internal pockets during cooking. The dough is usually enriched with milk, which contributes to a tender crumb and a slightly richer flavor than a lean bread dough.
After mixing and a period of rising, the dough is typically punched down and either rolled out and cut into rounds or scooped directly onto the griddle, depending on the desired texture and the stiffness of the dough.
Griddle Baking: Achieving the Signature Nooks and Crannies
The defining step for English muffins is cooking them on a lightly greased griddle or flat pan over medium heat. The relatively gentle, even heat from the griddle cooks the dough slowly, allowing it to rise further and develop those famous internal air pockets – the "nooks and crannies."
The muffins are cooked for several minutes on each side until they are golden brown and cooked through the center. This griddle-cooking method results in a softer crust compared to oven-baked breads. To serve, English muffins are traditionally split using a fork rather than sliced with a knife, as this method helps preserve the nooks and crannies.
Tips for Baking Success and Adapting Recipes
Troubleshooting Common Bread Baking Issues
Even experienced bakers encounter challenges. If your dough isn't rising, check the freshness of your yeast or starter, ensure your water temperature isn't too hot (which can kill yeast) or too cold (which slows it down), and confirm the ambient temperature is warm enough for fermentation, ideally between 70-80°F (21-27°C).
Other common issues include dense crumb (under-kneading, under-proofing, or insufficient steam during baking), tough crust (over-baking or lack of steam), and dough that's too sticky (hydration too high for the flour type or insufficient gluten development). Keeping a baking journal can help track variables and identify patterns in your results.
Storing and Enjoying Your Homemade Breads
Proper storage helps keep your homemade regional bread recipes fresh. Lean breads, like many European regional bread recipes such as baguettes or rustic loaves, are best stored at room temperature in a paper bag or a cloth bag to maintain their crust crispness. Avoid plastic bags, which can make the crust soft and rubbery.
Enriched breads, like challah or brioche, or softer rolls like English muffins, can be stored in a plastic bag or airtight container once cooled to keep them soft. For longer storage, most breads freeze exceptionally well. Wrap cooled bread tightly in plastic wrap and then foil or place it in a freezer bag. Thaw at room temperature and refresh in a warm oven if desired.
Adapting Recipes for Home Bakers: Scaling and Simplification
Many traditional regional bread recipes are designed for large batches or specific professional equipment. Adapting them for home use often involves scaling down ingredient quantities. Remember that yeast or starter quantities might need slight adjustments when scaling significantly. A good rule of thumb is to scale all ingredients proportionally.
Simplification might involve adjusting techniques. For instance, if a recipe calls for steam injection, you can replicate this at home by placing a tray of hot water in the bottom of your oven or using a Dutch oven. While a wood-fired oven might be unavailable, a baking stone or steel in a conventional oven preheated to a high temperature can help achieve a good crust. Don't be afraid to experiment to find what works best in your home kitchen.
Advanced Techniques: Enhancing Flavor and Texture
Developing a Sourdough Starter: From Scratch to Tangy Bread
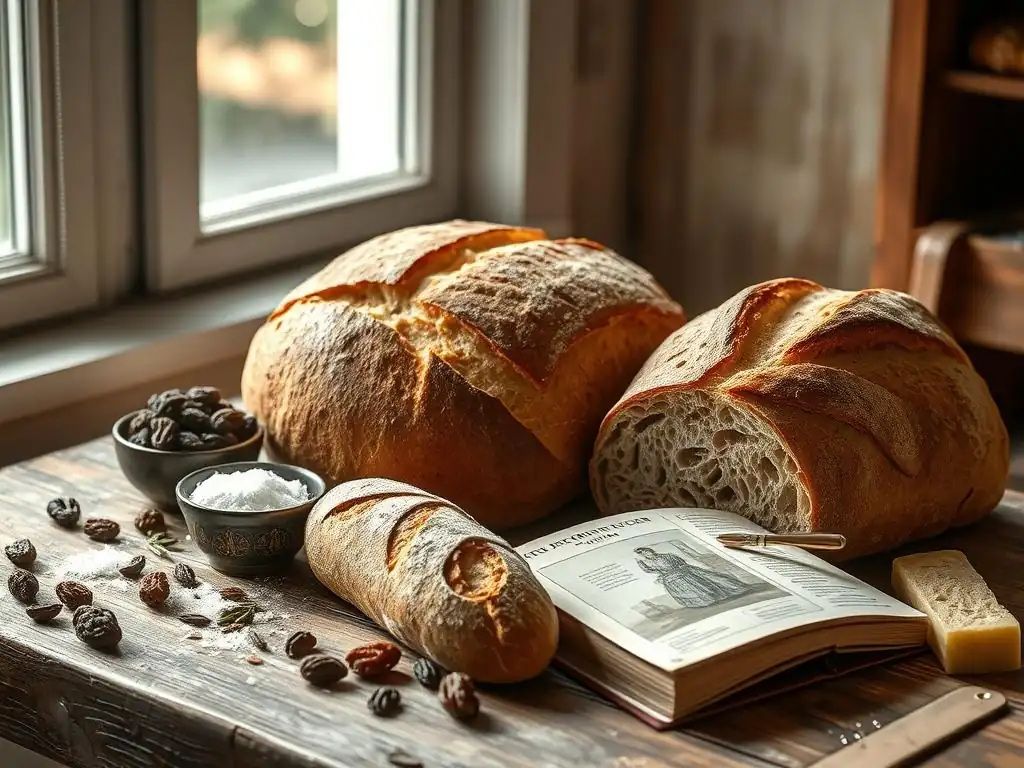
Developing a sourdough starter from scratch is a journey requiring patience and consistent care. It begins by mixing flour and water and allowing natural yeasts and bacteria from the environment to colonize the mixture over several days. Initial activity might be seen within 24-48 hours, but it takes typically 1-2 weeks for the starter to become strong and stable enough for reliable bread baking.
Regular feeding (discarding a portion and adding fresh flour and water) is essential to maintain the starter's health and balance the microbial populations. The type of flour used (rye, whole wheat, or white bread flour) and the feeding ratio (e.g., 1:1:1 starter:water:flour by weight) influence the starter's activity and the resulting bread's flavor profile.
Using Pre-Ferments: Poolish, Biga, and Pâte Fermentée
Pre-ferments are doughs or batters mixed hours or days in advance of the final mix, allowing for longer fermentation and development of complex flavors. Common types include poolish (equal parts flour and water by weight, with a small amount of yeast), biga (a stiffer dough, typically 50-60% hydration, with yeast), and pâte fermentée (a portion of dough reserved from a previous batch).
Incorporating a pre-ferment into your regional bread recipes can significantly enhance flavor, improve crust development, and contribute to a more open crumb structure. The longer, slower fermentation in a pre-ferment breaks down starches into sugars and produces organic acids, adding depth and nuance to the final loaf that is hard to achieve with a direct dough method.
Autolyse and its Impact on Dough Development
Autolyse is a simple technique involving mixing just the flour and water from a recipe and letting it rest for 20 minutes to several hours before adding the salt and leavening. This resting period allows the flour to fully hydrate and activates enzymes that begin to break down proteins, making the gluten easier to develop during kneading.
The benefits of autolyse include reduced kneading time, easier dough handling, improved gluten development leading to a stronger dough, and potentially a more open crumb structure. It's a technique applicable to many bread doughs, including those for European regional bread recipes, and can significantly improve the texture and handling properties of your dough.
Conclusion: Sharing the Joy of Bread Baking
Continuing Your Bread Baking Education
The world of bread baking is vast and endlessly fascinating. Exploring regional bread recipes, whether from Europe or elsewhere, provides continuous opportunities to learn new techniques, understand the science behind baking, and appreciate the cultural significance of bread. There are countless resources available, from books and websites to workshops and classes.
Consider diving deeper into specific areas, such as mastering sourdough hydration, experimenting with different flours and grains, or learning the art of decorative scoring. Each loaf you bake is a chance to refine your skills and expand your understanding, making the journey of bread baking a rewarding lifelong pursuit.
Bread has always been a symbol of community and sharing. Baking regional bread recipes offers a wonderful way to connect with others, whether by sharing loaves with friends and family, participating in local baking groups, or sharing your experiences and photos online.
There's immense satisfaction in presenting a warm, fragrant loaf you've made yourself. Hosting a bread-tasting gathering or simply bringing a homemade loaf to a potluck can spark conversations and create connections. Embrace the spirit of hospitality that bread embodies and share the joy of your baking journey with those around you.
Frequently Asked Questions
What makes European regional bread recipes unique?
European regional bread recipes are unique because they reflect the local ingredients and traditional baking methods of specific areas. This results in breads with distinct flavors and textures.
Where can I find easy-to-follow recipes for European regional breads?
BakeWithEase.com offers simple recipes and step-by-step guides for baking various European regional breads, catering to bakers of all skill levels.
What are some examples of popular European regional breads?
Examples include French baguette, Italian focaccia, and German rye bread. These breads showcase distinct regional baking traditions and flavors.
Do I need special equipment to bake European regional breads at home?
While some recipes might benefit from specialized tools, most European regional breads can be baked using common kitchen equipment. Prioritize quality ingredients and following the recipe closely.
Are European regional bread recipes difficult for beginner bakers?
Not necessarily! BakeWithEase.com provides recipes designed for beginner bakers, featuring clear instructions and readily available ingredients for successful baking.
Final Reflection: A Crumb of Culture, A Loaf of History
The pursuit of the perfect loaf transcends mere culinary skill; it's a journey through time, tradition, and the diverse tapestry of European culture. From the rustic sourdoughs of rural France to the airy focaccias of Italy, each bread tells a story, reflecting the unique terroir and heritage of its region. This exploration into the regional breads of Europe reveals a culinary landscape as rich and varied as the continent itself.
This journey through recipes has been more than just a collection of instructions; it's been a window into the heart of European communities. Each knead, each rise, each perfectly browned crust represents generations of bakers perfecting their craft, passing down invaluable knowledge and traditions. The simple act of baking becomes a powerful link to the past, a testament to the enduring power of cultural heritage. Bread is the staff of life,
a proverb often repeated, but rarely felt as deeply as when you understand the history and artistry behind each regional variation.
Now, as you close this guide, consider the power of food to connect us. What stories resonate with you? Which bread's history most captivated you? Perhaps you'll be inspired to try your hand at recreating these culinary masterpieces, embracing the challenge and the reward of connecting with European culture through the simple, yet profound, act of baking. Let the aroma of freshly baked bread transport you, not just to a kitchen, but to a place, a time, and a story waiting to be discovered.
Unlock Your Inner Baker: A European Bread Journey Awaits!
Thanks for joining us on this delicious journey through the regional breads of Europe! We hope you've gained a newfound appreciation for the artistry and tradition behind these culinary masterpieces. Now it's time to put your knowledge to the test!
- Bake your first regional loaf: Start with the recipe that most excited you – maybe a rustic French sourdough or a chewy Italian focaccia. Don't be afraid to experiment!
- Share your baking adventures: Show off your creations on social media using #BakeWithEaseEuropeanBread – we'd love to see your results!
- Dive deeper into regional baking techniques: Explore some of the linked resources within the article for even more in-depth information on specific bread types and techniques.
Ready to unleash your inner European baker? What regional bread will you tackle first?