
Simple Techniques for Elegant Chocolate Decorations

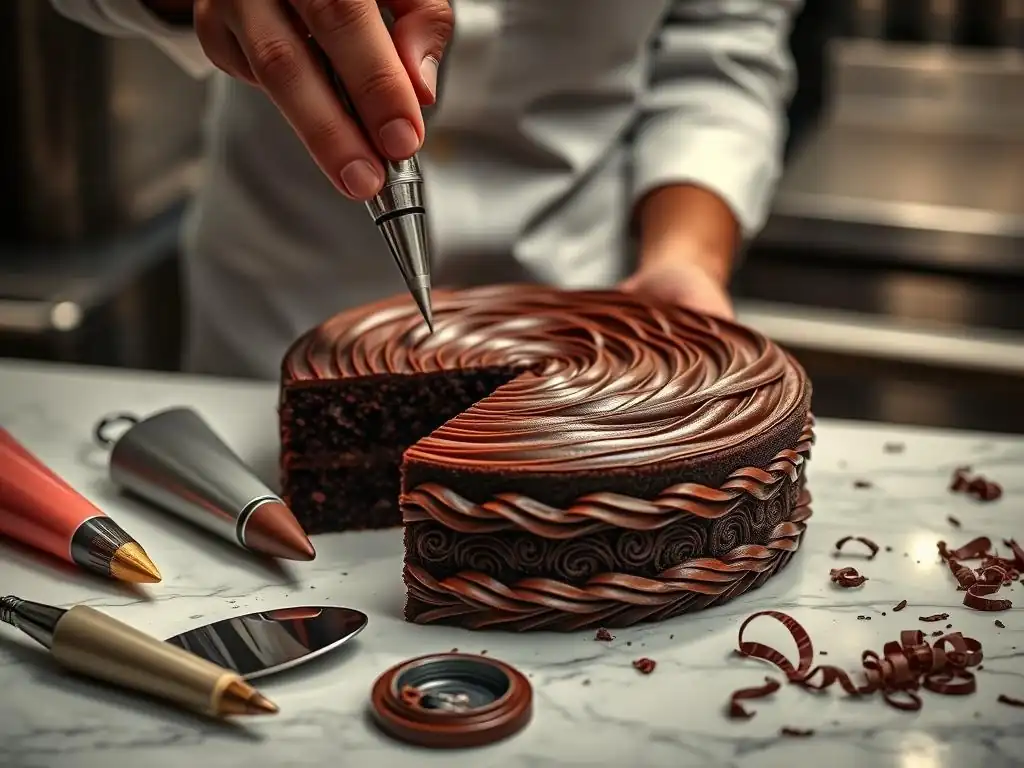
Welcome to BakeWithEase, your guide to unlocking the secrets of stunning baked creations! Ever wondered how to transform a simple dessert into a masterpiece? This week, we dive deep into the art of chocolate decoration piping techniques, offering simple yet elegant methods to elevate your pastries. Discover how to achieve professional-looking results with ease, and let your creativity flow! Ready to add that perfect finishing touch? Let's get started…
- Elevating Desserts with Chocolate Decoration Techniques
- Introduction to Chocolate Decoration: Mastering the Basics
- Essential Tools for Chocolate Decoration
- Fundamental Chocolate Decoration Techniques
- Intermediate Chocolate Decoration Techniques
- Advanced Chocolate Decoration Techniques
- Tips for Successful Chocolate Decoration
- Chocolate Decoration Ideas and Inspiration
- Troubleshooting Chocolate Decoration Issues
- Conclusion: Unleash Your Inner Chocolatier
-
Frequently Asked Questions
- How do I prepare my chocolate for piping decorations?
- What are the essential tools needed for chocolate decoration piping?
- What are some simple chocolate piping techniques for beginners?
- How can I prevent my chocolate decorations from blooming or cracking?
- What can I do if my piped chocolate decorations are not sticking to my cake or pastry?
- Final Reflection: The Enduring Allure of Elegant Chocolate
- Unleash Your Inner Pastry Artist!
Elevating Desserts with Chocolate Decoration Techniques
Welcome to the delightful world of chocolate decoration! Adding beautiful chocolate elements to your desserts can transform a simple treat into a stunning masterpiece. Whether you're aiming for elegant simplicity or intricate designs, mastering a few fundamental chocolate decoration techniques can significantly enhance the visual appeal and perceived value of your baked goods.
Introduction to Chocolate Decoration: Mastering the Basics
Chocolate decoration is more than just an afterthought; it's an art form that allows you to express creativity and add professional flair to cakes, cupcakes, plated desserts, and more. From simple drizzles to complex sculpted pieces, the possibilities are vast. Getting started requires understanding the unique properties of chocolate and having a few basic tools at hand. This guide will walk you through various methods, including essential chocolate decoration piping techniques, to help you elevate your baking game.
Why Learn Chocolate Decorating?
Learning chocolate decorating techniques opens up a new dimension in your baking journey. It allows you to customize desserts for specific occasions, match themes, or simply add a touch of personal artistry. Beyond aesthetics, well-executed chocolate decorations can also add delightful textural contrasts and flavor notes, complementing the main dessert.
Developing skills in chocolate decoration, particularly mastering various chocolate decoration piping techniques, empowers you to create professional-looking finishes at home. Imagine presenting a birthday cake adorned with perfectly piped chocolate swirls or a plated dessert featuring delicate chocolate shards. These skills not only impress guests but also provide a rewarding creative outlet in the kitchen.
Essential Tools for Chocolate Decoration
Having the right tools is crucial for successful chocolate decoration. While some techniques require specialized equipment, many can be achieved with basic items commonly found in a baker's kitchen. Investing in quality tools will make the process easier and yield better results, especially when focusing on precise tasks like intricate chocolate decoration piping techniques.
Piping Bags: Choosing the Right Type
Piping bags are fundamental for many chocolate decoration piping techniques. They allow for precise control over the flow and placement of melted chocolate. There are several types available: disposable plastic bags, reusable silicone or nylon bags, and parchment paper cones.
Disposable bags are convenient for quick clean-up, especially when working with multiple colors or types of chocolate. Reusable bags are more environmentally friendly and durable, often preferred for frequent use. Parchment cones are excellent for very fine detail work or when only a small amount of chocolate is needed, offering great control for delicate chocolate decoration piping techniques. Choose a size appropriate for the amount of chocolate you plan to use; larger bags are good for filling molds or covering surfaces, while smaller ones are ideal for fine line work.
Piping Nozzles: Exploring Different Shapes and Their Uses
Piping nozzles, also known as tips, attach to the end of a piping bag and shape the flow of chocolate. The variety of nozzles available allows for an incredible range of designs and chocolate decoration piping techniques. Common types include round tips for dots and lines, star tips for rosettes and borders, and leaf tips for botanical details.
Round tips (like Wilton #1, #3, #5) are versatile for writing, drawing fine lines, creating dots, or filling areas. Star tips (open or closed star, e.g., Wilton #1M, #21) produce classic star shapes, shells, or rosettes, adding texture and volume. Specialty tips exist for specific effects, like basketweave or grass. When starting with chocolate decoration piping techniques, a basic set of round and star tips is usually sufficient to explore many fundamental designs.
Melting Chocolate: Achieving Optimal Viscosity for Decorating
Properly melting chocolate is perhaps the most critical step in many chocolate decoration techniques. The goal is to achieve a smooth, fluid consistency that is easy to work with but not so hot that it burns or loses its temper (if using real chocolate). The ideal temperature for melting chocolate varies slightly depending on the type, but generally falls between 45°C and 50°C (113°F to 122°F) for dark chocolate, and slightly lower for milk and white chocolate.
Overheating chocolate can cause it to become thick, grainy, or "seize," rendering it unusable for fine work, especially intricate chocolate decoration piping techniques. Using a double boiler or a microwave on low power in short intervals (30 seconds at a time, stirring between each) are common methods. Gentle, consistent heat is key to achieving the optimal viscosity for smooth application.
Additional Tools: Palette Knives, Turntables, and Molds
Beyond piping equipment, several other tools can significantly aid in chocolate decoration. Palette knives (or offset spatulas) are invaluable for spreading melted chocolate evenly, smoothing surfaces, or lifting delicate decorations. A small offset spatula, typically around 4-6 inches, offers excellent control for detailed work or transferring fragile pieces.
A turntable is particularly useful when decorating cakes or creating continuous patterns, allowing you to rotate the dessert smoothly while applying chocolate. Chocolate molds, made from polycarbonate or silicone, provide a simple way to create consistent shapes like hearts, stars, or intricate geometric patterns. These tools, combined with mastery of chocolate decoration piping techniques, expand your creative possibilities considerably.
Fundamental Chocolate Decoration Techniques
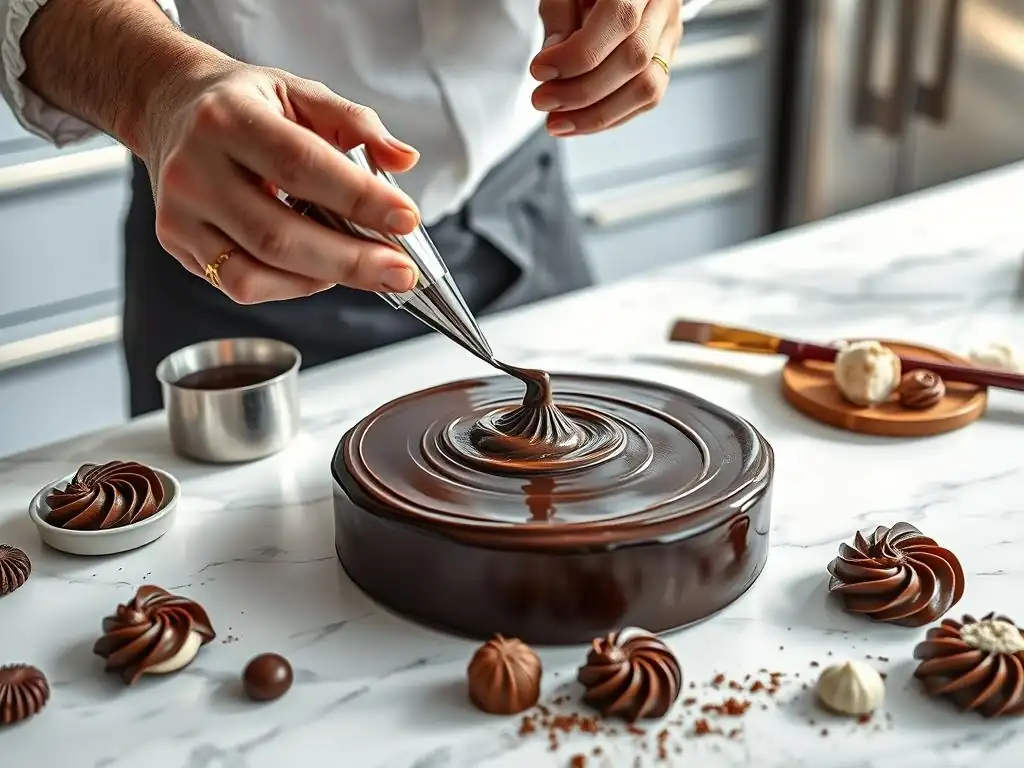
Let's explore some basic yet effective chocolate decoration techniques that can be mastered with minimal practice. These methods are great for beginners and provide a solid foundation for more complex designs.
Creating Chocolate Shards: Adding Texture and Visual Appeal
Chocolate shards are one of the simplest yet most effective decorations for adding texture and height to desserts. They are essentially pieces of hardened chocolate, often with an irregular, organic shape, that are inserted into frostings or placed on top of plated desserts.
To make chocolate shards, simply melt and temper chocolate (tempering isn't strictly necessary for simple shards but yields a glossier, snappier result). Spread the melted chocolate thinly onto a piece of parchment paper or acetate using a palette knife. While still slightly soft, score the chocolate into desired shapes or simply break it into irregular pieces once fully hardened. For added visual interest, you can swirl different colors of chocolate together before spreading.
The Drizzle Technique: A Simple Yet Elegant Touch
The drizzle technique is perhaps the easiest way to add a touch of elegance with chocolate. It involves lightly drizzling melted chocolate over a dessert in a controlled manner, creating delicate lines or patterns. This works beautifully on cakes, cupcakes, cookies, or even ice cream.
To execute a perfect drizzle, melt chocolate to a fluid consistency. You can use a piping bag with a very small round tip, a parchment cone with the end snipped off, or even just a spoon. Hold your hand relatively high above the dessert and move it back and forth in a steady motion, allowing the chocolate to fall in thin streams. Practice controlling the speed and height to achieve different line thicknesses and patterns. This simple chocolate decoration piping technique adds visual interest without being overpowering.
Making Chocolate Curls: Classic and Versatile Decorations
Chocolate curls are a classic decoration, instantly recognizable and adding a sophisticated touch. They are surprisingly easy to make and can be used on cakes, pastries, or plated desserts. The key is using chocolate that is set but not too hard.
Start by melting chocolate and spreading it thinly onto a flat, smooth surface, such as the back of a baking sheet or a marble slab. Let the chocolate set partially at room temperature until it is no longer liquid but still flexible – it should feel firm but yield slightly when touched (around 20-22°C or 68-72°F is often ideal). Then, using a metal scraper or a large knife held at a slight angle (around 45 degrees), push firmly across the surface of the chocolate.
This action will cause the chocolate to curl up as it peels away. Handle the delicate curls carefully and transfer them to a cool place to fully set.
Using Chocolate Molds: Creating Consistent Shapes
Chocolate molds offer a reliable way to produce uniform and detailed chocolate decorations. They are available in countless shapes and sizes, from simple geometric forms to intricate figures and holiday-themed designs. Molds are particularly useful when you need multiple identical pieces, saving time and ensuring consistency.
To use chocolate molds, simply melt and temper chocolate. Carefully pour or pipe the tempered chocolate into the mold cavities, tapping the mold gently against the counter to remove air bubbles. Scrape off any excess chocolate from the surface with a straight edge or palette knife for a clean finish. Allow the chocolate to set completely, either at room temperature or in the refrigerator, before carefully demolding by flexing or tapping the mold. This method is straightforward and produces professional-looking results, complementing other chocolate decoration piping techniques you might use on the main dessert.
Intermediate Chocolate Decoration Techniques
Once you're comfortable with the basics, you can explore more involved techniques that require a bit more control and understanding of chocolate properties. These methods often involve specific temperature control and handling.
Tempering Chocolate: Achieving a Glossy Finish
Tempering is a crucial process for achieving a stable, glossy, and snappy finish on chocolate decorations. It involves carefully controlling the temperature of melted chocolate to ensure that the cocoa butter crystals align correctly. Untempered chocolate will often result in a dull, streaky appearance and a soft, crumbly texture due to unstable crystal formation (known as "bloom").
The process typically involves melting chocolate to a specific temperature (e.g., 45-50°C for dark), then cooling it down while agitating to a working temperature (e.g., 31-32°C for dark), and sometimes briefly reheating slightly. Properly tempered chocolate will set quickly at room temperature and have a beautiful shine and clean snap when broken. Mastering tempering is essential for many elegant chocolate decoration techniques, especially those intended for display or handling.
Making Chocolate Ganache: For Smooth Coatings and Fillings
Chocolate ganache is a versatile mixture of chocolate and cream, widely used in pastry for fillings, glazes, truffles, and coatings. Its consistency can be controlled by adjusting the ratio of chocolate to cream. A higher chocolate ratio results in a thicker ganache suitable for truffles or firm fillings, while a higher cream ratio yields a thinner ganache perfect for pouring glazes or whipping into a light frosting.
To make a basic ganache, heat heavy cream just to a simmer, then pour it over finely chopped chocolate. Let it sit for a few minutes to allow the chocolate to melt, then gently whisk from the center outwards until smooth and emulsified. Avoid vigorous whisking, which can incorporate air bubbles. Once smooth, ganache can be used warm as a glaze, chilled and whipped for a frosting, or cooled to a fudgy consistency for fillings or shaping. It's a fundamental component in many chocolate decoration piping techniques used for filling or covering surfaces.
Creating Chocolate Ribbons: Adding a Touch of Elegance
Chocolate ribbons are delicate, flowing decorations that add height and movement to cakes and plated desserts. They require tempered chocolate for stability and a beautiful sheen. The technique involves spreading tempered chocolate thinly and shaping it while it sets.
Spread a thin layer of tempered chocolate onto an acetate sheet or parchment paper. As the chocolate begins to set but is still flexible, gently lift the edges and shape the sheet into folds or curves, mimicking the look of fabric ribbons. Allow the chocolate to set completely in the desired shape before carefully peeling away the acetate or parchment. These elegant pieces are fragile and best handled once fully hardened.
Working with Colored Cocoa Butter: Adding Vibrant Hues
Colored cocoa butter is a fantastic medium for adding vibrant colors and patterns to chocolate decorations, especially when working with molds or creating surface designs. It is essentially cocoa butter infused with food-grade colorants, specifically designed for use with chocolate.
Colored cocoa butter needs to be melted and kept warm (typically around 28-30°C or 82-86°F) while working. It can be applied to the inside of chocolate molds before pouring in tempered chocolate, creating colored shells or bases. It can also be airbrushed onto tempered chocolate surfaces or used with stencils for intricate patterns. Working with colored cocoa butter adds another layer of artistry to your chocolate decoration techniques.
Advanced Chocolate Decoration Techniques
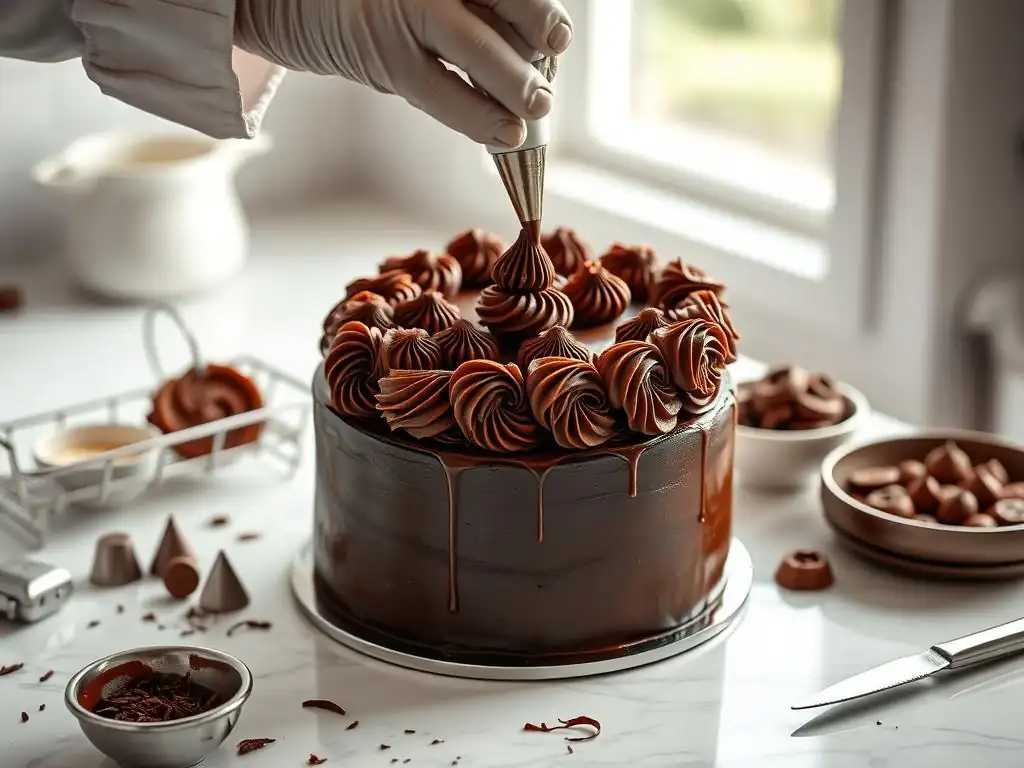
For those looking to push the boundaries of chocolate artistry, advanced techniques involve more complex structures, delicate handling, and often require specialized equipment and significant practice.
Creating Chocolate Sails: Adding Height and Drama
Chocolate sails are dramatic, curved pieces of chocolate that stand upright on a cake or dessert, adding significant height and visual impact. They require tempered chocolate and a surface that can be shaped while the chocolate sets.
Spread a thin, even layer of tempered chocolate onto an acetate sheet. While the chocolate is still wet, lift the acetate and drape it over a curved object, such as a rolling pin, a crumpled piece of parchment paper, or even the side of a bowl, to create the desired sail shape. Ensure the base of the sail is flat so it can stand upright. Let the chocolate set completely in this curved position before carefully peeling away the acetate. The resulting sail will hold its shape, adding striking drama to your dessert.
Making Chocolate Flowers: Delicate and Beautiful Decorations
Creating realistic or stylized chocolate flowers is an advanced technique that requires precision, patience, and often, sculpting skills. Flowers can be made from modeling chocolate (a mixture of chocolate and corn syrup or glucose, which is pliable like fondant) or from carefully tempered chocolate petals.
For modeling chocolate flowers, the mixture is kneaded until smooth and then rolled thinly and cut into petal shapes. These petals are then shaped by hand or using tools and assembled to form flowers. For tempered chocolate flowers, individual petals are often made by spreading tempered chocolate onto acetate, shaping them while setting, and then assembling the hardened petals with a bit more melted chocolate. Both methods require significant practice to achieve delicate, lifelike results.
Airbrushing Chocolate: Achieving Gradients and Textures
Airbrushing is a technique used to apply a fine mist of colored cocoa butter or tempered chocolate onto a surface, allowing for smooth gradients, shading, and textured effects. It requires an airbrush kit designed for food use.
Colored cocoa butter is typically used for airbrushing onto tempered chocolate or molded pieces. It is melted and kept at the correct temperature (around 28-30°C). The airbrush allows for controlled application, from subtle shading to opaque coverage. Different stencils and techniques can be used to create patterns or textures. Airbrushing adds a professional, polished look to chocolate decorations and is particularly effective for creating realistic finishes or abstract art.
3D Chocolate Design: Creating Sculptural Elements
3D chocolate design involves creating freestanding or complex sculptural elements from chocolate. This can range from simple geometric shapes assembled together to intricate figures and showpieces. Modeling chocolate is often used for sculpting due to its pliability, but tempered chocolate can also be used to create structural components or assemble pieces.
Techniques include hand-sculpting modeling chocolate, using molds to create components, assembling pieces using melted chocolate as "glue," and sometimes incorporating internal supports. Creating large or complex 3D pieces requires a good understanding of chocolate's structural properties, careful planning, and often, working in a cool environment. This is a highly advanced technique, often seen in professional chocolate artistry competitions.
Tips for Successful Chocolate Decoration
Achieving beautiful results with chocolate decoration requires attention to detail and understanding how chocolate behaves. Here are some essential tips to help you succeed, particularly when applying various chocolate decoration piping techniques.
Tempering Techniques: Seed Method, Tablier Method, and Microwave Method
Mastering tempering is key for glossy, stable chocolate decorations. There are several methods:
- Seed Method: Melt chocolate to its initial temperature (e.g., 45-50°C for dark). Remove from heat and add finely chopped solid tempered chocolate (the "seed") while stirring. The seed chocolate helps cool the melted chocolate and introduces stable crystals. Continue stirring until the chocolate cools to the working temperature (e.g., 31-32°C for dark). Remove any undissolved seed pieces.
- Tablier (Tableau) Method: Melt chocolate to its initial temperature. Pour about two-thirds of the melted chocolate onto a clean marble or granite surface. Using a palette knife and scraper, continuously work the chocolate back and forth, spreading and gathering it, to cool it down quickly. This agitation promotes crystal formation. Once the chocolate thickens and reaches working temperature, scrape it back into the bowl with the remaining melted chocolate and stir to homogenize.
- Microwave Method: A simpler method for small amounts. Heat chopped chocolate in the microwave on low power (30-second intervals), stirring well after each interval. Continue until the chocolate is mostly melted, with a few small solid pieces remaining. Stir until the residual heat melts the remaining pieces and the chocolate reaches working temperature. This method relies on the solid pieces acting as seed crystals.
Practice is key to mastering any tempering method and ensuring your chocolate is perfectly ready for chocolate decoration piping techniques or molding.
Controlling Chocolate Temperature: Maintaining the Right Consistency
Maintaining the correct working temperature is crucial for smooth and consistent chocolate decoration, especially for fine lines or intricate patterns using chocolate decoration piping techniques. If the chocolate cools too much, it will become too thick to pipe smoothly. If it gets too hot, it will lose its temper and potentially seize.
Once chocolate is tempered and at its working temperature (e.g., 31-32°C for dark), keep it warm using gentle heat. A warming pad on a low setting, a heat lamp from a distance, or placing the bowl over a bain-marie off the heat (just using residual warmth) can help maintain the temperature. Stir the chocolate occasionally to ensure even heating and prevent it from setting in the bowl.
Achieving a Smooth Finish: Minimizing Imperfections
A smooth, flawless finish is the hallmark of elegant chocolate decoration. Several factors contribute to this, including proper melting and tempering, removing air bubbles, and working quickly and confidently.
When melting chocolate, avoid introducing water or steam, which can cause it to seize. Ensure all tools are completely dry. When pouring chocolate into molds or spreading it onto a surface, tap the mold or surface gently to release any trapped air bubbles. When using chocolate decoration piping techniques for smooth lines or dots, apply even pressure on the piping bag and maintain a consistent speed. If working with large surfaces like a cake drip, ensure the chocolate is at the correct consistency and apply it evenly around the edge.
Working with Different Types of Chocolate: Dark, Milk, and White
Different types of chocolate behave slightly differently due to their varying cocoa solid, sugar, and milk content. Dark chocolate typically contains the highest percentage of cocoa solids and requires the highest tempering temperature (around 31-32°C working temperature). Milk chocolate has added milk solids and sugar, making it sweeter and requiring a slightly lower tempering temperature (around 29-30°C). White chocolate contains cocoa butter but no cocoa solids (just milk solids and sugar), making it the most sensitive to heat and requiring the lowest tempering temperature (around 28-29°C).
Always check the specific tempering instructions for the brand and type of chocolate you are using, as these temperatures can vary slightly. White and milk chocolate are more prone to scorching and seizing than dark chocolate, so require more careful melting and handling, especially when used for delicate chocolate decoration piping techniques.
Chocolate Decoration Ideas and Inspiration
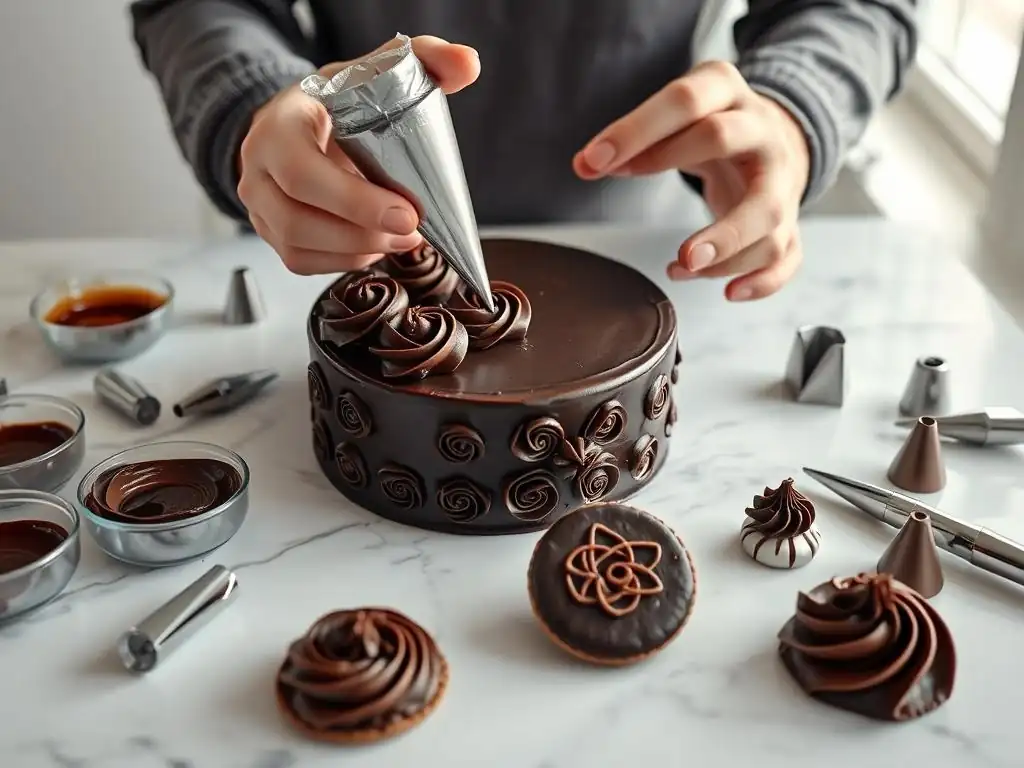
Looking for ways to apply your newfound skills? Chocolate decorations can enhance almost any dessert. Here are some ideas to spark your creativity.
Decorating Cakes with Chocolate: Elegant Designs
Cakes provide a large canvas for chocolate decoration. Simple techniques like a chocolate drip down the sides, chocolate shards inserted into frosting, or a scattering of chocolate curls can add instant elegance. For more elaborate designs, consider creating chocolate collars around the base of the cake, piping intricate patterns onto a smooth ganache surface using chocolate decoration piping techniques, or topping the cake with sculpted chocolate flowers or sails.
You can also pipe borders or messages directly onto the cake using melted chocolate or ganache. Creating chocolate transfer sheets allows you to add printed patterns or images. The possibilities for cake decoration using chocolate are truly limitless, combining various techniques for stunning results.
Enhancing Cupcakes with Chocolate: Creative Toppings
Cupcakes are perfect for showcasing smaller, individual chocolate decorations. A simple swirl of chocolate ganache frosting, topped with a few chocolate curls or a small piped design, is classic. You can also dip the tops of frosted cupcakes in melted chocolate for a smooth shell.
Using small chocolate molds to create shapes like stars, hearts, or mini figures to place on top of frosting is another easy method. For more detailed work, use fine tips for chocolate decoration piping techniques to add intricate patterns, tiny dots, or delicate lines directly onto the frosting or a chocolate disk placed on top.
Adding Chocolate to Plated Desserts: Artistic Touches
Plated desserts often feature artistic arrangements, and chocolate decorations are essential for adding visual flair. Simple elements like chocolate shards, curls, or piped dots and lines on the plate itself can elevate the presentation.
Consider using chocolate decoration piping techniques to create delicate chocolate lace patterns on parchment paper, which can then be placed alongside the dessert. Thin chocolate ribbons or abstract tempered chocolate shapes can add height and structure. A drizzle of chocolate sauce or a smear of ganache on the plate can serve as a base or complement to the main chocolate decorations.
Chocolate Decorations for Holidays: Festive and Unique Designs
Chocolate decorations offer a fantastic way to customize desserts for holidays and special occasions. Chocolate molds are readily available in seasonal shapes like snowflakes, hearts, pumpkins, or Easter eggs.
You can also use chocolate decoration piping techniques to create themed designs. For example, pipe intricate spiderwebs for Halloween, festive patterns for Christmas, or romantic swirls for Valentine's Day. Coloring white chocolate with food-grade colorants allows you to match specific holiday palettes. Get creative and let the season inspire your chocolate artistry!
Troubleshooting Chocolate Decoration Issues
Even experienced bakers encounter challenges when working with chocolate. Understanding common problems and their solutions will help you achieve better results and avoid frustration.
Bloom on Chocolate: Understanding and Preventing It
Chocolate bloom refers to the grayish streaks or patches that can appear on the surface of chocolate. There are two types: fat bloom and sugar bloom. Fat bloom is caused by unstable cocoa butter crystals migrating to the surface, usually due to improper tempering or storage at fluctuating temperatures. Sugar bloom occurs when moisture collects on the surface, dissolving sugar crystals which then recrystallize as white spots when the moisture evaporates.
Preventing bloom primarily involves proper tempering and storage. Always temper chocolate correctly before using it for decorations. Store finished chocolate decorations in a cool, dry place with stable temperatures (ideally around 18-20°C or 64-68°F). Avoid refrigerating untempered chocolate or exposing it to sudden temperature changes or high humidity. While bloomed chocolate is still safe to eat, its texture and appearance are compromised.
Chocolate Seizing: Causes and Solutions
Chocolate seizing is when melted chocolate suddenly turns from a smooth liquid to a thick, grainy, and unworkable paste. This is almost always caused by the introduction of even a tiny amount of water or steam while the chocolate is melting or liquid. The water causes the sugar crystals in the chocolate to clump together.
To prevent seizing, ensure all your tools, bowls, and spatulas are completely dry before they touch the chocolate. If using a double boiler, make sure the bottom of the bowl does not touch the simmering water and that no steam escapes into the chocolate. If your chocolate does seize, it can sometimes be salvaged for use in ganache or baked goods (where texture is less critical) by stirring in a tablespoon or two of hot cream or melted vegetable oil, but it likely won't be suitable for fine chocolate decoration piping techniques or molding.
Warped Chocolate: Preventing and Correcting
Warped chocolate decorations occur when pieces are allowed to cool and set unevenly, or if they are handled too soon before they are fully set. This is particularly common with thin pieces like shards, ribbons, or piped shapes.
To prevent warping, ensure the surface you are setting the chocolate on is flat and level. Allow decorations to set completely and evenly, ideally in a cool, stable environment. Avoid moving or handling delicate pieces until they are fully hardened. If a piece warps slightly, it's often difficult to correct without remelting and starting over, especially with tempered chocolate which relies on its crystal structure for stability.
Uneven Coating: Achieving a Smooth and Consistent Finish
Uneven chocolate coatings, whether on truffles, cakes, or molded pieces, can look messy. This can be caused by chocolate that isn't properly tempered, is too thick or too thin, or by inconsistent application.
For a smooth coating, use properly tempered chocolate at the correct working temperature – it should be fluid enough to coat evenly but thick enough to cling. Ensure the item being coated is cool and dry. When dipping, fully submerge the item and lift it out smoothly, allowing excess chocolate to drip off. For pouring or spreading, work quickly and evenly. When using chocolate decoration piping techniques for coating surfaces (like filling molds or outlining areas), ensure even pressure on the bag for consistent flow.
Conclusion: Unleash Your Inner Chocolatier
Embarking on the journey of chocolate decoration is a rewarding experience that blends culinary skill with artistic expression. From mastering fundamental chocolate decoration piping techniques to exploring advanced sculptural designs, each step allows you to transform simple chocolate into edible art.
The Art of Chocolate Decoration: A Journey of Creativity
Chocolate decoration is a continuous learning process. As you practice different techniques – whether it's perfecting your chocolate decoration piping techniques, achieving a flawless temper, or experimenting with new molds and colors – you'll develop your own style and discover new creative possibilities. Don't be afraid to experiment, learn from mistakes, and find inspiration in the world around you.
The ability to create beautiful and delicious chocolate decorations adds immense value to your baking repertoire. It allows you to personalize desserts, celebrate special moments, and share your passion with others. So grab your tools, melt some chocolate, and unleash your inner chocolatier! There's a world of elegant chocolate decorations waiting for you to create.
Frequently Asked Questions
How do I prepare my chocolate for piping decorations?
Proper preparation involves tempering the chocolate to achieve a smooth, glossy finish. This ensures the decorations will harden correctly and have a professional look. You can use the seeding method, microwave method, or double boiler method.
What are the essential tools needed for chocolate decoration piping?
Key tools include piping bags, a variety of piping tips (round, star, leaf, etc.), parchment paper, and a spatula. A chocolate melting pot or double boiler is also helpful for keeping the chocolate at the right temperature.
What are some simple chocolate piping techniques for beginners?
Start with basic techniques like piping dots, lines, and simple swirls. Practice on parchment paper first before decorating your actual baked goods. Mastering the correct pressure and consistent movement is important.
How can I prevent my chocolate decorations from blooming or cracking?
Proper tempering is crucial to prevent blooming (white spots). Avoid rapid temperature changes and store the decorations in a cool, dry place away from direct sunlight after they have fully set.
What can I do if my piped chocolate decorations are not sticking to my cake or pastry?
Ensure the surface of the cake or pastry is slightly tacky or has a thin layer of ganache or buttercream. The chocolate decorations should be applied while the chocolate is still pliable but not too soft.
Final Reflection: The Enduring Allure of Elegant Chocolate
The art of chocolate decoration, once confined to professional pastry chefs, is now within everyone's reach. Simple techniques, readily accessible through online tutorials and readily available tools, empower home bakers and enthusiasts to create stunning, professional-looking confections. This democratization of skill is transforming the way we approach dessert, elevating everyday treats into works of art.
The impact of accessible chocolate decorating techniques extends beyond the individual creation; it fosters a sense of community and shared creativity. We see this reflected in the explosion of online baking communities, where individuals share their creations, tips, and inspiration. This collaborative spirit is truly enriching. The best things in life are homemade,
a sentiment often echoed, takes on a new dimension when applied to the artistry of chocolate decoration. It's not just about the taste, but the tangible expression of care and skill.
Now, it's your turn. Consider the simple techniques explored in this article – the swirls, the dots, the delicate lines. Don't be intimidated by the seemingly complex results. Experiment, practice, and discover the joy of transforming a simple chocolate treat into a masterpiece. Let your creativity flow, and share your creations with the world. The beauty of chocolate decoration lies not only in the final product, but in the journey of creation itself.
Unleash Your Inner Pastry Artist!
Thanks for joining us on this chocolate decorating journey! We hope you've discovered some new techniques to elevate your baking creations. Ready to put your newfound skills to the test?
- Master a new chocolate design: Choose one technique from the article and practice it – you'll be amazed at how quickly you improve! Try a simple swirl, then challenge yourself with a more intricate pattern.
- Share your delicious creations: Post a picture of your chocolate-decorated masterpiece on social media and tag us – we'd love to see your work!
- Explore our other baking guides: Dive deeper into the world of dessert decorating with more tips and tricks from BakeWithEase.
What elegant chocolate design will you create first?