
Beginner's Classic Lemon Meringue Pie Base

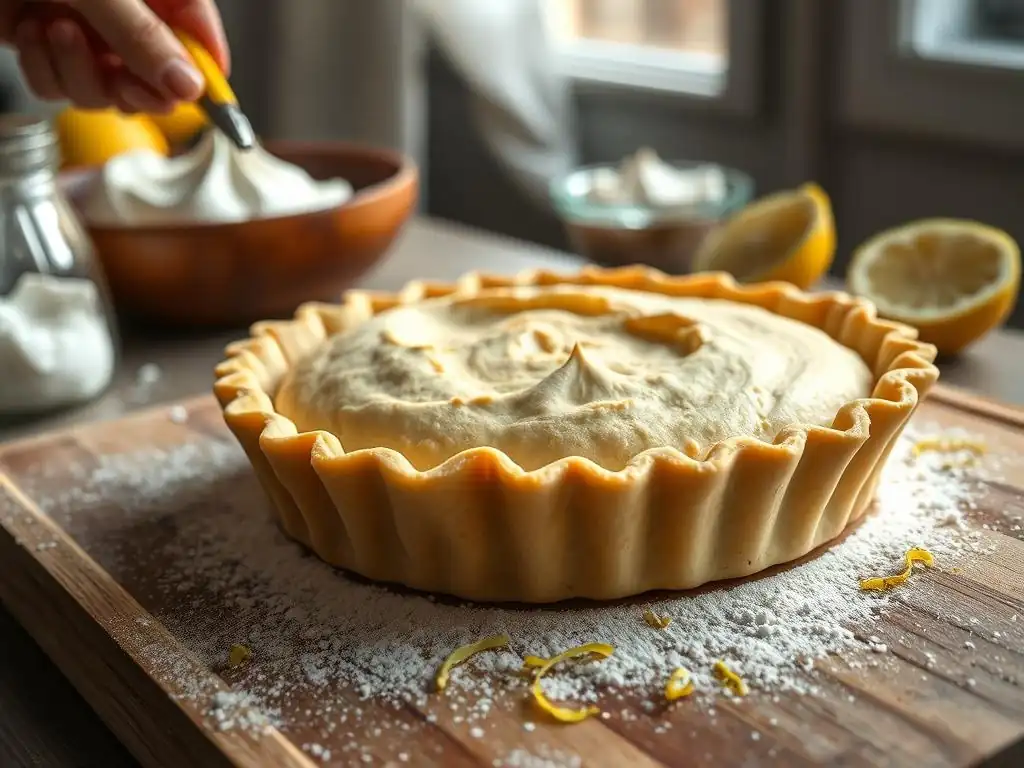
Welcome to BakeWithEase, where the art of baking becomes a delightful adventure! Whether you're just starting out or looking to refine your skills, our site is here to guide you every step of the way. In this article, we’re diving into the world of Easy Lemon Meringue Pie Crust, a fundamental recipe that will elevate your baking repertoire.
Get ready to discover the secrets behind creating a perfectly flaky base that harmonizes beautifully with tart lemon filling and fluffy meringue. Are you curious about how to achieve that perfect crust? Let’s get started and unlock the delicious potential of your baking journey!
- Classic Lemon Meringue Pie: A Baker's Guide
- Introduction to the Perfect Pie Crust
- Essential Pie Crust Ingredients
- Step-by-Step Guide to Pie Crust
- Rolling Out the Pie Dough
- Pre-Baking (Blind Baking)
- Troubleshooting Pie Crust Problems
- Storing Your Baked Pie Crust
- Filling Your Baked Pie Crust with Lemon Curd
- Making the Meringue Topping
- Serving and Enjoying
- Conclusion: Your Pie Baking Journey
-
Frequently Asked Questions
- How can I ensure my lemon meringue pie crust doesn't shrink during baking?
- What type of flour is best for an easy lemon meringue pie crust?
- My lemon meringue pie crust is always soggy. How can I prevent this?
- Can I use store-bought pie crust for the Beginner's Classic Lemon Meringue Pie Base?
- What's the best way to get a flaky texture in my lemon meringue pie crust?
- Final Reflection: Mastering the Simple, Achieving the Sublime
- Unlock Your Inner Pastry Chef: Master the Perfect Lemon Meringue Base!
Classic Lemon Meringue Pie: A Baker's Guide
Introduction to the Perfect Pie Crust
Why a Good Pie Crust is Essential
The foundation of any truly memorable pie, especially a bright and tangy lemon meringue pie, is its crust. It's more than just a container for the filling; it's a crucial element that provides textural contrast and flavor balance. A perfectly baked crust offers a delightful crispness that stands up to the soft, smooth lemon curd and the fluffy meringue topping.
Imagine biting into a slice where the flaky, buttery layers of the crust meet the vibrant citrus tang – that interplay is what elevates a simple dessert to something special. Without a solid, flavorful base, even the most exquisite lemon curd and meringue can fall flat.
A poorly made crust, on the other hand, can ruin the entire experience. A soggy bottom, tough texture, or bland taste can detract significantly from the vibrant flavors of the lemon filling. For beginners, mastering an easy lemon meringue pie crust recipe is a key step towards baking success. It’s the first hurdle, and getting it right builds confidence for future baking adventures. Achieving that golden-brown perfection and light, flaky texture is a skill worth cultivating, promising delicious results that impress everyone who takes a bite.
Simple Pie Crust Techniques
Creating a great pie crust doesn't have to be intimidating, even for novice bakers. Several simple techniques are fundamental to achieving that desirable flaky texture. One primary method involves cutting cold fat (like butter or shortening) into the flour until the mixture resembles coarse crumbs or small peas. This ensures that pockets of fat remain distributed throughout the dough, which melt during baking to create steam, separating the layers of gluten and resulting in flakiness. Using minimal cold water to bring the dough together is also key, as too much liquid develops excess gluten, leading to a tough crust.
Another crucial technique is chilling the dough. After mixing, the dough needs time in the refrigerator to allow the fat to firm up and the gluten to relax. This makes the dough easier to roll out evenly without shrinking excessively during baking. For an easy lemon meringue pie crust, mastering these simple steps – cutting in cold fat, using minimal cold water, and chilling the dough – is far more important than complex manipulations. Patience during the chilling phase is especially vital; rushing this step can make rolling difficult and compromise the final texture.
Essential Pie Crust Ingredients
Flour: Choosing All-Purpose or Pastry Flour
The type of flour you choose significantly impacts the texture of your pie crust. All-purpose flour is a common and versatile choice for an easy lemon meringue pie crust because it's readily available and provides a good balance of structure and tenderness. It typically has a protein content ranging from 10% to 12%. The protein forms gluten when hydrated and worked, which gives the crust its structure. While too much gluten can lead to toughness, using all-purpose flour correctly (with minimal working and proper chilling) yields excellent results.
Pastry flour, with a lower protein content (around 8% to 9%), can produce an even more tender and delicate crust. However, it can also be trickier to work with as it's less forgiving if overworked. For beginners focusing on an easy lemon meringue pie crust, starting with all-purpose flour is often recommended. It provides enough structure to handle rolling and transferring without being excessively prone to toughness, making the learning process smoother and more successful.
Fat: Butter for Flavor, Shortening for Flakiness
The fat you use is arguably the most important ingredient for texture and flavor in a pie crust. Cold butter is prized for its delicious, rich flavor and contributes significantly to flakiness. As butter melts during baking, its water content turns to steam, creating those desirable airy layers. Using very cold, unsalted butter cut into small pieces is essential. Approximately 1/2 cup to 3/4 cup (about 1 stick to 1.5 sticks or 115g to 170g) of cold butter is typical for a single 9-inch pie crust recipe.
Vegetable shortening, on the other hand, is 100% fat (unlike butter which is about 80-82% fat and 18-20% water). This makes it excellent for creating maximum flakiness because it doesn't spread as much as butter and creates distinct pockets. While shortening provides superb texture, it lacks the rich flavor of butter. Many bakers prefer a combination of cold butter and shortening for an easy lemon meringue pie crust that offers both great flavor and exceptional flakiness. Using half butter and half shortening is a popular approach, offering a balance of benefits.
Cold Water: Binding the Dough
Water is the binding agent that brings the flour and fat together to form a cohesive dough. However, it's crucial to use very cold water, often with ice cubes removed just before measuring. Cold water helps keep the fat solid in small pieces, which is necessary for flakiness. It also inhibits excessive gluten development. You only need just enough water to make the dough come together – typically between 1/4 cup and 1/2 cup (60ml to 120ml) for a single crust, but the exact amount can vary depending on flour type and humidity.
Adding the cold water gradually, often a tablespoon at a time, is the best approach. Mix lightly with a fork or your hands until the dough just clumps together. Over-hydrating the dough or mixing too much after adding water will develop too much gluten, resulting in a tough crust. The goal is a dough that looks shaggy but holds together when you press a piece between your fingers, making it easier to handle for your easy lemon meringue pie crust.
Sugar and Salt: Enhancing Flavor
While not strictly essential for the structure, sugar and salt play important roles in enhancing the flavor of a pie crust. A small amount of sugar (perhaps 1 to 2 teaspoons) adds a touch of sweetness that complements both the rich fat and the tangy filling. It also contributes to browning, giving the crust a more appealing golden color. While optional, it's a simple addition that elevates the overall taste.
Salt is vital as a flavor enhancer. It balances the richness of the fat and the sweetness (if added) and makes the overall flavor profile more pronounced. About 1/2 teaspoon to 1 teaspoon of salt is typically added to a single crust recipe. Ensure the salt is evenly distributed in the dry ingredients before adding the fat and water. These small additions of sugar and salt are simple steps that significantly improve the taste of your easy lemon meringue pie crust.
Step-by-Step Guide to Pie Crust
Preparing Ingredients: Keeping Everything Cold
Success with an easy lemon meringue pie crust starts before you even mix anything. The most critical rule is to keep all your ingredients, especially the fat and water, as cold as possible. Cold butter and/or shortening should be cut into cubes and kept in the refrigerator or even the freezer for 10-15 minutes before you begin. The flour can also be chilled, though this is less critical than the fat and water.
Measure your flour and other dry ingredients accurately. Have your measured ice-cold water ready in a cup. Some bakers even chill their mixing bowl and pastry blender (if using) in the freezer beforehand. This meticulous preparation step ensures that the fat remains solid during the initial mixing phase, which is fundamental for achieving the desired flaky texture. A simple checklist before starting might include:
- [ ] Flour measured and ready
- [ ] Cold butter/shortening cubed and chilled
- [ ] Salt and sugar measured
- [ ] Ice water measured and ready
- [ ] Mixing bowl and tools ready (optional chilling)
Combining Flour and Fat: The Cut-In Method
The next step is combining the dry ingredients (flour, salt, sugar) with the cold fat using the cut-in method. You can use a pastry blender, two forks, or even your fingertips (working quickly to avoid warming the fat). The goal is to break the cold fat into smaller pieces within the flour. Continue cutting in until the mixture resembles coarse crumbs, with some pieces of fat still visible – think pea-sized or even slightly larger flattened pieces.
Avoid overmixing during this stage. If you work the fat in too much, it will blend completely with the flour, resulting in a mealy texture rather than a flaky one. The visible pieces of fat are what create those wonderful layers in your easy lemon meringue pie crust. This process usually takes only a few minutes. A visual check is helpful: the mixture should look like a sandy beach mixed with some small pebbles.
Adding Water: Achieving the Right Consistency
Now it's time to add the cold water, the binding agent. Sprinkle the ice-cold water over the flour-fat mixture, usually a tablespoon at a time. After adding each tablespoon, gently mix with a fork or your hands until the water is just incorporated. The dough will still look quite dry and shaggy. Continue adding water, one tablespoon at a time, mixing minimally after each addition, until the dough just starts to come together.
You'll know you've added enough water when the dough appears shaggy but holds together when you gather a small amount and squeeze it in your hand. Be careful not to add too much water or mix too vigorously, as this develops gluten and leads to a tough crust. It's better to err on the side of slightly too dry – you can add a tiny bit more water if needed during rolling, but you can't take it away. For an easy lemon meringue pie crust, getting the water amount right is crucial for dough handleability.
Forming the Dough: Creating a Disc
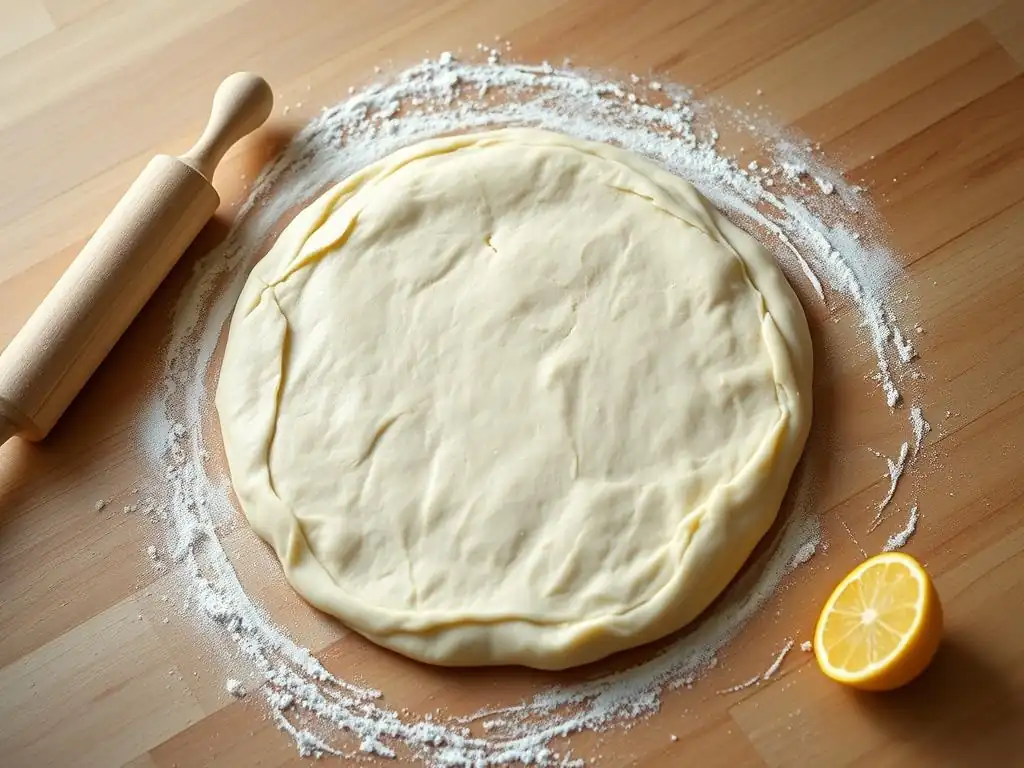
Once the dough has just come together into a shaggy mass, turn it out onto a lightly floured surface. Gently gather the dough and press it together. Resist the urge to knead it like bread dough; this will develop too much gluten and make the crust tough. Simply press and shape it into a flat disc, about 1-inch thick. This disc shape makes it much easier to roll out evenly later.
If making a double-crust pie (though for a lemon meringue pie base, you only need one), divide the dough in half and form two separate discs. Handle the dough as little as possible during this step. The less you work it, the more tender your final easy lemon meringue pie crust will be. Wrap the disc(s) tightly in plastic wrap, ensuring no air pockets.
Chilling the Dough: Resting for Texture
Chilling is a non-negotiable step for a successful pie crust. The wrapped dough disc needs to rest in the refrigerator for at least 1 hour, but preferably 2 hours or even overnight. This chilling time serves two main purposes: it allows the fat to re-solidify, which is essential for flakiness, and it allows the gluten developed during mixing to relax.
A properly chilled dough is much easier to roll out smoothly without sticking or shrinking excessively. It also helps the crust hold its shape during baking. Skipping or shortening the chilling time is a common mistake that can lead to frustration when rolling and a tough, misshapen crust. Plan ahead and give your easy lemon meringue pie crust dough the time it needs to rest in the cold.
Rolling Out the Pie Dough
Preparing Your Work Surface: Flour or Parchment Paper
Before rolling, prepare your work surface. A clean, dry counter or pastry board works well. You'll need to lightly flour the surface to prevent the dough from sticking. Use just enough flour to create a thin, even layer – too much flour can make the dough dry and tough. Some bakers prefer rolling between two sheets of parchment paper, which eliminates the need for added flour and makes transferring the rolled dough much easier, especially for a beginner making an easy lemon meringue pie crust.
If using parchment paper, simply place the dough disc between two sheets and roll. If using a floured surface, dust your rolling pin lightly with flour as well. Have your pie plate nearby to measure the size you need as you roll.
Rolling to the Right Thickness: Achieving Uniformity
Take the chilled dough disc from the refrigerator. If it's very hard, let it sit at room temperature for just 5-10 minutes to soften slightly, making it easier to roll without cracking, but don't let it get warm. Place the disc on your prepared surface. Begin rolling from the center outwards, rotating the dough periodically (if not using parchment) to prevent it from sticking and to ensure an even circular shape.
Roll the dough to a thickness of about 1/8 inch (roughly 3mm). Aim for a circle that is about 1 to 2 inches larger in diameter than your pie plate. This extra size is needed to fit into the bottom and up the sides of the plate, with some overhang for trimming or crimping. Rolling evenly is important for uniform baking; thin spots can burn, while thick spots may remain doughy. Patience and consistent rolling pressure are key to achieving this for your easy lemon meringue pie crust.
Transferring the Dough: Avoiding Tears
Transferring the rolled dough into the pie plate can feel daunting, but there are simple ways to make it less stressful. If you rolled the dough on parchment paper, simply peel off the top layer of parchment, invert the dough and bottom parchment over the pie plate, center it, and then peel off the bottom parchment. This method is very forgiving.
If rolling on a floured surface, gently roll the dough loosely around your rolling pin. Position the rolling pin over the edge of your pie plate, and then carefully unroll the dough, allowing it to settle into the plate. Gently ease the dough into the bottom corners and up the sides of the plate without stretching it, as stretching can cause it to shrink during baking. Trim any excess dough, leaving about a 1-inch overhang, which you can then fold under and crimp decoratively or simply press against the rim for an easy lemon meringue pie crust edge.
Pre-Baking (Blind Baking)
For a pie with a wet filling like lemon curd, pre-baking or "blind baking" the crust is essential to prevent a soggy bottom. This involves partially or fully baking the crust before adding the filling. For lemon meringue pie, you'll typically do a full blind bake to ensure the crust is golden and crisp all the way through, ready to hold the liquid filling without absorbing it.
Docking the Crust: Preventing Bubbling
Before pre-baking, you need to "dock" the crust. This means pricking the bottom and sides of the dough all over with a fork. These small holes act as vents, allowing steam to escape from underneath the dough during baking. Without docking, the steam can build up, causing large bubbles to form in the crust, distorting its shape and preventing it from lying flat in the pie plate.
Prick the dough thoroughly, about every half-inch or so, ensuring you go all the way through the dough to the plate. This simple step is vital for a well-formed and flat base for your easy lemon meringue pie crust. While some recipes suggest skipping this step if using pie weights and parchment, docking adds an extra layer of security against bubbles.
Using Pie Weights: Ensuring a Flat Base
To prevent the sides of the crust from collapsing and the bottom from puffing up excessively during blind baking, especially around the edges, you need to use pie weights. Line the docked crust with parchment paper or aluminum foil, pressing it gently into the corners and up the sides. Then, fill the lined crust with pie weights, dried beans, or uncooked rice. Fill it right up to the rim to provide support for the edges.
The weights hold the dough down, ensuring it bakes into a flat, even surface. This is particularly important for achieving a professional-looking easy lemon meringue pie crust that can hold a generous amount of filling. After the initial baking phase with weights, the weights and lining are removed for the final browning.
Baking Temperature and Time: Achieving Golden Brown
Pre-baking is typically done in a hot oven, often around 375°F to 400°F (190°C to 200°C). Place the pie plate with the weighted, lined crust on a baking sheet (to catch any potential spills and make transferring easier) in the preheated oven. Bake for an initial period with the weights – usually 15-20 minutes – until the edges look set and slightly opaque.
Carefully remove the pie plate from the oven. Lift out the parchment or foil liner filled with pie weights. Return the crust to the oven and continue baking for another 10-15 minutes, or until the bottom is golden brown and appears dry and cooked through. The exact time will depend on your oven and the dough thickness, but aim for a color that signals a fully baked, crisp base for your easy lemon meringue pie crust.
Troubleshooting Pie Crust Problems
Dough Too Dry: Adding Water Gradually
Sometimes, despite your best efforts, the dough might feel too dry and crumbly, refusing to come together when you're forming the disc or attempting to roll it out. This usually means you didn't add quite enough cold water initially or that your flour was particularly dry. Don't despair! You can often salvage it.
If the dough is very crumbly during forming, you can sprinkle in just a teaspoon or two more of ice water and gently work it in until the dough holds together. If it's breaking apart while rolling, you can sometimes sprinkle a tiny amount of water on the cracked areas and gently press them back together. Remember to do this sparingly and gently to avoid developing toughness. A little bit of patience and careful handling can save your easy lemon meringue pie crust.
Dough Too Wet: Adding Flour Sparingly
Conversely, if you accidentally added too much water, or if your flour absorbed less than expected, your dough might be sticky and difficult to handle. It might stick excessively to your hands or the work surface. While harder to fix than dry dough, it's not impossible.
If the dough is very wet when forming the disc, dust your hands and the surface lightly with flour and work it in gently until it's manageable. If it feels sticky during rolling, dust your surface and rolling pin very lightly with flour. Avoid adding large amounts of flour directly into the dough itself, as this can create dry pockets and upset the fat-to-flour ratio. Using just a whisper of flour on the surface is usually sufficient to make a slightly wet easy lemon meringue pie crust dough workable.
Shrinking Crust: Proper Docking and Chilling
A common frustration is a pie crust that shrinks significantly away from the edges of the plate during baking. Several factors can cause this. Insufficient chilling is a major culprit; if the fat is too warm or the gluten hasn't relaxed, the dough is more likely to pull back in the heat of the oven. Overworking the dough, which develops too much elastic gluten, also contributes to shrinkage.
Ensuring your dough is well-chilled for at least an hour (preferably two) and handled minimally during mixing and forming is crucial. Also, make sure the dough is gently eased into the pie plate without stretching it. Proper docking and the use of pie weights during blind baking also help support the structure and minimize shrinkage for a well-formed easy lemon meringue pie crust.
Tough Crust: Avoiding Overworking
A tough pie crust is usually the result of overworking the dough at one or more stages. Every time you mix, knead, or handle the dough roughly after adding water, you develop the gluten strands in the flour. While some gluten structure is needed, too much creates a dense, bread-like, and tough texture instead of the desired flaky, tender one.
To avoid toughness, use cold ingredients, especially the fat and water. Cut the fat into the flour gently until it resembles coarse crumbs. Add just enough water for the dough to just come together. Form the dough disc with minimal handling and avoid kneading. Roll it out gently, without excessive pressure. Following these steps for an easy lemon meringue pie crust focuses on minimal manipulation, which is key to tenderness.
Storing Your Baked Pie Crust
Cooling Completely
Once your pie crust is perfectly blind-baked to a golden-brown finish, it's crucial to let it cool completely before adding any filling. Transfer the pie plate to a wire rack and allow it to cool for at least 30-60 minutes, or until it reaches room temperature. Attempting to fill a warm crust will cause the bottom to steam and become soggy when the filling is added, undoing all your careful work to prevent a soggy bottom.
Patience during the cooling phase ensures that the crust sets properly and maintains its crisp texture. A fully cooled crust is also easier to handle when adding the filling and subsequent layers for your lemon meringue pie.
Proper Storage Methods: Maintaining Freshness
If you've baked the crust ahead of time, proper storage is key to maintaining its crispness. Once completely cooled, you can store the blind-baked pie crust at room temperature for 1-2 days. The best way to store it is loosely covered with plastic wrap or placed inside a pie carrier or a large airtight container to protect it from moisture and air.
Avoid refrigerating a plain baked crust unless the humidity is very high, as the refrigerator can dry it out and make it stale. Keep it on the counter away from direct sunlight or heat sources. This simple storage method keeps your easy lemon meringue pie crust ready for filling.
Freezing for Future Use
A blind-baked pie crust can also be frozen for longer storage, making it a great option for preparing ahead. Once the crust is completely cool, wrap the entire pie plate containing the baked crust tightly in several layers of plastic wrap, followed by a layer of aluminum foil. Label it with the date.
Frozen baked crusts can be stored for up to 1-2 months. When you're ready to use it, unwrap the frozen crust and let it thaw at room temperature for an hour or two. You may want to pop it back into a preheated oven (around 350°F or 175°C) for 5-10 minutes to re-crisp it before adding your lemon filling. Freezing is a fantastic way to have an easy lemon meringue pie crust ready whenever a craving strikes.
Filling Your Baked Pie Crust with Lemon Curd
Preparing the Crust for Filling
Once your blind-baked crust is completely cool, it's ready to receive that vibrant, tangy lemon curd. Before pouring in the filling, ensure the crust is sitting on a stable surface. Some bakers like to brush the bottom of the cooled crust with a thin layer of egg white and bake for another 2-3 minutes until set; this creates a very thin seal that acts as an extra barrier against moisture from the filling, although a properly blind-baked crust usually doesn't require this step.
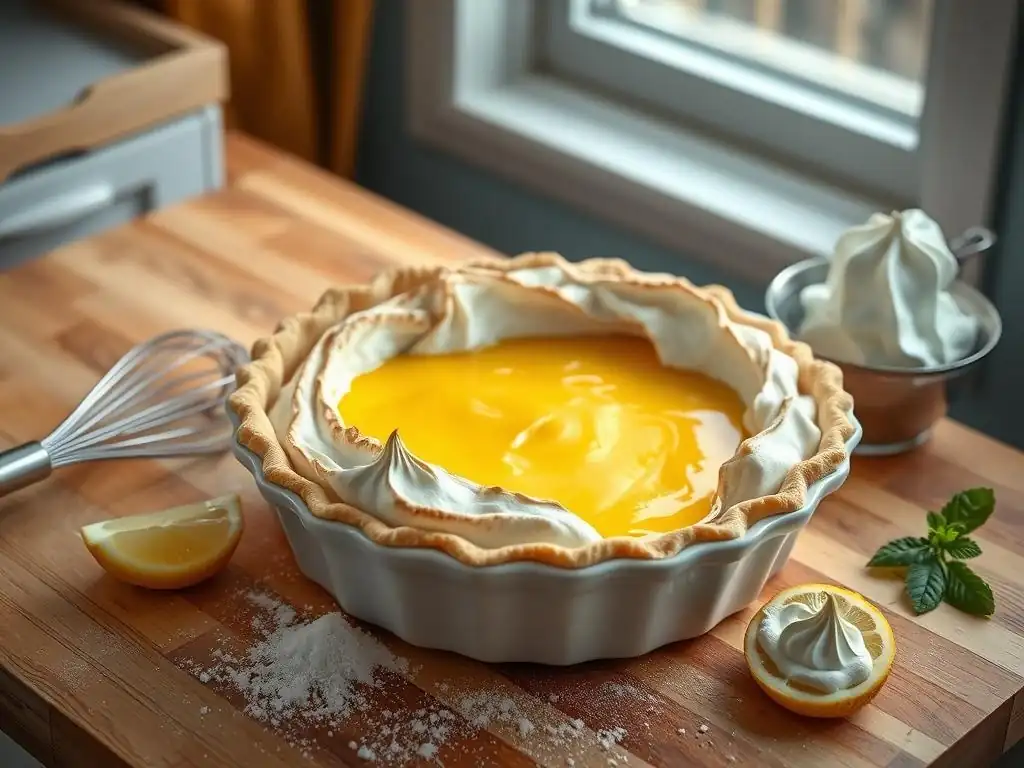
Gently pour the prepared lemon curd into the cooled, baked crust. Use a spatula to spread the filling evenly to the edges. The crust should be sturdy enough to hold the weight of the filling without cracking, thanks to the blind baking process. Ensure the filling is smooth and level, providing a perfect base for the meringue topping.
Making the Meringue Topping
Preparing the Crust for Meringue
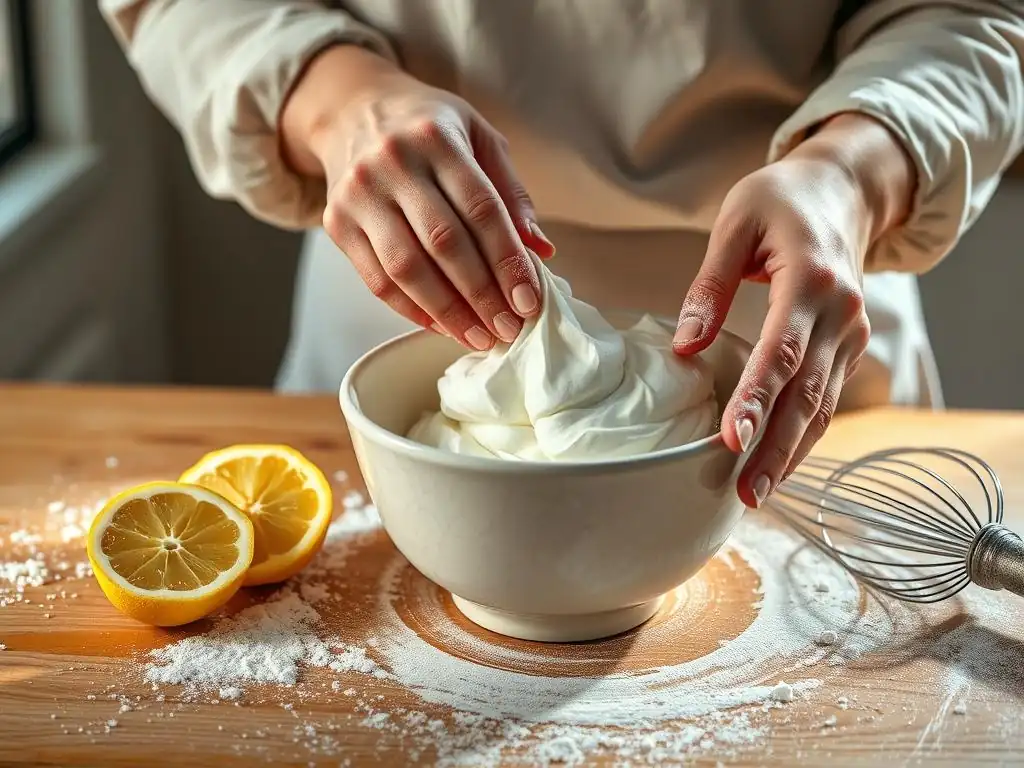
After the lemon curd has been poured into the baked crust, it's time to add the signature fluffy meringue. The lemon curd should ideally still be warm when you add the meringue topping. The heat from the curd helps to slightly cook the bottom of the meringue, preventing it from weeping (forming a watery layer between the curd and the meringue).
Ensure the meringue is spread all the way to the edges of the crust, touching the pastry all around. This seal is important for preventing the meringue from shrinking away from the edges during baking and browning. Use a spoon or spatula to create swirls and peaks in the meringue for a beautiful, classic look on your easy lemon meringue pie crust base.
Serving and Enjoying
Tips for Slicing and Serving
Slicing a lemon meringue pie cleanly can sometimes be a challenge, especially with the fluffy meringue. For the cleanest slices, make sure the pie has had adequate time to set. Ideally, after adding and browning the meringue, let the pie cool completely at room temperature for a few hours, and then chill it in the refrigerator for at least 2-3 hours, or until the lemon curd is firm.
Use a sharp knife dipped in hot water and wiped dry before each cut. Slice straight down through the meringue, curd, and crust. Wipe the knife clean between slices for the neatest presentation. Serving the pie chilled ensures the filling is firm and the slices hold their shape beautifully atop the sturdy easy lemon meringue pie crust.
Best Ways to Store Leftovers
Lemon meringue pie is best enjoyed the day it's made, as the meringue can start to break down over time. However, if you have leftovers, store the pie in the refrigerator. Cover it loosely with plastic wrap or a pie dome. Avoid pressing the wrap directly onto the meringue, as this will compress and damage it.
Stored in the refrigerator, leftover lemon meringue pie is typically best eaten within 1-2 days. The crust may soften slightly over time due to the moisture from the filling and meringue, but the flavors will still be delicious. Unfortunately, lemon meringue pie does not freeze well due to the texture changes in the meringue upon thawing.
Conclusion: Your Pie Baking Journey
Celebrate Your Success
Congratulations! You've successfully navigated the process of creating a classic easy lemon meringue pie crust and assembled a delicious pie. From understanding the role of cold ingredients to mastering the cut-in method and achieving a perfect blind bake, you've built fundamental pie-making skills. Each step, from preparing the dough disc to rolling it out and transferring it without tears, is a small victory on the path to becoming a confident baker.
Take a moment to appreciate your accomplishment. The golden-brown, flaky crust, the vibrant lemon filling, and the cloud-like meringue are testaments to your effort. Baking is a journey of learning and practice, and making a successful pie crust is a significant milestone. Enjoy that first slice – you've earned it!
Further Baking Resources
Now that you've mastered the easy lemon meringue pie crust, a world of pie possibilities opens up! You can apply these same techniques to countless other sweet and savory pies and tarts. Consider trying your hand at different crust variations, like a whole wheat crust or a gluten-free version, using the same core principles of cold ingredients and minimal handling.
Explore other pie fillings, from apple and cherry to quiche and pot pie. Each new recipe offers an opportunity to refine your crust-making skills. Continue experimenting, learning from both successes and mistakes, and soon you'll be whipping up perfect pies with ease. Keep baking, keep exploring, and enjoy the delicious rewards!
Frequently Asked Questions
How can I ensure my lemon meringue pie crust doesn't shrink during baking?
To prevent shrinking, blind bake your crust with pie weights or dried beans, and chill the dough thoroughly before baking. This helps to stabilize the gluten and minimize movement in the oven.
What type of flour is best for an easy lemon meringue pie crust?
All-purpose flour is a great starting point, but for a more tender crust, consider using pastry flour or a blend of all-purpose and cake flour. These flours have a lower protein content, resulting in a more delicate texture.
My lemon meringue pie crust is always soggy. How can I prevent this?
A soggy crust usually means it's not fully baked or that the filling is too wet. Ensure your crust is golden brown before adding the filling and consider brushing the baked crust with melted chocolate for a moisture barrier.
Can I use store-bought pie crust for the Beginner's Classic Lemon Meringue Pie Base?
While BakeWithEase focuses on homemade baking, a store-bought crust can be a convenient shortcut. However, for the best flavor and texture, we recommend trying our easy homemade crust recipe.
What's the best way to get a flaky texture in my lemon meringue pie crust?
The secret to a flaky crust is using cold ingredients and avoiding overmixing. Work the butter into the flour until it resembles coarse crumbs, and add ice water a little at a time until the dough just comes together.
Final Reflection: Mastering the Simple, Achieving the Sublime
The seemingly simple act of crafting a perfect pie crust is, in reality, a gateway to culinary mastery. A flawlessly executed base, as detailed in this guide to an easy lemon meringue pie crust, isn't just about achieving a crisp, golden-brown exterior; it's about understanding the fundamentals of baking, the delicate balance of ingredients, and the patience required to create something truly special. This foundational skill unlocks a world of possibilities, from classic pies to innovative tarts and beyond.
The enduring appeal of lemon meringue pie, and indeed of all pie, lies in its ability to evoke nostalgia and comfort. It's a dish that transcends generations, connecting us to family traditions and cherished memories. A pie is a love letter to the stomach.
This sentiment perfectly captures the emotional resonance of baking, and the simple act of creating a perfect crust amplifies that connection. The process itself, from measuring ingredients to the satisfying thud of the rolling pin, becomes a meditative practice, allowing for a mindful escape from the everyday.
Now, consider your own journey. Perhaps you've already attempted a lemon meringue pie, or maybe this guide has inspired you to try for the first time. Regardless, I encourage you to embrace the challenge. Don't be intimidated by the seemingly complex process; focus on the joy of creation, the satisfaction of mastering a fundamental skill, and the delicious reward that awaits. The perfect pie crust, and the delicious lemon meringue pie it supports, is within your reach. Go forth and bake!
Unlock Your Inner Pastry Chef: Master the Perfect Lemon Meringue Base!
Thanks for taking the time to explore the world of classic lemon meringue pie with us! We hope you now feel confident tackling this delicious dessert. Ready to take your baking skills to the next level?
- Bake your own masterpiece! Try out the recipe today – we bet you’ll be amazed at how easy it is to create this stunning pie.
- Share your creation: Post a picture of your lemon meringue pie on social media and tag us @BakeWithEase – we'd love to see your baking success!
- Explore more classic recipes: Discover other time-tested baking treasures on our website – from crumbles to cakes, we have something for every baker.
What's your favorite part of making a lemon meringue pie – the creamy filling, the fluffy meringue, or the perfectly baked crust? Let us know in the comments!