
Freezing Techniques: How to Store Your Frozen Desserts Perfectly

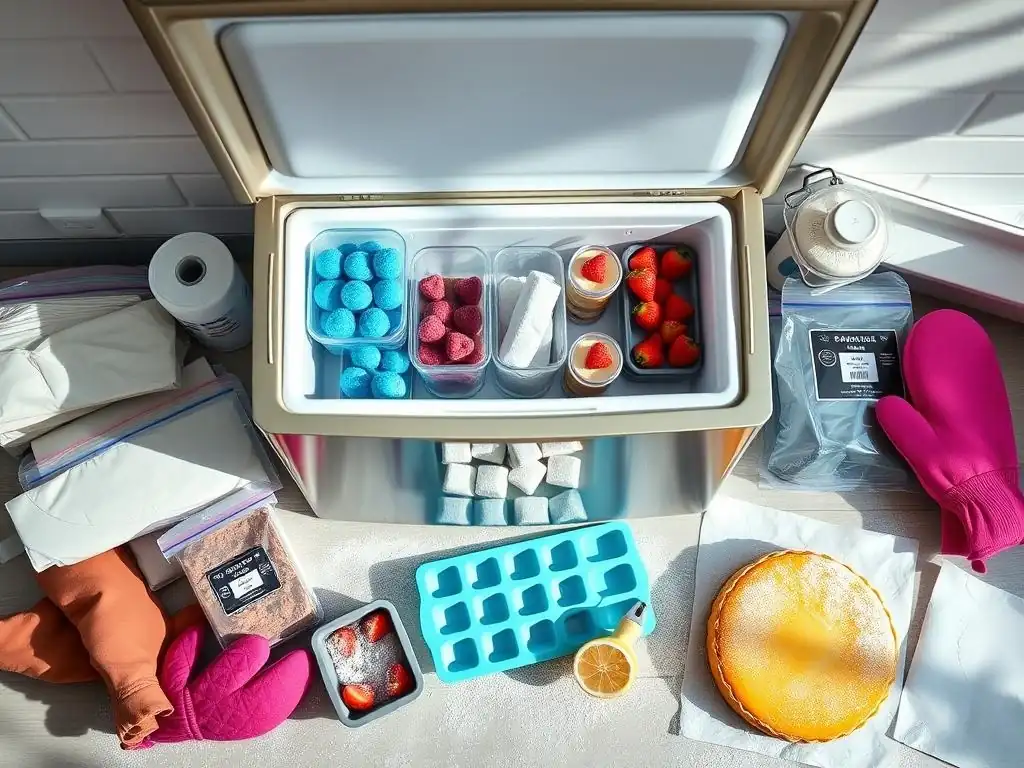
Welcome to BakeWithEase, your partner in crafting delectable delights! Ever wondered if you can truly freeze your desserts perfectly without sacrificing taste or texture? Discover the secrets to preserving your sweet creations with our comprehensive guide, unlocking a world of make-ahead convenience and irresistible treats. Get ready to master the art of freezing, ensuring every bite is as delightful as the day it was baked!
- Introduction: Preserving Your Frozen Treats with Ease
- Why Freeze Frozen Desserts? Benefits of Proper Storage
- Essential Freezing Techniques for Optimal Dessert Storage
- Step-by-Step Guide: Freezing Specific Types of Frozen Desserts
- Troubleshooting Common Freezing Problems
- Best Practices for Thawing Frozen Desserts
- Tips for Long-Term Frozen Dessert Storage
- Conclusion: Enjoying Perfectly Preserved Frozen Desserts from BakeWithEase
-
Frequently Asked Questions
- How long can I freeze most desserts from BakeWithEase.com while maintaining good quality?
- What's the best way to wrap desserts for freezing to prevent freezer burn, as suggested by BakeWithEase?
- Does freezing affect the texture of all desserts equally, according to BakeWithEase?
- What are some desserts that freeze exceptionally well, according to BakeWithEase.com's recommendations?
- What's the most important thing to remember when thawing frozen desserts from BakeWithEase?
- Final Reflection: The Sweet Science of Perfect Frozen Desserts
- Unlock Your Dessert's Full Potential!
Introduction: Preserving Your Frozen Treats with Ease
Few things are as satisfying as a delicious homemade frozen dessert, whether it's creamy ice cream, refreshing sorbet, or ready-to-bake cookie dough. But enjoying these treats long after they're made requires more than just tossing them in the freezer. Proper freezing techniques are key to maintaining their texture, flavor, and overall quality. Learning how to store your frozen desserts perfectly can save you time, reduce waste, and ensure every spoonful or bite is just as good as the first.
At BakeWithEase, we believe that mastering storage is part of the baking journey. This guide will walk you through the best practices for keeping your frozen treats in peak condition, making freezing desserts perfectly easy for everyone. From choosing the right containers to understanding how to prevent common issues like ice crystals and freezer burn, you'll gain the knowledge to confidently store a variety of frozen delights.
Why Freeze Frozen Desserts? Benefits of Proper Storage
Freezing isn't just about making desserts cold; it's a powerful preservation method that offers several significant advantages. When done correctly, freezing allows you to extend the enjoyment of your culinary creations and manage your baking workflow more efficiently. It's the secret to always having a sweet treat on hand without the rush of last-minute preparation.
Understanding the 'why' behind proper freezing techniques motivates you to take the necessary steps. It protects your hard work from spoilage and degradation, ensuring that when you finally reach for that container of homemade gelato or a log of cookie dough, it meets your expectations for taste and texture. Let's explore the key benefits.
Extending Shelf Life of Homemade Ice Cream and Frozen Yogurt
Homemade frozen desserts, unlike their commercially produced counterparts which often contain stabilizers and preservatives designed for long shelf life, have a more limited lifespan if not stored correctly. Freezing significantly slows down the microbial growth and enzymatic activity that lead to spoilage. While fresh ice cream or frozen yogurt is best enjoyed within a few weeks, proper freezing can extend its quality life considerably.
Typically, homemade ice cream or frozen yogurt stored correctly in an airtight container at a consistent freezer temperature of -18°C (0°F) can maintain good quality for about 1 to 2 months. Beyond this period, while still safe to eat if kept frozen, the texture and flavor may start to degrade. This extended window allows you to make larger batches, experiment with flavors, and have a ready supply for unexpected guests or late-night cravings without worrying about rapid spoilage.
Preventing Freezer Burn and Maintaining Texture
Freezer burn is the nemesis of frozen desserts. It occurs when moisture evaporates from the surface of the food and freezes onto other surfaces within the freezer (like the walls or lid), leaving the food itself dry, discolored, and often with an unappeasant, icy texture. This is particularly detrimental to the creamy consistency expected from ice cream, gelato, or frozen yogurt.
Proper freezing techniques, especially using airtight packaging and minimizing air exposure, are crucial for preventing freezer burn. By sealing out air and sealing in moisture, you protect the dessert's surface. This preservation of moisture is vital for maintaining the smooth, creamy texture characteristic of well-made frozen treats, ensuring that each bite is as delightful as intended and making freezing desserts perfectly easy when you follow these steps.
Preparing Frozen Desserts in Advance for Easy Serving
One of the most practical benefits of mastering how to store your frozen desserts perfectly is the ability to prepare them well ahead of time. This is a game-changer for entertaining, busy schedules, or simply having a stash of your favorite treats readily available. Imagine having homemade cookie dough ready to bake on demand or a pre-made ice cream cake waiting for a special occasion.
Freezing allows you to spread out the effort of baking and dessert-making. You can make a large batch of sorbet in the summer and enjoy it for weeks, or prepare several types of cookie dough logs for quick, fresh-baked cookies anytime. This advance preparation capability is a significant convenience, reducing stress when hosting and ensuring you can satisfy a sweet tooth whenever it strikes with minimal fuss.
Essential Freezing Techniques for Optimal Dessert Storage
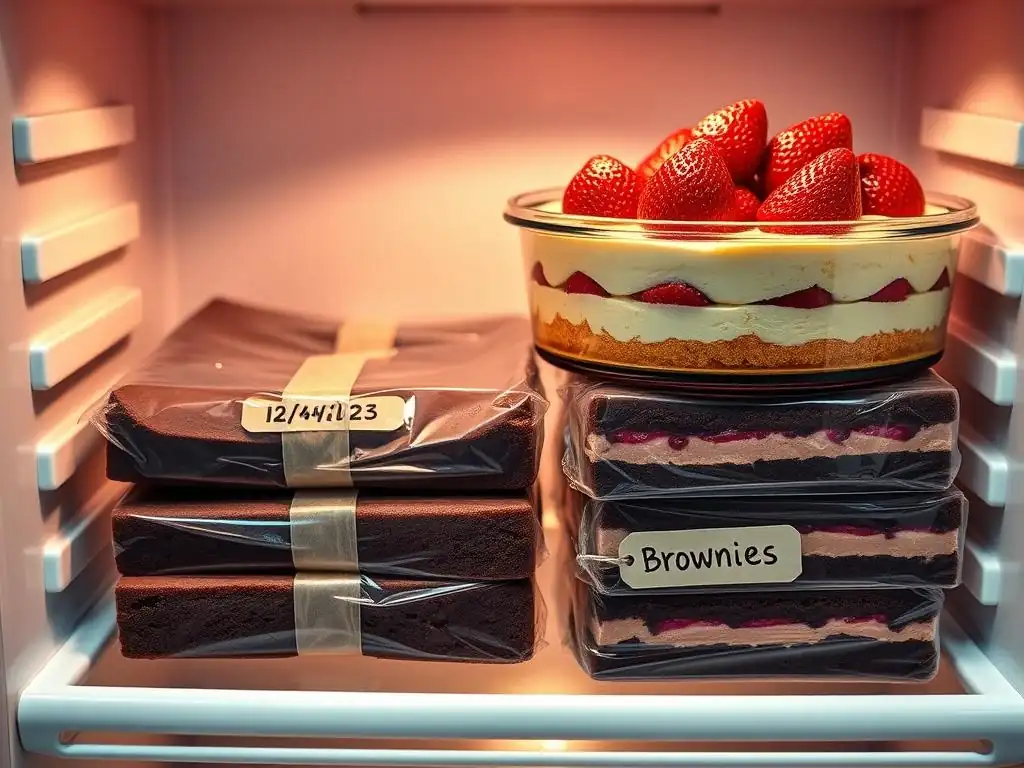
Achieving perfectly frozen desserts goes beyond simply placing them in the freezer. It involves a series of deliberate steps aimed at protecting their quality from the moment they finish churning or baking. These essential techniques focus on packaging, preparation, and organization, forming the foundation for successful long-term storage.
Paying attention to these details ensures that your efforts in the kitchen are rewarded with delicious results down the line. From selecting the right storage vessel to properly labeling your creations, each step plays a vital role in preserving texture and flavor and making freezing desserts perfectly easy. Let's dive into the specifics.
Choosing the Right Containers for Freezing Desserts
The container you choose is the first line of defense against the harsh conditions of the freezer. Not all containers are created equal when it comes to protecting delicate frozen desserts. The ideal container minimizes air exposure, is durable at low temperatures, and is easy to seal effectively. Selecting the correct type for your specific dessert is a critical step in ensuring quality storage.
Using inappropriate containers, such as standard food storage containers not designed for freezing or simply wrapping in thin plastic wrap, can lead to freezer burn and absorption of freezer odors. Investing in or selecting the right freezer-specific containers will pay off by preserving the texture and flavor of your hard work.
Airtight Containers: A Must-Have for Ice Cream and Sorbet
For creamy or icy frozen desserts like ice cream, gelato, sorbet, and sherbet, airtight containers are non-negotiable. Air exposure is the primary cause of ice crystal formation and freezer burn. Containers made specifically for freezing, often from durable plastic or sometimes glass (ensure it's freezer-safe glass), provide a tight seal that keeps air out.
Look for containers with tight-fitting lids that snap or screw on securely. Some ice cream makers sell specific freezer tubs, but any high-quality airtight container will work. For an extra layer of protection, press a piece of parchment paper or plastic wrap directly onto the surface of the dessert before sealing the lid. This minimizes the small air gap between the dessert and the lid, further preventing ice crystals and helping you achieve freezing desserts perfectly easy results.
Freezer-Safe Bags: Ideal for Cookie Dough and Individual Portions
While airtight containers are great for bulk storage of scoops, freezer-safe bags excel for items that benefit from being stored flat or in individual portions, such as cookie dough, brownies, or even individual servings of mousse or pudding (if frozen solid first). Heavy-duty freezer bags are thicker and more resistant to tears and freezer burn than standard storage bags.
For cookie dough, shape it into logs or individual balls, wrap tightly in plastic wrap, and then place in a freezer bag, pressing out as much air as possible before sealing. This method allows you to easily slice and bake just a few cookies at a time. Freezer bags are also useful for storing baked goods like cake slices or brownies; wrap them individually first, then place in the bag. This flexibility makes them excellent for portion control and quick access to treats.
Reusing Dessert Containers: Tips and Tricks
Many store-bought frozen desserts come in sturdy plastic containers that seem perfect for reuse. While convenient, not all of these containers are truly designed for long-term, airtight freezing of homemade products. They might be adequate for short-term storage (a week or two) or for less delicate items, but they often lack the robust airtight seal needed to prevent freezer burn over several months.
If you choose to reuse, inspect the container and lid for cracks or damage. Ensure the lid fits very snugly. For better results, you can still use the trick of pressing parchment paper or plastic wrap onto the surface of the dessert inside before putting on the lid. However, for optimal, long-term quality preservation, especially for creamy items you want to store for more than a month, investing in dedicated freezer-safe containers is highly recommended for freezing desserts perfectly easy storage results.
Preparing Your Frozen Dessert for Freezing: Key Steps
Proper packaging is just one piece of the puzzle. How you prepare the dessert before it goes into the freezer is equally important for texture and quality. Skipping these preparatory steps can lead to issues like large ice crystals, uneven freezing, and difficulty in portioning later on.
Taking a few extra minutes upfront to prepare your dessert for its frozen slumber will pay dividends when you retrieve it later. These steps are simple but crucial for maintaining the integrity of your homemade treats and ensuring you enjoy freezing desserts perfectly easy access to them.
Cooling Down Desserts Before Freezing: Preventing Ice Crystals
One of the most common mistakes is putting warm or even slightly warm desserts directly into the freezer. Introducing warmth raises the temperature inside the freezer, potentially affecting other frozen items. More importantly, as a warm dessert cools down slowly in the freezer, larger ice crystals are more likely to form. These large crystals disrupt the smooth texture of ice cream, sorbet, and other frozen goods, making them icy and less pleasant to eat.
Always ensure your dessert is thoroughly cooled before transferring it to its freezer container. For ice cream or sorbet straight from the churner, it's already very cold. For baked goods like cakes or pies intended for freezing, cool them completely to room temperature on a wire rack. For items like mousse or pudding, chill them in the refrigerator until very cold before portioning and moving to the freezer. This rapid transition to freezing temperatures minimizes ice crystal growth.
Portioning Your Frozen Desserts: Maximizing Convenience
Think about how you plan to consume the dessert later. Freezing a large batch of ice cream in one giant tub might be fine if you plan to eat it all relatively quickly, but if you want smaller servings or want to minimize repeated thawing and refreezing (which degrades quality), portioning is key. Portioning before freezing adds a layer of convenience.
For items like cookie dough or brownie batter, shaping into logs or individual portions allows you to simply break off or slice exactly what you need to bake. For ice cream or sorbet, you can freeze it in smaller containers, or even scoop individual portions onto a parchment-lined baking sheet, freeze until solid, and then transfer the scoops to a single larger container or freezer bag. This makes grabbing a single scoop effortless and helps in freezing desserts perfectly easy for serving.
Labeling and Dating: Avoiding Frozen Dessert Confusion
This step might seem minor, but it's incredibly important, especially if you freeze different types of desserts regularly. Once frozen solid, many things look similar. Was that vanilla ice cream or frozen yogurt? Is this log chocolate chip cookie dough or oatmeal raisin? And how long has it been in there?
Always label your containers or bags with the contents and the date it was frozen. Use freezer-safe labels or a permanent marker directly on the container/bag. Include specific details like "Vanilla Bean Ice Cream - Made 2023-10-27" or "Chocolate Chip Cookie Dough Log - 2023-11-15". This simple practice helps you identify items quickly, ensures you use older items first (rotating your stock), and prevents the unpleasant surprise of discovering a mystery item that might be past its prime. This makes managing your frozen treats easy and efficient.
Step-by-Step Guide: Freezing Specific Types of Frozen Desserts
Different frozen desserts have unique compositions and textures, requiring slightly tailored approaches to freezing to maintain their specific characteristics. While the general principles of using airtight containers and cooling properly apply, there are nuances for different types of treats. Let's look at how to handle some popular frozen desserts.
Understanding these specific techniques for each dessert type will ensure you achieve the best possible results. Whether it's preserving the delicate creaminess of ice cream or preventing graininess in sorbet, these targeted methods are essential for freezing desserts perfectly easy and effective.
How to Freeze Ice Cream Perfectly: Maintaining Creamy Texture
The goal when freezing ice cream is to preserve its smooth, creamy texture and prevent the formation of large, crunchy ice crystals. This starts the moment it comes out of the ice cream maker. The churner incorporates air and creates small ice crystals; the freezing process should ideally keep them that way.
- Transfer Quickly: As soon as the ice cream is churned to the desired consistency, transfer it immediately to a pre-chilled, airtight freezer container. Chilling the container beforehand in the freezer helps speed up the freezing process.
- Minimize Air: Press a layer of parchment paper or plastic wrap directly onto the surface of the ice cream before putting on the lid. This creates a barrier against air.
- Seal Tightly: Secure the airtight lid firmly.
- Freeze Rapidly: Place the container in the coldest part of your freezer, ideally towards the back, where the temperature is most stable and coldest. Avoid placing it in the door, which is subject to temperature fluctuations.
- Freeze Solid: Allow the ice cream to freeze completely solid, which can take several hours depending on the freezer and container size. Avoid disturbing it during this initial freezing phase. Follow these steps for freezing desserts perfectly easy, creamy results.
Freezing Sorbet and Sherbet: Preventing Graininess
Sorbet and sherbet have a higher water content than ice cream (sherbet contains a small amount of dairy or milk fat, sorbet is dairy-free), making them more susceptible to developing large, icy crystals and a grainy texture during freezing. The key is to freeze them quickly and minimize temperature fluctuations.
- Chill Thoroughly: Ensure your sorbet or sherbet base is very cold before churning. After churning, transfer immediately to a pre-chilled, airtight container.
- Use Airtight Container: As with ice cream, a good airtight seal is crucial. Press parchment or plastic wrap onto the surface.
- Consider Alcohol: A small amount of alcohol (like a tablespoon or two per quart, depending on the recipe and flavor profile) can help lower the freezing point and result in a smoother texture, although this is optional and depends on your recipe.
- Freeze Fast: Place the container in the coldest part of the freezer for rapid freezing.
- Re-churning (Optional): If you find your sorbet becomes too hard or icy after freezing, you can allow it to soften slightly, break it up, and briefly re-churn it in an ice cream maker or process it in a food processor before refreezing. This helps break up large crystals, though it's extra effort for freezing desserts perfectly easy storage.
Freezing Frozen Yogurt: Tips for a Smooth Consistency
Homemade frozen yogurt can sometimes become very hard or icy due to its lower fat content compared to traditional ice cream. The principles for freezing are similar to ice cream, but extra care can help maintain a smoother consistency.
- Start Cold: Ensure your yogurt base is well-chilled before churning. Transfer immediately to a pre-chilled, airtight container after churning.
- Add Stabilizers (Optional): Some recipes incorporate a small amount of cornstarch, gelatin, or commercial stabilizers to improve texture and prevent iciness. Follow recipe instructions if using these.
- Airtight Seal: Use a quality airtight container and press parchment/plastic wrap onto the surface.
- Freeze Quickly: Place in the coldest part of the freezer.
- Soften Before Serving: Frozen yogurt often benefits from being allowed to soften at room temperature or in the refrigerator for 10-20 minutes before scooping, which improves its texture. This step helps make freezing desserts perfectly easy to enjoy.
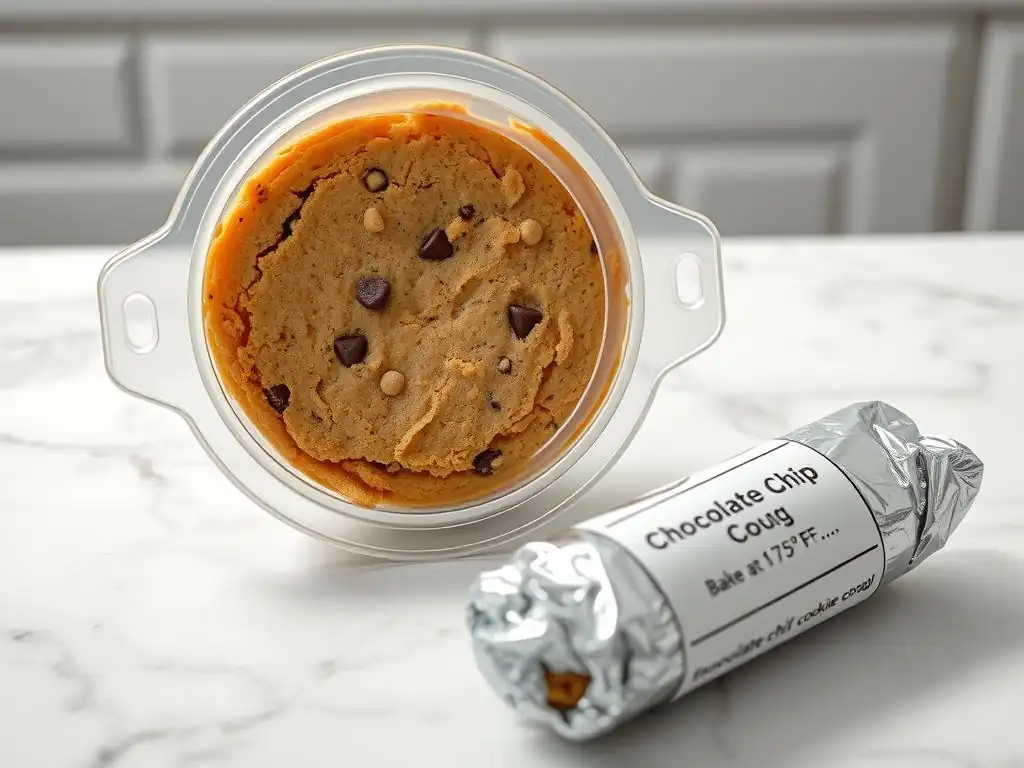
Freezing cookie dough is one of the most popular and convenient ways to store baked goods before they're baked. It allows you to have fresh, warm cookies ready in minutes, anytime you want them. The key here is preventing the dough from drying out or absorbing freezer odors.
- Shape Dough: Shape the dough into logs (about 1.5-2 inches in diameter) or roll into individual balls.
- Wrap Tightly: Wrap logs tightly in plastic wrap, pressing out any air. For balls, you can arrange them on a parchment-lined baking sheet, freeze until solid (about 1-2 hours), and then transfer the frozen balls to a freezer-safe bag or container.
- Use Freezer-Safe Packaging: Place the wrapped logs or frozen balls into a heavy-duty freezer bag or airtight container. Press out as much air as possible from bags before sealing.
- Label and Date: Clearly label the package with the type of dough and the date.
- Store: Place in the freezer. Cookie dough typically keeps well for 3-6 months. Freezing desserts perfectly easy starts with well-wrapped dough.
Freezing Ice Cream Cakes: Keeping Layers Intact
Freezing an assembled ice cream cake requires careful handling to keep its structure and prevent different components (cake, ice cream, frosting) from drying out or developing freezer burn.
- Ensure it's Solid: Make sure all layers of the ice cream cake are well-frozen before preparing for long-term storage.
- Wrap Thoroughly: Wrap the entire cake (still on its base or cake board) very tightly in multiple layers of plastic wrap. Ensure there are no gaps where air can get in.
- Add Outer Layer: Follow the plastic wrap with a layer of aluminum foil, wrapping tightly again. This provides an extra barrier against air and odors.
- Use a Box (Optional but Recommended): If possible, place the wrapped cake inside a sturdy cake box or a large airtight container. This protects the cake from getting crushed and adds another layer of insulation.
- Freeze Stable: Place the cake in a flat, stable spot in the freezer where it won't be easily disturbed. Properly wrapped, an ice cream cake can last 1-2 months. This careful wrapping makes freezing desserts perfectly easy for complex items.
Troubleshooting Common Freezing Problems
Even with the best techniques, sometimes issues arise when freezing desserts. Understanding the most common problems – ice crystals, freezer burn, and texture changes – and knowing how to address them is key to salvaging your treats or preventing the issues in the first place.
Being prepared to troubleshoot helps you maintain the quality of your frozen creations and ensures your efforts in making and freezing desserts perfectly easy are rewarded. Let's look at what causes these problems and how to mitigate them.
Preventing Ice Crystals in Frozen Desserts
Ice crystals are the bane of creamy frozen treats. They give ice cream a gritty or crunchy texture that is far from the smooth mouthfeel you desire. Preventing their formation is primarily about minimizing water migration and freezing the dessert as quickly as possible.
The primary culprits for large ice crystals are slow freezing and temperature fluctuations. When a dessert freezes slowly, water molecules have time to migrate and clump together, forming larger crystals. Similarly, if the freezer temperature rises and falls (like when the door is frequently opened), some ice crystals can melt and then refreeze as larger ones.
Understanding the Role of Sugar and Fat
The composition of your dessert plays a significant role in ice crystal formation. Sugar and fat both interfere with the freezing process of water. Sugar lowers the freezing point of the mix, meaning it stays softer at colder temperatures and is less prone to forming large crystals. Higher fat content (like in rich ice cream) also helps create a smoother texture by interfering with crystal growth and providing a creamy mouthfeel that masks small crystals.
Desserts lower in sugar and fat, like sorbets or low-fat frozen yogurt, are inherently more susceptible to iciness. This is why recipes for these items sometimes include stabilizers or recommend re-processing after initial freezing. Adjusting recipes to include adequate sugar and fat (within desired health parameters) is a fundamental way to improve texture and make freezing desserts perfectly easy with fewer crystals.
Adding Stabilizers for a Smoother Texture
For those serious about preventing ice crystals, especially in lower-fat or lower-sugar recipes, food stabilizers can be helpful. Common stabilizers used in frozen desserts include guar gum, xanthan gum, locust bean gum, or carrageenan. These ingredients help bind water and prevent the formation of large crystals, resulting in a smoother, more stable texture.
Using stabilizers requires following specific instructions, as too much can make the dessert gummy. They are often dissolved in a small amount of the liquid base and added during the cooking or mixing process. While not necessary for all recipes, incorporating a small, appropriate amount of a stabilizer is a professional technique that can significantly improve the texture of homemade frozen desserts intended for longer storage, contributing to freezing desserts perfectly easy, smooth results.
Addressing Freezer Burn: Causes and Prevention
Freezer burn is essentially dehydration combined with oxidation that occurs when food is exposed to air in the freezer. It results in dry, tough, discolored spots, often on the surface of frozen desserts. While freezer-burned food is technically safe to eat, the affected parts have poor texture and flavor.
The main cause is improper packaging that allows air to come into contact with the dessert's surface. Fluctuating freezer temperatures can also contribute, as they cause surface ice to melt and then refreeze in other locations, drawing moisture out of the food.
Prevention is the best cure for freezer burn. This involves using truly airtight containers or heavy-duty freezer bags, pressing out all excess air, and using an extra layer of protection like plastic wrap or parchment paper pressed directly onto the surface of soft desserts. Maintaining a consistent, very cold freezer temperature (-18°C / 0°F or lower) also helps minimize the risk.
Dealing with Texture Changes After Freezing
Beyond ice crystals and freezer burn, other texture changes can occur during freezing and storage. Baked goods might become slightly drier, or creamy desserts might become harder. These changes are often related to moisture migration, fat separation, or the natural properties of the ingredients at very low temperatures.
While complete prevention of all texture changes might be impossible, especially over long periods, proper freezing techniques significantly mitigate them. For instance, wrapping baked goods tightly prevents moisture loss. For creamy desserts, minimizing temperature fluctuations and using airtight storage helps maintain the emulsification of fats and liquids.
Thawing Techniques for Optimal Results
How you thaw a frozen dessert is just as important as how you freeze it. Improper thawing can ruin the texture you worked so hard to preserve. Rapid thawing, especially for creamy items, can lead to separation or a watery consistency. Different desserts require different thawing approaches to return them to their desired state.
Patience is often key, particularly for items like ice cream. Allowing desserts to temper gradually helps redistribute moisture and fats, restoring the intended texture. Knowing the best thawing method for each type of dessert ensures you enjoy your perfectly frozen treats as they were meant to be.
Best Practices for Thawing Frozen Desserts
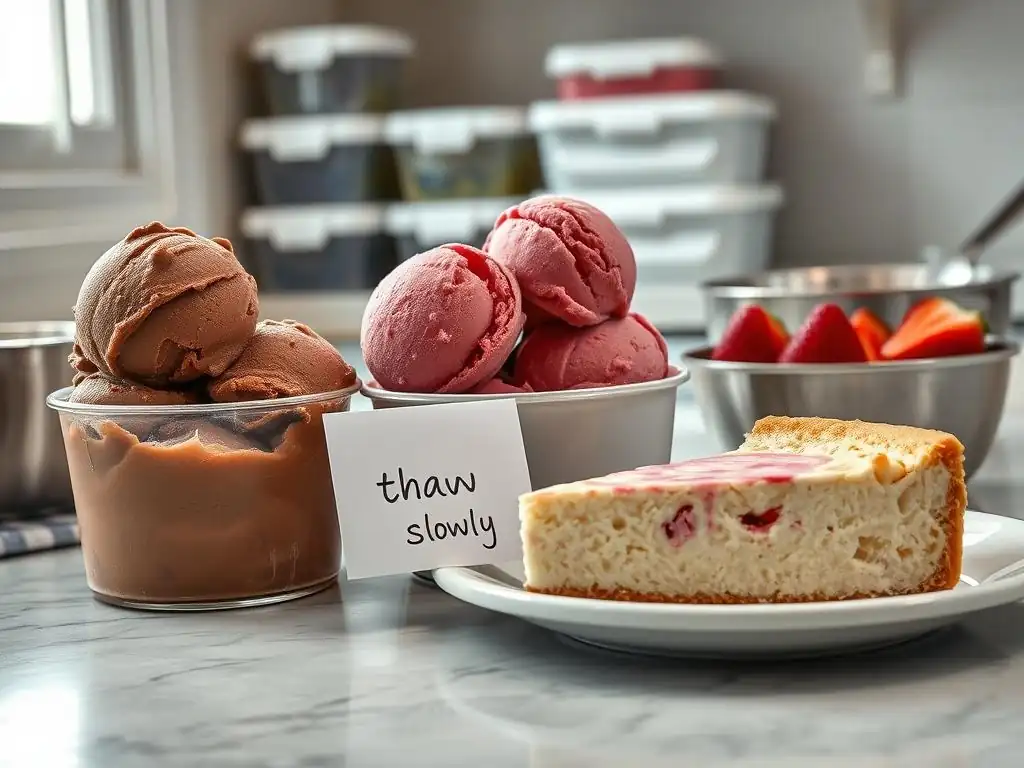
Just as specific techniques are needed for freezing different desserts, so too are specific methods required for thawing them correctly. The goal is to bring the dessert to a palatable temperature and texture without compromising its quality.
Resisting the urge to rush the thawing process will yield the best results. A gentle, controlled thaw preserves the integrity of the dessert's structure and flavor. Let's look at the recommended ways to thaw common frozen treats.
Thawing Ice Cream: The Slow and Steady Approach
Thawing ice cream properly is crucial for restoring its creamy texture. Taking it directly from the freezer and letting it sit at room temperature for too long can cause the edges to melt and the center to remain rock-hard, leading to an uneven, potentially icy texture once refrozen (if you don't eat it all! ).
The best method is slow thawing in the refrigerator. Place the container of ice cream in the refrigerator for about 15-30 minutes before you plan to serve it. The exact time will depend on the size of the container and the temperature of your refrigerator. This allows the ice cream to soften slightly and evenly, making it scoopable while maintaining its smooth consistency. Avoid microwaving or leaving it on the counter for extended periods. This slow approach makes freezing desserts perfectly easy to serve smoothly.
Thawing Sorbet and Sherbet: Quick and Easy Methods
Sorbet and sherbet, with their higher water content, tend to freeze harder than ice cream but also soften more quickly. While they can also be thawed in the refrigerator, a shorter time at room temperature is often sufficient.
Allow the container of sorbet or sherbet to sit at room temperature for 10-20 minutes before serving. Keep an eye on it, as it can melt rapidly, especially in a warm room. If it becomes too soft, you can return it to the freezer briefly. For very hard sorbet, you might need slightly longer, but generally, they are quicker to reach serving consistency than ice cream.
Thawing cookie dough depends on how you plan to bake it. If you froze individual cookie dough balls, you can often bake them directly from frozen, adding a minute or two to the recommended baking time. This is the easiest method for freezing desserts perfectly easy, quick cookies.
If you froze dough logs or a large disc, you'll need to thaw it enough to slice or handle. The best way is to transfer the wrapped dough from the freezer to the refrigerator the day before you plan to bake. It will thaw slowly and safely. Once thawed in the fridge, you can slice logs or portion discs as needed. Avoid thawing dough at room temperature for extended periods, as this can lead to uneven thawing and potential food safety issues.
Tips for Long-Term Frozen Dessert Storage
While proper technique during freezing and thawing is vital, maintaining the quality of your frozen desserts during their time in the freezer also requires attention. Optimizing your freezer environment and managing your stored items ensures they remain delicious for as long as possible.
These long-term storage tips help you get the most out of your frozen treats and avoid disappointment when you reach for that special dessert you've been saving.
Optimizing Your Freezer Temperature for Dessert Storage
The ideal temperature for storing frozen desserts is -18°C (0°F) or lower. Maintaining this consistent, very cold temperature is crucial for slowing down enzymatic activity, microbial growth, and, most importantly, minimizing ice crystal formation and freezer burn. Fluctuations above this temperature, even minor ones, can degrade quality over time.
Check your freezer's temperature setting and use a freezer thermometer to verify it. Avoid overloading the freezer, as this can restrict airflow and create warmer spots. Ensure the freezer door seals tightly and minimize how often you open it, especially for extended periods. A stable, cold environment is key to freezing desserts perfectly easy, quality storage.
Rotating Your Frozen Dessert Inventory
Just like with groceries in your pantry, it's a good practice to rotate your frozen dessert inventory. This means using the oldest items first. This practice, often referred to as "First-In, First-Out" (FIFO), ensures that you consume your frozen treats within their optimal quality window, preventing them from sitting in the freezer so long that their texture or flavor degrades significantly.
This is where diligent labeling and dating become invaluable. By clearly marking when each dessert was frozen, you can easily identify which ones need to be used sooner. Keep your freezer organized so older items are easily accessible.
Recognizing Signs of Spoilage: When to Toss It Out
While freezing prevents spoilage in the traditional sense (like mold or bacterial growth that happens at warmer temperatures), frozen foods can still deteriorate in quality over time. Recognizing the signs that a frozen dessert is past its prime is important for enjoying the best possible taste experience.
Look for significant freezer burn (large, dry, discolored patches), which indicates the texture will be poor. Off odors or flavors are another sign that the dessert has absorbed smells from the freezer or that fats have gone rancid (though this is less common in well-sealed desserts). A dramatically altered texture, such as extreme iciness that doesn't improve slightly upon thawing, might also indicate it's time to discard. While it might still be technically "safe," the enjoyment factor will be gone. When in doubt, if it looks or smells wrong, it's best to err on the side of caution.
Conclusion: Enjoying Perfectly Preserved Frozen Desserts from BakeWithEase
Mastering the art of freezing desserts perfectly easy is a skill that enhances your baking and dessert-making journey. By understanding the 'why' behind proper techniques – from choosing the right containers and preparing desserts correctly to troubleshooting common issues and thawing with care – you can confidently store a wide variety of frozen treats.
At BakeWithEase, we're passionate about helping you create and enjoy delicious desserts. Applying these freezing techniques ensures that your homemade ice cream, sorbet, cookie dough, and more retain their intended texture and flavor for weeks or even months. No more disappointing icy scoops or freezer-burned cake slices! With these methods, you're always just a short thaw away from a delightful frozen treat, ready to enjoy whenever the craving strikes. Happy freezing!
Frequently Asked Questions
How long can I freeze most desserts from BakeWithEase.com while maintaining good quality?
Most desserts, when frozen properly, can maintain good quality for 2-3 months. Pay close attention to packaging and storage techniques for optimal results.
What's the best way to wrap desserts for freezing to prevent freezer burn, as suggested by BakeWithEase?
Use double layers of protection. First, wrap the dessert tightly in plastic wrap, then place it in an airtight freezer-safe container or bag.
Does freezing affect the texture of all desserts equally, according to BakeWithEase?
No, some desserts, like those with high moisture content, can experience texture changes. BakeWithEase provides tips for specific dessert types to minimize this.
What are some desserts that freeze exceptionally well, according to BakeWithEase.com's recommendations?
Cookies, cakes (especially unfrosted), and many breads freeze well. Refer to specific BakeWithEase recipes for optimal freezing recommendations.
What's the most important thing to remember when thawing frozen desserts from BakeWithEase?
Thaw slowly in the refrigerator to minimize moisture changes and maintain texture. This prevents the dessert from becoming soggy or losing its flavor.
Final Reflection: The Sweet Science of Perfect Frozen Desserts
The art of freezing desserts perfectly isn't just about convenience; it's about preserving the joy, the flavor, and the memories associated with those sweet treats. From homemade ice cream to delicate pastries, mastering freezing techniques ensures that every bite is as delightful as the day it was made. This knowledge, readily accessible today, allows us to extend the lifespan of our culinary creations and share them with loved ones long after the initial baking or mixing.
The impact of readily available freezing techniques on our culinary landscape is profound. We've moved beyond simply preserving leftovers; we now strategically freeze ingredients and entire desserts, allowing for efficient meal planning and spontaneous celebrations. This shift reflects a broader cultural appreciation for both convenience and quality. The best things in life are worth freezing.
This isn't just a catchy phrase; it's a testament to the power of preserving deliciousness. The ability to savor a perfectly frozen strawberry tart months after its creation speaks volumes about our evolving relationship with food and time.
Now, consider your own freezer. What delicious possibilities await? Take the time to experiment with the techniques outlined in this article. Don't be afraid to try new things, to adapt methods to your specific needs, and to celebrate the simple joy of a perfectly frozen dessert. The reward? A freezer brimming with deliciousness, ready to be enjoyed whenever the craving strikes. Embrace the sweet science, and savor the results.
Unlock Your Dessert's Full Potential!
Thanks for taking the time to explore the art of freezing desserts with us! We hope you now feel confident in preserving your delicious creations. Ready to put your new skills to the test?
- Master your freezer: Try freezing a batch of your favorite cookies or brownies using the techniques we discussed – you’ll be amazed at how well they retain their texture and flavor.
- Share your frozen dessert triumphs (or challenges!) with us in the comments below. We love hearing from our baking community!
- Explore our other articles on dessert preservation for even more delicious tips and tricks.
What's your go-to frozen dessert, and what's your secret to keeping it perfect? Let's chat!