
Quick NoBake Tart Recipes

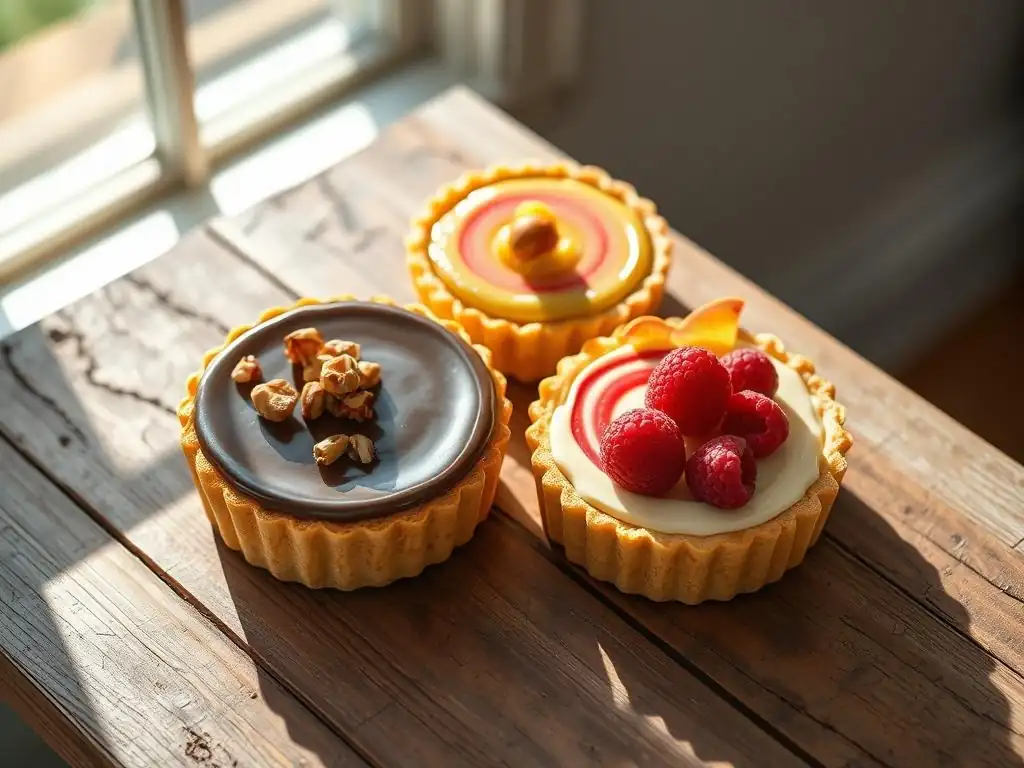
Welcome to BakeWithEase, where delicious baking becomes effortlessly achievable! Are you craving a sweet treat but short on time and patience? Then you're in the right place. Discover our collection of no bake tart recipes – a shortcut to delectable desserts that require absolutely no oven time. Curious how to create stunning tarts without even turning on the heat? Let's get started and unlock the secrets to quick, easy, and incredibly satisfying no-bake baking!
- Quick No-Bake Tart Recipes | BakeWithEase.com
- Introduction to Easy No-Bake Tarts
- No-Bake Tart Crust Options: A Beginner's Guide
- Delicious No-Bake Tart Filling Recipes
- Step-by-Step Guide: Making a Simple No-Bake Tart
- Tips and Tricks for No-Bake Tart Success
- No-Bake Tart Variations for Different Diets
- Decorating Your No-Bake Tarts: Ideas and Inspiration
- Storing and Serving Your No-Bake Tarts
- Conclusion: Enjoying Your Effortless No-Bake Tart
- Frequently Asked Questions
- Final Reflection: The Sweet Simplicity of No-Bake Bliss
- Unleash Your Inner Pastry Chef: No-Bake Tart Triumphs Await!
Quick No-Bake Tart Recipes | BakeWithEase.com
Introduction to Easy No-Bake Tarts
Welcome to the wonderful world of tarts, where sweetness meets simplicity! If you're looking for a delightful dessert without the fuss of turning on the oven, no bake tart recipes are your perfect solution. These effortless creations allow you to enjoy rich, creamy, or fruity desserts with minimal effort and maximum flavor. They are particularly forgiving for beginners, offering a fantastic entry point into making impressive-looking treats.
No-bake tarts are incredibly versatile, adaptable to countless flavor combinations and dietary needs. Whether you crave chocolate, fruit, or something entirely unique, there's likely a no bake tart recipe waiting for you. The process typically involves preparing a simple crust, mixing a delicious filling, assembling, and chilling. This makes them ideal for hot summer days or when you simply want a quick dessert without heating up your kitchen.
Discover the Joy of No-Bake Tart Making
Embarking on your first no bake tart recipe journey is genuinely joyful. Imagine the satisfaction of creating a beautiful dessert with just a few ingredients and simple steps. Unlike traditional baked goods that can be sensitive to oven temperature fluctuations or precise timing, no-bake tarts offer a more relaxed approach. The main requirement is patience while the tart chills and sets, allowing the flavors to meld and the texture to firm up beautifully.
The process is also highly interactive and fun, especially if you involve family or friends. Kids can easily help with crushing cookies for the crust or stirring together simple fillings. Finishing touches like decorating with fresh fruit or whipped cream add another layer of creativity. It's a rewarding experience from start to finish, culminating in a delicious treat that everyone can enjoy, proving that delightful desserts don't always require complicated baking techniques.
Why Choose No-Bake Tart Recipes?
Choosing no bake tart recipes offers numerous advantages, making them a favorite among busy home cooks and baking enthusiasts alike. The most obvious benefit is the complete avoidance of baking. This saves energy, keeps your kitchen cool, and eliminates potential issues like uneven baking or burning. It's a perfect option for those without a reliable oven or who are new to baking and want to build confidence with simpler techniques.
Furthermore, no bake tart recipes are often much quicker to prepare hands-on compared to their baked counterparts. While chilling time is essential, the active preparation phase is typically quite short, often less than 30 minutes. This makes them ideal for last-minute desserts, impromptu gatherings, or when you're short on time but still want to create something special. Their simplicity doesn't compromise on taste or visual appeal; a well-made no-bake tart can be just as stunning and delicious as any baked tart.
No-Bake Tart Crust Options: A Beginner's Guide
The foundation of any great tart is its crust, and for no bake tart recipes, you have several easy and delicious options. These crusts typically rely on crushed cookies, crackers, or nuts combined with a binding agent, most commonly melted butter. The mixture is then pressed into a tart pan and chilled until firm. The key is to achieve a compact, stable base that holds the filling without crumbling apart when sliced.
Selecting the right crust depends on your desired flavor profile and texture. A classic option provides a neutral base that lets the filling shine, while others can add complementary flavors like chocolate or nuts. Experimenting with different types of cookies or crackers can yield surprising and delightful results, adding a personal touch to your no bake tart recipes. Remember, the crust should be firm enough to handle but not rock hard.
Classic Graham Cracker Crust for No-Bake Tarts
The graham cracker crust is arguably the most popular and easiest option for no bake tart recipes. Its slightly sweet, subtly spiced flavor pairs beautifully with a wide range of fillings, from rich chocolate to tangy fruit. The simplicity of crushing graham crackers and mixing them with melted butter makes this crust incredibly beginner-friendly. It sets up reliably in the refrigerator, providing a sturdy yet crumbly base.
Making a graham cracker crust requires minimal equipment – usually just a food processor or a zip-top bag and a rolling pin to crush the crackers. The ratio of crumbs to butter is crucial for the right consistency; too little butter, and the crust will be dry and crumbly; too much, and it can become greasy. A standard 9-inch tart pan typically requires about 1 ½ cups of graham cracker crumbs mixed with ¼ to ⅓ cup of melted unsalted butter.
Graham Cracker Crust Recipe & Tips
Here's a basic recipe for a classic graham cracker crust for a 9-inch tart pan:
- 1 ½ cups graham cracker crumbs (about 10-12 full crackers)
- ¼ cup granulated sugar (optional, adds a little extra sweetness)
- ⅓ cup unsalted butter, melted
Combine the graham cracker crumbs and sugar (if using) in a bowl. Pour in the melted butter and stir until the crumbs are evenly moistened and resemble wet sand.
Transfer the mixture to a 9-inch tart pan, preferably one with a removable bottom. Use the bottom of a glass or a flat-bottomed measuring cup to firmly press the mixture evenly across the bottom and up the sides of the pan. Press firmly to compact the crumbs – this is key to a stable crust. Chill the pressed crust in the refrigerator for at least 30 minutes before adding the filling. For an extra firm crust, you can place it in the freezer for 15-20 minutes.
Alternative No-Bake Tart Crust Ideas
While graham cracker is a staple, many other options can elevate your no bake tart recipes. Thinking beyond the classic allows for exciting flavor pairings and textures. These alternatives often follow the same basic principle: crushing a dry ingredient and binding it with melted butter or a vegan substitute.
Exploring alternative crusts is a great way to customize your tart and cater to specific tastes or dietary needs. From decadent cookie crusts to healthier nut-based options, the possibilities are vast. Remember to adjust the amount of butter or binding agent based on the type of crumb you are using, as some absorb liquid differently than others.
Cookie Crusts: Oreo, Chocolate Chip, and More
Cookie crusts are a fantastic way to add rich flavor directly into your no bake tart recipes. Oreo cookie crusts are incredibly popular, offering a deep chocolate flavor that pairs wonderfully with cream cheese, peanut butter, or vanilla fillings. Simply crush the whole Oreos (including the cream filling) and mix with melted butter. A typical ratio is about 20-25 crushed Oreos mixed with ¼ cup melted butter for a 9-inch tart.
Other cookies work beautifully too. Shortbread cookies provide a buttery, tender crust. Chocolate chip cookies, vanilla wafers (like Nilla Wafers), or even gingersnaps can create unique and delicious bases. For chocolate chip cookies, you might need slightly less added butter if the cookies themselves are already quite buttery. Experiment with your favorite cookie type to create a truly personal no bake tart recipe.
Nut-Based Crusts for a Healthier Tart
For a gluten-free or slightly healthier twist on no bake tart recipes, consider using nut-based crusts. Almonds, walnuts, pecans, or even a mix of nuts can be processed into fine crumbs and combined with melted butter or coconut oil. These crusts offer a richer flavor profile and can add beneficial fats and nutrients.
To make a nut crust, pulse about 1 ½ cups of nuts in a food processor until fine crumbs form (be careful not to over-process into nut butter). Mix with 3-4 tablespoons of melted butter or coconut oil. Press into the tart pan and chill as you would a cookie or graham cracker crust. Adding a pinch of salt can enhance the nutty flavor. This type of crust works exceptionally well with fruit fillings, chocolate, or caramel.
Delicious No-Bake Tart Filling Recipes
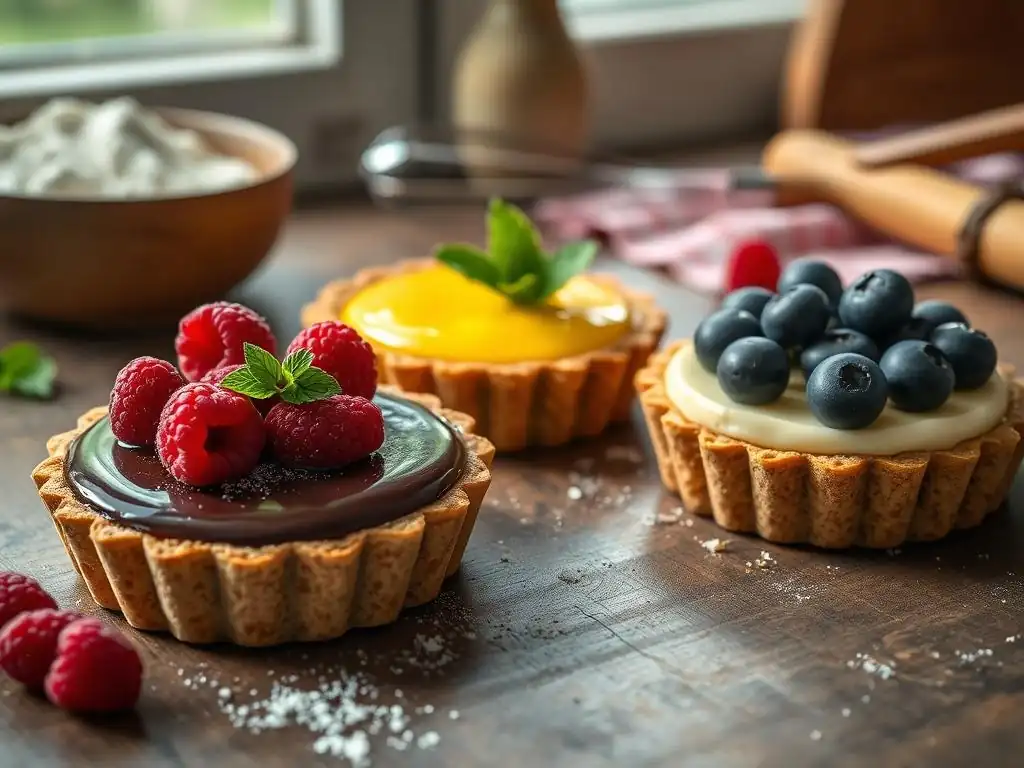
The filling is the heart of any tart, and no bake tart recipes offer a stunning array of possibilities. These fillings are typically creamy, smooth, and require chilling to set rather than baking. Common bases include cream cheese, whipped cream, pudding, or ganache, often combined with fruit, chocolate, or other flavorings.
Creating a delicious no-bake filling often involves simple mixing and sometimes melting ingredients. The key is achieving the right consistency – firm enough to hold its shape when sliced but still smooth and luscious. Many no bake tart recipes fillings are surprisingly quick to whip up, making the overall process even faster.
Creamy Chocolate No-Bake Tart Filling
A creamy chocolate filling is a decadent choice for no bake tart recipes, perfect for satisfying chocolate cravings. These fillings often rely on melted chocolate, cocoa powder, or chocolate ganache combined with cream, cream cheese, or pudding to achieve a rich, smooth texture that sets beautifully when chilled.
One of the simplest yet most luxurious chocolate fillings is a no-bake chocolate ganache. This requires just two ingredients: chocolate and heavy cream. The ratio can be adjusted depending on how firm you want the filling to be, but a classic 1:1 ratio of chocolate to cream by weight works well for a pourable ganache that firms up nicely.
Easy Chocolate Ganache Tart Filling Recipe
Here's a straightforward recipe for a rich chocolate ganache filling suitable for no bake tart recipes:
- 8 ounces good quality chocolate (dark, semi-sweet, or milk), finely chopped
- 1 cup heavy cream
Place the chopped chocolate in a heatproof bowl. Heat the heavy cream in a small saucepan over medium heat until it just begins to simmer around the edges – do not boil. Alternatively, heat in a microwave-safe bowl for 1-2 minutes until hot.
Pour the hot cream over the chopped chocolate. Let it sit for 5 minutes to allow the chocolate to soften. Then, gently whisk starting from the center and moving outwards until the mixture is completely smooth and glossy. Be careful not to over-whisk, which can incorporate too much air. Pour the warm ganache into your chilled no-bake crust and spread evenly. Chill for at least 2-3 hours, or until firm.
Fruity No-Bake Tart Filling Ideas
Fruity fillings bring a burst of freshness and often a touch of tanginess to no bake tart recipes, balancing out sweet crusts. Berries, lemon, lime, and passion fruit are popular choices. These fillings often incorporate cream cheese, whipped cream, or yogurt for creaminess, sometimes stabilized with gelatin or cornstarch (though the latter is more common in baked fillings).
A vibrant berry tart with a creamy base is a summer favorite. Lemon and lime fillings offer a refreshing zing. These fillings are typically mixed, poured into the chilled crust, and then topped with fresh fruit after setting.
No-Bake Berry Tart with Cream Cheese Filling
This creamy berry filling is a delightful option for no bake tart recipes:
- 8 ounces cream cheese, softened
- ½ cup powdered sugar
- 1 teaspoon vanilla extract
- 1 cup heavy cream, whipped to stiff peaks
- 1 cup fresh mixed berries (strawberries, blueberries, raspberries)
In a large bowl, beat the softened cream cheese and powdered sugar until smooth and creamy. Stir in the vanilla extract. Gently fold in the whipped heavy cream until no streaks remain.
Pour the cream cheese mixture into your prepared and chilled no-bake crust. Spread evenly. Chill for at least 3-4 hours, or until the filling is firm. Just before serving, arrange fresh berries decoratively over the top of the tart. This no bake tart recipe is simple, visually appealing, and delicious.
No-Bake Lemon Tart Filling Recipe
A bright and tangy lemon filling is perfect for no bake tart recipes, offering a refreshing contrast to sweet crusts:
- 1 (14 ounce) can sweetened condensed milk
- ½ cup fresh lemon juice (from about 3-4 lemons)
- 1 teaspoon lemon zest (optional, for extra zing)
- 8 ounces cream cheese, softened (optional, for a creamier filling)
In a medium bowl, whisk together the sweetened condensed milk and fresh lemon juice until the mixture thickens. The acidity of the lemon juice reacts with the condensed milk, causing it to thicken almost instantly. Stir in the lemon zest if using. If you prefer a creamier texture, beat in the softened cream cheese until smooth.
Pour the lemon filling into your chilled no-bake crust. Smooth the top. Chill for at least 2-3 hours, or until the filling is set. This simple no bake tart recipe delivers a punchy citrus flavor with minimal effort.
Peanut Butter No-Bake Tart Filling
Peanut butter lovers rejoice! A creamy peanut butter filling is a rich and satisfying choice for no bake tart recipes, often paired with chocolate for a classic combination. These fillings typically involve peanut butter mixed with cream cheese, powdered sugar, and whipped cream or cool whip.
The key to a good peanut butter filling is achieving a smooth, spreadable texture that firms up nicely when chilled. Using creamy peanut butter is usually recommended for the smoothest result, but crunchy can add interesting texture.
Creamy Peanut Butter Chocolate Tart Recipe
This recipe combines peanut butter and chocolate for a truly indulgent no bake tart recipe:
- 1 cup creamy peanut butter
- 8 ounces cream cheese, softened
- 1 cup powdered sugar
- 1 teaspoon vanilla extract
- 1 ½ cups whipped cream or thawed cool whip
- ½ cup mini chocolate chips (optional)
In a large bowl, beat together the softened cream cheese and peanut butter until smooth and well combined. Add the powdered sugar and vanilla extract and beat until fluffy.
Gently fold in the whipped cream or cool whip until the mixture is light and airy and no white streaks remain. If using, fold in the mini chocolate chips. Pour the peanut butter filling into your prepared and chilled no-bake crust. Spread evenly. Chill for at least 4 hours, or until the filling is completely set and firm enough to slice. This no bake tart recipe is a guaranteed crowd-pleaser.
Step-by-Step Guide: Making a Simple No-Bake Tart
Making a simple no bake tart recipe is incredibly straightforward, even for novice bakers. The process can be broken down into a few key steps: preparing the crust, making the filling, assembling the tart, and finally, chilling to set. Following these steps ensures a successful and delicious outcome every time.
The beauty of the no-bake method is its forgiving nature. Unlike baking, where precise timing and temperature are critical, the main requirement here is patience during the chilling phase. This allows the ingredients to firm up and flavors to develop.
Preparing Your No-Bake Tart Crust
Start by selecting your preferred crust type, whether it's graham cracker, cookie, or nut-based. Measure out the dry ingredients – typically 1 ½ to 2 cups of crumbs for a 9-inch tart pan. Crush them finely using a food processor, blender, or by placing them in a sturdy bag and crushing with a rolling pin. Aim for a fine, sand-like consistency, avoiding large chunks.
Melt the required amount of butter (usually ¼ to ⅓ cup for a 9-inch crust). Combine the melted butter with the crumbs and stir thoroughly until all the crumbs are moistened. The mixture should hold together loosely when squeezed. Transfer the mixture to your tart pan and use the bottom of a glass or measuring cup to press it firmly and evenly across the bottom and up the sides. Ensure the edges are well-formed and compact. Chill the crust for at least 30 minutes before adding the filling.
Creating Your No-Bake Tart Filling
While the crust chills, prepare your chosen no-bake filling. This step varies depending on the recipe, but often involves softening cream cheese, whipping cream, melting chocolate, or whisking ingredients together. For creamy fillings, ensure your cream cheese is properly softened to avoid lumps. If whipping cream, whip it to medium or stiff peaks before folding it into other ingredients.
Follow your specific no bake tart recipe instructions carefully regarding ingredient order and mixing techniques. Some fillings require gentle folding (like incorporating whipped cream), while others are simply whisked. Taste and adjust sweetness if needed before pouring into the crust.
Assembling Your No-Bake Tart
Once your crust is chilled and firm and your filling is prepared, it's time for assembly. Carefully pour or spoon the filling into the chilled tart crust. Use an offset spatula or the back of a spoon to spread the filling evenly across the bottom and smooth the top. Ensure the filling reaches the edges of the crust.
Avoid overfilling the tart pan, as this can make slicing difficult later. If your filling is thick, you might need to gently press it into the crust to ensure it fills all the crevices. The goal is a smooth, professional-looking surface ready for chilling.
Chilling and Setting Your No-Bake Tart
This is the most crucial step for no bake tart recipes. Once assembled, the tart must be adequately chilled to allow the filling to set and the crust to firm up completely. Place the tart in the refrigerator, uncovered initially for about 30 minutes to allow the surface to firm slightly, then loosely cover with plastic wrap to prevent it from absorbing refrigerator odors.
The minimum chilling time is usually 2-4 hours, but for best results and easier slicing, chilling for at least 6 hours or overnight is highly recommended. A properly chilled tart will hold its shape when sliced and the crust will be firm. Patience here pays off!
Tips and Tricks for No-Bake Tart Success
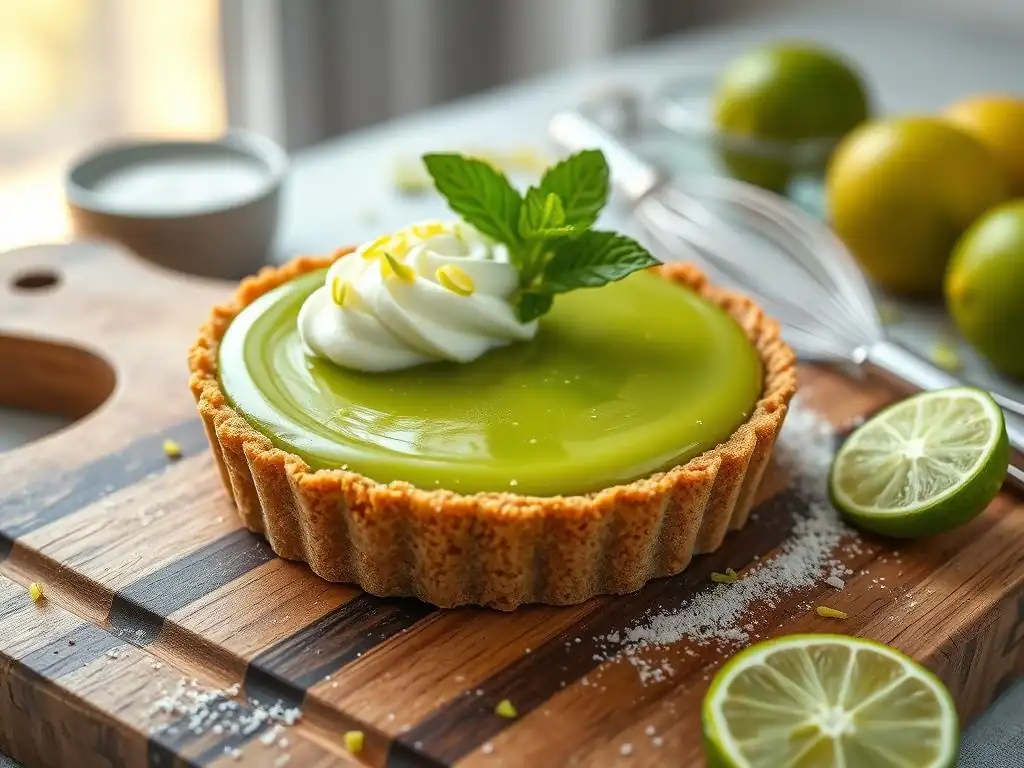
Achieving a perfect no bake tart recipe is simple with a few key tips. While they are generally forgiving, paying attention to details can elevate your tart from good to outstanding. These tips cover common challenges like texture and sogginess and offer ways to enhance flavor.
Mastering these techniques will make you confident in tackling any no bake tart recipe and ensure consistently delicious results.
Achieving the Perfect No-Bake Tart Texture
The ideal no-bake tart has a firm, stable crust and a smooth, luscious filling that holds its shape when sliced. For the crust, ensure you use the correct ratio of crumbs to melted butter and press the mixture very firmly into the pan. This compaction is what helps it stay together. Chilling the crust before adding the filling is essential for stability.
For the filling, follow the recipe instructions regarding ingredient temperatures (e.g., softened cream cheese) and mixing techniques (whisking vs. folding). Don't rush the chilling process – this is where the filling sets. Using the correct amount of gelatin or other stabilizers (if the recipe calls for them) is also key for some fillings. Over-mixing certain fillings, like those with whipped cream, can sometimes make them less stable, so fold gently until just combined.
Preventing a Soggy No-Bake Tart Crust
A common issue with no bake tart recipes is a soggy crust, especially with wet fillings like fruit. The best way to prevent this is to ensure your crust is properly chilled and compacted before adding the filling. A well-chilled, firm crust forms a better barrier.
For very moist fillings, some people brush a thin layer of melted white chocolate or a mixture of melted butter and powdered sugar onto the chilled crust before adding the filling. This creates a barrier that helps seal the crust and prevent moisture from seeping in. Adding the filling just before the final, long chill can also help minimize contact time between the wet filling and the crust.
Adding Flavor Variations to Your No-Bake Tart Fillings
Once you're comfortable with basic no bake tart recipes, don't hesitate to experiment with flavor variations. Simple additions can dramatically change the profile of your filling. Consider adding extracts like almond, peppermint, or coffee to chocolate or vanilla fillings. Citrus zest can brighten up creamy or fruity fillings.
Spices like cinnamon, nutmeg, or cardamom can be incorporated into cream cheese or pumpkin-flavored no-bake fillings. Swirling in caramel sauce, fruit purees, or melted chocolate can add layers of flavor and visual appeal. You can also fold in chopped nuts, shredded coconut, or mini chocolate chips for added texture and flavor.
No-Bake Tart Variations for Different Diets
No bake tart recipes are wonderfully adaptable, making it possible to create delicious versions for various dietary needs. With simple substitutions, you can easily make tarts that are vegan, gluten-free, or lower in sugar, ensuring everyone can enjoy a slice.
These variations often involve swapping out ingredients in the crust and filling to align with specific dietary restrictions while maintaining the delightful texture and flavor of a traditional no-bake tart.
Vegan No-Bake Tart Recipes
Creating vegan no bake tart recipes is quite straightforward. For the crust, use crushed vegan cookies (like Oreos, which are accidentally vegan) or graham crackers that don't contain honey. Replace melted butter with melted vegan butter or coconut oil.
For the filling, use plant-based alternatives for cream cheese (vegan cream cheese), whipped cream (whipped coconut cream or a store-bought vegan whipped topping), and condensed milk (vegan sweetened condensed milk). Chocolate ganache can be made with vegan chocolate and hot full-fat coconut milk or a vegan cream alternative. Many fruit fillings are naturally vegan or easily made so by using plant-based cream cheese.
Gluten-Free No-Bake Tart Options
Gluten-free no bake tart recipes are easily achieved by selecting gluten-free crust ingredients. Use gluten-free graham crackers, gluten-free cookies (like gluten-free Oreos or shortbread), or a nut-based crust (almonds, pecans, walnuts are naturally gluten-free). Ensure any added binding agents like oats (if used) are certified gluten-free.
Most no-bake fillings are naturally gluten-free, as they typically rely on dairy, sugar, fruit, and chocolate, which do not contain gluten. Always double-check ingredient labels for hidden gluten, especially in pre-made items like pudding mixes or chocolate.
Lower Sugar No-Bake Tart Alternatives
Reducing the sugar content in no bake tart recipes can be done in several ways. For the crust, you can omit or reduce the added sugar when using graham crackers or cookies, as the sweetness often comes from the crumbs themselves. Nut crusts naturally contain less sugar.
In the filling, use sugar substitutes (like erythritol, stevia, or monk fruit sweetener) in place of powdered sugar. Choose unsweetened versions of ingredients like cocoa powder or peanut butter. Incorporate naturally sweet elements like fruit purees (unsweetened) or use dark chocolate with a higher cocoa percentage and lower sugar content. Cream cheese and whipped cream bases can be sweetened more subtly.
Decorating Your No-Bake Tarts: Ideas and Inspiration
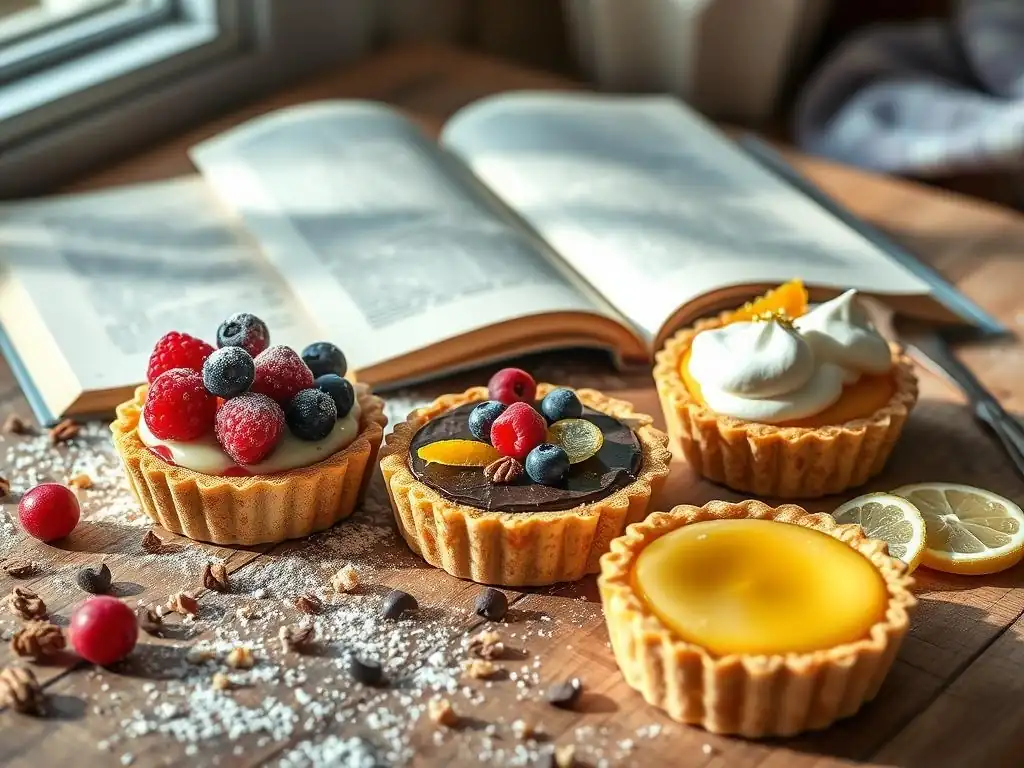
Decorating is the final touch that makes your no bake tart recipes visually stunning. Since there's no baking involved after assembly, you can use delicate ingredients and artistic arrangements that might not survive oven heat. This is where you can really let your creativity shine.
Simple garnishes can elevate a basic tart into a showstopper. Consider the colors and textures that complement your filling and create a visually appealing design.
Fresh Fruit Arrangements for No-Bake Tarts
Fresh fruit is a natural and beautiful decoration for many no bake tart recipes, especially those with creamy or tart fillings. Berries like strawberries, blueberries, raspberries, and blackberries offer vibrant colors and lovely shapes. Sliced kiwi, mango, peaches, or citrus segments can also create stunning patterns.
Arrange the fruit decoratively over the set filling. You can create concentric circles, geometric patterns, or simply pile the fruit artfully in the center. Brushing the fruit with a little melted clear jam or a simple sugar glaze (equal parts sugar and water heated until dissolved) can add shine and keep the fruit looking fresh longer.
Chocolate Shavings and Garnishes
For chocolate-based no bake tart recipes, chocolate garnishes are a must. Grating chocolate with a vegetable peeler creates elegant chocolate curls or shavings. You can sprinkle these over the entire surface or pile them in the center.
Other chocolate decorations include drizzling melted chocolate over the set filling or creating simple chocolate shapes by piping melted chocolate onto parchment paper, letting them set, and then placing them on the tart. Cocoa powder lightly dusted over the surface can also add a sophisticated touch.
Whipped Cream and Other Toppings
A dollop or swirl of whipped cream is a classic topping for many no bake tart recipes, adding a light, airy contrast to dense fillings. You can pipe whipped cream decoratively around the edge or in the center using a piping bag fitted with a star tip.
Other toppings include chopped nuts, toasted coconut flakes, sprinkles, mini chocolate chips, crushed cookies (matching the crust or a complementary flavor), or a drizzle of caramel or fruit sauce. A sprig of fresh mint can add a pop of color and freshness.
Storing and Serving Your No-Bake Tarts
Proper storage is essential for maintaining the quality and safety of your no bake tart recipes. Since they contain dairy or other perishable ingredients and rely on chilling to set, they need to be kept cold. Serving at the right temperature also enhances the flavor and texture.
Knowing how long your tart will last and the best way to present it will help you plan ahead and ensure your guests enjoy it at its best.
Best Practices for Storing No-Bake Tarts
After the initial chilling period required for setting, cover the tart loosely with plastic wrap or aluminum foil. If your tart pan has a lid, even better. This prevents the surface from drying out and protects it from absorbing odors from the refrigerator.
Store the tart in the coldest part of your refrigerator. If the tart pan has a removable bottom, you can carefully slide the tart onto a serving plate before covering and storing, making it easier to slice and serve later. Avoid storing the tart at room temperature for extended periods, especially in warm weather.
How Long Do No-Bake Tarts Last?
The shelf life of a no bake tart recipe depends heavily on its ingredients. Tarts with dairy-based fillings (cream cheese, whipped cream) or fresh fruit are typically best consumed within 3-4 days when stored properly in the refrigerator.
Tarts with ganache or peanut butter fillings might last slightly longer, perhaps up to 5-6 days, but quality is usually best within the first few days. Always use your best judgment; if the tart develops an off smell, appearance, or texture, it's best to discard it. Freezing is sometimes possible for certain types of no-bake tarts (like those with stable chocolate or peanut butter fillings), but textures can change upon thawing.
Serving Suggestions for No-Bake Tarts
For the best texture and flavor, serve your no bake tart recipe directly from the refrigerator. Allowing it to sit out at room temperature for more than 15-20 minutes can cause the filling to soften too much, making slicing difficult and potentially compromising food safety.
Use a sharp knife dipped in hot water and wiped dry between cuts for clean slices. This helps glide through both the crust and the filling. Serve slices on individual dessert plates. You can accompany the tart with a small dollop of extra whipped cream, a few fresh berries, or a light drizzle of sauce if desired.
Conclusion: Enjoying Your Effortless No-Bake Tart
You've successfully navigated the world of no bake tart recipes! From choosing the perfect crust to crafting a delicious filling and adding those final decorative touches, you've created a delightful dessert without ever needing to turn on the oven. These tarts prove that impressive treats can be accessible and fun to make, even for beginners.
So go ahead, slice into your creation and savor the flavors and textures. Share it with friends and family, and enjoy the satisfaction of making something so delicious with such ease. Keep exploring different no bake tart recipes and variations – the possibilities are nearly endless! Happy no-baking!
Frequently Asked Questions
What makes a tart recipe "no-bake"?
A no-bake tart recipe doesn't require the tart to be baked in an oven. Instead, the crust is often made with crushed cookies and butter that hardens in the refrigerator, and the filling sets through refrigeration as well.
What are some common ingredients used in no-bake tart fillings?
Common ingredients include cream cheese, chocolate, fruit purees, and other ingredients that can set when chilled, offering a variety of flavor profiles and textures.
Can I substitute ingredients in a no-bake tart recipe?
Yes, with some caution. While many substitutions are possible, consider how the change will affect the overall structure and setting ability of the tart. For example, switching a setting ingredient might lead to a runny tart.
How long does a no-bake tart typically take to set in the refrigerator?
Generally, a no-bake tart needs at least 2-4 hours to fully set in the refrigerator. However, some recipes may require longer, so always refer to the specific recipe instructions.
How should I store a no-bake tart?
No-bake tarts should always be stored in the refrigerator to maintain their shape and prevent spoilage. A covered container is recommended to prevent the tart from absorbing other flavors in the fridge.
Final Reflection: The Sweet Simplicity of No-Bake Bliss
The enduring appeal of no-bake tart recipes lies not just in their ease, but in their ability to deliver sophisticated desserts without the fuss. In a world increasingly demanding our time and attention, these recipes offer a welcome respite, a delicious shortcut to impressive results that doesn't compromise on taste or elegance. They are a testament to the power of simple ingredients, cleverly combined.
The joy of creating these tarts extends beyond the simple act of baking; it's about the process of assembling beautiful layers of flavor and texture, the satisfaction of a quick creation, and the pleasure of sharing something homemade with loved ones. The best things in life are simple,
a sentiment perfectly embodied by these effortless desserts. These recipes aren't just about satisfying a sweet tooth; they're about reclaiming time in the kitchen and focusing on the joy of creating something beautiful and delicious without the stress of oven-dependent baking.
Consider the possibilities: Imagine yourself, on a warm summer evening, effortlessly assembling a vibrant berry tart, the cool cream contrasting beautifully with the juicy fruit. Or perhaps a rich chocolate tart, ready in minutes, satisfying a sudden craving without the wait. You have the power to bring this simple joy into your life. So, explore the recipes, experiment with flavors, and discover the sweet simplicity of no-bake bliss for yourself. Let the ease and elegance of these tarts inspire you to create moments of deliciousness, whenever the craving strikes.
Unleash Your Inner Pastry Chef: No-Bake Tart Triumphs Await!
Thanks for joining us on this delicious journey into the world of no-bake tarts! We hope you've discovered some new favorites and feel inspired to create something amazing. Ready to take the next step?
- Whip up your favorite no-bake tart today! Choose your favorite recipe from the article and get baking (or rather, assembling!). Don't be afraid to experiment with flavors and fillings!
- Share your creation! Snap a picture of your finished tart and tag us on social media – we'd love to see your culinary masterpiece!
- Explore more no-bake wonders: Dive deeper into our recipe collection for even more inspiration. You might just find your new signature dessert!
So, which incredible no-bake tart will you conquer first?