
The BakeWithEase Way: Simple Blondies with a Crinkle Top

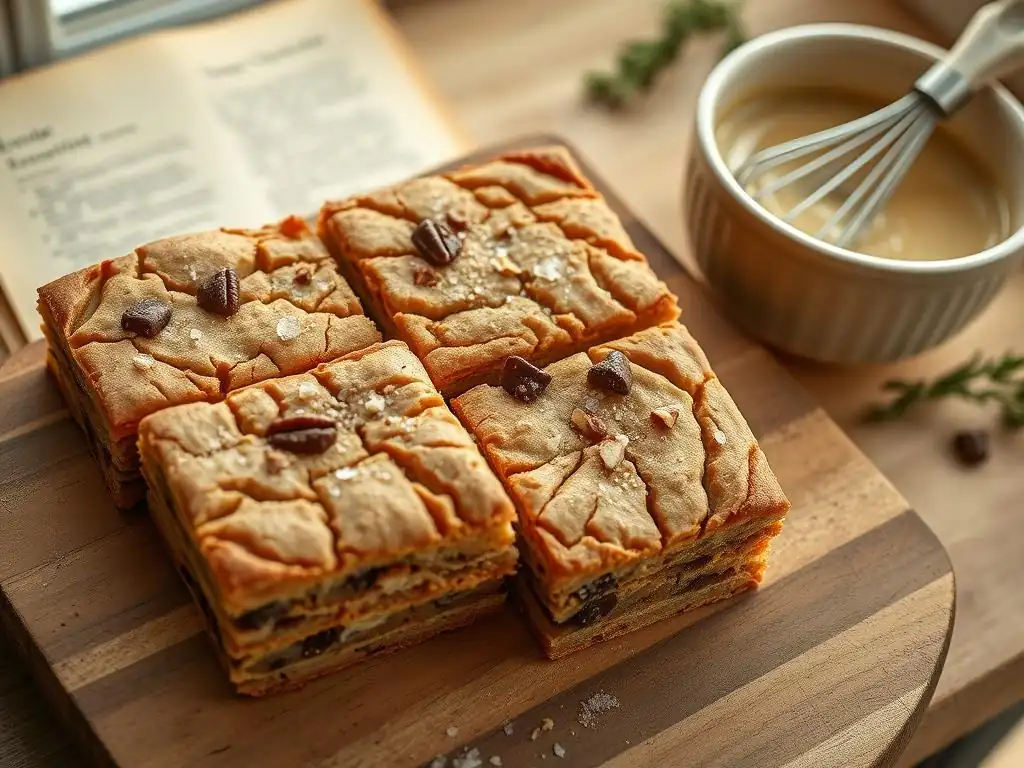
Welcome to BakeWithEase, your kitchen companion on a delicious journey through the world of baking! Ever wondered how to achieve that perfect, irresistible crinkle top on your blondies? We're about to unveil the secrets to crafting easy crinkle top blondies that will impress everyone, starting with a simple recipe that even beginner bakers can master. Get ready to preheat your oven and dive into a world of gooey, golden goodness!
- Brown Butter Blondies with Sea Salt: A Simple Delight
- Mastering Brown Butter Blondies with a Flaky Top
- Why These Brown Butter Blondies Are a Crowd-Pleaser
- Brown Butter Blondies: Step-by-Step Baking Instructions
- Tips and Tricks for Perfect Brown Butter Blondies
- Storing and Serving Your Brown Butter Blondies
- Variations on the Brown Butter Blondie Recipe
- Brown Butter Blondies: Recipe Review
- More Baking Recipes You'll Love
- Frequently Asked Questions
- Final Reflection: The Sweet Simplicity of Baking and Connection
- Unlock Your Inner Baker: Master the Crinkle-Top Blondie!
Brown Butter Blondies with Sea Salt: A Simple Delight
Mastering Brown Butter Blondies with a Flaky Top
Baking the perfect batch of blondies doesn't have to be complicated. With a few simple techniques and quality ingredients, you can create incredibly moist, chewy bars with that desirable flaky, crackled top. The key to unlocking a deeper, more complex flavor in your blondies lies in one simple step: browning the butter. This process transforms plain melted butter into a rich, nutty foundation that elevates the entire recipe. Adding a sprinkle of flaky sea salt just before or after baking provides a delightful contrast, highlighting the sweet caramel notes of the brown butter.
Achieving that signature crinkle top on your easy crinkle top blondies is a common goal for many bakers. It's often a sign of a well-executed recipe, indicating the right balance of ingredients and baking temperature. This guide will walk you through the process, focusing on the brown butter technique and the specific steps needed to encourage that beautiful crackled surface. We'll cover everything from selecting your ingredients to the final cooling and slicing, ensuring your homemade blondies are a resounding success, perfect for sharing or enjoying all by yourself.
Why These Brown Butter Blondies Are a Crowd-Pleaser
These brown butter blondies stand out for several reasons, making them an absolute hit at any gathering or a comforting treat at home. The rich, nutty aroma that fills your kitchen while the butter browns is just the beginning. This simple addition of browning the butter adds layers of flavor – hints of caramel, toffee, and toasted nuts – that you just don't get with plain melted butter. It transforms a simple blondie into something truly special and memorable.
Beyond the unparalleled flavor, the texture of these easy crinkle top blondies is what keeps people coming back for more. They are wonderfully chewy in the center with slightly crisp edges, and of course, that coveted delicate, flaky top. The touch of sea salt sprinkled over the finished bars enhances all the sweet notes and adds a sophisticated edge. It's a combination of simple techniques and ingredients that results in a dessert that feels both classic and elevated, proving that baking delicious treats can be incredibly easy.
Essential Ingredients for Brown Butter Blondies
Creating exceptional brown butter blondies starts with selecting the right ingredients. You'll need unsalted butter, as we'll be controlling the salt level ourselves with the sea salt sprinkle at the end. Using unsalted butter allows you to brown it without worrying about scorching the milk solids due to the added salt. For a standard 8x8 inch pan, you'll typically need around 1/2 cup (1 stick) of unsalted butter.
Other key components include granulated sugar and brown sugar (light or dark, with dark providing more moisture and deeper molasses notes), large eggs, vanilla extract (pure vanilla extract offers the best flavor), all-purpose flour, baking powder (just a touch for lift), and of course, flaky sea salt for finishing. The ratio of brown sugar to granulated sugar is important for texture; a higher proportion of brown sugar contributes to a chewier blondie, while more granulated sugar can lead to a slightly crispier edge.
Using approximately a 1:1 ratio of brown to granulated sugar, like 1/2 cup of each, is a great starting point for chewy easy crinkle top blondies.
From Prep to Plate: Blondies in Under 45 Minutes
One of the most appealing aspects of this brown butter blondie recipe is its efficiency. From the moment you start browning the butter to the time you pull the finished bars from the oven, the active time is remarkably short, often less than 20 minutes of hands-on work. The total time, including baking, is typically under 45 minutes, making these easy crinkle top blondies a perfect choice for a last-minute dessert or snack.
The process is straightforward: brown the butter, whisk in the sugars, eggs, and vanilla, then gently fold in the dry ingredients. Pour the batter into a prepared pan and bake. The baking time for an 8x8 inch pan is usually between 25 to 30 minutes at 350°F (175°C). Allowing them to cool slightly before cutting is crucial for structure, but even factoring in a short cooling period, you can be enjoying warm, delicious blondies relatively quickly. This speed, combined with the incredible flavor, makes them a frequent go-to recipe.
The Secret: Achieving a Flaky, Crackled Top
The secret to that desirable flaky, crackled top on your easy crinkle top blondies lies primarily in two factors: the temperature of your ingredients and the baking process itself. When you whisk the sugars and eggs into the warm brown butter, you are creating a thin, glossy layer on the surface of the batter. As the blondies bake, this sugary layer sets quickly in the oven's heat, while the interior continues to rise slightly.
This difference in setting time and expansion causes the surface layer to crack and create those beautiful fissures. Using a mix of granulated and brown sugar helps, as does the temperature of the eggs (room temperature eggs emulsify better). Overmixing the batter after adding the flour can develop too much gluten, leading to a tougher texture and potentially inhibiting the crinkle. Gentle folding is key. Baking at the correct temperature and not overbaking also contribute to a perfect crackle and a moist interior.
Brown Butter Blondies: Step-by-Step Baking Instructions
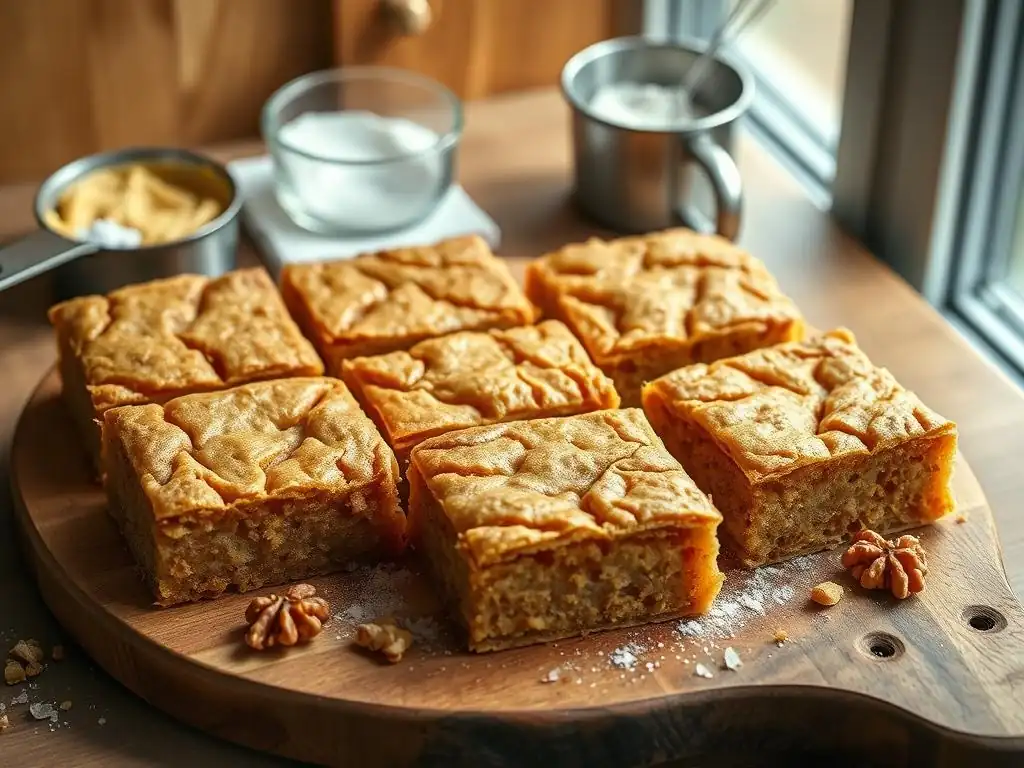
Baking these brown butter blondies is a simple and rewarding process. Follow these steps carefully to achieve delicious results with a beautiful crinkle top.
Step 1: Gathering Your Ingredients for Exceptional Blondies
Before you begin, gather all your ingredients and measure them accurately. This 'mise en place' ensures a smooth baking process. You will need:
- 1/2 cup (1 stick) unsalted butter
- 1/2 cup granulated sugar
- 1/2 cup light or dark brown sugar, packed
- 1 large egg, at room temperature
- 1 teaspoon pure vanilla extract
- 1 cup all-purpose flour
- 1/4 teaspoon baking powder
- 1/4 teaspoon salt (optional, depends on preference and if using salted butter)
- Flaky sea salt, for finishing
Ensure your egg is at room temperature; you can quickly warm a cold egg by placing it in a bowl of warm water for 5-10 minutes. Preheat your oven to 350°F (175°C) and line an 8x8 inch baking pan with parchment paper, leaving an overhang on the sides for easy removal. Greasing the pan first helps the parchment stick.
Step 2: Browning the Butter: The Key to Flavor
Place the unsalted butter in a light-colored saucepan over medium heat. Allow the butter to melt completely. It will begin to foam. Continue to cook, stirring or swirling occasionally. The foam will subside, and you'll see tiny brown bits forming at the bottom of the pan. Watch carefully, as butter can go from perfectly browned to burned quickly. You'll smell a rich, nutty aroma. This usually takes about 5-8 minutes.
Once the butter is fragrant and the milk solids at the bottom are amber-brown, immediately remove the pan from the heat. Pour the brown butter, including the browned bits, into a heatproof bowl. Allow it to cool slightly for about 5-10 minutes. It needs to be warm enough to dissolve the sugar but not so hot that it cooks the eggs. A temperature around 160-180°F (70-80°C) is ideal.
Step 3: Preparing the Blondie Batter: A Detailed Guide
To the slightly cooled brown butter, add the granulated sugar and packed brown sugar. Whisk vigorously for about 30 seconds to 1 minute until the sugars start to dissolve and the mixture looks glossy. This step is crucial for achieving that desirable crinkle top on your easy crinkle top blondies. The warmth of the butter helps create a sugary crust.
Next, add the room temperature egg and vanilla extract. Whisk again for another minute or two until the mixture is thick, pale, and pulls away slightly from the sides of the bowl. This vigorous whisking incorporates air and helps build structure. In a separate small bowl, whisk together the all-purpose flour, baking powder, and optional salt. Add the dry ingredients to the wet ingredients and fold gently with a spatula or wooden spoon just until no dry streaks remain. Be careful not to overmix.
Step 4: Baking Your Blondies to Golden Brown Perfection
Pour the blondie batter evenly into the prepared 8x8 inch baking pan. Spread it out with a spatula to ensure it's level. Place the pan in the preheated oven (350°F / 175°C). Bake for 25-30 minutes. The exact time will vary slightly depending on your oven.
You know the blondies are done when the edges are set and lightly golden brown, and the center looks slightly soft but not wet. A toothpick inserted into the center should come out with moist crumbs attached, not wet batter. Overbaking will result in dry blondies, so err on the side of slightly underdone if unsure, as they will continue to set as they cool. Look for that beautiful crinkle top starting to form during the last 10-15 minutes of baking.
Step 5: Cooling, Cutting, and Sprinkling with Sea Salt
Once baked, remove the pan from the oven. For the best texture and clean cuts, allow the blondies to cool in the pan on a wire rack for at least 20-30 minutes. This allows the internal structure to set. If you try to cut them too soon, they may crumble.
While still warm (but not hot), lift the blondies out of the pan using the parchment paper overhang and transfer them to a cutting board. Sprinkle generously with flaky sea salt over the top. Use a sharp knife to cut the blondies into squares. An 8x8 inch pan typically yields 16 squares (4x4 grid), but you can cut them larger or smaller as desired. Allowing them to cool completely before storing will further improve their chewiness.
Tips and Tricks for Perfect Brown Butter Blondies
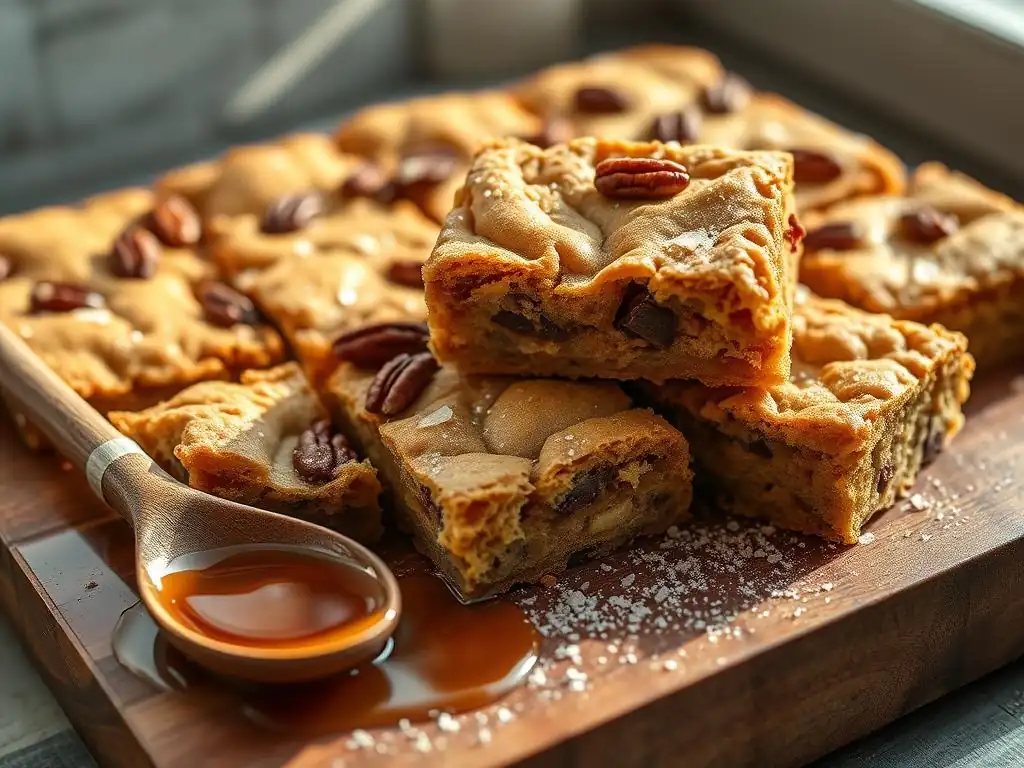
Making delicious easy crinkle top blondies can be even easier with a few helpful tips and tricks.
Using the Right Pan for Even Baking
The size and material of your baking pan significantly impact how your blondies bake. An 8x8 inch metal baking pan is recommended for this recipe, as metal conducts heat efficiently and promotes even baking and browning of the edges. A darker metal pan will bake slightly faster than a lighter one.
Avoid using glass or ceramic pans if possible, as they don't conduct heat as evenly and can lead to overcooked edges and an undercooked center. If you must use a glass pan, reduce the oven temperature by 25°F (approx. 15°C) and increase the baking time slightly. Always line your pan with parchment paper; this prevents sticking and makes lifting the finished blondies out incredibly easy, allowing for clean cuts.
Achieving Perfectly Browned Butter Every Time
Browning butter is a simple technique, but it requires attention. Use a light-colored saucepan so you can easily see the color change of the milk solids at the bottom. Start on medium heat to melt the butter, then you can slightly reduce the heat as the browning begins to prevent it from happening too quickly. Swirling or stirring the butter helps the milk solids brown evenly.
Don't walk away from the stove! The transition from golden to amber to burnt happens rapidly. You're looking for a nutty aroma and amber-brown bits at the bottom, not black or smoking butter. If you accidentally burn the butter, it's best to discard it and start again, as the burnt taste will permeate your blondies. Practice makes perfect; after a few batches, you'll easily recognize the signs of perfectly browned butter.
Ingredient Substitutions and Flavor Enhancements
While the core ingredients are key, you can experiment with substitutions and additions to customize your easy crinkle top blondies. For a dairy-free version, you can use a plant-based butter alternative, although browning it might behave slightly differently. Gluten-free all-purpose flour blends can often be substituted cup-for-cup, though texture may vary.
To enhance the flavor beyond the brown butter and sea salt, consider adding mix-ins after combining the wet and dry ingredients but before pouring the batter into the pan. Popular additions include chocolate chips (milk, dark, or white), chopped nuts like walnuts or pecans, or even dried cranberries or cherries. About 1/2 to 3/4 cup of mix-ins is usually a good amount for an 8x8 inch pan. Adding a pinch of cinnamon or nutmeg can also complement the warm flavors.
Troubleshooting Common Blondie Baking Issues
Sometimes, baking doesn't go exactly as planned. If your blondies are dry, you likely overbaked them. Reduce the baking time in your next batch or check for doneness sooner. If they are too crumbly, you might have added too much flour or didn't have the right balance of wet-to-dry ingredients. Ensure you're measuring flour correctly (spoon into the measuring cup and level off, don't scoop).
If your blondies are too greasy, the butter might not have been incorporated properly, or there was too much of it relative to the other ingredients. Make sure the brown butter is warm, not hot, when you add the sugars and eggs, and whisk thoroughly. If you didn't get a crinkle top on your easy crinkle top blondies, ensure your egg was at room temperature and that you whisked the warm butter-sugar-egg mixture vigorously for the recommended time to create that initial glossy surface layer. Baking temperature also plays a role; ensure your oven is calibrated correctly.
Storing and Serving Your Brown Butter Blondies
Once your delicious brown butter blondies are baked, cooled, and cut, proper storage ensures they remain fresh and tasty. How you serve them can also elevate the experience.
Keeping Your Blondies Fresh and Delicious
To keep your easy crinkle top blondies fresh, store them in an airtight container at room temperature. Layering parchment or wax paper between layers of blondies can prevent them from sticking together. Stored correctly, they will maintain their best texture and flavor for 3-4 days.
For longer storage, blondies freeze exceptionally well. Once completely cooled and cut, wrap individual squares or the entire slab tightly in plastic wrap, then place in a freezer-safe bag or container. Thaw at room temperature before serving. Frozen blondies can last for up to 3 months. Reheating briefly in a microwave can restore a lovely warm, gooey texture.
Serving Suggestions: Elevating Your Homemade Blondies
These brown butter blondies with sea salt are delightful on their own, but you can easily turn them into a more elaborate dessert. Serve warm blondies with a scoop of vanilla ice cream or a dollop of whipped cream. The contrast of the warm blondie and cold ice cream is heavenly.
A drizzle of caramel sauce or chocolate ganache can add extra richness. Pairing them with a cup of coffee or tea is also a classic and satisfying way to enjoy their rich flavor. Don't forget that final sprinkle of flaky sea salt just before serving to really make the flavors pop!
Variations on the Brown Butter Blondie Recipe
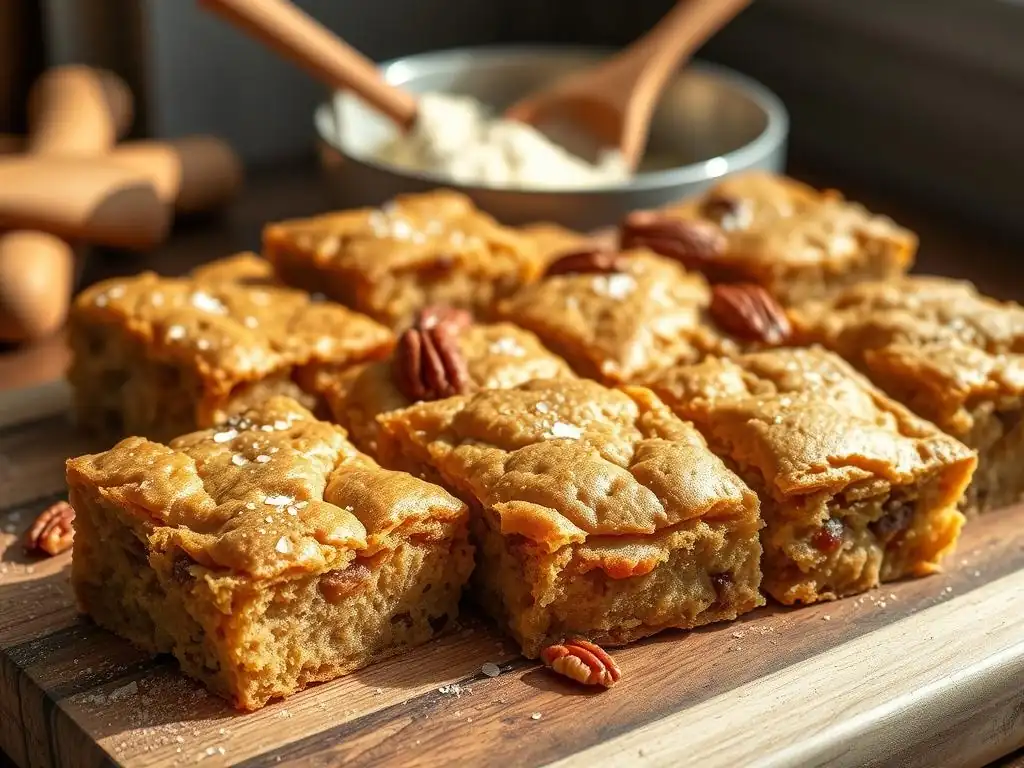
The basic brown butter blondie recipe is a fantastic canvas for creativity. Here are a few popular variations to try, building on the foundation of easy crinkle top blondies.
Chocolate Chunk Brown Butter Blondies: A Decadent Addition
Adding chocolate chunks is perhaps the most popular variation for blondies. The rich, slightly bitter taste of dark chocolate or the creamy sweetness of milk chocolate pairs wonderfully with the nutty brown butter flavor. Simply fold in about 3/4 cup to 1 cup of chocolate chips or chopped chocolate (chocolate bars chopped into chunks melt more beautifully) into the batter along with the dry ingredients.
The chocolate melts into pockets of gooey goodness as the blondies bake, creating a delightful texture contrast with the chewy bar. Using a mix of different types of chocolate, like dark and milk, can add complexity. These decadent chocolate chunk easy crinkle top blondies are sure to be a hit.
Pecan Brown Butter Blondies: Adding Texture and Nutty Flavor
For those who love nuts in their baked goods, adding pecans to your brown butter blondies is a natural fit. The toasted notes of the brown butter complement the earthy, slightly sweet flavor of pecans perfectly. Fold in about 1/2 cup to 3/4 cup of chopped pecans (toasted or untoasted) into the batter.
Toasting the pecans lightly before adding them can enhance their flavor and crunch. Simply spread them on a baking sheet and toast in a 350°F (175°C) oven for 5-7 minutes until fragrant. Allow them to cool before adding to the batter. The pecans add a pleasant textural contrast to the chewy blondie base.
Espresso Brown Butter Blondies: A Coffee-Infused Treat
If you're a coffee lover, adding espresso powder can give your brown butter blondies a subtle, sophisticated coffee kick that enhances the chocolate and caramel notes. Add 1 to 2 teaspoons of instant espresso powder (or instant coffee granules) to the brown butter while it's still warm, and whisk to dissolve.
Alternatively, you can dissolve the espresso powder in the vanilla extract before adding it to the wet ingredients. Start with 1 teaspoon and add more if you prefer a stronger coffee flavor. This variation results in easy crinkle top blondies with a delicious depth of flavor, perfect with a cup of coffee.
Brown Butter Blondies: Recipe Review
After baking and tasting, it's clear why these brown butter blondies with sea salt are such a winning recipe.
Taste and Texture Analysis of Our Brown Butter Blondies
The taste is immediately elevated by the nutty, caramel notes from the brown butter, far surpassing a standard blondie made with melted butter. The brown sugar contributes a lovely molasses flavor, while the vanilla adds warmth. The sprinkle of flaky sea salt on top is essential, providing bursts of salinity that perfectly balance the sweetness and highlight the other flavors. It prevents the blondies from being overly sweet.
The texture is exactly what you want in a blondie: wonderfully chewy in the center, with slightly firmer, golden edges. The highlight is the beautiful, delicate crinkle top, which adds a slight crispness that contrasts with the soft interior. The combination of chewy, slightly crispy, and soft textures makes each bite incredibly satisfying. These easy crinkle top blondies deliver on both flavor and texture.
Why This Brown Butter Blondie Recipe Is a Must-Try
This brown butter blondie recipe is a must-try for anyone looking for a simple yet incredibly flavorful dessert. It takes a classic blondie and elevates it significantly with the easy technique of browning butter. The resulting depth of flavor is remarkable. Plus, the recipe is quick and straightforward, even for beginner bakers, fitting perfectly with the BakeWithEase philosophy.
Achieving that coveted crinkle top is demystified, making it accessible to home bakers. The ability to easily customize with mix-ins adds to its appeal. Whether you make the plain version with sea salt or add chocolate chunks or nuts, these easy crinkle top blondies are guaranteed to impress and become a regular in your baking rotation.
More Baking Recipes You'll Love
If you enjoyed making these brown butter blondies, here are a couple more easy and delicious recipes from BakeWithEase that you might like to try next.
Salted Caramel Brownies
If you're a fan of the sweet and salty combination in these blondies, our Salted Caramel Brownie recipe takes that to the next level with rich chocolate and gooey caramel. These brownies are fudgy and decadent, with swirls of homemade or store-bought salted caramel adding pockets of irresistible flavor. It's another crowd-pleasing bar recipe that's surprisingly simple to make.
For a classic comfort treat, our Easy Peanut Butter Chocolate Chip Cookies are hard to beat. This recipe yields soft, chewy cookies bursting with peanut butter flavor and melty chocolate chips. It's a straightforward cookie recipe that requires minimal chilling time, perfect when you need a quick fix for your cookie craving. These are always a favorite for their simple ingredients and satisfying taste.
Frequently Asked Questions
What makes these blondies "easy"?
These blondies are easy because they use simple recipes and easy-to-find ingredients. We provide step-by-step guides for all skill levels.
What is a "crinkle top" and how do I achieve it?
A crinkle top refers to the desirable cracked surface on the blondies. It's achieved through a combination of proper mixing and oven temperature.
Can I substitute any ingredients in this blondie recipe?
While the recipe is designed for optimal results, you can make minor substitutions like different nuts or chocolate chips. However, major alterations may affect the texture.
What baking equipment is absolutely essential for this recipe?
You'll need a mixing bowl, a baking pan, and an oven. A whisk or electric mixer can be helpful, but not strictly required.
How do I store leftover blondies to keep them fresh?
Store leftover blondies in an airtight container at room temperature. They'll stay fresh for several days.
Final Reflection: The Sweet Simplicity of Baking and Connection
The ease of creating perfect crinkle-top blondies isn't just about a recipe; it's about the joy of baking and the connections it fosters. This simple recipe, designed for even the most novice baker, unlocks a world of delicious possibilities, proving that culinary mastery doesn't require years of experience or complex techniques. The satisfying crackle of the top, the melt-in-your-mouth texture – these are small victories that build confidence and inspire further culinary adventures.
The enduring appeal of baking lies not only in the delicious results but also in the shared experience. It’s a timeless activity that transcends generations, bringing people together around a warm oven and the promise of sweet treats. Baking, in its simplest form, becomes a powerful tool for connection, a way to express care and create lasting memories. Baking is at once child's play and adult joy. And love, of course.
This quote perfectly captures the essence of what this simple blondie recipe represents: a pathway to joy, connection, and the simple pleasures of life.
Now, I invite you to step into your kitchen, armed with this recipe and a spirit of adventure. Don't be afraid to experiment, to adjust the recipe to your own tastes, to share your creations with loved ones. Let the aroma of warm blondies fill your home, creating a haven of comfort and connection. Remember, the most important ingredient in any recipe is the love and care you put into it. So bake with ease, bake with joy, and bake with love.
Unlock Your Inner Baker: Master the Crinkle-Top Blondie!
Thanks for joining me on this blondie baking adventure! I hope you've gained some delicious inspiration and newfound confidence in the kitchen. Ready to take your baking skills to the next level?
- Bake a batch of your own crinkle-top blondies today! Use the recipe from the article as your guide, and don't be afraid to experiment with your favorite add-ins.
- Share your baking triumphs (and even your flops!) with our BakeWithEase community on social media – use #BakeWithEaseBlondies to show off your creations.
- Explore other delightful recipes on BakeWithEase.com – we've got tons of easy-to-follow recipes just waiting to be discovered!
What's your favorite blondie topping, and what other flavor combinations are you dreaming up? Let's chat in the comments!