
The Maillard Reaction in Sourdough: Unlocking Flavor and Color

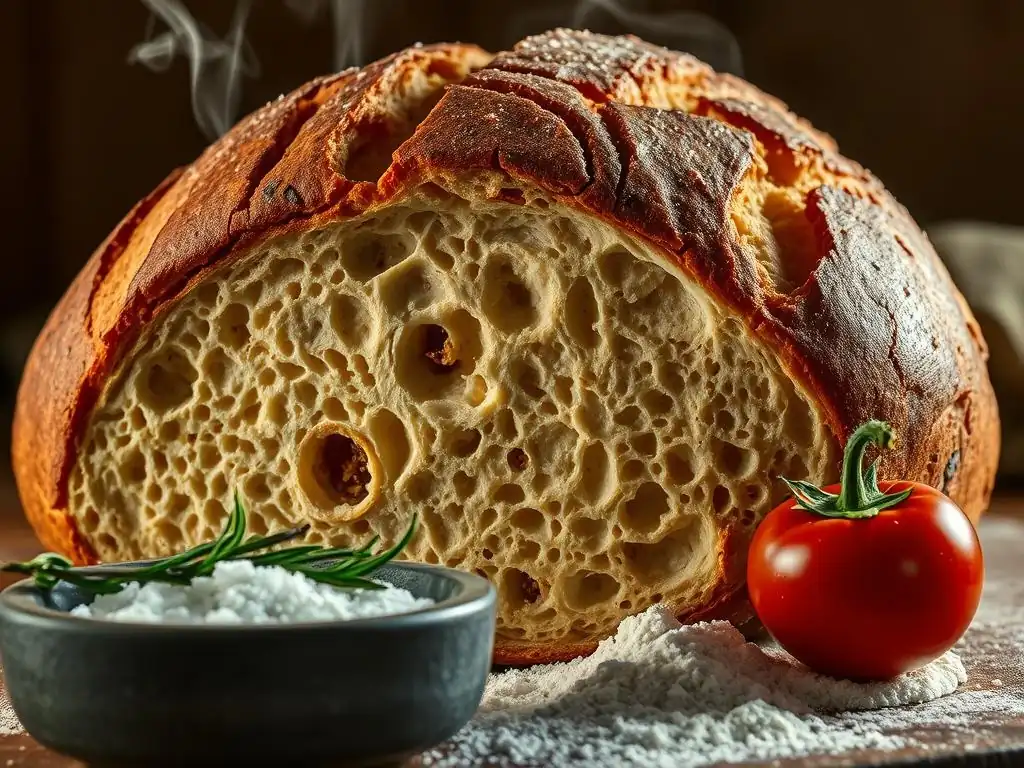
Welcome to BakeWithEase, your trusted companion on your baking journey! Are you ready to delve into the secrets behind that irresistibly crusty and flavorful sourdough loaf? Discover how to harness the power of the Sourdough Maillard reaction techniques, and unlock a symphony of flavor and color in your baking. Join us as we explore this fascinating chemical process that elevates sourdough from simple bread to a culinary masterpiece, and learn how you can achieve bakery-quality results at home. What secrets will you uncover?
- Understanding the Maillard Reaction in Sourdough Baking
- Mastering Sourdough Maillard Reaction Techniques for Enhanced Crust
- Controlling the Maillard Reaction: Sourdough Baking Variables
- Advanced Sourdough Maillard Reaction Techniques for Expert Bakers
- Troubleshooting Sourdough Crust Issues Related to Maillard Reaction
- Sourdough Maillard Reaction: Recipe Adaptations and Examples
- Conclusion: Elevating Your Sourdough Baking with Maillard Reaction Mastery
-
Frequently Asked Questions
- What exactly is the Maillard reaction, and why is it important in sourdough baking?
- How does the Maillard reaction affect the flavor profile of sourdough bread?
- What are some key factors that influence the Maillard reaction in sourdough baking?
- Are there specific techniques I can use to enhance the Maillard reaction in my sourdough?
- Can overdoing the Maillard reaction negatively impact my sourdough bread?
- Final Reflection: The Enduring Magic of the Maillard Reaction in Sourdough
- Unleash Your Inner Sourdough Alchemist!
Understanding the Maillard Reaction in Sourdough Baking
What is the Maillard Reaction and Why Does it Matter for Sourdough?
The Maillard reaction is a complex series of chemical reactions that occur between amino acids (the building blocks of protein) and reducing sugars when heat is applied. This non-enzymatic browning process is responsible for the incredible depth of flavor, aroma, and color in countless cooked foods, from seared steaks to toasted marshmallows. In the context of baking, it's what gives bread crust its appealing golden-brown to deep mahogany hues and creates hundreds of distinct flavor compounds. The reaction begins subtly around 140°C (284°F) but accelerates dramatically at higher temperatures typical of bread baking.
For sourdough, the Maillard reaction is absolutely vital. It's not just about achieving a beautiful, dark crust; it's about developing the signature complex flavors that make sourdough so unique. The reaction contributes notes that can range from nutty, roasted, and toasted to sometimes even slightly malty or chocolatey, depending on the specifics of the bake. Without a well-developed Maillard reaction, a sourdough crust would be pale, lacking in aroma, and have a comparatively bland flavor profile, missing the crucial contrast to the tangy interior crumb.
The Science Behind Sourdough's Flavor Development: Maillard's Role
Sourdough fermentation is a fascinating process involving both yeast and lactic acid bacteria. This microbial activity doesn't just make the dough rise and develop tang; it also prepares the dough for the Maillard reaction during baking. The enzymes present in the flour, along with those contributed by the sourdough culture, break down complex carbohydrates (starches) into simpler reducing sugars like glucose, fructose, and maltose. Simultaneously, proteins are broken down into amino acids. These sugars and amino acids are the essential reactants needed for the Maillard reaction to occur when the dough is exposed to high heat in the oven.
Compared to commercial yeast breads, sourdough often has a richer substrate for the Maillard reaction due to the longer fermentation times and the enzymatic activity of the culture. The diverse sugars and amino acids produced create a more complex palette of potential flavor compounds during browning.
As the crust temperature rises above 140°C (284°F), these reactants combine and rearrange through a cascade of chemical steps, eventually forming melanoidins (the brown pigments) and a vast array of volatile organic compounds that contribute to the crust's aroma and flavor profile, including pyrazines (often associated with roasted or nutty notes) and furans (caramel-like).
How Temperature and Time Influence the Maillard Reaction in Sourdough
The intensity and extent of the Maillard reaction are highly dependent on both temperature and time. The reaction rate increases significantly with temperature. Baking sourdough at a high initial temperature, often in the range of 230-260°C (450-500°F), provides the necessary heat energy to kickstart rapid Maillard browning on the surface as soon as the loaf enters the oven. This is why methods like baking in a preheated Dutch oven or on a baking steel are so effective; they transfer heat efficiently to the crust.
Time is the other critical factor. The longer the dough surface remains at temperatures conducive to the Maillard reaction, the deeper the color and flavor will develop. While starting hot initiates the reaction quickly, maintaining a sufficient temperature for an adequate duration allows the reaction to progress fully.
A loaf baked for only 30 minutes at 230°C might have a lighter crust than one baked for 40-45 minutes, even if the temperature is reduced partway through. Balancing the time needed for robust crust development with the time required to bake the interior crumb properly is a key skill in mastering sourdough Maillard reaction techniques.
Mastering Sourdough Maillard Reaction Techniques for Enhanced Crust
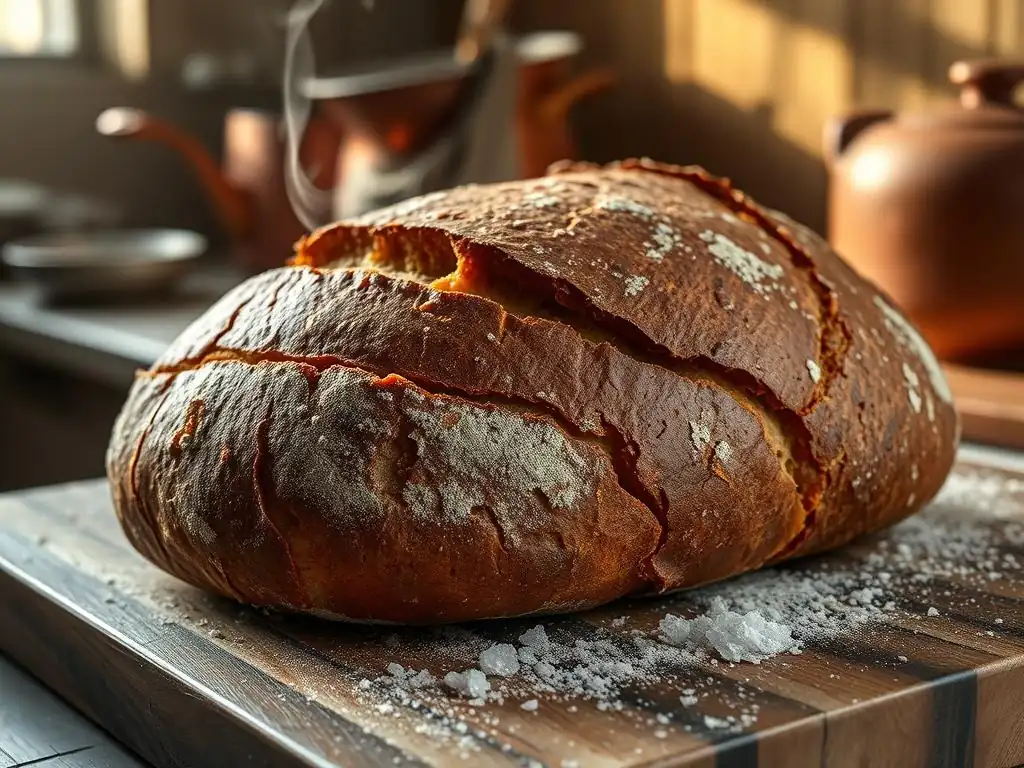
Achieving Optimal Crust Color and Flavor Through Maillard Reaction Control
Achieving that perfect, deeply colored, and flavorful sourdough crust is largely about strategically controlling the Maillard reaction. This involves manipulating several key variables: the amount of heat and the duration of baking, the availability of reactant compounds (sugars and amino acids) on the dough's surface, and the surface conditions, particularly humidity. Bakers use a combination of techniques, including precise oven temperature management, specific proofing strategies, managing dough hydration, utilizing steam during baking, and sometimes incorporating ingredients like malted grains, to optimize these factors.
The most impactful control often lies in temperature and time management during the bake. A common and highly effective strategy is to bake the sourdough loaf in a very hot oven (e.g., 250°C / 480°F) for the first 15-20 minutes, often with steam, to promote rapid oven spring and initiate robust Maillard browning. After this initial phase, the temperature is typically reduced to around 200-220°C (390-425°F) to allow the interior of the loaf to finish baking without the crust burning. This two-stage temperature approach maximizes the Maillard reaction potential while ensuring the loaf bakes through evenly.
Sourdough Proofing and its Impact on Maillard Browning
The proofing stage of sourdough baking significantly influences the availability of simple sugars, which are crucial reactants for the Maillard reaction. As the yeast and bacteria in your starter ferment the dough, they consume sugars. If the dough is over-proofed, particularly at warm temperatures, a large proportion of these simple sugars can be depleted. This leaves less "fuel" for the Maillard reaction when the dough is baked, often resulting in a pale, underdeveloped crust despite correct baking temperatures.
Conversely, cold proofing the dough in the refrigerator (typically 4°C / 40°F) for an extended period (e.g., 12 to 48 hours) can actually enhance Maillard browning. While the yeast fermentation slows dramatically at cold temperatures, enzymatic activity continues. Enzymes like amylase break down starches into simple sugars over time.
This slow breakdown increases the pool of reducing sugars available on the dough's surface when it's transferred to the hot oven, leading to more intense browning. A loaf proofed for 24 hours in the fridge will often develop a darker crust than a similar loaf proofed for just 4 hours at room temperature (22°C / 72°F).
Sugar Content's Influence on Maillard Reaction in Sourdough: Sweetness and Color
While many traditional sourdough recipes don't call for added sugar, the natural sugar content derived from the flour through enzymatic breakdown during fermentation is critical for the Maillard reaction. The amount of simple sugars like glucose, fructose, and maltose present on the surface of the dough when it hits the oven directly correlates with the potential for browning. Different flours have varying starch and enzyme levels, which can influence this natural sugar pool.
Adding a small amount of sugar (like 1-2% of the total flour weight) or, more commonly in artisan baking, diastatic malt powder, can significantly boost the Maillard reaction. Diastatic malt contains active enzymes, primarily amylase, that actively convert complex starches into simple sugars during the fermentation process. This provides an increased supply of reactants for the Maillard reaction, leading to a darker, more robust crust and often a slightly sweeter, maltier flavor profile.
For instance, adding 0.5% diastatic malt can visibly enhance crust color compared to a control loaf. Non-diastatic malt, while adding flavor and color itself, lacks these active enzymes and won't fuel the Maillard reaction in the same way.
Controlling the Maillard Reaction: Sourdough Baking Variables
Oven Temperature Management for Perfect Sourdough Crust
Effective oven temperature management is paramount for achieving optimal Maillard browning in sourdough. The reaction requires significant heat, and starting the bake at a high temperature is key to initiating it quickly and intensely on the dough's surface. Preheating your oven thoroughly, often to 230-260°C (450-500°F), is essential. Baking in a preheated Dutch oven or on a baking steel or stone provides excellent heat transfer to the bottom and sides of the loaf, promoting rapid crust setting and browning.
After the initial high-heat burst, typically lasting 15 to 25 minutes (especially if using steam), reducing the oven temperature is crucial. Lowering the temperature to 200-220°C (390-425°F) allows the interior of the loaf to finish baking through without the crust becoming excessively dark or burning. This controlled decrease ensures that the Maillard reaction continues to develop color and flavor, but at a slower pace, preventing over-browning while the crumb structure sets and the internal temperature reaches the necessary point (around 96-100°C / 205-212°F).
Humidity's Role in Maillard Reaction: Steaming Techniques for Sourdough
Humidity, usually introduced as steam during the initial phase of baking, plays a critical indirect role in enhancing the Maillard reaction in sourdough crusts. Steam keeps the surface of the dough moist and pliable for the first 15-20 minutes in the hot oven. This moisture on the surface delays the formation of a hard, dry crust, preventing it from setting prematurely. This allows the dough to expand fully during oven spring and keeps the surface flexible and receptive to browning.
Once the steam dissipates or is vented (e.g., by removing a Dutch oven lid), the surface temperature of the dough rises rapidly. Because the surface remained moist and pliable, it hasn't formed a restrictive crust. The sugars and amino acids are readily available on this supple surface, and the high heat triggers an intense Maillard reaction, resulting in a thicker, richer, and more evenly browned crust.
Baking sourdough without adequate steam often results in a thinner, paler crust that sets too quickly, limiting both oven spring and Maillard development. Common steaming methods include baking in a Dutch oven, using a baking stone with a steam pan filled with hot water or ice, or using lava rocks heated and then doused with water.
Malted Grains and Their Impact on Sourdough Maillard Browning
As mentioned earlier, malted grains, particularly diastatic malt, are a powerful tool for enhancing the Maillard reaction in sourdough. Diastatic malt powder contains active enzymes, primarily alpha-amylase and beta-amylase, which are highly effective at breaking down the complex starches in flour into simpler reducing sugars (like maltose, glucose, and fructose) during the bulk fermentation and proofing stages.
Adding a small percentage of diastatic malt (typically 0.5% to 2% based on total flour weight) provides a significant boost in the readily available sugars on the dough's surface. When the loaf is baked at high temperatures, these increased simple sugars provide more reactants for the Maillard reaction. This leads to significantly darker crusts, more intense browning, and often a slightly sweeter, maltier flavor profile. It's a targeted way to ensure there's ample "fuel" for the reaction, especially if your flour or fermentation process naturally yields fewer simple sugars.
Advanced Sourdough Maillard Reaction Techniques for Expert Bakers
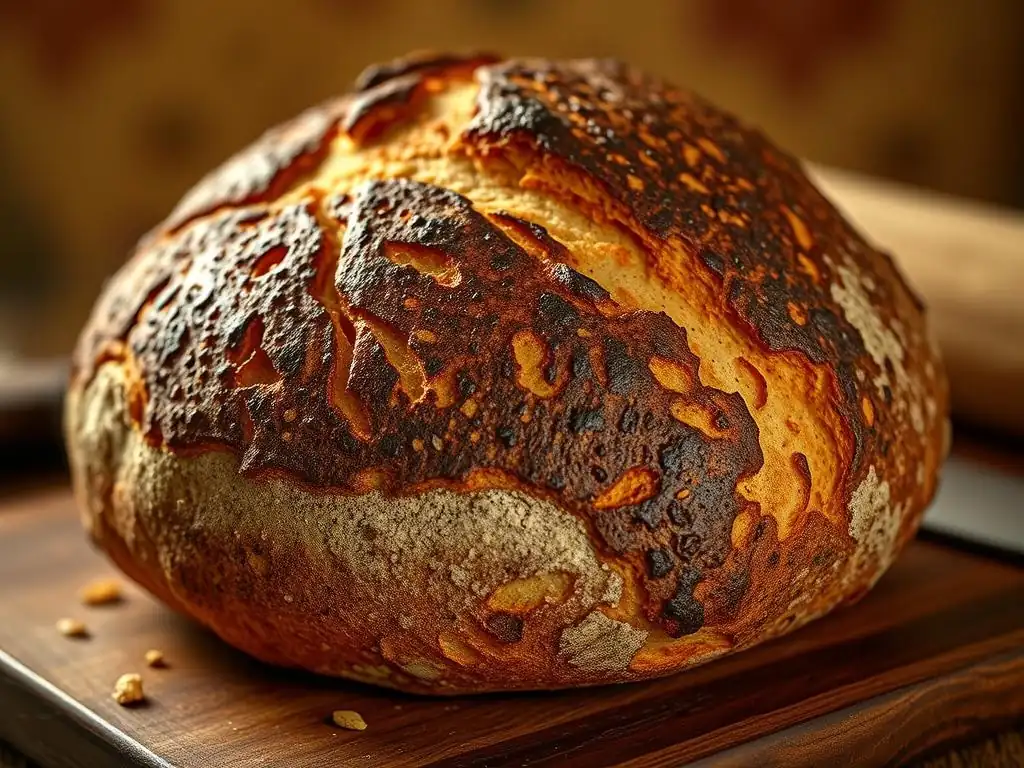
Utilizing Pre-Ferments to Boost Maillard Reaction in Sourdough
The characteristics of your sourdough starter, used as a pre-ferment (levain), can subtly influence the potential for Maillard browning. The hydration level, feeding ratio, and maturity of your starter impact its enzymatic activity and the profile of sugars and amino acids it contributes to the final dough. A highly active starter maintained with frequent feedings can contribute robust enzymatic activity that aids in breaking down starches into sugars during the main dough fermentation.
Using a higher percentage of pre-fermented flour in your recipe (e.g., recipes where the levain constitutes 20-30% or more of the total flour) means that a larger portion of the flour has undergone a period of intense enzymatic activity before the final mix. This prolonged enzymatic action, even in the relatively short lifespan of the starter, can increase the pool of simple sugars available for the Maillard reaction in the final dough.
While the effects can be nuanced and depend on the overall process, leveraging a vigorous starter and a significant percentage of pre-fermented flour are subtle but effective sourdough Maillard reaction techniques.
The Impact of Dough Hydration on Sourdough Crust Color and Flavor
Dough hydration, the ratio of water to flour, significantly impacts the final crust characteristics, including Maillard development. Higher hydration doughs (e.g., 75-85% hydration) often result in darker, thinner, and crispier crusts with more prominent blistering compared to lower hydration doughs (e.g., 60-70%). One key reason relates to the surface moisture during baking. In higher hydration doughs, the surface remains moist for a longer period in the hot oven due to the higher water content and evaporation.
This extended period of moisture keeps the surface pliable and delays the formation of a hard crust, similar to the effect of steam. Once the surface temperature rises significantly after the initial evaporation, the Maillard reaction proceeds intensely on the still-flexible surface. Additionally, higher hydration can sometimes facilitate enzymatic activity during bulk fermentation, potentially leading to a slightly greater breakdown of starches into browning sugars. The combination of delayed crust setting and potentially more surface sugars contributes to the deep color and desirable texture of high-hydration sourdough crusts, showcasing advanced sourdough Maillard reaction techniques.
Sourdough Scoring Techniques to Maximize Maillard Reaction
Scoring, the act of cutting the surface of the dough just before baking, is not merely decorative; it's a functional technique that dramatically influences oven spring and, consequently, crust development and Maillard browning. Proper scoring directs the expansion of the dough during its rapid rise in the oven, preventing uncontrolled blowouts that result in pale, ripped areas. The clean cuts allow the dough to expand along defined lines, stretching the surface evenly in those areas.
Furthermore, the style and depth of your scoring can maximize the surface area exposed directly to the intense heat of the oven, particularly on the ridges or "ears" created by angled cuts. These exposed edges dry out quickly once the steam phase is over and become prime locations for aggressive Maillard browning and crispness. Scoring patterns that create multiple overlapping cuts or prominent ears increase the amount of surface area that undergoes intense, direct heating, leading to enhanced overall Maillard development and visual appeal. Mastering scoring is an integral part of effective sourdough Maillard reaction techniques.
Avoiding Pale Crust: Tips for Enhancing Maillard Browning
A pale sourdough crust is a common frustration, often indicating insufficient Maillard development. The primary culprits are typically a lack of available simple sugars on the surface or insufficient heat/time during baking. If your crust is consistently pale, first examine your proofing process. Over-proofing, especially at warm temperatures, can deplete the sugars needed for browning. Consider shortening your final proof or switching to a longer, colder proof (e.g., 18-24 hours at 4°C / 40°F) which preserves sugars and allows for beneficial enzymatic activity.
Next, assess your baking setup and temperature. Ensure your oven is accurately calibrated (an oven thermometer is helpful) and fully preheated to a high temperature, such as 250°C (480°F). Using a preheated Dutch oven or baking steel/stone with adequate steam is crucial for transferring enough heat to the crust quickly. Baking for a sufficient duration is also key; don't pull the loaf too early. If these adjustments aren't enough, consider adding a small percentage (0.5-1%) of diastatic malt powder to your dough formula to increase the sugar supply for the sourdough Maillard reaction techniques.
Preventing Over-Browning: Understanding Sugar Caramelization vs. Maillard Reaction
While Maillard browning is desirable, excessive darkening can lead to bitterness and an unappealing crust. This often occurs when the temperature is too high for too long, pushing the Maillard reaction to extremes and also triggering sugar caramelization. While Maillard involves sugars and amino acids and produces complex flavors, caramelization is the thermal degradation of sugars alone, starting at higher temperatures (e.g., glucose around 150°C / 302°F, sucrose higher) and producing sweeter, then increasingly bitter compounds as it darkens.
If your crust is consistently too dark or tastes burnt, you're likely exceeding the optimal point for Maillard and entering the realm of significant caramelization. The solution is usually to reduce the heat or duration of the high-temperature phase. Try reducing the oven temperature earlier in the bake (e.g., after 15 minutes instead of 20) or lowering the initial baking temperature slightly.
If you've added sugar or malt, reduce the amount. If the top is browning too fast while the bottom is okay, you can loosely tent the loaf with foil for the latter part of the bake to shield the top.
Diagnosing and Correcting Uneven Crust Color in Sourdough
Uneven crust color detracts from the visual appeal of a sourdough loaf and can indicate inconsistent heat application or dough surface issues, impacting the overall sourdough Maillard reaction techniques. A common cause is uneven oven heat distribution, with hot spots causing certain areas to brown faster. Using an accurate oven thermometer can help diagnose this, and rotating the loaf halfway through the bake can help promote more uniform browning.
Surface condition before baking is also critical. Patches of dry flour or uneven surface tension from shaping can result in areas that don't brown properly. Ensure excess flour is brushed off before scoring and that your shaping creates a smooth, even surface. Lastly, poor or inconsistent scoring can lead to the dough splitting in unexpected places (blowouts) during oven spring. These unplanned splits often have pale, ripped edges compared to the controlled browning in the scored areas. Practicing consistent, clean scoring techniques ensures predictable expansion and even crust development, maximizing the potential for beautiful and uniform Maillard browning.
Sourdough Maillard Reaction: Recipe Adaptations and Examples
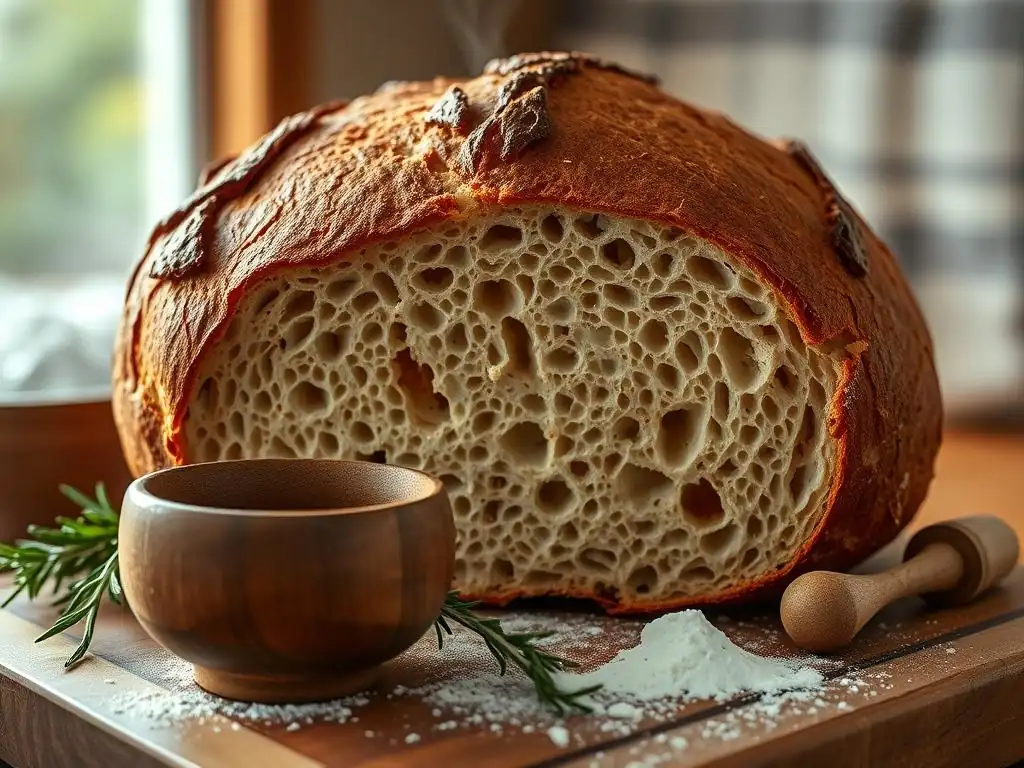
Modifying Your Sourdough Recipe for Enhanced Maillard Flavor
To enhance the Maillard reaction and achieve a bolder crust, you can adapt existing sourdough recipes. Simple modifications can significantly impact the outcome. For instance, if your recipe uses a relatively short room-temperature proof, try extending the final proof in the refrigerator to 18-24 hours at 4°C (40°F). This encourages enzymatic activity, increasing the simple sugar content available for browning.
Another effective adaptation is incorporating a small amount of diastatic malt powder, perhaps 0.5% to 1% of the total flour weight. This directly boosts the enzymatic conversion of starch to sugar, providing more fuel for the Maillard reaction. Adjusting your baking temperature strategy is also key: ensure you are starting the bake in a very hot oven, around 250°C (480°F), ideally with steam, for the first 15-20 minutes before reducing the heat to finish baking. These sourdough Maillard reaction techniques adjustments, often used in combination, can transform a pale crust into a richly colored and flavorful one.
High-Hydration Sourdough with Bold Crust
High-hydration sourdough recipes, typically ranging from 75% to 85% hydration, are renowned for producing loaves with thin, exceptionally crispy crusts that exhibit fantastic Maillard browning and prominent blistering. While handling these wetter doughs requires practice, the results in terms of crust development are often superior. The higher water content keeps the dough surface moist for a longer initial period in the hot oven, preventing the crust from setting too early.
This delayed crust formation allows for maximum oven spring and ensures the surface remains pliable and receptive to the Maillard reaction once the moisture evaporates. The intense heat then acts on the readily available sugars and amino acids on this supple surface, leading to deep color and complex flavors. Combined with a long, cold proof, which is common for high-hydration doughs, this approach maximizes both enzymatic sugar production and optimal surface conditions for the sourdough Maillard reaction techniques.
Overnight Cold-Proofed Sourdough Boule for Complex Flavors
The overnight cold proof is a fundamental technique in artisan sourdough baking, not only for developing complex flavors in the crumb but also for significantly enhancing the Maillard reaction in the crust. After bulk fermentation and shaping, the dough is placed in a refrigerator maintained at around 4°C (40°F) for an extended period, typically 12 to 24 hours, or even up to 48 hours.
During this cold proof, yeast activity is greatly slowed, limiting the consumption of simple sugars. However, the enzymatic activity within the dough continues, breaking down starches into sugars. This results in a dough that, when taken from the cold and placed into a hot oven, has a higher concentration of simple sugars available on its surface compared to a dough proofed solely at room temperature.
This increased sugar supply, combined with the high baking temperature, fuels a more intense Maillard reaction, yielding a darker, more flavorful crust and contributing to the overall complexity of the loaf. This is a prime example of effective sourdough Maillard reaction techniques.
Conclusion: Elevating Your Sourdough Baking with Maillard Reaction Mastery
Key Takeaways: Sourdough Maillard Reaction Techniques
Understanding and controlling the Maillard reaction is perhaps one of the most impactful ways to elevate your sourdough baking from good to exceptional. It's the chemical artistry that transforms a pale dough surface into a deeply colored, aromatic, and flavorful crust – a defining characteristic of great artisan sourdough. The reaction relies on the interplay of heat, time, and the availability of simple sugars and amino acids, which are influenced by your fermentation process and ingredients.
To master sourdough Maillard reaction techniques, focus on controlling the key variables:
- High Heat: Start baking in a very hot oven (230-260°C / 450-500°F) to initiate rapid browning.
- Time: Allow sufficient baking time at temperatures conducive to Maillard development.
- Steam/Humidity: Use steam during the initial bake to keep the surface pliable and promote even browning.
- Proofing: Manage proofing time and temperature (cold proofing is beneficial) to ensure adequate sugar availability.
- Ingredients: Consider adding diastatic malt to boost enzymatic sugar production if needed.
By consciously manipulating these factors, you can reliably achieve that sought-after bold, beautiful, and delicious sourdough crust.
Further Exploration: Resources for Advanced Sourdough Baking
Applying these sourdough Maillard reaction techniques is a journey of experimentation and refinement. Each oven, starter, and flour behaves slightly differently, so practice is key. Try adjusting one variable at a time in your standard recipe, such as increasing the cold proof duration or slightly increasing the initial oven temperature, and observe the results on your crust.
To delve deeper into advanced sourdough Maillard reaction techniques and other aspects of sourdough baking, continue exploring resources that cover topics like the specific enzymatic activity of different flours, the impact of varying starter hydration on dough characteristics, or detailed guides on oven steaming methods beyond a Dutch oven. The world of sourdough offers endless opportunities for learning and perfecting your craft, and mastering the Maillard reaction is a significant step towards baking truly exceptional loaves.
Frequently Asked Questions
What exactly is the Maillard reaction, and why is it important in sourdough baking?
The Maillard reaction is a chemical reaction between amino acids and reducing sugars that occurs upon heating. It's crucial in sourdough because it's responsible for the complex flavors and golden-brown crust that we love.
How does the Maillard reaction affect the flavor profile of sourdough bread?
The Maillard reaction creates hundreds of different flavor compounds. These compounds contribute to notes of caramel, toast, and roasted nuts, adding depth and complexity to the sourdough's taste.
What are some key factors that influence the Maillard reaction in sourdough baking?
Several factors play a role, including temperature, pH levels, and the presence of sugars and amino acids. Higher temperatures generally accelerate the reaction, while a slightly acidic environment can also help.
Are there specific techniques I can use to enhance the Maillard reaction in my sourdough?
Yes! You can enhance the Maillard reaction by increasing the baking temperature during the final stage, using a longer fermentation process to develop more sugars, and spritzing the loaf with water to create steam.
Can overdoing the Maillard reaction negatively impact my sourdough bread?
Absolutely. Baking at too high a temperature for too long can lead to excessive browning and a burnt taste. It's about finding the right balance to achieve the desired flavor and color without compromising the bread's quality.
Final Reflection: The Enduring Magic of the Maillard Reaction in Sourdough
The Maillard reaction isn't just a chemical process; it's the key to unlocking the deeply satisfying complexity of sourdough bread. Understanding its nuances allows bakers to move beyond simple recipes and craft truly exceptional loaves, a pursuit that resonates deeply with the growing interest in artisanal and homemade foods. This knowledge empowers us to create bread that is not only visually stunning but also boasts a symphony of flavors and aromas.
The impact of the Maillard reaction extends far beyond the kitchen; it represents a fundamental connection between science and culinary art. It's a testament to the power of understanding basic chemical processes to elevate a craft. The subtle shifts in color, texture, and taste resulting from controlled Maillard reactions are a constant source of fascination and inspiration for bakers worldwide. The best bread is not made by following a recipe, but by understanding the process.
– This unspoken truth highlights the importance of mastering the Maillard reaction for truly exceptional results.
Now, it's your turn to experiment. Don't be afraid to adjust temperatures, times, and even the hydration of your dough to observe the effects on the Maillard reaction. Each loaf you bake is an opportunity to deepen your understanding and refine your technique. Embrace the journey of discovery, and soon, you'll be crafting sourdough loaves that are not only delicious but also reflect your unique mastery of this fascinating chemical dance.
Unleash Your Inner Sourdough Alchemist!
Thanks for diving into the fascinating world of the Maillard reaction in sourdough! You've now unlocked the secrets to deeper flavors and richer colors in your bread. Ready to put this knowledge into practice?
- Try a new sourdough recipe incorporating the principles we discussed. Experiment with different flours, hydration levels, and baking times to see how the Maillard reaction affects the final product. This is where the real magic happens!
- Share your sourdough creations and experiences on our BakeWithEase community forum! Let's inspire each other with beautiful loaves and helpful tips.
- Consider keeping a baking journal to track your experiments and note the impact of different techniques on the Maillard reaction—you might even discover a new favorite technique!
What unique flavor profile will you create with your next sourdough masterpiece?