
Tempering Chocolate Made Easy for French Pastry Decorations

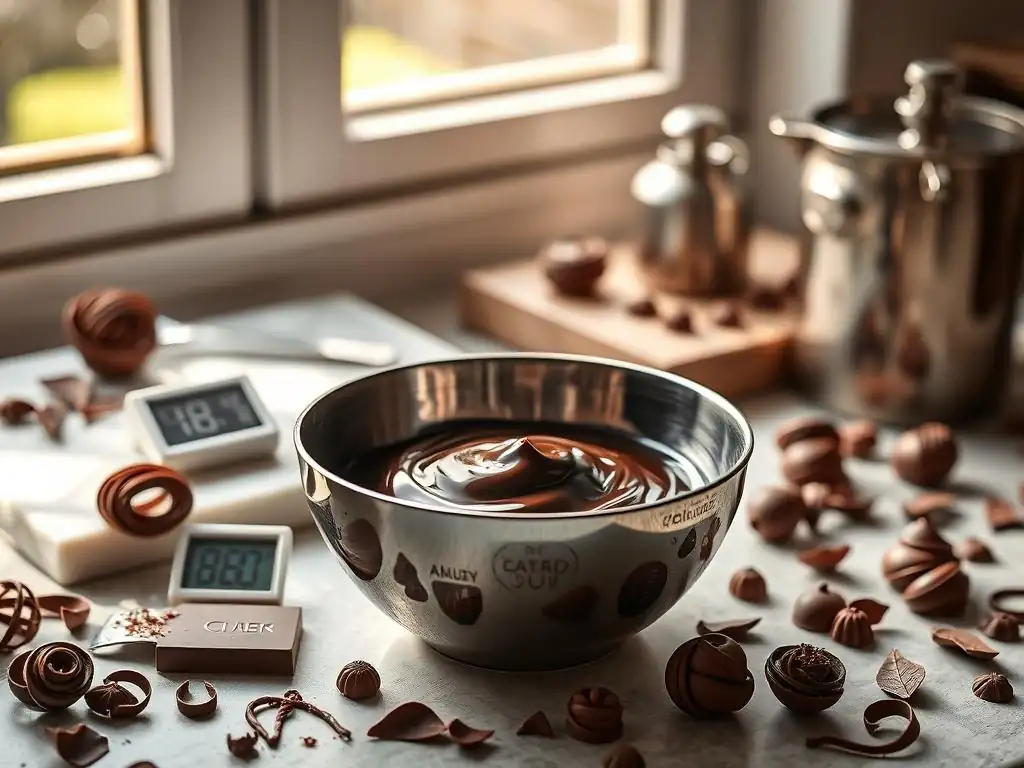
Welcome to BakeWithEase, your partner in creating delectable treats! Ever dreamt of crafting stunning French pastry decorations with perfectly tempered chocolate? It's easier than you think. Dive into our guide on easy chocolate tempering techniques and unlock the secrets to glossy, professional-looking results. Curious to see how simple it can be? Let's get started!
- Tempering Chocolate Made Easy for French Pastry Decorations: Bake With Ease Guide
- Introduction to Chocolate Tempering for French Pastry
- Easy Chocolate Tempering Techniques: A Step-by-Step Guide
- Troubleshooting Common Chocolate Tempering Issues
- Using Tempered Chocolate for Stunning French Pastry Decorations
- Tips for Achieving Perfect Chocolate Temper Every Time
- Storing and Handling Tempered Chocolate
- Conclusion: Mastering Chocolate Tempering for Exquisite Pastry Art
-
Frequently Asked Questions
- How important is tempering when making chocolate decorations?
- What are some beginner-friendly easy chocolate tempering techniques?
- What temperature ranges are important to monitor during tempering?
- What ingredients are absolutely necessary for easy chocolate tempering techniques?
- What are some common mistakes to avoid when tempering chocolate for decorations?
- Final Reflection: The Enduring Allure of Perfectly Tempered Chocolate
- Unlock Your Inner Chocolatier: Mastering Chocolate Tempering!
Tempering Chocolate Made Easy for French Pastry Decorations: Bake With Ease Guide
Introduction to Chocolate Tempering for French Pastry
Why Tempering Chocolate is Crucial for Perfect Pastry Decorations
Tempering chocolate is a fundamental technique in creating professional-looking French pastry decorations. It's not just about melting chocolate; it's a specific process of heating and cooling that stabilizes the cocoa butter crystals within the chocolate. When chocolate is properly tempered, it solidifies with a beautiful, glossy sheen, a satisfying snap when broken, and a smooth texture that melts cleanly in your mouth rather than sticking or feeling waxy. Without tempering, melted chocolate cools into a dull, soft, and often streaky state that is prone to developing "bloom" – those unappetizing white or gray splotches.
Imagine dipping delicate macarons or coating elegant éclairs with chocolate that looks dull, feels soft to the touch, and melts instantly on your fingers instead of holding its shape. That's the result of skipping the tempering step. Proper tempering ensures your chocolate decorations, whether they are intricate curls, molded shapes, or a simple coating, will look stunning, handle well, and provide the desired textural contrast against the soft pastry. It's the secret to achieving that professional finish you see in patisseries, making your easy chocolate tempering techniques truly worthwhile for elevating your baking.
Understanding Different Types of Chocolate for Tempering
Not all chocolate is created equal when it comes to tempering. The type of chocolate you use is primarily defined by its composition, particularly the percentage of cocoa butter. Different cocoa butter content affects the melting and crystallization points, meaning each type requires slightly different temperature ranges for successful tempering. The main types you'll encounter are dark, milk, and white chocolate.
Dark chocolate, generally containing 50% or more cocoa solids, has the highest proportion of cocoa butter among the three, making it often the easiest to temper. Milk chocolate includes milk solids and typically has less cocoa butter than dark, requiring slightly lower tempering temperatures.
White chocolate, made from cocoa butter, sugar, and milk solids but no cocoa solids, has a different fat structure and requires the lowest temperatures for tempering. Understanding these differences is key to applying easy chocolate tempering techniques successfully, as the specific temperature ranges you aim for will vary based on whether you're working with dark, milk, or white chocolate.
Easy Chocolate Tempering Techniques: A Step-by-Step Guide
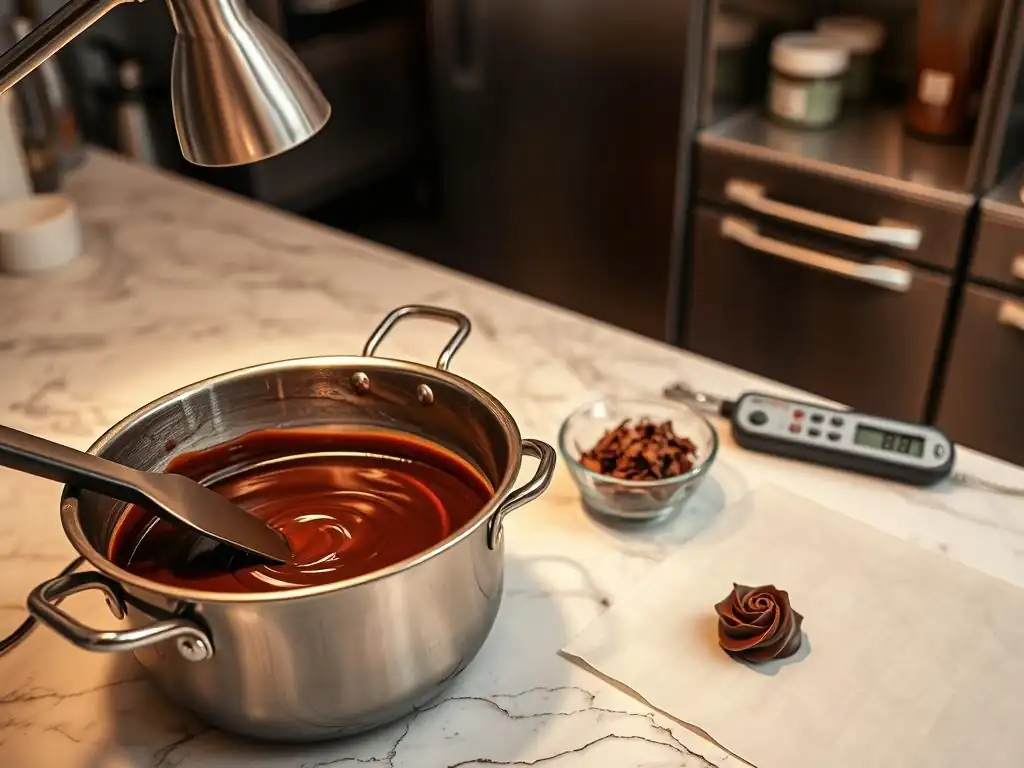
Technique 1: Seed Tempering - A Beginner-Friendly Approach
Seed tempering is one of the most accessible and reliable methods for achieving a perfect temper, making it an excellent starting point for anyone learning easy chocolate tempering techniques. This method relies on using already-tempered chocolate (the "seed") to guide the crystallization of melted chocolate. By introducing stable cocoa butter crystals from the seed chocolate into the melted chocolate, you encourage the entire batch to crystallize correctly as it cools.
This technique is particularly effective because it minimizes the risk of overheating the chocolate, which can destroy the desired crystal structure. You simply melt a portion of your chocolate and then stir in solid pieces (seeds) of the same type of chocolate. As the melted chocolate cools and melts the seed chocolate, the stable crystals in the seed propagate throughout the mixture, leading to a perfectly tempered result ready for your French pastry decorations.
Step 1: Melting the Chocolate (Seed Tempering)
Begin by finely chopping about two-thirds of the total chocolate you plan to temper. Place the chopped chocolate in a dry, clean, heatproof bowl. Gently melt this portion. The easiest way to do this is over a bain-marie (a bowl set over a pot of simmering, not boiling, water, ensuring the bottom of the bowl doesn't touch the water) or in a microwave using short bursts.
If using a microwave, heat on medium power for 30-second intervals, stirring thoroughly after each burst. Continue until the chocolate is mostly melted and smooth, reaching a temperature typically around 45-50°C (113-122°F) for dark chocolate, 40-45°C (104-113°F) for milk, and 37-40°C (98-104°F) for white. Ensure no water or steam comes into contact with the chocolate, as even a tiny drop can cause it to seize.
The goal in this initial melting phase is to melt all the different types of cocoa butter crystals present in the chocolate. Reaching these specific temperatures ensures that you have a blank slate, free from any unstable crystal structures. Stirring helps distribute the heat evenly and prevents scorching, especially when using the microwave method. Once melted and smooth, remove the bowl from the heat source (either the bain-marie or the microwave).
Step 2: Seeding with Callets or Chopped Chocolate
Now, add the remaining one-third of the finely chopped, untempered chocolate or chocolate callets (small drops of chocolate that are already tempered) to the melted chocolate in the bowl. Stir continuously with a clean, dry spatula. The heat from the melted chocolate will start to melt the added solid chocolate. As you stir, monitor the temperature with a thermometer. The purpose of adding this "seed" chocolate is to rapidly cool down the melted chocolate while simultaneously introducing stable cocoa butter crystals.
Continue stirring until all the added chocolate has melted and the mixture cools down to the working temperature range. For dark chocolate, this is typically around 31-32°C (88-90°F); for milk chocolate, 29-30°C (84-86°F); and for white chocolate, 28-29°C (82-84°F). The continuous stirring helps the cooling process and ensures the stable crystals from the seed are evenly distributed, promoting proper crystallization throughout the batch. This step is crucial for developing the desired beta V crystals responsible for chocolate's snap and shine.
Step 3: Checking the Temper and Adjusting if Necessary
Once the chocolate reaches the target working temperature and is smooth, it's time to check if it's properly tempered. A simple test is to dip a small piece of parchment paper, the tip of a knife, or a spoon into the chocolate. Wipe off the excess and let it sit at room temperature (ideally around 20-22°C or 68-72°F) or place it in the refrigerator for a few minutes (around 5 minutes is usually sufficient). If the chocolate is properly tempered, it should set quickly (within 3-5 minutes), be glossy, and snap cleanly when broken.
If the test piece doesn't set properly, is dull, or streaky, the chocolate is likely not in temper. This could mean it didn't cool enough or it cooled too much. If it's too cool and thick, gently rewarm it slightly over the bain-marie for just a few seconds or with a heat gun on a low setting, stirring constantly, until it reaches the correct working temperature again (e.g., 31-32°C for dark).
If it still doesn't temper, you may need to add a few more seed pieces and stir, or in some cases, you might need to start the process over. Patience and temperature monitoring are key to mastering these easy chocolate tempering techniques.
Technique 2: Microwave Tempering - Quick and Convenient
Microwave tempering is arguably the fastest and one of the easiest chocolate tempering techniques, especially useful when you only need a small amount of tempered chocolate for decorations. This method relies on carefully melting the chocolate just enough to break down unstable crystals while leaving some stable ones intact. It requires vigilance and frequent stirring to prevent overheating.
While quick, microwave tempering can be less precise than other methods because microwaves heat unevenly. However, with attention to detail and using short heating intervals, it's a perfectly viable way to achieve tempered chocolate for dipping, drizzling, or molding small decorative pieces for your French pastries. It's a great option for bakers looking for speed and simplicity.
Step 1: Microwave Melting Chocolate in Short Bursts
Finely chop the chocolate and place it in a microwave-safe bowl. Start by microwaving the chocolate on medium power for 30-second intervals. After each interval, remove the bowl and stir the chocolate thoroughly with a dry, clean spatula. The stirring helps distribute the heat and melt the chocolate evenly, preventing hot spots that can scorch the chocolate or ruin the temper.
As the chocolate begins to melt, reduce the heating time to 15-second intervals, and then even shorter bursts (5-10 seconds) as it gets closer to being fully melted. Continue this process of heating and stirring until the chocolate is almost completely melted, with just a few small solid pieces remaining. The residual heat in the melted chocolate will continue to melt these pieces as you stir.
Step 2: Stirring and Monitoring Chocolate Temperature
Once you have just a few small pieces left, stop microwaving. Continue stirring the chocolate vigorously and constantly. The goal here is to use the heat from the melted chocolate to melt the remaining solid pieces while simultaneously cooling the overall mixture down to the correct working temperature. The unmelted pieces act somewhat like the 'seed' in the seed tempering method, helping to guide the crystallization.
Use a thermometer to monitor the temperature as you stir. You are aiming for the same working temperatures as in the seed tempering method: around 31-32°C (88-90°F) for dark chocolate, 29-30°C (84-86°F) for milk, and 28-29°C (82-84°F) for white. Continue stirring until the chocolate is smooth, all solid pieces have melted (or you've removed any stubborn ones), and the temperature is within the correct range. This continuous stirring is vital for even cooling and crystal formation.
Step 3: Final Temperature Check and Use
Once the chocolate is smooth and within the target working temperature range, perform a temper check as described in the seed tempering section: dip a piece of parchment or a spoon, let it set briefly at room temperature or in the fridge. It should set quickly, be glossy, and have a snap.
If the temper is correct, the chocolate is ready to use immediately for your French pastry decorations. If it's too cool and thick, you can give it another very short burst (just a few seconds) in the microwave and stir again to bring it back to the correct working temperature.
If it doesn't set properly, it may have gotten too hot at some point, and you might need to add a few more solid chocolate pieces and stir to try and bring it back into temper, or consider starting over with a fresh batch. Microwave tempering requires careful attention to those heating bursts to avoid overheating.
Technique 3: Water Bath Tempering - Precise Temperature Control
The water bath method, also known as the bain-marie method, offers excellent control over the chocolate's temperature, making it a classic and reliable technique for tempering larger quantities of chocolate. This method involves melting chocolate over gently heated water and then cooling it down while maintaining it over the water bath, which helps keep the temperature stable.
While it might seem more involved than microwave tempering, the precise temperature control offered by the water bath can lead to consistently well-tempered chocolate, especially for those who prefer a more controlled environment. It's a traditional method widely used by professional chocolatiers and bakers, and with a bit of practice, it becomes one of the most effective easy chocolate tempering techniques for detailed work.
Step 1: Setting Up the Double Boiler (Bain-Marie)
To set up a bain-marie, you will need two pots or bowls. Place a pot with about an inch or two of water over low heat on your stove. Bring the water to a gentle simmer – it should not be boiling vigorously.
Place a heatproof bowl (glass or stainless steel is ideal) containing your finely chopped chocolate on top of the pot of water. Ensure the bottom of the bowl does not touch the surface of the water. The chocolate should be melted by the steam and indirect heat from the simmering water, not by direct contact with the hot pot or water.
Using a bowl that fits snugly over the pot helps trap the steam, providing gentle, even heat. It is absolutely critical that no water or steam condensation gets into the chocolate, as even a tiny amount can cause the chocolate to seize and become unusable for tempering. Keep the heat on low to maintain a gentle simmer, not a rolling boil.
Step 2: Melting and Cooling the Chocolate Over the Water Bath
Stir the chocolate gently and consistently as it melts over the simmering water. Use a clean, dry spatula. Continue stirring until the chocolate is completely melted and smooth, reaching the initial melting temperatures: 45-50°C (113-122°F) for dark, 40-45°C (104-113°F) for milk, and 37-40°C (98-104°F) for white. Once fully melted, carefully remove the bowl from the pot of water and dry the bottom thoroughly with a towel to prevent any water from dripping into the chocolate.
Now, you need to cool the chocolate down to the working temperature while encouraging proper crystallization. You can do this by stirring the chocolate off the heat until it cools, or by briefly placing the bottom of the bowl in an ice bath for a few seconds (stirring constantly) and then removing it, repeating as needed. Alternatively, and part of the classic water bath method, you can return the bowl over the pot of water that has been removed from the heat.
The residual heat from the water will keep the chocolate from cooling too rapidly while you stir it down to the target temperature: 31-32°C (88-90°F) for dark, 29-30°C (84-86°F) for milk, and 28-29°C (82-84°F) for white. Stir consistently to ensure even cooling and crystal formation.
Step 3: Maintaining Consistent Temperature
Once the chocolate reaches the correct working temperature, you need to maintain it within that narrow range while you use it for decorating. The beauty of the water bath method is that you can place the bowl back over the pot of warm, not simmering or hot, water (the heat should be turned off, or just barely on the lowest setting to keep the water warm) to keep the chocolate fluid and in temper. Stir occasionally to prevent the chocolate from cooling too much around the edges.
Keep a thermometer in the chocolate or check it frequently to ensure it stays within the working temperature range. If it starts to cool and thicken too much, briefly place it back over the lowest heat or warm water bath and stir until it becomes fluid again, checking the temperature. If it gets too hot, you risk losing the temper and may need to cool it down again by stirring off the heat or adding a small piece of tempered chocolate as a seed. This temperature maintenance is key to working efficiently with tempered chocolate for your decorations.
Troubleshooting Common Chocolate Tempering Issues
Chocolate Seizing: Causes and Solutions
Chocolate seizing is perhaps the most frustrating issue when working with chocolate, and it happens rapidly. Seizing occurs when a small amount of liquid, typically water, comes into contact with melted chocolate. Chocolate contains cocoa solids and sugar particles coated in cocoa butter. When water is introduced, it dissolves the sugar and allows the cocoa particles to clump together, creating a thick, lumpy, and unusable mass. Even a drop of water from a wet utensil, steam condensation from a bain-marie where the bowl touches the water, or moisture from ingredients can cause seizing.
If your chocolate seizes, unfortunately, it cannot be fully recovered for tempering and producing glossy, snappy decorations. The stable crystal structure required for temper is destroyed. However, the seized chocolate is not entirely wasted! You can sometimes rescue it for other uses where temper isn't necessary, such as making ganache, brownies, or hot chocolate.
Try stirring in a tablespoon or two of hot cream, milk, or melted butter to create a thick sauce or paste. This won't restore the temper, but it makes the chocolate smooth enough to be incorporated into other recipes. Prevention is the best strategy: ensure all your equipment is perfectly dry.
Bloom Formation: Preventing and Addressing Chocolate Bloom
Chocolate bloom appears as dull, grayish streaks or spots on the surface of chocolate. There are two main types: sugar bloom and fat bloom. Sugar bloom is caused by moisture on the surface dissolving sugar crystals, which recrystallize larger and visible when the moisture evaporates. Fat bloom is more common and is caused by improper tempering or poor storage conditions. If chocolate is not tempered correctly, or if tempered chocolate is stored in fluctuating temperatures (especially too warm), the unstable cocoa butter crystals melt and then recrystallize on the surface, forming a dull, powdery layer.
Preventing bloom relies heavily on proper tempering and storage. Ensure your chocolate is correctly tempered before using it for decorations, following the temperature guidelines precisely. Once tempered decorations are made, allow them to set properly in a cool, stable environment (around 18-20°C or 64-68°F is ideal). Avoid drastic temperature changes during cooling and storage.
Store finished chocolate pieces or chocolate itself in a cool, dry place away from direct sunlight and strong odors. While bloomed chocolate is safe to eat, its texture and appearance are compromised. You cannot 'fix' bloom on finished pieces, but you can often re-melt and re-temper bloomed chocolate to use it again, provided no other ingredients (like nuts or fillings) were added.
Achieving the Right Viscosity for Decorations
The viscosity, or thickness, of tempered chocolate is crucial for different types of pastry decorations. Chocolate that is too thick is difficult to pipe smoothly or spread thinly, while chocolate that is too thin might run off decorations or not hold its shape in molds. The viscosity is primarily controlled by the temperature of the chocolate within its working temperature range and the amount of cocoa butter it contains (some couverture chocolates designed for tempering have varying levels of fluidity, indicated by drops on packaging).
To achieve the right viscosity, ensure your tempered chocolate is at the upper end of its working temperature range for more fluid applications like dipping or coating éclairs and macarons (e.g., 32°C for dark). For thicker applications like piping details or making thicker molded pieces, you can let it cool slightly towards the lower end of the range (e.g., 30°C for dark), but be careful not to let it drop out of temper. Stirring also helps maintain a consistent viscosity.
If your chocolate thickens too much while working, gently warm it back up a degree or two within the working range using a heat gun on low or briefly over a warm water bath, stirring constantly. Choosing a couverture chocolate with the appropriate fluidity level (often indicated by 1 to 5 drops) can also help achieve the desired consistency for specific easy chocolate tempering techniques.
Using Tempered Chocolate for Stunning French Pastry Decorations
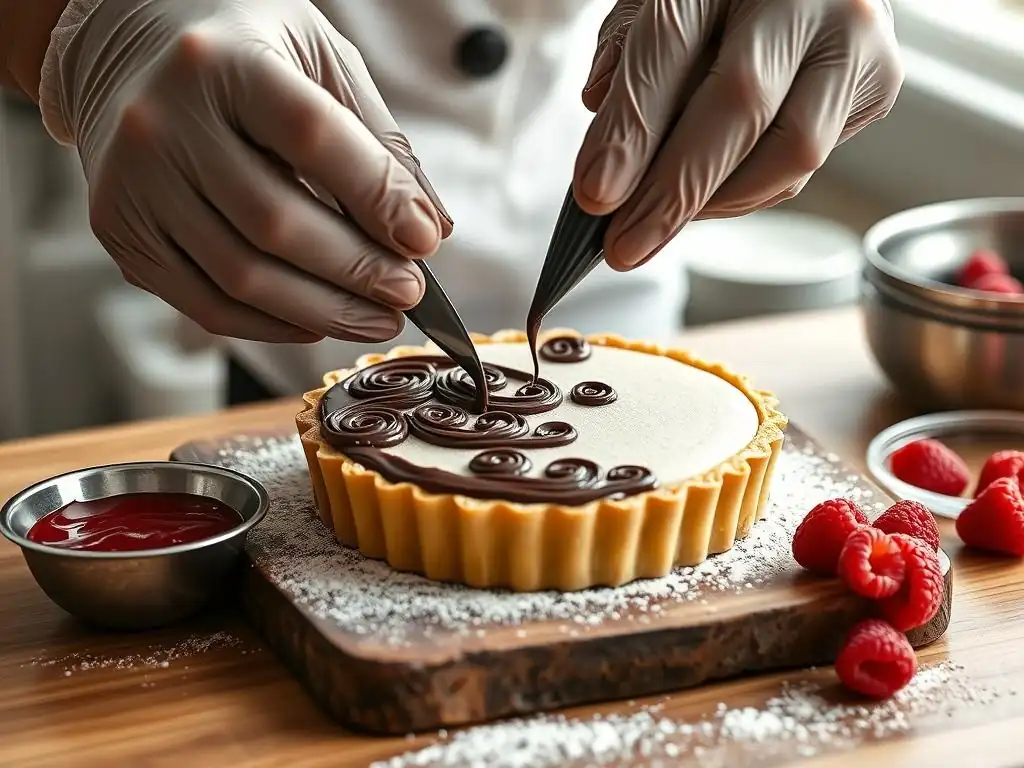
Creating Chocolate Curls and Shavings
Tempered chocolate is perfect for creating elegant chocolate curls and delicate shavings to garnish cakes, tarts, and pastries. These simple decorations add a touch of sophistication and texture. To make curls, spread a thin, even layer of tempered chocolate onto a smooth, cool surface, such as the back of a baking sheet or a marble slab. Allow the chocolate to set partially – it should be firm but still slightly pliable, not brittle. This usually takes just a few minutes depending on the room temperature.
Once partially set, hold a sharp, flat scraper or a large knife at a slight angle (about 45 degrees) against the chocolate. Push the scraper away from you along the surface with firm, even pressure. As you push, the chocolate should curl up into elegant rolls behind the scraper. For smaller shavings, use a vegetable peeler or microplane on a block of tempered chocolate. Carefully transfer the finished curls and shavings to a cool place until ready to use. They are delicate and will melt from the heat of your hands, so handle them minimally.
Making Chocolate Decorations with Molds
Using molds is one of the easiest ways to create precise and beautiful chocolate decorations with tempered chocolate. Silicone and polycarbonate molds are popular choices for their flexibility and ability to produce detailed shapes. Ensure your molds are perfectly clean and dry before starting. Gently warm the molds slightly (to around 25-27°C or 77-80°F) if they are cold, as this helps the chocolate flow smoothly and prevents premature setting.
Pour or pipe the tempered chocolate into the molds, filling each cavity completely. Gently tap the mold against your counter a few times to remove any air bubbles trapped in the chocolate – you'll see bubbles rise to the surface and pop. Use a clean scraper or offset spatula to scrape off any excess chocolate from the top, leaving a clean edge.
Place the filled molds in the refrigerator for about 15-20 minutes until the chocolate is completely set and has contracted slightly, pulling away from the mold walls. Properly tempered chocolate will release easily from the mold when it's ready.
Applying Tempered Chocolate to Éclairs, Macarons, and Other Pastries
Applying tempered chocolate as a coating or dip is a classic use for French pastries like éclairs and macarons. A proper temper ensures a smooth, shiny, and firm finish that doesn't smudge or melt easily. For éclairs, hold the cooled éclair upside down and dip the top surface into a shallow container of tempered chocolate, allowing excess to drip off before placing it right-side up on a cooling rack or parchment paper to set.
For macarons, you can dip one half of the filled macaron shell into tempered chocolate or drizzle patterns over the top. The tempered chocolate sets quickly, adding a delightful texture and visual appeal. You can also use tempered chocolate to create chocolate bands around cakes, pipe intricate designs, or make chocolate plaques. Always ensure the pastry surface you are coating is cool and dry for the best results. The snap and shine of the tempered chocolate truly elevate the finished appearance of these delicate desserts.
Tips for Achieving Perfect Chocolate Temper Every Time
Ensuring Proper Equipment and Cleanliness
The success of easy chocolate tempering techniques relies heavily on having the right tools and keeping them spotless. You'll need a reliable thermometer capable of reading temperatures accurately within the narrow ranges required for tempering (digital thermometers are excellent for this). Clean, dry bowls and spatulas are non-negotiable – any trace of water or old chocolate can ruin the temper.
Stainless steel or glass bowls are preferred as they heat and cool more evenly than plastic. Avoid wooden utensils, as they can retain moisture and odors. Ensure your workspace is also clean, dry, and relatively cool (ideally around 20-22°C or 68-72°F) and free from drafts or excessive humidity, which can interfere with the setting process. Having everything prepared and clean before you start minimizes potential issues and makes the process much smoother.
Monitoring Chocolate Temperature with Precision
Accurate temperature monitoring is the single most critical factor in successful chocolate tempering. Each type of chocolate has specific temperature ranges for melting, cooling, and working, determined by its unique cocoa butter composition. Using a precise thermometer throughout the process ensures you are hitting these specific targets.
- Dark Chocolate: Melt to 45-50°C (113-122°F), cool to 28-29°C (82-84°F), rewarm slightly to 31-32°C (88-90°F) for working.
- Milk Chocolate: Melt to 40-45°C (104-113°F), cool to 27-28°C (81-82°F), rewarm slightly to 29-30°C (84-86°F) for working.
- White Chocolate: Melt to 37-40°C (98-104°F), cool to 26-27°C (79-81°F), rewarm slightly to 28-29°C (82-84°F) for working.
Continuously check the temperature, especially during the cooling phase and while working with the chocolate. Staying within these narrow windows is what encourages the formation of stable cocoa butter crystals. Even a few degrees too high or too low can result in dull, streaky, or soft chocolate.
Practicing and Refining Your Tempering Skills
Like any baking technique, mastering easy chocolate tempering techniques takes practice. Don't be discouraged if your first attempt isn't perfect. Factors like room temperature, humidity, the specific brand of chocolate used, and the accuracy of your thermometer can all influence the outcome. Start with a smaller quantity of chocolate when practicing to minimize waste.
Pay close attention to how the chocolate looks and behaves at each stage – its sheen, its fluidity, how quickly it sets during the test. These visual cues are just as important as the temperature readings. Experiment with different methods and chocolate types to see what works best for you. The more you practice, the more intuitive the process will become, and soon you'll be tempering chocolate with confidence for all your exquisite French pastry decorations.
Storing and Handling Tempered Chocolate
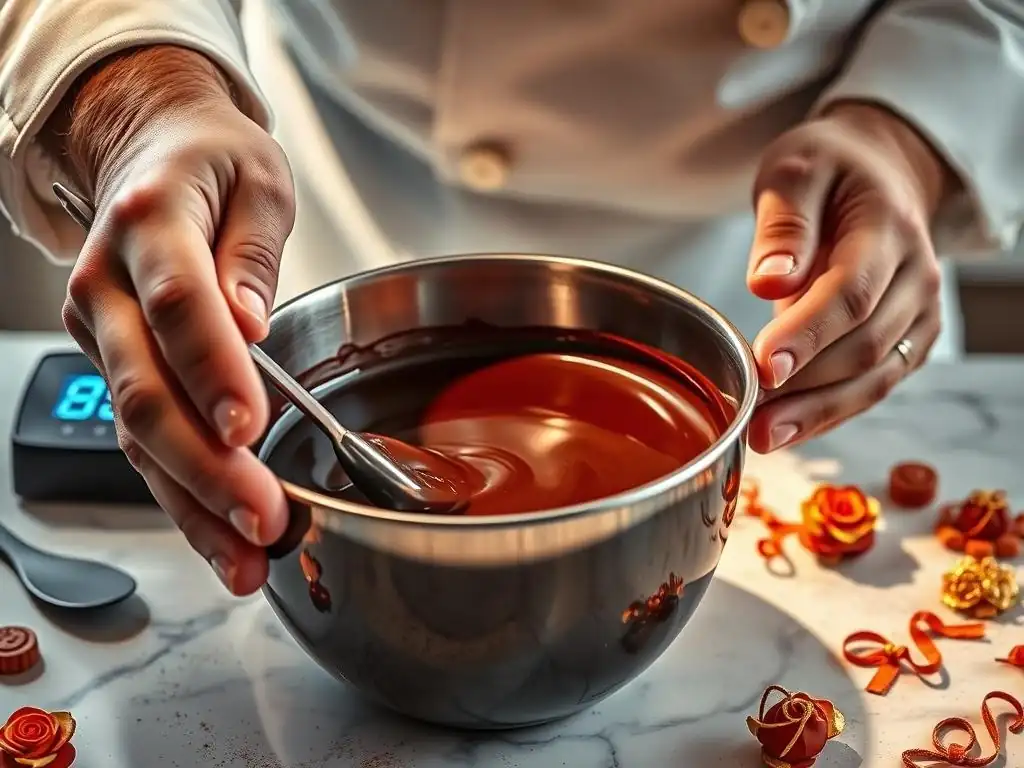
Best Practices for Storing Tempered Chocolate
Once you have successfully tempered chocolate and used it for your decorations, proper storage is key to maintaining its temper and preventing bloom. Finished chocolate decorations should be allowed to set completely in a cool, stable environment, ideally around 18-20°C (64-68°F). Avoid placing them directly into a very cold refrigerator if the ambient temperature is much warmer, as the drastic temperature change can sometimes shock the chocolate and lead to bloom.
Store finished tempered chocolate pieces or any unused tempered chocolate in an airtight container in a cool, dry place, away from direct sunlight and strong odors, which chocolate can easily absorb. A temperature range of 15-18°C (59-64°F) is ideal for long-term storage of solid chocolate. Properly stored, tempered chocolate decorations can retain their shine and snap for several weeks or even months, depending on the ingredients used (pure chocolate lasts longer than chocolate mixed with other fats or fillings).
Re-Tempering Chocolate if Needed
Sometimes, you might have leftover tempered chocolate, or the chocolate you are working with cools too much and falls out of temper while you are decorating. The good news is that you can often re-temper chocolate. If the chocolate simply cooled and solidified while in temper, you can gently reheat it using one of the tempering methods (seed, microwave, or water bath) to bring it back to its working temperature range (e.g., 31-32°C for dark) while maintaining the temper. Stir it as it warms to ensure even heating.
If the chocolate has completely cooled and lost its temper (e.g., it's dull or showing signs of bloom), you will need to go through the full tempering process again from the beginning: melting it completely to the initial melting temperature (e.g., 45-50°C for dark) to eliminate all existing crystal structures, and then cooling and stabilizing it using your preferred method (seed, microwave, or water bath) to create the correct beta V crystals again. Re-tempering is a great way to avoid waste and ensure you always have perfectly tempered chocolate for your decorating needs.
Conclusion: Mastering Chocolate Tempering for Exquisite Pastry Art
Mastering easy chocolate tempering techniques is a game-changer for anyone passionate about French pastry. It transforms simple chocolate from a soft, dull coating into a professional, glossy finish with a satisfying snap. While it might seem intimidating at first, by understanding the science behind it and practicing techniques like seeding, microwave tempering, or the water bath method, you can reliably achieve perfect results.
Remember to use the right type of chocolate, monitor temperatures precisely, ensure your equipment is clean and dry, and don't be afraid to practice. With each attempt, you'll become more familiar with how chocolate behaves, and soon, tempering will become just another enjoyable step in your baking process. The ability to work with perfectly tempered chocolate opens up a world of possibilities for creating stunning, delicious, and professional-quality French pastry decorations right in your own kitchen.
Frequently Asked Questions
How important is tempering when making chocolate decorations?
Tempering is crucial for creating shiny, snappy chocolate decorations that have a professional finish. Untempered chocolate will bloom, resulting in a dull, streaky appearance and a soft texture.
What are some beginner-friendly easy chocolate tempering techniques?
Microwaving, seeding, and tabliering are three common easy chocolate tempering techniques. Microwaving is the simplest, while seeding involves adding already-tempered chocolate to melt chocolate.
What temperature ranges are important to monitor during tempering?
The specific temperatures depend on the type of chocolate, but generally, you'll need to melt the chocolate to a high temperature, then cool it down to a working temperature, before letting it set.
What ingredients are absolutely necessary for easy chocolate tempering techniques?
You only need chocolate of good quality. However, using a thermometer is highly recommended for accurate and easy chocolate tempering techniques.
What are some common mistakes to avoid when tempering chocolate for decorations?
Overheating the chocolate, introducing water, and not stirring properly are common pitfalls. Ensure all your tools are completely dry and stir gently to avoid air bubbles.
Final Reflection: The Enduring Allure of Perfectly Tempered Chocolate
The art of tempering chocolate, once considered a culinary mystery, is now within everyone's reach. Mastering this technique unlocks a world of possibilities for creating stunning, professional-looking French pastry decorations, elevating even the simplest dessert to a masterpiece. The ease of access to information and high-quality chocolate has democratized this skill, making it achievable for both seasoned bakers and enthusiastic beginners alike.
The impact of readily available tempering techniques extends far beyond the kitchen. It empowers home bakers to express their creativity, fostering a sense of accomplishment and pride in their culinary creations. This accessibility also contributes to a broader appreciation for the artistry and precision involved in pastry making. The beauty of a perfectly tempered chocolate shell is not just in its visual appeal, but in the satisfying snap and melt that delights the palate.
This simple statement encapsulates the transformative power of mastering this seemingly small detail.
Now, it's your turn. Consider the possibilities that lie before you. Experiment with different tempering methods, explore various chocolate types, and let your imagination guide you as you create exquisite decorations. Don't be afraid to fail; each attempt brings you closer to mastering this rewarding skill. The journey of perfecting your chocolate tempering is a testament to dedication and passion, and the results are undeniably delicious. Embrace the challenge, and let the smooth, glossy shine of perfectly tempered chocolate become your signature mark.
Unlock Your Inner Chocolatier: Mastering Chocolate Tempering!
Thanks for taking the time to explore the world of chocolate tempering with us! We hope you gained valuable insights into creating flawlessly shiny and stable chocolate decorations. Now it's time to put your new knowledge into practice!
- Dive into your next project: Try tempering chocolate for your next pastry creation – perhaps those beautiful bonbons you've always dreamed of making? This is your chance to shine!
- Share your chocolate masterpieces: Show us your tempered chocolate creations on social media using #BakeWithEaseTempering! We’d love to see your stunning results.
- Experiment with different chocolate types: Don't be afraid to explore different kinds of chocolate; each one offers a unique flavor and texture experience. What will you discover?
Ready to transform your baking game with perfectly tempered chocolate?