
Basic Chocolate Tart for Beginners

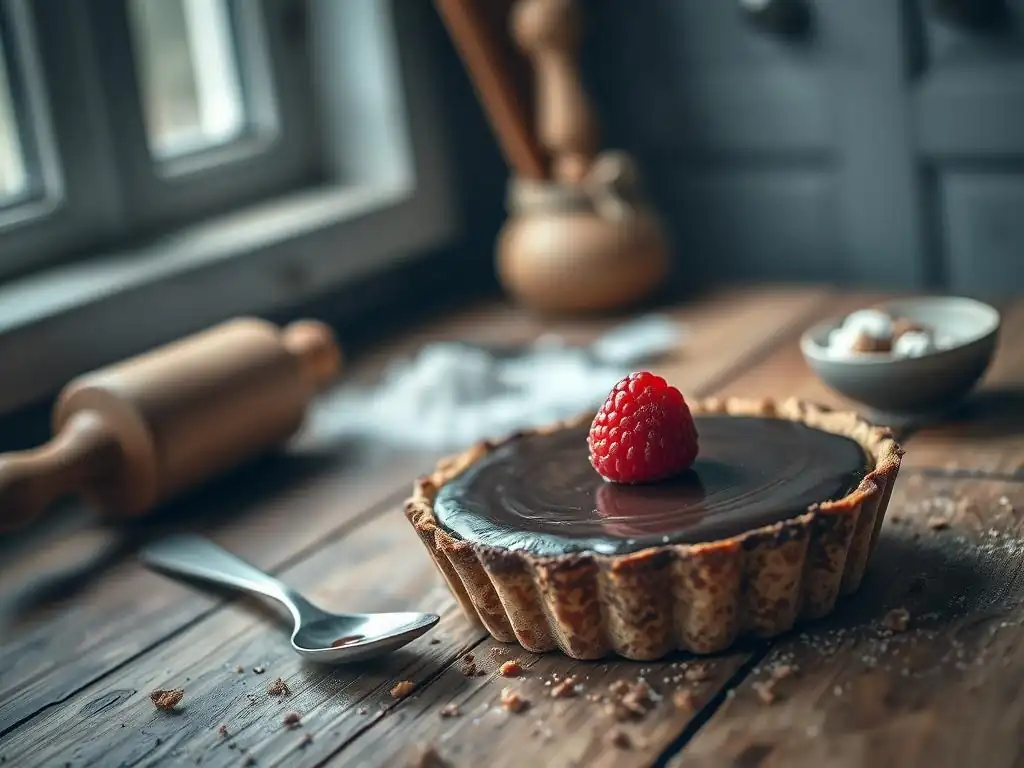
Welcome to BakeWithEase, where baking becomes a joy, not a chore! Ever dreamt of effortlessly creating a decadent dessert? Our collection of simple recipes, expert techniques, and helpful tips makes baking accessible to everyone. Today, we're diving into the world of chocolatey indulgence with our easy chocolate tart recipe for beginners. Ready to unlock the secrets to a perfectly smooth and irresistible tart? Keep reading to discover how simple it truly is!
- Introduction to Easy Chocolate Tart Recipe for Beginners
- Ingredients Needed for a Simple Chocolate Tart for Beginners
- Step-by-Step Guide to Making an Easy Chocolate Tart from Scratch
- Common Mistakes to Avoid When Baking a Beginner-Friendly Chocolate Tart
- Decorating and Serving Your Easy Chocolate Tart
- Storing and Reheating Tips for Homemade Chocolate Tart
- Variations of Easy Chocolate Tart Recipes for Beginners
- Conclusion: Mastering the Easy Chocolate Tart Recipe for Beginners
-
Frequently Asked Questions
- How easy is the Basic Chocolate Tart for Beginners recipe on BakeWithEase.com?
- What are the key ingredients I'll need for the Basic Chocolate Tart for Beginners?
- Can I customize the Basic Chocolate Tart for Beginners?
- What kind of chocolate works best for the Basic Chocolate Tart for Beginners?
- How long does it take to make the Basic Chocolate Tart for Beginners?
- Final Reflection: The Enduring Allure of a Simple Chocolate Tart
- Unleash Your Inner Pastry Chef!
Introduction to Easy Chocolate Tart Recipe for Beginners
Embarking on your baking journey is an exciting step, and what better way to start than with a dessert that’s both impressive and achievable? The easy chocolate tart recipe for beginners is a perfect introduction to the world of pastry. It requires minimal specialized equipment and focuses on fundamental techniques like making a simple crust and a smooth, rich filling. This guide is designed to walk you through each step, ensuring a delicious result even if you've never baked a tart before. Get ready to create a decadent treat that will boost your confidence in the kitchen.
Why Choose a Chocolate Tart for Your First Baking Project
A basic chocolate tart offers a fantastic learning opportunity for new bakers. Unlike complex layered cakes or delicate pastries, its structure is straightforward: a simple crust and a poured filling.
This means you can focus on mastering key skills such as precise measuring, blind baking a crust (or using a no-bake option), and gently melting chocolate without the pressure of intricate decorating or assembly. For instance, many beginner bakers successfully tackle a simple tart dough on their first try, which typically involves just flour, sugar, butter, and sometimes an egg yolk – a much less finicky dough than, say, puff pastry which requires multiple folds and chilling periods.
Furthermore, the forgiving nature of a chocolate ganache filling is a major plus. A classic ganache is often just two ingredients: chocolate and cream. While techniques matter, minor variations in heating or mixing are less likely to result in complete failure compared to, for example, making a stable meringue or tempering chocolate for elaborate decorations. Data from online baking forums often shows that new bakers report higher success rates and less frustration with simple ganache-based fillings than with custards or mousses, making the easy chocolate tart recipe for beginners a reliably rewarding choice.
Overview of Basic Chocolate Tart Benefits and Appeal
The appeal of a simple chocolate tart lies in its elegant simplicity and rich flavor. It looks sophisticated enough for a special occasion but is surprisingly easy to execute. For beginners, achieving such a visually appealing and delicious dessert with relatively little effort is incredibly motivating. It’s a dessert that consistently receives praise, making it a great way to share your newfound baking skills with friends and family. Imagine presenting a beautifully simple tart you made yourself – the satisfaction is immense!
Beyond its aesthetic and taste, a beginner-friendly chocolate tart is versatile. While the core recipe is simple, it provides a solid foundation for future experimentation. Once you've mastered the basic techniques, you can easily adapt the recipe by adding different flavorings or toppings, expanding your repertoire without starting from scratch.
For example, adding a pinch of sea salt or a splash of vanilla extract to the ganache are simple tweaks that yield noticeable flavor variations, demonstrating how small adjustments can significantly impact the final product. This adaptability makes the easy chocolate tart recipe for beginners a valuable recipe to have in your baking arsenal.
Ingredients Needed for a Simple Chocolate Tart for Beginners
Gathering your ingredients is the first concrete step towards baking your delicious chocolate tart. Having everything measured and ready before you begin mixing (a practice known as "mise en place") is a pro tip that drastically reduces stress and improves accuracy, especially when you're starting out. For this simple chocolate tart, the ingredient list is relatively short and consists of items commonly found in most grocery stores, ensuring accessibility for beginner bakers.
Essential Ingredients for Chocolate Tart Filling and Crust
For the crust, you'll typically need all-purpose flour, granulated sugar, cold unsalted butter, and sometimes a touch of salt and an egg yolk for richness and binding. A standard 9-inch tart pan might require around 1 ½ cups of flour, ½ cup of sugar, and ¾ cup of cold butter cut into cubes. The cold butter is crucial as it creates flaky pockets in the crust as it bakes.
For the filling, the stars are chocolate and heavy cream. A classic ganache ratio is often equal parts chocolate and cream by weight, although some recipes use slightly more chocolate for a firmer set. For a tart of this size, about 8-10 ounces of good quality chocolate and 1 cup of heavy cream are common amounts, yielding a rich, smooth filling perfect for an easy chocolate tart recipe beginners can trust.
Some recipes might also call for a tablespoon or two of butter added to the ganache for extra shine and richness, or a teaspoon of vanilla extract to enhance the chocolate flavor. While these aren't strictly essential for a basic ganache, they are simple additions that can elevate the final taste. Remember, the quality of your main ingredients, especially the chocolate, will significantly impact the flavor of your simple chocolate tart, so choosing wisely is important even when following an easy recipe.
Tips for Selecting Quality Chocolate and Baking Ingredients
Choosing the right chocolate is perhaps the most important ingredient decision you'll make for your beginner-friendly chocolate tart. Avoid using chocolate chips straight from the bag for the filling; they contain stabilizers that prevent them from melting smoothly, which can result in a grainy texture. Instead, opt for baking bars or fèves (discs) of good quality chocolate, preferably with a cacao percentage between 50% and 70% for a balanced flavor that's not too bitter or too sweet.
Brands like Ghirardelli baking bars, Lindt baking chocolate, or Callebaut (often available in bulk or larger bags) are good, accessible options that melt beautifully for a smooth ganache. A 4-ounce bar typically costs between $3-$5, a small investment for a much better result.
For other ingredients, using unsalted butter allows you to control the salt level in your recipe. Ensure your butter is cold for the crust. For the cream, use heavy cream (also called heavy whipping cream) with a fat content of at least 30%, ideally 36%. This higher fat content is essential for creating a stable and rich ganache that sets correctly. While store-brand staples like flour and sugar are usually fine for an easy chocolate tart recipe beginners can make, choosing a reputable brand for your chocolate will make the biggest difference in the final outcome.
Step-by-Step Guide to Making an Easy Chocolate Tart from Scratch
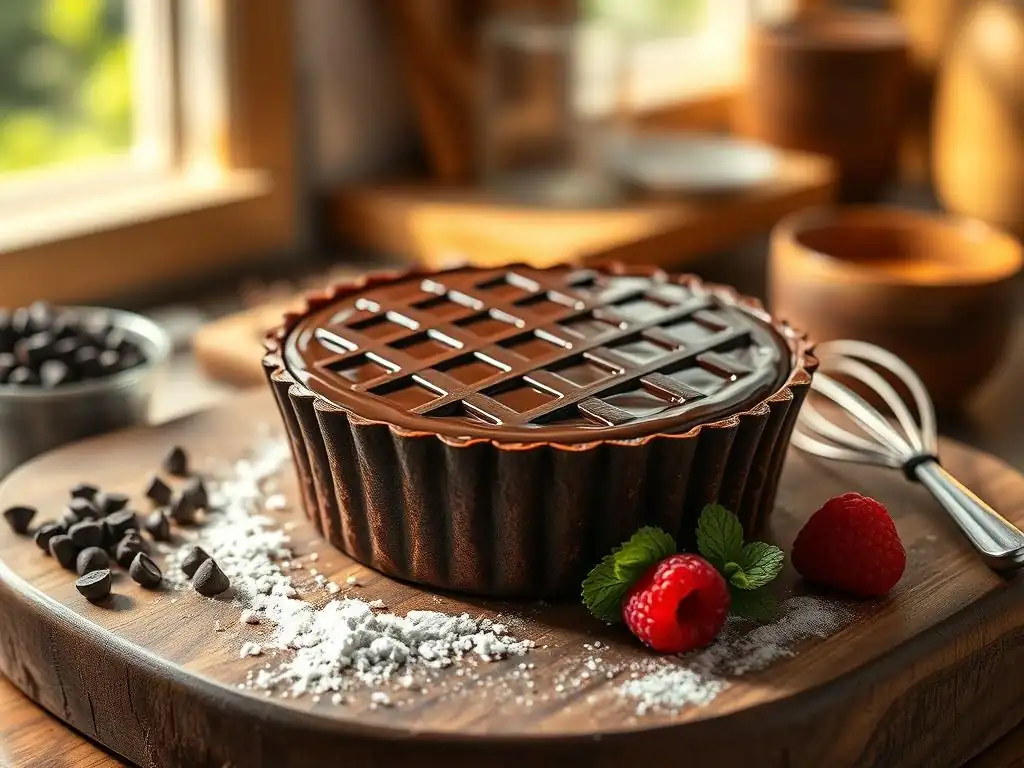
Breaking down the process into manageable steps makes baking much less intimidating. This guide will walk you through creating your simple chocolate tart, from the crust to the finished product, focusing on techniques suitable for beginners. Patience and attention to detail are your best friends here.
Preparing the Tart Crust: Basic Techniques for Beginners
For a beginner-friendly chocolate tart crust, a press-in crust or a simple cut-in butter dough are excellent choices. A press-in crust often uses melted butter and crushed cookies (like graham crackers or Oreos) or biscuits, requiring no rolling. For a classic pastry crust, start by whisking together your dry ingredients (flour, sugar, salt).
Then, cut cold butter cubes into the dry ingredients using a pastry blender, forks, or even your fingertips (working quickly to keep butter cold) until the mixture resembles coarse crumbs, maybe with some pea-sized pieces of butter remaining. This process, called "cutting in," is vital for creating a tender, flaky crust.
Once the butter is cut in, add your liquid (like an egg yolk mixed with a tablespoon of ice water) a little at a time, mixing just until the dough comes together. Avoid overmixing, which develops gluten and results in a tough crust. Gently gather the dough, form it into a disc, wrap it, and chill it for at least 30 minutes.
Chilling makes the dough easier to handle and prevents shrinkage during baking. When ready, you can either roll it out lightly on a floured surface and press it into your tart pan, or for some doughs, you can press it directly into the pan using your fingers or the bottom of a glass.
Ensure the dough is evenly thick on the bottom and up the sides, pressing firmly to create a neat edge. Blind baking (partially baking the crust before adding the filling) for about 15-20 minutes at around 375°F (190°C) is often necessary to prevent a soggy bottom when making an easy chocolate tart recipe beginners will love.
Creating the Smooth Chocolate Filling: Simple Mixing and Melting Tips
The chocolate ganache filling is surprisingly simple to make, often requiring just two steps: heating the cream and melting the chocolate. Start by finely chopping your quality baking chocolate. The smaller the pieces, the faster and more evenly the chocolate will melt. Place the chopped chocolate in a heatproof bowl. In a small saucepan, gently heat the heavy cream over medium heat until it just begins to simmer around the edges – do not let it boil vigorously. This usually takes about 3-5 minutes for 1 cup of cream.
Once the cream is hot, pour it directly over the chopped chocolate in the bowl. Let the mixture sit undisturbed for 5-10 minutes. This allows the hot cream to begin melting the chocolate from the bottom up. After waiting, gently whisk the mixture starting from the center and working outwards.
As you whisk, the chocolate will continue to melt, and the mixture will emulsify into a glossy, smooth ganache. Continue whisking until no streaks of cream or unmelted chocolate remain. If a few small pieces persist, you can place the bowl over a pot of barely simmering water (a double boiler setup) for a minute or two, stirring gently, but be careful not to overheat the chocolate. Your smooth, simple chocolate tart filling is now ready.
Assembling and Baking Your Chocolate Tart: Timing and Temperature Advice
With the crust blind-baked and the ganache smooth and ready, assembling your easy chocolate tart is the final step before chilling. Carefully pour the warm (but not hot) chocolate ganache into the pre-baked tart crust. Use an offset spatula or the back of a spoon to gently spread the surface smooth, ensuring it reaches evenly into the edges. Avoid tilting the tart too much, especially if the filling is very liquid, to prevent spills.
Once assembled, the tart needs to set. This is typically done by chilling it in the refrigerator. The chilling time varies depending on the thickness of the filling and the desired consistency, but it usually takes at least 2-4 hours for a firm set.
Some recipes might call for a brief bake after adding the filling, often for just 10-15 minutes at a lower temperature (like 325°F or 160°C) to slightly set the top, resulting in a fudgier texture. Always follow your specific easy chocolate tart recipe beginner instructions regarding chilling or final baking times and temperatures for the best results. A properly chilled tart should be firm enough to slice cleanly without the filling oozing excessively.
Common Mistakes to Avoid When Baking a Beginner-Friendly Chocolate Tart
Even with an easy recipe, small errors can happen. Knowing what to watch out for can save you frustration and help you achieve a perfect simple chocolate tart.
Troubleshooting Crust Issues: Crumbling, Overbaking, and Undercooking
A common issue with pastry crusts is crumbling. This often happens if the dough is too dry or hasn't been handled enough to just bring it together. If your dough is crumbling when you try to roll or press it, try adding a very small amount of ice water (half a teaspoon at a time) and mix gently until it just holds together.
Overbaking the crust results in a hard, dry texture. Keep an eye on it during blind baking; the edges should be golden brown, but the bottom shouldn't be excessively dark. Typically, blind baking takes around 15-20 minutes.
Undercooking, conversely, leads to a pale, potentially soggy crust, especially on the bottom. Ensure you blind bake for the time recommended and that the crust looks slightly golden and feels firm. If using pie weights or beans for blind baking, remove them for the last 5-10 minutes of baking to allow the bottom to crisp up.
For a press-in cookie crust, underbaking can make it too soft to hold the filling. It should look set and slightly darker around the edges after baking for about 10-12 minutes at 350°F (175°C). These tips are key to mastering your easy chocolate tart recipe beginners' crust.
Fixing Filling Problems: Grainy Texture, Separation, and Overcooking
A grainy chocolate filling usually occurs if the chocolate wasn't melted properly or if the ganache was overheated during mixing or reheating. Ensure your chocolate is finely chopped and that the hot cream is poured over it, giving it time to melt before whisking. Whisk gently and avoid vigorous stirring which can incorporate air and affect texture.
If your ganache looks separated or oily (this sometimes happens if it gets too hot or cools unevenly), try gently warming it over a very low heat or a double boiler, whisking continuously. Sometimes adding a tablespoon of hot cream and whisking can bring it back together.
Overcooking the filling (if your recipe calls for baking the assembled tart) can result in a dry, cracked surface or a rubbery texture. A baked ganache should still have a slight jiggle in the center when you take it out of the oven; it will continue to set as it cools. Baking for just 10-15 minutes at a moderate temperature (like 325°F or 160°C) is often sufficient. Avoiding these common pitfalls will help ensure your easy chocolate tart recipe beginners' attempt is a delicious success.
Decorating and Serving Your Easy Chocolate Tart
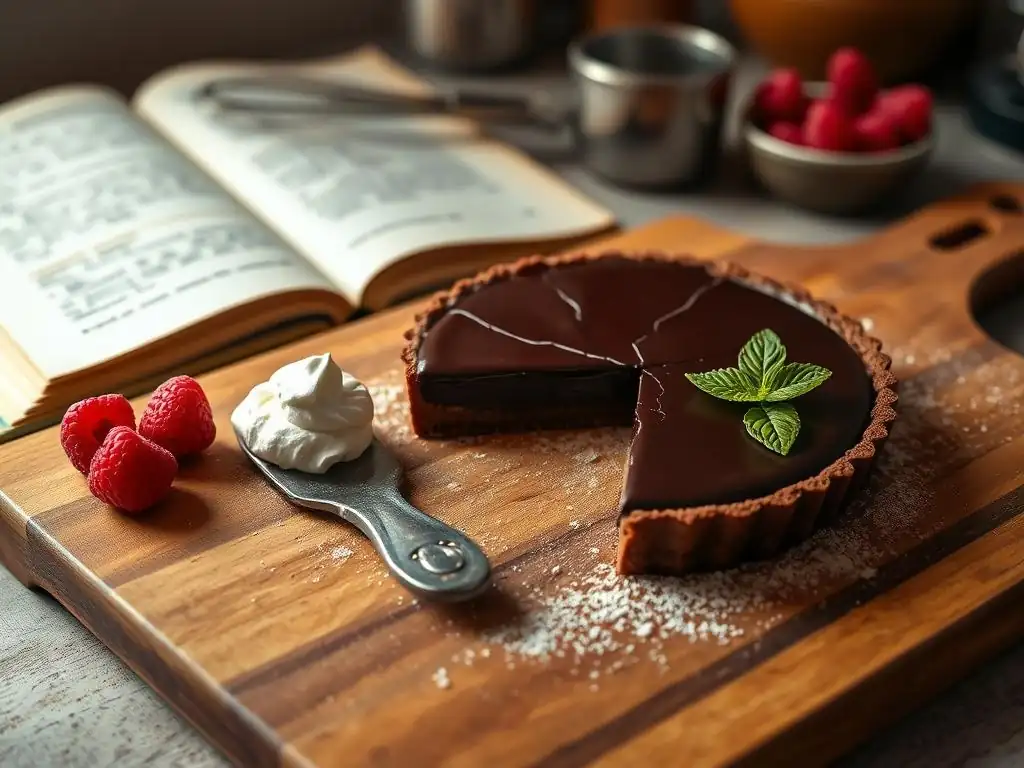
Once your simple chocolate tart is chilled and set, it's ready for its finishing touches. Decoration can be as simple or as elaborate as you like, and even basic elements can make your tart look professionally made. Serving it correctly also enhances the overall experience.
Simple Decoration Ideas for Beginner-Friendly Chocolate Tarts
You don't need fancy piping bags or techniques to make your easy chocolate tart look beautiful. A dusting of cocoa powder or powdered sugar using a fine-mesh sieve is perhaps the simplest and most elegant decoration. You can cover parts of the tart with strips of paper or stencils before dusting to create patterns. Another easy option is to scatter some chocolate shavings or curls over the top. To make chocolate curls, simply run a vegetable peeler along the edge of a bar of room-temperature chocolate.
Fresh fruit, particularly berries like raspberries or strawberries, adds a pop of color and a touch of freshness that pairs wonderfully with rich chocolate. Arrange a few berries artfully in the center or around the edge. A sprinkle of sea salt flakes just before serving can also enhance the chocolate flavor and add a sophisticated touch. These simple additions take only a few minutes but significantly elevate the visual appeal of your beginner-friendly chocolate tart.
Best Serving Suggestions to Enhance Your Chocolate Tart Experience
A classic chocolate tart is best served at room temperature or slightly chilled, not straight from the refrigerator when it will be too firm. Allow the tart to sit out for 15-30 minutes before slicing to soften the filling slightly, which improves its texture and flavor. Use a sharp knife dipped in hot water and wiped clean for each slice to ensure clean cuts.
Serving a slice of your simple chocolate tart with a dollop of lightly sweetened whipped cream or a scoop of vanilla ice cream is a traditional and delicious pairing. The coolness and contrast of the cream or ice cream complement the richness of the chocolate perfectly. A few extra berries on the side of the plate can also add freshness. For a truly decadent experience, consider adding a drizzle of raspberry sauce or a sprinkle of toasted nuts. These simple accompaniments turn a single slice of your easy chocolate tart recipe beginners' triumph into a memorable dessert.
Storing and Reheating Tips for Homemade Chocolate Tart
Proper storage is key to keeping your delicious homemade chocolate tart fresh and maintaining its quality. If you have leftovers (a rare occurrence with a good chocolate tart! ), these tips will help you enjoy them later.
How to Preserve Freshness of Your Chocolate Tart After Baking
Once your simple chocolate tart has been served and cooled completely, any leftovers should be stored in the refrigerator. The best way to preserve its freshness and prevent it from absorbing odors is to cover it tightly. If the tart is still in its pan, you can cover the entire pan with plastic wrap, pressing it down gently against the surface of the filling to prevent a skin from forming.
Alternatively, if you've sliced the tart, transfer individual slices or larger sections to an airtight container. Stored correctly in the refrigerator, a chocolate tart typically stays fresh for 3-4 days. The crust might soften slightly over time, but the filling should remain delicious. Avoid leaving the tart out at room temperature for extended periods, especially if it contains dairy in the filling, as this can compromise its safety and texture. Proper storage ensures you can enjoy your easy chocolate tart recipe beginners' creation for days.
Safe Reheating Methods Without Compromising Texture and Flavor
Most chocolate tarts, especially those with a ganache filling like this easy chocolate tart recipe for beginners, are best enjoyed chilled or at room temperature and generally do not require reheating. Heating the tart can cause the ganache to melt and become too soft, altering its intended texture.
However, if you prefer a slightly warmer, fudgier texture, you can gently warm individual slices. The safest way is to let a slice sit at room temperature for 30-60 minutes. If you need it warmer quickly, you can place a slice on a microwave-safe plate and microwave on a very low power setting (e.g., 30-50%) for just 10-15 seconds at a time, checking frequently.
Be extremely cautious, as overheating will ruin the texture. A better alternative might be to simply serve the chilled tart with a warm sauce, like a raspberry coulis or a warm caramel drizzle, which provides warmth without altering the tart's structure.
Variations of Easy Chocolate Tart Recipes for Beginners
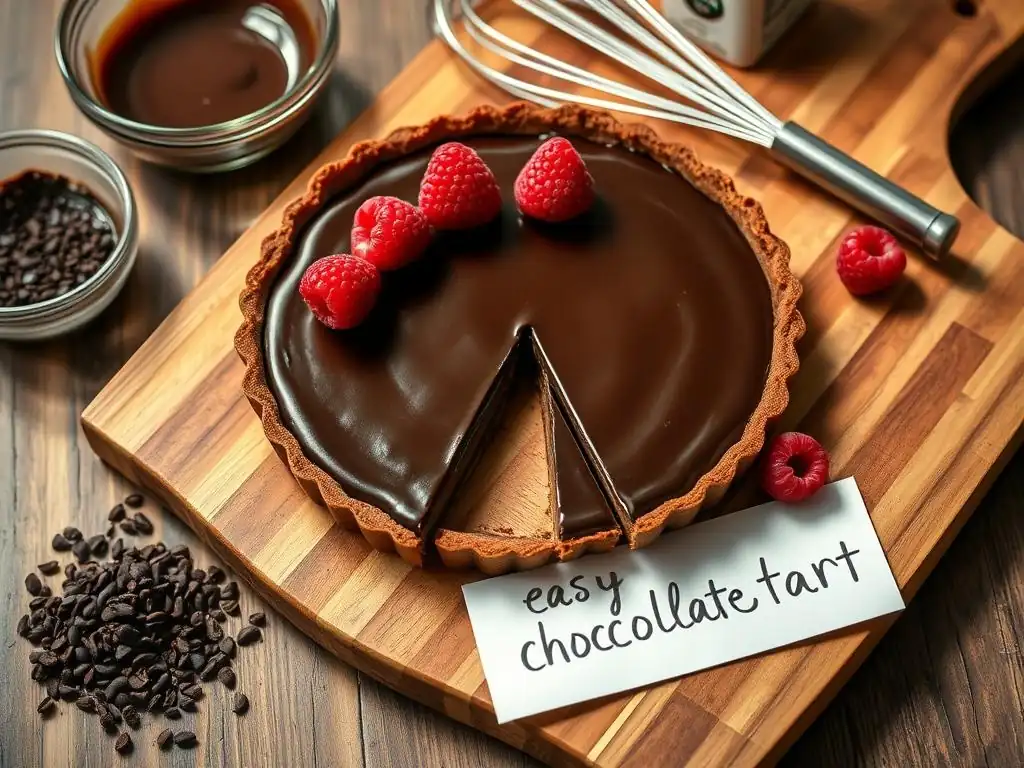
Once you've mastered the basic easy chocolate tart recipe for beginners, you might feel ready to experiment. The simple structure of this dessert makes it an ideal canvas for adding new flavors and trying alternative crusts.
Adding Flavors: Nuts, Fruits, and Extracts to Customize Your Tart
Adding extra flavors to your chocolate ganache filling is an effortless way to customize your simple chocolate tart. Extracts are the easiest starting point: a teaspoon of vanilla extract is a classic addition, but you could also try almond extract, peppermint extract (for a mint chocolate tart), or even a dash of orange extract for a chocolate-orange combination. Add the extract when you whisk the ganache together after pouring the hot cream over the chocolate.
Incorporating nuts or fruits adds texture and complementary flavors. Toasted chopped nuts (like hazelnuts, pecans, or almonds) can be sprinkled into the bottom of the pre-baked crust before pouring the ganache, or sprinkled on top as a decoration. Approximately ½ cup of toasted nuts is usually sufficient for a 9-inch tart.
Fresh berries, as mentioned for decoration, also pair wonderfully when served alongside, or you can swirl a tablespoon or two of fruit puree (like raspberry or passion fruit) into the ganache just before pouring for a marbled effect. These simple additions allow you to put your own spin on the easy chocolate tart recipe beginners learned.
Alternative Crust Options for Dietary Preferences and Ease
While a classic pastry crust is delicious, trying alternative crusts can cater to different tastes or dietary needs, and some are even simpler for beginners. A crushed cookie crust is incredibly easy – typically made by combining about 1 ½ cups of cookie crumbs (from graham crackers, Oreos, shortbread, or gluten-free cookies) with ½ cup of melted butter and pressing the mixture into the tart pan. This requires baking for only about 10-12 minutes to set.
For a gluten-free option, you can use gluten-free all-purpose flour blend in a standard pastry crust recipe, or opt for a nut-based crust using finely ground almonds or pecans mixed with a small amount of sugar and melted butter. For example, a crust made from 1 ½ cups of almond flour mixed with ¼ cup sugar and ¼ cup melted butter can be pressed into the pan and baked. These alternatives offer different textures and flavors while keeping the process beginner-friendly, ensuring everyone can enjoy a version of the easy chocolate tart recipe beginners can make.
Conclusion: Mastering the Easy Chocolate Tart Recipe for Beginners
Congratulations! By successfully baking your simple chocolate tart, you've taken a significant step in your baking journey. You've practiced essential techniques like working with dough, melting chocolate, and assembling a dessert. This easy chocolate tart recipe for beginners is more than just a delicious treat; it's a foundation for future baking adventures.
Encouragement to Experiment with Basic Pie and Tart Recipes
Now that you've seen how achievable a beautiful and tasty tart can be, don't stop here! The skills you used for this easy chocolate tart recipe beginners can master are transferable to countless other pie and tart recipes. Try a lemon tart, a fruit tart with a pastry cream filling, or even a savory quiche using a similar crust technique.
Each new recipe will introduce you to slightly different ingredients and methods, building your confidence and expanding your baking repertoire. Think of this chocolate tart as your stepping stone – there's a whole world of tarts waiting for you to explore!
Next Steps in Beginner Baking Recipes on BakeWithEase.com
Ready for your next challenge? BakeWithEase.com offers a wealth of other beginner-friendly recipes to continue building your skills. Explore our "Beginner Baking Recipes" category for simple cakes, cookies, and breads. Perhaps try a basic vanilla cupcake recipe to practice creaming butter and sugar, or a no-knead bread recipe to understand yeast. You can also delve deeper into the "Basic Pie and Tart Recipes" subcategory to try variations or different fillings. Every recipe is designed with clear, step-by-step instructions to guide you. Keep practicing, keep experimenting, and most importantly, keep enjoying the process of creating delicious things from scratch!
Frequently Asked Questions
How easy is the Basic Chocolate Tart for Beginners recipe on BakeWithEase.com?
This recipe is designed for absolute beginners. It uses simple ingredients and a straightforward process, making it hard to mess up!
What are the key ingredients I'll need for the Basic Chocolate Tart for Beginners?
You'll need chocolate, heavy cream, butter, and a pre-made tart crust. These are easily accessible at most grocery stores.
Can I customize the Basic Chocolate Tart for Beginners?
Yes, definitely! Consider adding flavor extracts like vanilla or peppermint, or topping it with fresh fruit or whipped cream.
What kind of chocolate works best for the Basic Chocolate Tart for Beginners?
We recommend using semi-sweet chocolate for a balanced flavor. You can also experiment with dark chocolate for a richer taste.
How long does it take to make the Basic Chocolate Tart for Beginners?
The active time is relatively short, about 20-30 minutes. However, it requires several hours of chilling for the tart to set properly.
Final Reflection: The Enduring Allure of a Simple Chocolate Tart
The seemingly simple act of baking a chocolate tart transcends mere culinary creation; it's a gateway to joy, a testament to the power of accessible indulgence. This recipe, designed for absolute beginners, proves that crafting something delicious and impressive doesn't require years of experience or a professional kitchen. The ease of execution belies the profound satisfaction derived from creating something beautiful and delicious from scratch.
The enduring appeal of chocolate, a comfort food across cultures and generations, is undeniable. This recipe, in its simplicity, allows us to reconnect with the fundamental pleasure of baking and sharing something homemade. The best things in life are simple.
This sentiment rings truer than ever when considering the joy found in the creation and sharing of this easy chocolate tart. It's a recipe that fosters connection, whether shared with loved ones or enjoyed in quiet contemplation.
Now, I invite you to consider the possibilities. Don't be intimidated by the seemingly complex world of baking. This chocolate tart is your first step, your proof that you, too, can create something truly special. Try the recipe, adapt it to your taste, and share the experience with others. Let this simple tart be the beginning of your own culinary journey, a journey filled with the sweet rewards of creation and the enduring satisfaction of sharing something delicious.
Unleash Your Inner Pastry Chef!
Thanks for joining us on this delicious journey into the world of chocolate tarts! We hope you gained the confidence to tackle this classic dessert. Now it's time to put your new skills to the test!
- Bake your own masterpiece: Grab those ingredients and whip up your very own Basic Chocolate Tart. We bet it will be even better than you expect!
- Share your creation: Snap a picture of your finished tart and share it with us on social media using #BakeWithEaseChocolateTart – we'd love to see your baking pride!
- Explore more decadent recipes: Dive into our recipe library for more amazing dessert ideas to inspire your next baking adventure.
Ready to become a chocolate tart extraordinaire? What innovative flavor combinations will you try next?