
Achieve Ultimate Creaminess: Tips for Silky Cheesecake Texture

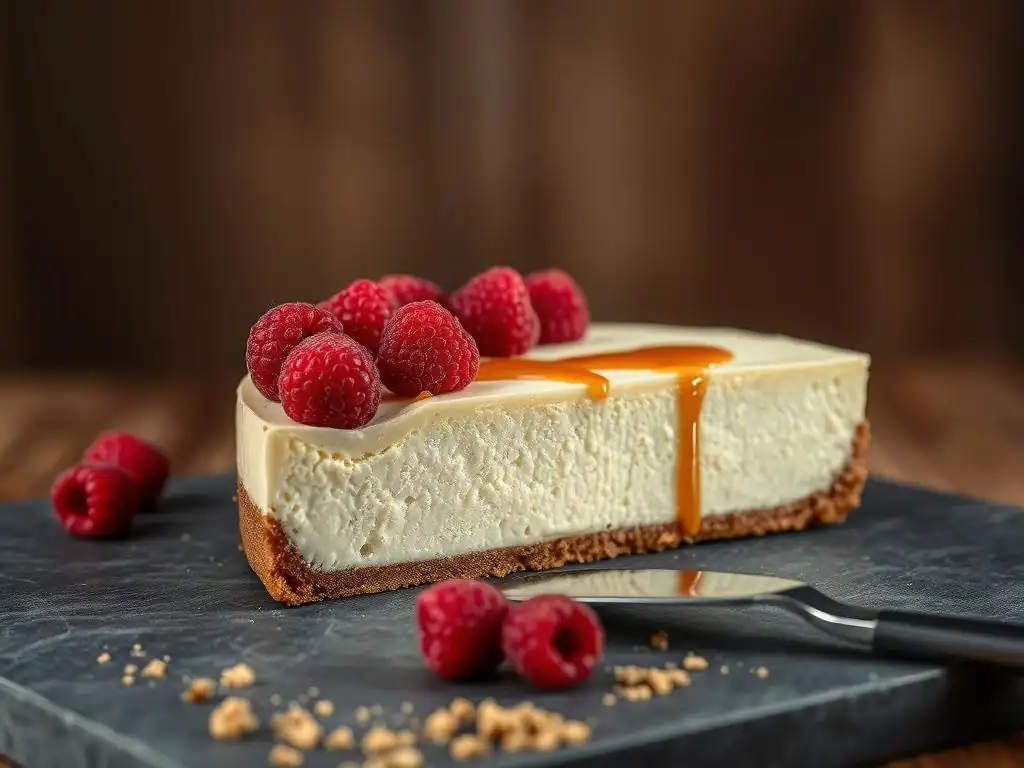
Welcome to BakeWithEase, your guide to baking bliss! Ever dream of creating a cheesecake so smooth it melts in your mouth? This week, we're diving deep into the secrets of achieving that perfectly silky cheesecake texture. Discover our expert tips and tricks, and prepare to elevate your baking game. But first, are you ready to unlock the key to a truly decadent dessert experience?
- Introduction: The Secret to a Perfectly Smooth Cheesecake
- Understanding the Science Behind Silky Cheesecake Texture
- Essential Techniques for Achieving Silky Cheesecake Texture
- Pro Tips for a Consistently Creamy Cheesecake
- Baking and Cooling for a Flawless Finish
- Troubleshooting Common Cheesecake Texture Problems
- Recipe Adaptations for Enhanced Creaminess
- Serving and Storing Your Silky Smooth Cheesecake
- Conclusion: Mastering the Art of Silky Cheesecake Perfection
-
Frequently Asked Questions
- How important is the temperature of the ingredients when making cheesecake?
- What's the best way to mix the cheesecake batter without overmixing?
- Why is a water bath recommended for baking cheesecake?
- How can I prevent my cheesecake from cracking after baking?
- What type of cream cheese yields the best silky cheesecake texture?
- Final Reflection: The Pursuit of Perfect Cheesecake Creaminess
- Unlock Your Cheesecake Dreams: Creamy Perfection Awaits!
Introduction: The Secret to a Perfectly Smooth Cheesecake
There's something undeniably luxurious about a slice of cheesecake with a perfectly smooth, creamy texture that melts in your mouth. It's the hallmark of a truly great dessert, a delightful contrast to a crisp crust. Many home bakers aspire to achieve this level of perfection, often wondering what the secret is to avoiding cracks, graininess, or a rubbery consistency.
Mastering the art of a Silky cheesecake texture isn't as daunting as it might seem. It involves understanding a few key principles, from selecting the right ingredients to employing specific techniques during mixing, baking, and cooling. This guide will walk you through the essential steps and provide practical tips to help you consistently bake cheesecakes that are the epitome of creamy perfection.
Understanding the Science Behind Silky Cheesecake Texture
Achieving that coveted Silky cheesecake texture isn't just about following a recipe; it's about understanding the interplay of ingredients and temperature. Cheesecake is essentially a custard, and like any custard, its texture is highly dependent on how the proteins and fats within it interact when heated. Overheating or improper mixing can easily disrupt this delicate balance, leading to undesirable textures.
The science boils down to denaturation and coagulation of proteins, primarily from eggs and cream cheese, and the melting and structure provided by fats. Gentle heat and minimal agitation are crucial to allow these components to set into a smooth, homogenous mass rather than curdling or separating.
The Importance of High-Quality Ingredients for Creamy Cheesecake
The foundation of a Silky cheesecake texture begins with your ingredients, particularly the cream cheese. Using high-quality, full-fat cream cheese is paramount. Lower-fat versions contain more water and stabilizers, which can result in a less rich, sometimes grainy, or rubbery texture. A good quality cream cheese, typically containing around 33-35% fat, provides the necessary richness and structure for a smooth, dense, yet creamy filling.
Beyond cream cheese, using fresh, large eggs is also vital. Eggs act as a binder and contribute significantly to the structure and richness of the cheesecake. Using eggs at room temperature helps them incorporate more smoothly into the batter, reducing the need for excessive mixing which can introduce air and lead to cracks. Similarly, ensuring other dairy ingredients like sour cream or heavy cream are full-fat and at room temperature aids in creating a homogenous, silky smooth batter.
How Temperature Affects Cheesecake Smoothness
Temperature control is critical at multiple stages when aiming for a Silky cheesecake texture. First, ensuring all cold ingredients, especially cream cheese and eggs, are at room temperature is non-negotiable. Cold ingredients are harder to incorporate smoothly, leading to lumps and requiring more mixing, which, as we'll discuss, is detrimental to texture. Room temperature ingredients blend together effortlessly, creating a uniform batter with minimal air bubbles.
Second, the baking temperature is key. Cheesecake is a delicate custard and requires gentle, even heat to set slowly. High temperatures can cause the proteins to set too quickly and unevenly, leading to cracks and a potentially dry or rubbery texture. Baking at a lower temperature, typically between 300°F and 325°F (150°C to 160°C), allows the cheesecake to cook gently from the edges inwards, resulting in a consistently smooth and creamy center.
Essential Techniques for Achieving Silky Cheesecake Texture
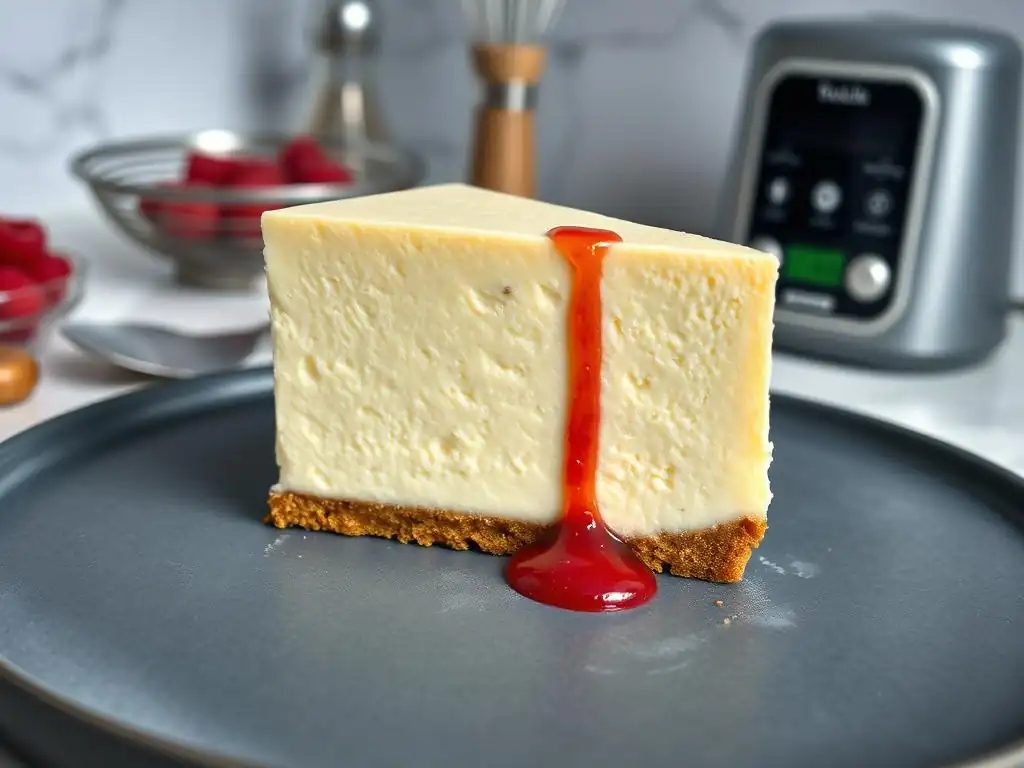
Beyond ingredients and temperature, specific techniques employed during preparation are fundamental to achieving that luxurious Silky cheesecake texture. These steps help manage air incorporation, ensure even cooking, and prevent common pitfalls like graininess or cracking. Mastering these techniques is a significant step in elevating your cheesecake game.
From the initial mixing of ingredients to the crucial water bath method, each step plays a vital role in the final outcome. Paying close attention to detail during these stages can make the difference between a good cheesecake and an absolutely perfect one.
Creaming: Mastering the Art of Smooth Batter Incorporation
Creaming the cream cheese properly is the very first step in building a Silky cheesecake texture. Start with softened, room-temperature cream cheese. Beat it alone in your mixer on a low speed using the paddle attachment (not the whisk) until it is completely smooth and free of any lumps, resembling a thick, satiny frosting. This initial step might take 2-3 minutes, depending on the power of your mixer and the temperature of your cream cheese.
Once the cream cheese is smooth, you can gradually add sugar and other ingredients like sour cream or vanilla. Continue mixing on low speed, just until everything is incorporated and the batter is homogenous. The goal is to achieve a perfectly smooth base before adding the eggs. Any lumps left at this stage will likely remain in the final baked cheesecake, compromising the Silky cheesecake texture you're aiming for.
Avoiding Overmixing: The Key to Preventing a Grainy Cheesecake
One of the most common mistakes leading to a poor Silky cheesecake texture is overmixing, especially after adding the eggs. When you beat the batter vigorously or for too long after the eggs are introduced, you incorporate excessive air. This trapped air expands during baking, causing the cheesecake to puff up significantly. As it cools, this air escapes, and the structure can collapse, leading to cracks and a less dense, sometimes porous or grainy texture instead of a dense, smooth one.
To avoid this, mix on the lowest speed possible, and stop as soon as the ingredients are just combined. For example, after adding eggs one by one, mix only until the yolk is just incorporated, usually just 15-20 seconds per egg on low speed. Scrape down the sides and bottom of the bowl frequently to ensure even mixing without overworking the batter. A few small lumps of cream cheese are preferable to an overmixed, airy batter.
The Water Bath Method: Ensuring Even Baking and Creaminess
The water bath, or bain-marie, is perhaps the single most effective technique for achieving a consistently Silky cheesecake texture and preventing cracks. It works by providing a moist, even cooking environment that regulates the temperature around the cheesecake pan. This gentle, humid heat prevents the edges from setting too quickly or becoming dry before the center is cooked through.
The water bath ensures the cheesecake bakes slowly and evenly, allowing the proteins to set gradually into a smooth, custard-like consistency. This slow, consistent heat distribution is crucial for that signature Silky cheesecake texture. It also helps prevent the drastic temperature changes during baking and cooling that can cause cheesecakes to crack.
Why a Water Bath is Crucial for Silky Smooth Cheesecake
A water bath creates a buffer zone around the cheesecake pan. Water heats up to a maximum of 212°F (100°C) at sea level, and as it evaporates, it releases steam, creating a humid oven environment. This moist, moderate heat prevents the surface and edges of the cheesecake from drying out and overcooking before the center has a chance to set. Think of it as giving your cheesecake a gentle steam bath while it bakes.
This even, moist heat promotes uniform cooking from edge to center, which is essential for a smooth, homogenous Silky cheesecake texture. Without a water bath, the edges are exposed to direct dry heat, causing them to bake faster and shrink slightly, often pulling away from the pan and creating stress that results in cracks across the surface. The water bath mitigates this stress and promotes a level, crack-free top and an incredibly smooth interior.
How to Properly Prepare a Water Bath for Cheesecake Baking
Preparing a water bath correctly is key to its effectiveness. First, wrap the outside of your springform pan securely with several layers of heavy-duty aluminum foil. Ensure the foil extends all the way up the sides of the pan to prevent any water from seeping in and making the crust soggy. Some bakers even recommend placing the wrapped springform pan inside a slightly larger cake pan before placing it in the water bath for extra security.
Next, find a large roasting pan or baking dish that is wide enough to comfortably hold your wrapped cheesecake pan. Place the cheesecake pan inside the larger pan. Carefully pour hot (not boiling, but very warm) water into the larger pan, around the cheesecake, until it comes about halfway up the sides of the springform pan. Be careful not to splash water onto the cheesecake batter. Place the entire setup into your preheated oven.
Pro Tips for a Consistently Creamy Cheesecake
Beyond the fundamental techniques, several smaller adjustments and ingredient choices can further enhance your quest for a perfect Silky cheesecake texture. These are the little details that experienced bakers often employ to ensure their cheesecakes are not just good, but truly exceptional in terms of smoothness and richness.
Integrating these pro tips into your baking routine can significantly improve the consistency and quality of your cheesecakes, helping you achieve that desired Silky cheesecake texture every time.
Choosing the Right Cream Cheese for Optimal Texture
As mentioned earlier, high-quality, full-fat cream cheese is non-negotiable. Look for brands that are known for their rich, smooth texture and minimal additives. Some premium brands specifically marketed for baking often have a higher fat content and fewer stabilizers than standard supermarket brands. Using block cream cheese is also highly recommended over whipped or spreadable versions, which contain too much air and water.
For example, many professional bakers favor brands like Philadelphia (the block version) or other similar full-fat, brick-style cream cheeses. The consistency and fat content of these products provide the ideal base for a dense, yet creamy filling that holds its shape beautifully while offering that luxurious Silky cheesecake texture. Avoid generic or store-brand cream cheeses if possible, as their composition can vary widely and may not yield the best results.
Adding Sour Cream or Greek Yogurt for Enhanced Creaminess
Incorporating sour cream or full-fat Greek yogurt into your cheesecake batter is an excellent way to boost creaminess and add a subtle tang that balances the sweetness. These ingredients contribute additional fat and moisture while also providing a slight acidity that helps break down proteins, resulting in a smoother, more tender crumb structure. A common ratio is adding about 1/2 to 1 cup of sour cream or Greek yogurt per 2-3 pounds of cream cheese.
When using sour cream or Greek yogurt, ensure they are also at room temperature for seamless incorporation. Mix them in after the cream cheese and sugar are smoothly combined, but before adding the eggs. This adds another layer of richness and helps create that signature dense, yet incredibly smooth Silky cheesecake texture that is so desirable. The acidity also helps prevent the cheesecake from tasting overly heavy.
Using Lemon Juice or Zest to Brighten Flavor and Improve Texture
A touch of acidity, typically from lemon juice or zest, not only brightens the flavor of a cheesecake, cutting through its richness, but can also subtly improve the texture. The acid helps to tenderize the proteins in the batter, contributing to a smoother mouthfeel. While the amount is usually small (often just a tablespoon or two of juice or the zest of one lemon), its impact is noticeable.
Add the lemon juice or zest along with other liquid ingredients like vanilla extract or sour cream. Ensure it's incorporated evenly into the batter. The acidity from the lemon works in conjunction with the acidity from ingredients like sour cream or buttermilk (if used) to create a more tender, less dense structure, enhancing the overall Silky cheesecake texture. Don't overdo it, as too much acid can curdle the dairy.
The Role of Eggs in Cheesecake Structure and Texture
Eggs are crucial binders in cheesecake, providing structure and richness. They contain proteins that coagulate when heated, setting the batter into a solid form. Yolks contribute fat and richness, while whites contribute protein for structure. Using whole large eggs is standard for most recipes, as they provide the right balance. Using too many eggs can result in a firmer, more rubbery texture, while too few can lead to a cheesecake that doesn't set properly.
The key to using eggs for a Silky cheesecake texture is gentle incorporation and using them at room temperature. Beat them lightly in a separate bowl before adding them to the cream cheese mixture to ensure they are homogenous. Then, add them one at a time to the batter on the lowest mixer speed, mixing only until the yellow streak disappears. This minimal mixing prevents excessive air incorporation, which, as discussed, is vital for a dense, smooth texture and preventing cracks.
Baking and Cooling for a Flawless Finish
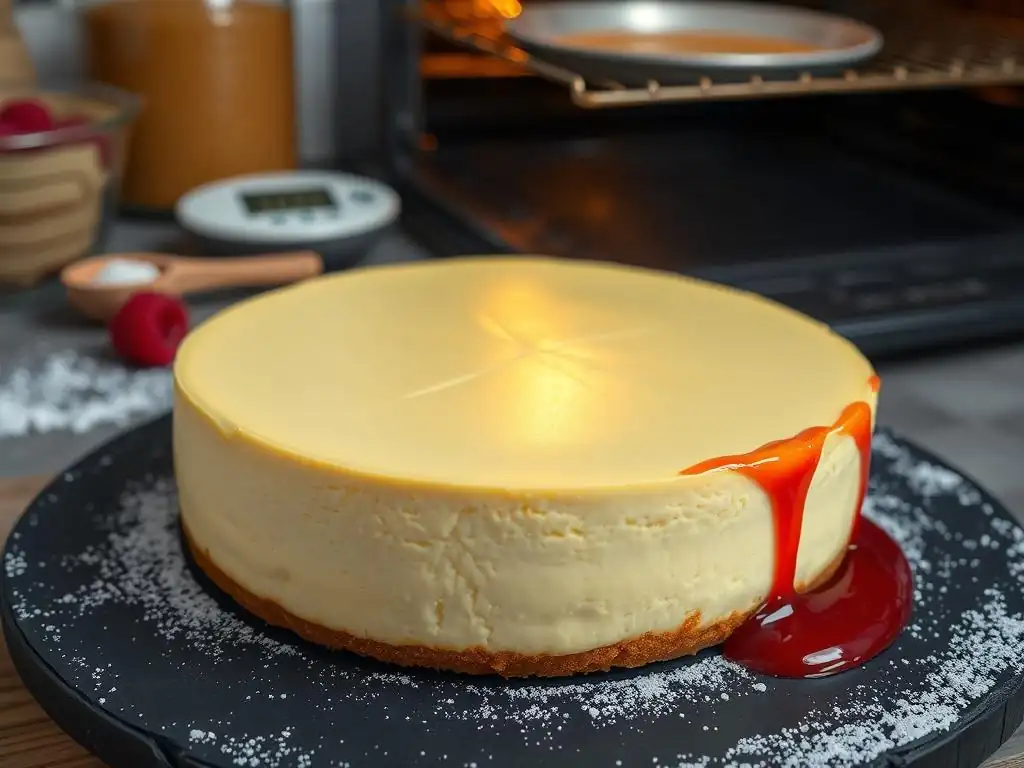
Even after perfecting your batter, the baking and cooling processes are critical final steps in achieving a perfect Silky cheesecake texture and appearance. Incorrect temperatures or cooling methods can easily ruin all your previous efforts, leading to cracks, uneven textures, or a sunken center. Patience is key during these stages.
Following specific guidelines for oven temperature, knowing when the cheesecake is done, and allowing it to cool slowly are non-negotiable steps for a flawless, crack-free cheesecake with an impeccable Silky cheesecake texture.
Optimal Baking Temperature for a Silky Cheesecake
As highlighted earlier, a low and slow baking temperature is paramount for a Silky cheesecake texture. Most recipes recommend baking cheesecakes in a water bath at temperatures between 300°F and 325°F (150°C to 160°C). This range allows the cheesecake to bake gently and evenly, preventing the edges from overcooking and drying out before the center is set.
Baking at a higher temperature might seem faster, but it can cause the outer edges to set too quickly while the center is still raw. This uneven setting leads to stress on the structure and almost guarantees cracks. Sticking to the lower temperature range ensures a gradual transition from liquid batter to solid, creamy custard, resulting in that perfectly smooth Silky cheesecake texture throughout.
Recognizing When Your Cheesecake is Perfectly Baked
Knowing when a cheesecake is done can be tricky, as overbaking will lead to a dry, potentially rubbery texture, while underbaking means it won't set properly. The key is to look for specific visual cues rather than relying solely on baking time, as oven temperatures can vary. A perfectly baked cheesecake will have edges that appear set and slightly puffed, while the center, roughly a 2-3 inch diameter circle, will still look slightly soft or jiggly when the pan is gently nudged.
The internal temperature of a fully baked cheesecake center should register around 150°F to 155°F (65°C to 68°C) using an instant-read thermometer. If you don't have a thermometer, the slight jiggle test is reliable. The residual heat after you remove it from the oven and the water bath will continue to cook the center to the perfect consistency, resulting in that ideal Silky cheesecake texture.
Slow Cooling: Preventing Cracks and Maintaining Creaminess
The cooling process is just as important as the baking itself for preventing cracks and achieving a smooth Silky cheesecake texture. Rapid temperature changes are the primary culprits behind cheesecake cracks. When a hot cheesecake is suddenly exposed to cooler air, the surface cools and contracts much faster than the warm interior, causing tension that pulls the cheesecake apart.
The best method for slow cooling is to turn off the oven once the cheesecake is baked, crack the oven door open about an inch (using a wooden spoon works well), and let the cheesecake sit inside the cooling oven for at least 1 hour, or until the oven is significantly cooler. Then, remove it from the oven and the water bath, let it cool on a wire rack at room temperature for another 1-2 hours until it's only slightly warm, and finally, chill it in the refrigerator, uncovered initially to prevent condensation, for at least 4 hours, ideally overnight.
This gradual cooling process allows the cheesecake to contract slowly and evenly, preserving its smooth surface and Silky cheesecake texture.
The Importance of Gradual Temperature Reduction
The principle behind slow cooling is simple physics: gradual temperature reduction minimizes stress on the cheesecake's structure. Imagine taking a hot glass dish and plunging it into cold water – it would likely shatter. Similarly, a cheesecake is a delicate custard structure that needs to adjust to temperature changes slowly.
By allowing the cheesecake to cool gradually first in the turned-off oven, then at room temperature, and finally in the refrigerator, you ensure that the entire mass cools down uniformly. This prevents the dramatic temperature differential between the surface and the interior that leads to cracking. This patient cooling process is a non-negotiable step among Silky cheesecake texture tips. It allows the cheesecake to finish setting gently and ensures a perfectly smooth, crack-free top and a consistent, creamy interior.
Troubleshooting Common Cheesecake Texture Problems
Even with the best intentions and techniques, sometimes things don't go exactly as planned. Understanding common cheesecake texture problems and how to address them can save your dessert and help you learn for future baking endeavors. Don't be discouraged if your first few attempts aren't perfect; troubleshooting is part of the baking journey.
Let's look at some frequent issues bakers encounter and practical solutions to either fix them or prevent them from happening again, focusing on maintaining that desired Silky cheesecake texture.
Fixing a Grainy Cheesecake Texture: Causes and Solutions
A grainy or curdled texture is often a result of either using ingredients that were too cold, leading to lumps that didn't fully incorporate, or overmixing the batter, especially after adding the eggs. Overbaking can also contribute to a slightly grainy or dry texture as the proteins seize up.
If your cheesecake has already baked with a grainy texture, unfortunately, there's no way to reverse it. However, you can mask it slightly by serving it with a smooth sauce (like a fruit coulis or chocolate ganache) or whipped cream. To prevent it in the future, ensure all ingredients are at room temperature, cream the cream cheese until perfectly smooth before adding anything else, and mix minimally on low speed, particularly after eggs are added.
Addressing Cracks in Your Cheesecake: Prevention and Repair
Cracks are usually caused by rapid temperature changes, overbaking, or overmixing (which introduces air that expands and contracts). The best approach is prevention: use a water bath, don't overmix, bake at a low temperature, and cool very slowly.
If a crack appears after baking, don't despair! Small cracks can often be hidden by toppings like sour cream frosting, fruit compote, chocolate ganache, or whipped cream. A large crack can sometimes be "repaired" visually by gently pressing the sides of the crack together while the cheesecake is still warm, though this is often more about appearance than actually fixing the structure. Focusing on prevention through proper technique and slow cooling remains the most effective strategy for achieving a crack-free, Silky cheesecake texture.
What to Do if Your Cheesecake is Too Dense
While a Silky cheesecake texture should be dense, it shouldn't be heavy or rubbery. If your cheesecake is excessively dense, it might be due to overmixing (compacting the batter rather than making it airy) or using too many eggs relative to the cream cheese. It could also happen if the cream cheese wasn't softened enough initially.
To prevent an overly dense cheesecake, ensure your cream cheese is truly soft and lump-free before mixing. Be very gentle with the mixing once the eggs are added, using the lowest speed and mixing only until just combined. Ensure your recipe has a balanced ratio of cream cheese to eggs and other dairy. If you find your baked cheesecake is too dense, serving it at room temperature rather than straight from the fridge can sometimes slightly soften the texture.
Recipe Adaptations for Enhanced Creaminess
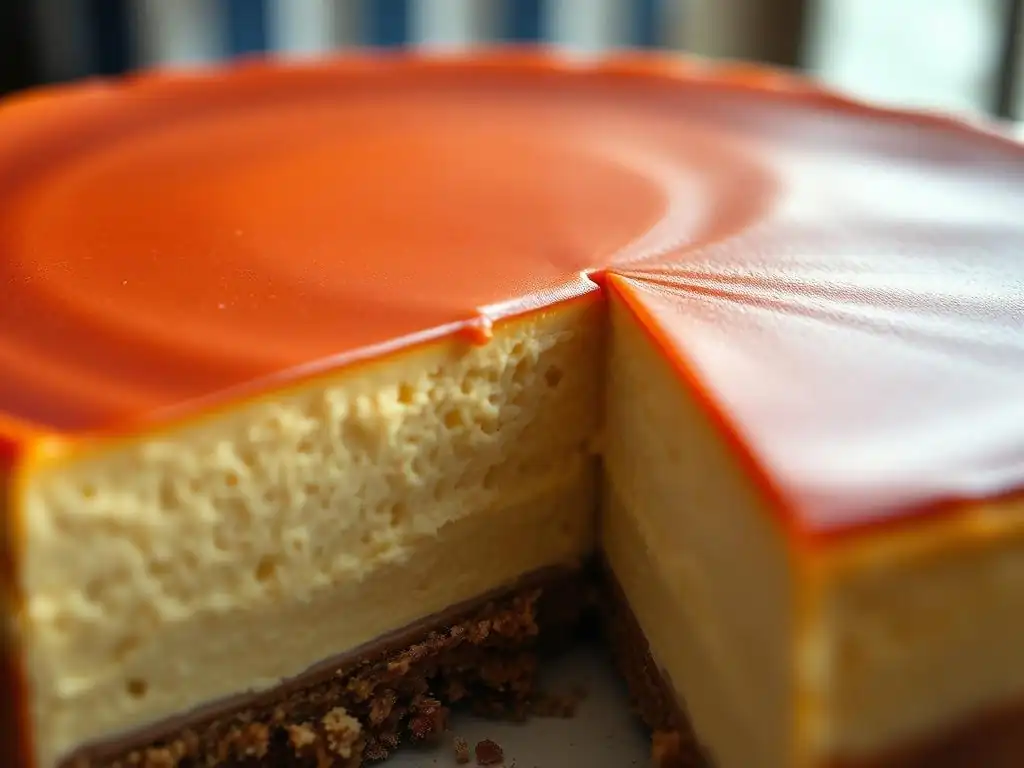
While classic cheesecake recipes provide a fantastic base, certain adaptations can further enhance the Silky cheesecake texture, adding layers of flavor and luxury. These modifications involve incorporating ingredients that contribute additional fat, moisture, or stabilizing properties in a way that complements the creamy base.
Exploring these variations can help you tailor your cheesecake to specific tastes while also optimizing for maximum smoothness and richness, adding more valuable Silky cheesecake texture tips to your repertoire.
Incorporating Melted White Chocolate for a Luxurious Texture
Adding melted white chocolate to your cheesecake batter is a fantastic way to introduce extra richness and contribute to an exceptionally smooth, almost fudge-like Silky cheesecake texture. White chocolate is primarily cocoa butter and sugar, and the high fat content of the cocoa butter adds an unparalleled creaminess and density.
For best results, use high-quality white chocolate (not confectionery coating) and melt it gently. Let it cool slightly before whisking it into your cream cheese mixture after the sugar has been incorporated but before the eggs. A common addition is about 4-6 ounces of melted white chocolate per 2 pounds of cream cheese. This addition provides a luxurious mouthfeel and a subtle sweetness that complements the tangy cream cheese beautifully.
Adding a Swirl of Fruit Puree for Flavor and Creaminess
While a swirl of fruit puree might seem primarily for aesthetics and flavor, a properly prepared puree can also contribute to the cheesecake's overall moisture and perceived creaminess, especially if incorporated gently. A smooth, concentrated fruit puree adds a burst of flavor and a slight variation in texture that enhances the overall dessert experience.
To add a swirl, prepare a thick, smooth fruit puree (like raspberry, strawberry, or passion fruit) by cooking down fruit with a little sugar and possibly straining out seeds. Once the cheesecake batter is in the pan, dollop spoonfuls of the cooled puree over the top. Use a knife or skewer to gently swirl it through the batter, being careful not to reach the crust or over-mix, which could disrupt the Silky cheesecake texture of the batter itself.
Exploring Different Crust Options to Complement the Filling
While the crust doesn't directly impact the texture of the cheesecake filling itself, choosing the right crust can complement and enhance the overall experience of a Silky cheesecake texture. A sturdy, yet not overly thick or hard crust provides a perfect textural contrast to the smooth, creamy filling.
Classic graham cracker or digestive biscuit crusts, made with finely crushed crumbs and melted butter, are popular because they are easy to make and provide a pleasant crumbly texture. Other options include cookie crusts (like crushed Oreos or gingersnaps) or a thin layer of baked pastry dough. Ensure the crust is pressed firmly into the pan and pre-baked slightly if the recipe calls for it, to prevent it from becoming soggy from the cheesecake filling. A well-executed crust is the perfect foundation for showcasing that beautiful Silky cheesecake texture.
Serving and Storing Your Silky Smooth Cheesecake
You've successfully baked a cheesecake with a perfect Silky cheesecake texture! The final steps involve properly slicing and storing it to maintain its quality and ensure every slice is as delightful as the first. Handling your masterpiece with care at this stage is important.
Proper techniques for cutting and storing will preserve the integrity of the Silky cheesecake texture and keep your dessert tasting fresh and delicious for as long as possible.
Tips for Slicing Cheesecake Neatly
Slicing a cheesecake neatly can be challenging, especially one with a very creamy, Silky cheesecake texture. The best trick is to use a sharp, thin-bladed knife, and clean it between each slice. Fill a tall glass with hot water and dip the knife blade into the hot water for a few seconds. Wipe the blade completely dry with a clean towel, then make your cut.
Reheat and wipe the knife before each subsequent slice. This method warms the blade just enough to glide through the creamy texture without dragging or sticking, resulting in clean, sharp slices that showcase the beautiful interior. Ensure the cheesecake is fully chilled before attempting to slice, as this makes it much firmer and easier to cut cleanly.
Proper Storage to Maintain Texture and Flavor
To maintain that wonderful Silky cheesecake texture and fresh flavor, proper storage is essential. Once the cheesecake is fully chilled and any initial uncovered chilling is complete, cover it tightly. If using a springform pan, remove the ring and transfer the cheesecake to a cake plate before covering. Use plastic wrap pressed directly onto the surface of any cut edges to prevent them from drying out, and then wrap the entire cheesecake or place it in an airtight container.
Store the cheesecake in the refrigerator for up to 5-7 days. For longer storage, cheesecake freezes remarkably well. Wrap individual slices or the whole cheesecake (if uncut) tightly in plastic wrap, then in aluminum foil, or place in a freezer-safe container. Frozen cheesecake can maintain its quality and Silky cheesecake texture for 1-2 months. Thaw frozen cheesecake slowly in the refrigerator overnight.
Conclusion: Mastering the Art of Silky Cheesecake Perfection
Achieving a Silky cheesecake texture is a rewarding goal for any baker. It requires attention to detail at every stage, from selecting ingredients and mixing the batter to the crucial steps of baking in a water bath and cooling slowly. By understanding the science behind how cheesecake sets and implementing these specific Silky cheesecake texture tips, you can consistently produce cheesecakes that are beautifully smooth, dense, and incredibly creamy.
Remember to start with quality ingredients, ensure they are at the right temperature, mix gently to avoid incorporating excess air, bake low and slow in a water bath, and cool with patience. Troubleshooting common issues will become easier with practice. With these techniques in your baking arsenal, you are well on your way to mastering the art of creating cheesecakes with the ultimate Silky cheesecake texture that will impress everyone who takes a bite.
Frequently Asked Questions
How important is the temperature of the ingredients when making cheesecake?
Using room temperature ingredients, especially cream cheese, is crucial. This ensures they blend together smoothly and prevents lumps in the batter, contributing to a silky texture.
What's the best way to mix the cheesecake batter without overmixing?
Mix on low speed until just combined. Overmixing incorporates too much air, leading to a cracked surface and a less dense, silky texture after baking.
Why is a water bath recommended for baking cheesecake?
A water bath provides gentle, even heat, preventing the cheesecake from baking too quickly and cracking. It also helps maintain a moist environment, leading to a smoother, creamier texture.
How can I prevent my cheesecake from cracking after baking?
Besides using a water bath, let the cheesecake cool slowly in the oven with the door ajar. This gradual temperature change reduces the risk of sudden contraction and subsequent cracking.
What type of cream cheese yields the best silky cheesecake texture?
Full-fat cream cheese is essential for achieving the desired richness and creaminess. Lower-fat versions may result in a less smooth and drier texture.
Final Reflection: The Pursuit of Perfect Cheesecake Creaminess
The quest for that impossibly silky cheesecake texture is more than just a culinary pursuit; it's a reflection of our desire for perfection in the simplest of pleasures. Achieving that ideal smoothness, that melt-in-your-mouth experience, requires precision, patience, and a deep understanding of the ingredients and their interactions. This article has explored various techniques, from careful ingredient selection to mastering the baking process, all aimed at unlocking the secrets to a truly unforgettable cheesecake.
The pursuit of the perfect cheesecake, with its creamy texture, speaks to a larger cultural appreciation for comfort food and the artistry of baking. It's a testament to the power of simple ingredients transformed into something extraordinary. The satisfaction derived from creating something so delicious and visually appealing is undeniable. The best things in life are simple,
a phrase often repeated, rings particularly true when considering the joy of a perfectly creamy slice of cheesecake. This simple dessert transcends mere sustenance; it becomes a symbol of celebration, comfort, and the dedication to mastering a craft.
Now, I invite you to consider your own culinary journey. Have you ever strived for perfection in a dish? What techniques have you discovered that elevate your baking to the next level? Don't be afraid to experiment, to push boundaries, and to embrace the occasional imperfection along the way. The pursuit of that ultimate silky cheesecake texture, and indeed, the pursuit of perfection in any endeavor, is a journey worth taking. Remember the tips shared in this article, and most importantly, remember the joy of the process. Go forth and create your own masterpiece!
Unlock Your Cheesecake Dreams: Creamy Perfection Awaits!
Thanks for joining us on this creamy cheesecake adventure! We hope you've picked up some invaluable tips to transform your baking game. Ready to take your cheesecake skills to the next level?
- Master the art of the perfectly smooth cheesecake: Try our suggested techniques and see the difference firsthand. Share your results with us – we'd love to see your creamy creations!
- Experiment with different flavor combinations: Let your imagination run wild! What unique twist will you add to achieve your dream cheesecake?
- Challenge a friend to a cheesecake bake-off: Share this article and see who can create the creamiest, most delicious cheesecake.
Now, tell us: What's your secret ingredient for ultimate cheesecake texture? Let's chat in the comments!