
Your First Cheesecake: A Simple StepbyStep Guide

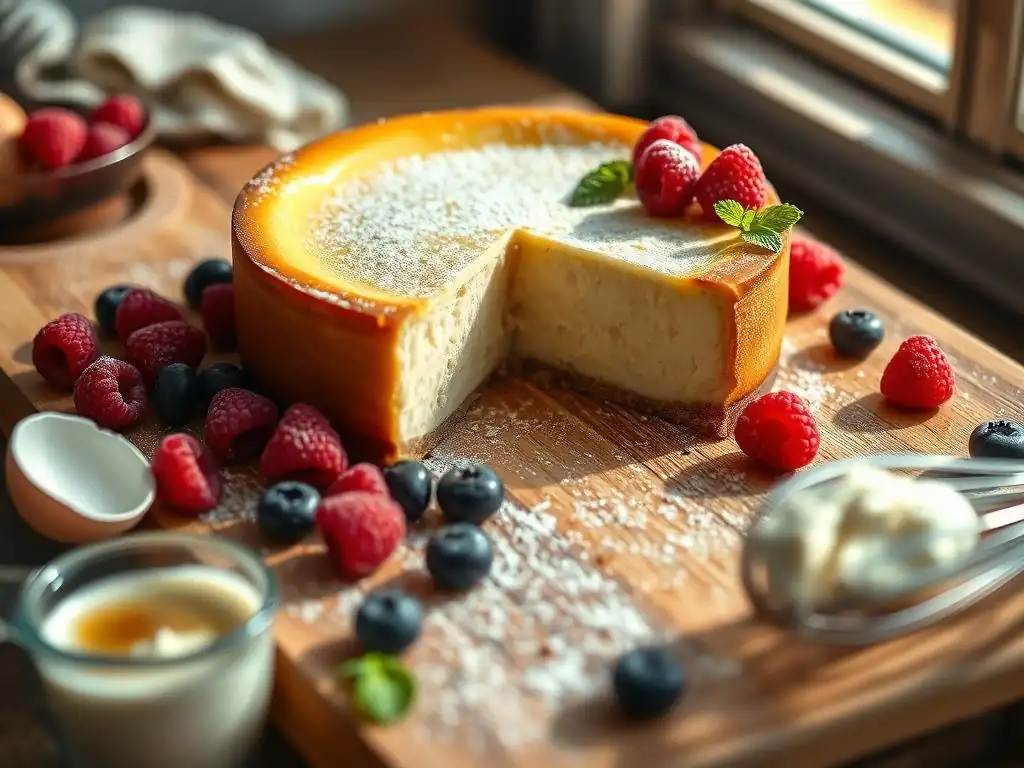
Welcome to BakeWithEase, your kitchen companion for unlocking the joy of baking! Ever dreamt of creating the perfect, melt-in-your-mouth cheesecake? Our article, "Your First Cheesecake: A Simple Step-by-Step Guide," dives into an easy beginner cheesecake recipe that's guaranteed to impress. Curious how to conquer this classic dessert without the fuss? Let's get baking!
- Classic New York Cheesecake: A Beginner's Guide
- Introduction to Mastering New York Cheesecake
- Assembling Your Ingredients for the Perfect Cheesecake
- Step-by-Step: Creating Your First New York Cheesecake
- Tips and Tricks for a Flawless Cheesecake
- Serving and Storing Your Homemade Cheesecake
- Conclusion: Congratulations on Baking Your First New York Cheesecake!
-
Frequently Asked Questions
- What makes this cheesecake recipe easy for beginners?
- What kind of crust is recommended for this easy beginner cheesecake recipe?
- What is the key to preventing cracks in my cheesecake?
- Can I substitute ingredients in this easy beginner cheesecake recipe?
- How do I know when my cheesecake is done baking?
- Final Reflection: The Sweetness of Success, One Cheesecake at a Time
- Unlock Your Inner Cheesecake Master!
Classic New York Cheesecake: A Beginner's Guide
Introduction to Mastering New York Cheesecake
Why New York Cheesecake is Ideal for Aspiring Bakers
New York cheesecake is often considered the gold standard of cheesecakes – known for its dense, rich, and creamy texture. While it might seem intimidating at first glance, mastering this classic actually builds a fantastic foundation for understanding baking principles. The process involves fundamental techniques like temperature control, ingredient emulsification, and proper mixing, all crucial skills for any aspiring baker.
Successfully baking a New York cheesecake gives beginners a significant confidence boost and a delicious reward for their efforts. It's a satisfying project that demonstrates tangible results, making it an excellent starting point before tackling more complex layered cakes or delicate pastries.
Furthermore, the core ingredients for a classic New York cheesecake are relatively simple and widely available: cream cheese, sugar, eggs, and a few flavorings. This accessibility makes it less daunting for someone just starting out compared to recipes requiring specialty flours or uncommon extracts.
The structure of the recipe, typically involving a crust, a filling, and a specific baking method (like a water bath), provides a clear, step-by-step process that is easy to follow. By focusing on one iconic dessert, beginners can concentrate on technique rather than juggling numerous components or intricate decorations, making this an ideal easy beginner cheesecake recipe.
What Makes This New York Cheesecake Recipe Beginner-Friendly?
This specific easy beginner cheesecake recipe is designed with simplicity and success in mind. It breaks down the process into manageable steps, starting with a straightforward graham cracker crust and moving on to a no-fuss filling preparation. We emphasize techniques that minimize common pitfalls, such as overmixing the batter (which can lead to cracks) or baking at the wrong temperature. The instructions are clear and concise, focusing on why each step is important, like explaining the role of room temperature ingredients.
We also guide you through the water bath method, often seen as advanced, but explained here in a way that makes it accessible and less intimidating. Using a water bath is one of the most effective ways to ensure an evenly baked, crack-free surface, significantly increasing your chances of a beautiful outcome on your first try.
By highlighting critical points like gentle mixing and proper cooling, this guide aims to set you up for success, allowing you to create a delicious, classic New York cheesecake with confidence. It's truly an easy cheesecake recipe for beginners looking to make something impressive.
Assembling Your Ingredients for the Perfect Cheesecake
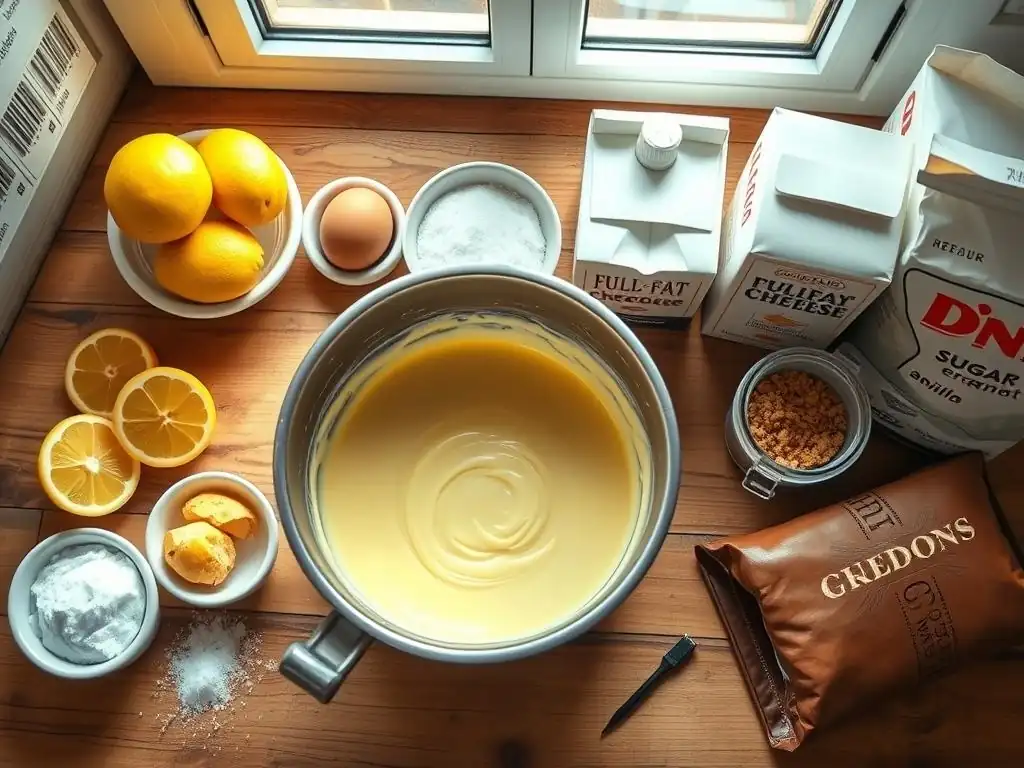
Essential Ingredients Checklist
To embark on your journey to bake this easy beginner cheesecake recipe, gather the following ingredients. Ensure all cold ingredients, especially the cream cheese, are brought to room temperature before starting, which is crucial for a smooth batter.
- For the Crust:
- 1 ½ cups finely ground graham cracker crumbs (from about 10-12 full sheets)
- ⅓ cup granulated sugar
- 6 tablespoons unsalted butter, melted
- For the Filling:
- 4 (8-ounce) blocks cream cheese, full-fat, softened to room temperature
- 1 ¾ cups granulated sugar
- ¼ cup all-purpose flour (optional, but helps prevent cracks)
- 1 tablespoon vanilla extract
- ½ teaspoon salt
- 4 large eggs, room temperature
- ½ cup sour cream, full-fat, room temperature
Understanding Each Ingredient's Contribution
Each ingredient plays a vital role in the final texture, flavor, and appearance of your classic New York cheesecake. Understanding why you're adding each component helps you appreciate the baking process and troubleshoot if needed. Using room temperature ingredients is non-negotiable for achieving the signature smooth, creamy consistency of this easy beginner cheesecake recipe. Cold ingredients will result in a lumpy batter and potential overmixing.
From the binding power of eggs to the tang of sour cream, every item on the list contributes to the overall success of your bake. Skipping or substituting ingredients without understanding their function can drastically alter the outcome. For instance, using low-fat cream cheese will yield a less rich, often watery cheesecake, while using cold eggs can shock the batter and cause curdling. Let's break down the key players in this easy cheesecake recipe for beginners.
Cream Cheese: The Core of a Rich Cheesecake
Cream cheese is the star of the show in any cheesecake, especially a New York style. Using full-fat cream cheese is paramount for achieving the characteristic density and luxurious richness. The fat content (typically around 33-35%) is what provides the smooth, velvety texture when properly mixed and baked. When cream cheese is at room temperature, its fats are pliable, allowing it to cream smoothly with sugar without lumps.
Attempting to use cold cream cheese will inevitably lead to a lumpy batter, no matter how long you mix it. Overmixing cold cream cheese can also incorporate too much air, which can cause the cheesecake to puff up excessively in the oven and then crack or sink significantly upon cooling. Aim for cream cheese that is soft to the touch, easily yielding when gently pressed. This ensures easy incorporation and a perfectly smooth foundation for your easy beginner cheesecake recipe.
Sugar: Balancing Sweetness and Texture
Granulated sugar provides essential sweetness to balance the tang of the cream cheese and sour cream. Beyond flavor, sugar also contributes to the texture of the cheesecake. It helps tenderize the batter and assists in achieving that desirable dense, smooth consistency. When creamed with the softened cream cheese, sugar crystals help to break down the cheese structure slightly, contributing to the overall creaminess.
Using the right amount of sugar is key. Too little, and the cheesecake can taste overly tangy or bland; too much, and it can become grainy or too sweet, masking the delicate cheese flavor. Approximately 1 ¾ cups for 32 ounces of cream cheese is a common ratio that provides balanced sweetness without overwhelming the richness in this easy beginner cheesecake recipe.
Eggs: Binding and Creaminess
Eggs serve multiple critical functions in cheesecake: binding, richness, and structure. The proteins in eggs coagulate as they bake, helping to set the cheesecake and hold the filling together. The yolks also contribute significant richness and contribute to the smooth, custard-like texture. Using room temperature eggs is just as important as using room temperature cream cheese.
Cold eggs added to a creamy batter can cause the fat to seize up and curdle slightly. They also don't incorporate as evenly, potentially leading to variations in texture throughout the cheesecake. Gently whisking the eggs just until incorporated is crucial; overmixing after adding eggs incorporates too much air, which can cause the cheesecake to rise too much and then crack as it cools. For this easy cheesecake recipe for beginners, we incorporate them one at a time to ensure proper emulsification.
Vanilla Extract: Enhancing the Flavor Profile
Vanilla extract is a flavor enhancer that complements the richness of the cream cheese and sweetness of the sugar. While seemingly a small addition, a good quality vanilla extract adds depth and warmth, preventing the cheesecake from tasting flat. Pure vanilla extract is generally preferred over imitation vanilla for a cleaner, more authentic flavor.
The amount of vanilla can be slightly adjusted based on personal preference, but typically 1 tablespoon provides a noticeable yet not overpowering vanilla note. It's added towards the end of the mixing process to ensure its delicate aroma isn't lost. This simple addition significantly elevates the overall taste experience of your easy beginner cheesecake recipe.
Sour Cream: Adding Tang and Moisture
Sour cream is the secret ingredient that gives New York cheesecake its signature slight tang and incredibly moist, smooth texture. The acidity in the sour cream helps to balance the richness of the cream cheese and sugar, adding a pleasant brightness to each bite. Its fat content also contributes to the creamy mouthfeel.
Adding sour cream also helps prevent the cheesecake from drying out during baking, contributing to a more tender crumb. Like the cream cheese and eggs, ensuring the sour cream is at room temperature is essential for smooth incorporation into the batter. It's typically added towards the end of mixing, after the eggs, to ensure minimal mixing after its inclusion.
Step-by-Step: Creating Your First New York Cheesecake
Step 1: Crafting the Graham Cracker Crust
The foundation of a great New York cheesecake is a sturdy, flavorful crust. Graham cracker crust is traditional and relatively simple to make, making it perfect for an easy beginner cheesecake recipe. You can achieve finely ground crumbs using a food processor or by placing crackers in a bag and crushing them with a rolling pin.
Once your crumbs are ready, combine them thoroughly with granulated sugar and melted butter. The mixture should resemble wet sand. Press this mixture firmly and evenly into the bottom and slightly up the sides of a 9-inch springform pan. A flat-bottomed glass or measuring cup is excellent for pressing the crumbs down tightly. Baking the crust for 8-10 minutes at 350°F (175°C) before adding the filling helps set it and prevents it from becoming soggy. Let it cool slightly while you prepare the filling.
Choosing Your Crust: Store-Bought or Homemade?
For an easy beginner cheesecake recipe, you have the option of using a store-bought graham cracker crust or making one from scratch. Store-bought crusts offer ultimate convenience – simply unwrap and go. This is a perfectly acceptable shortcut, especially when you're focusing on mastering the filling and baking process for the first time. Many come in aluminum pans that fit well inside a water bath setup.
However, making your own crust is also quite simple and allows for customization. You can control the texture (finer or chunkier crumbs) and flavor (adding a pinch of cinnamon or using different types of cookies like vanilla wafers or gingersnaps). A homemade crust typically yields a richer flavor and a slightly thicker, more satisfying base than many pre-made versions. Given the simplicity of the three-ingredient recipe (crumbs, sugar, butter), making it yourself is a great way to add a personal touch without much extra effort, fitting well within the scope of an easy cheesecake recipe for beginners.
Detailed Instructions for a Perfectly Pressed Crust
Start by preheating your oven to 350°F (175°C). If using whole graham crackers, process them in a food processor until fine crumbs form, or crush them finely by hand. You need about 1 ½ cups of crumbs. In a medium bowl, combine the graham cracker crumbs, ⅓ cup granulated sugar, and 6 tablespoons of melted unsalted butter. Stir with a fork or spoon until the mixture is evenly moistened and resembles wet sand.
Pour the crumb mixture into a 9-inch springform pan. Using the bottom of a flat-bottomed measuring cup or glass, firmly press the crumbs evenly across the bottom of the pan and about 1 to 1 ½ inches up the sides. Pressing firmly is key to preventing the crust from crumbling when you slice the cheesecake later. Bake the pressed crust for 8-10 minutes until it's slightly golden and fragrant. Remove from the oven and let it cool on a wire rack while you prepare the filling. This pre-baking step is vital for a crisp, non-soggy crust.
Step 2: Preparing the Creamy Cheesecake Filling
Preparing the filling for this easy beginner cheesecake recipe focuses on achieving a smooth, lump-free batter with minimal air incorporated. The key is to use room temperature ingredients and mix just until combined. Overmixing is the most common mistake and leads to cracks.
Start by creaming the softened cream cheese until incredibly smooth. Then, gradually add the sugar and other dry ingredients, followed by the liquids and flavorings. Each step requires gentle mixing to ensure everything is incorporated without developing excess gluten or whipping in too much air. This deliberate, careful approach ensures a dense, creamy texture that is the hallmark of a classic New York cheesecake.
Creaming the Cream Cheese: Achieving a Smooth Consistency
This is perhaps the most crucial step for a smooth filling. Ensure your cream cheese is genuinely at room temperature – soft enough that you can easily indent it with your finger. Place the softened cream cheese in a large mixing bowl. Using an electric mixer (handheld or stand mixer with the paddle attachment) on low speed, beat the cream cheese for 2-3 minutes until it is completely smooth, creamy, and free of any lumps. Scrape down the sides and bottom of the bowl frequently to ensure even mixing.
The goal here is to break down the cream cheese structure into a uniform consistency before adding other ingredients. This initial creaming step is much more effective at eliminating lumps than trying to get them out after sugar or eggs have been added. Aim for a texture similar to soft butter or frosting. This foundation is essential for the success of your easy beginner cheesecake recipe.
Incorporating Sugar and Eggs: Ensuring Proper Emulsification
Once the cream cheese is perfectly smooth, gradually add the granulated sugar to the bowl while mixing on low speed. Continue mixing for another 2-3 minutes, scraping down the bowl, until the sugar is fully incorporated and the mixture is smooth and slightly airy. If using, whisk in the all-purpose flour with the sugar. The sugar helps further break down the cream cheese and creates a smooth base for the liquids.
Next, add the eggs, one at a time, mixing on the lowest speed just until each egg is incorporated before adding the next. This process, known as emulsification, helps bind the fats and liquids together smoothly. Mixing slowly and minimally after adding the eggs is critical; overmixing introduces air bubbles which cause the cheesecake to rise unevenly and crack during cooling. Stop mixing as soon as the last egg yolk disappears into the batter.
Blending in Vanilla and Sour Cream
After the eggs are just incorporated, it's time to add the final wet ingredients: vanilla extract and sour cream. Add the vanilla extract and salt to the batter. Then, add the sour cream. Mix on the absolute lowest speed, or even gently whisk by hand, just until the sour cream and vanilla are evenly blended into the batter. This should only take about 30-60 seconds.
Again, the emphasis here is on minimal mixing. The sour cream adds moisture and tang, and gentle incorporation ensures you don't introduce extra air after the structure has been established with the eggs. Scrape down the bowl one final time to ensure everything is evenly combined. Your creamy, ready-to-bake filling for this easy beginner cheesecake recipe is now complete.
Step 3: Baking Your Cheesecake to Golden Perfection
Baking cheesecake requires patience and precise temperature control. The goal is to bake it gently and evenly to achieve that signature dense, creamy texture without cracks. This is where the water bath method shines, making it a highly recommended technique even for this easy beginner cheesecake recipe.
The baking process is relatively long, typically over an hour, followed by a slow cooling period. Resist the urge to open the oven door frequently, as sudden temperature changes can negatively impact the cheesecake's structure. Monitoring the doneness is key – you're looking for set edges and a slightly jiggly center, not a completely firm top.
Setting the Oven Temperature and Baking Time
Preheat your oven to 325°F (160°C). A slightly lower temperature than standard baking is preferred for cheesecake to allow it to bake gently and evenly, reducing the risk of cracking. Pour the prepared cheesecake filling into the cooled, pre-baked graham cracker crust in the springform pan. Smooth the top with an offset spatula or the back of a spoon.
Place the springform pan inside a larger baking pan (like a roasting pan). Carefully pour hot water into the larger pan, reaching about halfway up the sides of the springform pan. This is the water bath. Carefully transfer the entire setup to the preheated oven. Bake for 60-80 minutes, or until the edges are set and slightly puffed, but the center 2-3 inches still jiggles slightly when the pan is gently nudged. An internal temperature of 150°F (65°C) in the center is a good indicator of doneness.
The Water Bath Method: Preventing Cracks and Ensuring Even Baking
The water bath (or bain-marie) is a technique where the baking pan is placed in a larger pan filled with hot water. This method is incredibly beneficial for baking cheesecake, especially for an easy beginner cheesecake recipe, as it provides gentle, even heat. The water acts as a buffer, preventing the edges from baking too quickly and becoming dry or cracked before the center is done.
Furthermore, the steam created by the hot water in the oven keeps the surface of the cheesecake moist, which also helps prevent cracks. It ensures the cheesecake bakes slowly and evenly from the edges to the center, resulting in that perfectly smooth, dense, and creamy texture characteristic of a New York cheesecake. While it adds an extra step, the water bath significantly increases your chances of a flawless outcome, making it worthwhile for this beginner cheesecake guide.
Step 4: Cooling and Chilling for Optimal Texture
Proper cooling and chilling are just as important as the baking process for achieving the ideal cheesecake texture and preventing shrinkage or cracks. Rushing this step can lead to a less dense, less flavorful, and potentially cracked cheesecake. It's a test of patience, but crucial for success with this easy beginner cheesecake recipe.
The cheesecake needs to cool gradually first at room temperature, then in the refrigerator. This slow temperature transition allows the structure to set completely and the flavors to fully develop. Don't be tempted to remove the cheesecake from the pan too early or skip the chilling time.
Proper Cooling Techniques: Minimizing Shrinkage
Once the cheesecake is baked (edges set, center slightly jiggly), turn off the oven but leave the cheesecake inside the water bath with the oven door propped open slightly (using a wooden spoon works well) for about 1 hour. This allows the cheesecake to cool down very gradually, preventing sudden temperature changes that can cause shrinkage and cracking.
After 1 hour in the propped-open oven, carefully remove the cheesecake from the water bath and place it on a wire rack to cool completely at room temperature. This can take another 2-3 hours. Once it is completely cool to the touch, run a thin knife or offset spatula around the edge of the pan to loosen the cheesecake from the sides before covering it. This helps prevent the cheesecake from sticking to the pan as it chills and shrinks slightly.
Chilling Time: Allowing Flavors to Meld and Set
After cooling completely at room temperature and loosening the edges, cover the cheesecake tightly with plastic wrap. Ensure the plastic wrap doesn't touch the surface of the cheesecake if possible (tenting it slightly can help) to prevent condensation. Transfer the covered cheesecake to the refrigerator and chill for at least 6-8 hours, preferably overnight.
This lengthy chilling time is essential. It allows the cheesecake to firm up completely, developing its dense texture. More importantly, it allows the flavors to meld and deepen, resulting in a much richer and more satisfying taste. Attempting to slice or serve the cheesecake before it is fully chilled will result in a soft, messy slice and a less intense flavor. Patience during this step is key to a successful easy beginner cheesecake recipe.
Tips and Tricks for a Flawless Cheesecake
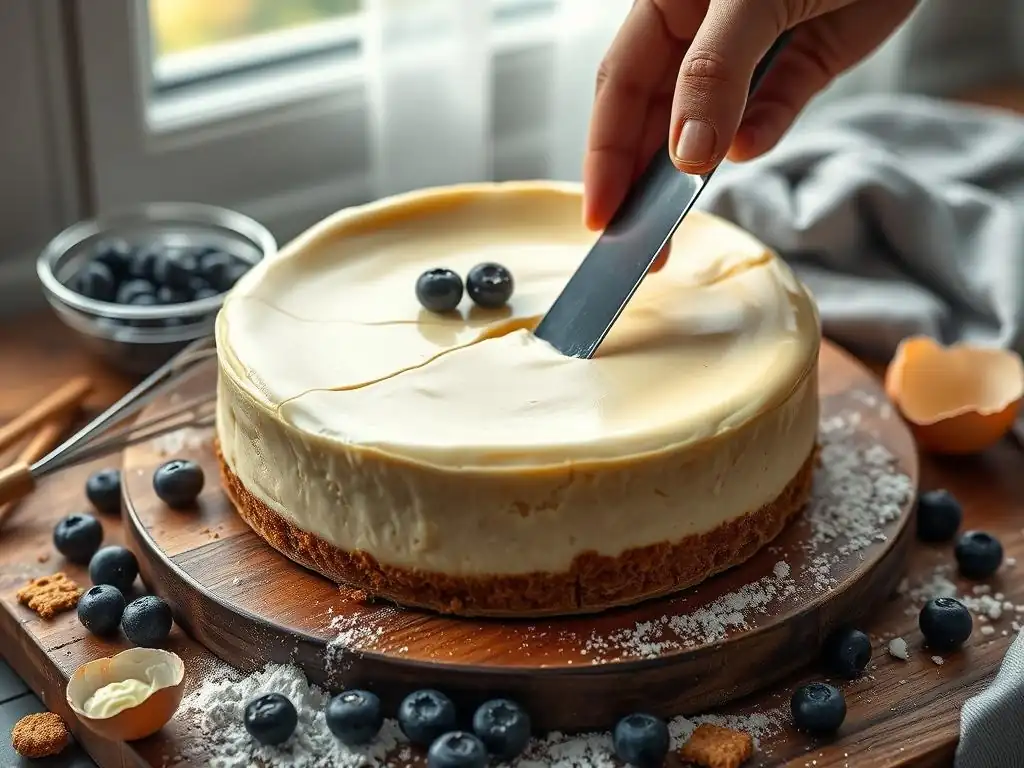
Even with a simple recipe, baking can sometimes present challenges. Knowing how to troubleshoot common issues can turn a potentially frustrating experience into a solvable problem, reinforcing your learning as a beginner baker. This section addresses typical cheesecake woes and offers solutions.
Beyond troubleshooting, exploring variations and toppings allows you to customize your creation and make it your own. Once you've mastered the basic easy beginner cheesecake recipe, you can start experimenting with different flavors and presentations to impress your friends and family.
Troubleshooting Common Cheesecake Challenges
Baking a cheesecake for the first time can feel nerve-wracking, but many common issues have simple explanations and solutions. Don't be discouraged if your first attempt isn't absolutely perfect; each bake is a learning opportunity. Understanding why something went wrong is the first step to fixing it next time.
From dreaded cracks on the surface to a crust that isn't quite right, addressing these challenges head-on builds confidence. This easy cheesecake recipe for beginners aims to minimize these problems through technique, but knowing how to identify and potentially fix them is invaluable.
Preventing Cracks: Mastering the Water Bath
Cracks are perhaps the most common cosmetic issue with cheesecakes. They are usually caused by uneven baking, too much air in the batter, or sudden temperature changes during cooling. As discussed, the water bath is your best defense against cracks. It promotes even baking and keeps the surface moist.
Other crack-prevention tips include ensuring all ingredients are at room temperature, mixing the batter on low speed just until combined (especially after adding eggs), not overbaking the cheesecake (remember the slight jiggle in the center), and following the slow, gradual cooling process (in the oven with the door propped, then at room temperature, then chilled). Running a knife around the edge after cooling but before chilling also helps prevent the cheesecake from pulling away from the sides as it contracts.
Avoiding a Soggy Crust: Ensuring a Crisp Base
A soggy crust is often the result of moisture from the filling seeping into the base during baking. Pre-baking the crust is the most effective way to prevent this. Baking the graham cracker crust for 8-10 minutes before adding the filling helps set it and creates a barrier.
Another strategy is to ensure your springform pan is properly sealed for the water bath. Wrapping the outside bottom and sides of the springform pan tightly with several layers of heavy-duty aluminum foil (at least 2-3 layers) creates a watertight seal, preventing any water from seeping into the pan and making the crust soggy. Ensure the foil goes up and over the rim of the pan.
Achieving the Ideal Texture: Creamy and Dense
The signature texture of New York cheesecake is dense, smooth, and creamy. This is achieved through a combination of factors: using full-fat cream cheese and sour cream, ensuring all ingredients are at room temperature for smooth emulsification, and mixing the batter on low speed without incorporating too much air.
Overmixing, especially after adding eggs, can lead to a lighter, more cake-like texture rather than the desired density. Conversely, undermixing the cream cheese initially can result in a lumpy texture. Following the specific mixing instructions in this easy beginner cheesecake recipe – creaming the cheese thoroughly first, then adding sugar, then eggs one by one on low speed – is key to achieving that perfect creamy, dense consistency.
Variations and Add-Ins for Your Cheesecake
Once you've successfully baked your first classic easy beginner cheesecake recipe, you might want to experiment! The beauty of a basic recipe is that it serves as a perfect canvas for adding different flavors or ingredients. Start simple with a few classic variations.
These modifications can be incorporated into the filling itself or added as toppings after the cheesecake has chilled. They allow you to personalize your bake and explore different flavor profiles while still relying on the foundational techniques you've learned.
Flavor Variations: Chocolate Swirl, Lemon Zest, or Raspberry Puree
- Chocolate Swirl: Melt about 4-6 ounces of semi-sweet or dark chocolate. After pouring the plain cheesecake filling into the crust, drizzle the melted chocolate over the top. Use a knife or skewer to gently swirl the chocolate into the batter. Be careful not to over-swirl, or the colors will blend completely.
- Lemon Zest: For a bright, tangy cheesecake, add the zest of 1-2 large lemons to the cream cheese mixture along with the vanilla extract. The citrus oils in the zest provide a wonderful aroma and cut through the richness.
- Raspberry Puree: Swirl a thickened raspberry sauce or puree into the filling. Cook down about 1-2 cups of raspberries with a tablespoon or two of sugar and a teaspoon of cornstarch mixed with water until thickened. Let it cool, then swirl into the batter as you would the chocolate.
Toppings and Garnishes: Elevating the Presentation
Once your cheesecake is chilled and ready to serve, toppings are a fantastic way to add extra flavor, texture, and visual appeal. Simple garnishes can transform your easy beginner cheesecake recipe into a showstopper.
- Fresh Berries: A classic and elegant topping. Arrange fresh strawberries, raspberries, blueberries, or a mix on top of the chilled cheesecake just before serving.
- Fruit Sauce: A simple fruit sauce (like raspberry, cherry, or blueberry) poured over slices or the entire top adds moisture and flavor. Make a quick sauce by simmering fruit with a little sugar and lemon juice.
- Chocolate Ganache: Drizzle or spread a simple chocolate ganache (equal parts melted chocolate and hot cream) over the top for a decadent finish.
- Whipped Cream: A dollop of freshly whipped cream on each slice is a simple yet delicious addition.
Serving and Storing Your Homemade Cheesecake
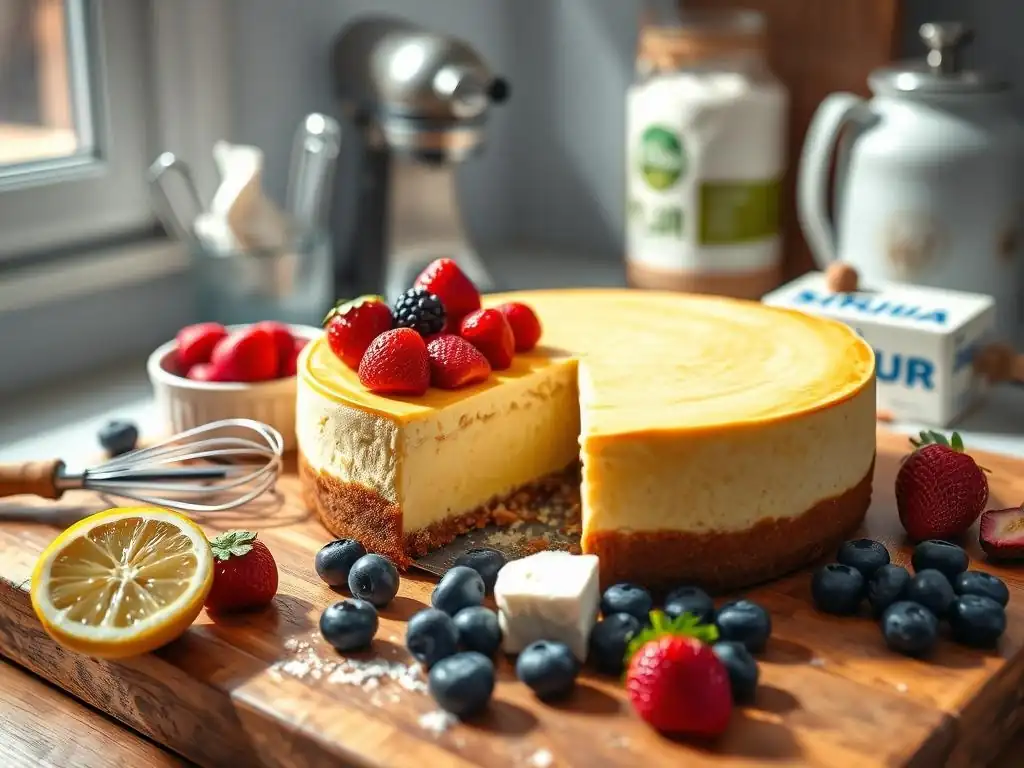
Presenting your beautiful, homemade New York cheesecake is the final step in this easy beginner cheesecake recipe journey. Proper slicing ensures each piece looks as good as it tastes, and knowing how to store leftovers keeps your hard work fresh.
Cheesecake is best served cold, directly from the refrigerator. Allow it to sit at room temperature for just 10-15 minutes before slicing, which can make cutting slightly easier, but don't let it warm up too much.
How to Cut and Serve Your Cheesecake with Elegance
For clean slices, use a sharp knife that has been dipped in hot water and wiped dry between each cut. This helps the blade glide through the dense, creamy texture without dragging or sticking. Slice the cheesecake while it is still cold from the refrigerator.
Unlock and remove the sides of the springform pan. You can serve the cheesecake directly from the base of the pan, or carefully slide it onto a serving plate if preferred (this can be tricky, especially for a first-timer, so serving from the base is often easier). Cut slices from the center outwards, cleaning the knife after every slice for the neatest presentation. Serve plain or with your chosen toppings.
Storing Leftover Cheesecake: Maintaining Freshness
Leftover cheesecake should be stored in the refrigerator. The best way to maintain its freshness and prevent it from absorbing odors from other foods is to store it in an airtight container. If you don't have a container large enough for the whole cheesecake, cover the remaining portion tightly with plastic wrap, ensuring it seals well against the cut edges and the top surface.
Properly stored, classic New York cheesecake will keep well in the refrigerator for 3-4 days. For longer storage, cheesecake freezes surprisingly well. Wrap individual slices or the remaining portion tightly in plastic wrap, then wrap again in aluminum foil or place in a freezer-safe container. Frozen cheesecake can last for 1-2 months. Thaw overnight in the refrigerator before serving.
Conclusion: Congratulations on Baking Your First New York Cheesecake!
You've done it! You've successfully navigated the steps of this easy beginner cheesecake recipe and created a classic New York cheesecake from scratch. Take a moment to appreciate your accomplishment. Baking, especially something like a cheesecake, involves precision and patience, and completing this project is a significant step in your baking journey.
This easy cheesecake recipe for beginners provided a solid foundation in key techniques like ingredient preparation, gentle mixing, and controlled baking. These skills are transferable to countless other baking projects. Don't worry if there were minor imperfections; every bake teaches you something new. The most important thing is that you tried, you learned, and you created something delicious.
Celebrating Your Baking Achievement
Now is the time to enjoy the fruits of your labor! Gather your family or friends and share your homemade New York cheesecake. The satisfaction of serving something you've made yourself, especially a classic like this, is immense. Discuss the process, share your learning points, and savor every creamy bite.
Use this success as motivation to try new recipes and techniques. Perhaps next time, you'll try one of the suggested variations or experiment with a different type of crust. This easy beginner cheesecake recipe is just the beginning of your baking adventure. Keep practicing, keep learning, and most importantly, keep baking!
Frequently Asked Questions
What makes this cheesecake recipe easy for beginners?
This recipe focuses on simple ingredients and a straightforward baking process, minimizing complicated techniques. We provide clear step-by-step instructions to ensure success.
What kind of crust is recommended for this easy beginner cheesecake recipe?
We recommend a graham cracker crust for its ease of preparation and delicious flavor. You can buy it pre-made or easily make it yourself with crushed graham crackers, butter, and sugar.
What is the key to preventing cracks in my cheesecake?
Baking at a low temperature and using a water bath are crucial. These techniques help ensure even baking and prevent rapid temperature changes that cause cracking.
Can I substitute ingredients in this easy beginner cheesecake recipe?
While some substitutions are possible, it's best to stick to the recipe for your first attempt. Too many changes can affect the texture and stability of the cheesecake.
How do I know when my cheesecake is done baking?
The cheesecake should be slightly wobbly in the center but set around the edges. It will continue to set as it cools, so avoid overbaking to prevent a dry texture.
Final Reflection: The Sweetness of Success, One Cheesecake at a Time
Mastering the art of cheesecake, even a simple one, is more than just baking; it's about embracing the journey of culinary creation. The seemingly daunting task of making a cheesecake melts away with each step, revealing a surprisingly accessible process. This guide aimed to demystify the process, proving that even beginners can achieve delicious results.
The impact of successfully baking something as seemingly complex as a cheesecake extends far beyond the simple act of eating it. It's a testament to our capacity to learn and grow, a tangible representation of our efforts. The pride in creating something beautiful and delicious from scratch is a powerful feeling. The best things in life are homemade,
a sentiment rings truer than ever when you savor the creamy, rich texture of your first perfectly baked cheesecake.
Now, it's your turn. Don't let the fear of failure hold you back. Gather your ingredients, follow the steps, and embrace the process. The satisfaction of creating your own masterpiece, the joy of sharing it with loved ones, and the confidence gained in your culinary abilities are rewards far sweeter than any dessert. So, go ahead, bake that cheesecake – and savor the sweetness of success.
Unlock Your Inner Cheesecake Master!
Thanks for joining us on this cheesy adventure! We hope you now feel confident enough to tackle your very first cheesecake. Ready to transform your kitchen into a dessert haven?
- Bake your dream cheesecake today! Grab your ingredients and follow our step-by-step guide again – you’ll be amazed at how easy it is.
- Share your cheesecake creation! Snap a picture and tag us on social media – we love seeing your baking triumphs!
- Explore other delicious BakeWithEase recipes. We have a treasure trove of sweet and savory treats waiting for you.
What unique flavor combination will you create for your next cheesecake masterpiece? Let's hear your ideas in the comments below!