
The Secret Tools Behind Beautifully Decorated Cakes

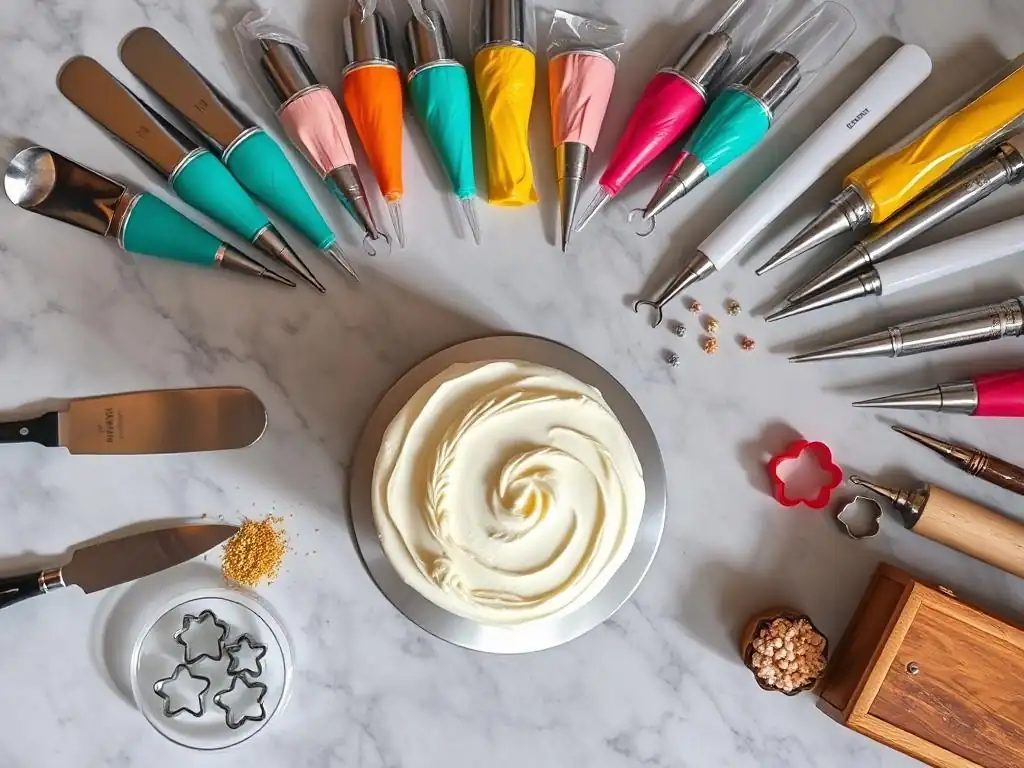
Welcome to BakeWithEase.com, your haven for all things baking! Ever wondered how professional bakers achieve those flawlessly decorated cakes? Unveiling the secrets starts here. Dive into our guide on Cake Decorating Tool Essentials and discover the must-have implements that will transform your creations from simple to stunning. Ready to elevate your cake game? Let the baking adventure begin!
- Mastering Cake Decorating: Essential Tools and Techniques
- Beginner's Guide to Essential Cake Decorating Tools
- Advanced Techniques and Specialized Tools
- Tool Maintenance and Care
- Resources for Purchasing Cake Decorating Supplies
- Beyond the Basics: Refining Your Cake Decorating Skills
-
Frequently Asked Questions
- What are the basic cake decorating tool essentials for beginners?
- How important is a rotating cake stand for cake decorating?
- What kind of piping tips should I invest in first?
- How do I properly clean and store my cake decorating tools?
- Beyond the basics, what are some advanced cake decorating tools to consider?
- Final Reflection: Mastering the Art of Cake Decorating
- Unleash Your Inner Cake Artist!
Mastering Cake Decorating: Essential Tools and Techniques
Cake decorating is a delightful art form that transforms a simple baked good into a stunning centerpiece. While creativity and skill are paramount, having the right cake decorating tool essentials makes all the difference. These tools empower bakers of all levels to execute their vision, from smooth, elegant frosting finishes to intricate floral designs and personalized messages. Understanding the function and variety of these tools is the first step towards elevating your cake creations.
This guide delves into the must-have equipment for both beginners and those looking to explore more advanced techniques. We'll cover everything from the basics of achieving flawless frosting to the specialized gear for airbrushing and sugar artistry, ensuring you have the knowledge to select the best tools for your projects and maintain them properly for longevity.
Beginner's Guide to Essential Cake Decorating Tools
Starting your cake decorating journey requires a few fundamental tools that form the backbone of most projects. These aren't necessarily expensive or complex, but they are crucial for achieving clean lines, smooth surfaces, and basic decorative elements. Mastering these tools lays the foundation for tackling more ambitious designs later on.
Building a solid collection of essential cake decorating tools begins with selecting versatile items that can be used for multiple purposes. Think of spatulas, scrapers, and piping bags – they are the workhorses of the decorating world, essential for applying frosting evenly and creating a variety of simple yet effective designs.
Tools for Flawless Frosting
Achieving that perfectly smooth, professional-looking frosting finish is a common goal for many decorators. This requires specific tools designed to spread, level, and smooth icing effectively. While it takes practice, having the right spatulas and scrapers makes the process significantly easier and yields far better results.
These tools are designed with specific shapes and materials to handle the consistency of buttercream, ganache, or other frostings, ensuring minimal drag and maximum control. Investing in good quality frosting tools is one of the most impactful steps a beginner can take to improve their cake decorating outcomes.
Offset Spatulas: Achieving Smooth and Even Frosting
Offset spatulas are perhaps the most fundamental tool for frosting a cake. Their unique design, with a blade that is offset from the handle, allows you to spread frosting without your knuckles dragging through the icing. They come in various sizes, typically ranging from 4 inches to 12 inches in blade length. A common starter set might include an 8-inch and a 4-inch spatula, providing versatility for different cake sizes and areas.
Using an 8-inch offset spatula on the sides and top of a standard 9-inch round cake allows for broad, sweeping strokes that quickly cover the surface. The smaller 4-inch spatula is ideal for tighter spots, smoothing edges, or lifting delicate decorations. Most spatulas feature flexible stainless steel blades, which provide the right balance of stiffness for spreading and flexibility for smoothing, paired with ergonomic plastic or wooden handles for comfort.
Cake Scrapers: Creating Sharp Edges and Textures
Cake scrapers, often simple flat pieces of plastic or metal, are invaluable for achieving sharp, professional edges on your frosted cakes and for creating textured finishes. They typically come in various heights, commonly ranging from 6 inches to 10 inches, and some feature different edge patterns like serrated or ridged designs. A basic smooth-edge scraper around 8 inches tall is a great starting point for smoothing the sides of most standard layer cakes.
To use a scraper for sharp edges, apply a generous amount of frosting to the sides of the cake, then hold the scraper perpendicular to the cake board and parallel to the cake side. While rotating the turntable, apply gentle pressure to the scraper, removing excess frosting and creating a smooth, straight edge. Serrated scrapers can be used in the same manner to create attractive horizontal stripes or wave patterns in the frosting, adding visual interest.
Turntables: Ensuring Uniform Frosting Application
A cake turntable is a rotating stand that allows you to easily turn the cake while you are frosting or decorating. This is essential for applying frosting smoothly and evenly to the sides, creating sharp edges with a scraper, and piping consistent borders or designs around the cake. Turntables vary in material and mechanism, from simple plastic ones that rotate freely to heavier, more stable metal ones with ball bearings for smoother rotation.
While a basic plastic turntable is sufficient for many beginners, a sturdier, weighted metal turntable provides greater stability, which is crucial for achieving very sharp edges or working on taller, heavier cakes. The ability to rotate the cake seamlessly ensures uniformity in your frosting application and decorative elements, making it a foundational piece of your essential cake decorating tools. A smooth-spinning turntable can drastically reduce the time and effort required to achieve a polished finish.
Piping Essentials for Intricate Designs
Piping is a classic cake decorating technique used for everything from writing messages to creating elaborate borders, flowers, and intricate patterns. It involves using a bag fitted with a tip to squeeze out frosting or other pliable mediums onto the cake surface. Mastering piping opens up a vast world of decorative possibilities.
The effectiveness of your piping depends heavily on selecting the right bag and tip for the job. Having a variety of tips and understanding how to use them, along with the convenience of couplers, are key components of your cake decorating tool essentials for piping.
Piping Bags: Selecting the Right Bag for Your Needs
Piping bags serve as the reservoir for your frosting and come in several types: disposable plastic, reusable plastic, and reusable canvas/nylon. Disposable bags are convenient as they require no cleaning and can be easily trimmed to fit any size tip or coupler. They are typically available in rolls or boxes, often in packs of 50 or 100.
Reusable bags are more environmentally friendly and often more durable. Plastic-coated bags are easy to clean, while canvas or nylon bags are very sturdy but can be harder to wash thoroughly. Bag sizes are measured in length, commonly ranging from 10 inches to 18 inches. An 12-inch or 16-inch bag is a good all-around size for most decorating tasks, holding a decent amount of frosting without being too unwieldy.
Piping Tips: Creating Various Designs (e.g., Star, Round, Leaf)
Piping tips are small, shaped nozzles inserted into the end of the piping bag that determine the form of the extruded frosting. They are made of metal (usually stainless steel) or plastic and come in hundreds of shapes and sizes, each creating a unique effect. Common tip categories include round tips (for dots, lines, writing), star tips (open and closed for stars, shells, rosettes), leaf tips (for leaves), and petal tips (for flowers).
A beginner's set of essential cake decorating tools for piping should include a few key tips: a medium round tip (like Wilton #12) for dots and lines, a large closed star tip (like Wilton 1M) for rosettes and swirls, and a small open star tip (like Wilton #18) for borders and shells. Expanding your collection with tips like a leaf tip (#352) or a petal tip (#104) allows you to create more complex designs as your skills grow.
Couplers: Facilitating Easy Tip Changes
Couplers are two-part plastic connectors that allow you to change piping tips on a bag without emptying the frosting. They consist of a base piece that is inserted inside the bag and trimmed to fit, and a ring that screws onto the outside of the bag to secure the tip. This is incredibly useful when you want to use the same color of frosting with multiple different tips.
A standard coupler works with most small to medium-sized tips. Larger tips, like those used for piping cupcakes, often require a large coupler or are used without one by simply dropping the tip directly into the trimmed bag. Having a few couplers is a practical addition to your cake decorating tool essentials kit, saving time and reducing the number of bags you need to prepare when using multiple tips with the same frosting color.
Fondant Tools for Professional Finishes
Fondant provides a smooth, flawless finish on cakes and can be molded, cut, and shaped into intricate decorations. Working with fondant requires a different set of tools than buttercream, focusing on achieving even thickness, smooth surfaces, and precise shapes. These tools are crucial for anyone looking to master fondant application and decoration.
The right fondant tools make the process of covering a cake and creating detailed embellishments much more manageable. From rolling out the large sheet of fondant to cutting tiny shapes and smoothing the final surface, each tool serves a specific purpose in achieving that polished, professional fondant look.
Rolling Pins: Achieving Consistent Fondant Thickness
Rolling pins specifically designed for fondant are typically smooth, non-stick, and often made of plastic or silicone. Unlike wooden rolling pins used for dough, they lack handles and have a smooth, even barrel to prevent marks on the fondant surface. Some feature guide rings that fit onto the ends, allowing you to roll the fondant to a precise, consistent thickness (e.g., 1/8 inch or 1/16 inch), which is vital for smooth cake coverage and uniform decorations.
A good quality non-stick fondant rolling pin, approximately 15-20 inches long, is essential for rolling out large enough pieces to cover standard-sized cakes. The non-stick material prevents the fondant from sticking without excessive use of powdered sugar or cornstarch, which can dry out the fondant. Using guide rings ensures that the fondant is the same thickness across the entire sheet, preventing thin spots that can tear when applied to the cake.
Fondant Smoothers: Eliminating Blemishes and Creating Smooth Surfaces
Fondant smoothers are flat, often rectangular, tools with a comfortable handle, used to smooth the surface of fondant once it has been applied to the cake. They help eliminate air bubbles, visible seams, and imperfections, creating a perfectly smooth and polished finish. Smoothers are typically made of sturdy plastic and sometimes have rounded edges for navigating curves.
To use a fondant smoother, gently rub it over the surface of the fondant on the cake, applying even pressure. For the top edge, hold one smoother flat against the top surface and another against the side, moving them together to create a sharp angle. Having two smoothers, one for the top and one for the side, makes achieving crisp edges much easier. They are indispensable essential cake decorating tools for anyone working with fondant.
Cutters and Molds: Crafting Detailed Fondant Decorations
Fondant cutters and molds allow you to create precise shapes and detailed decorations quickly and consistently. Cutters come in countless shapes, from simple geometric forms like circles and squares to intricate designs like flowers, leaves, animals, and letters. Plunger cutters are particularly useful as they not only cut the shape but also imprint details and have a mechanism to easily release the cut piece.
Molds, made of silicone or plastic, allow you to press fondant into detailed three-dimensional shapes, such as pearls, chains, borders, or intricate floral elements. Using a silicone mold is as simple as pressing fondant into the cavity, scraping away excess, and then flexing the mold to release the perfect shape. A collection of basic shape cutters (circles, stars, hearts) and perhaps a simple pearl border mold are excellent additions to your cake decorating tool essentials for fondant work.
Advanced Techniques and Specialized Tools
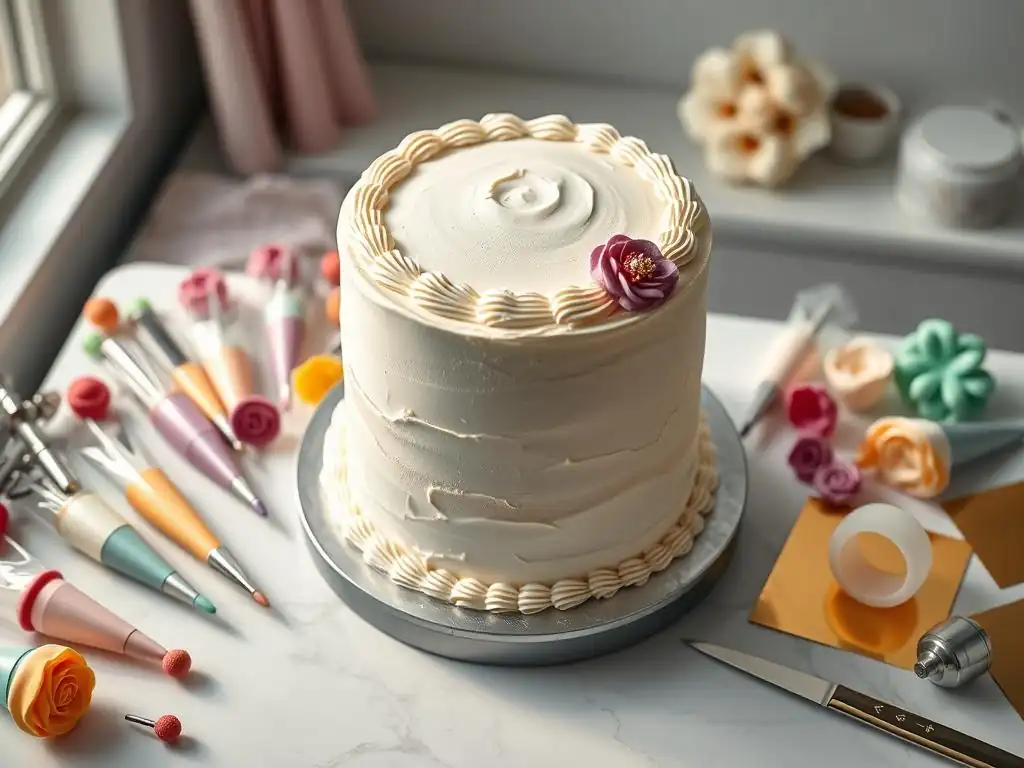
Once you've mastered the basics, you might want to explore more advanced cake decorating techniques that require specialized tools. These methods, such as airbrushing or creating realistic sugar flowers, can add stunning complexity and artistry to your cakes, pushing the boundaries of what you can create.
Venturing into advanced techniques often means investing in tools that are more specific in their function and may require a steeper learning curve. However, the results can be breathtaking, allowing you to achieve textures, colors, and details that are impossible with basic tools alone.
Airbrushing: Adding Depth and Color
Airbrushing allows you to apply a fine mist of edible color to a cake, creating smooth gradients, shading, and vibrant hues that are difficult to achieve with traditional frosting methods. It's a technique often used for realistic effects, backgrounds, and adding dimension.
An airbrush system consists of a compressor, an airbrush gun, and food-safe colors. While the initial investment might be higher than basic tools, the ability to quickly and evenly color large surfaces or create subtle shading makes it a powerful tool for advanced decorators.
Airbrush Systems: Choosing the Right Compressor and Gun
An airbrush system comprises two main components: the compressor, which provides a consistent stream of air, and the airbrush gun, which mixes the air with liquid color and sprays it in a fine mist. Compressors vary in power and noise level; a quiet, oil-less compressor designed for hobby or cake decorating use is generally preferred. Air pressure is adjustable, often ranging from 15 to 30 PSI, with lower pressures used for fine detail work and higher pressures for broader coverage.
Airbrush guns come in single-action (controls only air flow) or dual-action (controls both air flow and color flow) types. Dual-action guns offer greater control over the spray pattern and are favored by decorators who want to achieve subtle shading and detailed effects. A basic gravity-feed airbrush gun, where the color cup is on top, is a common choice for cake decorating as it requires less pressure and is easy to clean.
Food-Safe Airbrush Colors: Selecting Vibrant and Compliant Options
Using food-safe colors is absolutely critical when airbrushing cakes. These are specially formulated liquid dyes designed for consumption, typically water-based or alcohol-based. They come in a wide spectrum of vibrant colors that can be mixed to create custom shades. It's important to use colors specifically labeled as food-safe for airbrushing, as regular food coloring might be too thick and clog the gun, and non-food-grade products are unsafe.
Quality food-safe airbrush colors are highly concentrated, meaning a small amount goes a long way. They are designed to flow smoothly through the airbrush gun without clogging. Purchasing a starter set with primary colors (red, blue, yellow, black, white) allows you to mix a vast array of hues. Always check the ingredients to ensure compliance with food safety standards in your region.
Stencils: Creating Complex Airbrush Designs
Stencils are thin sheets, often made of plastic or mylar, with patterns cut out of them. When placed on the cake and airbrushed over, the color passes through the cutouts, transferring the design onto the cake surface. Stencils are an excellent way to add intricate patterns, logos, or text to a cake quickly and consistently, even if you lack freehand airbrushing skills.
Stencils come in countless designs, from geometric patterns and damask prints to intricate lace and holiday themes. They vary in size, designed for the sides of cakes, the top, or even cupcakes. Holding the stencil firmly against the cake is key to preventing overspray. Using a low air pressure and spraying in light, even layers helps achieve crisp lines and prevents color from bleeding under the stencil edges.
Sugar Flower Artistry: Replicating Nature's Beauty
Creating realistic sugar flowers is a highly skilled aspect of cake decorating, often used for wedding cakes and special occasions. These edible flowers, made from a pliable sugar paste, can be crafted to look incredibly lifelike, adding elegance and artistry to any cake.
This technique requires specific tools for rolling, cutting, shaping, and adding realistic texture to the delicate petals and leaves. Patience and practice are essential, but the right tools provide the means to bring these edible botanical wonders to life.
Gum Paste: The Foundation for Realistic Sugar Flowers
Gum paste, also known as pastillage or sugar paste, is a pliable dough made primarily from powdered sugar, water, and a gumming agent like CMC powder (carboxymethyl cellulose) or gum tragacanth. It differs from fondant in that it dries much harder and faster, allowing it to hold delicate shapes like thin petals without wilting. This quick-drying property is essential for creating lightweight, realistic sugar flowers.
Gum paste can be made from scratch or purchased pre-made. Pre-made gum paste is convenient and often has a very smooth texture and consistent drying time. It can be colored with gel food coloring just like fondant or buttercream. Because it dries quickly, it's important to keep any unused gum paste tightly wrapped to prevent it from hardening prematurely.
Veining Tools: Adding Intricate Detail to Petals and Leaves
Veining tools are used to imprint realistic textures onto sugar petals and leaves, mimicking the natural veins found in real plant life. These tools can be simple ball tools used to soften and thin petal edges, or more specialized tools like veining mats or molds. Veining mats are typically silicone pads with impressed vein patterns; you press the sugar paste leaf or petal onto the mat to transfer the texture.
Specialized veining tools might include pointed tools for etching fine lines or tools with small wheels for creating ruffled edges. Using a ball tool to thin the edges of a petal makes it look more delicate and lifelike. Veining mats, often designed to replicate specific flower or leaf types (e.g., rose petal veiner, lily leaf veiner), provide highly realistic texture with minimal effort, greatly enhancing the finished appearance of sugar flowers.
Flower Cutters and Formers: Shaping Perfect Blooms
Sugar flower cutters are shaped cutters, often made of metal or plastic, used to cut gum paste into petal or leaf shapes. Unlike basic fondant cutters, flower cutters often come in sets of graduated sizes to create different layers of petals for a single flower. Some are simple outlines, while others are plunger cutters that also imprint a basic vein pattern.
Flower formers are curved dishes or molds used to dry petals and leaves in a natural, curved shape. These can be simple concave cups, foam pads with shaped holes, or specialized molds designed for specific flowers like roses or peonies. Drying petals in a formed shape is crucial for giving the finished flower a realistic, three-dimensional structure. Using cutters and formers together allows you to create consistent, beautifully shaped components for building complex sugar flowers.
Specialized Tools for Unique Textures and Effects
Beyond the core techniques, there's a world of specialized tools designed to add unique textures, patterns, and details to your cakes, allowing for endless creative expression. These tools might not be used on every cake, but they are invaluable when you want to achieve a specific visual effect or add a personal touch.
From applying intricate patterns with stencils to adding fine details with edible markers or creating interesting textures in frosting, these tools provide the means to elevate your cake design and add that extra layer of artistry.
Cake Stencils: Applying Patterns and Designs to Cakes
Similar to airbrush stencils, cake stencils are used to transfer patterns onto the surface of a cake, but they can be used with various mediums like royal icing, buttercream, or even cocoa powder/powdered sugar. They are typically made of thin, flexible plastic and feature cut-out designs ranging from simple geometric shapes to elaborate lace, damask, or even pictorial scenes.
To use a cake stencil with royal icing or buttercream, place the stencil firmly against the frosted cake surface and spread a thin, even layer of icing over the stencil using an offset spatula or scraper. Carefully peel back the stencil to reveal the raised pattern on the cake. For dusting effects, place the stencil and lightly dust over it with powdered sugar or cocoa powder using a fine sieve. Stencils are an easy way to add sophisticated patterns to your cake without needing advanced piping skills.
Edible Markers: Adding Fine Lines and Personal Messages
Edible markers contain food-safe ink and are used for drawing fine details, adding outlines, or writing messages directly onto dry surfaces like fondant, gum paste, or royal icing. They are available in a variety of colors and tip sizes, from fine-point tips for delicate lines to brush tips for broader strokes or filling in areas.
These markers are perfect for adding facial features to edible figures, drawing intricate patterns on cookies or fondant pieces, or writing personalized birthday messages directly onto the cake's surface. Ensure the surface you are writing on is dry, as moisture can cause the ink to bleed. Edible markers are a convenient way to add details that are difficult to achieve with piping, making them a valuable addition to your essential cake decorating tools.
Texture Combs: Creating Unique Frosting Textures
Texture combs are specialized scrapers, usually made of plastic or metal, with various patterns of teeth or ridges along their edges. When pulled along the side of a freshly frosted cake, they create consistent, decorative textures in the buttercream or ganache. Patterns can range from simple stripes and waves to more complex zigzags or basketweave effects.
Texture combs come in sets with multiple patterns on different sides of the comb. Using a texture comb is similar to using a smooth scraper: apply ample frosting, hold the comb against the side of the cake, and rotate the turntable while applying gentle, even pressure. This technique is a quick and effective way to add visual interest and a professional finish to the sides of your cake without requiring complex piping.
Tool Maintenance and Care
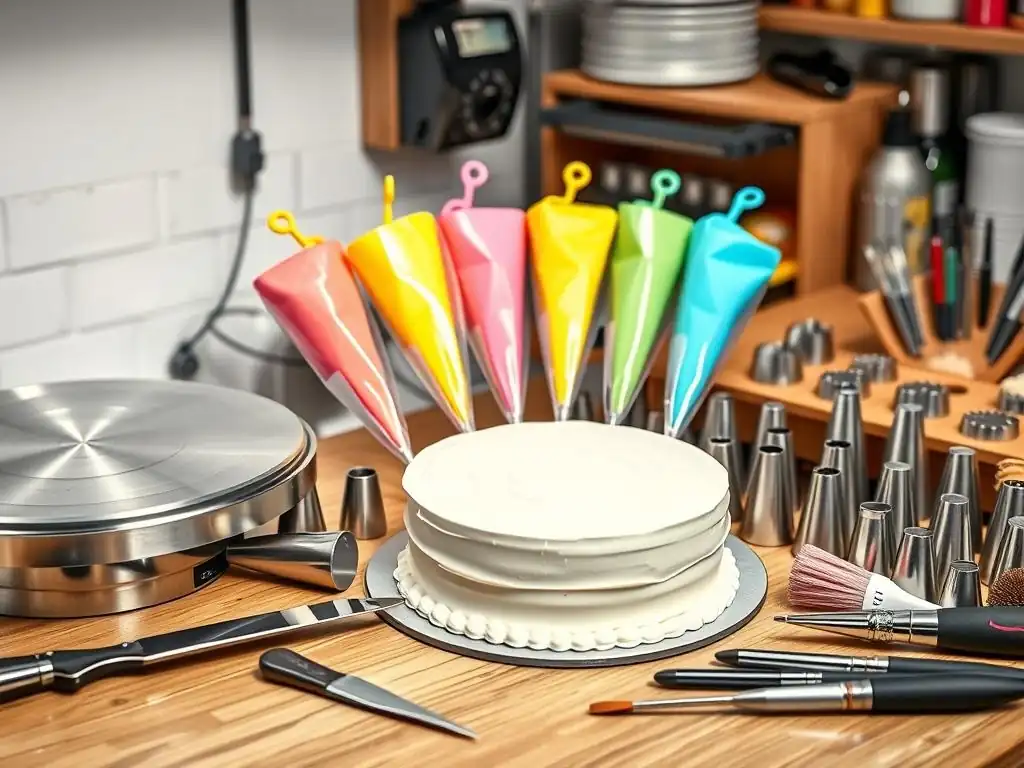
Your cake decorating tool essentials are an investment, and proper care and maintenance are crucial to ensure their longevity and hygiene. Taking the time to clean and store your tools correctly after each use will keep them in good condition, prevent rust or damage, and ensure they are ready for your next baking adventure.
Neglecting tool maintenance can lead to damaged equipment, difficulty in achieving desired results, and potential hygiene issues. Simple cleaning routines can significantly extend the life of your decorating supplies and keep them performing at their best.
Proper Cleaning and Storage Techniques
Cleaning your cake decorating tools immediately after use is the best practice. For most tools like spatulas, scrapers, piping tips, and fondant tools, washing them in warm, soapy water is sufficient. Use a small brush, like a bottle brush or a dedicated tool cleaning brush, to remove any stubborn frosting or fondant residue, especially from inside piping tips or intricate cutters.
Ensure all tools are thoroughly dried before storing them. Metal tools, particularly piping tips made of stainless steel, can rust if left wet. Drying with a clean towel or allowing them to air dry completely on a rack is important. Storing tools in a clean, dry place, such as a dedicated toolbox, drawers, or containers, helps protect them from dust and damage and keeps your essential cake decorating tools organized and easily accessible.
Extending the Life of Your Decorating Tools
To maximize the lifespan of your essential cake decorating tools, handle them with care. Avoid using abrasive scrubbers on non-stick surfaces or delicate plastic parts. Store sharp cutters safely to prevent dulling or damage to the edges. Piping bags, whether reusable or disposable, should be handled without excessive force that could cause tears.
Regular inspection of your tools can also help. Check piping tips for dents that could affect the piping pattern, spatulas for bent blades, or plastic tools for cracks. Replacing damaged tools ensures you can continue to achieve high-quality results. Proper storage also means keeping tools away from extreme temperatures or direct sunlight, which can degrade materials like plastic or silicone over time.
Recommended Cleaning Practices for Different Materials
Different tool materials may require slightly different cleaning approaches. Stainless steel tools like spatulas and piping tips are durable but must be dried thoroughly to prevent rust. Plastic tools, such as scrapers, smoothers, and stencils, are often dishwasher safe, but handwashing is usually sufficient and may be gentler, especially for thinner stencils.
Silicone molds and mats used for fondant or gum paste are typically very easy to clean with warm soapy water and are often dishwasher safe. Ensure all soap residue is completely rinsed off any tool that will come into contact with food. For airbrush guns, follow the manufacturer's instructions precisely, as they require careful cleaning with water or a specialized cleaning solution after every use to prevent clogging and ensure proper function. Disassemble parts as recommended for thorough cleaning.
Resources for Purchasing Cake Decorating Supplies
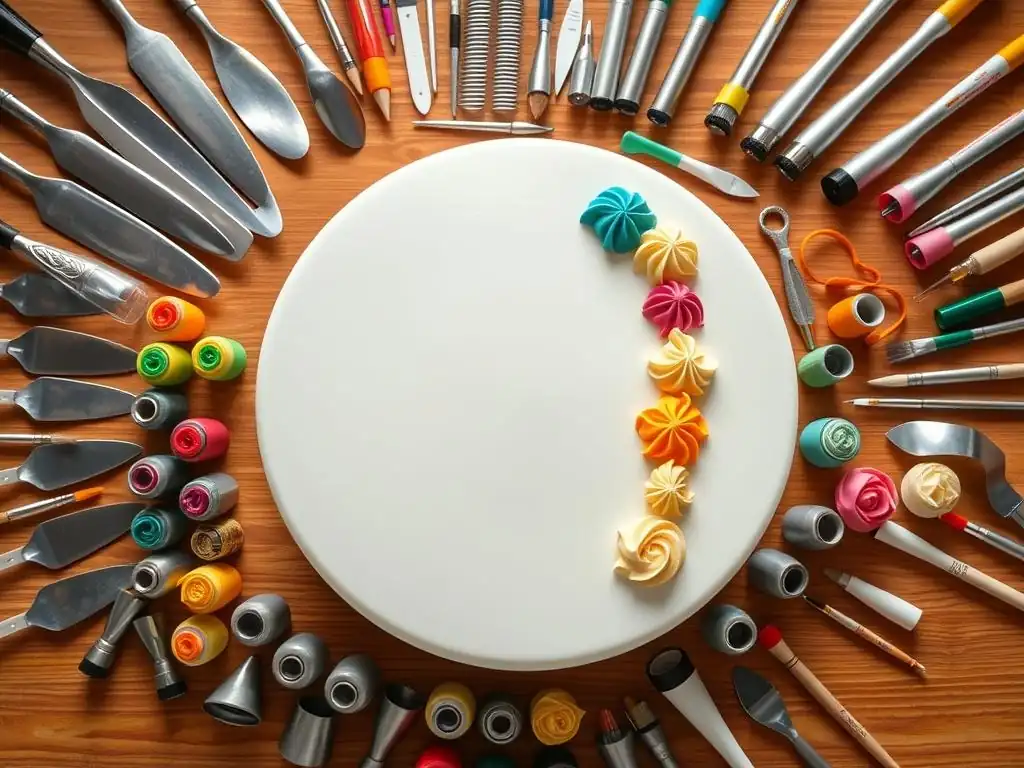
Building your collection of cake decorating tool essentials is an exciting part of the journey. Thankfully, there are many reputable sources where you can purchase quality tools, ranging from large online retailers to specialized baking supply stores.
Knowing where to look for reliable brands and good value can help you acquire the tools you need without compromising on quality. Whether you're starting with a few basic items or looking to expand into more specialized equipment, these resources offer a wide selection.
Reputable Brands and Retailers
Several brands are well-regarded in the cake decorating community for producing durable and effective tools. Brands like Wilton, Ateco, and Fat Daddio's are popular choices for piping tips, spatulas, and bakeware, known for their consistent quality. FMM and PME are often favored for specialized fondant and gum paste tools like cutters and embossers. For airbrush systems, brands like Iwata or Master Airbrush are common, though specific cake decorating brands also exist.
You can find these tools at various retailers. Large craft stores with baking sections, dedicated online baking supply stores, and major online marketplaces are common sources. Shopping from retailers that specialize in baking supplies often provides access to a wider range of specialized tools and knowledgeable customer service. Comparing prices and reading reviews can help you make informed decisions when building your essential cake decorating tools kit.
Beyond the Basics: Refining Your Cake Decorating Skills
Acquiring the cake decorating tool essentials is a significant step, but true mastery comes from learning how to use them effectively and combining techniques. As you become more comfortable with your tools, you can begin to integrate different skills to create increasingly complex and beautiful cakes.
Continuing to practice and explore new methods will help you refine your abilities and develop your unique decorating style. The tools are the enablers, but your creativity and dedication are what truly bring a cake to life.
Integrating Techniques for Stunning Results
The most impressive cakes often utilize a combination of different decorating techniques. For example, you might use an offset spatula and scraper for a smooth buttercream base, then pipe intricate borders using various star and shell tips. You could cover a tier in smooth fondant using your rolling pin and smoothers, then add delicate sugar flowers made with gum paste, cutters, and veining tools.
Advanced designs might involve airbrushing a gradient background on a fondant-covered cake, then adding stenciled patterns with royal icing, and finishing with fine details drawn with edible markers. Learning how different tools and mediums interact and complement each other allows you to create multi-dimensional and visually stunning cakes that stand out. Experimenting with combining techniques is key to expanding your decorating repertoire.
Continuous Practice and Skill Development
Like any art form, cake decorating requires continuous practice to improve. Regularly using your cake decorating tool essentials helps you build muscle memory, understand how different consistencies of frosting or fondant behave, and refine your precision. Start with simple designs and gradually challenge yourself with more complex techniques as you gain confidence.
Watching tutorials, taking classes, and experimenting with new tools and materials are all ways to continue developing your skills. Don't be discouraged by imperfections; every cake is a learning opportunity. The more you practice using your tools, the more intuitive the process becomes, allowing you to focus more on the creative aspects of designing and decorating truly beautiful cakes.
Frequently Asked Questions
What are the basic cake decorating tool essentials for beginners?
For beginners, the essential tools include an offset spatula, a set of piping tips, and a rotating cake stand. These will allow you to smooth frosting, create basic designs, and easily access all sides of the cake.
How important is a rotating cake stand for cake decorating?
A rotating cake stand is extremely helpful for cake decorating. It allows for smooth and even frosting application and makes it easier to create symmetrical designs around the cake.
What kind of piping tips should I invest in first?
Start with a basic set that includes a round tip for outlining, a star tip for creating rosettes and stars, and a leaf tip for leaves. These are versatile and can be used for many designs.
How do I properly clean and store my cake decorating tools?
Wash your tools with warm, soapy water immediately after use. Ensure they are completely dry before storing them in an airtight container to prevent rust or damage.
Beyond the basics, what are some advanced cake decorating tools to consider?
Once you're comfortable with the essentials, consider investing in airbrush systems, fondant smoothers, and specialty piping tips for more intricate and professional-looking designs.
Final Reflection: Mastering the Art of Cake Decorating
The pursuit of the perfectly decorated cake is more than just a hobby; it's a testament to creativity, precision, and the power of the right tools. From the intricate swirls of buttercream roses to the delicate placement of fondant accents, the final product speaks volumes about the dedication and skill invested in its creation. This journey into the essential tools of cake decorating reveals that achieving stunning results is less about innate talent and more about understanding and mastering the fundamentals.
The impact of beautifully decorated cakes extends far beyond the simple act of enjoying a sweet treat. They are expressions of artistry, often marking significant life events and celebrations. They represent a connection to tradition, a celebration of skill, and a testament to the power of visual appeal. A cake is a celebration of life, a symbol of joy and togetherness.
This simple truth underscores the importance of the tools that allow us to create these meaningful works of art, transforming ordinary ingredients into extraordinary experiences.
Now, consider your own creative journey. What tools are you using to craft your own masterpieces, whether they be cakes, paintings, written words, or even personal relationships? This exploration of cake decorating tools should serve as a reminder that the right instruments, coupled with practice and passion, can unlock incredible potential. Embrace the process, experiment with different techniques, and never stop learning. The world awaits your unique creations, and the tools are waiting to help you bring them to life.
Unleash Your Inner Cake Artist!
Thanks for diving into the world of beautifully decorated cakes! We hope you've discovered some new techniques and inspiration to elevate your baking game. Now it's time to put your newfound knowledge into action.
- Try out your favorite new decorating technique today! Grab your frosting bags and give it a shot – even a small practice run will build your confidence.
- Share your cake creations with us! Post a photo on social media using #BakeWithEase and tag us – we'd love to see your masterpiece.
- Consider exploring a new decorating tool – perhaps a unique piping tip or a new type of fondant? Experimenting is key!
Ready to transform your next cake into a showstopper? What's the first decorating challenge you'll tackle?