
Easy Ganache Drip for a ProfessionalLooking Birthday Cake

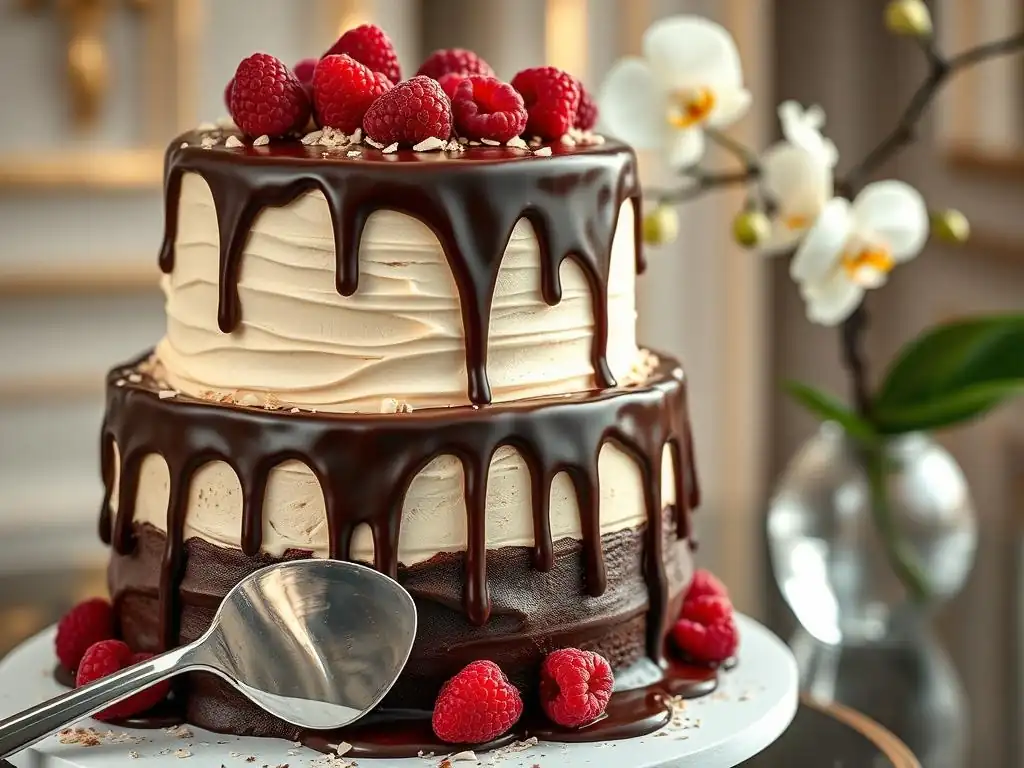
Welcome to BakeWithEase, your haven for effortless baking! Ever wished you could achieve that flawlessly elegant ganache drip on your cakes? We've cracked the code. Dive in to discover our easy ganache drip recipe and transform your next birthday cake into a showstopper. Ready to elevate your baking game? Let's get started!
- Mastering the Ganache Drip for Elegant Cakes
- Baking Artistry: The Ganache Drip Technique
- Elevating Cake Design with a Ganache Drip
- Essential Elements: Ganache Drip Recipe Ingredients & Tools
-
Step-by-Step Guide: Ganache Drip Recipe & Application
- Preparation: Optimizing Your Setup
- Step 1: Gently Melting the Chocolate for Ganache
- Step 2: Blending Chocolate and Cream into a Silky Ganache
- Step 3: Achieving Ideal Ganache Consistency for Drip Cakes
- Step 4: Testing Ganache Drip Flow Before Application
- Step 5: Skillfully Applying the Ganache Drip to Your Cake
- Step 6: Firming the Drip: The Importance of Chilling
- Troubleshooting Common Ganache Drip Issues
- Flavor Infusions: Expanding Beyond Basic Chocolate
- Ganache Drip Design Concepts & Inspiration
- Techniques for a Flawless Ganache Drip
- Preserving Your Ganache Drip Cake
- Savor Your Exquisitely Decorated Cake!
- Frequently Asked Questions
- Final Reflection: The Sweet Simplicity of a Perfect Drip
- Unleash Your Inner Cake Artist: Master the Ganache Drip!
Mastering the Ganache Drip for Elegant Cakes
Baking Artistry: The Ganache Drip Technique
A ganache drip is a simple yet incredibly effective technique that can transform an ordinary cake into a stunning centerpiece. It involves pouring a mixture of melted chocolate and cream over the top edge of a cake, allowing it to cascade down the sides in controlled rivulets. This method adds a touch of professional elegance and visual appeal with relatively minimal effort, making it a favorite among home bakers looking to elevate their creations.
Mastering the ganache drip is less about complex skills and more about understanding the science behind chocolate and cream ratios and temperatures. Once you grasp these fundamentals, applying a beautiful drip becomes an enjoyable part of the cake decorating process. It's a versatile technique that works with various types of chocolate and can be adapted for different cake sizes and styles, offering endless creative possibilities for birthdays, holidays, and special occasions.
Elevating Cake Design with a Ganache Drip
The Allure of a Precise Ganache Drip
A precise ganache drip adds a sophisticated finish that immediately catches the eye. It creates a polished look that suggests skill and attention to detail, even if the process itself follows an easy ganache drip recipe. The way the glossy chocolate flows down the cake sides provides a dynamic visual element that complements other decorations like frosting swirls, fresh fruit, or sprinkles.
Achieving that perfect drip requires careful temperature control and application. A ganache that is too warm will run too quickly and thinly, potentially pooling at the bottom, while one that is too cool will be too thick to drip properly. The goal is a consistency that allows for controlled, even drips of varying lengths, creating a natural yet refined appearance around the entire circumference of the cake.
Ganache Drip: Understated Elegance for Any Cake
The beauty of a ganache drip lies in its versatility and ability to add understated elegance to a wide range of cake designs. Whether you're decorating a simple layered cake frosted with buttercream or a more elaborate creation, a ganache drip provides a finished edge that frames the top and draws the eye downwards. It works beautifully on minimalist cakes, adding just enough decoration without being overpowering.
Consider a classic vanilla cake with vanilla buttercream. Adding a dark chocolate ganache drip introduces a rich color contrast and a sophisticated texture. Similarly, a vibrant red velvet cake can be topped with a white chocolate ganache drip for a striking visual effect. This technique allows you to enhance the cake's appearance without needing intricate piping skills or elaborate fondant work, making it accessible for bakers of all levels.
Enhance Your Cake Decorating Skills with Ganache
Incorporating a ganache drip into your repertoire is a significant step in enhancing your cake decorating skills. It teaches you about managing chocolate temperature, understanding viscosity, and practicing steady application – all fundamental techniques applicable to other areas of baking and pastry. Successfully executing a beautiful drip provides a great sense of accomplishment and confidence.
This technique also encourages experimentation. Once you've mastered a basic easy ganache drip recipe, you can explore variations in chocolate types, add flavorings, or even color white chocolate ganache to match your cake's theme. For instance, a cake for a child's birthday might feature bright blue or pink drips, while an elegant wedding cake might have delicate pearl-white drips. The drip technique is a gateway to more creative and professional-looking cake designs.
Essential Elements: Ganache Drip Recipe Ingredients & Tools
Core Ingredients for a Flawless Ganache Drip
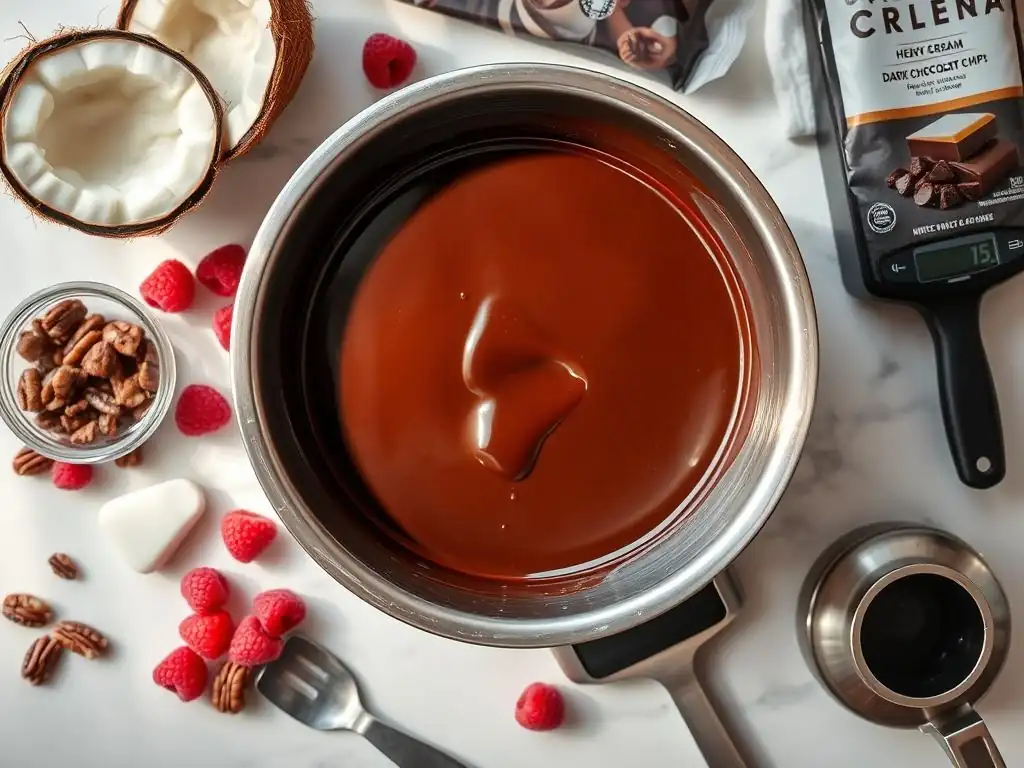
The foundation of any easy ganache drip recipe rests on just two primary ingredients: chocolate and heavy cream. The quality of these ingredients significantly impacts the final result. Using good quality chocolate with a pleasant flavor profile will ensure your drip tastes as good as it looks. Heavy cream, also known as whipping cream, with a minimum fat content of around 30-35%, is crucial for creating the rich, emulsified texture needed for a smooth ganache.
The ratio of chocolate to cream is key to achieving the desired consistency for dripping. For dark chocolate (typically 50-60% cocoa solids), a common starting point is a 1:1 ratio of chocolate to cream by weight. Milk chocolate usually requires more chocolate, perhaps a 1.5:1 or 2:1 ratio, due to its lower cocoa solid content and higher sugar/milk fat.
White chocolate, being mostly cocoa butter, sugar, and milk solids, is the most delicate and often requires a 2:1 or even 3:1 ratio of chocolate to cream to achieve a drippable consistency. Experimentation is sometimes needed based on the specific chocolate brand.
Selecting Your Chocolate: Dark, Milk, or White Ganache Considerations
Choosing the right type of chocolate for your ganache drip depends on the flavor profile of your cake and the desired aesthetic. Dark chocolate ganache provides a deep, intense flavor and a rich, glossy brown color. It pairs wonderfully with chocolate cakes, red velvet, or even contrasting flavors like raspberry or orange. For an easy ganache drip recipe using dark chocolate, opt for baking chocolate or high-quality chocolate chips specifically designed for melting, typically containing 50-60% cocoa solids.
Milk chocolate ganache offers a sweeter, creamier flavor and a lighter brown color. It's a popular choice for funfetti cakes, vanilla cakes, or those with caramel or peanut butter elements. White chocolate ganache provides a sweet, vanilla-like flavor and a pure white or slightly off-white color, making it ideal for pastel or brightly colored cakes, or when you plan to color the ganache itself. When working with white chocolate for your easy ganache drip recipe, be extra cautious during melting as it can seize easily if overheated.
Key Tools for Achieving a Smooth Ganache Drip
Having the right tools simplifies the process of creating a beautiful ganache drip. A small saucepan or a microwave-safe bowl is needed to heat the cream. A heatproof bowl is essential for melting the chocolate, either over a double boiler or in the microwave. A whisk or a rubber spatula is used to stir the ganache until it's smooth and emulsified. For precise application, a squeeze bottle with a fine tip or a piping bag fitted with a small round tip (like an Ateco #3 or #4) is highly recommended.
Other helpful tools include a kitchen scale for accurately weighing your ingredients, which is much more reliable than volume measurements for ganache ratios. An instant-read thermometer can be useful for checking the temperature of your ganache to ensure it's within the ideal range for dripping (typically between 85°F and 95°F or 30°C and 35°C, though this varies slightly based on chocolate type and desired drip style). Having a cake turntable makes applying the drip evenly around the cake much easier.
Step-by-Step Guide: Ganache Drip Recipe & Application
Preparation: Optimizing Your Setup
Before you begin making your easy ganache drip recipe, ensure your cake is properly prepared. The cake should be fully assembled, frosted, and thoroughly chilled. A cold cake (chilled in the refrigerator for at least 30-60 minutes, or even longer) is crucial because the cold surface helps the warm ganache set quickly upon contact, creating those defined drips rather than pooling at the bottom. Place your chilled cake on a cake stand or turntable over a baking sheet or piece of parchment paper to catch any excess drips, making cleanup easier.
Gather all your ingredients (chocolate, cream) and tools (saucepan, bowl, whisk/spatula, squeeze bottle/piping bag, scale if weighing) before you start. Weigh your chocolate and chop it finely if using bars or wafers; smaller pieces melt more evenly. Measure your heavy cream. Having everything ready allows you to move smoothly through the process without interruptions, which is important for achieving the correct ganache consistency and temperature.
Step 1: Gently Melting the Chocolate for Ganache
The first step in your easy ganache drip recipe is to prepare the chocolate. Place your finely chopped chocolate or chocolate chips in a heatproof bowl. While some methods involve melting chocolate directly in warm cream, adding warm cream to chocolate is often preferred as it reduces the risk of scorching the chocolate, especially with delicate white chocolate.
Alternatively, you can melt the chocolate gently using a double boiler (a bowl set over a pan of simmering water, ensuring the bottom of the bowl doesn't touch the water) or in the microwave using short bursts (15-30 seconds), stirring well after each burst until mostly melted, then stirring until completely smooth from residual heat. Avoid overheating, as this can cause the chocolate to seize or become grainy.
Step 2: Blending Chocolate and Cream into a Silky Ganache
Next, heat your heavy cream in a small saucepan over medium heat until it just begins to simmer around the edges. Do not bring it to a rolling boil. Once the cream is hot, pour it directly over the prepared chocolate in the heatproof bowl. Let the mixture stand undisturbed for 5-10 minutes. This allows the hot cream to begin melting the chocolate effectively.
After the resting period, gently whisk or stir the mixture starting from the center and working outwards. Continue stirring slowly and steadily until all the chocolate is melted and the mixture is completely smooth, glossy, and emulsified. It should have a uniform color and texture with no streaks of cream or lumps of chocolate. This process transforms the two separate ingredients into a luxurious ganache, the heart of your easy ganache drip recipe.
Step 3: Achieving Ideal Ganache Consistency for Drip Cakes
Once the ganache is fully mixed, the most critical part for a perfect drip is achieving the right consistency and temperature. The ganache will be quite warm and very liquid immediately after mixing. You need to let it cool and thicken slightly. Stir it occasionally as it cools to help it cool evenly and prevent a skin from forming.
The ideal temperature for dripping is typically between 85°F and 95°F (30°C to 35°C). At this temperature range, the ganache should be thick enough to create controlled drips but still fluid enough to flow smoothly. Cooling too much will result in a ganache that's too thick to drip; warming too much will make it too runny. This cooling process can take anywhere from 15 to 45 minutes depending on the room temperature and the amount of ganache.
Step 4: Testing Ganache Drip Flow Before Application
Before committing to dripping the ganache onto your beautifully frosted cake, it's highly recommended to test its flow. Dip a spoon into the ganache and let a little drip off the side. Observe how quickly it falls and how it behaves. Does it fall in a steady stream? Is it too thick and gloopy, or too thin and watery?
Alternatively, you can test the drip on the side of an overturned glass or mug, or even on a piece of parchment paper placed vertically. This test allows you to see exactly how the ganache will behave on a vertical surface and helps you gauge if the consistency and temperature are just right for your desired drip effect. Adjust the temperature slightly (warm gently if too thick, stir and cool if too thin) until you achieve the desired flow.
Step 5: Skillfully Applying the Ganache Drip to Your Cake
Transfer the cooled ganache to your squeeze bottle or piping bag. If using a squeeze bottle, it should be easy to fill and control. If using a piping bag, snip a very small amount off the tip – start small, you can always make it bigger if needed. Hold the bottle or bag gently over the edge of your chilled cake.
Apply gentle, consistent pressure, letting the ganache flow over the edge. For short drips, apply a small amount and stop. For longer drips, apply slightly more pressure and let the ganache run further down the side before stopping. Work your way around the cake, creating drips of varying lengths for a natural look, or uniform lengths for a more structured design. Once the drips are complete around the edge, you can fill in the top of the cake with the remaining ganache, spreading it smoothly with an offset spatula.
Step 6: Firming the Drip: The Importance of Chilling
After applying the ganache drip and potentially covering the top of the cake, it's crucial to chill the cake again. Place the cake back in the refrigerator for at least 20-30 minutes. This chilling period allows the ganache to set and firm up completely.
A properly chilled ganache drip will be firm to the touch and hold its shape beautifully. Trying to move or further decorate the cake before the ganache is set can result in smudges or distorted drips. Once the ganache is firm, you can confidently add any final decorations on top of the ganache layer or around the base of the cake, knowing your elegant drip is secure.
Troubleshooting Common Ganache Drip Issues
Ganache Too Thick: Adjusting for Optimal Flow
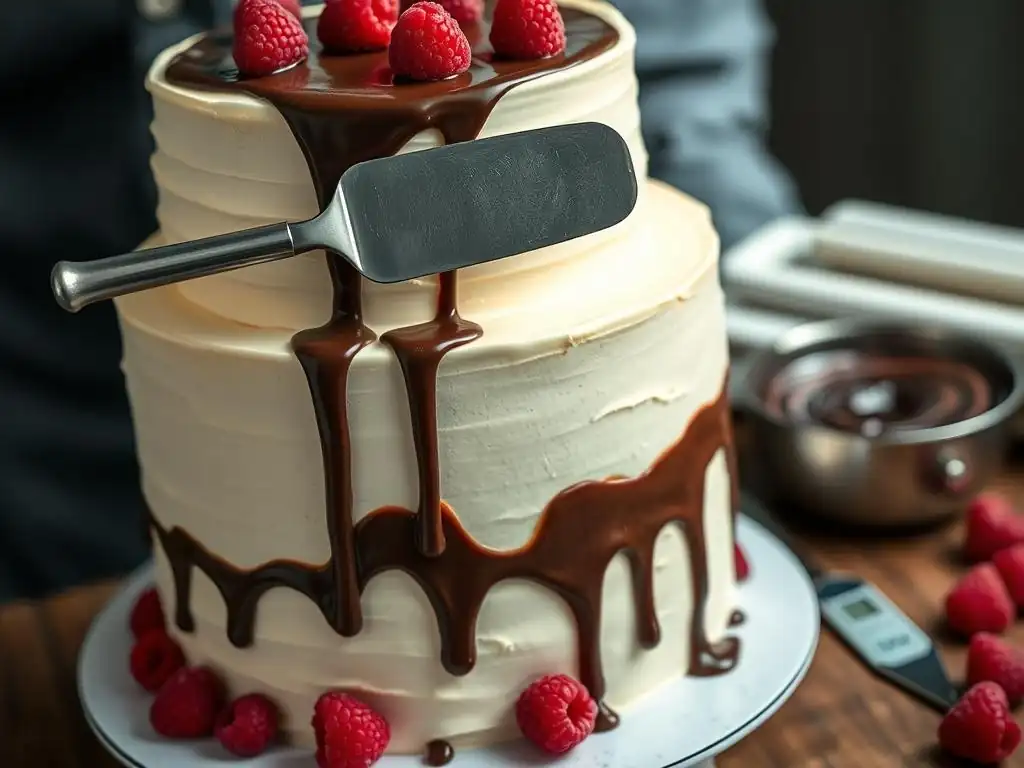
If your ganache has cooled too much and is too thick to drip smoothly, don't despair! This is a common issue when making an easy ganache drip recipe. The solution is usually simple: gently rewarm it. You can do this by placing the bowl of ganache over a double boiler (a pan with a little simmering water) for a minute or two, stirring constantly, or by microwaving it in very short bursts (5-10 seconds at a time), stirring thoroughly after each burst.
The key is to warm it just enough to regain the desired fluidity without making it too hot and runny. Test the consistency frequently as you warm it. You want it to return to that state where it flows steadily but not too quickly when dripped from a spoon or tested on the side of a glass. Avoid overheating, which can cause separation or a dull finish.
Ganache Too Thin: Achieving Desired Viscosity
Conversely, if your ganache is too thin and running down the cake sides too fast, pooling at the bottom, it likely means it's too warm or your chocolate-to-cream ratio was off. If it's too warm, the solution is to let it cool down further. Stir it occasionally to help release heat and check the consistency frequently. This might take another 10-20 minutes of cooling time at room temperature.
If the ratio was incorrect (not enough chocolate for the amount of cream, especially common with milk or white chocolate), you'll need to thicken it. The best way is to gently melt a small amount of additional chocolate of the same type and whisk it into the ganache. Start with a small addition, like 25-50 grams of chocolate per cup of original ganache, stir until fully incorporated, and then let it cool again to test the consistency.
Irregular Drips: Achieving a Uniform Appearance
Irregular drips can result from inconsistent application pressure, uneven cake temperature, or ganache that is slightly too cool and setting too fast as you go around the cake. To achieve a more uniform appearance, ensure your cake is evenly chilled all around. When applying the drip, try to maintain consistent, gentle pressure on your squeeze bottle or piping bag for each drip.
If your ganache is cooling too much as you work, making later drips thicker or shorter, you might need to briefly rewarm it slightly (as described above for ganache that's too thick). Working quickly and smoothly around the cake also helps. Practicing on the side of a glass or parchment paper before applying to the actual cake can help you develop a feel for the right pressure and speed to get your desired drip length and uniformity.
Ganache Not Adhering: Ensuring Secure Attachment
If your ganache drip seems to be sliding off or not adhering well to your frosting, there are a few potential culprits. The most common reason is that the cake surface is not cold enough. A well-chilled cake is essential for the ganache to set on contact. Ensure your cake has been in the refrigerator for at least 30-60 minutes before applying the drip.
Another reason could be the type of frosting used. Very soft or oily frostings might not provide a stable surface. Buttercream that has crusted slightly provides a good base. Ensure the frosting surface is smooth and free of condensation before applying the ganache. If condensation forms on a very cold cake when you take it out, let it sit at room temperature for just a minute or two until the condensation dissipates, then proceed quickly.
Flavor Infusions: Expanding Beyond Basic Chocolate
Incorporating Extracts and Flavors into Your Ganache Drip
While a basic chocolate ganache drip is delicious, you can easily enhance its flavor profile by incorporating extracts or flavorings. This allows you to complement the cake's flavor or introduce a new dimension. Add extracts like vanilla, almond, peppermint, or orange zest after the ganache has been fully emulsified and is cooling. Start with a small amount, perhaps 1/4 to 1/2 teaspoon per cup of ganache, and taste as you go, as extracts can be potent.
Consider pairing flavors: a dark chocolate ganache drip with a hint of espresso extract for a mocha cake, or a white chocolate ganache drip with a touch of lemon extract for a lemon cake. Liqueurs like Grand Marnier, Kahlúa, or rum can also be added for an adult twist, typically substituted for a small portion of the cream or added at the end. Additions like these, when done carefully, elevate your easy ganache drip recipe beyond the standard.
Crafting Vibrant Ganache Drips for Themed Cakes
White chocolate ganache is an excellent base for creating vibrant, colored drips perfect for themed birthday cakes or festive occasions. Once you've made your white chocolate ganache following an easy ganache drip recipe, let it cool slightly. Use gel or powder food coloring, as liquid coloring can interfere with the consistency. Add a very small amount of coloring to the ganache and stir until the desired shade is achieved. Gel colors are highly concentrated, so start with just a tiny drop on a toothpick.
You can create drips in any color imaginable to match party themes, school colors, or favorite characters. Think bright blue for a superhero cake, vibrant pink for a princess cake, or rainbow colors for a festive celebration. Ensure the coloring is thoroughly mixed in, with no streaks, before transferring the ganache to your squeeze bottle for application.
White Chocolate Ganache Drip: A Delicate Option
A white chocolate ganache drip offers a delicate flavor and a beautiful, light color that serves as a versatile canvas for decoration. As mentioned, white chocolate requires a higher ratio of chocolate to cream (often 2:1 or 3:1 by weight) compared to dark or milk chocolate due to its composition. This makes achieving the right consistency slightly trickier, but the result is worth it.
When making a white chocolate easy ganache drip recipe, be extra careful not to overheat the chocolate during melting, as it scorches easily. Use lower heat or shorter microwave bursts. The cooling time might also vary slightly. White chocolate ganache is perfect for cakes where you want a subtle flavor or a base to add bright colors or shimmery dusts.
Ganache Drip Design Concepts & Inspiration
Timeless Chocolate Ganache Drip Cake Styles
The classic chocolate ganache drip cake remains a timeless design. It typically features a smooth layer of buttercream or ganache frosting on the cake, followed by a rich, dark chocolate ganache drip around the top edge, with the remaining ganache poured over the top surface. This creates a clean, sophisticated look.
Variations on the classic include adding chocolate curls, shavings, or sprinkles on top of the wet ganache before it sets. Fresh berries, like strawberries or raspberries, pair beautifully with the dark chocolate and add a pop of color and freshness. This style is popular for adult birthdays, anniversaries, or any occasion calling for elegant simplicity.
Contemporary Ganache Drip Cake Decoration Ideas
Contemporary ganache drip cake designs often incorporate more elaborate elements. Think metallic drips (using edible gold or silver dust mixed into the ganache or painted on afterwards), colored drips (as discussed with white chocolate), or even multi-colored drips applied side-by-side. These designs often feature vibrant buttercream swirls, macarons, meringues, candies, or fresh flowers on top of the ganache layer.
Another popular contemporary style is the "fault line" cake, where the ganache drip appears within a 'crack' in the frosting, often filled with sprinkles or edible glitter. Tall, slender cakes are also common for drip designs, allowing for longer, more dramatic drips. These creative approaches show how an easy ganache drip recipe can be the starting point for truly artistic cake creations.
Harmonious Ganache Drip Color Palettes for Visual Impact
Choosing a harmonious color palette for your ganache drip and other cake decorations is key to visual impact. A dark chocolate drip provides a strong contrast, pairing well with white, cream, gold, red, or vibrant fruit colors. A milk chocolate drip is softer and works nicely with pastel colors, caramel tones, or peanut butter elements.
White chocolate ganache offers the most flexibility for coloring. You can match the drip color to an accent color in your party theme, create an ombre effect with varying shades of the same color drip, or use contrasting colors for a bold statement. For example, a cake frosted in light blue might feature navy blue drips, or a pink cake could have contrasting teal drips. Consider the overall aesthetic you want to achieve – subtle elegance or playful vibrancy – when selecting your ganache drip color.
Techniques for a Flawless Ganache Drip
Achieving a Professional Aesthetic
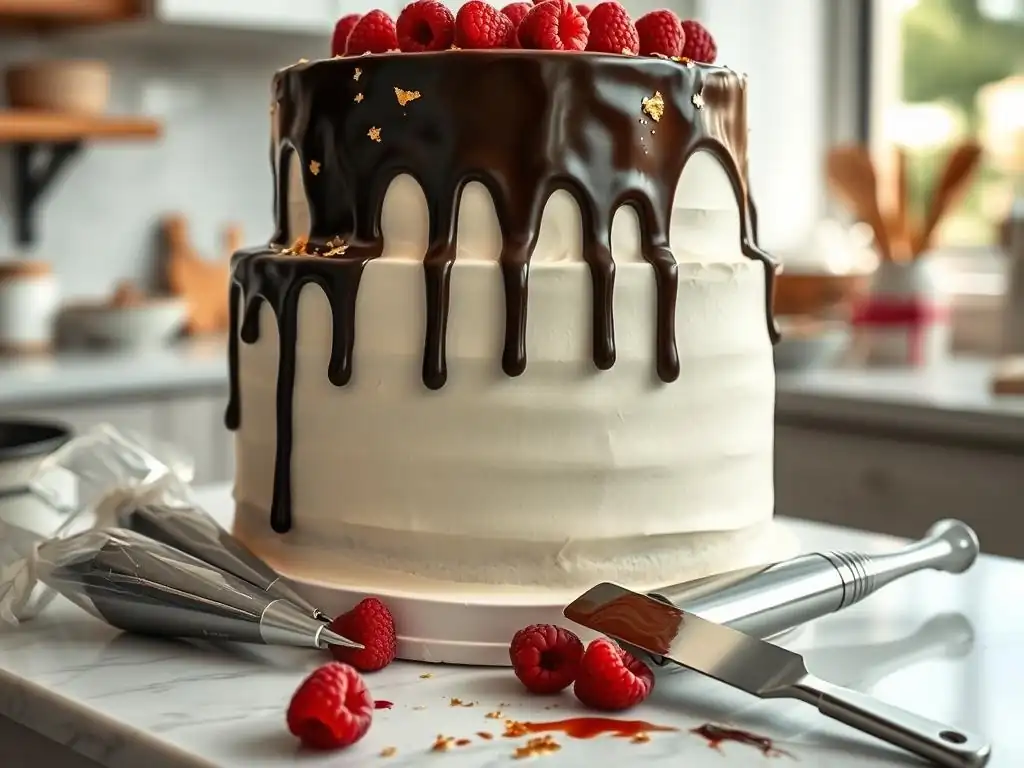
Achieving a professional aesthetic with your ganache drip goes beyond just getting the consistency right. It involves attention to detail in the application. Ensure your cake surface is smooth and level before starting. When applying the drip from a squeeze bottle or piping bag, hold it steady and close to the cake edge. Apply consistent pressure for each drip, allowing the ganache to flow naturally.
For the top surface, pour the remaining ganache in the center and use an offset spatula to gently spread it outwards to meet the drips. Work quickly but smoothly to avoid creating lines or imperfections. Cleaning up any stray drips at the base of the cake with a clean spatula or paper towel before the ganache sets completely also contributes to a tidy, professional finish.
The Significance of a Chilled Cake for Controlled Dripping
We've mentioned it before, but the importance of a well-chilled cake for a controlled ganache drip cannot be overstated. A cold cake surface causes the warm ganache to cool and thicken rapidly as it flows down, stopping it from running all the way to the bottom and creating those desirable, varied drip lengths. If the cake is too warm, the ganache will simply slide down quickly with little control.
Aim for your cake to be in the refrigerator for at least 30-60 minutes, preferably longer, especially if it's a larger cake. The frosting should feel firm to the touch. This cold foundation is the secret weapon behind those picture-perfect drips you see online and is a non-negotiable step in any easy ganache drip recipe aiming for professional results.
Perfecting Ganache Drip Consistency
Perfecting ganache drip consistency is an art that comes with practice, but understanding the principles helps immensely. The ideal consistency is like thick syrup or honey warmed slightly – pourable but not watery. It should coat the back of a spoon and drip off in a steady stream.
Factors influencing consistency include the chocolate-to-cream ratio, the type of chocolate used (dark, milk, white have different properties), and the temperature. If your ganache is too thick after cooling, gently warm it. If too thin, let it cool more or whisk in a bit more melted chocolate. Using a kitchen thermometer to aim for that 85°-95°F range is a great way to get consistent results once you find the temperature that works best for your specific ganache recipe and environment.
Preserving Your Ganache Drip Cake
Optimal Storage for Maintaining Drip Integrity
Once your ganache drip cake is complete and the drip has fully set in the refrigerator, optimal storage is key to maintaining its appearance and freshness. The best way to store a ganache drip cake is in an airtight cake carrier or container in the refrigerator. This protects the cake from drying out and prevents it from absorbing odors from other foods.
Ensure the container is tall enough that the lid doesn't touch the top decorations or the ganache drip. The cold environment of the refrigerator helps keep the ganache firm and glossy. Avoid covering the cake directly with plastic wrap before the ganache is fully set, as this can smudge the drips. Once set, a loose covering is acceptable if a carrier isn't available, but an airtight container is preferred.
Shelf Life and Recommendations for Peak Freshness
The shelf life of your ganache drip cake depends largely on the components of the cake itself (cake layers, frosting, fillings). Generally, a cake stored properly in the refrigerator will remain fresh for 3-4 days. The ganache drip itself, being made of chocolate and cream, holds up well under refrigeration.
For best taste and texture, it's often recommended to take the cake out of the refrigerator about 30-60 minutes before serving, allowing it to come closer to room temperature. This softens the cake layers and frosting slightly and allows the flavors of the ganache to be more pronounced. However, be mindful of warm environments, as this can cause the ganache drip to soften or become sticky.
Savor Your Exquisitely Decorated Cake!
Frequently Asked Questions
What is ganache, and why is it used as a drip?
Ganache is a simple mixture of chocolate and cream. It's used as a drip because it provides a smooth, glossy, and decorative finish to cakes.
What type of chocolate is best for an easy ganache drip recipe?
Semi-sweet or dark chocolate is generally recommended for a rich flavor. However, milk chocolate can be used for a sweeter drip, but adjust the cream ratio accordingly. High-quality chocolate will always yield better results.
How do I achieve the perfect drip consistency for my ganache?
The ratio of chocolate to cream is crucial. Typically, a 1:1 ratio works well, but you may need to add a little more cream for a thinner drip. Experimentation is key to finding your preferred consistency.
How do I prevent my ganache drip from being too thick or too runny?
If the ganache is too thick, gently warm it in the microwave in short intervals, stirring in between. If it's too runny, let it cool slightly at room temperature. Patience is important to avoid overheating or over-cooling.
Can I flavor or color my easy ganache drip?
Yes! You can add extracts like vanilla or peppermint for flavor. Gel food coloring is best for achieving vibrant colors without affecting the consistency. Add flavorings or colors after the chocolate and cream are fully combined.
Final Reflection: The Sweet Simplicity of a Perfect Drip
The pursuit of a flawlessly drizzled cake is more than just a culinary endeavor; it's a testament to the power of accessible elegance. This article explored the surprisingly simple technique of creating a stunning ganache drip, proving that professional-looking results are within everyone's reach. We demystified the process, breaking down each step into manageable, easily repeatable actions, ensuring even novice bakers can achieve a show-stopping finish.
The impact of visually appealing desserts on our celebrations is undeniable. A beautifully decorated cake elevates any occasion, transforming a simple gathering into a memorable event. A cake is a celebration of life, a symbol of joy and togetherness.
This sentiment resonates deeply, as the simple act of creating a beautiful cake, however small, can bring immense satisfaction and share joy with loved ones. The ease of this ganache drip recipe allows more people to experience this joy, making it a truly democratizing element in the world of baking.
Now, I invite you to consider the possibilities. Don't let the fear of intricate decorating techniques hold you back from creating something truly special. Try this easy ganache drip recipe – experiment with different chocolate types, add sprinkles, or personalize it to reflect your unique style. The beauty lies not just in the perfect drip, but in the joy of the process and the shared delight of the final product. Embrace the simplicity, and let your creativity flow!
Unleash Your Inner Cake Artist: Master the Ganache Drip!
Thanks for joining us on this delicious journey into ganache perfection! We hope you now feel confident in creating stunning, professional-looking cakes. Ready to take your baking skills to the next level?
- Try the ganache recipe today! Experiment with different chocolates and flavors to find your signature drip.
- Share your masterpiece: Post a picture of your ganache-dripped cake on social media and tag us – we’d love to see your creation!
- Challenge a friend: Nominate a fellow baking enthusiast to try this recipe and share their results. Let's build a community of cake artists!
What incredible flavor combination will you create with your next ganache drip?