
The Beginner's Secret: Simple Steps to Chewy Cookie Bars

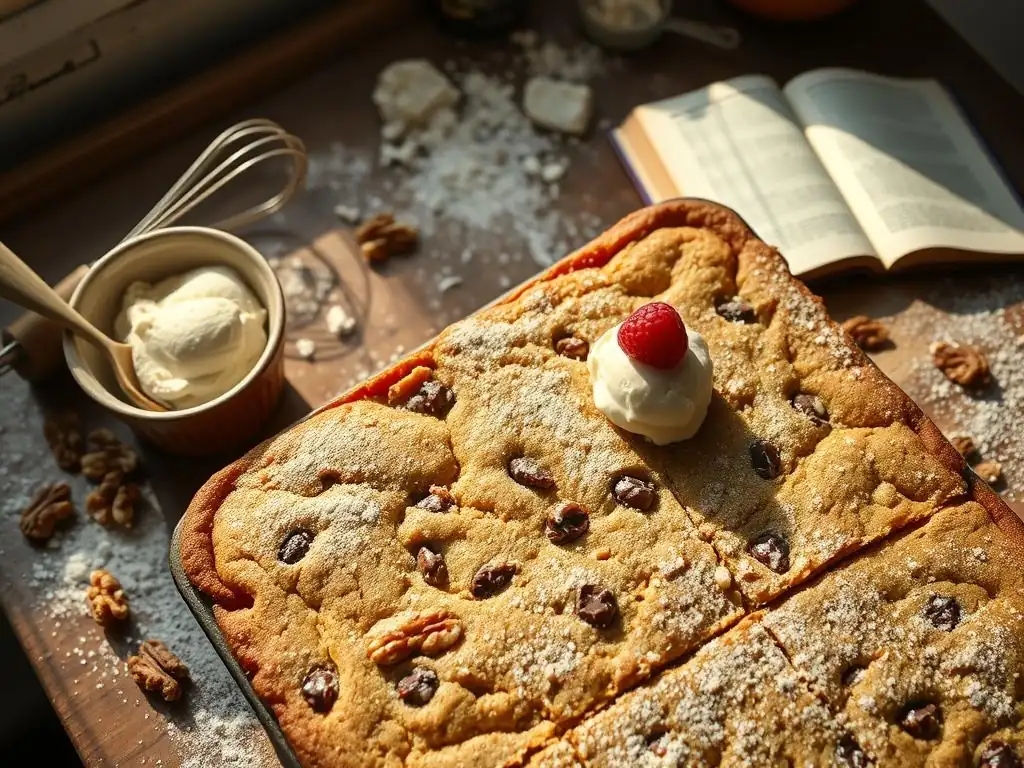
Welcome to BakeWithEase, where unlocking the joy of baking is, well, a piece of cake!
Ever dreamt of baking perfect, chewy cookie bars without the fuss? You're in the right place. Forget complicated instructions and endless ingredients. We're about to reveal the beginner's secret to creating melt-in-your-mouth goodness. Intrigued? Discover our Easy Chewy Cookie Bar Recipe and prepare to be amazed at how simple baking can truly be...
- Peanut Butter Chocolate Chip Cookie Bars: A Simple Delight
- Discover the Joy of Easy Peanut Butter Chocolate Chip Cookie Bars
- Why You'll Love This Peanut Butter Chocolate Chip Cookie Bar Recipe
- The Key to Delicious Cookie Bars: Ingredients & Equipment
- Step-by-Step Guide: Baking Your Own Peanut Butter Chocolate Chip Cookie Bars
- Tips and Tricks for the Best Cookie Bars
- Variations on the Peanut Butter Chocolate Chip Cookie Bar Recipe
- Troubleshooting Common Cookie Bar Baking Problems
- Enjoy Your Homemade Peanut Butter Chocolate Chip Cookie Bars!
- Frequently Asked Questions
- Final Reflection: The Enduring Allure of the Perfectly Chewy Bar
- Unlock Your Inner Baker: Master Chewy Cookie Bars Today!
Welcome to the wonderful world of baking! If you're just starting out, or even if you're a seasoned pro looking for a quick win, this easy chewy cookie bar recipe is exactly what you need. Forget fussy individual cookies; these bars deliver all the deliciousness with half the effort. We're diving into the simple steps to create incredibly moist and chewy peanut butter chocolate chip cookie bars right in your own kitchen.
This easy cookie bar recipe is designed with simplicity and flavor in mind. It combines the classic, beloved pairing of peanut butter and chocolate into a convenient bar format that's perfect for sharing (or not!). Whether you need a quick treat for a gathering, a comforting snack, or a fun baking project, these chewy cookie bars are sure to become a favorite in your repertoire. Let's get started on making your first batch of perfect peanut butter chocolate chip cookie bars.
Perfect for Beginners: Simple and Straightforward
This easy chewy cookie bar recipe stands out because of its simplicity. Unlike some baking projects that require intricate steps or techniques, this recipe is designed to be incredibly forgiving and easy to follow, even if you've never baked anything from scratch before. The process involves just a few mixing steps and a single baking pan, significantly cutting down on complexity and cleanup. You won't need special equipment or advanced skills to achieve fantastic results.
The straightforward nature of this recipe makes it an ideal starting point for anyone new to baking. It helps build confidence by delivering delicious, tangible results quickly. You'll learn fundamental baking techniques like creaming butter and sugar and incorporating dry ingredients without the pressure of shaping individual cookies. It's a low-stress way to practice your measuring and mixing skills, leading you towards mastering more complex recipes down the line.
Classic Flavors: Peanut Butter and Chocolate
The combination of peanut butter and chocolate is a timeless classic, and this easy cookie bar recipe showcases it beautifully. The rich, nutty flavor of peanut butter pairs perfectly with the sweet, melting goodness of chocolate chips, creating a taste sensation that's universally loved. These flavors are comforting and familiar, making the chewy cookie bars an instant crowd-pleaser.
Using these classic ingredients ensures that your homemade peanut butter chocolate chip cookie bars will be a hit. Whether you prefer milk chocolate, dark chocolate, or a mix, the chocolate chips melt slightly during baking, creating pockets of gooey deliciousness within the chewy bar. The balance of sweet and slightly salty from the peanut butter makes these bars utterly irresistible.
Quick Baking: Ready in Under 45 Minutes
One of the biggest advantages of this easy chewy cookie bar recipe is its speed. From start to finish, you can have warm, ready-to-eat chewy cookie bars in under 45 minutes. This includes prep time, mixing, and baking. This makes them an excellent choice for a last-minute dessert or snack when time is limited but you still want a homemade treat.
The baking time itself is typically between 20-25 minutes for a standard 9x13 inch pan, depending on your oven. This quick bake time minimizes the wait and allows you to enjoy your peanut butter chocolate chip cookie bars sooner. Compared to baking multiple batches of individual cookies, which can take an hour or more just for baking, the single-pan approach is a significant time saver.
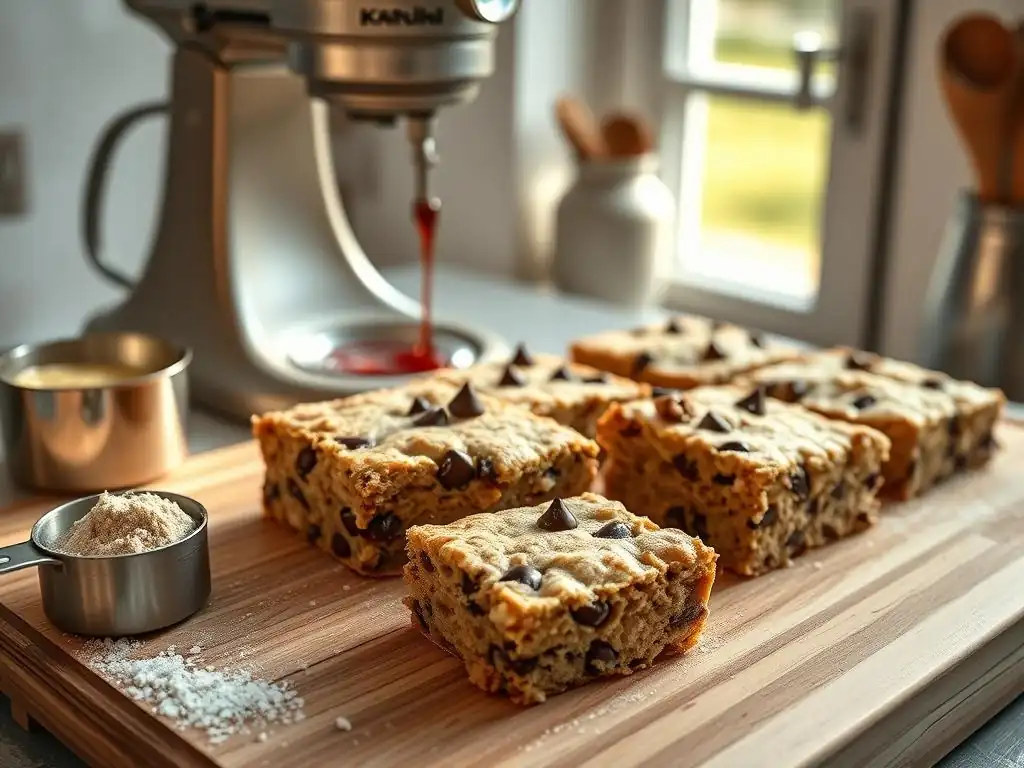
All-Purpose Flour: Provides Structure
All-purpose flour is the foundational dry ingredient in this easy cookie bar recipe. It provides the necessary structure to hold the bars together. Using about 1 ¾ cups (approximately 210-220 grams) of all-purpose flour ensures the bars have the right body without being too dense or cakey.
Brown Sugar: Adds Moisture and Chewiness
Brown sugar is crucial for achieving that signature chewy texture in your chewy cookie bars. The molasses content in brown sugar attracts and retains moisture better than granulated sugar alone. A mix, often around 1 cup (about 200 grams) of packed light brown sugar, contributes to both the chewiness and a richer flavor.
Butter: Contributes Richness and Flavor
Butter adds essential richness, tenderness, and flavor to the peanut butter chocolate chip cookie bars. Using about ½ cup (1 stick or 113 grams) of unsalted butter allows you to control the saltiness, especially when paired with peanut butter. Ensure your butter is at room temperature for proper creaming.
Peanut Butter: The Star Ingredient
Of course, peanut butter is key! About 1 cup (around 250-260 grams) of creamy or crunchy peanut butter provides the dominant flavor and contributes to the moistness and density of the bars. Using a standard commercial peanut butter works best for consistency in this easy cookie bar recipe.
Chocolate Chips: Adds Sweetness and Texture
Chocolate chips are folded into the dough, adding bursts of melted chocolate sweetness and varying texture. Around 1 ½ cups (about 250-300 grams) of your favorite type of chocolate chips (milk, semi-sweet, or dark) is usually sufficient to ensure plenty of chocolatey goodness in every bite of your chewy cookie bars.
9x13 Inch Baking Pan: The Ideal Size
A standard 9x13 inch (23x33 cm) metal baking pan is the perfect size for this easy chewy cookie bar recipe. This size ensures the bars bake evenly and results in a good thickness. Using a pan of this dimension typically yields 24-36 bars, depending on how you cut them.
Mixing Bowls: For Combining Ingredients
You'll need at least two mixing bowls: one for wet ingredients and one for dry, or one large bowl for combining everything. A medium-sized bowl (around 2-3 quarts) for dry ingredients and a larger bowl (around 4-5 quarts) for mixing the dough are generally sufficient.
Measuring Cups and Spoons: Accurate Proportions
Accurate measurements are vital in baking. A standard set of dry measuring cups (¼, ⅓, ½, 1 cup) and liquid measuring cups (1 cup, 2 cup) along with a set of measuring spoons (¼, ½, 1 tsp, ½, 1 tbsp) are essential tools to ensure you follow the easy cookie bar recipe proportions correctly for the best results.
Step 1: Preparing Your Baking Pan
Greasing: Prevents Sticking
Before you even start mixing ingredients, prepare your baking pan. Lightly grease the bottom and sides of your 9x13 inch pan. You can use butter, shortening, or non-stick cooking spray. This step is crucial to prevent the chewy cookie bars from sticking, making removal much easier after baking.
Lining with Parchment Paper: Ensures Easy Removal
For extra insurance against sticking and incredibly easy removal, line the greased pan with parchment paper. Cut a piece of parchment paper that fits the bottom and extends up the two longer sides of the pan. Leave some overhang on the sides; this acts as "handles" to lift the baked bars out of the pan later. This simple step makes cutting the peanut butter chocolate chip cookie bars a breeze.
Step 2: Mixing the Dough
Creaming Butter and Peanut Butter: Creating a Smooth Base
In your large mixing bowl, cream together the softened room-temperature butter and the peanut butter until the mixture is smooth and well combined. You can use an electric mixer or do this by hand with a sturdy whisk or spatula. This step incorporates air and creates a light, fluffy base for your easy chewy cookie bar recipe dough.
Adding Sugar and Eggs: Incorporating Sweetness and Binding
Next, add the brown sugar (and any granulated sugar if your specific recipe variation uses it) to the creamed butter and peanut butter. Beat until the mixture is light and fluffy, usually 2-3 minutes with an electric mixer. Then, beat in the eggs one at a time, ensuring each is fully incorporated before adding the next, followed by the vanilla extract. Scrape down the sides of the bowl as needed.
Incorporating Dry Ingredients: Avoiding Overmixing
In a separate medium bowl, whisk together your all-purpose flour, baking soda, and salt. Gradually add this dry mixture to the wet ingredients, mixing on low speed or by hand until just combined. Stop mixing as soon as you no longer see streaks of dry flour. Overmixing can develop the gluten too much, resulting in tough, rather than chewy, cookie bars.
Step 3: Adding Chocolate Chips
Folding in Chocolate Chips: Evenly Distributing the Goodness
Once the dough is mixed, it's time for the chocolate chips! Gently fold in the chocolate chips using a spatula or wooden spoon until they are evenly distributed throughout the dough. Avoid vigorous mixing here; the goal is just to disperse the chips without overworking the dough. This ensures every bite of your chewy cookie bars has plenty of chocolate.
Step 4: Baking to Perfection
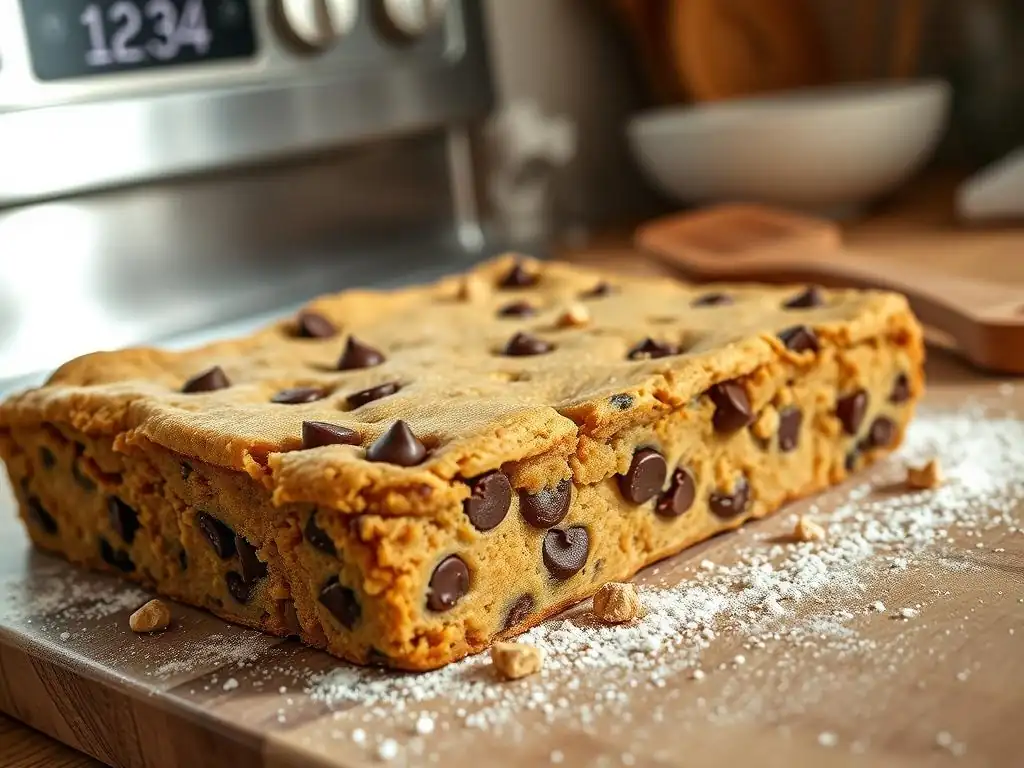
Oven Temperature and Baking Time: Achieving the Right Texture
Preheat your oven to 350°F (175°C). Spread the dough evenly into your prepared 9x13 inch baking pan. You can use a spatula or your hands (lightly floured or greased) to press the dough into an even layer. Bake for 20-25 minutes. The exact time can vary by oven, so start checking around 20 minutes.
Checking for Doneness: Golden Brown and Set
Your peanut butter chocolate chip cookie bars are done when the edges are set and lightly golden brown, and the center looks mostly set but still slightly soft. A toothpick inserted into the center should come out with moist crumbs, not wet batter. If it comes out completely clean, they might be slightly overbaked for maximum chewiness. Aim for that slightly underdone look in the very center for the best chewy cookie bars.
Step 5: Cooling and Cutting
Cooling Completely: Prevents Crumbling
This is a crucial step for perfect chewy cookie bars! Allow the bars to cool in the pan on a wire rack for at least 1-2 hours, or until completely cool. Cutting warm bars will cause them to crumble and fall apart. Patience here pays off with clean, neat slices.
Cutting Techniques: Clean and Even Slices
Once fully cooled, use the parchment paper overhang to lift the entire slab of cookie bars out of the pan and place it on a cutting board. Use a sharp knife to cut the bars into your desired size. For example, cutting into 6 rows by 4 rows yields 24 larger bars, while 6 rows by 6 rows yields 36 smaller bars. Wiping the knife blade with a damp cloth between cuts can help achieve cleaner slices, especially through the chocolate chips.
Using Room Temperature Ingredients: Ensures Proper Mixing
Ensure your butter and eggs are at room temperature before you start mixing. Room temperature butter creams more easily with sugar, incorporating air which contributes to the texture. Cold eggs don't emulsify as well into the batter, potentially leading to a less smooth dough. Planning ahead by taking these ingredients out of the fridge about 30-60 minutes before baking makes a difference in your easy chewy cookie bar recipe outcome.
Don't Overbake: Keeps Bars Soft and Chewy
Overbaking is the enemy of chewy cookie bars. As mentioned in the baking step, aim for that slightly underdone look in the very center. Even if they seem a tiny bit soft when they come out of the oven, they will continue to set as they cool. Baking just until the edges are golden and the center is mostly set is the secret to maximizing chewiness.
Once completely cooled and cut, store your peanut butter chocolate chip cookie bars in an airtight container at room temperature. Layering them with parchment paper can prevent them from sticking together. Stored properly, they will remain soft and chewy for 3-4 days. For longer storage, they can be frozen for up to 2-3 months. Thaw at room temperature before serving.
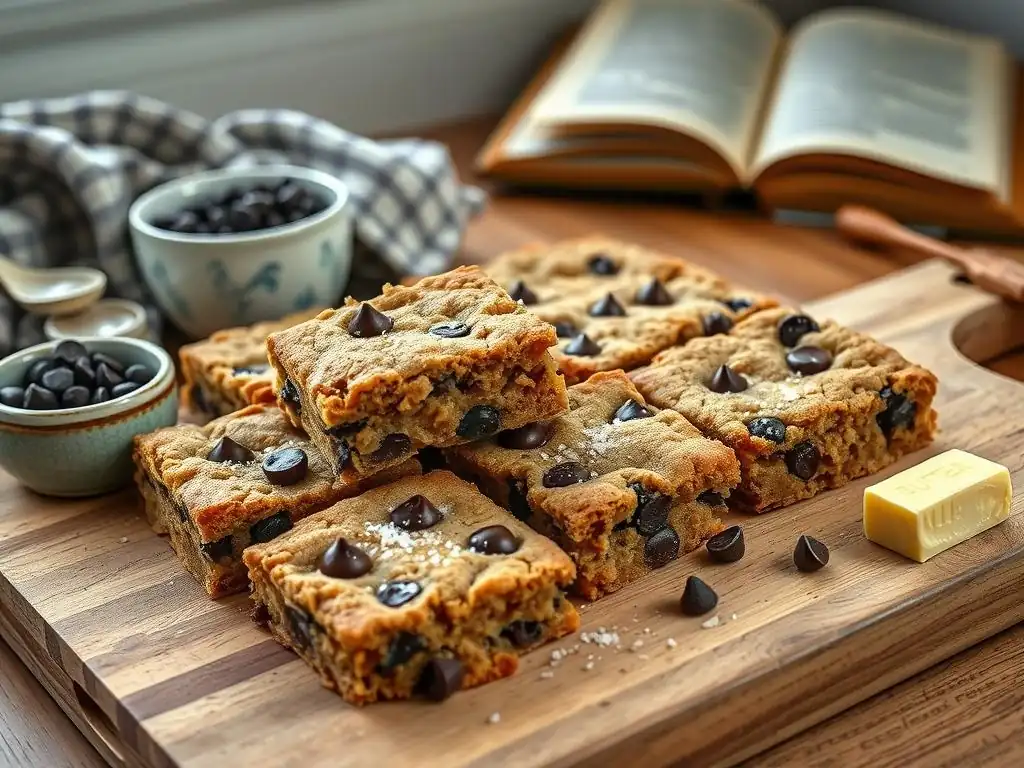
Adding Pretzels: For a Salty-Sweet Twist
Introduce a delightful salty-sweet crunch by folding in about ½ cup of roughly chopped pretzels along with the chocolate chips. The pretzels add an unexpected texture and a savory contrast that elevates the classic peanut butter chocolate chip flavor profile in these chewy cookie bars. This variation is particularly popular with fans of sweet and salty combinations.
Swirling in Jelly: For a PB&J Vibe
For a fun twist reminiscent of a peanut butter and jelly sandwich, warm about ¼ cup of your favorite jelly or jam slightly (microwave for 10-15 seconds). After spreading the dough in the pan, dollop spoonfuls of the warm jelly over the top and use a knife or skewer to gently swirl it into the dough before baking. This creates pockets of fruity goodness within your easy cookie bar recipe.
Using Different Chocolate Chips: Experiment with Flavors
While semi-sweet is classic, feel free to experiment with different types of chocolate chips. Try using milk chocolate for a sweeter bar, dark chocolate for a richer, less sweet flavor, or even white chocolate chips for a different kind of sweetness. You could also mix different types of chips, like a blend of milk and dark, or add peanut butter chips for an extra layer of peanut butter flavor in your chewy cookie bars.
Bars are Too Dry: Add More Butter or Shorten Baking Time
If your chewy cookie bars turn out dry, the most common culprits are either too much flour or overbaking. Ensure you are measuring flour correctly (spooning it into the measuring cup and leveling, rather than scooping directly from the bag). For future batches, slightly increasing the butter by 1-2 tablespoons can add moisture. Most importantly, check for doneness a few minutes earlier than the recipe suggests; ovens can vary, and even a few minutes can make a big difference in moisture retention.
Bars are Too Crumbly: Use More Eggs or Less Flour
Crumbly bars can also stem from too little binding agent or too much dry ingredient. Ensure you're using the specified number of eggs (typically 2 large eggs for a 9x13 pan recipe). Eggs provide structure and bind ingredients together. If you're consistently getting crumbly results, slightly reducing the flour amount (by 1-2 tablespoons) in your easy cookie bar recipe can help create a more cohesive dough.
Bars are Not Chewy Enough: Increase Brown Sugar
Lack of chewiness often points to an imbalance between brown and granulated sugar, or baking too long. Brown sugar is key for chewiness due to its molasses content. Check that you are using the specified amount of packed brown sugar. For maximum chewiness in your peanut butter chocolate chip cookie bars, some recipes use only brown sugar or a higher ratio of brown to white sugar. Ensure you aren't overbaking; a slightly underbaked center is crucial for chewiness after cooling.
Frequently Asked Questions
This recipe uses simple, readily available ingredients and follows straightforward, step-by-step instructions, making it perfect for beginner bakers. No complicated techniques are required!
The chewy texture comes from using melted butter and brown sugar. Also, avoid overbaking!
While substitutions are possible, they may affect the texture. For best results, stick to the recipe, but you can experiment with different chocolate chips or add nuts.
The cookie bars are done when the edges are golden brown and the center is slightly soft to the touch. A toothpick inserted into the center might have a few moist crumbs attached.
Store the cooled cookie bars in an airtight container at room temperature. They should stay fresh for up to three days.
Final Reflection: The Enduring Allure of the Perfectly Chewy Bar
The pursuit of the perfect chewy cookie bar transcends mere baking; it's a testament to the simple joys of comfort food and shared experiences. These seemingly uncomplicated treats hold a powerful place in our collective culinary memory, bringing back cherished moments of family gatherings and casual celebrations. The ease of preparation, detailed in this article, only amplifies their appeal.
The impact of a well-executed, easy recipe like this extends far beyond the individual baker. It fosters a sense of accomplishment, empowering even novice cooks to create something delicious and shareable. This act of creation, of transforming simple ingredients into something delightful, connects us to a long tradition of home baking and the comforting rituals it embodies. Baking is at once child's play and adult joy. And love, of course.
– Alma Flor Ada. This quote perfectly encapsulates the magic found in the simple act of baking these chewy cookie bars.
Now, I invite you to consider the power of this simple recipe. Don't just bake these bars; experience them. Share them with loved ones, savor the texture, and appreciate the ease with which you've created something truly special. Let this be more than just a recipe; let it be a reminder of the joy found in simple pleasures and the enduring power of connection through food. Go forth and bake!
Thanks for joining us on this delicious journey into the world of chewy cookie bars! We hope you've discovered some new techniques and found inspiration for your next baking adventure. Ready to put your newfound skills to the test?
- Bake a batch of your own chewy cookie bars! Use the recipe and tips from the article as a guide. Don't be afraid to experiment with different flavors and additions!
- Share your creations: Post a picture of your finished bars on social media and tag #BakeWithEaseChewyBars – we'd love to see them!
- Challenge yourself: Try adapting the recipe to create a completely new type of cookie bar – maybe even a savory version?
So, what incredible chewy cookie bar flavor combination will you create next?