
Fluffy Clouds Await: How to Whip Perfect Cream with Your Hand Mixer

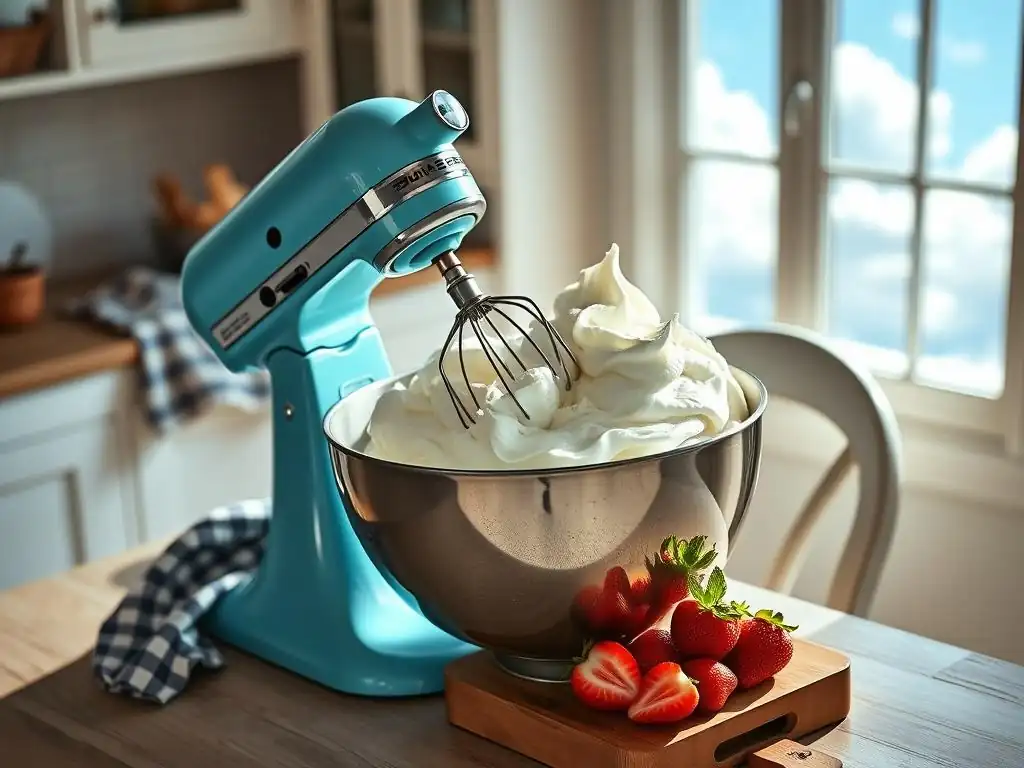
Welcome to BakeWithEase, where turning baking dreams into delicious reality is our specialty! Ever wonder how to achieve that perfectly light and airy whipped cream, the kind that elevates any dessert? You're in the right place! We're diving deep into the secrets of the hand mixer whipped cream recipe, revealing foolproof techniques and insider tips. Prepare to unlock the fluffiest clouds of cream you've ever tasted – and discover why your hand mixer is your secret weapon. Ready to whip up something amazing? Let's get started!
- Luscious Whipped Cream: Mastering the Hand Mixer Technique
- Introduction: Achieving Perfect Whipped Cream with Your Hand Mixer
- Why Use a Hand Mixer for Whipped Cream? Advantages and Benefits
- The Essential Hand Mixer Whipped Cream Recipe: Ingredients and Preparation
- Step-by-Step Guide: Whipping Cream with a Hand Mixer Like a Pro
- Troubleshooting: Common Hand Mixer Whipped Cream Problems and Solutions
- Hand Mixer Care and Maintenance: Ensuring Longevity
- Creative Uses for Your Homemade Hand Mixer Whipped Cream
- Selecting the Right Hand Mixer for Whipped Cream and More
- Conclusion: Savoring Your Homemade Whipped Cream
-
Frequently Asked Questions
- How long should I whip cream with a hand mixer before it forms soft peaks?
- What speed setting on my hand mixer is best for whipping cream?
- What kind of cream works best for whipping with a hand mixer?
- Can I add flavorings or sweeteners while whipping cream with a hand mixer?
- How do I know when my whipped cream is at the "perfect" stage with a hand mixer?
- Final Reflection: The Sweet Science of Whipped Cream
- Whip Up Your Creamy Masterpiece Today!
Luscious Whipped Cream: Mastering the Hand Mixer Technique
Introduction: Achieving Perfect Whipped Cream with Your Hand Mixer
BakeWithEase Presents: Mastering Hand Mixer Techniques for Baking Success
Welcome to BakeWithEase! Today, we're diving into a baking fundamental that elevates countless desserts: perfect whipped cream. While stand mixers often get the spotlight, the humble hand mixer is a powerful and convenient tool for achieving airy, stable whipped cream right in your own kitchen. Mastering the hand mixer whipped cream recipe is a skill that unlocks a world of delicious possibilities, from topping simple berries to finishing elaborate cakes.
Using a hand mixer for this task is not only efficient but also gives you precise control over the whipping process, allowing you to easily monitor the stages from soft peaks to stiff peaks. This guide will walk you through every step, ensuring your whipped cream is light, fluffy, and exactly how you want it, proving that you don't need expensive equipment to achieve professional-quality results.
Why Use a Hand Mixer for Whipped Cream? Advantages and Benefits
Hand Mixer vs. Stand Mixer: Considerations for Whipped Cream
When it comes to making whipped cream, both hand mixers and stand mixers can get the job done, but they offer different advantages. A stand mixer with a whisk attachment is excellent for large batches and requires minimal effort once started, allowing you to multitask. However, it takes up significant counter space and can sometimes be overkill for smaller amounts of cream, potentially leading to over-whipping if not watched carefully.
A hand mixer, on the other hand, provides more tactile control. You can easily move the beaters around the bowl, ensuring all the cream is incorporated and whipped evenly. This hands-on approach makes it easier to judge the consistency and stop exactly when you reach your desired peak stage. For home bakers making modest quantities of whipped cream, the hand mixer is often the more practical and versatile choice.
Budget-Friendly Whipped Cream: The Hand Mixer Advantage
Investing in a high-quality stand mixer can be a significant expense, often ranging from $200 to over $500 depending on the brand and features. While they are invaluable for tasks like kneading dough or mixing heavy batters, they might be beyond the budget or needs of many home bakers, especially beginners.
Hand mixers offer a much more accessible entry point into the world of electric mixing. A reliable hand mixer can be purchased for anywhere from $20 to $80, making the hand mixer whipped cream recipe an incredibly budget-friendly way to elevate your desserts. This affordability means more people can enjoy the ease and efficiency of electric mixing for tasks like whipping cream without a large upfront investment.
Convenient and Compact: Why a Hand Mixer is Ideal for Many Kitchens
Kitchen space is often at a premium, whether you live in a small apartment or just prefer a clutter-free countertop. Stand mixers, with their bulky bases and large bowls, require dedicated storage or counter space, which isn't always feasible.
Hand mixers are significantly smaller and lighter. They can be easily stored in a drawer or cabinet, freeing up valuable counter real estate. This makes them ideal for kitchens of any size and for bakers who prefer to keep their workspace clear. Their portability also means you can whip cream wherever it's most convenient, whether that's by the stovetop or right next to your dessert assembly area.
The Essential Hand Mixer Whipped Cream Recipe: Ingredients and Preparation
Key Ingredients for Perfect Whipped Cream
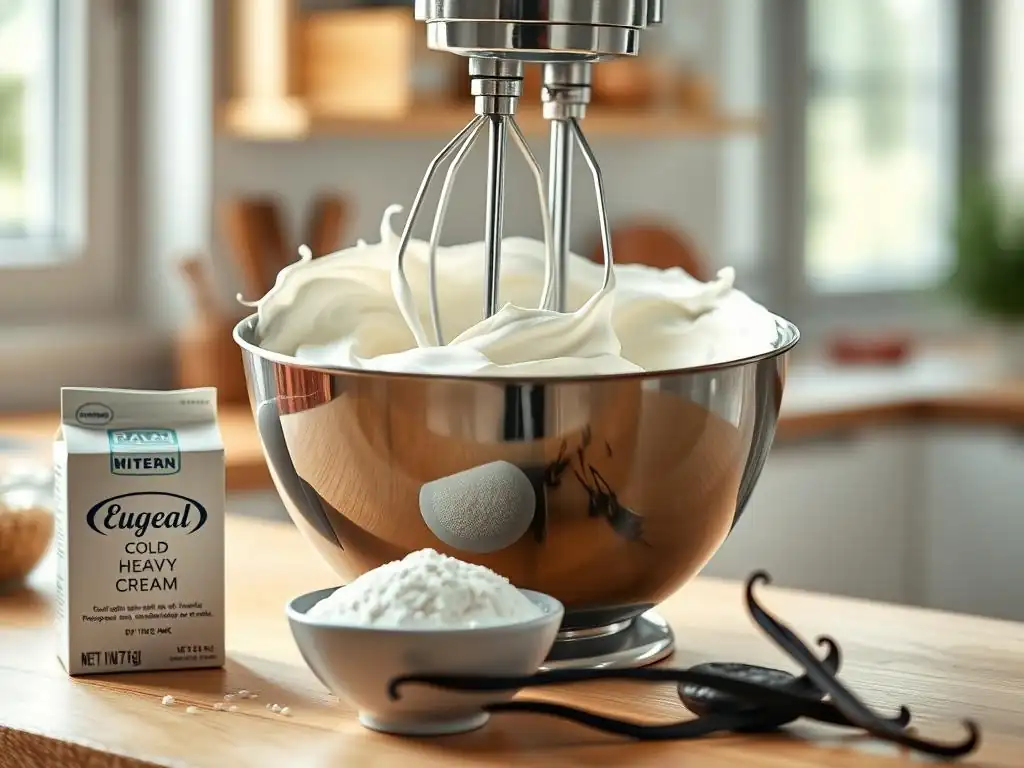
The basic hand mixer whipped cream recipe requires just two main ingredients: heavy cream and sugar. However, the quality and treatment of these ingredients make all the difference. You'll need chilled heavy cream (sometimes labeled heavy whipping cream) with a minimum fat content of 35%. This high fat content is crucial for creating stable peaks.
For sweetener, granulated sugar is standard, but confectioners' sugar (powdered sugar) is often preferred as it dissolves more easily and can contain a small amount of cornstarch, which helps stabilize the cream. A typical ratio is about 1-2 tablespoons of sugar per cup of heavy cream, but this can be adjusted to your taste. Vanilla extract is a classic addition, enhancing the flavor beautifully.
Understanding Heavy Cream: Fat Content and Temperature Impact
The success of your whipped cream hinges significantly on the heavy cream itself. As mentioned, aim for a fat content of 35% or higher. Lower fat creams (like whipping cream, which can be around 30%) will still whip, but they won't hold their shape as well and are more prone to collapsing quickly. The fat molecules are what trap air bubbles, creating the light, airy texture.
Temperature is equally critical. Heavy cream whips best when it is very cold, ideally between 35°F and 40°F (around 2°C to 4°C). Chilling the cream helps the fat globules solidify and form a stronger structure when beaten. Cream that is too warm will take much longer to whip and may not reach stiff peaks, remaining loose and potentially curdling easily. Keeping your cream in the coldest part of the refrigerator until just before whipping is a simple but essential step.
Customizing Your Cream: Flavor Extracts and Sweeteners
While vanilla is traditional, don't feel limited! You can easily customize your hand mixer whipped cream recipe with various flavorings. Almond extract adds a lovely nutty note, peppermint extract is perfect for holiday treats, and a touch of coffee extract can complement chocolate desserts. Remember that extracts are potent, so start with just a quarter teaspoon per cup of cream and add more to taste.
Beyond granulated or powdered sugar, you can use liquid sweeteners like maple syrup or honey, though these can add moisture and slightly alter the texture; add them slowly towards the end of whipping. For a richer flavor, consider adding a tablespoon or two of liqueur, like Grand Marnier for orange or Kahlúa for coffee-flavored cream. Just be aware that alcohol can slightly destabilize the cream, so add it after soft peaks have formed.
Step-by-Step Guide: Whipping Cream with a Hand Mixer Like a Pro
Step 1: Chilling Your Equipment for Optimal Results
Achieving perfect whipped cream isn't just about the cream's temperature; chilling your equipment is equally important. A cold bowl and cold beaters help keep the cream cold during the whipping process, promoting faster whipping and better stability. Metal or glass bowls are ideal as they hold cold temperatures well.
Place your mixing bowl and hand mixer beaters in the refrigerator or even the freezer for at least 15-20 minutes before you plan to whip the cream. This simple step makes a noticeable difference in how quickly and effectively the cream whips up, ensuring the fat molecules remain firm and ready to trap air.
Step 2: Preparing Your Hand Mixer for Whipped Cream Success
Once your bowl and beaters are chilled, it's time to get your hand mixer ready. Attach the cold beaters firmly to the hand mixer according to the manufacturer's instructions. Ensure they are securely locked in place before plugging the mixer in.
Pour the very cold heavy cream into your chilled bowl. If you are adding sugar or extracts, it's generally best to add them at the beginning or once the cream has just started to thicken. Adding them too late can sometimes hinder the final whipping process, although adding liquid extracts or liqueurs is often done at the soft peak stage.
Step 3: The Whipping Process: Speed Control and Technique
Start whipping the cream on a low speed. This initial low speed helps to incorporate air gently and prevents splashing, especially important when working with a hand mixer in a bowl that might not be very deep. Whip on low for about 30 seconds to a minute, until the cream looks slightly frothy.
Gradually increase the speed to medium or medium-high (avoiding the highest speed unless your mixer is very low power). Move the hand mixer around the bowl, ensuring the beaters reach the bottom and sides to incorporate all the cream. As you whip, the cream will transition from liquid to slightly thickened, then to soft peaks, and finally to stiff peaks. This entire process typically takes between 3 to 6 minutes, depending on the amount of cream, its temperature, and the power of your mixer.
Step 4: Recognizing Whipped Cream Stages: From Soft to Stiff Peaks
Knowing when to stop is crucial for perfect whipped cream. As you whip, periodically lift the beaters from the cream to check its consistency. The first stage is soft peaks: when you lift the beaters, the cream will form peaks that curl over immediately. This is great for a loose topping or incorporating into mousses.
Continue whipping, and the peaks will become firmer. When you lift the beaters, the peaks will hold their shape but the very tips will still curl slightly. This is the medium peak stage, versatile for many uses. Finally, you'll reach stiff peaks: the cream forms sharp peaks that stand straight up when the beaters are lifted. This is ideal for piping or when you need the cream to hold its shape firmly on a dessert. Stop immediately at this stage to avoid over-whipping.
Troubleshooting: Common Hand Mixer Whipped Cream Problems and Solutions
Over-whipped Cream: Salvaging Techniques
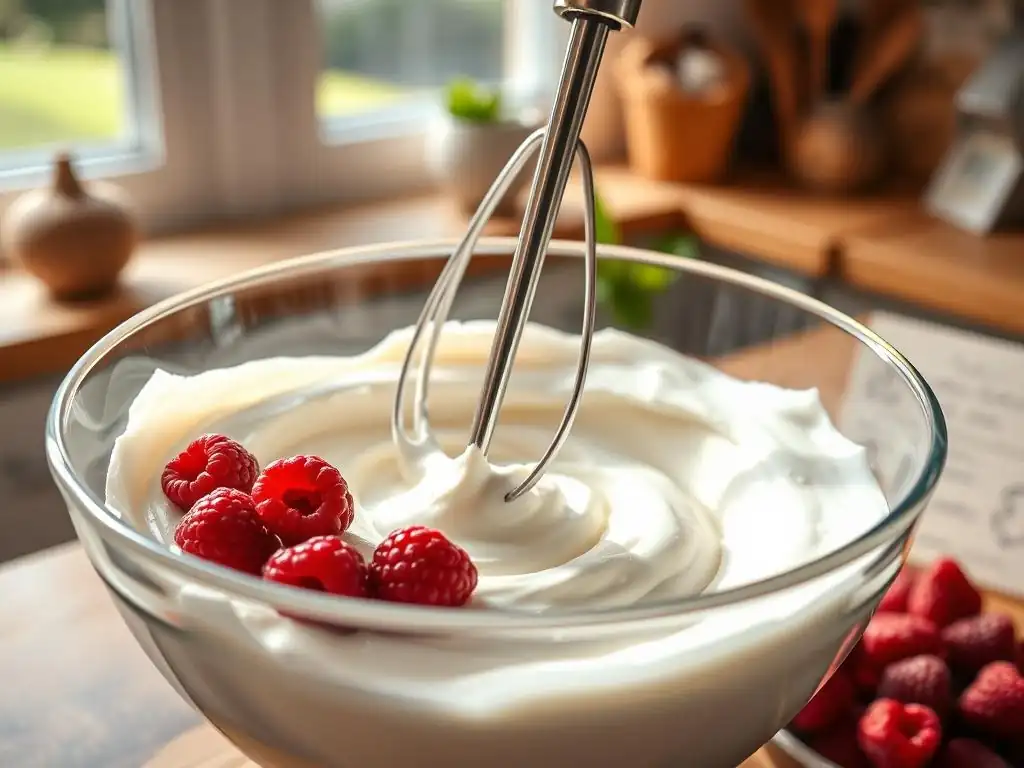
One of the most common issues when making whipped cream with a hand mixer is over-whipping, which happens when you continue beating past the stiff peak stage. The cream will start to look grainy, curdled, or even separate into butter and buttermilk. This happens because the fat molecules have clumped together too much.
If your cream is just slightly grainy, you might be able to salvage it by gently whisking in a tablespoon or two of cold liquid heavy cream by hand. This can sometimes smooth out the texture. If it has fully separated into butter and liquid, unfortunately, it's gone too far to be whipped cream. However, don't discard it! You've essentially made butter. You can strain out the liquid (buttermilk) and use the solids as homemade butter.
Cream Not Thickening: Diagnosing and Correcting the Issue
If you've been whipping for several minutes and your cream is still liquid or only slightly frothy, several factors could be at play. The most likely culprits are warm cream, a low fat content (below 35%), or warm equipment. Review the earlier steps: was your cream very cold? Were your bowl and beaters chilled?
If the cream is warm, you can try placing the bowl over an ice bath while you continue whipping. This might help cool it down enough to whip properly. If the fat content is too low, it will be difficult to achieve stiff peaks; the cream might only reach soft peaks or stay relatively loose. Ensure you are using 'heavy cream' or 'heavy whipping cream' with the correct fat percentage. If the issue is warm equipment, chilling everything thoroughly next time will solve the problem for your hand mixer whipped cream recipe.
Achieving a Smooth and Stable Texture: Tips and Tricks
Beyond using cold, high-fat cream and chilled equipment, there are a few tricks to ensure a smooth and stable texture. Adding a stabilizer can make a big difference, especially if you need the whipped cream to hold its shape for an extended period (e.g., for piping or filling a cake that will sit out).
A common stabilizer is unflavored gelatin. Dissolve about 1 teaspoon of gelatin in 1-2 tablespoons of cold water, then heat it gently until fully dissolved (do not boil). Let it cool slightly but not set, then drizzle it into the cream while whipping at medium speed, just as soft peaks begin to form. Another option is adding a tablespoon or two of instant non-fat dry milk powder per cup of cream at the beginning; the proteins in the milk powder help strengthen the structure. Using confectioners' sugar (which often contains cornstarch) instead of granulated sugar also contributes to stability.
Hand Mixer Care and Maintenance: Ensuring Longevity
Proper Cleaning Techniques for Your Hand Mixer
After enjoying your delicious hand mixer whipped cream recipe, proper cleaning of your hand mixer is essential for hygiene and longevity. Always unplug the hand mixer before cleaning. The beaters are usually dishwasher- safe, but check your manual to be sure. If washing by hand, use warm, soapy water and a brush to remove all cream residue, paying special attention to where the beaters attach to the mixer head.
The mixer body itself should never be submerged in water. Use a damp cloth or sponge to wipe down the exterior, removing any splatters. Pay close attention to the vents and crevices where food particles can hide. A small brush or even a toothpick can help dislodge stubborn bits. Ensure the mixer body is completely dry before storing it to prevent damage.
Storing Your Hand Mixer for Optimal Performance
Proper storage protects your hand mixer from dust, damage, and tangled cords, ensuring it's ready the next time you need it for your hand mixer whipped cream recipe or other baking tasks. Most hand mixers come with a storage case or a clip to keep the beaters together with the unit. Using this is highly recommended.
If your mixer doesn't have a dedicated case, store it in a clean, dry place like a cabinet or pantry shelf. Wrap the cord neatly around the base or secure it with a twist tie or Velcro strap. Keep the beaters stored with the mixer, perhaps in a small bag or box, so you don't have to search for them later. Storing the mixer upright or on its side in its original box (if you kept it) can also protect it from accidental knocks.
Creative Uses for Your Homemade Hand Mixer Whipped Cream
Topping Desserts: Cakes, Pies, and Pastries
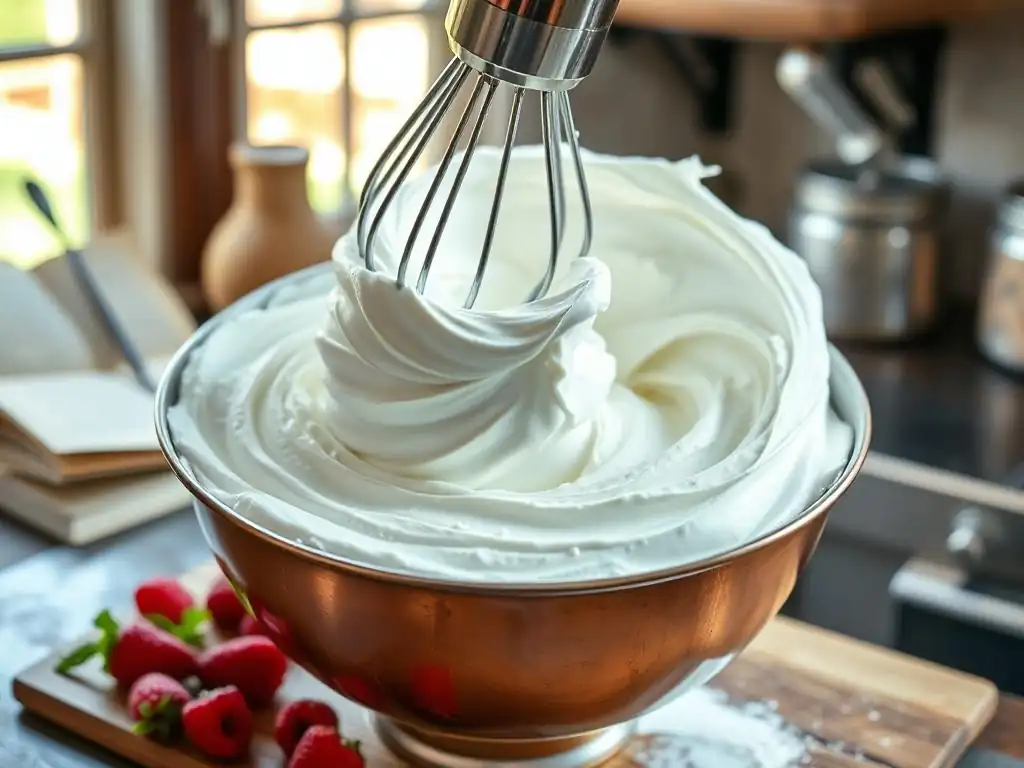
The most classic use for homemade whipped cream from your hand mixer whipped cream recipe is as a luscious topping. It's the perfect accompaniment to a warm slice of apple pie, adding a cool, creamy contrast to the spiced fruit. A dollop of whipped cream elevates a simple chocolate cake or cupcakes, making them feel instantly more festive.
Consider piping whipped cream onto tarts, trifles, or puddings for an elegant finish. It pairs wonderfully with fresh berries, fruit salads, or even a simple bowl of ice cream. The lightness of the whipped cream complements rich, dense desserts beautifully, providing balance in texture and flavor.
Enhancing Beverages: Coffee, Hot Chocolate, and Cocktails
Whipped cream isn't just for solid desserts! It's a fantastic addition to many beverages. A generous swirl atop a mug of hot chocolate turns it into a decadent treat, especially when finished with a sprinkle of cocoa powder or cinnamon. Iced coffee or blended coffee drinks are also significantly improved with a crown of homemade whipped cream.
For adult beverages, whipped cream can be used in creamy cocktails like Irish coffee or various dessert martinis. A dollop on top of a boozy hot chocolate or a spiked milkshake adds an extra layer of indulgence. Experiment with flavored whipped creams (like coffee or chocolate) to match your drink!
Incorporating into Recipes: Mousses, Parfaits, and Cream Pies
Beyond being a simple topping, whipped cream is a key ingredient in many recipes. It's the base for light and airy chocolate or fruit mousses, providing volume and richness without heaviness. Layering whipped cream with fruit, granola, or cake pieces in a glass creates beautiful and easy parfaits.
Whipped cream is also essential for no-bake desserts like French silk pie or certain types of cream pies where it's folded into a filling to create a fluffy texture. It can be used to lighten pastry cream or custards, turning them into diplomat cream, perfect for filling éclairs or cream puffs. Mastering your hand mixer whipped cream recipe opens up a world of dessert possibilities that go far beyond a simple dollop.
Selecting the Right Hand Mixer for Whipped Cream and More
Essential Features to Consider in a Baking Hand Mixer
When choosing a hand mixer primarily for baking tasks like the hand mixer whipped cream recipe, several features are important. Power is a key factor; look for a mixer with at least 200-250 watts for reliable performance with thicker batters or doughs (though less power is fine just for cream). Multiple speeds are crucial – a low speed for starting and higher speeds for whipping air into cream or mixing batters.
Ergonomics matter too, especially if you'll be holding it for several minutes; choose a mixer that feels comfortable in your hand and isn't too heavy. Easy-to-clean beaters and a simple attachment mechanism are also practical considerations. Some mixers come with additional attachments like dough hooks or whisk attachments, which can increase their versatility.
Hand Mixer Considerations: Power, Speed, and Attachments
As mentioned, power dictates how easily the mixer handles different tasks. While a 150-watt mixer might be sufficient for whipping cream, a 250-300 watt mixer will be more efficient and capable of handling cookie dough or cake batter without straining the motor.
Speed settings provide control. A mixer with 5 or more speeds allows you to start slowly to avoid splattering and gradually increase speed for optimal whipping. Some mixers even have a "slow start" feature. Check what attachments are included; standard beaters are essential for the hand mixer whipped cream recipe, but a whisk attachment (often balloon-shaped) can sometimes incorporate air even more effectively for cream. Dough hooks are useful if you plan to make small batches of bread or pizza dough.
Conclusion: Savoring Your Homemade Whipped Cream
Mastering Whipped Cream with Your Hand Mixer: A BakeWithEase Guide
Congratulations! You've now learned how to master the art of whipping perfect cream using just your hand mixer, thanks to this BakeWithEase guide. From understanding the science behind cold, high-fat cream to executing the step-by-step whipping process and knowing when to stop, you have the knowledge to create luscious, fluffy whipped cream every time.
Remember the key takeaways: start with very cold ingredients and equipment, use a high-fat heavy cream, begin on low speed before increasing, and watch for those peak stages carefully. With a little practice, your hand mixer whipped cream recipe will become a go-to element in your baking repertoire.
Enhance Your Baking with Perfect Hand Mixer Whipped Cream
Homemade whipped cream is miles above store-bought aerosol cans, offering a richer flavor, better texture, and superior stability. It's a simple addition that can transform an ordinary dessert into something truly special. Whether you're topping a simple bowl of berries, filling a layer cake, or enhancing a hot beverage, your perfectly whipped cream made with a hand mixer will impress.
Keep practicing, explore different flavorings, and enjoy the delicious results of your newfound skill. Using your hand mixer for this fundamental task is efficient, budget-friendly, and yields fantastic results, proving that great baking is accessible to everyone. Enjoy adding this delightful touch to all your sweet creations!
Frequently Asked Questions
How long should I whip cream with a hand mixer before it forms soft peaks?
Whipping time varies, but generally, it takes between 3-5 minutes to achieve soft peaks using a hand mixer. Watch carefully; over-whipping leads to grainy, buttery cream.
What speed setting on my hand mixer is best for whipping cream?
Start on a low speed to prevent splashing, then gradually increase to medium speed. Avoid high speeds, as they can easily over-whip the cream.
What kind of cream works best for whipping with a hand mixer?
Heavy cream or heavy whipping cream with a fat content of at least 30% is essential. Lower fat content creams won't whip properly and lack the necessary stability.
Can I add flavorings or sweeteners while whipping cream with a hand mixer?
Yes! Add sweeteners like powdered sugar or flavorings such as vanilla extract towards the end of the whipping process, once soft peaks begin to form.
How do I know when my whipped cream is at the "perfect" stage with a hand mixer?
The cream should hold its shape with soft, rounded peaks when you lift the beaters. Avoid continuing to whip if the cream looks stiff or curdled.
Final Reflection: The Sweet Science of Whipped Cream
The pursuit of the perfect cloud of whipped cream is more than just a culinary quest; it's a testament to the power of simple ingredients and precise technique. This article has explored the seemingly straightforward process of whipping cream with a hand mixer, revealing the subtle nuances that separate a disappointing flop from a luscious, airy masterpiece. From understanding the role of fat content to mastering the art of gradual sugar addition, we've uncovered the secrets to achieving that coveted peak.
The enduring appeal of whipped cream lies not just in its delightful taste, but in its ability to transform ordinary desserts into extraordinary experiences. It's a symbol of celebration, a touch of elegance, and a simple pleasure that transcends generations. Whipped cream is happiness in a bowl.
– While I can't attribute this quote to a specific person, it perfectly encapsulates the joy associated with this simple treat. The ability to create this joy at home, with readily available tools and ingredients, is empowering and deeply satisfying.
Now, I invite you to step away from the screen and into your kitchen. Experiment with different flavors, explore variations on the techniques outlined, and most importantly, savor the process. The journey to the perfect whipped cream is as rewarding as the destination itself. Don't be afraid to get your hands (and your mixer) a little messy – the sweet reward awaits. Remember, even the fluffiest clouds start with a little effort.
Whip Up Your Creamy Masterpiece Today!
Thank you for diving into the delightful world of cream whipping! We hope you’ve uncovered essential tips to achieve that dreamy, fluffy texture with ease. Now, let’s transform your newfound knowledge into delectable creations!
Here’s how you can get started:
- Grab your hand mixer and whip up a batch of whipped cream to top your favorite dessert—don’t forget to taste test!
- Explore unique flavors by adding a dash of vanilla, cocoa, or even a hint of citrus to your whipped cream.
- Share your whipped cream creations on social media and inspire others to join the fluffy fun!
What dessert will you elevate with your homemade whipped cream? Share your ideas with us!