
Beginner Baker's Dilemma: Stone or Dutch Oven? Making the Easy Choice.

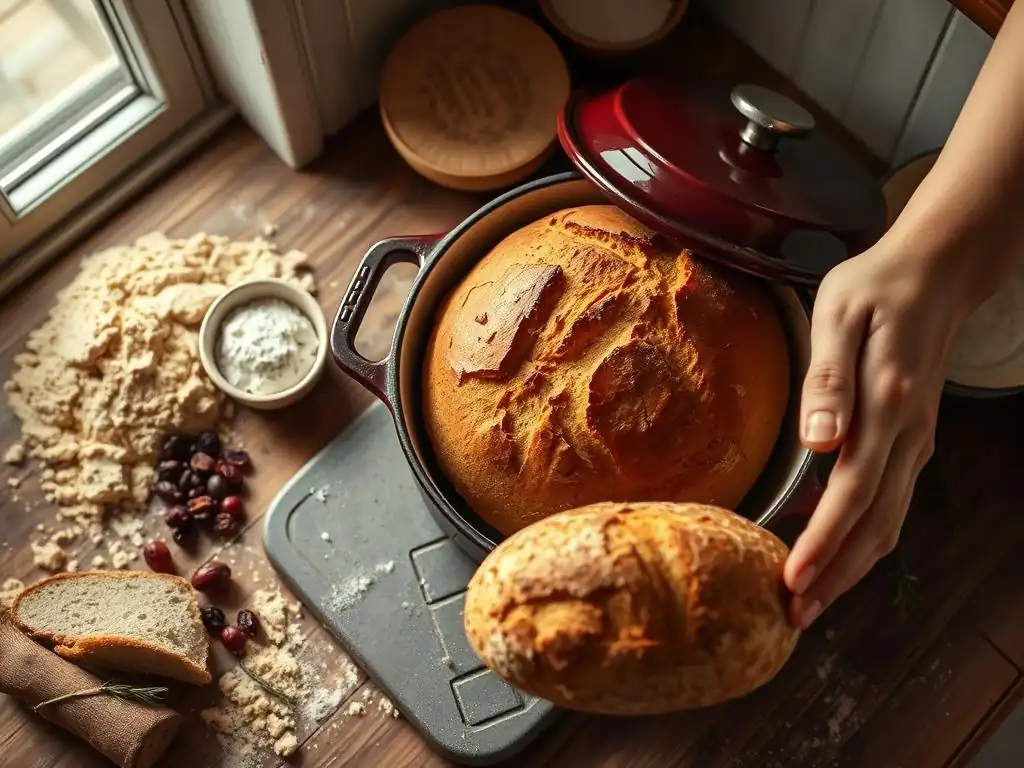
Welcome to BakeWithEase, your trusted companion in the delightful world of baking! Ever wondered if a Dutch oven could be the secret weapon you've been missing? Dive in as we unravel the mysteries of Dutch oven baking for beginners, tackling the age-old debate of stone versus Dutch oven. Ready to discover which tool unlocks effortless and delicious results? Let's get baking!
- Baking with a Baking Steel: Tips and Techniques
-
Frequently Asked Questions
- What are the main advantages of using a Dutch oven for baking as a beginner?
- Can I bake anything in a Dutch oven, or are there specific recipes it's best suited for?
- Is a Dutch oven difficult to clean after baking?
- How does Dutch oven baking differ from using a baking stone?
- Are Dutch ovens expensive, and what features should I consider when buying one for baking?
- Final Reflection: Choosing Your Baking Best Friend
- Unlock Your Baking Potential: Choose Your Perfect Oven!
Baking with a Baking Steel: Tips and Techniques
Preheating Your Baking Steel: Optimizing for Success
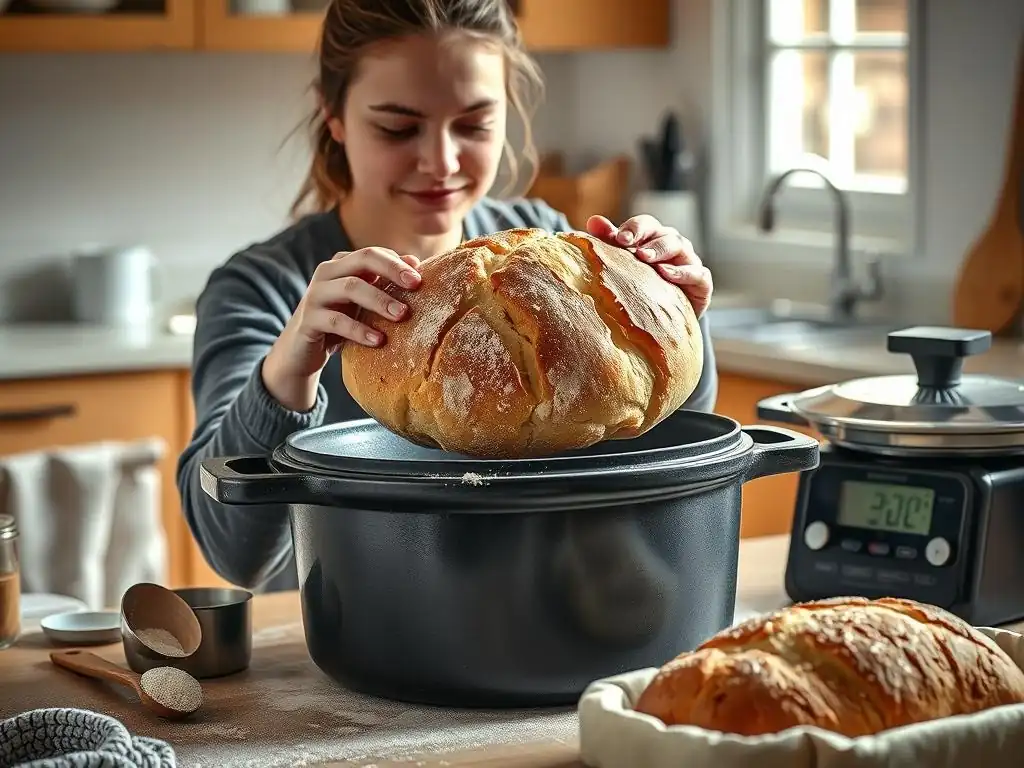
Achieving a fantastic crust on your homemade bread when using a baking steel starts long before the dough hits the heat. Proper preheating is absolutely critical because the steel needs ample time to absorb and store a significant amount of thermal energy. Think of it as a super-charged thermal battery for your oven.
For most bread baking, you'll want to preheat your oven to its maximum temperature, often around 500°F (260°C), with the steel placed on a rack in the upper third of the oven. This high temperature is key to getting a strong initial burst of heat into the dough.
The duration of the preheating period is just as important as the temperature. While a thin pizza stone might be ready in 30 minutes, a typical baking steel, especially one that is 1/4 or 1/2 inch thick, requires significantly longer. Aim for at least 45 minutes to an hour, or even longer for thicker steels, after the oven light indicates it has reached temperature.
This extended time ensures the steel is uniformly hot and has stored enough energy to provide that powerful oven spring and rapid crust development necessary for artisan-style loaves. Insufficient preheating is a common reason for a pale bottom crust or lack of dramatic rise.
Baking Steel Bread Recipe: Sourdough on Steel
Baking a sourdough loaf on a steel involves a slightly different approach compared to a Dutch oven bake, primarily focusing on effective steam management. Here's a simplified method focusing on the steel technique: First, shape your proofed sourdough dough and let it rest for a short period on a piece of parchment paper or dusted generously with semolina on a peel. While your steel preheats at 500°F (260°C) for that critical 60 minutes, prepare your steam setup. This could involve placing a cast iron pan or broiler tray on the bottom rack of your oven while it preheats.
Once the oven and steel are fully preheated, carefully slide the dough (on parchment or directly from the peel) onto the hot steel. Immediately after, pour about a cup of hot water into the preheated pan on the bottom rack (use caution, as this will create a burst of steam). Quickly close the oven door to trap the steam. Bake at 500°F (260°C) for approximately 15-20 minutes with the steam, which helps the crust stay pliable and allows the dough to expand fully.
Then, carefully open the oven door to release the steam (be cautious of the hot steam! ), reduce the oven temperature to around 450°F (230°C), and continue baking for another 20-30 minutes, or until the crust is deep golden brown and the internal temperature reaches about 200-210°F (93-99°C). This two-stage process leverages the steel's heat for initial spring and the dry heat for final crust crisping.
Troubleshooting Common Baking Steel Problems
Even with careful preparation, you might encounter a few challenges when baking bread with a steel. A frequent issue is the dough sticking to the steel, especially with wetter doughs or if not using parchment paper or sufficient dusting agent like semolina or cornmeal. Using parchment paper is often the easiest solution, as it prevents sticking entirely and makes transferring the dough much simpler. If you prefer not to use parchment, ensure your peel and the bottom of the dough are well-dusted before sliding it onto the hot surface.
Another common problem is a pale or underdeveloped bottom crust. This almost always points back to insufficient preheating time or temperature. The steel needs that long, hot soak to build up enough thermal mass to effectively brown the base of the loaf.
Ensure your oven is accurate and that you are giving the steel at least 45-60 minutes at maximum temperature. Lastly, achieving good oven spring without a Dutch oven requires effective steam generation. If your loaf is spreading out rather than rising up, your steam setup might be inadequate.
Experiment with different steam methods, like using more water, adding lava rocks to the steam pan to increase surface area, or even using a spray bottle to mist the oven walls at the beginning of the bake (though this can be less effective than a dedicated steam pan). Mastering steam is key to that beautiful, airy crumb and crackling crust when using a steel.
Frequently Asked Questions
What are the main advantages of using a Dutch oven for baking as a beginner?
Dutch ovens offer even heat distribution and excellent moisture retention, making them ideal for beginners. This results in consistently baked goods with a crispy crust and soft interior.
Can I bake anything in a Dutch oven, or are there specific recipes it's best suited for?
While versatile, Dutch ovens are particularly well-suited for breads, stews, and braised dishes. They can also be used for cakes and casseroles, offering an alternative to traditional baking methods.
Is a Dutch oven difficult to clean after baking?
Generally, Dutch ovens are easy to clean. After cooling, soak with warm, soapy water and scrub gently. Avoid using abrasive cleaners which can damage the enamel coating.
How does Dutch oven baking differ from using a baking stone?
Dutch ovens provide enclosed heat, trapping moisture, while baking stones offer a direct heat source. This difference affects the final product's texture and crust.
Are Dutch ovens expensive, and what features should I consider when buying one for baking?
Dutch ovens range in price. Consider size, material (enameled cast iron is popular), and lid fit. Look for one that's oven-safe and has good heat retention for optimal baking results.
Final Reflection: Choosing Your Baking Best Friend
The debate between stone and Dutch oven baking for beginners is far from academic; it directly impacts the success—and enjoyment—of your baking journey. Mastering the art of bread baking, or even achieving perfectly golden-brown pastries, hinges on understanding the unique properties of each baking vessel. This choice, while seemingly small, significantly influences the final product and your overall baking experience.
The influence of the humble Dutch oven extends far beyond simply baking bread; it represents a gateway to a more mindful and rewarding approach to cooking. It's about embracing the process, understanding the nuances of heat transfer, and appreciating the tangible results of your effort. As Julia Child famously said, Find something you're passionate about and keep tremendously interested in it.
For many beginner bakers, that passion is ignited by the satisfying crust and fluffy interior achieved with a Dutch oven. This simple tool fosters a deeper connection with the food we create, transforming a routine task into a creative endeavor.
So, which baking vessel will you choose? The answer, ultimately, lies in your individual needs and preferences. But I hope this article has equipped you with the knowledge to make an informed decision. Don't be afraid to experiment! Try both methods, compare the results, and discover which baking companion best suits your style and aspirations. Embrace the learning process, celebrate your successes, and remember that even the most experienced bakers started somewhere. Your baking journey is just beginning, and the possibilities are endless.
Unlock Your Baking Potential: Choose Your Perfect Oven!
Thanks for joining us on this baking journey! We hope you now feel confident in understanding the key differences between stone and Dutch ovens. Ready to take your baking to the next level?
- Invest in your perfect oven: Consider your baking style and budget to decide whether a stone baking surface or a versatile Dutch oven is right for you. This is the single most impactful step you can take based on what you've learned today.
- Share your choice: Let's discuss! Tell us which oven you’ve chosen (or plan to choose) and why in the comments below. We’d love to hear your baking journey!
- Experiment & Expand: Try out a new recipe using your chosen oven – and share your results! What amazing bread or pastry will you create?
Ready to embark on your delicious baking adventure? What recipe are you excited to try first?