
Avoiding the Pitfalls: Over and Underdeveloped Gluten

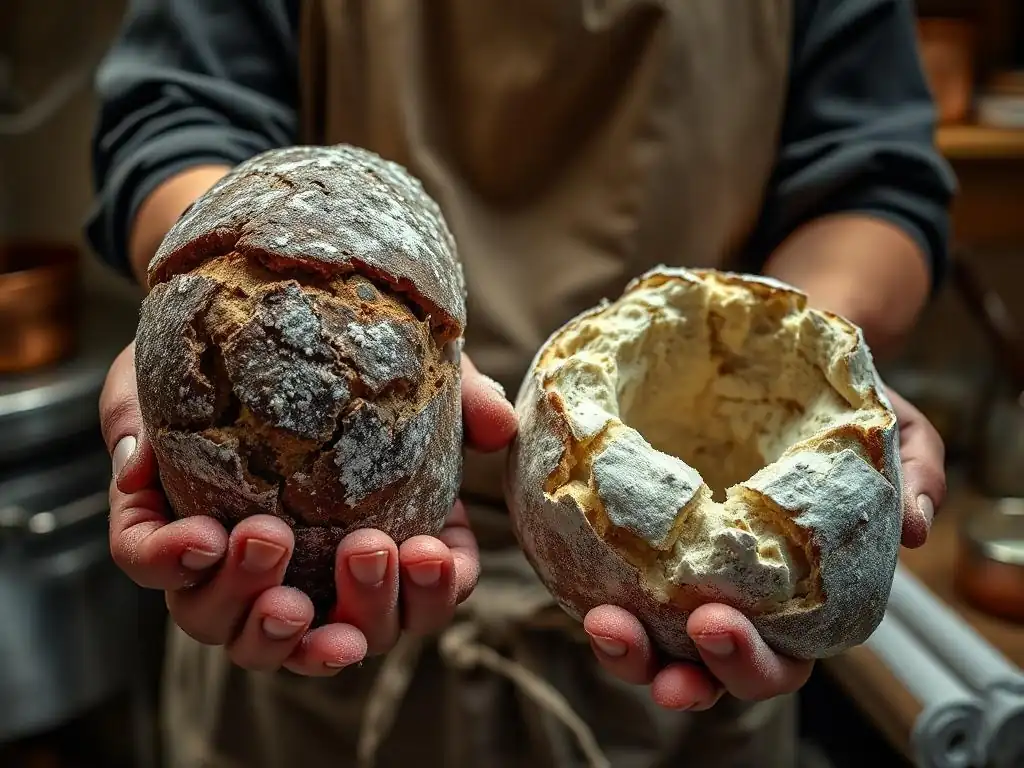
Welcome to BakeWithEase, where we demystify the science behind baking! Are you ready to unlock the secrets to perfectly textured breads and pastries? In this Baking Science Deep Dive, we're tackling a crucial element often overlooked: gluten development. Discover essential baking tips to avoid the common pitfalls of over and underdeveloped gluten, ensuring your next bake is a resounding success. Curious to know how a simple tweak can revolutionize your dough? Let's get started!
- Mastering Gluten: Achieving Perfect Texture in Bread
- Understanding Gluten Development
- Identifying Under-Developed Gluten
- Gluten Development Techniques for Bread
- Troubleshooting Gluten Issues
- Advanced Techniques
- Conclusion: Baking with Confidence
-
Frequently Asked Questions
- What exactly is gluten development in baking, and why is it important?
- How can I tell if I've overdeveloped the gluten in my dough?
- What are some common mistakes that lead to underdeveloped gluten?
- What types of flour are best suited for achieving strong gluten development?
- Can resting the dough (autolysing) help with gluten development and prevent over-kneading?
- Final Reflection: The Golden Ratio of Gluten: Baking Success Through Understanding
- Unlock Your Baking Potential: Master Gluten's Secrets!
Mastering Gluten: Achieving Perfect Texture in Bread
Understanding Gluten Development
The Role of Gluten in Bread Structure
Gluten is the protein network formed when water hydrates gliadin and glutenin in wheat flour. This mesh traps fermentation gases—mainly carbon dioxide—allowing dough to rise and develop an open, airy crumb. In high-protein bread flour (11.5–14% protein), gluten networks can stretch up to three times their original length without tearing, whereas low-protein pastry flour (8–9% protein) yields weaker structures. Understanding this balance is essential for gluten development baking tips that lead to consistent loaf volume and texture.
Beyond mere elasticity, gluten influences crust formation and chew. A well-developed network creates uniform gas cell walls, resulting in a thin, crisp crust and a tender interior. For example, artisan sourdough typically targets 70–75% hydration with 12–13% protein flour, producing large irregular holes and a glossy crust. Conversely, sandwich loaves often use 60% hydration to yield a fine, even crumb ideal for slicing.
Stages of Gluten Formation: Hydration, Alignment, Strengthening
- Hydration
- Water absorption begins gluten formation. At 65% hydration (water weight/flour weight × 100), most bread flours reach optimal gluten swelling.
- Code snippet for calculating hydration:
hydration_percent = (water_weight / flour_weight) * 100
- Alignment
- Gentle mixing aligns protein strands and begins early network development. 5–7 minutes of slow-speed mixing on a stand mixer suffice for moderate doughs.
- Strengthening
- Kneading or stretch-and-fold methods continue aligning and cross-linking proteins, increasing dough strength and extensibility. A windowpane test can assess this stage.
During these stages, enzymatic activity breaks down starches into sugars, feeding yeast and enhancing flavor. Overly long alignment without strengthening leads to slack dough, while over-strengthening can produce a tight, tear-resistant matrix that resists gas expansion.
Identifying Under-Developed Gluten
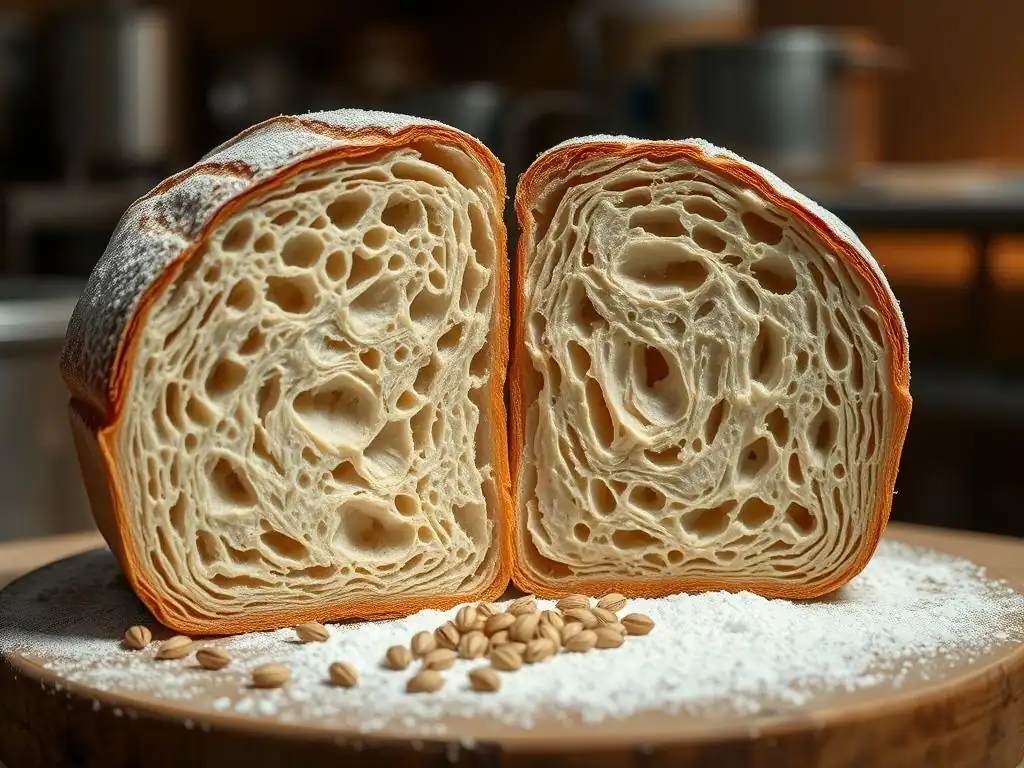
Signs of Insufficient Gluten Development
Under-developed gluten often manifests in three key ways:
Dense, Crumbly Texture
When gluten strands are too few or poorly formed, the dough collapses under its own weight. You’ll see a compact crumb with small, uniform holes no larger than 2 mm. A typical home baker’s 100% whole wheat loaf at 60% hydration but only 4 minutes of kneading will exhibit this denseness.
Poor Oven Spring
A well-developed gluten network traps CO₂ effectively, yielding a strong “spring” in the first 10 minutes of baking. Insufficiently developed dough may only expand 10–15%, compared to the 30–40% spring seen in properly kneaded doughs at 70% hydration.
Weak Structure
When you slice the loaf, the crumb may tear easily, lacking resilience. Weak structure also causes the loaf to “pancake” sideways rather than rise vertically, especially noticeable in baguettes baked at 75% hydration with minimal folding during bulk fermentation.
Techniques to Improve Gluten Development
Before diving into specific tips, note that consistent technique and precise measurements are your allies. Use a kitchen scale and digital timer to track improvements.
- Task List for Developing Gluten:
- [ ] Weigh flour and water accurately (±1 g)
- [ ] Perform autolyse (20–30 minutes)
- [ ] Employ stretch-and-fold every 30 minutes
- [ ] Conduct windowpane test
Proper Hydration: Achieving the Right Dough Consistency
Adequate water is the first step in gluten development baking tips. A hydration level of 60–65% suits enriched doughs like brioche, while lean doughs (baguettes, ciabatta) often reach 75–80%. Keep these approximations in mind:
- Standard white bread: 62–68%
- Whole grain: 65–75%
- Ciabatta: 75–80%
Measure water at room temperature (20 °C) and adjust by 2–3% if dough feels too stiff or too slack.
Effective Kneading: Developing Strength and Elasticity
Two popular methods for strengthening gluten:
- Stand mixer:
- Use paddle attachment at speed 1 for 4–6 minutes, then speed 2 for 2–3 minutes.
- Look for a smooth, slightly tacky dough that passes the windowpane test.
- Hand kneading:
- Perform 10–12 minutes of traditional push-fold-turn cycles.
- Incorporate bench rests every 3–4 minutes to allow gluten to relax.
Flour Selection: Choosing the Right Protein Content
Protein content dictates gluten potential:
- All-purpose (10–11.5%): Balanced performance for most breads.
- Bread flour (11.5–14%): Ideal for robust structures and open crumb.
- Whole wheat (13–15%): High protein but limited by bran, requiring extra hydration and gentle handling.
For a 100% whole wheat loaf, use a 70% hydration baseline and add 5 minutes of extra kneading to overcome bran’s cutting action.
Signs of Excessive Gluten Development
Over-kneaded or over-mixed dough shows distinct flaws:
-
Tough, Rubbery Texture
Over-developed gluten networks become extremely elastic, resisting shaping. Dough may tear rather than stretch, producing a leathery crumb with uneven gas distribution.
-
Difficult Shaping
Excess strength causes the dough to snap back during rounding. For example, a mixer-kneaded pizza dough at speed 3 for 15 minutes will often exhibit this issue.
-
Shrinking Dough
After bench rest, dough shrinks significantly instead of relaxing. Bakers sometimes leave dough too long in a mixer—20+ minutes—resulting in this over-tight condition.
Techniques to Prevent Over-Development
Effective gluten development baking tips also include knowing when to stop:
- Gentle Mixing: Avoid mixing beyond the windowpane threshold. When you see >90% translucent windowpane, cease mixing.
- Fat Incorporation: Adding 5–10% fat (oil, butter) to dough shortens gluten strands—useful in brioche or challah to moderate over-development.
- Dough Relaxation: After initial mixing, let dough rest 15–20 minutes before final shaping. This autolytic rest softens over-strong networks.
Gluten Development Techniques for Bread
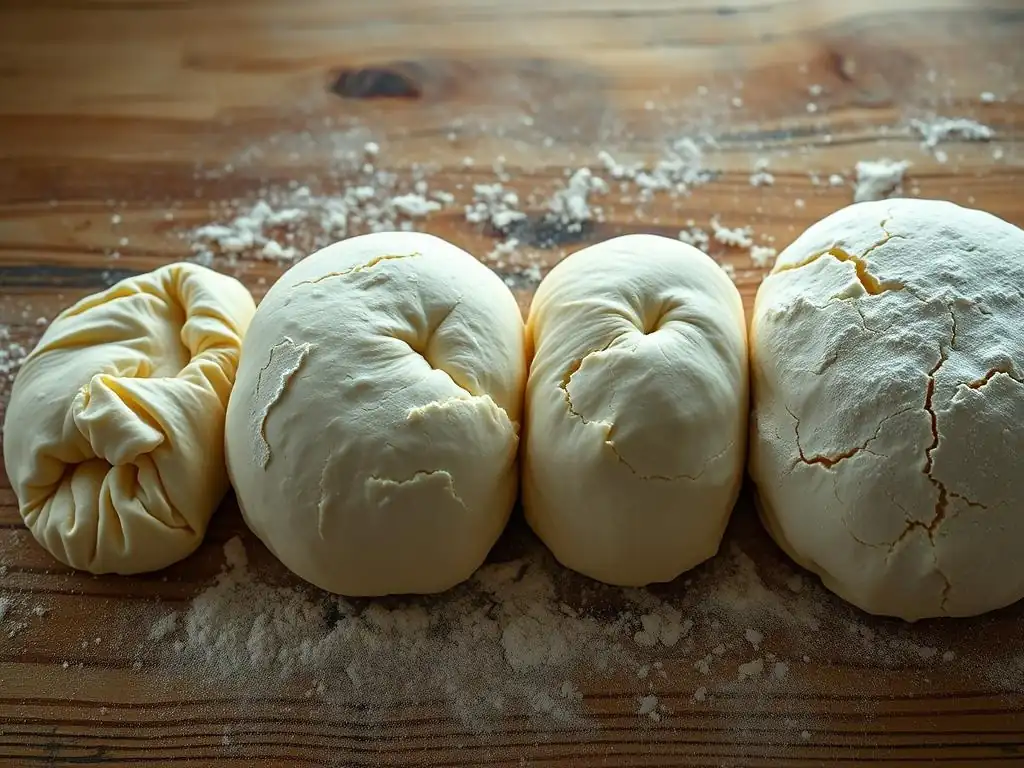
The Windowpane Test: Assessing Gluten Strength Visually
The windowpane test remains the gold standard. Take a 10 g dough ball and stretch gently:
- If it forms a thin, translucent film (≥5 cm wide) without tearing, gluten is well-developed.
- If it rips at the edges, knead or fold for another 2–4 minutes.
The windowpane is as crucial as measuring your ingredients,
notes James MacGuire of The Sourdough School.
It gives bakers real-time feedback on dough readiness and prevents both under- and over-development.
Ingredient Impact on Gluten
Salt's Role: Controlling Gluten Development
Salt tightens gluten networks, slowing yeast activity and strengthening dough. Typical usage:
- 1.8–2.0% salt relative to flour weight
- Below 1.5%: slack dough, poor crumb
- Above 2.5%: overly tight network, limited oven spring
Fat's Role: Tenderizing and Shortening Gluten Strands
Fats coat gluten proteins, preventing excessive linkage:
- Butter in croissants (30% by flour weight) yields distinct layers and a soft bite.
- Oil in focaccia (5–7%) promotes extensibility and open crumb.
Adapting Techniques for Different Breads
High-Hydration Doughs: Managing Sticky Dough
- Use a wet bench and scraper to handle 75–80% hydration doughs.
- Perform coil folds for ciabatta: gentle lifts and folds at 30-minute intervals.
Enriched Doughs: Balancing Gluten and Richness
- Reduce kneading time by 20% when adding eggs or sugar.
- Aim for 60–65% hydration to counteract added liquids from eggs.
Sourdough: Long Fermentation and Complex Gluten Development
- Bulk ferment 3–5 hours at 22 °C, incorporating folds every 30 minutes.
- Cold retard overnight at 4 °C for 12–16 hours to enhance flavor and gluten resilience.
Troubleshooting Gluten Issues
Common Mistakes: Over-Mixing, Incorrect Hydration
- Over-mixing: Excessive mixer speed or time leads to tough crumb and snapping dough.
- Incorrect hydration: Under- or over-estimated water weight causes either a stiff, under-developed network or a slack, collapsing dough.
Addressing Specific Problems in Sourdough, Baguettes, and Sandwich Loaves
- Sourdough: If crumb is too dense, increase folding frequency or hydration by 2–3%.
- Baguettes: Excessive elasticity? Reduce mixer kneading by 2 minutes and incorporate more gentle stretch-and-folds.
- Sandwich loaves: For fine crumb, aim for a thorough 3-minute paddle mixing followed by 2 minutes of dough hook.
Altitude Adjustments for Gluten Development
At elevations above 1,500 m:
- Increase hydration by 1–2% due to drier air.
- Shorten mixing times by 10–15% to avoid over-development.
- Accelerate fermentation by lowering proofing temperature by 2 °C.
Advanced Techniques
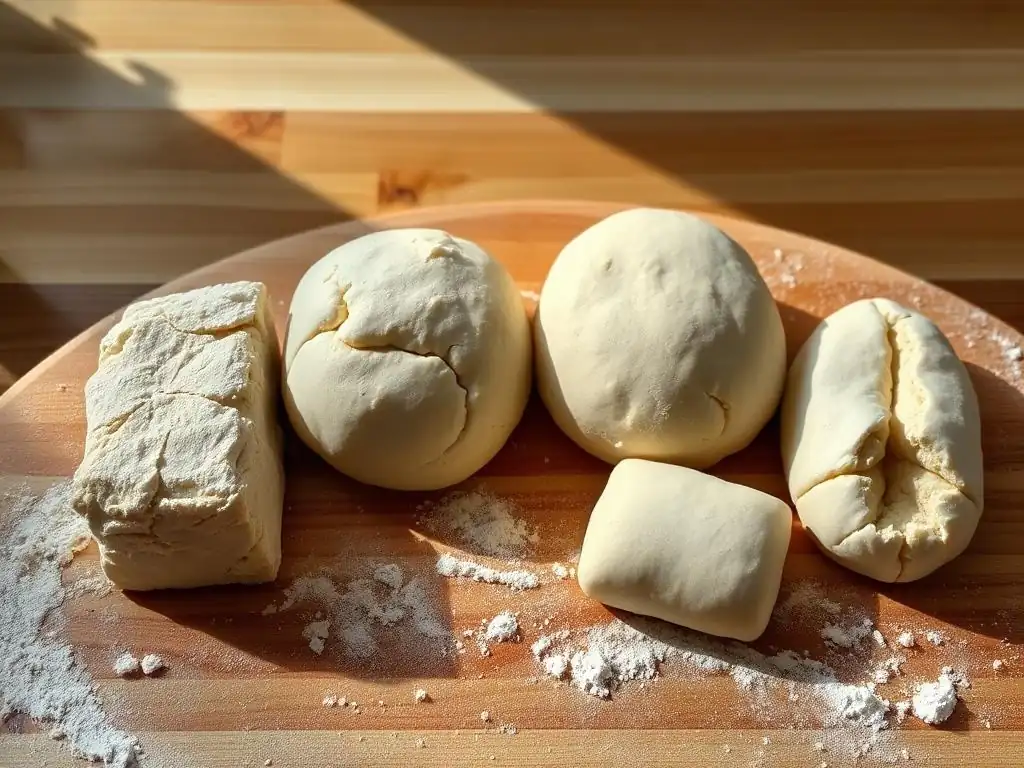
Autolyse: Enhancing Hydration and Flavor
Autolyse involves mixing flour and water, resting for 20–45 minutes before adding salt and yeast. Benefits:
- Improved extensibility and sugar release for better crust color.
- Reduction in mixing time by up to 30%, preserving delicate gluten strands.
Lamination: Creating Layers with Fat
Primarily used in puff pastry and croissants:
- Incorporate a 250 g butter block into 500 g dough comprising 60% hydration.
- Perform 3–4 single turns to achieve 27–81 layers, offering flakiness without over-stressing gluten.
Cold Retardation: Slowing Fermentation for Flavor and Strength
Refrigerate shaped dough at 4 °C for 12–24 hours:
- Slower yeast activity allows further gluten alignment and flavor compound development.
- Ideal for sourdough boules and baguettes, resulting in a more nuanced taste profile and firmer crumb structure.
Conclusion: Baking with Confidence
Key Takeaways for Gluten Mastery
- Balance hydration and kneading: 60–80% hydration, 6–12 minutes of mixing/folding.
- Observe windowpane results to know when to stop development.
- Adjust ingredients—salt, fat, flour type—for dough behavior and desired crumb.
Further Resources for Bread Baking
- Consult professional guides like Advanced Bread and Pastry by Michel Suas.
- Follow specialized platforms offering metric formulas and fermentation schedules.
- Experiment with hydration, folding, and rest cycles to internalize these gluten development baking tips and bake with confidence every time.
Frequently Asked Questions
What exactly is gluten development in baking, and why is it important?
Gluten development is the process of forming a network of elastic strands from proteins found in flour when mixed with water. It's crucial for giving baked goods their structure and texture.
How can I tell if I've overdeveloped the gluten in my dough?
Overdeveloped gluten results in a tough, rubbery texture. The dough will be difficult to work with, springing back aggressively, and may be hard to shape.
What are some common mistakes that lead to underdeveloped gluten?
Underdeveloped gluten is often caused by insufficient mixing or kneading. Using flour with a low protein content or not adding enough liquid can also hinder gluten development.
What types of flour are best suited for achieving strong gluten development?
Flours with a high protein content, such as bread flour, are ideal for strong gluten development. These flours create a more robust and elastic dough.
Can resting the dough (autolysing) help with gluten development and prevent over-kneading?
Yes, resting the dough, also known as autolysing, allows the flour to fully hydrate. This promotes gluten development naturally, potentially reducing the need for extensive kneading and lowering the risk of over-developing the gluten.
Final Reflection: The Golden Ratio of Gluten: Baking Success Through Understanding
The delicate balance of gluten development remains a crucial factor in achieving consistently excellent baked goods, a fact as relevant today as it was centuries ago. Mastering this balance, avoiding both under- and over-developed gluten, is the key to unlocking the full potential of your flour and creating truly exceptional results, from airy loaves to perfectly chewy cookies.
The journey of understanding gluten development is a continuous one, influencing not only the texture and taste of our baked goods but also our appreciation for the fundamental processes of baking. It's a testament to the enduring power of simple ingredients and precise technique. Baking is at once child's play and adult alchemy.
This quote perfectly captures the blend of simplicity and complexity inherent in the process, and nowhere is this more apparent than in the subtle art of gluten manipulation. The more I learn, the more I realize the depth of knowledge required to truly master this aspect of baking.
Now, it's your turn. Consider the insights shared in this article – the visual cues, the feel tests, the understanding of hydration's role. Take a moment to reflect on your own baking experiences. Have you noticed the subtle differences between under- and over-developed gluten? Experiment with your next batch, consciously aiming for that perfect balance. Embrace the challenge, for the reward is the satisfaction of creating truly magnificent baked goods, born from a deep understanding of the fundamental ingredients that make them possible.
Unlock Your Baking Potential: Master Gluten's Secrets!
Thanks for taking the time to explore the fascinating world of gluten! You've now gained valuable insights into how this protein impacts your baking, helping you avoid common mistakes and create consistently delicious results. Ready to put your new knowledge into practice?
- Bake a test loaf: Use the techniques discussed to make a simple loaf of bread, paying close attention to gluten development. This is the best way to solidify your understanding.
- Experiment with different flours: Try substituting a portion of your usual flour with whole wheat or another variety – observe how the gluten reacts and adjusts your technique accordingly.
- Share your baking journey!: Post a picture of your creation on social media and tag #BakeWithEaseGluten for a chance to be featured on our website!
What unique flour blend will you try first to elevate your next baking masterpiece?