
Beginner's Guide to Tart Pans

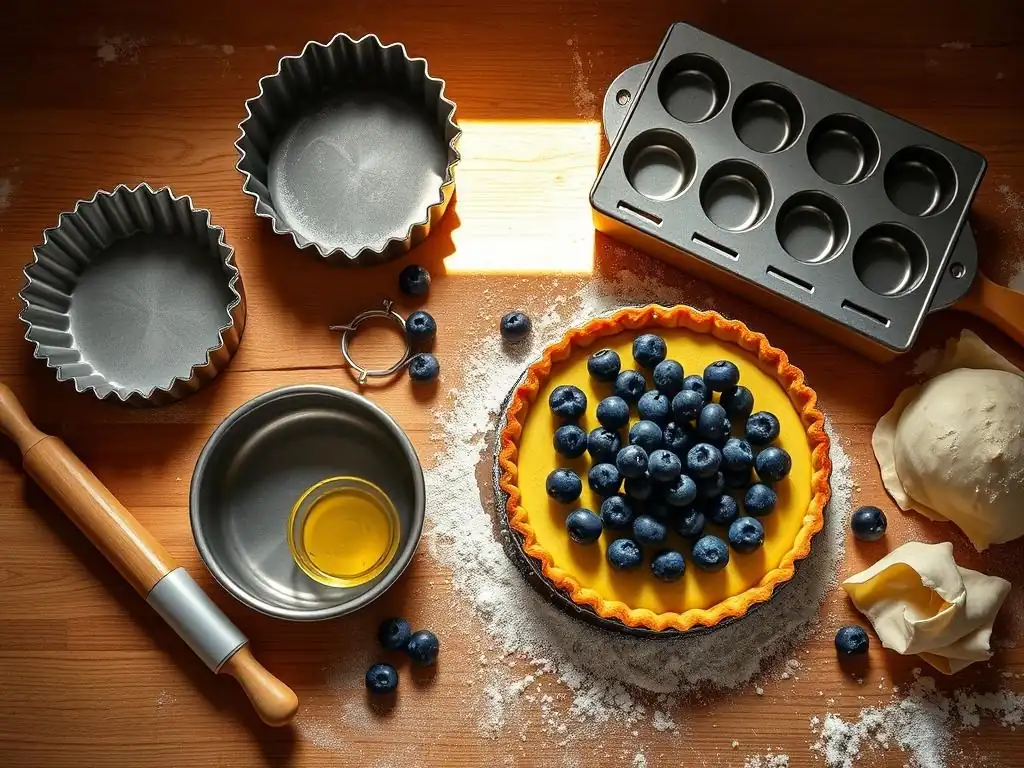
Welcome to BakeWithEase, your haven for all things baking!
Ever wondered how to achieve that perfectly crisp crust and elegant presentation in your homemade tarts? In this guide, we're demystifying the world of tart pans. Discover how to use tart pans like a pro with our beginner-friendly tips and techniques. Intrigued? Let's unlock the secrets to creating bakery-worthy tarts right in your own kitchen!
- Mastering Tart Pans: A Baker's Guide
- Understanding Tart Pans: A Baker's Essential
- Preparing Your Tart Pan for Baking: Essential Steps
- How to Use a Tart Pan: A Step-by-Step Guide
- Baking Your Tart: Achieving a Golden Crust
- Removing Your Tart from the Pan: Easy Techniques
- Cleaning and Caring for Your Tart Pans: Ensuring Longevity
- Troubleshooting Common Tart Baking Problems
- Advanced Tart Baking Techniques: Taking Your Skills to the Next Level
- Frequently Asked Questions
- Final Reflection: Mastering the Art of the Tart Pan
- Unleash Your Inner Pastry Chef!
Mastering Tart Pans: A Baker's Guide
Understanding Tart Pans: A Baker's Essential
What is a Tart Pan and Why Use One?
A tart pan is a specialized baking pan designed specifically for making tarts. Unlike a traditional pie pan which often has sloped sides and a deeper well, tart pans typically feature shallow, straight sides, often with decorative fluting around the edge.
The most distinctive feature for many is the removable bottom, which allows for easy unmolding of the finished tart, preserving those beautiful fluted edges and making presentation effortless. Using a tart pan helps create a pastry with a higher crust-to-filling ratio compared to a pie, resulting in a delicate, crisp crust that is a hallmark of a perfect tart.
The unique design of a tart pan is crucial for achieving the classic tart aesthetic and texture. The shallow depth ensures that fillings cook evenly and the crust bakes through without becoming soggy, especially when making delicate fruit tarts or creamy quiches. The fluted edges aren't just for show; they provide structural support to the crust while baking and create a professional, finished look that is difficult to achieve with a standard pie plate. Learning how to use tart pans effectively is a fundamental skill for any aspiring baker looking to expand beyond simple pies.
Different Types of Tart Pans: Choosing the Right One
Selecting the appropriate tart pan depends on your recipe and desired outcome. Understanding the various types available will help you make the best choice, ensuring your tart bakes perfectly and looks stunning. Considerations include the pan's material, shape, size, and whether it has a removable bottom. Each type offers distinct advantages that can impact baking time, crust color, and ease of serving.
Choosing the right pan is the first step in mastering how to use tart pans for different applications. A pan that conducts heat well will give you a beautifully browned crust, while one with a removable bottom simplifies the process of presenting your finished creation. Thinking about the specific tart you plan to bake – whether it's a delicate fruit tart, a rich chocolate ganache tart, or a savory quiche – will guide you in selecting the perfect pan for the job.
Tart Pan Materials: Metal, Glass, and Silicone
Metal tart pans, typically made from aluminum, steel, or non-stick coated metal, are the most common choice for many bakers. They conduct heat efficiently and evenly, which is crucial for achieving a golden-brown, crisp crust. Darker non-stick coatings can absorb more heat, potentially leading to faster browning, so you might need to adjust baking times slightly. A standard aluminum tart pan, for instance, provides reliable, consistent heat distribution, making it excellent for classic pastry doughs.
Glass tart pans, while less common, offer the advantage of allowing you to visually check the browning of the crust from the sides and bottom. However, glass is a poor heat conductor compared to metal, which can sometimes result in a less crisp bottom crust. Silicone tart pans are flexible and non-stick, making removal incredibly easy, but they don't provide the same level of heat conduction as metal, which can affect crust development and browning. Many bakers prefer metal for its superior ability to produce a perfectly baked crust when learning how to use tart pans.
Tart Pan Shapes and Sizes: Round, Square, and Rectangular
Round tart pans are the classic shape and the most widely available, typically ranging from 4-inch mini pans to 10 or 11-inch large pans. A common size for a standard dessert tart serving 6-8 people is a 9-inch round pan. This size is versatile for many recipes, from fruit tarts to quiches.
Square and rectangular tart pans offer a more modern presentation and are excellent for bar-style tarts or savory applications where clean, straight cuts are desirable. A rectangular pan, perhaps 13x4 inches, is perfect for making individual servings or easy-to-slice portions for a buffet. While the shape doesn't fundamentally change how to use tart pans, it does influence the amount of dough required and the final look of your baked good.
Removable Bottom vs. Fixed Bottom Tart Pans: Choosing the Right Type
Tart pans with a removable bottom are incredibly popular, and for good reason. Once your tart is baked and cooled, you simply place the pan on a stable object (like a can or jar slightly smaller than the base) and let the outer ring slide down, leaving the tart resting perfectly on the base. This method significantly reduces the risk of damaging the delicate crust during removal and makes transferring the tart to a serving plate much easier. This is a key feature that many beginners appreciate when figuring out how to use tart pans.
Fixed-bottom tart pans are essentially shallow pie plates with fluted edges. They are generally sturdier and less prone to leaks, making them a better choice for very wet or liquid-heavy fillings, such as certain types of quiches or custards where there's a higher risk of leakage before baking.
However, removing the tart from a fixed-bottom pan requires cutting and lifting slices directly from the pan, similar to serving a pie, which means you lose the ability to showcase the full, intact tart on a serving platter. For most standard tart recipes, especially those with firmer fillings, the removable bottom offers a significant advantage in presentation and is a defining characteristic of how to use tart pans for elegant results.
Preparing Your Tart Pan for Baking: Essential Steps
Properly preparing your tart pan is crucial for ensuring your crust doesn't stick and releases cleanly after baking. Even with non-stick pans, a little preparation goes a long way in guaranteeing a perfect result. This step is fundamental to successfully learning how to use tart pans.
Taking the time to prepare the pan correctly prevents frustrating mishaps later on, like a beautiful tart that breaks apart when you try to unmold it. A well-prepared pan allows the crust to bake evenly and slide out effortlessly, showcasing those crisp, fluted edges you worked hard to create.
Greasing and Flouring: Preventing Sticking
For most metal tart pans, especially those without a non-stick coating or older pans, greasing and flouring is the traditional and highly effective method to prevent sticking. Start by applying a thin, even layer of solid shortening, butter, or lard to the inside surface of the pan, covering the bottom and up the sides into the flutes. Ensure you get into all the nooks and crannies of the fluted edge.
Once the pan is greased, add a tablespoon or two of all-purpose flour. Tilt and rotate the pan, tapping gently, to distribute the flour evenly over the greased surface. The flour should stick to the grease, creating a barrier. Tap out any excess flour. This classic technique is a reliable way to prepare the pan before you press your dough into it, ensuring a clean release and is a standard practice when learning how to use tart pans.
Using Baking Spray: A Convenient Alternative
Baking spray, which often contains flour in addition to oil, is a quick and convenient alternative to traditional greasing and flouring. A quick, even spray over the entire interior surface of the tart pan provides a non-stick coating. Ensure you spray into the flutes as well.
While baking spray is faster, some bakers find that over time, it can build up a sticky residue on pans, especially non-stick ones. It's also sometimes less effective than butter and flour for intricate fluted edges. However, for a busy baker, a light, even coat of baking spray can be a perfectly acceptable method to prepare the pan when you're ready to learn how to use tart pans with minimal fuss.
Blind Baking: Pre-Baking Your Tart Crust
Blind baking refers to the process of partially or fully baking a tart crust before adding the filling. This technique is essential for tarts with wet fillings that don't require much baking time themselves, or for tarts with fillings that aren't baked at all, like fresh fruit tarts or ganache tarts.
Successfully blind baking is a key part of mastering how to use tart pans for a variety of recipes. It ensures that the bottom crust is fully cooked and crisp, providing a sturdy base for the filling and preventing that dreaded soggy bottom that can ruin a tart.
Why Blind Bake? Avoiding Soggy Crusts
The primary reason for blind baking is to prevent the tart crust from becoming soggy, particularly the bottom crust. When a wet filling is added to an unbaked crust and baked together, the moisture from the filling can seep into the dough before it has a chance to set and crisp up, resulting in a soft, undercooked, or gummy bottom layer.
Blind baking creates a barrier by pre-cooking the crust. A partially baked crust is sufficient for fillings that will be baked with the tart, like quiche, providing a head start on crisping the base. A fully baked crust is necessary for no-bake fillings, ensuring the crust is perfectly cooked and ready to hold the filling without turning mushy. This step is fundamental to understanding how to use tart pans for professional-quality results.
How to Blind Bake: Step-by-Step Instructions
Blind baking involves lining the dough-filled tart pan with parchment paper or foil and filling it with weights to prevent the crust from puffing up or shrinking. This process requires careful timing and temperature control.
Here are the general steps for how to blind bake your tart crust:
- Prepare the Crust:
- Roll out your tart dough and carefully fit it into the prepared tart pan, pressing it into the flutes.
- Trim the excess dough.
- Prick the bottom of the crust all over with a fork (this is called docking) to allow steam to escape, but avoid over-docking if using a very wet filling later.
- Chill the dough in the pan for at least 30 minutes, or ideally 60 minutes, in the refrigerator or freezer. This is a critical step to help prevent shrinkage.
- Add Weights:
- Once the dough is chilled and firm, line the inside of the crust with parchment paper or aluminum foil, pressing it gently against the dough and up the sides. Leave some overhang to make removal easier.
- Fill the lined crust with pie weights, dried beans, rice, or even granulated sugar. Distribute the weights evenly across the bottom and up the sides to support the crust. You'll typically need 1.5 to 2 pounds of weights for a 9-inch tart pan.
- Bake:
- Place the weighted tart pan on a baking sheet (this makes it easier to handle and catches any potential leaks, though less likely with blind baking).
- Bake in a preheated oven according to your recipe's instructions, typically at a temperature between 375°F and 400°F (190°C to 200°C).
- For a partial bake (if adding a filling that will also be baked): Bake for about 15-20 minutes, or until the edges are set and lightly golden.
- For a full bake (if adding a no-bake filling): Bake for the initial 15-20 minutes with weights. Then, carefully remove the weights and the parchment/foil liner. Return the crust to the oven and bake for an additional 10-15 minutes, or until the bottom is golden brown and appears cooked through. You might need to shield the edges with foil if they are browning too quickly.
- Cool:
- Let the blind-baked crust cool completely in the pan on a wire rack before adding the filling.
Understanding these steps is key to mastering how to use tart pans for flaky, crisp crusts every time.
How to Use a Tart Pan: A Step-by-Step Guide
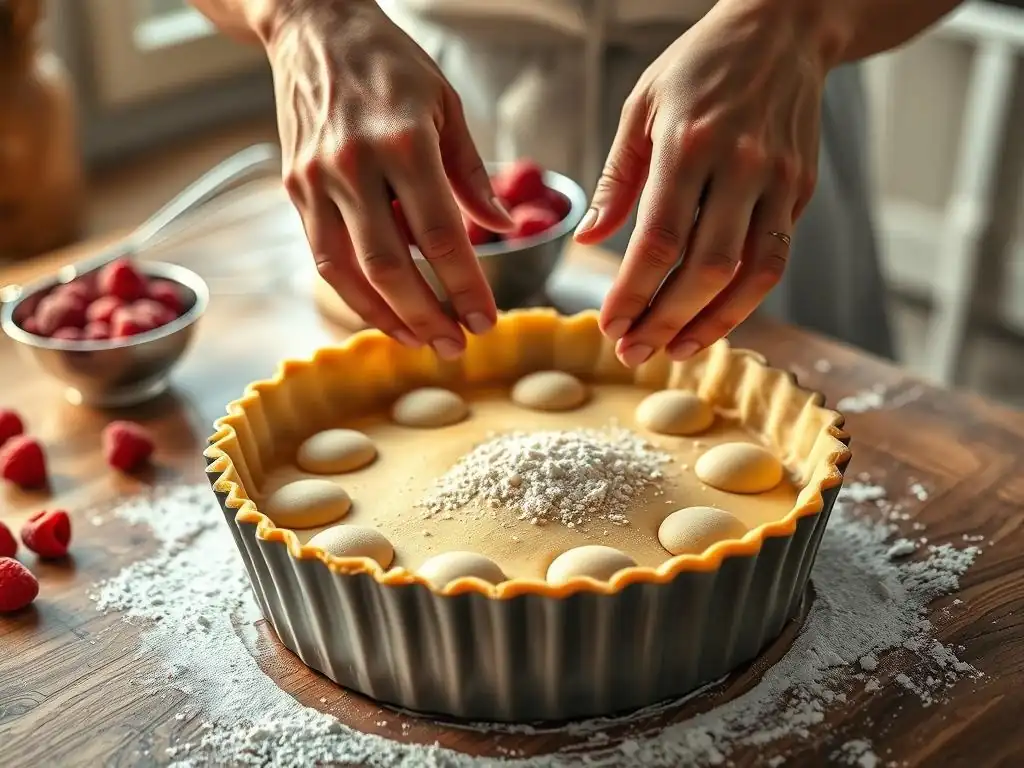
Using a tart pan effectively involves several key steps, from preparing your dough to filling the pan. Each stage contributes to the final look and success of your tart. This guide will walk you through the process, focusing on techniques that ensure a beautiful and delicious result.
Mastering the technique of how to use a tart pan ensures your pastry is evenly thick, fits snugly into the pan's contours, and holds its shape during baking. It's a process that combines careful handling with simple tools.
Rolling Out Your Dough: Achieving the Right Thickness
Begin with well-chilled tart dough. On a lightly floured surface, roll the dough out evenly using a rolling pin. Start from the center and roll outwards, rotating the dough occasionally to prevent sticking and ensure an even thickness. Aim for a thickness of about 1/8 inch (approximately 3-4 mm). This thickness is ideal – thin enough to bake through and become crisp, but thick enough to provide structure and not tear easily when transferring.
An evenly rolled dough is crucial for a uniformly baked crust. If the dough is too thick in some areas, it may not cook through, while overly thin spots can burn or break. Measure the diameter of your tart pan and ensure your rolled-out dough is large enough to cover the bottom and extend up the sides, plus a little extra for trimming – typically about 2 inches wider than the pan's diameter. This prepares the dough correctly before you actually learn how to use tart pans to form the crust.
Transferring the Dough to the Tart Pan: Avoiding Tears and Cracks
Transferring the rolled-out dough to the tart pan can be the trickiest part. One common method is to gently roll the dough around your rolling pin, then unroll it carefully over the prepared tart pan, centering it as you go. Alternatively, you can gently fold the dough into quarters, lift it into the pan, and then unfold it, carefully positioning it.
Once the dough is in the pan, gently press it into the bottom corners and up the fluted sides, using your fingers to ease it into the contours without stretching it. Stretching can cause the dough to shrink back during baking. Ensure the dough is snug against the pan's surface. Trim the excess dough by rolling your rolling pin over the top of the pan, or by using a sharp knife to cut along the edge. This careful transfer is essential when learning how to use tart pans without damaging your pastry.
Crimping the Edges: Creating a Decorative Finish
While the fluted edge of a tart pan provides a natural decorative finish, you may still need to gently press the dough into the flutes to ensure it adheres well and holds its shape. Some recipes call for creating an additional decorative edge on the dough that extends slightly above the rim of the pan.
To do this, you can use your fingers to pinch the dough into a wavy pattern or use the tines of a fork to press a pattern around the top edge. Ensure the dough is level with the top of the pan before crimping if you want a clean, professional edge that relies solely on the pan's flutes. Properly settling the dough into the flutes is a key step in how to use tart pans to their full potential for presentation.
Filling Your Tart: Achieving Even Distribution
Before adding your filling, ensure your tart crust is prepared as required by the recipe – either raw, partially blind-baked, or fully blind-baked. Pour or place your filling into the tart shell, distributing it evenly. For liquid fillings like quiche custard or ganache, it's often easiest to place the tart pan on a baking sheet before filling it, especially if it has a removable bottom, to prevent spills when transferring it to the oven.
For solid fillings like fruit or frangipane, arrange them neatly in the shell. Ensure the filling is distributed uniformly so that the tart bakes evenly. Avoid overfilling, as this can lead to spills in the oven or a tart that is difficult to slice neatly. How you fill the tart is the next step in putting your knowledge of how to use tart pans into practice.
Baking Your Tart: Achieving a Golden Crust
Baking is where your tart comes to life, transforming dough and filling into a delicious pastry. Proper oven temperature and timing are critical to ensure the crust is perfectly golden and crisp, and the filling is cooked through.
Understanding the nuances of baking is fundamental to mastering how to use tart pans to produce consistently excellent results. It involves paying attention to visual cues and sometimes using tools like thermometers.
Oven Temperature and Baking Time: Avoiding Burning or Underbaking
The ideal oven temperature and baking time will vary significantly depending on the specific tart recipe and the type of filling. However, most tarts bake in a moderate oven, typically between 350°F and 375°F (175°C to 190°C). Lower temperatures are often used for tarts with delicate fillings that need gentle cooking, while slightly higher temperatures might be used for tarts with heartier fillings or those requiring a very crisp crust.
Always follow the specific temperature and time recommended in your recipe. Keep in mind that oven temperatures can vary, so it's wise to use an oven thermometer to ensure accuracy. Begin checking for doneness a few minutes before the recipe's suggested minimum baking time to prevent burning. Overbaking can result in a dry, tough crust, while underbaking leads to a pale, potentially soggy one – issues you want to avoid after learning how to use tart pans to form your crust.
Checking for Doneness: Visual Cues and Internal Temperature
Checking for doneness is essential for a successful tart. For tarts with a visible crust edge, look for a rich golden-brown color. The crust should appear set and crisp. For tarts with liquid or custard fillings, the center should be mostly set with perhaps a slight wobble, not liquid.
For custard or quiche tarts, you can also use an instant-read thermometer. Insert it into the center of the filling; it should register around 170°F to 175°F (77°C to 79°C). The edges of the filling will likely be puffed and set. If the crust edges are browning too quickly while the center isn't done, you can loosely cover the edges with strips of aluminum foil. Knowing these indicators is key to finishing the process of how to use tart pans to bake a perfect tart.
Cooling Your Tart: Preventing Cracking and Warping
Allowing your tart to cool properly is just as important as baking it correctly. Most tarts should be cooled in their pan set on a wire rack. The wire rack allows air to circulate underneath, preventing condensation that could make the bottom crust soggy.
Cooling times vary; a fruit tart might need an hour or two to cool sufficiently, while a rich chocolate tart or quiche often requires several hours, or even chilling overnight, for the filling to set completely. Attempting to remove a tart from its pan or slice it before it's properly cooled can lead to cracking, breaking, or a messy filling. Patience during the cooling phase is a virtue when learning how to use tart pans for beautiful results.
Removing Your Tart from the Pan: Easy Techniques
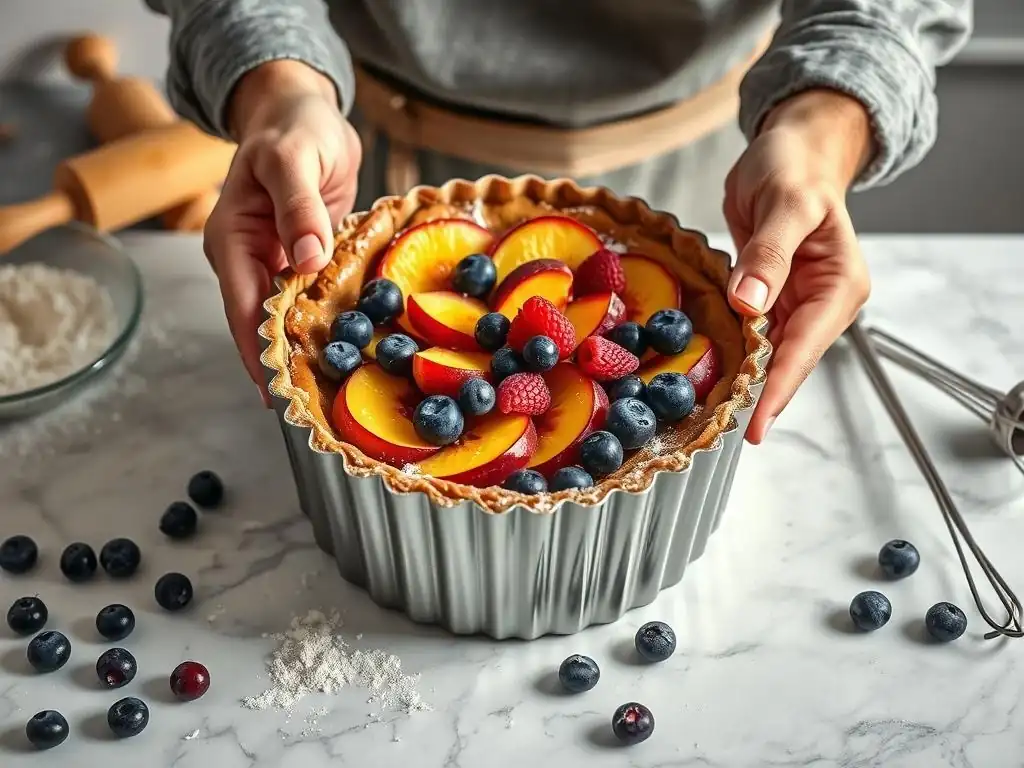
Removing your finished tart from the pan cleanly is the final step before serving. This is where the removable bottom of a tart pan truly shines, making the process straightforward and preserving the tart's integrity.
Learning the proper technique for removal is a satisfying part of mastering how to use tart pans. It ensures that the beautiful tart you've baked can be presented without damage.
Using the Removable Bottom: A Simple Method
If your tart pan has a removable bottom, removing the tart is quite simple once it has cooled sufficiently. Find a sturdy object that is slightly smaller in diameter than the base of your tart pan, such as a can of tomatoes or a wide glass.
Place the tart pan on top of this object. Gently push down on the outer ring of the pan. The ring should slide down, leaving the tart resting on the elevated base. You can then carefully slide the tart from the base onto a serving plate or leave it on the base for presentation. This method is the primary advantage of using a removable-bottom pan when you know how to use tart pans for elegant service.
Cooling Completely: The Key to Clean Removal
Regardless of whether your pan has a removable bottom, ensuring the tart is cooled completely is paramount for clean removal or slicing. Warm tarts, especially those with custard, cream, or ganache fillings, are fragile and prone to breaking or having the filling ooze out.
For many tarts, particularly those with fillings that need to set firmly, chilling in the refrigerator for a few hours or even overnight after initial cooling at room temperature is recommended before attempting removal or slicing. A well-chilled tart holds its shape much better, making the final step of how to use tart pans to present your creation a breeze.
Cleaning and Caring for Your Tart Pans: Ensuring Longevity
Proper care and cleaning will extend the life of your tart pans and ensure they perform well for many baking projects to come. Different materials require slightly different cleaning approaches.
Maintaining your tart pans is an important part of the overall process of how to use tart pans effectively over time. Clean pans prevent baked-on residue that can affect future baking and storage.
Hand Washing vs. Dishwasher: Which is Best?
Hand washing is generally the preferred method for cleaning most tart pans, especially those with non-stick coatings or removable bottoms. Hot, soapy water and a soft sponge are usually sufficient to remove any residue. Rinse thoroughly and dry immediately with a soft cloth to prevent rust, particularly on metal pans or around the edges of removable bottoms.
While some non-stick pans are advertised as dishwasher safe, the harsh detergents and high heat of a dishwasher can degrade the non-stick coating over time and may potentially cause damage to the removable bottom mechanism. For optimal longevity and performance, hand washing is the gentler option after you've finished using your tart pan.
Removing Stubborn Food: Gentle Cleaning Methods
If you have stubborn baked-on food residue, avoid using abrasive scrubbers or steel wool, as these can scratch the pan's surface, especially non-stick finishes. Instead, try soaking the pan in hot, soapy water for 15-30 minutes to loosen the residue.
A nylon brush or a plastic scraper designed for non-stick cookware can help remove stuck-on bits without causing damage. For very difficult spots, a paste of baking soda and water can be gently rubbed on the area before washing. Patience and gentle methods are key to preserving your pan when cleaning after you how to use tart pans for baking.
Storing Your Tart Pans: Protecting Your Investment
Proper storage prevents scratches, dents, and damage to the pan's finish. If stacking multiple tart pans, especially metal ones or those with non-stick coatings, place a layer of parchment paper, paper towels, or a soft cloth between each pan.
This cushioning protects the surfaces and prevents them from scratching each other. Store pans in a dry place to avoid rust. Keeping the removable bottom with its corresponding ring is also important; some people store them assembled or stack the rings and bottoms separately with protective layers in between. Careful storage protects your investment in learning how to use tart pans for delicious baking.
Troubleshooting Common Tart Baking Problems
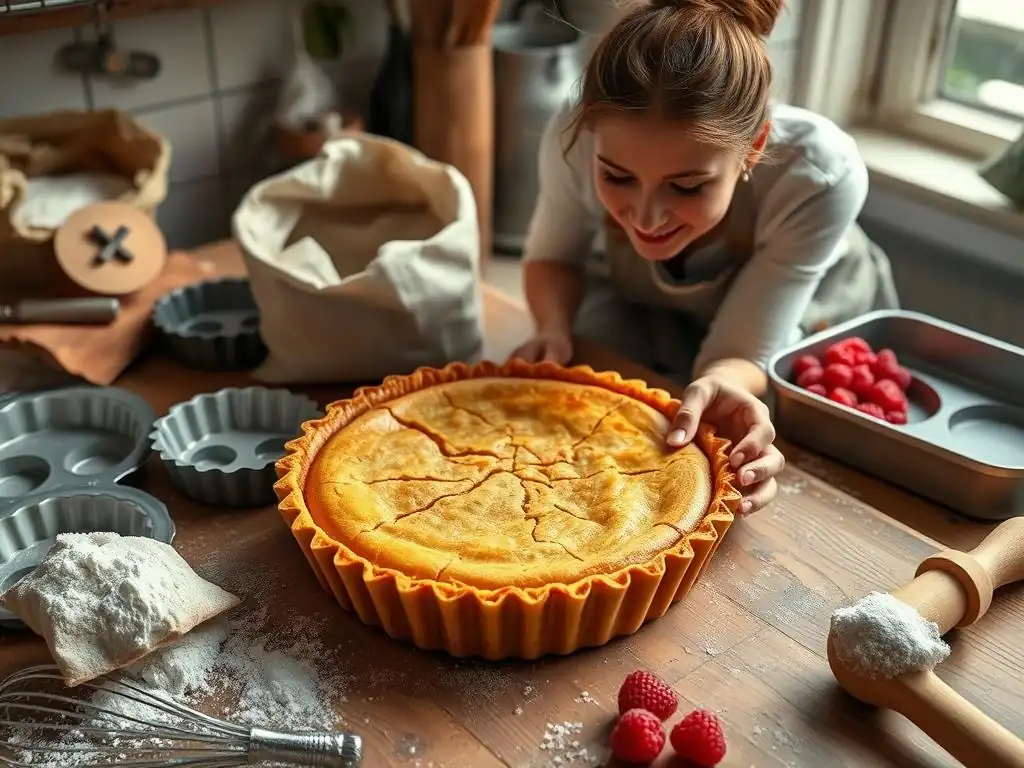
Even with the right pan and technique, baking can sometimes present challenges. Knowing how to identify and fix common problems will help you achieve perfect results more consistently.
Encountering issues is part of the learning process when figuring out how to use tart pans. Understanding the causes helps you prevent them in the future.
Soggy Bottom Crust: Causes and Solutions
A soggy bottom crust is one of the most common and frustrating tart problems. It typically occurs when moisture from the filling permeates the unbaked or insufficiently baked bottom crust before it has a chance to set.
Causes:
- Not blind baking the crust when the recipe requires it.
- Blind baking for too short a time or at too low a temperature.
- Using a filling that is too wet for the baking time.
- Not chilling the dough adequately before baking.
Solutions:
- Always blind bake the crust for tarts with wet or no-bake fillings.
- Ensure you blind bake for the full time specified in the recipe, achieving a golden-brown bottom.
- Place the tart pan on a preheated baking sheet in the oven; the extra heat helps crisp the bottom crust.
- Consider adding a thin layer of a moisture barrier (like a sprinkle of finely ground nuts, breadcrumbs, or melted chocolate) on the bottom crust after blind baking and before adding the filling, if appropriate for the recipe.
Shrinking Crust: Preventing Dough Shrinkage
If your tart crust pulls away from the sides of the pan during baking, it's likely due to shrinkage. This often happens if the dough was overworked, overstretched when fitting it into the pan, or not chilled properly before baking.
Causes:
- Overworking the dough develops gluten, making it elastic and prone to snapping back.
- Stretching the dough into the pan instead of easing it in.
- Insufficient chilling time before baking allows the fat to warm up and the gluten to relax unevenly.
Solutions:
- Handle the dough minimally; mix just until combined.
- Roll out the dough gently and ease it into the pan without stretching.
- Chill the dough in the pan for at least 30-60 minutes before blind baking or filling. This is a crucial step in how to use tart pans successfully with minimal shrinkage.
Cracked Tart Crust: Avoiding Cracking During Baking
Cracks in the tart crust can occur during baking, cooling, or even during the transfer process. This can compromise the tart's appearance and potentially allow filling to leak out.
Causes:
- Dough that is too dry or overworked.
- Sudden temperature changes (e.g., placing a cold tart pan directly into a very hot oven, or moving a hot tart to a very cold surface).
- Attempting to move or remove the tart from the pan before it has cooled sufficiently.
Solutions:
- Ensure your dough has the correct moisture level; it should be pliable but not sticky. Avoid overworking.
- Allow the dough to sit at room temperature for a few minutes if it's too cold and brittle before rolling.
- Place the tart in a preheated oven and allow it to cool gradually on a wire rack.
- Do not attempt to remove the tart from a removable-bottom pan until it is adequately cooled, as recommended by the recipe. Patience is key when learning how to use tart pans without breakage.
Advanced Tart Baking Techniques: Taking Your Skills to the Next Level
Once you're comfortable with the basics of how to use tart pans and successfully baking simple tarts, you might be ready to explore more advanced techniques. These methods can elevate your tarts in both appearance and flavor.
Expanding your skillset allows you to create more complex and visually stunning tarts, leveraging your knowledge of how to use tart pans in creative ways.
Decorative Tart Crusts: Mastering Intricate Designs
Beyond the basic fluted edge, you can create elaborate decorative crusts. This includes techniques like:
- Lattice Tops: Weaving strips of dough over a fruit filling.
- Cut-outs: Using cookie cutters to create shapes (like leaves or stars) to decorate the edge or top of the tart.
- Braids and Twists: Creating braided or twisted ropes of dough to adorn the rim.
These techniques require careful handling of the dough and a bit of practice, but they result in truly impressive tarts that showcase your baking artistry.
Using Different Doughs: Exploring Gluten-Free and Alternative Flours
While classic pâte sucrée or pâte brisée are common tart doughs, experimenting with different dough formulations can add new dimensions to your tarts. This includes:
- Nut-based Doughs: Using finely ground almonds (frangipane dough) or other nuts for added flavor and richness.
- Whole Wheat or Alternative Flours: Incorporating whole wheat, spelt, or gluten-free flour blends to change the texture and nutritional profile.
- Chocolate Dough: Adding cocoa powder to create a rich, dark crust perfect for chocolate or berry fillings.
Each dough type has its own characteristics regarding handling and baking, requiring adjustments in technique and temperature.
Creating Layered Tarts: Combining Flavors and Textures
Moving beyond a single filling, you can create tarts with multiple layers of complementary flavors and textures. Examples include:
- A layer of frangipane topped with fruit.
- A layer of pastry cream or curd topped with meringue.
- Combining different ganaches or mousses.
Layered tarts often require blind baking the crust and carefully preparing and chilling each layer before adding the next. This advanced technique truly demonstrates a mastery of how to use tart pans to build complex and delightful desserts.
Frequently Asked Questions
How do I choose the right size tart pan for my recipe?
Tart pan size depends on your recipe and desired serving size. Larger pans are great for sharing, while smaller, individual pans are perfect for single servings. Always check the recipe for specific recommendations.
What materials are best for tart pans, and why?
Tart pans are typically made from metal (aluminum or steel) or ceramic. Metal pans offer even heat distribution, while ceramic pans provide a beautiful presentation. Choose based on your baking needs and aesthetic preference.
How do I prevent my tart crust from sticking to the pan?
To prevent sticking, grease your tart pan thoroughly with butter or cooking spray. You can also use parchment paper or a pastry mat to line the bottom of the pan before pressing in the dough.
What is blind baking, and why is it necessary for some tarts?
Blind baking is pre-baking the tart crust before adding the filling. It's necessary for tarts with wet fillings that would make the crust soggy if baked together. This ensures a crisp and flaky crust.
How do I remove a tart from the pan without breaking it?
Allow the tart to cool completely before removing it. Use a removable bottom pan to gently push the tart upwards. If using a solid pan, carefully invert the tart onto a plate.
Final Reflection: Mastering the Art of the Tart Pan
The humble tart pan, often overlooked, is a gateway to a world of culinary creativity. From delicate fruit tarts to savory quiches, mastering this simple tool unlocks a universe of flavor and presentation possibilities. This guide has explored the various types of tart pans, their unique properties, and the essential techniques for achieving perfectly baked tarts every time. But the journey doesn't end here; it's just the beginning.
The impact of understanding tart pan techniques extends far beyond simply baking a delicious dessert. It's about embracing precision and control in the kitchen, fostering a deeper appreciation for the interplay of ingredients and technique. It's about the satisfaction of creating something beautiful and delicious with your own hands. As Julia Child wisely said, Find something you're passionate about and keep tremendously interested in it.
For me, that passion lies in the meticulous process of crafting a perfect tart, and I hope this guide has ignited a similar spark in you.
Now, it's your turn. Don't be intimidated by the seemingly complex world of tart pans. Experiment with different recipes, explore various fillings, and most importantly, have fun! Each tart you bake is a step towards mastering this versatile tool and unlocking your own unique culinary voice. So, grab your tart pan, gather your ingredients, and embark on your own delicious adventure. The perfect tart awaits.
Unleash Your Inner Pastry Chef!
Thanks for taking the time to explore the wonderful world of tart pans with us! We hope you now feel confident and inspired to create delicious, impressive tarts. Ready to get baking?
- Bake your dream tart today! Grab your favorite recipe (or try one of ours – we have tons on the site!) and get started. Experiment with different fillings and crusts to find your signature style.
- Share your tart creations! Show us your baking masterpieces on social media using #BakeWithEaseTart. We love seeing what our readers create!
- Explore different tart pan styles: Consider expanding your baking arsenal with a fluted pan or a removable bottom pan to unlock even more creative possibilities.
What delicious flavor combination will you try first?