
The BakeWithEase Promise: Super Simple Brownie Bars

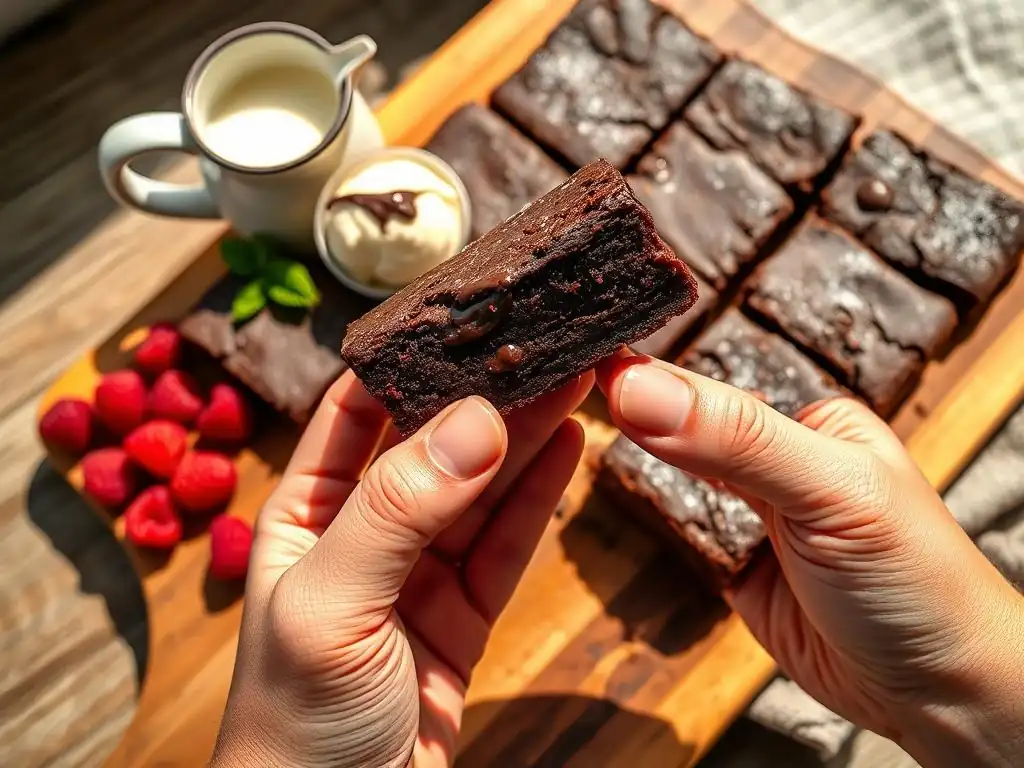
Welcome to BakeWithEase, where baking bliss begins! Are you ready to unlock the secret to effortlessly delicious treats? Forget complicated techniques and hard-to-find ingredients. Dive into our world of simple baking, starting with our easy chocolate brownie bars recipe – a guaranteed crowd-pleaser. But that's just the beginning. Discover more beginner-friendly recipes and baking secrets that will have you creating masterpieces in no time. What other baking adventures await? Let's find out!
- BakeWithEase: Your Guide to Easy Chocolate Brownie Bars
- Why This Easy Chocolate Brownie Bars Recipe is Perfect for Beginners
-
Ingredients for Super Simple Brownie Bars
- BakeWithEase Approved: Simple Ingredient List for Brownie Perfection
- All-Purpose Flour - The BakeWithEase Quality Standard
- Unsweetened Cocoa Powder - The BakeWithEase Flavor Boost
- Granulated Sugar - The BakeWithEase Sweetness Scale
- Eggs - The BakeWithEase Binding Agent
- Melted Butter - The BakeWithEase Richness Factor
-
Step-by-Step Guide to Baking Easy Chocolate Brownie Bars
- BakeWithEase Method: Preparing Your Brownie Bar Batter
- Step 1: Melting the Butter - The BakeWithEase Foundation
- Step 2: Combining Dry Ingredients - BakeWithEase Precision
- Step 3: Mixing Wet and Dry Ingredients - The BakeWithEase Harmony
- Step 4: Adding Chocolate Chips (Optional) - The BakeWithEase Touch
- BakeWithEase Method: Baking Your Brownie Bars to Perfection
- Step 5: Preparing the Pan - BakeWithEase Non-Stick Guarantee
- Step 6: Baking Time and Temperature - The BakeWithEase Golden Rule
- Step 7: Cooling and Cutting - BakeWithEase Patience
- Tips and Tricks for the Best Easy Chocolate Brownie Bars
- Variations and Add-Ins for Your Brownie Bars
- Storing Your Super Simple Brownie Bars
- Enjoy Your BakeWithEase Super Simple Brownie Bars!
- Frequently Asked Questions
- Final Reflection: The Enduring Allure of Simple Baking
- Unlock Your Inner Baker: Delicious Brownie Bars Await!
BakeWithEase: Your Guide to Easy Chocolate Brownie Bars
Welcome to BakeWithEase, where we believe that baking delicious treats should be a joyful, stress-free experience for everyone. Our mission is to break down complicated recipes into simple, manageable steps, making it possible for even absolute beginners to create impressive baked goods. This focus on simplicity is at the heart of our super simple brownie bars recipe, designed specifically to deliver rich, chocolatey goodness without the fuss often associated with baking.
Forget intimidating ingredient lists and complex techniques. Our easy chocolate brownie bars recipe is crafted with the novice baker in mind, proving that you don't need years of experience or fancy equipment to achieve spectacular results. We guide you through each stage with clear instructions and helpful tips, ensuring your success from measuring the flour to slicing into perfectly baked brownie bars. Get ready to discover how truly easy baking can be with BakeWithEase!
Why This Easy Chocolate Brownie Bars Recipe is Perfect for Beginners
BakeWithEase Simplifies Baking: No-Fuss Brownie Bars
Our easy chocolate brownie bars recipe stands out because it eliminates common pitfalls that can trip up new bakers. Unlike some recipes that require creaming butter and sugar for specific durations or using specialized mixing techniques, our method is incredibly straightforward. You'll find that the steps are intuitive and forgiving, allowing you to learn the basics of combining ingredients and controlling baking time without feeling overwhelmed. It's designed to build confidence from your very first batch.
Furthermore, we focus on using standard kitchen equipment you likely already own. There's no need for a stand mixer or other expensive gadgets. A couple of bowls, a whisk or spoon, and a baking pan are all you need. This accessibility, combined with the clear, step-by-step instructions, makes this easy chocolate brownie bars recipe an ideal starting point for anyone venturing into the world of baking. It’s about proving that delightful homemade treats are well within reach, no matter your skill level.
The BakeWithEase Secret: Minimal Ingredients, Maximum Flavor
One of the hallmarks of a great beginner recipe is a concise ingredient list, and our easy chocolate brownie bars recipe delivers on this. We've carefully selected just a handful of essential items that work together to create a rich, decadent flavor profile without unnecessary complexity. You won't find obscure extracts or specialty flours here; just pantry staples that are easy to measure and combine, significantly reducing the chance of errors.
By focusing on the interaction of simple, high-quality ingredients like cocoa powder, butter, and sugar, we maximize the inherent deliciousness of classic chocolate brownie bars. This minimalist approach not only makes the recipe more accessible and cost-effective but also highlights the pure, unadulterated taste of chocolate. It's a testament to the fact that incredible flavor doesn't require a lengthy list of components – sometimes, less truly is more, especially when you're mastering the art of baking.
Ingredients for Super Simple Brownie Bars
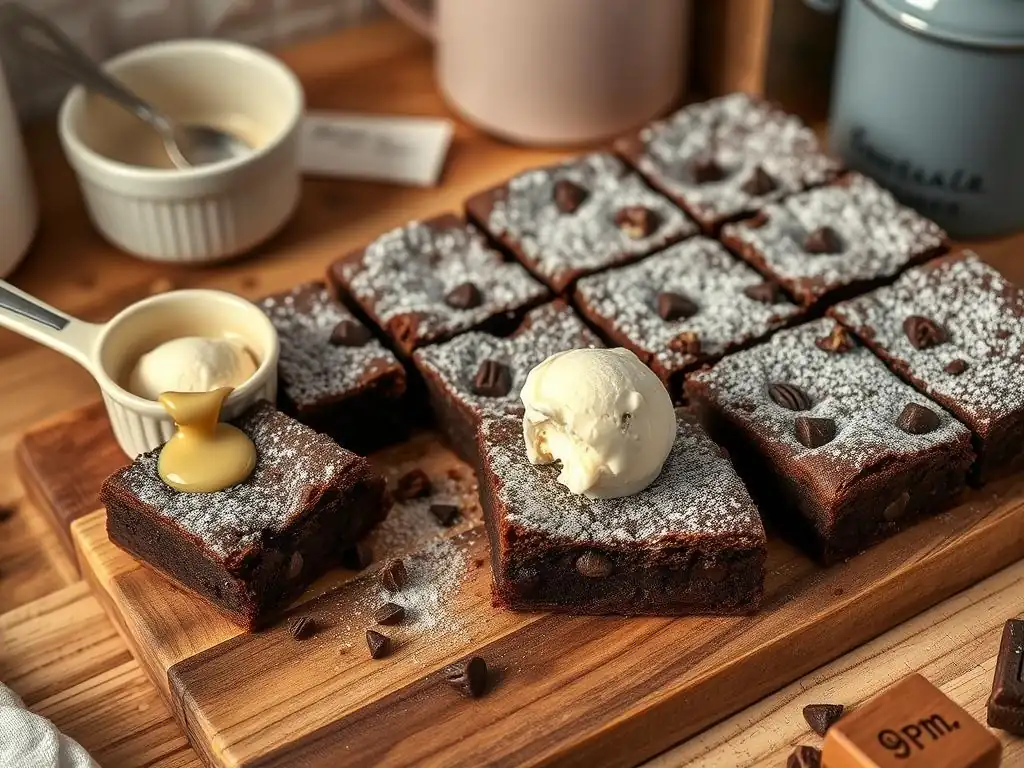
BakeWithEase Approved: Simple Ingredient List for Brownie Perfection
Crafting the perfect easy chocolate brownie bars recipe starts with a foundational list of ingredients that are both readily available and simple to work with. For a standard 8x8 inch pan batch yielding about 16 squares, you'll typically need around 1.5 cups of all-purpose flour, 1 cup of granulated sugar, about 3/4 cup of unsweetened cocoa powder, 2 large eggs, and 1/2 cup (one stick) of melted butter. These core components form the basis of our super simple brownie bars.
Beyond the essentials, a pinch of salt (around 1/4 teaspoon) enhances the chocolate flavor, and a teaspoon of vanilla extract adds a warm, aromatic note. While not strictly necessary for structural integrity, these additions elevate the taste significantly. This straightforward lineup ensures that gathering what you need is quick and painless, allowing you to move on to the fun part: baking your easy chocolate brownie bars.
All-Purpose Flour - The BakeWithEase Quality Standard
All-purpose flour is the backbone of most baked goods, providing structure and stability. In our easy chocolate brownie bars recipe, it acts as the binder that holds everything together, preventing your brownies from being too crumbly. We recommend using standard unbleached all-purpose flour, which is consistent and reliable. While you might see recipes calling for cake flour or bread flour, all-purpose is perfectly suited for achieving a classic brownie texture without complication.
Measuring your flour accurately is key, even in an easy recipe. The most reliable method is to lightly spoon the flour into your measuring cup and then level it off with a straight edge, like the back of a knife. Avoid scooping directly from the bag, as this can compact the flour and result in using too much, leading to dry or tough brownie bars. Typically, 1.5 cups of spooned and leveled all-purpose flour weighs approximately 6 ounces or 170 grams.
Unsweetened Cocoa Powder - The BakeWithEase Flavor Boost
The rich, deep chocolate flavor in your easy chocolate brownie bars comes primarily from unsweetened cocoa powder. There are two main types: natural cocoa powder and Dutch-processed cocoa powder. Natural cocoa is acidic and reacts with baking soda to provide lift, while Dutch-processed cocoa is neutral and results in a darker color and smoother flavor. For this specific easy chocolate brownie bars recipe, we recommend using natural unsweetened cocoa powder, as it balances the sweetness and contributes to the texture.
Using a good quality cocoa powder makes a noticeable difference in the final taste. While specific brands vary, aim for one that lists 100% cocoa. The amount used, typically around 3/4 cup or 65-70 grams for an 8x8 pan, is crucial for achieving that intense chocolate hit. Sifting your cocoa powder before measuring can help prevent lumps and ensure it incorporates smoothly into the batter, contributing to the overall success of your simple brownie bars.
Granulated Sugar - The BakeWithEase Sweetness Scale
Granulated sugar plays multiple roles in our easy chocolate brownie bars recipe: it provides sweetness, contributes to the moistness and tenderness of the crumb, and helps create that desirable crackly top. The amount, usually around 1 cup (approximately 200 grams), strikes a balance between sweetness and the intense chocolate flavor from the cocoa powder. Adjusting the sugar slightly can alter the final texture – slightly less can result in a more fudgy brownie, while slightly more can yield a sweeter, potentially cakier result.
For this beginner-friendly recipe, standard white granulated sugar is all you need. Its fine crystals dissolve easily when mixed with the wet ingredients, ensuring even sweetness throughout the brownie bars. Unlike brown sugar, which adds moisture and a molasses flavor, granulated sugar allows the pure chocolate taste to shine through. It's a simple choice that contributes significantly to the overall success of your easy brownie bars.
Eggs - The BakeWithEase Binding Agent
Eggs are essential binders in baking, and in our easy chocolate brownie bars recipe, they help hold the batter together and contribute to the structure and richness. Large eggs are the standard size used in most recipes, weighing roughly 50 grams (about 1.75 ounces) each out of the shell. For our recipe, two large eggs typically provide enough structure and moisture for an 8x8 inch pan of brownie bars.
Beyond binding, eggs also contribute to the leavening and color of the brownie bars. When whisked with sugar, they incorporate air, which helps the brownies rise slightly. The yolks add richness and a tender texture. Using room temperature eggs is often recommended in baking as they emulsify more easily with other ingredients, creating a smoother batter. However, for this super simple brownie bars recipe, using eggs straight from the fridge will still yield delicious results, keeping the process as easy as possible.
Melted Butter - The BakeWithEase Richness Factor
Melted butter is a key ingredient in achieving the fudgy, moist texture characteristic of many popular brownie recipes, including our easy chocolate brownie bars. Unlike creaming solid butter with sugar, using melted butter simplifies the mixing process considerably and contributes to a denser, chewier result. We use about 1/2 cup (one stick, or approximately 113 grams) of unsalted butter for this recipe, which provides richness and helps carry the chocolate flavor throughout the brownie bars.
Using melted butter also means you don't need to wait for butter to soften, saving you time and effort – perfect for an easy recipe. While you can use salted butter, unsalted butter gives you more control over the final saltiness of the brownie bars. If using salted butter, you might reduce or omit the added pinch of salt specified in the recipe. Ensuring the butter is fully melted but not piping hot before mixing helps prevent cooking the eggs prematurely.
Step-by-Step Guide to Baking Easy Chocolate Brownie Bars
BakeWithEase Method: Preparing Your Brownie Bar Batter
Creating the batter for your easy chocolate brownie bars is a straightforward process that focuses on combining the wet and dry ingredients efficiently. The method is designed to minimize overmixing, which can lead to tough brownies. We start by handling the wet ingredients, primarily melted butter, sugar, and eggs, ensuring they are well combined and homogenous before introducing the dry components. This initial mix sets the stage for a smooth, lump-free batter.
Following the BakeWithEase method means working methodically through the steps, ensuring each ingredient is incorporated properly before moving to the next. This prevents errors and makes the process manageable, even if you've never baked before. The goal is a thick, glossy batter that promises rich flavor and perfect texture once baked. Get ready to see how simple it is to bring together the components of these easy chocolate brownie bars.
Step 1: Melting the Butter - The BakeWithEase Foundation
The first step in our easy chocolate brownie bars recipe is to melt the butter. Take your 1/2 cup (one stick) of unsalted butter and place it in a microwave-safe bowl or a small saucepan over low heat. If using a microwave, heat in 20-30 second intervals, stirring in between, until it is fully melted. Be careful not to overheat it to the point of browning, as this can slightly alter the flavor profile.
Alternatively, you can melt the butter gently on the stovetop. Use low heat and stir occasionally until no solid pieces remain. Once melted, remove it from the heat immediately. Allowing the melted butter to cool slightly for a minute or two before proceeding is a good practice, though not strictly necessary for this forgiving easy chocolate brownie bars recipe. This simple initial step is quick and sets you up for smooth mixing later on.
Step 2: Combining Dry Ingredients - BakeWithEase Precision
While the butter cools slightly, gather your dry ingredients: the all-purpose flour, unsweetened cocoa powder, and salt. In a medium-sized bowl, whisk these ingredients together until they are thoroughly combined. This step is important because it ensures that the cocoa powder and salt are evenly distributed throughout the flour, preventing pockets of unmixed ingredients in your final brownie bars.
Using a whisk or a fork, gently aerate the mixture as you combine it. This helps break up any small clumps of cocoa powder and ensures a uniform texture in the dry mix. There's no need to sift the flour or cocoa unless they are particularly lumpy, keeping this step simple and quick. This precise combination of dry ingredients is key to developing the structure and delivering consistent chocolate flavor in every bite of your easy chocolate brownie bars.
Step 3: Mixing Wet and Dry Ingredients - The BakeWithEase Harmony
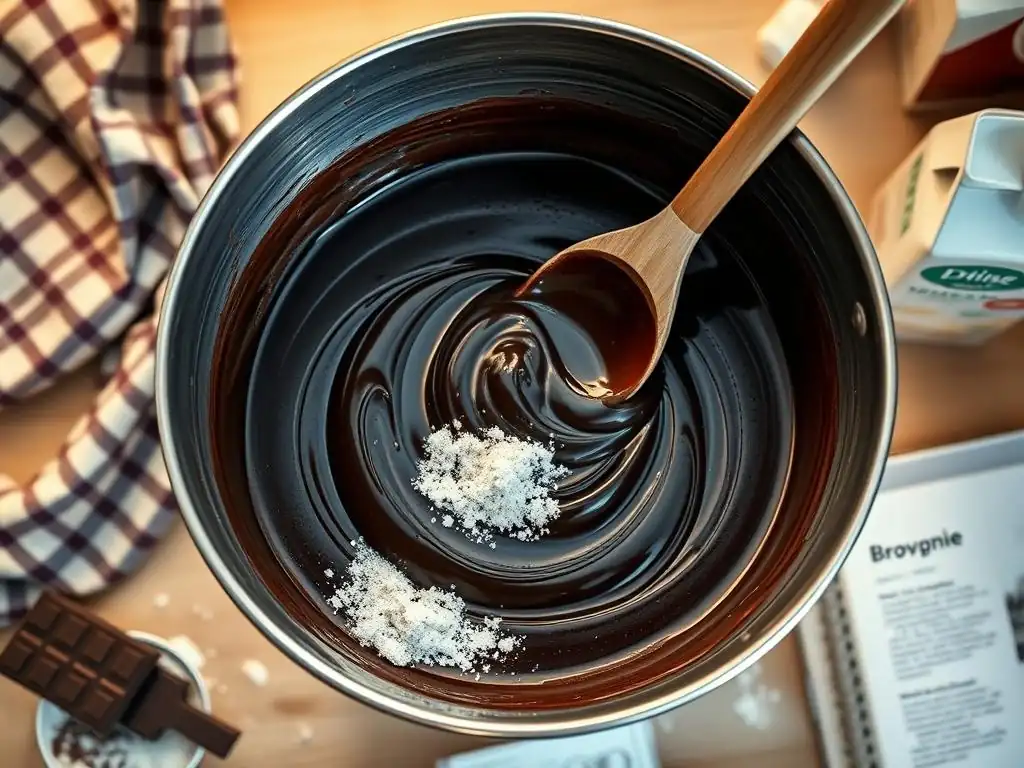
Now it's time to bring everything together. In a separate, larger bowl, combine the slightly cooled melted butter, granulated sugar, and vanilla extract (if using). Whisk these ingredients together until they are well blended. Then, crack the two large eggs into the bowl with the wet ingredients. Whisk again until the eggs are fully incorporated and the mixture is smooth and glossy. This usually takes about 30-60 seconds of whisking by hand.
Once the wet ingredients are ready, add the combined dry ingredients (flour, cocoa, salt) to the bowl. Switch from a whisk to a rubber spatula or wooden spoon for this step. Gently fold the dry ingredients into the wet mixture. Mix just until no dry streaks of flour are visible. It's crucial not to overmix at this stage; overdeveloping the gluten in the flour can result in tough brownie bars. A few small lumps of flour are acceptable and will likely disappear during baking. This gentle combination creates the perfect batter for your easy chocolate brownie bars recipe.
Step 4: Adding Chocolate Chips (Optional) - The BakeWithEase Touch
For an extra layer of chocolate indulgence in your easy chocolate brownie bars, consider adding chocolate chips. This step is completely optional but highly recommended for serious chocolate lovers. About 1/2 cup to 1 cup (approximately 85-170 grams) of semi-sweet, milk, or dark chocolate chips can be gently folded into the batter after the dry ingredients have been incorporated.
Using a spatula, simply fold the chocolate chips through the batter until they are evenly distributed. Be careful not to overmix while adding the chips. This simple addition elevates the texture and flavor, providing pockets of melted chocolate throughout the baked brownie bars. It's a perfect example of how a small, easy tweak can add a delightful BakeWithEase touch to your simple brownie bars.
BakeWithEase Method: Baking Your Brownie Bars to Perfection
Baking is where the magic happens, transforming your simple batter into delicious easy chocolate brownie bars. Following the correct preparation of your pan, precise baking temperature, and accurate timing are crucial steps that BakeWithEase makes easy to follow. We aim for a bake that results in fudgy centers and slightly set edges, the hallmark of a perfectly executed brownie bar.
This stage requires a little patience and attention, but our method simplifies it. You'll learn the visual cues that indicate your brownie bars are ready, ensuring you pull them from the oven at just the right moment. Proper cooling is also key to achieving the desired texture and making them easy to cut. Trust the BakeWithEase process for consistently delicious results every time you bake these easy chocolate brownie bars.
Step 5: Preparing the Pan - BakeWithEase Non-Stick Guarantee
Properly preparing your baking pan is a non-negotiable step to ensure your easy chocolate brownie bars don't stick and are easy to remove and cut. For an 8x8 inch metal or glass baking pan, the BakeWithEase non-stick guarantee method involves two simple steps: greasing and lining with parchment paper. Start by lightly greasing the bottom and sides of the pan with butter, cooking spray, or shortening.
Next, cut a piece of parchment paper to fit the bottom of the pan and extend up two sides, creating "slings" that you can use to lift the finished brownies out. Press the parchment paper into the greased pan. You can lightly grease the parchment paper as well for extra insurance, though it's often not necessary. This simple preparation makes removing the cooled easy chocolate brownie bars incredibly easy and mess-free.
Step 6: Baking Time and Temperature - The BakeWithEase Golden Rule
Baking temperature and time are critical for achieving the desired texture in your easy chocolate brownie bars. Preheat your oven to 350°F (175°C). This moderate temperature allows the brownies to bake through evenly without the edges burning before the center is set. Place the prepared pan on the middle rack of the preheated oven.
The baking time for an 8x8 inch pan typically ranges from 25 to 35 minutes. The exact time will vary depending on your oven and the pan material. You'll know your easy chocolate brownie bars are done when a toothpick inserted into the center comes out with moist crumbs attached, but not wet batter. If it comes out completely clean, they might be slightly overbaked (more cakey). If it comes out with wet batter, they need more time. Start checking around the 25-minute mark.
Step 7: Cooling and Cutting - BakeWithEase Patience
Patience is a virtue, especially when it comes to cooling baked goods like these easy chocolate brownie bars. Once you remove the pan from the oven, place it on a wire rack to cool completely. This allows the brownies to finish setting up and develop their final texture. Attempting to cut warm brownies will likely result in a gooey, messy crumb rather than clean squares.
Allow the brownie bars to cool in the pan for at least 1-2 hours, or until they are at room temperature. For the cleanest cuts, some bakers even recommend chilling the completely cooled brownies in the refrigerator for 30 minutes before slicing. Use the parchment paper slings to lift the entire slab of brownies out of the pan. Place them on a cutting board and use a sharp knife to slice into squares, typically 16 squares (4x4 grid) from an 8x8 inch pan. Wipe the knife clean between cuts for the neatest edges.
Tips and Tricks for the Best Easy Chocolate Brownie Bars
BakeWithEase Pro-Tips: Elevate Your Brownie Bar Game
Even with a super simple recipe, a few pro-tips can take your easy chocolate brownie bars from good to absolutely amazing. One key tip is to avoid overmixing the batter once the dry ingredients are added; this is the most common mistake leading to tough brownies. Mix just until the flour streaks disappear. Another simple trick is to slightly underbake them for a fudgier result, pulling them out when the toothpick still has moist crumbs attached.
Experimenting with ingredient temperatures can also subtly impact the outcome. While this recipe works with cold eggs, using room temperature eggs can sometimes lead to a slightly smoother batter. Additionally, ensuring your oven is accurately calibrated can make a big difference in baking time and texture consistency. Small adjustments based on these BakeWithEase pro-tips will help you perfect your easy chocolate brownie bars recipe over time.
Achieving Fudgy Brownie Bars - The BakeWithEase Fudginess Factor
For those who crave intensely fudgy brownie bars, this easy chocolate brownie bars recipe is an excellent base. The ratio of melted butter to flour already leans towards a denser, fudgier texture compared to recipes that use creamed butter. To maximize fudginess, the most critical factor is baking time. Pull the brownies from the oven when the center is still slightly underbaked – a toothpick inserted should have plenty of moist crumbs clinging to it, but no wet batter.
Another tip for enhancing fudginess is to incorporate more chocolate. Adding a generous amount of chocolate chips or chopped chocolate (as suggested in Step 4) provides pockets of melted chocolate throughout the brownie bars, contributing significantly to their moist, dense texture. Using a good quality unsweetened cocoa powder also provides a deeper chocolate flavor that pairs perfectly with the rich, fudgy consistency.
Achieving Cakey Brownie Bars - The BakeWithEase Cakey Delight
While this easy chocolate brownie bars recipe is designed for a fudgier outcome, you can nudge it towards a slightly cakier texture if that's your preference. Cakey brownies typically have a higher ratio of flour and rely more on leavening agents like baking powder (which is usually absent or minimal in fudgy recipes). While we don't add baking powder in this specific recipe, you can influence the texture through technique and baking time.
To achieve a slightly cakier result with this recipe, ensure you mix the batter just a little bit more after adding the dry ingredients – just past the point where the last dry streaks disappear, but still avoiding aggressive overmixing. This slight extra mixing develops the gluten a bit more, contributing to a lighter structure.
Crucially, bake the brownies until a toothpick inserted into the center comes out mostly clean, with only a few dry crumbs attached. This slightly longer bake time sets the batter more firmly, resulting in a less dense, more cake-like crumb in your easy chocolate brownie bars.
Variations and Add-Ins for Your Brownie Bars
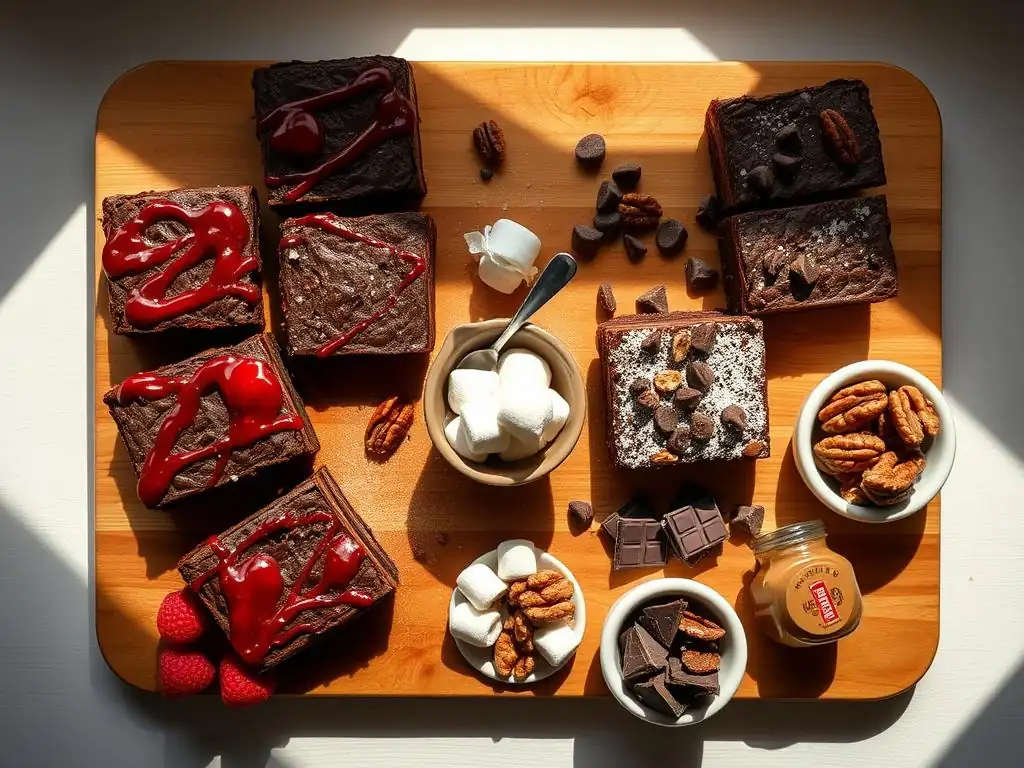
BakeWithEase Variation: Peanut Butter Swirl Brownie Bars
Adding a peanut butter swirl to your easy chocolate brownie bars introduces a delightful salty-sweet complexity. To create this variation, prepare the easy chocolate brownie bars batter as directed. While the batter is in the pan, warm about 1/4 to 1/3 cup of smooth peanut butter slightly in the microwave or on the stovetop until it's pourable. Drizzle spoonfuls of the warm peanut butter over the top of the brownie batter.
Use a knife or skewer to gently swirl the peanut butter into the chocolate batter. Be careful not to swirl too much, or you'll lose the distinct layers; a few passes are enough to create beautiful patterns. Bake as directed. The peanut butter will set as the brownies bake, creating delicious ribbons of flavor that complement the rich chocolate. This simple addition elevates your easy chocolate brownie bars recipe with minimal extra effort.
BakeWithEase Variation: Salted Caramel Brownie Bars
Salted caramel adds a sophisticated twist to classic brownie bars. You can add swirls of store-bought or homemade salted caramel sauce to your easy chocolate brownie bars. Prepare the brownie batter and pour it into the pan. Warm about 1/4 cup of thick salted caramel sauce until it's pourable but not hot. Drizzle the caramel over the batter.
As with the peanut butter swirl, use a knife or skewer to gently swirl the caramel into the batter. Again, avoid over-swirling. Bake the brownie bars as instructed. The caramel will become chewy and decadent within the baked brownies, providing bursts of sweet and salty flavor that pair wonderfully with the rich chocolate. This variation makes your easy chocolate brownie bars feel extra special.
BakeWithEase Variation: Espresso Brownie Bars
Enhance the chocolate flavor in your easy chocolate brownie bars and add a subtle coffee kick by incorporating espresso powder. Coffee is known to amplify the taste of chocolate without necessarily making the finished product taste strongly of coffee. Add 1 to 2 teaspoons of instant espresso powder (not instant coffee) to the dry ingredients (flour, cocoa, salt) in Step 2. Whisk it in thoroughly with the other dry components.
Proceed with the rest of the easy chocolate brownie bars recipe as written. The espresso powder will dissolve into the batter during mixing and baking, resulting in brownie bars with a deeper, more intense chocolate flavor and a hint of sophisticated coffee undertones. This is a simple yet effective way to add another dimension to your super simple brownie bars.
Storing Your Super Simple Brownie Bars
BakeWithEase Storage Solutions: Keeping Your Brownies Fresh
Proper storage is key to keeping your super simple brownie bars tasting their best for as long as possible. Once completely cooled and cut, the brownie bars should be stored in an airtight container at room temperature. Layering them with parchment paper between layers can prevent them from sticking together. Stored this way, your easy chocolate brownie bars will typically remain fresh and moist for 3 to 4 days.
For longer storage, you can refrigerate the brownie bars in an airtight container for up to a week. Refrigeration can sometimes alter the texture slightly, making them firmer. If you prefer a softer texture, allow them to come back to room temperature before serving. For extended storage, brownie bars freeze exceptionally well. Wrap individual bars or the entire slab tightly in plastic wrap, then place in a freezer-safe bag or container. Frozen easy chocolate brownie bars can last for 2 to 3 months. Thaw at room temperature before enjoying.
Enjoy Your BakeWithEase Super Simple Brownie Bars!
Frequently Asked Questions
How easy is the "Super Simple Brownie Bars" recipe really?
This recipe is designed to be extremely easy, even for baking beginners. It utilizes simple ingredients and straightforward instructions, minimizing the chance of errors.
What kind of chocolate is best for this brownie bar recipe?
Semi-sweet chocolate chips are recommended for a balanced flavor. However, you can use dark chocolate for a richer taste or milk chocolate for a sweeter result, adjusting to your preference.
Can I add mix-ins to these brownie bars?
Absolutely! Feel free to add nuts, chocolate chunks, or even a swirl of peanut butter to customize your brownies. Just incorporate them before baking.
How do I know when the brownie bars are done baking?
The brownie bars are ready when a toothpick inserted into the center comes out with moist crumbs attached, not completely clean. Avoid overbaking for a fudgy texture.
What's the best way to store leftover brownie bars?
Store leftover brownie bars in an airtight container at room temperature for up to three days, or in the refrigerator for up to a week. They can also be frozen for longer storage.
Final Reflection: The Enduring Allure of Simple Baking
The ease of baking, once a luxury, is now a necessity in our fast-paced world. The demand for quick, delicious recipes, like the super simple brownie bars detailed in this article, reflects a growing need for accessible joy and comfort in everyday life. These aren't just brownies; they're a symbol of achievable satisfaction in a time often characterized by complexity and stress.
The impact of simple recipes like these extends beyond the kitchen; they foster a sense of community and shared experience. Baking, even at its most basic, connects us to traditions, memories, and the simple pleasure of creating something delicious with our own hands. Baking is at once child's play and adult joy. And love, of course.
This quote perfectly captures the essence of why these easy brownie bars resonate with so many. They're a gateway to a more mindful and fulfilling approach to cooking, regardless of skill level.
Now, I invite you to consider your own relationship with baking. Do you find solace in the simplicity of a well-executed recipe? Perhaps this article has inspired you to try your hand at these brownie bars, or maybe it's sparked a desire to explore other easy recipes. Whatever the case, remember the power of simple pleasures and the joy that can be found in creating something delicious, even amidst the busyness of life. Let the BakeWithEase promise be a reminder that even the smallest acts of creation can bring immense satisfaction.
Unlock Your Inner Baker: Delicious Brownie Bars Await!
Thanks for joining us on this baking adventure! We hope you gained some seriously delicious inspiration and confidence in tackling those brownie bars. Ready to dive deeper into the world of effortless baking?
- Bake your own batch of Brownie Bliss: Don't just read about it – make it! Grab those ingredients and let's get baking. It's easier than you think!
- Share your Brownie Success: Snap a photo of your creations and share them on social media using #BakeWithEaseBrownies. Let’s see your delicious results!
- Explore our Recipe Collection: Discover even more simple and satisfying recipes on our website for endless baking inspiration.
So, what incredible brownie variation will you create next? Let’s hear your ideas in the comments below!