
Simple NoBake Mousse Recipes: A Beginner's Guide

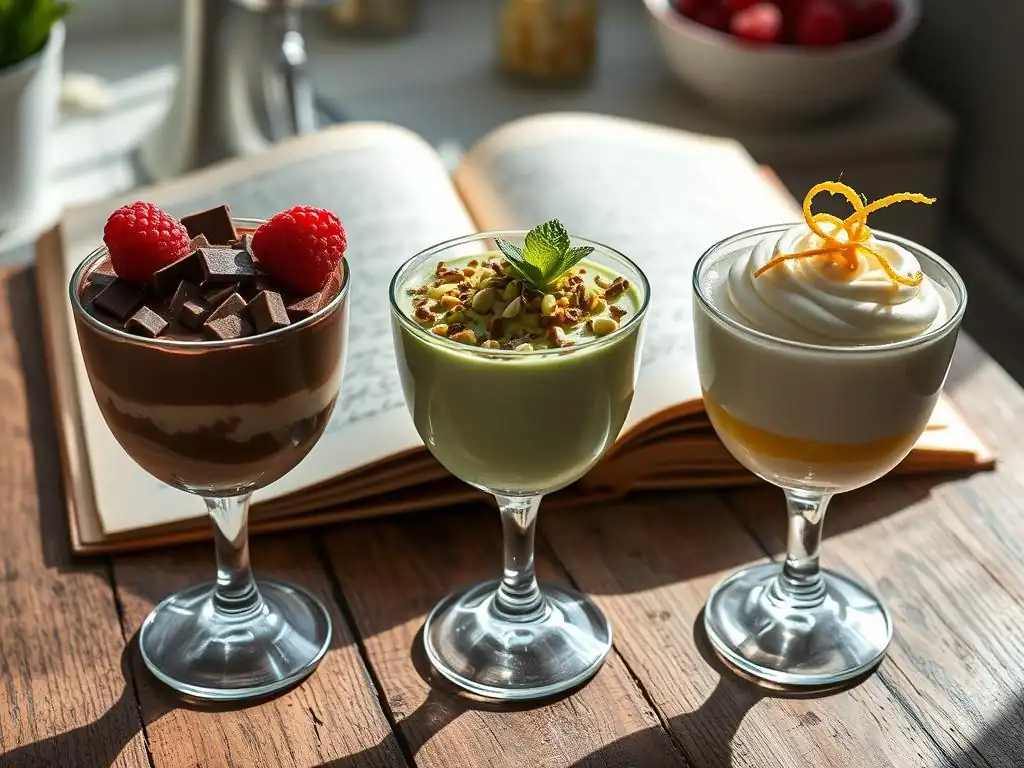
Welcome to BakeWithEase, your kitchen companion for turning baking dreams into delicious realities! Ever wished for a dessert that's both impressive and unbelievably easy? Dive into our collection of no-bake mousse recipes and discover the secret to creating decadent treats without ever turning on the oven. Ready to whip up some magic? Let's get started and unlock the secrets to effortless, creamy perfection!
- Introduction to Easy No-Bake Mousse Desserts
- Essential Ingredients for No-Bake Mousses
- Basic No-Bake Mousse Recipe: Chocolate Dream
- Variations on the Basic No-Bake Mousse Recipe
- Advanced Tips for No-Bake Mousse Perfection
- Storing and Serving Your No-Bake Mousse
- No-Bake Mousse Recipe FAQs
- Conclusion: Enjoying Your Homemade No-Bake Mousse
- Frequently Asked Questions
- Final Reflection: The Sweet Simplicity of Effortless Elegance
- Unleash Your Inner Pastry Chef: Creamy Mousse Awaits!
Introduction to Easy No-Bake Mousse Desserts
Mousse is a classic dessert known for its light, airy texture and rich flavor. Traditionally, mousse can involve techniques like tempering eggs or using gelatin, which might seem a bit daunting if you're just starting your baking journey. But what if you could achieve that same luxurious feel without ever turning on the oven or fussing with tricky steps? That's where the magic of no bake mousse recipes comes in! These simple desserts are perfect for beginners, offering a delightful introduction to creating impressive sweets with minimal effort.
At BakeWithEase, we believe everyone can find joy in making delicious treats. Simple no-bake mousse desserts are fantastic examples of how you can create something elegant and tasty without complex methods. They rely on basic ingredients and simple mixing, proving that you don't need years of experience or fancy equipment to whip up something truly special. Whether you're craving a rich chocolate fix or a light, fruity treat, these easy recipes are your gateway to delightful, fuss-free desserts.
Why Choose No-Bake Mousse? Perfect for Beginner Bakers
Choosing no-bake mousse recipes is a brilliant move for anyone new to the kitchen or looking for a quick win in dessert making. Unlike baked goods that require precise oven temperatures and timing, no-bake mousses primarily depend on chilling time to set. This significantly reduces the margin for error associated with baking, like uneven cooking or burning. For instance, a typical baked cake might require 30-40 minutes at 350°F (175°C), where even a few minutes off can change the outcome; a no-bake mousse just needs a few hours in the fridge to become firm and ready.
Furthermore, the techniques involved in making these easy no-bake mousse recipes are straightforward. They often involve whipping cream, melting chocolate or mixing flavorings, and gently combining ingredients. You're less likely to encounter issues like collapsed cakes or tough cookies. According to feedback from beginner bakers, the simplicity of mixing and chilling makes no-bake desserts, especially mousses, feel much more approachable and less intimidating than traditional baking projects involving ovens and yeast. It's a low-stress way to build confidence and produce delicious results every time.
What Makes a Good No-Bake Mousse Recipe?
A great no-bake mousse recipe strikes a delicate balance between richness and airiness. The key is achieving that signature light, fluffy texture without using eggs, which are common in traditional cooked mousses. This is typically accomplished by incorporating whipped cream or sometimes whipped egg whites (though less common in beginner no-bake versions) to introduce air. The base flavor, whether it's chocolate, fruit puree, or coffee, needs to be prominent but not overpowering, blending harmoniously with the creamy elements.
The setting agent, if used, also plays a crucial role. While some very simple recipes rely solely on the stiffness of whipped cream and the setting properties of melted chocolate (especially dark chocolate), many easy no-bake mousse recipes for beginners incorporate a small amount of gelatin or a plant-based alternative like agar-agar.
Gelatin, for example, typically requires dissolving about 1-2 teaspoons in a few tablespoons of hot liquid to set roughly 2 cups of mousse base, providing reliable structure without making it rubbery. This ensures the mousse holds its shape when scooped or served, offering a satisfyingly smooth and melt-in-your-mouth experience.
Essential Ingredients for No-Bake Mousses
Creating delicious no bake mousse recipes starts with understanding the core ingredients that build their structure and flavor. You don't need a pantry full of exotic items; most no-bake mousses rely on a few common staples you might already have on hand. The beauty of these recipes is their simplicity, both in method and components. Getting familiar with these key players will empower you to whip up a variety of easy mousse desserts.
Think of the essential ingredients as the building blocks: a creamy element for richness and body, a flavor base for taste, and often something to help it set and hold its airy texture. While variations exist, mastering the use of heavy cream, chocolate, and perhaps a setting agent will set you up for success with countless simple no-bake mousse recipes. These ingredients work together to transform simple components into an elegant dessert.
Key Ingredients Explained: From Cream to Chocolate
The backbone of most no bake mousse recipes is heavy cream, also known as whipping cream. When whipped, it incorporates air, creating the light and fluffy texture characteristic of mousse. For best results, use cold heavy cream (ideally straight from the fridge) with a fat content of at least 30%, though 35-40% is often preferred for its stability when whipped. A standard recipe for 4 servings might call for about 1 to 1.5 cups of heavy cream, which can increase significantly in volume when whipped, sometimes doubling or tripling.
The flavor component is equally vital. For classic chocolate no-bake mousse recipes, high-quality chocolate is key. Semi-sweet or dark chocolate (with cocoa percentages ranging from 50% to 70%) are popular choices as their higher cocoa butter content helps the mousse set. White chocolate can also be used, but often requires additional support for setting. Other flavor bases include fruit purees (like strawberry or raspberry), strong brewed coffee, or melted peanut butter. A recipe yielding about 4-6 servings might use anywhere from 4 to 8 ounces of chocolate, depending on the desired intensity and the type of chocolate used.
Ingredient Substitutions for Dietary Needs (Optional)
Navigating dietary restrictions or preferences doesn't mean you have to miss out on delightful no bake mousse recipes. Many common ingredients have excellent substitutes that allow you to create delicious, inclusive desserts. For instance, if you need a dairy-free option, full-fat canned coconut milk (chilled overnight and the solid cream scooped out) can often be whipped into a fluffy substitute for heavy cream. Another popular choice is a dairy-free whipping cream alternative, readily available in many supermarkets, which whips up just like dairy cream.
When it comes to chocolate in easy no-bake mousse recipes, using dairy-free chocolate chips or bars is a straightforward swap for standard chocolate. Be sure to check the ingredients list to ensure it meets your specific dietary needs. For setting agents like gelatin, which is animal-derived, plant-based alternatives like agar-agar powder or carrageenan (often found in vegan jello mixes) can be used. Agar-agar typically requires boiling briefly to activate its gelling properties, so the method might differ slightly from using gelatin. Always check the package instructions for the specific ratio of substitute to liquid, as it can vary.
Basic No-Bake Mousse Recipe: Chocolate Dream
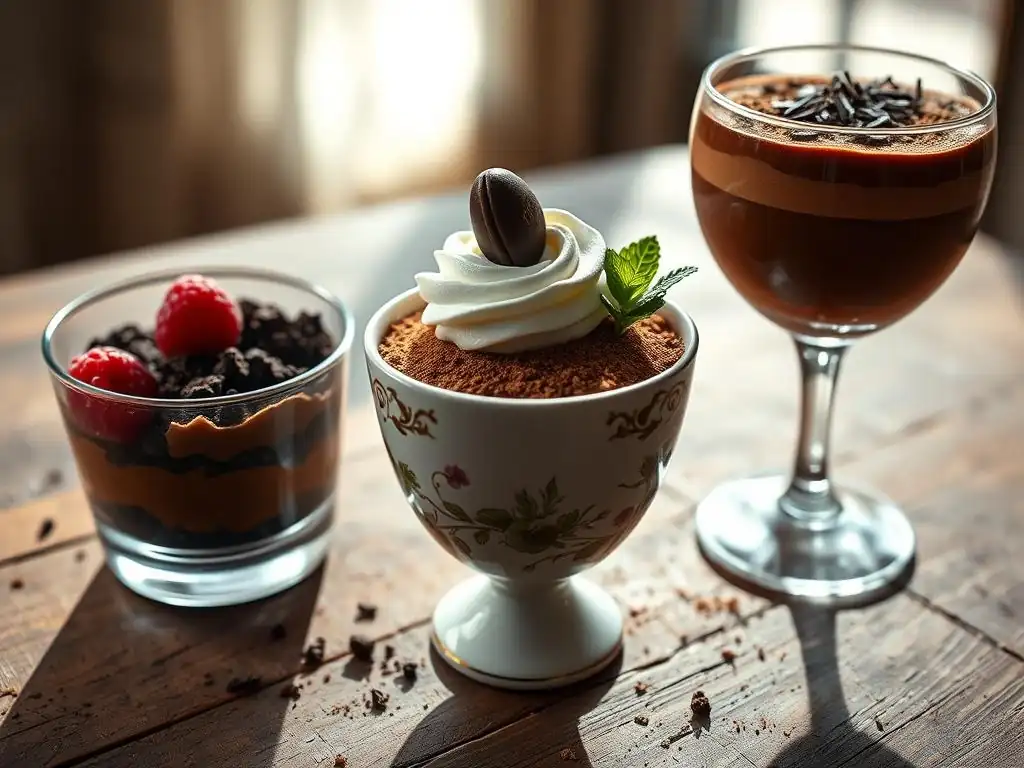
Ready to make your first chocolate no-bake mousse? This simple recipe is designed for beginners and yields a wonderfully rich and airy dessert with minimal fuss. It's a fantastic starting point for anyone exploring easy no-bake mousse recipes. We'll use just a few key ingredients and rely on the natural setting power of chocolate and the structure of whipped cream.
This recipe typically takes about 15-20 minutes of active preparation time, plus chilling. It's perfect for making ahead for dinner parties or just enjoying as a simple weeknight treat. You can expect to get about 4-6 servings from this batch, making it ideal for a small family or gathering. Let's gather our ingredients and get started on this classic no bake mousse recipe.
Step-by-Step Guide to Chocolate No-Bake Mousse
Here's a simple guide to whipping up your first batch of chocolate no-bake mousse:
- Melt the chocolate: Gently melt 6 ounces of good quality semi-sweet or dark chocolate. You can do this in a heatproof bowl set over a saucepan of simmering water (a double boiler) or carefully in the microwave in 30-second intervals, stirring between each, until smooth. Let it cool slightly, about 5-10 minutes, but don't let it harden.
- Whip the cream: In a large, chilled bowl, pour 1.5 cups of very cold heavy cream. Using an electric mixer (handheld or stand mixer with whisk attachment), whip the cream on medium-high speed until stiff peaks form. This usually takes 3-5 minutes. Be careful not to over-whip, or it will become buttery.
- Combine: Gently fold about a third of the whipped cream into the slightly cooled melted chocolate. This lightens the chocolate and makes it easier to incorporate the rest of the cream without deflating it.
- Fold in remaining cream: Add the remaining whipped cream to the chocolate mixture. Using a spatula, gently fold the cream into the chocolate using an up-and-over motion, rotating the bowl. Continue folding until no white streaks remain and the mixture is uniformly chocolatey and airy. Avoid overmixing.
- Portion and Chill: Spoon or pipe the mousse into individual serving glasses or one large bowl. Cover loosely with plastic wrap. Refrigerate for at least 2-3 hours, or until set. For best results and firmness, chilling for 4 hours or overnight is recommended.
[ ] Melt chocolate
[ ] Whip cream to stiff peaks
[ ] Fold a portion of cream into chocolate
[ ] Fold in remaining cream gently
[ ] Portion mousse into dishes
[ ] Chill until set (at least 2-3 hours)
Tips for a Fluffy Chocolate Mousse Texture
Achieving that signature light and airy texture is the goal of any no bake mousse recipe. For chocolate mousse, using cold ingredients is paramount. Ensure your heavy cream is straight from the refrigerator, and for the best whipping results, you can even chill your mixing bowl and whisk attachment for 10-15 minutes beforehand. Cold cream whips up faster and holds its structure better, which is essential since the whipped cream provides the primary aeration for this simple no-bake dessert.
The folding technique is also critical. Once the melted chocolate has cooled slightly (warm chocolate can deflate the whipped cream), incorporate the whipped cream in stages. Start by folding in a small amount vigorously to lighten the chocolate base.
Then, add the rest of the cream and use a gentle, deliberate folding motion with a spatula, cutting through the mixture and lifting from the bottom, rather than stirring or beating. Overmixing will knock the air out of the whipped cream, resulting in a dense mousse instead of a light, fluffy one. Patience in this step pays off with a superior texture.
Troubleshooting Common Chocolate Mousse Problems
Even with simple no bake mousse recipes, beginners might encounter a few hiccups. One common issue is the mousse not setting properly. This can happen if the chocolate wasn't melted correctly (perhaps overheated or not enough was used), or if the whipped cream wasn't whipped to stiff peaks.
Ensure you use good quality chocolate with sufficient cocoa butter content and whip your cream until it holds firm peaks when the whisk is lifted. If your mousse is too loose after chilling, you might need to add a small amount of dissolved and slightly cooled gelatin or agar-agar to the base mixture before folding in the cream in future attempts.
Another potential problem is a grainy texture. This often occurs if the melted chocolate is too hot when combined with the cream, causing the fat in the chocolate to seize or the cream to partially melt and then re-solidify unevenly. Always let your melted chocolate cool slightly before folding it into the whipped cream.
If you are using a recipe that involves a cooked element (though less common in beginner no-bake recipes), ensure any sugar is fully dissolved. For our simple chocolate recipe, ensuring the melted chocolate isn't hot is the main defense against graininess. If it happens, unfortunately, it's hard to fix, but you can still enjoy it as a delicious chocolate pudding!
Variations on the Basic No-Bake Mousse Recipe
Once you've mastered the basic chocolate no-bake mousse recipe, you'll find it's incredibly versatile. The core technique of folding a flavorful base into whipped cream can be adapted to create a wide array of delicious, easy no-bake mousse desserts. These variations allow you to play with different flavors using simple ingredients, expanding your repertoire of simple no-bake treats without needing new complex methods.
From classic vanilla to vibrant fruit or rich coffee, the possibilities for no bake mousse recipes are extensive. Each variation follows a similar principle but incorporates a different primary flavor component. This section explores a few popular and easy-to-make variations that are perfect for beginners looking to try something beyond chocolate.
No-Bake Vanilla Mousse: A Classic Delight
No-bake vanilla mousse offers a delicate and elegant alternative to chocolate, highlighting the pure, sweet flavor of vanilla. This no bake mousse recipe typically achieves its structure through a combination of whipped cream and sometimes white chocolate or a small amount of gelatin, as vanilla extract alone doesn't provide setting power. A common method involves warming a small amount of milk or cream with sugar and vanilla bean or extract, dissolving gelatin if used, and then folding this cooled mixture into stiffly whipped heavy cream.
For a simple version that relies on whipped cream and perhaps a touch of white chocolate for stability, you might melt 4 ounces of white chocolate and let it cool, then whisk it with a few tablespoons of milk or cream, a teaspoon or two of vanilla extract, and perhaps a pinch of salt. This mixture is then gently folded into 1.5 cups of stiffly whipped heavy cream, just like the chocolate version.
The result is a light, creamy mousse with a fragrant vanilla aroma, perfect on its own or as a layer in trifles. It usually requires at least 3-4 hours of chilling to set properly.
Quick and Easy Strawberry No-Bake Mousse
Bright, fruity, and incredibly refreshing, a quick and easy strawberry no-bake mousse recipe is ideal for warmer months or whenever you crave a lighter dessert. This variation often uses fresh or frozen strawberries processed into a puree. Because fruit purees are liquid, this type of no-bake mousse almost always requires a setting agent like gelatin or agar-agar to achieve the correct consistency.
To make it, you might puree about 1.5 to 2 cups of strawberries until smooth. If using gelatin, dissolve about 1.5 teaspoons of powdered gelatin in 3 tablespoons of cold water, let it bloom for 5 minutes, then heat gently until dissolved. Stir the dissolved gelatin into the strawberry puree (you might strain the puree first for a smoother texture). Let this mixture cool to room temperature.
Whip 1.5 cups of heavy cream with a few tablespoons of powdered sugar until stiff peaks form. Gently fold the cooled strawberry-gelatin mixture into the whipped cream until just combined. This vibrant pink mousse sets beautifully after 2-3 hours in the refrigerator, offering a delightful burst of strawberry flavor.
Creamy No-Bake Peanut Butter Mousse
For peanut butter lovers, a creamy no-bake peanut butter mousse is an absolute dream. This rich and indulgent variation is surprisingly simple, relying on the thick texture of peanut butter combined with whipped cream and sometimes cream cheese for extra body and tang. It's one of those easy no-bake mousse recipes that feels decadent but requires minimal effort.
A typical approach involves beating together about 1 cup of smooth peanut butter with 4 ounces of softened cream cheese and about 1/2 cup of powdered sugar until smooth. In a separate bowl, whip 1.5 cups of heavy cream until stiff peaks form. Gently fold the whipped cream into the peanut butter mixture until no streaks remain. The combination of peanut butter and cream cheese provides significant structure, so this mousse often sets up quite firmly after 2-3 hours of chilling without needing gelatin. The result is a rich, nutty, and utterly satisfying dessert.
No-Bake Coffee Mousse: An Elegant Dessert
Elevate your simple no-bake dessert game with an elegant no-bake coffee mousse. This recipe is perfect for those who enjoy the sophisticated flavor of coffee. It typically uses strong brewed coffee or espresso, instant coffee granules dissolved in hot water, or coffee liqueur as the flavor base. Like fruit purees, a liquid coffee base usually requires a setting agent.
To make a simple coffee version, you could dissolve 1-2 tablespoons of instant espresso powder in 1/4 cup of hot water (or use 1/4 cup strong brewed coffee), perhaps adding a tablespoon of sugar while warm. Let this mixture cool completely. In a large bowl, whip 1.5 cups of cold heavy cream with 2-3 tablespoons of powdered sugar until stiff peaks form. Gently fold the cooled coffee mixture into the whipped cream until uniformly colored and combined.
For extra stability, you could dissolve 1 teaspoon of gelatin in the warm coffee mixture before cooling and folding. Chill for at least 2-3 hours until set. The result is a light yet intensely flavored coffee treat.
Advanced Tips for No-Bake Mousse Perfection
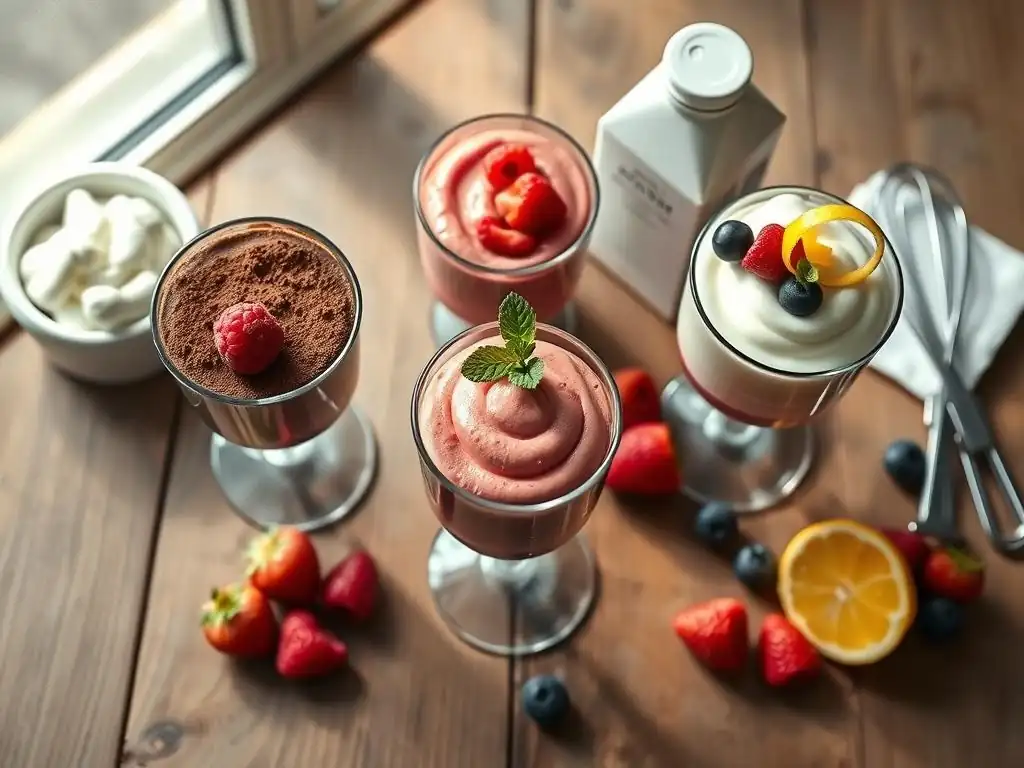
While no bake mousse recipes are inherently simple, a few extra tips can elevate your creations from good to absolutely perfect. As you become more comfortable with the basic techniques, you might want to experiment with fine-tuning textures, enhancing flavors, and adding decorative touches. These advanced tips aren't complicated but require a little attention to detail, helping you master the art of simple no-bake desserts.
These suggestions go beyond the basic mixing and chilling steps, offering ways to troubleshoot consistency issues, introduce exciting new flavor profiles, and present your easy no-bake mousse recipes like a pro. Think of them as ways to refine your skills and add your personal touch to these already delightful treats.
Achieving the Perfect Mousse Consistency
The ideal consistency for a no-bake mousse recipe is light, airy, and smooth, holding its shape while still melting in your mouth. The most common pitfall is a mousse that is too dense or too loose. To ensure airiness, always whip your heavy cream to stiff peaks and use a gentle folding technique when combining the whipped cream with the flavor base. Overmixing is the enemy of a light texture.
If your mousse is consistently too loose, especially with liquid-heavy bases like fruit or coffee, you might need to adjust the amount of setting agent. For gelatin, ensure it is fully dissolved and not added while hot, which can melt the cream. Using slightly more chocolate in chocolate variations can also help with setting due to cocoa butter content; using 70% dark chocolate will result in a firmer set than milk chocolate, for example.
Conversely, if your mousse is too firm or rubbery (often a sign of too much gelatin or agar-agar), reduce the amount slightly in your next batch. Practice and slight adjustments based on your ingredients and environment are key to perfecting the texture of your easy no-bake mousse recipes.
Flavor Enhancements and Add-Ins for No-Bake Mousse
Once you're comfortable with the basic no bake mousse recipes, you can start experimenting with additional flavors and textures. Simple additions can dramatically change the character of your mousse. For chocolate mousse, consider adding a pinch of sea salt to enhance the chocolate flavor, a dash of espresso powder for a mocha twist, or a splash of liqueur like Grand Marnier or Kahlua (use sparingly, about 1-2 tablespoons per batch, as too much liquid can prevent setting).
Fruit mousses benefit from a squeeze of lemon or lime juice to brighten the flavor, or a touch of zest for fragrance. You can also fold in small pieces of fresh fruit just before chilling, though this works best with fruits that don't release excessive liquid, like finely diced strawberries or raspberries.
For added texture and flavor in various easy no-bake mousse recipes, consider folding in chopped nuts, mini chocolate chips, crushed cookies (like Oreos or graham crackers), or even a swirl of caramel or fruit puree just before the mousse sets. These additions can turn a simple mousse into a more complex and exciting dessert.
Decorating Your No-Bake Mousse for a Professional Look
Presenting your no bake mousse recipes beautifully is easier than you think and adds a touch of professional flair. The simplest way is to spoon the mousse into elegant glasses, bowls, or ramekins before chilling. For a more refined look, use a piping bag fitted with a star tip to pipe the mousse into the dishes, creating lovely swirls. This technique works especially well for firmer mousses like the peanut butter or chocolate versions.
Garnishes are your best friend for making easy no-bake mousse recipes look special. A dusting of cocoa powder or powdered sugar through a sieve adds a classic touch to chocolate or coffee mousses. Top vanilla or fruit mousses with fresh berries, a sprig of mint, or a sprinkle of chopped nuts. Chocolate shavings, curls, or a drizzle of melted chocolate or caramel sauce can elevate almost any flavor. For a bit of crunch, consider adding a cookie or wafer on top or sticking out of the mousse. These simple decorative elements can transform a basic dessert into a showstopper.
Storing and Serving Your No-Bake Mousse
Making no bake mousse recipes is often done ahead of time, which makes them perfect for entertaining or simply having a delicious dessert ready when a craving strikes. Knowing how to properly store your homemade mousse ensures it maintains its texture and flavor. Serving it correctly also enhances the overall experience, allowing you and your guests to fully appreciate the lightness and richness you've created.
These simple storage and serving tips will help you get the most out of your easy no-bake mousse recipes, ensuring they are just as delightful hours or even a day after they are made as they were when they first set.
Best Practices for Refrigerating No-Bake Mousse
Proper refrigeration is crucial for no bake mousse recipes to set and remain stable. Once you've portioned your mousse into serving dishes or a larger container, cover them tightly with plastic wrap. This prevents the mousse from absorbing odors from the refrigerator and also helps prevent a skin from forming on the surface, which can affect the texture. Ensure the plastic wrap touches the surface of the mousse for the best results if storing in a larger container.
Refrigerate the mousse for the minimum time specified in the recipe, usually at least 2-3 hours, but ideally 4 hours or more, or even overnight, for the best set. A standard batch of chocolate mousse (about 4-6 servings) will typically be well-set after 4 hours in a cold refrigerator (around 38-40°F or 3-4°C). While easy no-bake mousse recipes are best enjoyed within 2-3 days of making, they can often be stored for up to 4 days if kept well-covered in the refrigerator. Freezing mousse is possible but can sometimes affect the texture, making it less airy upon thawing.
Serving Suggestions for Different No-Bake Mousse Flavors
Serving your no bake mousse recipes can be as simple or as elaborate as you like. Individual portions served in clear glasses showcase the beautiful texture and color. Allow the mousse to sit at room temperature for just 5-10 minutes before serving, especially if it's very cold, to slightly soften it and enhance the flavors and texture.
- Chocolate Mousse: Serve garnished with whipped cream, chocolate shavings, fresh raspberries, or a sprinkle of sea salt. A side of shortbread cookies or biscotti is a lovely accompaniment.
- Vanilla Mousse: Top with fresh berries (strawberries, blueberries, mixed berries), a berry compote, or a drizzle of caramel or chocolate sauce.
- Strawberry Mousse: Garnish with fresh strawberry slices, a dollop of whipped cream, or chopped pistachios for color and crunch.
- Peanut Butter Mousse: Top with chopped roasted peanuts, mini peanut butter cups, a drizzle of melted chocolate, or a swirl of whipped cream.
- Coffee Mousse: Dust with cocoa powder, top with chocolate-covered coffee beans, or serve with a classic Italian ladyfinger cookie.
For any easy no-bake mousse recipe, serving it chilled is key to enjoying its intended texture.
No-Bake Mousse Recipe FAQs
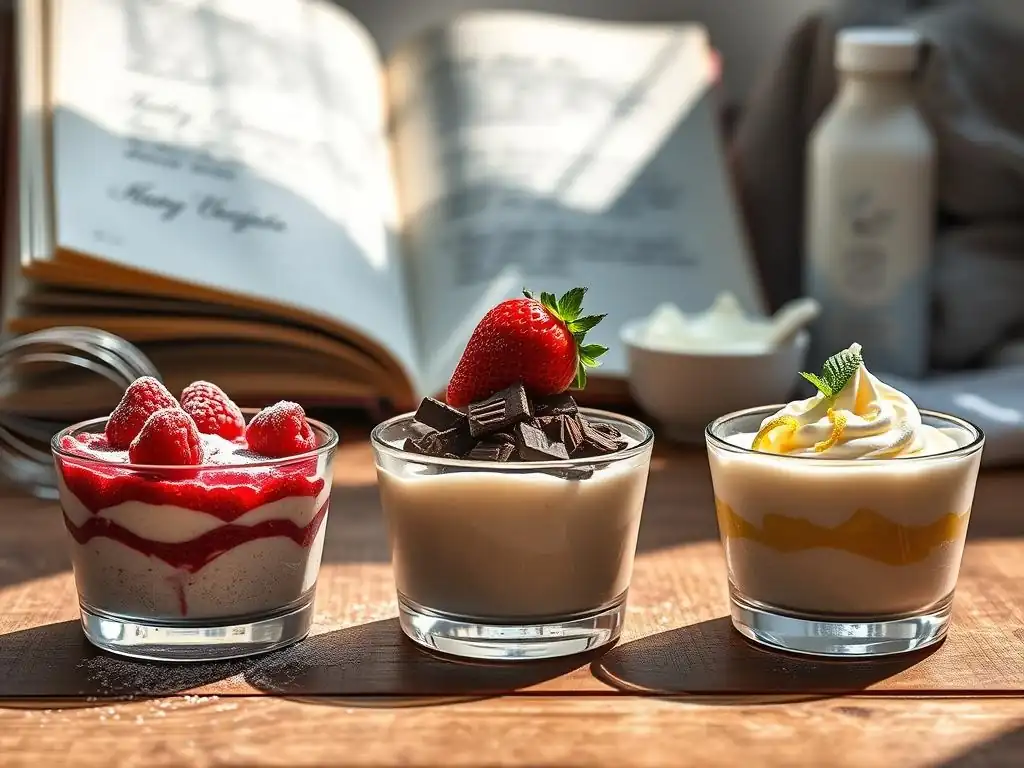
Embarking on making your first no bake mousse recipes might bring up a few questions. It's completely normal to wonder about ingredients, techniques, or troubleshooting. We've gathered some frequently asked questions to help you feel confident as you create these simple no-bake desserts. Think of this section as a quick reference guide for common queries beginners have when exploring the world of easy mousse making.
Whether you're unsure about whipping cream or curious about why your mousse didn't set, these answers aim to provide clear, helpful information to guide you towards successful no bake mousse recipes every time.
Answering Your Questions About No-Bake Mousse Making
Here are answers to some common questions about making no bake mousse recipes:
-
Q: Can I use milk instead of heavy cream?
A: No, milk does not have enough fat content (typically 3.5% or less) to whip into a stable form like heavy cream (30-40%). Using milk will result in a liquidy mixture that won't achieve the airy mousse texture or set properly without significant amounts of gelatin or other thickeners, which would change the dessert's character. Stick to heavy cream or a suitable high-fat dairy-free alternative for easy no-bake mousse recipes.
-
Q: My chocolate seized when melting. What happened?
A: Chocolate seizing (becoming a thick, grainy paste) usually happens when it comes into contact with even a tiny amount of water while melting, or if it's overheated. When melting chocolate for no bake mousse recipes, ensure your bowl and utensils are completely dry. If using a double boiler, make sure the bottom of the bowl doesn't touch the simmering water and that no steam gets into the chocolate. If using a microwave, melt in short intervals (e.g., 30 seconds) and stir thoroughly between each, removing it just before it's fully melted and letting residual heat finish the job.
-
Q: How long do I need to whip the cream?
A: Whipping time varies depending on the mixer speed, the temperature of the cream and bowl, and the amount of cream. For no bake mousse recipes, you typically need to whip until stiff peaks form. This means when you lift the whisk, the cream stands straight up without flopping over. This usually takes 3-5 minutes with an electric mixer. Stop once stiff peaks are reached to avoid turning it into butter.
-
Q: Can I make this ahead of time?
A: Absolutely! Easy no-bake mousse recipes are excellent make-ahead desserts. Prepare the mousse, portion it into serving dishes, cover, and refrigerate for at least the minimum chilling time required. They are usually best enjoyed within 2-3 days.
-
Q: Why is my mousse dense and not airy?
A: This is most likely due to overmixing after the whipped cream has been added. The airiness comes from the whipped cream. If you stir or beat the mixture too vigorously after folding in the cream, you'll knock the air out. Use a gentle folding technique with a spatula until just combined.
Conclusion: Enjoying Your Homemade No-Bake Mousse
Congratulations! You've now explored the wonderful world of simple no bake mousse recipes. From understanding the basic ingredients to mastering the folding technique and trying out delightful variations, you have the knowledge to create light, airy, and delicious mousse desserts without ever needing an oven. These easy no-bake mousse recipes are proof that you can achieve elegant results with minimal effort, making them perfect for beginners and seasoned home cooks alike.
Whether you opt for the classic chocolate, a refreshing strawberry, or an elegant coffee flavor, the satisfaction of making a beautiful dessert from scratch is immense. Simple no-bake desserts like these mousses build confidence in the kitchen and provide delightful treats to share with friends and family. So go ahead, gather your ingredients, whip up a batch, and enjoy the smooth, creamy perfection of your homemade no-bake mousse.
Mastering the Art of Simple No-Bake Desserts
Mastering easy no-bake mousse recipes is really about understanding a few core principles: starting with cold, high-fat cream for whipping, gently melting and cooling your flavor base (like chocolate), and using a careful folding technique to preserve the airiness of the whipped cream. As you practice, you'll get a feel for the right consistency of whipped cream and how the mixture should look when properly folded.
Don't be afraid to experiment once you're comfortable with the basics. Try different types of chocolate, add extracts like almond or orange, swirl in fruit purees or sauces, or experiment with different toppings. The versatility of no bake mousse recipes means you can keep exploring and creating new flavor combinations. With these simple techniques in your repertoire, you're well on your way to becoming a pro at making delightful, fuss-free, simple no-bake desserts that impress every time.
Frequently Asked Questions
What makes a mousse a "no-bake" recipe?
A no-bake mousse relies on ingredients that don't require oven cooking for setting. This typically involves using refrigeration to achieve the desired texture.
What are the common ingredients used in no-bake mousse recipes?
Common ingredients include heavy cream for richness, chocolate or fruit purees for flavor, and a setting agent like gelatin or agar-agar.
How do I achieve the perfect mousse texture without baking?
Achieving the right texture involves careful whipping of cream for air incorporation and proper hydration and use of the setting agent.
Can I substitute ingredients in no-bake mousse recipes?
While substitutions are possible, be mindful of their impact. For example, using low-fat cream might affect the mousse's stability and overall richness.
How long does a no-bake mousse need to set in the refrigerator?
Typically, a no-bake mousse requires at least 2-4 hours in the refrigerator to fully set, but overnight is often recommended for the best results.
Final Reflection: The Sweet Simplicity of Effortless Elegance
The art of creating decadent desserts doesn't require hours in a hot kitchen; sometimes, the most satisfying treats are born from simplicity. These no-bake mousse recipes, explored throughout this guide, prove that achieving culinary excellence is accessible to everyone, regardless of skill level. The ease of preparation doesn't compromise on taste or presentation; in fact, it often enhances the overall experience.
The enduring appeal of no-bake desserts lies in their versatility and adaptability. They allow for creative freedom, encouraging experimentation with different flavors and textures. The best things in life are simple,
a sentiment that perfectly encapsulates the joy of whipping up a delicious mousse without the fuss of oven-baking. From classic chocolate to vibrant fruit infusions, these recipes offer a canvas for personal expression, reflecting individual tastes and preferences within the comforting familiarity of a beloved dessert. This accessibility fosters a sense of accomplishment and empowers home cooks to confidently explore the world of dessert creation.
Now, I invite you to embrace the simplicity and elegance of no-bake mousse. Don't be intimidated by the prospect of dessert-making; instead, see it as an opportunity to relax, create, and share the joy of deliciousness with loved ones. Choose a recipe that speaks to your palate, gather your ingredients, and embark on a culinary adventure that proves that sometimes, the most rewarding experiences are the simplest ones. The creamy, dreamy result will be a testament to your culinary prowess and a delightful treat to savor.
Unleash Your Inner Pastry Chef: Creamy Mousse Awaits!
Thanks for taking the time to explore the world of no-bake mousse with us! We hope you've discovered some delicious and surprisingly easy recipes to impress your friends and family. Ready to take your newfound skills to the next level?
- Whip up your favorite recipe today! Grab those ingredients and start creating a decadent dessert that's surprisingly simple.
- Share your mousse masterpiece! Post a picture on social media and tag us – we'd love to see your creations!
- Challenge yourself: Try experimenting with different flavor combinations and toppings. What unique twist can you add?
What incredible flavor combinations will you create with your newfound mousse-making abilities?