
Summer Berry Tart: Quick Recipe for Peak Season Flavor

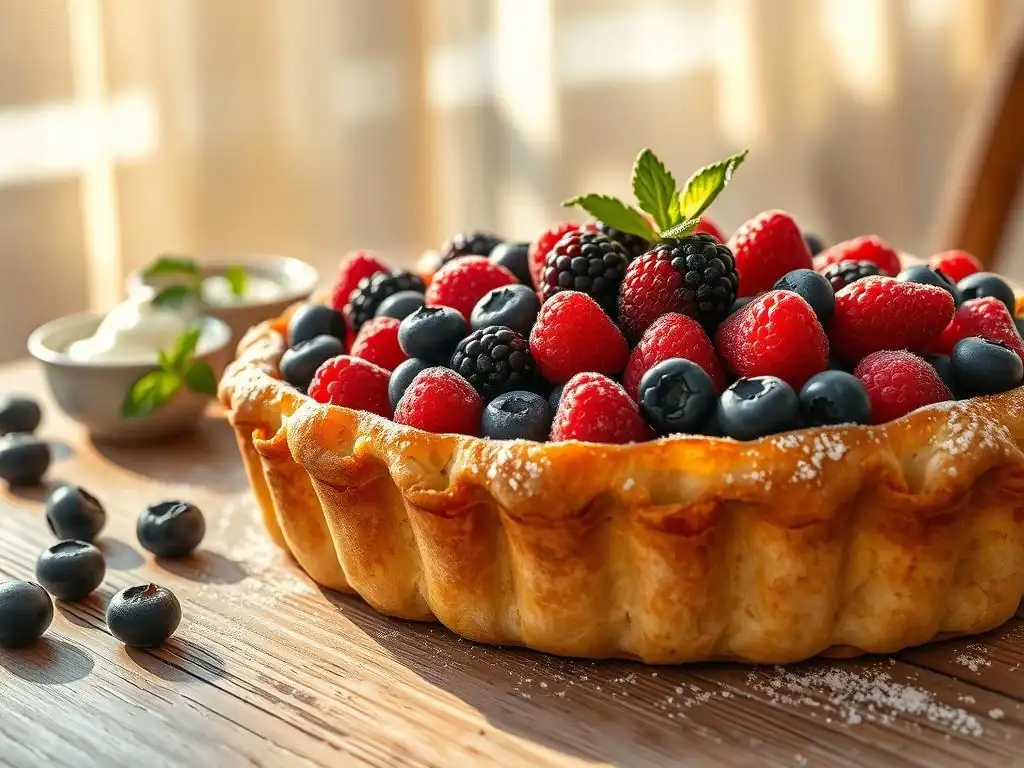
Welcome to BakeWithEase, your companion on a delectable baking journey! Dive into a world where creating stunning desserts becomes effortlessly achievable. This season, are you ready to capture the essence of summer in every bite? Our guide to crafting an easy summer berry tart will show you how to create a stunning dessert with peak-season flavors, even if you're short on time. Discover the secrets to a perfectly crisp crust and a vibrant berry filling that will leave everyone wanting more. Eager to get started and unlock the secrets to this delightful treat?
- Why This Lemon Tart is a Timeless Dessert
- Ingredients for Your Luscious Lemon Tart
- Step-by-Step Guide: Baking Your Lemon Tart
- Tips & Tricks for the Perfect Lemon Tart
- Serving and Storing Your Homemade Lemon Tart
- Frequently Asked Questions
- Final Reflection: Savor the Season, Savor the Moment
- Unlock Summer's Sweetest Secret: Bake Your Berry Tart Today!
Why This Lemon Tart is a Timeless Dessert
The Appeal of Tangy Citrus in Baking
Citrus flavors, particularly lemon, hold a special place in the world of baking. Their bright, acidic notes provide a refreshing counterpoint to the richness of butter, sugar, and eggs commonly found in desserts. This inherent contrast is what makes a classic lemon tart so universally appealing – it's simultaneously decadent and invigorating.
Unlike some heavy desserts that can feel overwhelming, a well-made lemon tart leaves your palate feeling clean and satisfied, making it a perfect ending to a meal or a delightful afternoon treat. The natural acidity of lemon also helps to cut through sweetness, creating a balanced flavor profile that isn't cloying.
Furthermore, the aroma of baking lemon is incredibly inviting. As the tart bakes, the volatile oils from the lemon zest infuse the air, creating a comforting and uplifting scent. This sensory experience is a significant part of the enjoyment of a lemon tart, extending beyond just the taste. The versatility of lemon also allows it to pair beautifully with various other flavors, from berries to meringue, offering endless possibilities for variations while maintaining its core identity. A classic lemon tart is more than just a dessert; it's a celebration of simple, vibrant flavors executed with finesse.
Mastering a Pate Sucree Crust
A truly classic lemon tart relies on a perfect pate sucree, or sweet shortcrust pastry. This type of crust is distinct from flaky pie dough; it's designed to be sturdy yet tender, with a fine, crumbly texture that melts in your mouth. Mastering a pate sucree involves careful technique, primarily the "sablage" method, where cold butter is rubbed into the flour until the mixture resembles coarse sand before liquids are added.
This ensures the fat is evenly distributed and prevents the formation of long gluten strands, which would result in a tough crust. The dough also requires chilling time, typically at least 30 minutes, to allow the gluten to relax and the fat to firm up, making it easier to handle and preventing excessive shrinkage during baking.
Achieving a perfectly baked pate sucree is crucial for a successful lemon tart. The crust needs to be 'blind baked' (baked without the filling) until it is fully cooked and golden brown, not just partially baked. This pre-baking step ensures the base is crisp and fully set before the wet lemon filling is added, preventing a soggy bottom, a common pitfall in tart making.
Blind baking often involves lining the chilled pastry shell with parchment paper or foil and filling it with pie weights, dried beans, or rice to prevent the sides from collapsing and the bottom from puffing up. After an initial bake with weights, the weights are removed, and the crust is baked further until it achieves a lovely golden hue and a dry, sandy texture, ready to receive the luscious lemon filling.
Balancing Sweetness and Acidity
The hallmark of an exceptional classic lemon tart is the exquisite balance between its sweetness and acidity. The lemon filling should be intensely flavored with fresh lemon juice and zest, providing a distinct tang that awakens the palate. However, this acidity must be tempered by the right amount of sugar to prevent it from being overwhelmingly sour.
The sugar not only sweetens the filling but also contributes to its smooth, creamy texture when combined with eggs and butter. Finding this perfect ratio is key; too little sugar, and the tart is puckeringly sour; too much, and the vibrant lemon flavor is lost in a sugary sweetness.
Achieving this balance often involves using a combination of whole eggs and egg yolks. The yolks add richness and contribute to a custardy texture, while the whole eggs help set the filling. Butter is also essential, not just for richness and flavor, but for adding silkiness and helping the filling set into a smooth, sliceable consistency.
The interaction of these ingredients during the gentle cooking process (often done over a double boiler or low heat) allows the proteins to coagulate slowly, creating a filling that is firm enough to hold its shape when sliced but still melts in your mouth. A perfectly balanced lemon tart offers a delightful interplay of sharp citrus and smooth, sweet creaminess in every bite.
Ingredients for Your Luscious Lemon Tart
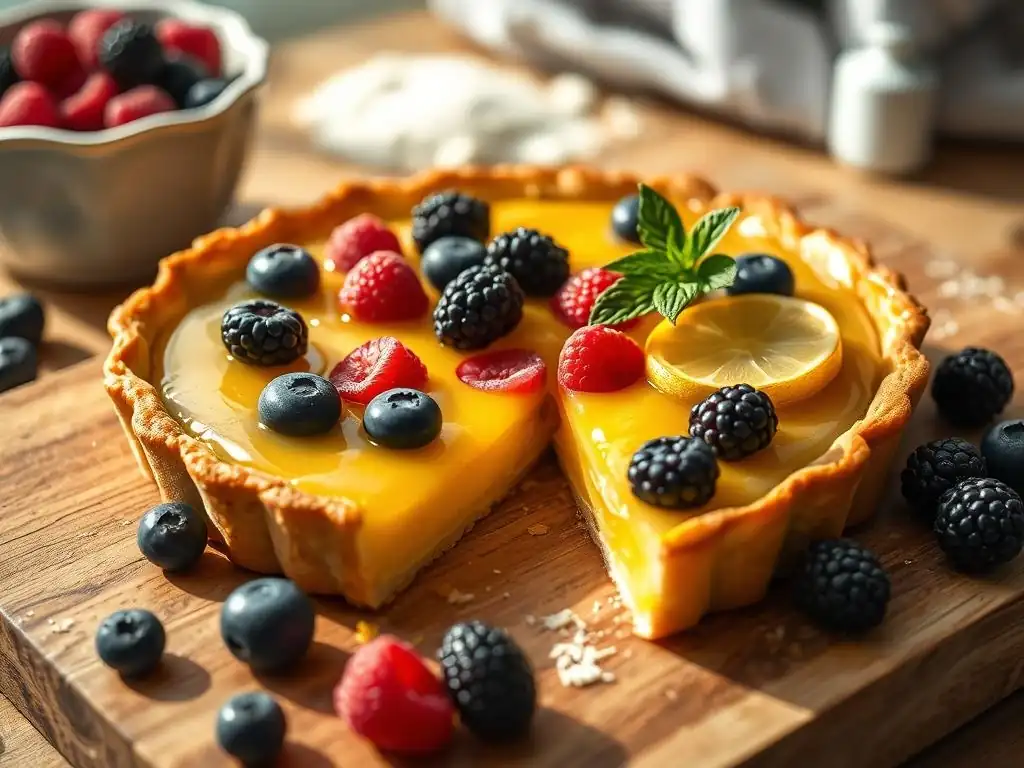
Tart Crust Ingredients: Pate Sucree Essentials
To create the perfect foundation for your classic lemon tart, you'll need a few simple, high-quality ingredients for the pate sucree. The standard ratio for a good shortcrust often involves roughly 2 parts flour to 1 part cold butter, plus sugar and egg. For a standard 9-inch tart pan, you'll typically need about 1 and 1/4 cups (approximately 160g) of all-purpose flour.
The fat component is crucial: about 1/2 cup (approximately 115g) of unsalted butter, cut into cold cubes. Using unsalted butter gives you control over the saltiness, and keeping it very cold is paramount for the correct texture development.
In addition to flour and butter, you'll need sugar for sweetness and tenderness – about 1/4 cup (approximately 50g) of granulated sugar or superfine sugar works well. A pinch of salt, around 1/4 teaspoon, enhances the flavors. Finally, a binder is needed, usually one large egg yolk or a tablespoon or two of ice water.
The egg yolk adds richness and helps create a tender crumb, while ice water provides just enough moisture to bring the dough together without developing too much gluten. These simple ingredients, when handled correctly, yield a crisp, flavorful crust that is the ideal counterpoint to the bright lemon filling.
Lemon Filling Ingredients: Zesty and Creamy
The heart of the classic lemon tart is its vibrant, smooth filling. The key ingredient, of course, is fresh lemon. You'll need the juice and zest from several lemons, typically 3-4 large ones, yielding about 1/2 to 3/4 cup (120-180ml) of fresh lemon juice and the zest from all of them. Using fresh lemons is non-negotiable for the best flavor; bottled juice simply won't provide the same brightness or complexity. The zest is particularly important as it contains the fragrant oils that contribute significantly to the overall lemon flavor.
To achieve the desired creamy texture and sweetness, you'll need sugar, eggs, and butter. Granulated sugar is standard, usually around 3/4 cup to 1 cup (150-200g), depending on how tart you like your filling. For richness and structure, you'll need a combination of whole eggs and egg yolks – often 2 whole large eggs plus 2-3 large egg yolks.
The yolks contribute to a luxurious, custardy consistency. Finally, cold unsalted butter, cut into cubes (about 1/2 cup or 115g), is whisked in at the end to add silkiness and help the filling set beautifully as it cools. Some recipes also call for a small amount of cream or milk, but a classic French-style filling often relies solely on lemon juice, sugar, eggs, and butter for its signature texture.
Meringue Topping Ingredients: Optional Fluffy Cloud
While a classic lemon tart can be served simply, many enjoy the addition of a light, airy meringue topping. This provides a beautiful visual contrast and a sweet, marshmallow-like texture that complements the tartness of the lemon. For a standard Italian or Swiss meringue (which are more stable than French meringue), you'll typically need egg whites and sugar. The number of egg whites depends on the size of the tart and how much meringue you desire, often using the egg whites left over from making the pate sucree or the lemon filling – perhaps 3-4 large egg whites.
The sugar component is crucial for stabilizing and sweetening the meringue. Granulated sugar is commonly used, often in a ratio of about twice the weight of the egg whites. For example, if you have 100g of egg whites, you'd use around 200g of sugar.
Using superfine sugar can help it dissolve more easily, especially in French meringue, but for cooked meringues like Italian or Swiss, granulated sugar is fine. A pinch of cream of tartar or a few drops of lemon juice or vinegar (about 1/4 teaspoon cream of tartar or 1/2 teaspoon acid) is often added to help stabilize the egg whites and achieve maximum volume when whipping. Vanilla extract (about 1/2 teaspoon) can also be added for flavor, though it's optional.
Step-by-Step Guide: Baking Your Lemon Tart
Step 1: Preparing the Pate Sucree Crust
Begin by making your pate sucree. In a large bowl, whisk together 1 and 1/4 cups (160g) all-purpose flour, 1/4 cup (50g) sugar, and 1/4 teaspoon salt. Cut in 1/2 cup (115g) cold unsalted butter, cubed, using your fingertips, a pastry blender, or a food processor until the mixture resembles coarse sand with some pea-sized pieces of butter remaining. This process, called 'sablage', is key to a tender crust.
Add 1 large egg yolk (or 1-2 tablespoons ice water) and mix until the dough just comes together. Be careful not to overmix. Turn the dough out onto a lightly floured surface, gather it into a disc, wrap tightly in plastic wrap, and chill in the refrigerator for at least 30 minutes, or preferably 1-2 hours. Chilling is essential for the dough to firm up and become manageable for rolling.
Pro Tip: Preventing Crust Shrinkage
To prevent your pate sucree from shrinking excessively during baking, ensure the dough is thoroughly chilled before rolling and fitting into the tart pan. After fitting the dough into the pan, trim the edges and then chill the lined tart pan again for at least 20-30 minutes before blind baking.
This second chill allows the butter to firm up in its new shape within the pan, making it more likely to hold that shape in the oven. Additionally, don't stretch the dough when fitting it into the pan; gently press it in to avoid creating tension that will cause it to pull back from the edges.
Step 2: Creating the Silky Lemon Filling
While the crust is chilling, prepare the lemon filling. In a medium saucepan (preferably non-reactive), whisk together 3/4 cup (150g) granulated sugar, the zest of 3-4 lemons, 1/2 to 3/4 cup (120-180ml) fresh lemon juice, 2 large whole eggs, and 2-3 large egg yolks. Place the saucepan over medium-low heat or over a double boiler.
Whisk continuously as the mixture heats. Do not let it boil. Continue whisking until the mixture thickens enough to coat the back of a spoon, reaching a temperature of around 170°F (77°C). This should take about 8-10 minutes. Remove from the heat and immediately whisk in 1/2 cup (115g) cold unsalted butter, cubed, a few pieces at a time, until completely melted and incorporated. The residual heat will melt the butter and contribute to the filling's smooth texture.
Achieving a Smooth and Creamy Texture
To ensure your lemon filling is perfectly smooth and free of any cooked egg bits or zest particles, strain it immediately after whisking in the butter. Pass the warm filling through a fine-mesh sieve set over a clean bowl. This step removes any solids and ensures a wonderfully silky, custard-like consistency. If you prefer a filling with visible zest, you can add some finely minced zest back into the strained filling, but straining is crucial for that signature smooth finish. Allow the strained filling to cool slightly while you blind bake the crust.
Step 3: Baking the Lemon Tart to Perfection
Preheat your oven to 375°F (190°C). Remove the chilled, lined tart pan from the refrigerator. Line the pastry shell with parchment paper or foil and fill with pie weights, dried beans, or rice, distributing them evenly to cover the bottom and sides. Bake for 15-20 minutes, or until the edges are lightly golden.
Carefully remove the weights and parchment/foil. Return the crust to the oven and bake for another 10-15 minutes, or until the bottom is fully cooked, dry, and golden brown. This ensures a crisp base for your lemon tart. Remove the baked crust from the oven and place it on a wire rack.
Oven Temperature and Baking Time for Optimal Setting
For blind baking the pate sucree, starting at 375°F (190°C) helps set the structure quickly. The initial bake with weights prevents the crust from collapsing. The second bake, without weights, at the same temperature or slightly lower (350°F / 175°C), ensures the bottom cooks through. Once the crust is baked, reduce the oven temperature to 325°F (160°C). Pour the slightly cooled lemon filling into the warm, blind-baked crust.
Carefully transfer the tart back into the oven. Bake for 15-25 minutes, depending on the size of your tart and the depth of the filling. The filling is done when the edges are set and slightly puffed, but the center is still slightly wobbly. It will continue to set as it cools. Avoid overbaking, which can result in a rubbery filling.
Step 4: Adding the Meringue Topping (Optional)
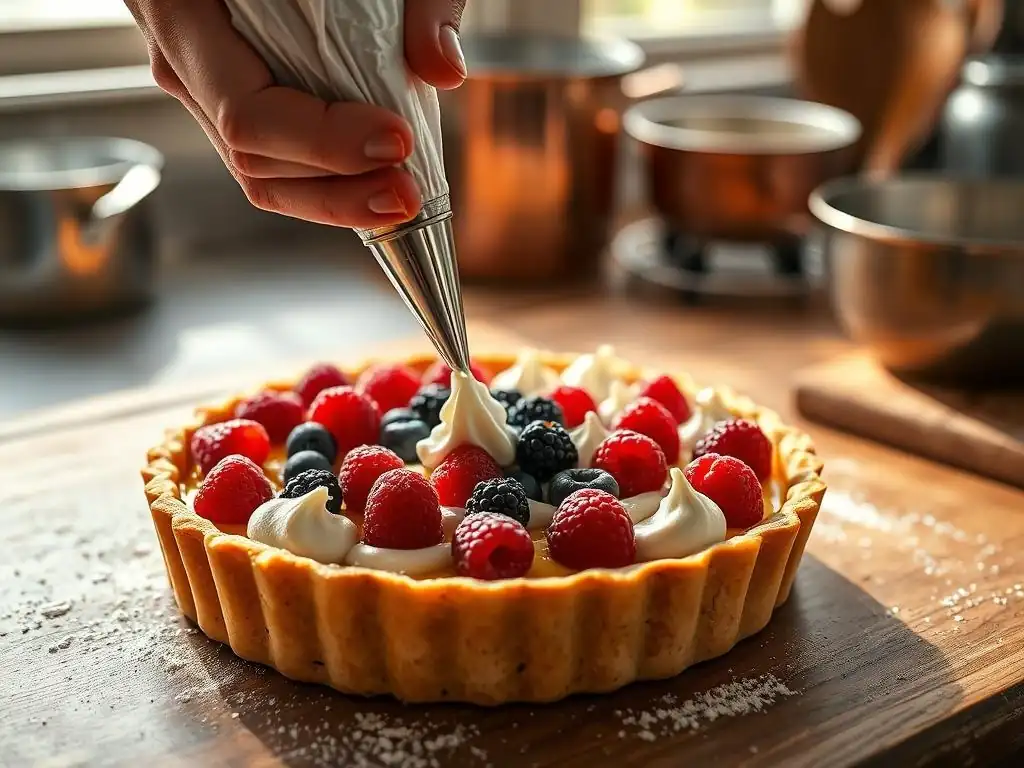
If you're adding a meringue topping, prepare it while the tart is cooling slightly after baking the filling. For a stable Italian meringue, combine 3-4 large egg whites (at room temperature is best for volume) in the bowl of a stand mixer. In a small saucepan, combine 3/4 cup (150g) granulated sugar with 1/4 cup (60ml) water. Heat the sugar syrup over medium-high heat, stirring until the sugar dissolves. Continue to cook without stirring until the syrup reaches 240°F (115°C) on a candy thermometer (soft ball stage).
While the syrup is heating, start whipping the egg whites on medium speed until soft peaks form. Once the syrup reaches 240°F (115°C), slowly and carefully pour the hot syrup down the side of the mixing bowl in a thin stream while the mixer is running on medium-high speed. Be careful to avoid hitting the whisk. Continue whipping on high speed until the meringue is very thick, glossy, and has cooled completely, which can take 8-10 minutes.
Achieving a Stable and Glossy Meringue
The key to a stable and glossy meringue for your lemon tart is reaching stiff peaks and ensuring the sugar is fully dissolved and cooked to the correct temperature (for Italian or Swiss meringue). Italian meringue, made by pouring hot sugar syrup into whipping egg whites, is particularly stable and less prone to weeping. Ensure your bowl and whisk are perfectly clean and grease-free, as even a tiny bit of fat can prevent the egg whites from whipping properly.
Whip the meringue until it is completely cool to the touch and holds stiff, shiny peaks. Spread the meringue over the cooled (or slightly warm) lemon filling, ensuring it touches the crust all around to prevent shrinkage.
Step 5: Browning the Meringue (Optional)
Once the meringue is spread over the lemon tart, you can brown it for visual appeal and a slightly toasted flavor. You have a few options for this step. The most common method is using a kitchen torch. Hold the torch flame a few inches away from the meringue and move it slowly and evenly over the surface until you achieve the desired level of golden-brown toasty spots.
Alternatively, you can briefly place the tart under a preheated broiler in your oven. Watch it very closely, as meringue can burn quickly under a broiler. This usually takes only 1-2 minutes. Keep the oven door slightly ajar and rotate the tart as needed for even browning.
Achieving a Golden-Brown Meringue
Whether using a torch or broiler, the goal is a beautiful variation of golden and darker brown peaks and swirls on the meringue surface. With a torch, you have precise control over which areas get browned. With a broiler, the heat is less controlled but can brown the entire surface more quickly. Ensure the meringue is thick enough (at least 1-2 inches) to provide insulation for the filling below, preventing it from overheating during the browning process. Remove the tart immediately once the desired color is achieved.
Tips & Tricks for the Perfect Lemon Tart
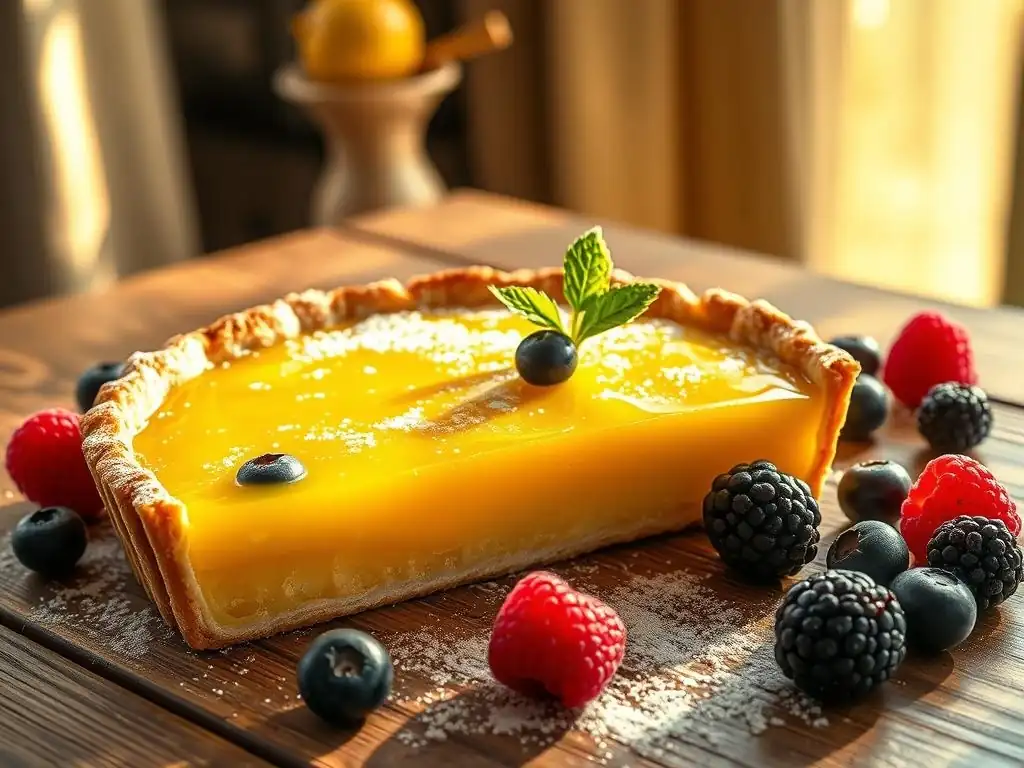
Choosing the Best Lemons for Your Tart
The quality of your lemons directly impacts the flavor of your classic lemon tart. Opt for fresh, ripe lemons that feel heavy for their size, which indicates they are juicy. Look for lemons with smooth, blemish-free skin, as this often means they have thinner rinds and are easier to zest, yielding more fragrant oils. Meyer lemons, a hybrid of lemon and mandarin orange, can also be used for a slightly sweeter, less acidic filling with a more floral aroma, offering a delightful variation on the classic.
Before juicing, roll the lemons firmly on your countertop under your palm; this helps break down the membranes inside and makes them easier to extract juice from. For maximum zest, use a microplane zester, being careful to only remove the bright yellow part of the peel and avoid the bitter white pith underneath. The zest contains the most intense lemon flavor, so don't skip this step!
Preventing a Soggy Tart Crust: Expert Advice
A soggy bottom is the nemesis of a perfect lemon tart. The primary defense against this is proper blind baking of the pate sucree crust. As detailed in Step 3, the crust must be fully baked until golden brown and dry before the wet lemon filling is added. Partial blind baking isn't enough.
Another crucial step is to pour the filling into the crust while the crust is still warm from the oven. The residual heat helps the bottom of the crust 'seal' against the filling, creating a barrier.
Some bakers also brush the blind-baked crust with a thin layer of egg white (whipped slightly) and return it to the oven for a minute or two to create an extra seal before adding the filling. Ensure the filling is poured in and the tart is returned to the oven quickly to minimize the time the liquid filling sits in the crust before baking.
Variations: Customize Your Lemon Tart
While the classic lemon tart is wonderful on its own, there are many ways to add your own twist.
Adding a Hint of Lavender
For an elegant and subtly floral variation, consider infusing your lemon filling with lavender. Add about 1-2 teaspoons of culinary grade dried lavender flowers to the lemon juice and sugar mixture before heating it. Let it steep for about 10-15 minutes, then strain the mixture through a fine-mesh sieve before adding the eggs and proceeding with the recipe. This imparts a delicate floral note that pairs beautifully with the citrus without being overpowering.
Creating Individual Tartlets
Instead of one large classic lemon tart, you can make individual tartlets using smaller tart pans (typically 3-4 inches in diameter). The process for the crust and filling is the same, but the baking times will be shorter. Blind bake the smaller crusts for about 10-12 minutes with weights, then 5-8 minutes without weights. Bake the filled tartlets for approximately 10-15 minutes, or until the filling is set but still slightly wobbly in the center. Individual lemon tartlets are perfect for entertaining and allow for beautiful single servings.
Serving and Storing Your Homemade Lemon Tart
Serving Suggestions for a Stunning Presentation
A classic lemon tart is visually appealing on its own, especially with a beautifully browned meringue topping. To serve, ensure the tart has cooled completely, preferably chilling for at least 2-3 hours, or until the filling is fully set. Use a sharp knife dipped in hot water and wiped clean between slices for clean cuts.
Serve slices dusted lightly with powdered sugar, or alongside fresh berries like raspberries or blueberries, which complement the lemon flavor wonderfully. A dollop of whipped cream or a scoop of vanilla ice cream also makes a lovely accompaniment. For extra flair, garnish with candied lemon slices or finely grated lemon zest. Presenting slices on individual dessert plates highlights the tart's elegant simplicity.
Storing Leftover Lemon Tart: Keep it Fresh
To store leftover classic lemon tart, cover it loosely with plastic wrap or aluminum foil. If the tart has a meringue topping, covering it too tightly can cause the meringue to become sticky or weep. Store the tart in the refrigerator. A lemon tart is best enjoyed within 2-3 days of baking.
If your tart does not have a meringue topping, it can be stored in an airtight container in the refrigerator for up to 4 days. The crust may soften slightly over time, but the filling should remain delicious. Freezing a lemon tart is generally not recommended, especially if it has a meringue topping, as the texture of both the filling and meringue can degrade upon thawing. For the freshest taste and best texture, enjoy your homemade classic lemon tart within a few days.
Frequently Asked Questions
What makes this Summer Berry Tart recipe "easy"?
This recipe focuses on using pre-made crust and a simple pastry cream filling, making it quick and accessible for bakers of all levels. It emphasizes fresh, seasonal berries for maximum flavor with minimal effort.
What kind of berries work best in a Summer Berry Tart?
A mix of seasonal berries like strawberries, blueberries, raspberries, and blackberries offers a great balance of flavors and textures. Feel free to use your favorite berries or what's readily available.
Can I make the tart crust from scratch?
Yes, absolutely! While the recipe highlights using a pre-made crust for convenience, you can certainly use your own homemade pastry crust recipe. Just be sure to blind bake it before adding the filling.
How long will the Summer Berry Tart last?
The tart is best enjoyed within 2-3 days of making it. Store it in the refrigerator to keep the berries fresh and the crust crisp.
What if I don't have pastry cream ingredients on hand?
You can substitute the pastry cream with a thickened Greek yogurt or mascarpone cheese, sweetened with a little honey or powdered sugar. This will provide a similar creamy texture and flavor.
Final Reflection: Savor the Season, Savor the Moment
The fleeting nature of summer's bounty underscores the importance of seizing simple pleasures. This easy summer berry tart recipe isn't just about creating a delicious dessert; it's a celebration of the vibrant flavors and ephemeral beauty of the season. The recipe's simplicity allows us to focus on the quality of the ingredients and the joy of sharing a homemade treat, reminding us to appreciate the small moments that make life sweet.
The act of baking, particularly with seasonal ingredients, connects us to a deeper appreciation for the rhythms of nature and the passage of time. It's a mindful process, a quiet counterpoint to the often frenetic pace of modern life. As the great Julia Child once said, Find something you're passionate about and keep tremendously interested in it.
For me, that passion often finds its expression in the kitchen, particularly during the summer months when the abundance of fresh berries inspires creativity and connection.
This summer, I encourage you to try your hand at this simple tart. Don't be intimidated by the seemingly complex appearance; the process is surprisingly straightforward. More importantly, take the time to truly savor the experience – the aroma of baking berries, the satisfaction of creating something beautiful, and the joy of sharing it with loved ones. Let this recipe be a reminder to slow down, appreciate the present moment, and find sweetness in the simple things.
Unlock Summer's Sweetest Secret: Bake Your Berry Tart Today!
Thanks for taking the time to explore this delicious Summer Berry Tart recipe! We hope you've gained inspiration and are ready to create something truly special. Now it's time to get baking!
- Bake your own masterpiece: Gather your ingredients and follow the recipe—you'll be surprised how easy it is to achieve that perfect, flaky crust and vibrant berry filling.
- Share your creation: Post a photo of your finished tart on social media and tag us @BakeWithEase (fictional social media handle). We'd love to see your culinary success!
- Explore other seasonal recipes: Head over to our recipe section on bakewithease.com (fictional site) to find more delicious treats perfect for summer.
Ready to transform your kitchen into a haven of sweet summer flavors? What's your favorite summer berry to bake with?