
The Secret Life of Yeast: How Fermentation Creates Perfect Dough

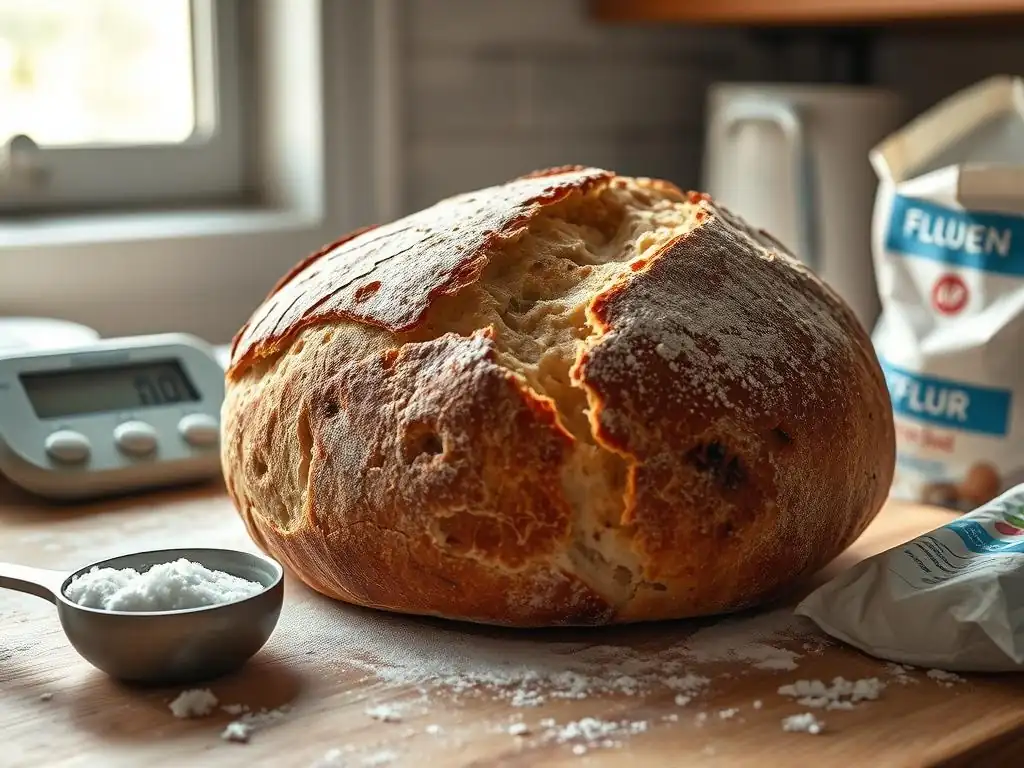
Welcome to BakeWithEase, your guide to unlocking the magic of baking! Ever wondered about the secret life of yeast and how it transforms simple ingredients into culinary masterpieces? Delve into the science of yeast fermentation and discover how to create the perfect dough, every time. This article, a deep dive into the world of baking science, will demystify the process and leave you eager to experiment. Ready to understand the power of yeast fermentation dough recipe? Let's get baking!
- The Art of Sourdough Baking: Mastering Fermentation - BakeWithEase
- Understanding Sourdough Fermentation: The Key to Flavorful Bread
- The Complex Process of Sourdough Fermentation
- Mastering Sourdough: Starter Maintenance and Dough Handling
- Troubleshooting Common Sourdough Problems
- Beyond the Basics: Exploring Advanced Sourdough Techniques
- Tips and Tricks for Enhancing Your Sourdough
- Sourdough Baking: Elevate Your Baking Skills
- Frequently Asked Questions
- Final Reflection: The Enduring Magic of Yeast and Dough
- Unleash Your Inner Baker: Craft Your Dream Dough Today!
The Art of Sourdough Baking: Mastering Fermentation - BakeWithEase
Understanding Sourdough Fermentation: The Key to Flavorful Bread
What is Sourdough Fermentation and Why is it Important for Bread?
Sourdough fermentation is the magical biological process that transforms simple flour and water into complex, flavorful bread. Unlike commercial baking which relies on a single strain of commercial baker's yeast, sourdough uses a "starter" – a living culture of wild yeasts and lactic acid bacteria (LABs). This symbiotic relationship between multiple microorganisms is what gives sourdough its distinctive tang, open crumb structure, and chewy crust. It's the heart of any authentic sourdough yeast fermentation dough recipe. Without this fermentation, you'd simply have dense, flat, and unpalatable dough.
The importance of sourdough fermentation extends beyond just flavor and texture. The long, slow fermentation process breaks down complex carbohydrates and proteins in the flour, making the nutrients more accessible and the bread potentially easier to digest for some people. It also acts as a natural preservative, extending the shelf life of the finished loaf compared to bread made with commercial yeast. Mastering this process is fundamental to elevating your baking skills and achieving that coveted sourdough loaf.
The Science Behind Sourdough Fermentation: A Baker's Perspective
From a baker's viewpoint, understanding the science of sourdough fermentation is about controlling a living ecosystem. The wild yeasts in the starter consume sugars in the flour and produce carbon dioxide gas, which makes the dough rise, and alcohol, which contributes to flavor. Simultaneously, the lactic acid bacteria consume sugars and produce various organic acids, primarily lactic acid and acetic acid. Lactic acid provides a mellow tang, while acetic acid contributes a sharper, vinegar-like note.
The balance between yeast activity (for rise) and bacterial activity (for flavor and structure) is influenced by factors like temperature, hydration level of the starter and dough, feeding ratios, and fermentation time. For instance, warmer temperatures (around 78-82°F) tend to favor lactic acid production and yeast activity, leading to a faster rise and milder tang. Cooler temperatures (around 68-72°F) slow down fermentation and often encourage more acetic acid production, resulting in a more pronounced sourness. Controlling these variables is key to tailoring your yeast fermentation dough recipe results.
The Complex Process of Sourdough Fermentation
Breaking Down the Sourdough Fermentation Process: Step-by-Step
Sourdough fermentation isn't a single event but a series of stages, each crucial for developing the final loaf. It typically begins with creating or activating your starter, followed by mixing the main dough components (flour, water, salt, and starter). The first major stage is "bulk fermentation" (or first rise), where the entire mass of dough ferments. This phase involves periods of rest interspersed with "folds" or "stretches," which build gluten structure and distribute the yeast and bacteria evenly. Bulk fermentation can last anywhere from 4 to 12 hours, depending heavily on temperature and the starter's activity.
Following bulk fermentation, the dough is shaped into its final form. This is followed by the "proofing" stage (or second rise), where the shaped loaf ferments again before baking. Proofing can be done at room temperature for a shorter period (1-4 hours) or, more commonly for sourdough, in the refrigerator for a longer, slower fermentation (8-16 hours or even longer). Cold proofing develops more complex flavors and makes the dough easier to handle for scoring. Finally, the dough is baked, where the heat causes a final burst of activity (oven spring) and sets the structure created during fermentation.
How Wild Yeast and Bacteria Create Flavor and Texture in Sourdough
The unique flavor profile of sourdough comes directly from the metabolic activities of the wild yeasts and lactic acid bacteria within the starter and dough. Wild yeasts, such as Saccharomyces cerevisiae (though often different strains than commercial yeast) and others like Candida milleri, produce carbon dioxide for leavening and a range of volatile organic compounds (VOCs) during fermentation and baking. These VOCs contribute to the bread's complex aroma and taste.
The lactic acid bacteria (LABs), primarily Lactobacillus species, are the true flavor powerhouses. They produce lactic acid and acetic acid, which lower the dough's pH, creating the characteristic sour taste and inhibiting the growth of undesirable molds and bacteria. LABs also produce other flavor compounds and enzymes that break down the flour, contributing to the dough's extensibility and the final bread's texture. The interaction between these diverse microbial populations results in a depth of flavor simply unattainable with commercial yeast alone, making each yeast fermentation dough recipe truly unique.
The Role of Acidity in Sourdough Fermentation
Acidity, primarily from lactic and acetic acids produced by LABs, plays several critical roles in sourdough fermentation and the final bread. Firstly, the lower pH strengthens the gluten network in the dough. In a lower pH environment (typically falling from around pH 5.5-6.0 to pH 4.0-4.5 during fermentation), protease enzymes (which break down protein) are less active, allowing the gluten structure to develop more robustly and hold the gas produced by the yeast. This contributes to a better rise and an open crumb structure.
Secondly, acidity directly contributes to the signature sour flavor of sourdough. The ratio of lactic to acetic acid influences the type of sourness – more lactic acid gives a milder tang, while more acetic acid results in a sharper sourness. Bakers can influence this ratio through fermentation temperature; warmer temperatures favor lactic acid, while cooler temperatures favor acetic acid. Finally, the acidic environment inhibits spoilage organisms, contributing to sourdough's excellent keeping qualities.
Mastering Sourdough: Starter Maintenance and Dough Handling
Sourdough Starter Recipe: A Beginner's Guide
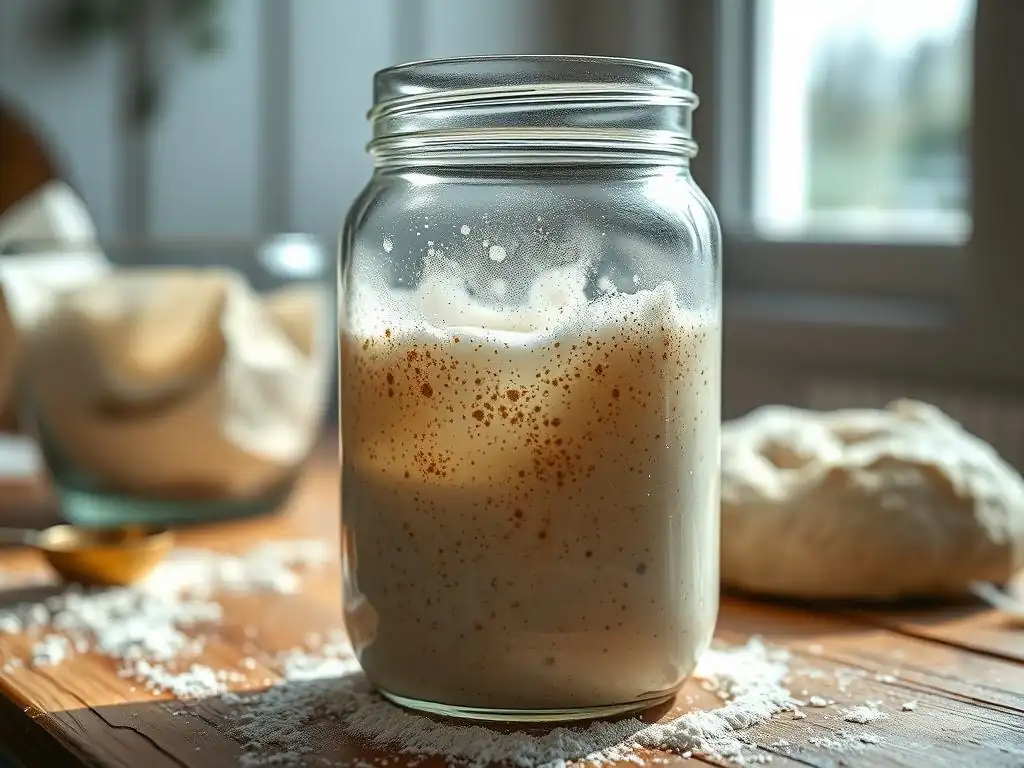
Creating a sourdough starter is simpler than you might think, primarily requiring just flour, water, and patience. A common method is to begin with equal weights of flour and water (e.g., 50 grams of unbleached all-purpose or rye flour and 50 grams of non-chlorinated water) in a clean jar. Mix well, cover loosely, and let it sit at room temperature ( 70-75°F). For the first few days, you might see little activity.
- Day 1: Mix flour and water.
- Day 2-3: You might see some small bubbles or smell a slightly yeasty aroma. Discard half the starter and feed with fresh flour and water (e.g., 50g old starter, 50g flour, 50g water).
- Day 4-7: Activity should increase, with more bubbles and a noticeable rise and fall. Continue discarding most of the starter (leaving just a small amount, say 25g) and feeding with fresh flour and water (e.g., 25g old starter, 50g flour, 50g water). This higher feeding ratio helps develop a strong, active culture.
- Day 7-14: Your starter should consistently double in size within 4-8 hours of feeding, smell pleasantly yeasty and slightly sour, and have lots of bubbles. It's now ready to use in your yeast fermentation dough recipe.
Essential Techniques for Successful Sourdough Fermentation
Successful sourdough fermentation relies on a few core techniques that build strength and structure in the dough while allowing the microbes to work. Autolyse, discussed later, is an optional initial step. Following the initial mix of ingredients, the bulk fermentation phase begins. During this time, instead of traditional kneading, bakers often use a series of "stretch and folds" or "coil folds." These techniques gently develop the gluten network, build tension in the dough, and help create that desirable open crumb.
*   **Stretch and Folds:** Every 30-60 minutes for the first 2-3 hours of bulk fermentation. Wet your hands, grab one edge of the dough, stretch it up gently, and fold it over the center. Repeat for all four sides.
*   **Coil Folds:** A gentler alternative, often used later in bulk fermentation. Lift the dough from the center with wet hands, letting the edges coil underneath.
Monitoring the dough's progress during bulk fermentation is crucial. Look for signs like increased volume (typically 30-60% increase), a domed surface, and the presence of bubbles, especially around the edges. The dough should feel airy and elastic.
Feeding Your Starter: Maintaining a Healthy Culture
Maintaining a healthy sourdough starter is key to consistent results in your yeast fermentation dough recipe. A standard feeding involves discarding a portion of the starter and feeding the remainder with fresh flour and water, typically in equal parts by weight (e.g., 1:1:1 ratio of starter:flour:water). For example, if you keep 50g of starter, you would feed it with 50g flour and 50g water. The frequency of feeding depends on how you store your starter.
If kept at room temperature ( 70-75°F), an active starter needs to be fed daily, sometimes twice a day if it's very warm. This regular feeding ensures the microbes have a continuous food source and remain vigorous. If you don't plan to bake frequently, storing your starter in the refrigerator ( 38-40°F) is best. This slows down fermentation significantly, requiring feeding only once a week or even every two weeks. Remember to revive a refrigerated starter with a few room-temperature feedings before using it for baking.
Bulk Fermentation: Achieving Optimal Dough Development
Bulk fermentation, the first rise of the dough, is arguably the most critical phase for flavor and structure development. It's during this time that the yeast produces most of the gas for leavening, and the bacteria produce acids that strengthen the gluten and develop flavor. The duration of bulk fermentation is highly variable, influenced by the ambient temperature, the activity of your starter, and the hydration level of the dough. A dough fermenting at 78°F will develop much faster than one at 70°F.
Monitoring the dough, not the clock, is essential during bulk fermentation. Signs that it's nearing completion include a significant increase in volume (look for around 50% increase, though some prefer less or more depending on the desired crumb), a slightly domed surface, and the presence of gas bubbles visible through the sides of the container or on the surface. The dough should feel softer and more extensible. Over-fermentation can lead to a weak, sticky dough that's hard to shape, while under-fermentation results in a dense crumb.
Shaping Sourdough: Creating Beautiful Loaves
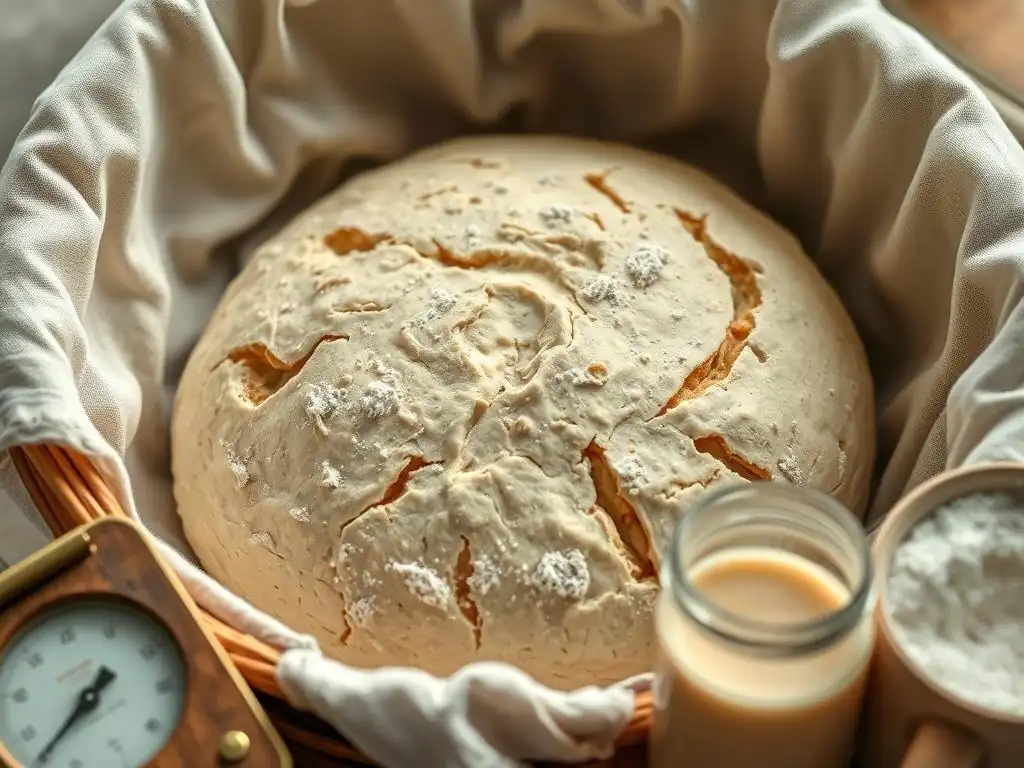
Shaping sourdough dough is about creating tension on the surface, which helps the loaf hold its shape during proofing and baking and contributes to good oven spring. After bulk fermentation, the dough is typically gently preshaped into a round and allowed to rest for 15-30 minutes (the "bench rest"). This allows the gluten to relax before the final shaping. The final shaping technique depends on whether you're making a boule (round) or a batard (oval).
For a boule, you might gently fold the edges towards the center, then flip the dough over and use your hands to create surface tension by rotating it against the work surface. For a batard, you might gently flatten the dough into a rectangle, fold the top third down, the bottom third up, and then fold it in half lengthwise, sealing the seam. The goal is to create a taut surface skin without tearing it. The shaped dough is then placed seam-side up in a floured proofing basket (banneton) for its final proof.
Troubleshooting Common Sourdough Problems
My Starter Isn't Active: Identifying the Cause
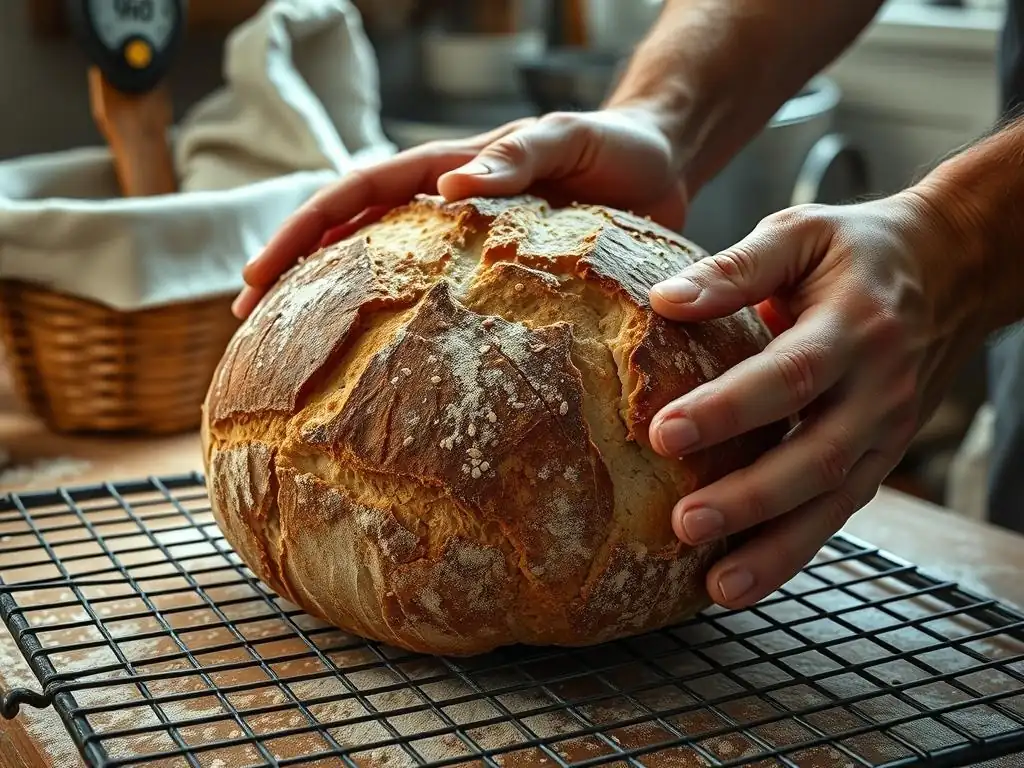
A sluggish or inactive sourdough starter is a common frustration, but often fixable. The most frequent causes are insufficient feeding, improper temperature, or using chlorinated water. Starters need regular feedings with fresh flour and water to keep the microbes healthy and numerous. If left unfed for too long at room temperature, the food supply is depleted, and activity wanes.
Ensure you are feeding your starter regularly (daily at room temp, weekly in the fridge) and discarding a significant portion before feeding to maintain a healthy microbial balance. Temperature is also key; starters thrive in warmer environments ( 70-80°F). If your kitchen is cool, find a warmer spot or use a proofing box. Finally, chlorine in tap water can harm the microbes. Use filtered or bottled water, or let tap water sit out for 24 hours to allow the chlorine to dissipate. Persistence is often the best solution; continue regular feedings, and activity should return.
Dense Sourdough: Understanding Under-Fermentation
One of the most common reasons for a dense, heavy sourdough loaf with a tight crumb is under-fermentation, particularly during the bulk fermentation stage. If the dough doesn't ferment long enough, the yeast hasn't had sufficient time to produce enough carbon dioxide gas to leaven the dough properly. The gluten structure also hasn't been adequately developed and relaxed by the acids and enzymes, resulting in a dense, sometimes gummy interior.
Signs of under-fermentation include the dough not increasing significantly in volume during bulk fermentation (less than 30-50%), feeling very dense and tight when handled, and the final loaf having limited oven spring and a compact crumb. To avoid this, pay close attention to the dough's physical signs of readiness (volume increase, texture, presence of bubbles) rather than strictly adhering to a time limit, as fermentation times vary greatly based on temperature and starter strength. Allow sufficient time for bulk fermentation, ideally in a warm environment if your starter is healthy.
Sourness Levels: Adjusting Fermentation for Desired Tartness
The level of sourness in your sourdough is largely controllable through fermentation temperature and duration. A milder sourdough typically results from faster fermentation at warmer temperatures ( 78-82°F), which favors lactic acid production over acetic acid and allows the loaf to be baked relatively sooner after mixing. This often means a shorter bulk fermentation and a shorter, warm proofing period.
For a more pronounced, tangy sourdough, cooler and longer fermentation periods are preferred ( 68-72°F). These conditions encourage the production of more acetic acid, which provides a sharper sour note. A long, cold proofing period in the refrigerator (12-24 hours) is an excellent way to increase acetic acid development and deepen the sour flavor. Experiment with different fermentation temperatures and proofing times to find the balance of sourness that suits your taste preferences in your yeast fermentation dough recipe.
Beyond the Basics: Exploring Advanced Sourdough Techniques
Autolyse: Enhancing Gluten Development
Autolyse is an optional, but beneficial, technique used at the beginning of the dough mixing process. It involves mixing only the flour and water from the recipe and letting the mixture rest for 20 minutes to an hour (or sometimes longer) before adding the starter and salt. During this rest period, the flour fully hydrates, and enzymes naturally present in the flour begin to break down proteins, which starts the gluten development process without any mechanical kneading.
The benefits of autolyse include easier mixing once the starter and salt are added, reduced kneading time, and improved dough extensibility. This makes the dough easier to handle and shape later on, and contributes to a more open crumb structure in the final bread. For example, a typical sourdough recipe might call for mixing flour and water and letting it rest for 30 minutes before incorporating the active starter and salt.
Levain Builds: Optimizing Starter Strength
A "levain" (or "preferment") is a portion of your mature sourdough starter that you feed specifically for a bake. Instead of taking starter directly from your maintenance jar, you take a small amount of your "mother" starter and feed it with flour and water according to a specific ratio (e.g., 1:2:2 or 1:5:5 starter:flour:water by weight). This creates a larger, highly active batch of starter specifically for your dough.
Building a levain allows you to fine-tune the amount of starter used in your recipe and ensures you are using it at its peak activity level. For instance, a typical recipe might call for building a levain using 20g mother starter, 100g flour, and 100g water, letting it ripen at room temperature for 4-6 hours until it has doubled and is bubbly. Using a levain ensures consistent leavening and flavor development for your specific yeast fermentation dough recipe.
Scoring Techniques: Creating Oven Spring
Scoring (or slashing) the surface of your shaped sourdough loaf just before baking is not just for aesthetics; it's crucial for controlling how the bread expands in the oven. As the dough is heated, the yeast and other microbes produce a final burst of gas, and trapped steam expands rapidly. Without scoring, the crust will rupture unpredictably, often along the weakest point.
Scoring provides a controlled path for this expansion, allowing the dough to achieve maximum "oven spring" – the rapid rise that occurs in the first 10-15 minutes of baking. Different scoring patterns can direct the oven spring in specific ways, influencing the final shape and appearance of the loaf. A simple deep slash along the side of a batard allows it to open dramatically, while a geometric pattern on a boule guides expansion in multiple directions, creating a beautiful pattern as the crust bakes.
Tips and Tricks for Enhancing Your Sourdough
Choosing the Right Flour for Sourdough
The type of flour you use significantly impacts your sourdough's flavor, texture, and fermentation characteristics. High-protein flours, like bread flour (typically 12-14% protein), are excellent for developing a strong gluten network, leading to good structure and oven spring. Whole grain flours (like whole wheat or rye) add flavor and nutrients but contain bran and germ that can interfere with gluten development and absorb more water.
Many bakers use a blend of flours – for instance, 80% bread flour and 20% whole wheat or rye – to balance structure and flavor. Rye flour is particularly beneficial in starters as it contains enzymes that break down starches into sugars readily available to the microbes, boosting activity. Experimenting with different flours is a great way to tailor your yeast fermentation dough recipe results. Using high-quality, unbleached flour is generally recommended for both starters and dough.
Hydration Levels: Balancing Moisture for Perfect Crumb
Hydration refers to the ratio of water to flour in your dough, typically expressed as a percentage (e.g., 70% hydration means the water weighs 70% of the flour weight). Higher hydration doughs (75% and above) generally result in a more open, airy crumb and a thinner, crispier crust. However, they are also stickier and more challenging to handle. Lower hydration doughs (60-70%) are easier to manage and shape, producing a more uniform, denser crumb.
Beginners often find success starting with a moderate hydration level (around 70-72%) to get comfortable with the dough handling techniques before attempting higher hydration levels. The optimal hydration also depends on the type of flour used, as whole grain flours absorb more water than white flours. Adjusting hydration is a key variable bakers manipulate to achieve different bread characteristics in their yeast fermentation dough recipe.
Baking Sourdough: Achieving a Crispy Crust
Achieving that signature crispy, golden sourdough crust requires high heat and steam during the initial phase of baking. Professional deck ovens inject steam, but home bakers can replicate this environment using a Dutch oven or by creating steam in their oven. Baking the dough inside a preheated Dutch oven traps the moisture released from the dough as it heats up, creating a steamy micro-environment that keeps the crust soft and pliable initially. This allows the loaf to expand fully before the crust hardens.
After 20-25 minutes in the Dutch oven with the lid on (typically at 450-500°F), the lid is removed, and the bread finishes baking directly on the oven rack or stone at a slightly lower temperature ( 425-450°F) for another 20-30 minutes. This allows the crust to dry out and brown, developing its characteristic crispness and color. If not using a Dutch oven, placing a tray of water or ice cubes on the bottom rack of your oven just before loading the bread can also generate steam.
Sourdough Baking: Elevate Your Baking Skills
Creating Exceptional Bread with Perfectly Fermented Dough
The journey to creating exceptional sourdough bread is deeply intertwined with mastering the art of fermentation. Understanding how wild yeasts and bacteria work together, how to nurture a healthy starter, and how to guide the bulk fermentation and proofing processes are fundamental skills. Each successful bake reinforces this knowledge, allowing you to predict how your dough will behave and how different variables (temperature, time, hydration) will influence the final loaf.
Achieving that perfect balance of structure, flavor, and texture – a well-risen loaf with an open, airy crumb, a complex tangy flavor, and a beautiful, crispy crust – is the reward for dedicating time to understanding and controlling the fermentation process. It transforms baking from simply following a yeast fermentation dough recipe into a dynamic, engaging craft where you work in partnership with living organisms.
Expanding Your Baking Repertoire: From Bread to Pizza
While sourdough is synonymous with rustic loaves, the versatile sourdough starter and the principles of long, slow fermentation can be applied to a wide range of baked goods. The same active starter used for bread can lend its unique flavor and leavening power to pizza dough, creating a crust with incredible chewiness and a subtle tang. Sourdough discard (the portion you remove before feeding your starter) can also be incorporated into recipes like pancakes, waffles, crackers, muffins, and even cakes, adding depth of flavor without necessarily providing significant leavening.
Exploring these different applications allows you to minimize waste and infuse the distinctive sourdough character into various treats. Imagine a sourdough pizza crust with a slight tang, or fluffy sourdough pancakes with a hint of complexity. Mastering the core yeast fermentation dough recipe opens up a world of possibilities in your kitchen.
The Future of Sourdough Baking: Ancient Grains and Modern Innovations
The world of sourdough baking is constantly evolving, blending ancient traditions with modern knowledge and innovation. There's a growing interest in using ancient grains like spelt, einkorn, and kamut in sourdough, which offer unique flavors, nutritional profiles, and fermentation characteristics. These grains often require adjustments to hydration and fermentation times due to differences in protein structure and absorption.
Simultaneously, modern tools and techniques, such as precise digital thermometers, controlled proofing boxes, and specialized flours, allow bakers to achieve more consistent and predictable results. Online communities and resources like BakeWithEase connect bakers globally, facilitating the sharing of knowledge, techniques, and yeast fermentation dough recipe variations. The future promises even more exciting developments as bakers continue to experiment and push the boundaries of this ancient craft.
Frequently Asked Questions
What exactly is yeast fermentation in a dough recipe?
Yeast fermentation is the process where yeast consumes sugars in the dough, producing carbon dioxide and alcohol. This carbon dioxide is what causes the dough to rise, giving baked goods their light and airy texture.
Why is yeast fermentation important for baking?
Without yeast fermentation, your dough wouldn't rise! It's crucial for creating the desired texture in many baked goods. The fermentation process also contributes to the unique flavor of bread and other items.
How long does yeast fermentation typically take?
The duration of yeast fermentation varies depending on factors like temperature and the amount of yeast used. Generally, it can take anywhere from 30 minutes to several hours. Warmer temperatures tend to speed up the process.
What can I do to troubleshoot a dough that isn't fermenting properly?
First, ensure your yeast is still active – you can test it with warm water and sugar. Also, check the temperature of your environment; too cold and the yeast will be sluggish. Finally, ensure you've used enough yeast according to your recipe instructions.
Can I over-ferment my dough? What happens if I do?
Yes, you can over-ferment dough. Over-fermentation can cause the dough to collapse and become sour due to excessive acid production. This will result in a dense and unpleasant final product.
Final Reflection: The Enduring Magic of Yeast and Dough
The seemingly simple act of yeast fermentation is far more than just a recipe; it's a fundamental process shaping our culinary heritage and continuing to inspire innovation in the kitchen. Understanding the intricate dance between yeast, flour, and water unlocks not only perfect dough but a deeper appreciation for the natural world and the artistry of baking. This knowledge empowers us to move beyond mere recipe following and truly understand the craft.
The impact of yeast on our food culture is undeniable, extending far beyond the simple loaf of bread. From the airy textures of sourdough to the complex flavors of artisan pizzas, yeast fermentation has shaped culinary traditions across the globe for millennia. Its influence continues to grow, with modern bakers pushing the boundaries of flavor and texture through innovative techniques and a renewed focus on understanding the microbial world. Bread is the staff of life,
a simple phrase, yet it encapsulates the profound significance of yeast and its role in sustaining and enriching human civilization.
Now, consider your own relationship with baking. Have you ever felt the satisfaction of nurturing a sourdough starter, watching it bubble and grow? Do you appreciate the subtle nuances of flavor that come from a perfectly fermented dough? I invite you to explore the world of yeast fermentation further. Experiment with different flours, temperatures, and hydration levels. Embrace the imperfections, learn from your mistakes, and discover the unique magic that yeast brings to your baking journey. The perfect dough awaits, and the journey of discovery is just as rewarding as the final product.
Unleash Your Inner Baker: Craft Your Dream Dough Today!
Thanks for diving into the fascinating world of yeast and fermentation! We hope you now feel empowered to create truly amazing bread. Ready to put your new knowledge into action?
- Bake a perfect loaf using the techniques we discussed: Try out one of the recipes mentioned in the article, or experiment with a new one, putting your fresh understanding of yeast to the test! This is the best way to solidify your learning and experience the magic firsthand.
- Share your baking journey: Show off your beautiful creations and tag us on social media – we'd love to see what you bake!
- Discover more baking secrets: Explore our other articles on BakeWithEase.com for more tips and tricks to elevate your baking game.
What incredible bread will you create with your newfound yeast wisdom?