
Why Are My Rolls Dense? Troubleshooting & Tips

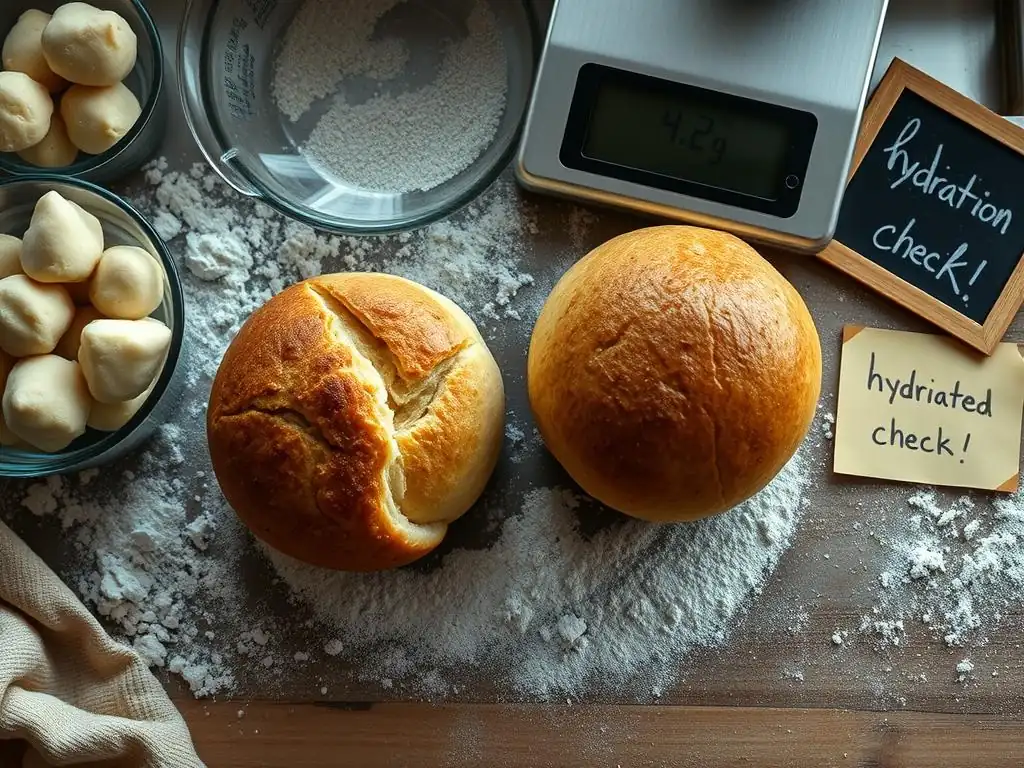
Welcome to BakeWithEase, your baking sanctuary! Ever wondered why your rolls aren't as light and fluffy as you envisioned? Dive into our guide, " Why Are My Rolls Dense? Troubleshooting & Tips, " where we unravel the secrets to achieving bakery-worthy perfection. Discover the common culprits behind dense rolls and unlock simple solutions to elevate your bread baking game. Let's get baking!
- Achieving Light and Airy Rolls: Troubleshooting & Tips
- Understanding Dense Rolls: Common Causes in Bread Baking
- Dense Rolls Troubleshooting: Key Factors and Solutions
- Advanced Techniques for Enhanced Roll Texture
- Expert Tips for Perfect Rolls Every Time
-
Frequently Asked Questions
- Why are my rolls so dense instead of light and fluffy?
- What are some common ingredients that can lead to dense rolls?
- How can I improve gluten development when making rolls?
- What is the ideal temperature for proofing rolls to ensure they rise properly?
- What are some troubleshooting tips for preventing dense rolls in the future?
- Final Reflection: The Quest for the Perfect, Light Roll
- Unlock Fluffy Rolls: Your Baking Journey Starts Now!
Achieving Light and Airy Rolls: Troubleshooting & Tips
Understanding Dense Rolls: Common Causes in Bread Baking
Identifying the Signs of Dense Rolls
Dense rolls are a common frustration for many home bakers, and recognizing the signs early can help with effective dense rolls troubleshooting tips. Visually, a dense roll appears shorter and squatter than a well-risen one. When you slice through it, the crumb will look very tight, lacking the characteristic open air pockets or 'holes' you'd expect in a light bread. Instead, the interior might look uniform and compact, almost like cake or biscuit dough rather than bread.
Beyond appearance, the feel and texture are clear indicators. A dense roll feels heavy for its size. When you press it, it doesn't spring back readily; it might feel hard or doughy in the center. The crust might also be overly thick or tough because the dough didn't expand sufficiently during baking. For example, if a standard dinner roll recipe typically yields rolls that double in size during proofing and baking, a dense roll might only increase by 50-75%, resulting in a noticeably smaller and heavier final product.
The Impact of Density on Roll Texture and Flavor
The texture of a dense roll is fundamentally different from the desired soft, fluffy interior of a well-baked roll. Instead of a pleasant chewiness that gives way to a soft crumb, dense rolls are often tough, gummy, or even dry despite their lack of rise. This poor texture makes them less enjoyable to eat, whether served plain, with butter, or as part of a meal. The lack of air pockets means there's less surface area for moisture and fat to interact, contributing to a heavy mouthfeel.
Furthermore, density significantly impacts flavor. Proper fermentation, which leads to a light texture, also develops complex flavors in the dough. A dense roll often indicates insufficient fermentation or proofing, resulting in a blander taste, sometimes with an overly strong or unpleasant yeasty note if the yeast struggled but didn't fully proof the dough. The desirable subtle sweetness and nuanced bread flavor that come from sufficient time for yeast activity and gluten development are often absent in a dense roll. This underscores why effective dense rolls troubleshooting tips are crucial not just for texture, but for overall eating quality.
Dense Rolls Troubleshooting: Key Factors and Solutions
Yeast Quality & Activation: Solutions for Optimal Rise
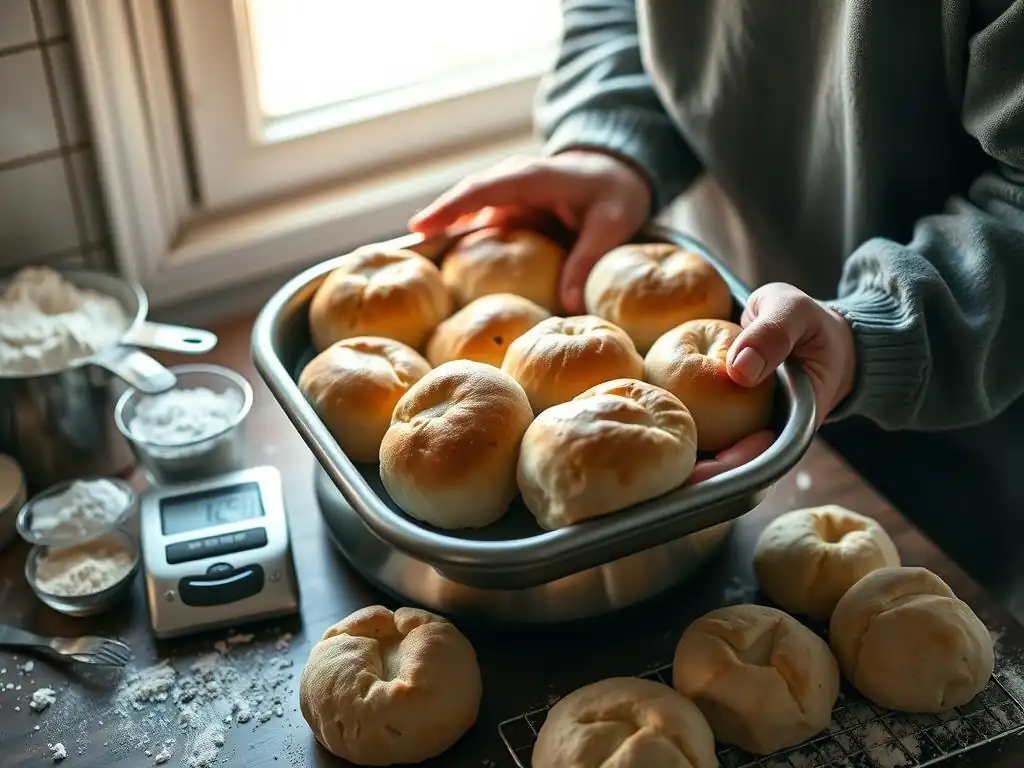
Yeast is the powerhouse behind your rolls' rise, and its vitality is paramount. Active dry yeast needs to be "activated" or proofed in warm liquid (typically water or milk) between 105°F and 115°F (40°C-46°C) with a pinch of sugar for about 5-10 minutes. You should see a foamy layer bloom on the surface, indicating the yeast is alive and active.
Instant yeast, on the other hand, can usually be mixed directly with the dry ingredients, but still requires warm liquid in the dough for optimal activity. Fresh yeast should also be dissolved in warm liquid and will show similar signs of activity. Using expired yeast or yeast stored improperly (like in an open container in the pantry) is a common cause of dense rolls.
Testing Yeast Vitality
If you suspect your yeast might be old or inactive, a simple test can confirm its viability. Measure 1 teaspoon of yeast and 1 teaspoon of sugar into 1/4 cup of warm water (105-115°F / 40-46°C). Stir gently and let it sit for 5-10 minutes. If the mixture becomes foamy and doubles in volume, your yeast is healthy and ready to use. If there is little to no activity, the yeast is likely dead or inactive and should be discarded. This quick check is a vital step in dense rolls troubleshooting tips before you even start mixing.
Troubleshooting Slow or Inactive Yeast
If your yeast test shows poor activity, the simplest solution is to buy fresh yeast. Ensure you're using the correct type for your recipe (active dry vs. instant) and storing it properly (airtight container in the refrigerator or freezer). If your yeast is active but the dough isn't rising, check the liquid temperature used in the recipe – if it was too hot (above 130°F / 54°C), it could have killed the yeast. Also, ensure your kitchen environment isn't too cold; yeast works best in a warm, draft-free place, ideally around 75-80°F (24-27°C).
Proper Proofing Techniques for Consistent Results
Proper proofing allows the yeast to produce carbon dioxide gas, which makes the dough rise and creates a light texture. The first rise (bulk fermentation) typically requires the dough to double in size, which might take 1-2 hours at room temperature or longer in a cooler environment. The second rise (proofing the shaped rolls) is usually shorter, perhaps 30-60 minutes, and the rolls should look visibly puffy.
Over-proofing can cause rolls to collapse in the oven, while under-proofing (a frequent culprit for dense rolls) means the yeast hasn't produced enough gas, resulting in a heavy, compact texture. A simple test for proofing is to gently poke the dough: if the indentation springs back slowly, it's likely ready.
Flour Selection & Measurement: Achieving Ideal Texture
The type of flour you use and how you measure it profoundly impacts the final texture of your rolls. Different flours have varying protein levels, which affect gluten development. Using the wrong flour, or too much flour due to inaccurate measurement, can easily lead to dense rolls. Understanding the role of flour is key to effective dense rolls troubleshooting tips.
The Role of Gluten Development
Gluten, formed when proteins in flour (glutenin and gliadin) combine with liquid and are agitated (kneaded), creates an elastic network that traps the gases produced by yeast. This network gives bread its structure and allows it to rise, creating a light, airy crumb. Sufficient gluten development is essential for preventing dense rolls. Too little gluten development means the dough won't hold its shape or trap gas effectively, while excessive gluten development (often from too much high-protein flour or over-mixing) can make rolls tough, though usually not dense in the same way under-developed dough is.
Best Flour Types for Soft Rolls
For soft, tender rolls, a flour with a moderate protein content is often preferred. All-purpose flour, with a protein range of approximately 10-12%, is a common choice and works well for many roll recipes. Bread flour, with a higher protein content (12-14%), can be used and will yield a chewier roll due to stronger gluten development.
Using cake flour (low protein, ~7-9%) would likely result in a very tender, almost cake-like texture, but might lack the structure needed for a good rise in a yeasted roll, potentially leading to a different type of dense texture. Using a mix of flours can also achieve desired results; for instance, adding a small percentage of bread flour to all-purpose for a bit more structure.
Accurate Flour Measurement Techniques
One of the most common reasons for dense rolls is simply adding too much flour. Flour should ideally be measured by weight using a kitchen scale for accuracy.
If measuring by volume, use the 'spoon and level' method: gently spoon flour into your measuring cup until it overflows, then level off the excess with a straight edge. Do not scoop the flour directly from the bag with the measuring cup, as this compacts the flour and can add significantly more than intended – sometimes as much as 25% more flour than a recipe calls for when measured correctly, leading to a stiff, dense dough.
Liquid Ratios & Dough Hydration: Balancing Moisture Content
The amount of liquid in your dough, relative to the flour, is known as hydration, and it's critical for achieving a light, non-dense crumb. Too little liquid results in a dry, stiff dough that is difficult to knead and won't rise properly, inevitably leading to dense rolls. Too much liquid can make the dough too sticky to handle, but it's less likely to cause density unless combined with other issues like under-mixing or over-proofing.
Understanding Dough Hydration Levels
Dough hydration is typically expressed as a percentage of the flour weight. For example, if a recipe uses 500g of flour and 300g of liquid (water, milk, eggs, butter), the hydration is (300/500) * 100 = 60%. Most standard roll doughs fall within a hydration range of 60-70%. Lower hydration (below 60%) often results in a stiffer dough and a tighter crumb, while higher hydration (above 70%) yields a wetter dough and can produce a more open, airy crumb, but requires more careful handling. Understanding this range is important for dense rolls troubleshooting tips.
Adjusting Liquid for Different Flour Types
Different flours absorb liquid differently. Higher protein flours (like bread flour) absorb more liquid than lower protein flours (like all-purpose). Therefore, if you substitute bread flour for all-purpose in a recipe without adjusting the liquid, the dough might be too dry, leading to dense rolls. You may need to add a few extra tablespoons of liquid (perhaps 10-20g per 100g of flour difference in protein) when using a higher protein flour to achieve the correct dough consistency – it should be soft, slightly tacky, but manageable after kneading.
Common Mistakes in Liquid Measurement
Similar to flour, inaccurate liquid measurement can cause issues. Using a standard measuring cup designed for dry ingredients for liquids is incorrect; always use a liquid measuring cup placed on a flat surface, reading at eye level. Using cold liquid instead of the specified warm liquid (if activating yeast) can also slow down or inhibit yeast activity, contributing to dense rolls. Ensure your liquid is within the temperature range recommended for your yeast type and recipe.
Mixing & Gluten Development: Achieving Proper Dough Structure
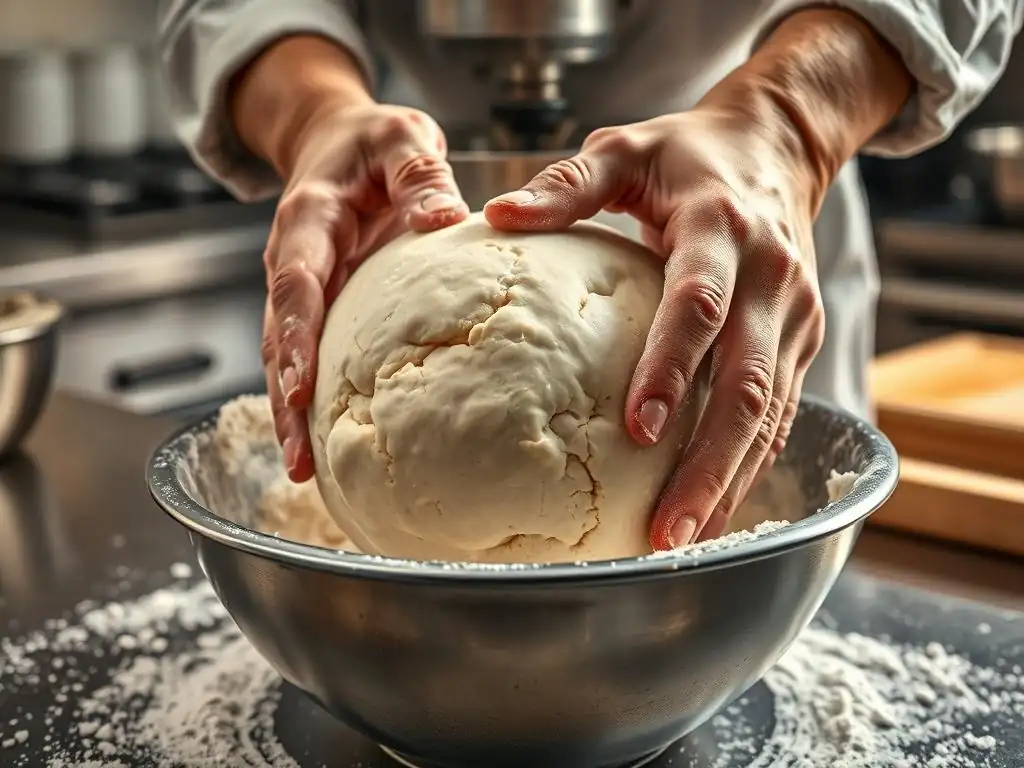
The mixing process is where gluten is developed, forming the structural network necessary for your rolls to rise properly. Insufficient mixing is a primary cause of dense rolls, as the gluten network won't be strong enough to support the dough's expansion. Over-mixing is less common for causing density (it usually results in tough rolls), but can also damage the gluten structure if taken to extremes.
The Importance of Proper Mixing Time
Mixing time varies greatly depending on whether you're mixing by hand or with a stand mixer. Hand kneading typically takes longer, often 10-15 minutes, to achieve sufficient gluten development. A stand mixer with a dough hook can develop gluten much faster, often within 6-12 minutes on medium speed, depending on the dough hydration and mixer power. The goal isn't a specific time, but reaching the proper stage of gluten development, which you can test for.
Techniques for Effective Gluten Development
Kneading, whether by hand or machine, stretches and folds the dough, aligning the gluten strands and building strength and elasticity. For hand kneading, techniques like the push-and-fold method (pushing the dough away with the heel of your hand, folding it back, rotating) are effective. In a stand mixer, the dough hook pulls and stretches the dough. For wetter doughs, the "stretch and fold" method during bulk fermentation can also effectively develop gluten with minimal handling. Proper technique ensures the gluten network is evenly developed throughout the dough, preventing weak spots that can lead to dense areas.
Recognizing Over-Mixing vs. Under-Mixing
Under-mixed dough feels shaggy, tears easily when stretched, and lacks elasticity. It won't pass the windowpane test (stretching a small piece of dough thinly enough to see light through it without tearing). This is a classic sign that will lead to dense rolls.
Over-mixed dough, while elastic, might feel very tight or look glossy and wet; in extreme cases, the gluten network can actually break down, making the dough slack and sticky. However, for most home bakers, under-mixing is the far more common issue when faced with dense rolls. Continue kneading until the dough is smooth, elastic, and passes the windowpane test.
Oven Temperature & Baking Time: Optimizing Roll Rise and Texture
Even with perfectly proofed dough, incorrect oven temperature and baking time can ruin your rolls, resulting in a poor rise and dense texture. The initial burst of heat in the oven causes a final rapid rise called "oven spring," which is crucial for achieving a light crumb.
Ensuring Accurate Oven Temperature
Oven thermostats can be notoriously inaccurate, sometimes off by as much as 50°F (10°C) or more. If your oven is running too cool, your rolls won't get the necessary oven spring, leading to a heavier, denser result. Using an inexpensive oven thermometer is highly recommended to verify your oven's actual temperature. Preheat your oven for at least 20-30 minutes after it indicates it's reached the set temperature to ensure it's fully heated and stable.
The Impact of Oven Temperature on Roll Texture
Baking rolls at the correct temperature (often between 375°F and 400°F, or 190°C-200°C) ensures rapid yeast activity and gas expansion in the first few minutes (oven spring), followed by the setting of the gluten structure and crust formation. If the temperature is too low, oven spring is minimal, and the rolls bake slowly, potentially drying out before they fully rise, resulting in a dense or heavy texture. If the temperature is too high, the crust might set too quickly before the interior has fully risen, also limiting expansion and potentially leading to a dense center or a tough crust.
Determining Correct Baking Time
Baking time is usually given as a range in recipes (e.g., 15-20 minutes) because it can vary based on the size of the rolls, the oven, and the baking pan. Rolls are typically done when they are golden brown on top and sound hollow when tapped on the bottom. An internal temperature of around 190-200°F (88-93°C) indicates they are fully baked. Under-baking is a common cause of a gummy or dense interior; the structure hasn't fully set. Always bake until the rolls reach the proper internal temperature and visual cues, rather than relying solely on the recipe's suggested time.
Advanced Techniques for Enhanced Roll Texture
The Tangzhong Method: Increasing Moisture and Softness
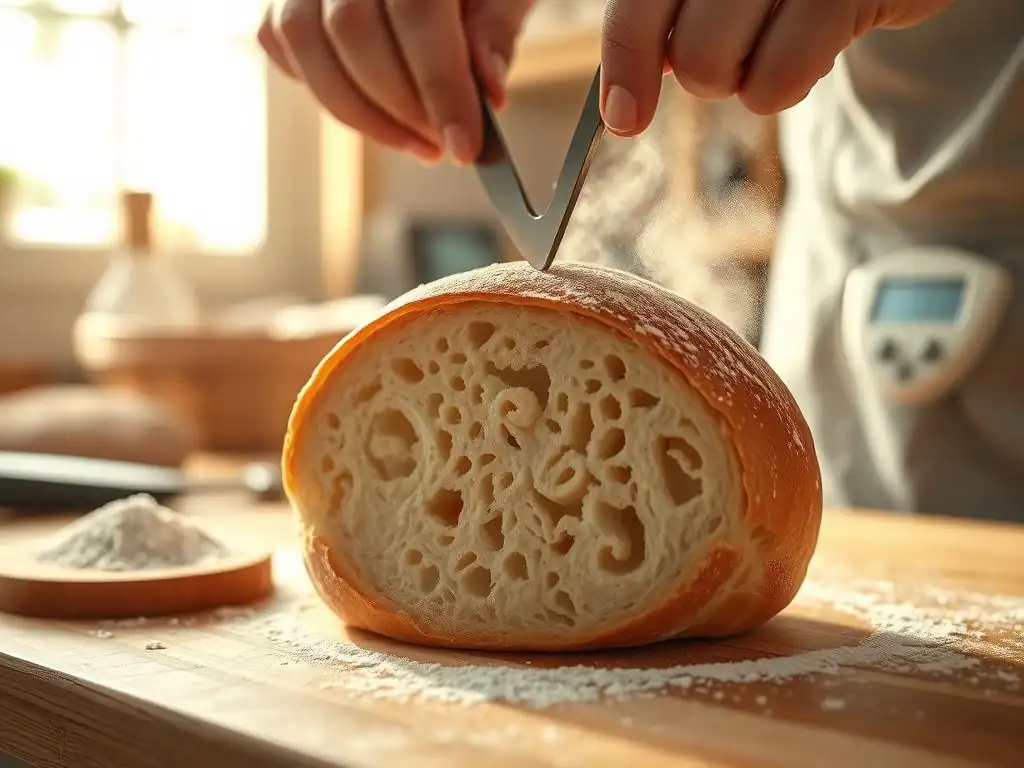
The Tangzhong method, originating from Asian baking, is a fantastic technique for achieving incredibly soft, moist, and light rolls that stay fresh longer, effectively preventing future dense rolls issues. It involves cooking a small portion of the flour with liquid (usually milk or water) into a thick paste or roux before adding it to the main dough ingredients. A common ratio is 1 part flour to 5 parts liquid, cooked until it thickens to a pudding-like consistency. This paste is then cooled and added to the rest of the ingredients.
The magic of Tangzhong lies in its ability to hydrate the flour more effectively. Starch granules in the flour gelatinize when heated in liquid, allowing them to absorb and hold significantly more water than they would normally. This extra moisture is locked into the dough structure during baking, resulting in rolls that are exceptionally soft, fluffy, and resistant to staling. Incorporating Tangzhong is a powerful dense rolls troubleshooting tip for those seeking superior texture.
Incorporating Enriched Dough Techniques
Enriched doughs, which include ingredients beyond just flour, water, salt, and yeast – such as milk, sugar, butter, and eggs – naturally tend to produce softer, more tender rolls. These ingredients tenderize the dough by interfering with gluten development and adding richness and moisture. Milk adds protein and sugar (lactose), contributing to browning and softness. Sugar not only feeds the yeast but also retains moisture and tenderizes the crumb. Eggs add fat, protein, and lecithin, which enrich the dough and contribute to a fine crumb and soft texture.
Butter, perhaps the most significant enricher for texture, coats the gluten strands, shortening them and resulting in a more tender bite. Using softened or melted butter, or even incorporating it into the dough through lamination (folding butter into the dough layers), can dramatically improve softness and prevent a dry, potentially dense result. While enriched doughs might rise a little slower due to the added fat and sugar, the resulting texture is often worth the extra proofing time, making them less prone to developing toughness or density compared to lean doughs if handled correctly.
Utilizing Potato Flour for Added Softness
Adding a small percentage of potato flour (or even mashed potato flakes or cold mashed potato) to your roll dough is another excellent technique for enhancing softness and moisture retention. Potato starch granules are larger than wheat starch granules and have a different structure that allows them to absorb and hold onto water very effectively, similar in principle to the Tangzhong method.
Substituting about 5-10% of the total flour weight with potato flour or flakes can noticeably improve the tenderness and keeping quality of your rolls. The potato helps create a softer, more delicate crumb structure. For example, in a recipe using 500g of flour, substituting 25-50g with potato flour can make a significant difference.
Ensure the potato product is cool before adding it to the dough to avoid affecting yeast activity or prematurely cooking the dough. This simple addition is a handy trick for anyone looking for extra soft rolls and is a useful piece of dense rolls troubleshooting tips advice.
Expert Tips for Perfect Rolls Every Time
Avoiding Common Mistakes in Roll Baking
Beyond the core issues already discussed, several smaller factors can contribute to dense rolls. One common mistake is using ingredients that are too cold; yeast activity is significantly slower in cold temperatures. Ensure liquids are warm (if needed for yeast) and other ingredients like eggs or butter are at room temperature unless the recipe specifies otherwise.
Another pitfall is rushing the proofing process; allowing sufficient time for the dough to double in volume is non-negotiable for a light texture. Don't place the dough in a scorching hot oven to speed things up, as this can kill the yeast and negatively impact gluten.
Overworking the dough after the first rise, especially during shaping, can also knock out too much air and tighten the gluten excessively, leading to a tougher, potentially dense final product. Handle the dough gently during shaping. Finally, ensuring your baking environment isn't too dry can help; a dry surface can prevent the rolls from expanding fully during the initial bake. Some bakers place a pan of hot water in the bottom of the oven to create steam, which helps keep the crust pliable during oven spring. Addressing these common errors complements your dense rolls troubleshooting tips.
Storing Rolls for Lasting Freshness and Texture
Proper storage is essential for maintaining the soft texture of your freshly baked rolls and preventing them from becoming stale and hard (which can feel similar to initial density). Once rolls have cooled completely on a wire rack (cooling on a solid surface traps steam and can make the bottoms soggy), store them in an airtight container or a resealable plastic bag at room temperature. This prevents moisture loss, which is the primary cause of staling.
For longer storage, rolls freeze exceptionally well. Wrap cooled rolls tightly in plastic wrap, then place them in a freezer-safe bag or container. They can be frozen for up to 2-3 months. To enjoy, thaw them at room temperature or gently warm them in a low oven (around 300°F / 150°C) for a few minutes until heated through. Avoid storing fresh rolls in the refrigerator, as this temperature range actually speeds up the staling process compared to room temperature or the freezer. Following these storage tips helps ensure your efforts in preventing dense rolls pay off with lasting enjoyment.
Frequently Asked Questions
Why are my rolls so dense instead of light and fluffy?
Dense rolls are often caused by insufficient gluten development or not enough leavening. This could be due to under-kneading, using old yeast, or not allowing enough time for proofing.
What are some common ingredients that can lead to dense rolls?
Using too much whole wheat flour or too little fat can make rolls dense. Also, incorrect liquid ratios or using cold ingredients can hinder yeast activity and result in a dense texture.
How can I improve gluten development when making rolls?
Ensure you are kneading your dough for the recommended time (usually 6-8 minutes in a stand mixer or 8-10 minutes by hand). A well-developed gluten structure is crucial for light and airy rolls.
What is the ideal temperature for proofing rolls to ensure they rise properly?
The ideal temperature for proofing rolls is around 75-85°F (24-29°C). This warm environment encourages yeast activity and allows the dough to rise adequately, preventing dense results.
What are some troubleshooting tips for preventing dense rolls in the future?
Always check your yeast's expiration date, use a reliable recipe with accurate measurements, and be patient with the proofing process. Also, consider adding a dough enhancer for extra lift.
Final Reflection: The Quest for the Perfect, Light Roll
The pursuit of the perfect, airy roll is a journey many home bakers undertake, often encountering the frustrating reality of dense, disappointing results. This seemingly simple bread can reveal a surprising amount about baking techniques, ingredient precision, and the subtle interplay of yeast, flour, and hydration. Understanding these factors is key to unlocking the secrets of light and fluffy rolls, a goal achievable with patience and practice.
The struggle with dense rolls is more than just a baking mishap; it's a reflection of our desire for mastery and the satisfaction derived from creating something delicious from scratch. The process itself, from measuring ingredients to the satisfying rise of the dough, is a meditative experience. As the renowned baker, Paul Hollywood, once said, Baking is about precision, but it's also about feeling. You have to understand your ingredients.
This quote perfectly encapsulates the essence of successful roll-making – it's a blend of scientific accuracy and intuitive understanding.
Now, armed with troubleshooting techniques and a deeper understanding of the factors influencing roll texture, you are empowered to embark on your own baking adventures. Don't be discouraged by initial setbacks; each dense roll is a lesson learned, bringing you closer to that perfect, airy crumb. Experiment with different flours, yeast types, and hydration levels. Embrace the process, savor the journey, and soon, you'll be enjoying the delightful reward of perfectly light and fluffy rolls, a testament to your baking prowess.
Unlock Fluffy Rolls: Your Baking Journey Starts Now!
Thanks for taking the time to explore the world of perfectly fluffy rolls with us! We hope you gained valuable insights into troubleshooting those dense disasters. Now it's time to put your newfound knowledge into action.
- Bake a test batch using your favorite recipe, incorporating the tips from this article. Pay close attention to kneading, proofing, and baking temperature! This is your chance to master the art of perfect rolls.
- Share your baking triumphs (or challenges!) with our community on social media using #BakeWithEaseRolls. We love seeing your creations and learning from your experiences.
- Consider experimenting with a new flour or yeast type – you might discover your secret ingredient to perfect rolls!
So, what new ingredient or technique will you try first to achieve those cloud-like rolls you've always dreamed of?