
BeginnerFriendly Cream Pie Recipes

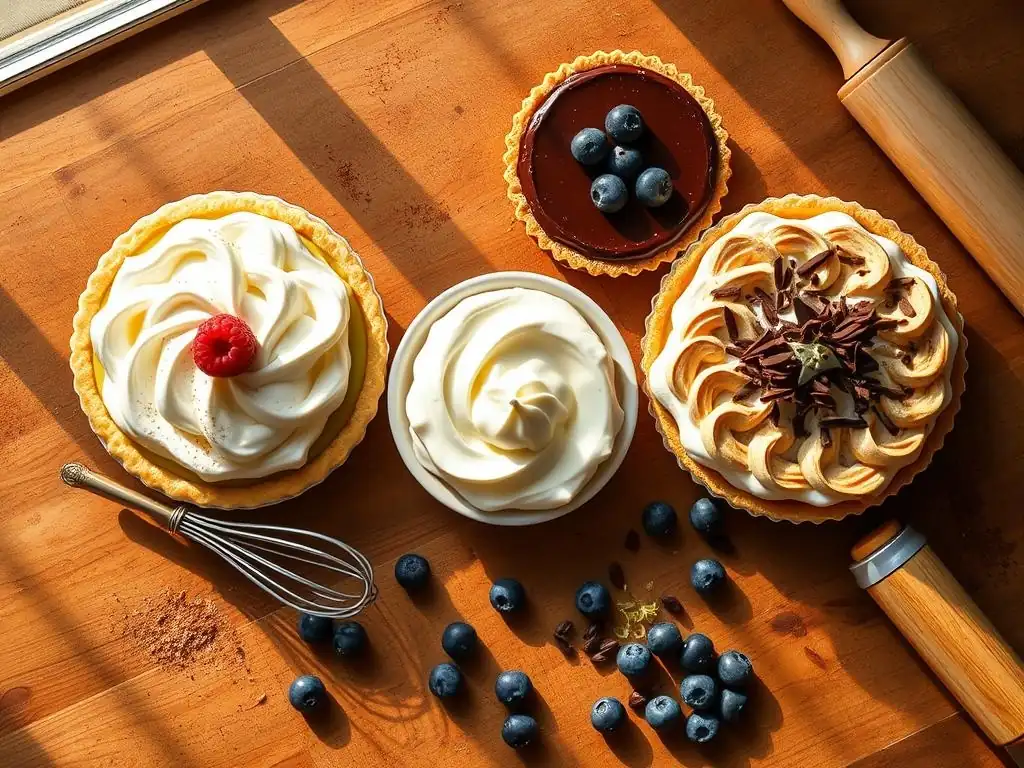
Welcome to BakeWithEase, your haven for all things baking! Ever dreamt of creating a luscious, comforting cream pie but felt intimidated? Dream no more! We're diving headfirst into the world of easy beginner cream pie recipes that are guaranteed to impress, even if you've never baked a pie before. Get ready to unlock the secrets to creamy perfection and discover just how simple baking can be – your delicious adventure starts now!
- Beginner-Friendly Cream Pie Recipes: Bake With Ease
- Introduction to Easy Cream Pies for Beginners
- Key Ingredients for Beginner Cream Pies
- Easy Beginner Cream Pie Recipes: Step-by-Step
- Tips and Tricks for Perfect Beginner Cream Pies
- Cream Pie Variations for Beginner Bakers
- Storing and Serving Your Easy Cream Pies
- Conclusion: Mastering the Art of Easy Cream Pie Baking
- Frequently Asked Questions
- Final Reflection: The Sweet Simplicity of Baking Success
- Unleash Your Inner Pastry Chef!
Beginner-Friendly Cream Pie Recipes: Bake With Ease
Introduction to Easy Cream Pies for Beginners
Why Cream Pies are Perfect for New Bakers
Cream pies offer a fantastic starting point for anyone new to the world of baking. Unlike some more complex pastries that require intricate folding techniques or precise temperature control for leavening, cream pies are relatively forgiving. Their structure typically involves a simple baked or no-bake crust, a cooked or chilled filling, and often a whipped topping. This straightforward assembly means less stress and a higher chance of success on your first few attempts. The steps are usually sequential and easy to follow, making them ideal for building confidence in the kitchen.
Moreover, the ingredients for most easy beginner cream pie recipes are readily available in any standard grocery store. You don't need exotic flours or specialized equipment to get started. Basic pantry staples like sugar, flour, milk, eggs (or cornstarch for thickening), and butter are the foundation. This accessibility, combined with the relatively simple process, makes tackling an easy beginner cream pie recipe a satisfying and achievable goal for budding bakers. The payoff is a delicious dessert that looks impressive but doesn't demand advanced skills.
Our Guide to Simple Cream Pie Making
Welcome to your comprehensive guide to mastering easy beginner cream pie recipes right here at Bake With Ease! We've broken down the process into simple, manageable steps designed specifically for those just starting their baking adventure. From understanding the fundamental components – the crust, the filling, and the topping – to troubleshooting common pitfalls, we cover everything you need to know to bake your first successful cream pie. We'll walk you through essential tools, key ingredients, and even offer variations once you feel comfortable with the basics.
This guide isn't just about following instructions; it's about building fundamental baking knowledge that you can apply to future recipes. You'll learn about blind baking a crust, tempering eggs (if using a custard filling), and achieving that perfectly smooth, lump-free texture in your filling. We provide specific, easy beginner cream pie recipes to get you started, offering different levels of complexity – from a classic vanilla custard pie to a super simple no-bake option. Our goal is to empower you to create delicious cream pies with confidence and ease.
Key Ingredients for Beginner Cream Pies
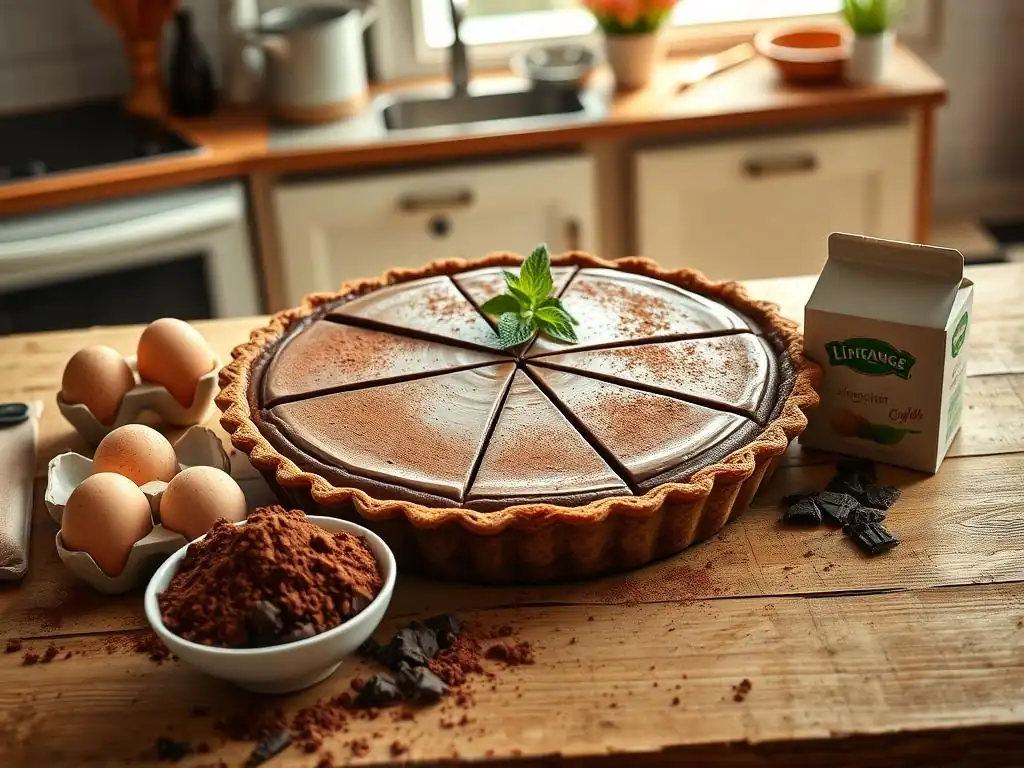
Understanding the Basics: Crust, Filling, and Topping
Every delicious cream pie is built upon three fundamental layers: the crust, the filling, and often, a topping. The crust provides the base and structure; it can be a flaky pastry crust, a crumb crust made from cookies or graham crackers, or even a press-in shortbread crust.
For easy beginner cream pie recipes, crumb crusts or simple press-in pastry crusts are often recommended due to their ease of handling compared to traditional rolled pastry. A standard graham cracker crust for a 9-inch pie plate, for instance, might require just 1 ½ cups of graham cracker crumbs mixed with ¼ cup of melted butter and a tablespoon or two of sugar, pressed firmly into the pan.
The filling is the heart of the cream pie, typically a rich, smooth mixture that sets up firm enough to slice but remains delightfully creamy. Common fillings are based on milk or cream thickened with eggs (like a custard), cornstarch, or gelatin.
A basic cornstarch-thickened vanilla filling for a 9-inch pie might use about 2 cups of milk, ½ cup of sugar, ¼ cup of cornstarch, a pinch of salt, and a couple of egg yolks for richness, cooked gently on the stovetop until thickened. The topping adds another layer of flavor and texture, most commonly sweetened whipped cream or meringue, though sometimes chocolate shavings, fruit, or nuts are used.
Essential Baking Supplies for Cream Pies
To embark on your journey with easy beginner cream pie recipes, you'll need a few basic baking supplies. A 9-inch pie plate is, of course, essential. Glass or ceramic pie plates conduct heat evenly and allow you to see the crust browning. You'll also need mixing bowls of various sizes – a medium bowl for the filling ingredients and a large bowl for whipping cream. A whisk is crucial for smoothing out lumps in the filling and incorporating air into the topping.
Measuring cups and spoons are non-negotiable for accurate ingredient quantities, which is key to successful baking. A rubber spatula or wooden spoon is needed for stirring and scraping down bowls. For recipes involving a cooked filling, a medium saucepan is necessary.
If you're making a baked crust, pie weights or dried beans are helpful for blind baking to prevent the crust from shrinking. For whipping cream, a hand mixer or stand mixer will save you a lot of arm work, though a whisk and some elbow grease work too! These simple tools are sufficient for tackling most easy beginner cream pie recipes.
Gluten-Free Crust and Dairy-Free Filling Options
For those with dietary restrictions, it's absolutely possible to adapt easy beginner cream pie recipes. Gluten-free crusts are readily available or simple to make. A common method is using gluten-free graham crackers or gluten-free cookie crumbs mixed with melted dairy-free butter or coconut oil. Alternatively, a press-in crust can be made with a blend of gluten-free flour, sugar, and solid fat like coconut oil or a vegan butter substitute. Many pre-made gluten-free pie shells are also available in grocery stores, offering the easiest option for beginners.
Creating a dairy-free filling for an easy beginner cream pie recipe often involves substituting traditional milk and cream with alternatives like coconut milk (full-fat canned is best for richness), almond milk, or soy milk. Thickeners like cornstarch or agar-agar (a vegan alternative to gelatin) work effectively with non-dairy liquids. For richness and creaminess, dairy-free cream cheese or coconut cream (the thick part from a can of full-fat coconut milk, chilled) can be incorporated. Whipped coconut cream or a store-bought dairy-free whipped topping can serve as an excellent substitute for traditional whipped cream.
Easy Beginner Cream Pie Recipes: Step-by-Step
Recipe 1: Classic Vanilla Cream Pie - A Simple Start
The classic vanilla cream pie is a perfect entry point into the world of baked cream pies. It typically features a flaky pastry crust filled with a smooth, rich vanilla custard, often topped with whipped cream. The process involves blind baking the crust, cooking a simple custard on the stovetop, pouring it into the baked shell, chilling until set, and then adding the topping. While it requires stovetop cooking and baking, the steps are distinct and manageable for a beginner.
Let's get started! This recipe assumes you are using a store-bought frozen pie shell or have prepared a simple press-in pastry crust. The focus here is on the filling and assembly, making this an easy beginner cream pie recipe to follow.
Preparing the Vanilla Cream Pie Crust
If using a frozen pie shell, follow package directions for blind baking. This usually involves thawing the crust, pricking the bottom all over with a fork (about 15-20 times), lining it with parchment paper or foil, and filling it with pie weights or dried beans. Bake in a preheated oven, typically around 375°F (190°C), for about 15-20 minutes until the edges are lightly golden. Remove the weights and parchment, and bake for another 5-10 minutes until the bottom is dry and lightly colored. Let the crust cool completely on a wire rack before adding the filling.
For a simple press-in crust, combine about 1 ½ cups of all-purpose flour, 2 tablespoons of sugar, and ½ teaspoon of salt in a bowl. Cut in ½ cup (1 stick) of cold unsalted butter, cut into small cubes, using a pastry blender or your fingers until the mixture resembles coarse crumbs. Sprinkle in 2-3 tablespoons of ice water, one tablespoon at a time, mixing until the dough just comes together.
Press the dough evenly into the bottom and up the sides of a 9-inch pie plate. Prick the bottom with a fork and bake at 375°F (190°C) for about 20-25 minutes, or until golden brown. Cool completely.
Making the Vanilla Cream Filling
The vanilla cream filling is a stovetop custard. In a medium saucepan, whisk together ¾ cup of granulated sugar, ¼ cup of cornstarch, and ¼ teaspoon of salt. Gradually whisk in 3 cups of whole milk until smooth. Add 3 large egg yolks, whisking until well combined. Place the saucepan over medium heat and cook, stirring constantly with a whisk or rubber spatula, until the mixture thickens significantly and begins to bubble, about 8-12 minutes. Be sure to stir the bottom and sides to prevent scorching.
Once thickened, remove from the heat. Stir in 2 tablespoons of unsalted butter and 1 ½ teaspoons of pure vanilla extract. Stir until the butter is melted and the mixture is smooth. Pour the hot filling immediately into the cooled, baked pie crust. Spread the top evenly. To prevent a skin from forming, press a piece of plastic wrap directly onto the surface of the filling. Chill the pie in the refrigerator for at least 4 hours, or preferably until completely set, usually 6-8 hours.
Topping and Finishing the Vanilla Cream Pie
Once the pie is thoroughly chilled and set, it's time for the finishing touch: whipped cream. In a large, chilled bowl, combine 1 ½ cups of cold heavy cream, ¼ cup of powdered sugar, and ½ teaspoon of vanilla extract. Beat with an electric mixer (or whisk vigorously by hand) on medium-high speed until stiff peaks form. Be careful not to overbeat, or you'll end up with butter.
Remove the plastic wrap from the chilled pie. Dollop or spread the whipped cream evenly over the filling. For a classic look, you can use a spatula to create swirls or use a piping bag fitted with a star tip for decorative flair. You can serve the pie immediately after topping, or keep it chilled until serving. This easy beginner cream pie recipe is now ready to enjoy!
Recipe 2: Foolproof Chocolate Cream Pie - Rich and Decadent
For chocolate lovers, a foolproof chocolate cream pie offers a rich and satisfying experience without being overly complicated. This recipe often features a simple cookie crumb crust paired with a smooth, cooked chocolate pudding-like filling. The combination is decadent yet achievable for beginner bakers. The use of cocoa powder and sometimes melted chocolate ensures deep flavor.
This specific easy beginner cream pie recipe uses a simple chocolate cookie crust that requires no baking, making one part of the process incredibly straightforward. The filling involves stovetop cooking, similar to the vanilla pie, but with the addition of chocolate elements.
Creating a Chocolate Cookie Crust
A chocolate cookie crust is wonderfully simple and doesn't require turning on the oven if you're using pre-made cookies. You'll need about 20-24 chocolate sandwich cookies (like Oreos), or about 1 ½ cups of fine chocolate cookie crumbs. Pulse the cookies in a food processor until fine crumbs form. If you don't have a food processor, you can place the cookies in a zip-top bag and crush them with a rolling pin.
In a medium bowl, combine the chocolate cookie crumbs with ¼ cup of melted unsalted butter. Stir until the crumbs are evenly moistened. Pour the mixture into a 9-inch pie plate. Use the bottom of a glass or measuring cup to firmly press the crumbs evenly across the bottom and up the sides of the plate. Ensure the crust is compacted tightly for best results. Place the crust in the refrigerator for at least 30 minutes to firm up while you prepare the filling.
Whipping up the Chocolate Cream Filling
This chocolate filling is a rich, cooked pudding. In a medium saucepan, whisk together ¾ cup of granulated sugar, ⅓ cup of unsweetened cocoa powder, and ¼ cup of cornstarch. Gradually whisk in 3 cups of whole milk until the dry ingredients are fully dissolved and the mixture is smooth. Place the saucepan over medium heat and cook, stirring constantly with a whisk, until the mixture thickens significantly and comes to a gentle boil, about 10-15 minutes. Be patient and keep stirring, especially as it starts to thicken rapidly.
Once thickened, remove from the heat. Stir in 2 tablespoons of unsalted butter and 1 teaspoon of vanilla extract. For extra richness and deeper chocolate flavor, you can stir in 2 ounces of finely chopped bittersweet or semi-sweet chocolate until melted and smooth. Pour the hot filling into the chilled chocolate cookie crust. Cover the surface directly with plastic wrap to prevent a skin from forming as it cools. Chill in the refrigerator for at least 4 hours, or until fully set.
Garnish Ideas for Chocolate Cream Pie
Once your chocolate cream pie is chilled and set, a simple garnish elevates it from delicious to stunning. The easiest and most classic topping is sweetened whipped cream. Whip 1 ½ cups of cold heavy cream with ¼ cup of powdered sugar and ½ teaspoon of vanilla extract until stiff peaks form, then spread or pipe it over the pie.
Other easy beginner cream pie recipes garnishes for chocolate pie include chocolate shavings (simply run a vegetable peeler along a bar of chocolate), a dusting of cocoa powder, or a sprinkle of mini chocolate chips. For a bit of texture and crunch, chopped toasted nuts like pecans or walnuts work well. A drizzle of chocolate syrup or caramel sauce can also add an extra layer of flavor and visual appeal. Choose one or a combination for a beautiful finish.
Recipe 3: No-Bake Peanut Butter Cream Pie - The Easiest Option
If you're looking for the absolute easiest easy beginner cream pie recipe that requires minimal effort and no oven time (beyond potentially melting butter), a no-bake peanut butter cream pie is the answer. This pie is incredibly popular for its simplicity and irresistible flavor combination. It typically uses a pre-made or simple graham cracker crust and a filling made from cream cheese, peanut butter, sugar, and whipped cream or whipped topping.
This recipe is a true beginner's dream. It relies on chilling rather than baking to set, making it almost foolproof. Let's dive into how to assemble this super simple, easy beginner cream pie recipe.
Assembling the Graham Cracker Crust
Using a pre-made graham cracker crust from the grocery store is the ultimate shortcut for this easy beginner cream pie recipe. Simply unwrap it and you're ready to go. If you prefer to make your own (it's still very easy! ), you'll need about 1 ½ cups of graham cracker crumbs (from about 10-12 full graham crackers), ¼ cup of granulated sugar, and ⅓ cup of melted unsalted butter.
Combine the crumbs, sugar, and melted butter in a bowl, stirring until well combined. Press the mixture firmly and evenly into the bottom and up the sides of a 9-inch pie plate. You can use the bottom of a glass or measuring cup for this. Place the prepared crust in the refrigerator for at least 15-20 minutes to firm up while you make the filling. This helps prevent it from crumbling when sliced.
Making the Peanut Butter Cream Filling (No-Bake!)
The filling for this easy beginner cream pie recipe is wonderfully simple and requires no cooking. In a large bowl, beat 8 ounces of softened cream cheese with ½ cup of creamy peanut butter (avoid natural peanut butter that separates, unless you stir it very well) until smooth and well combined. Use an electric mixer for the smoothest result, or a sturdy whisk and some effort.
Gradually beat in 1 cup of powdered sugar until fully incorporated and smooth. In a separate bowl, whisk 1 teaspoon of vanilla extract into 1 ¾ cups of cold heavy cream and beat until stiff peaks form (or use an equivalent amount of thawed whipped topping). Gently fold about one-third of the whipped cream into the peanut butter mixture to lighten it, then fold in the remaining whipped cream until no streaks remain and the filling is uniform. Be gentle to keep the filling light and airy.
Chocolate Shavings Topping: A Simple Touch
Once the peanut butter cream filling is ready, spoon or scoop it into the chilled graham cracker crust, spreading the top evenly. For an extra touch of indulgence and visual appeal, a simple chocolate shavings topping is perfect for this easy beginner cream pie recipe.
Take a bar of milk, dark, or semi-sweet chocolate. Hold the bar over the pie and use a vegetable peeler to shave curls of chocolate directly onto the surface of the pie. The warmth of your hand slightly softens the chocolate, making it easier to peel into lovely curls. Cover the pie loosely with plastic wrap or foil and refrigerate for at least 4-6 hours, or preferably overnight, until the filling is completely set and firm enough to slice cleanly. Serve cold.
Tips and Tricks for Perfect Beginner Cream Pies
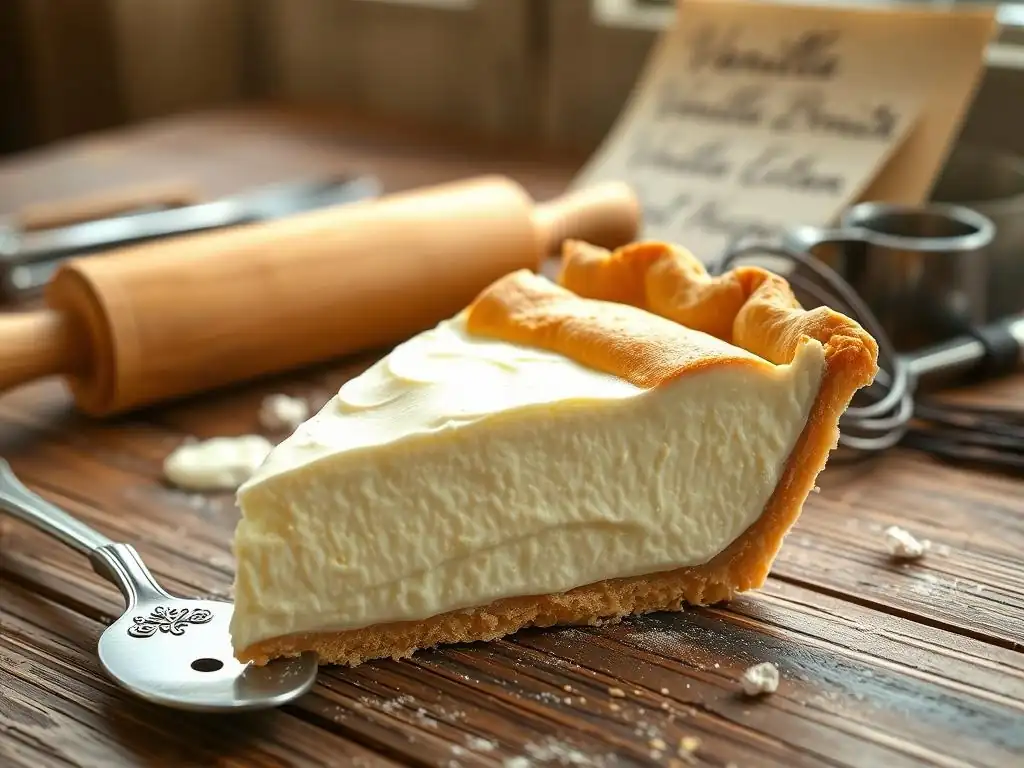
Achieving the Perfect Pie Crust Texture
For easy beginner cream pie recipes that use a baked crust, achieving the right texture is key. A common goal is a flaky, tender crust that holds its shape but isn't tough or soggy. Using cold butter or shortening cut into small pieces is crucial. The fat creates steam pockets as it melts in the oven, separating the layers of dough and resulting in flakiness. Don't overwork the dough; mix only until it just comes together. Overmixing develops too much gluten, leading to a tough crust.
Blind baking, as mentioned in the vanilla pie recipe, is often necessary for cream pies because the filling isn't baked with the crust. This pre-baking ensures the crust is fully cooked and set before the wet filling is added. Using pie weights or dried beans helps the crust maintain its shape and prevents the bottom from puffing up. Ensure the crust is baked until golden brown, not just pale yellow, to ensure it's cooked through and has a sturdy structure to support the filling.
Preventing a Soggy Pie Crust
A soggy bottom crust is a common frustration, especially with cream pies where a wet filling sits in the crust for hours while chilling. Several strategies can help prevent this in easy beginner cream pie recipes. First, ensure your baked crust is fully cooked and cooled before adding the filling. A well-baked crust is more resistant to moisture absorption. Blind baking until the bottom is lightly browned is essential.
Another effective technique is to brush the warm, blind-baked crust with a thin layer of egg white or melted chocolate (for chocolate pies). The egg white creates a protein barrier when it bakes on the residual heat, and the chocolate forms a solid barrier after it cools. Adding the filling only when both the crust and the filling have cooled significantly (if the filling is cooked) also helps reduce moisture transfer. For no-bake pies with crumb crusts, ensuring the crust is pressed firmly and chilled thoroughly provides a denser barrier.
Getting a Smooth and Creamy Filling
A smooth, lump-free filling is the hallmark of a great cream pie. For cooked fillings thickened with cornstarch or flour, the key is proper whisking and cooking technique. Always whisk the dry thickeners (cornstarch, flour) with the sugar first, then gradually whisk in the cold liquid (milk, cream) until there are absolutely no lumps before heating. This ensures the thickener dissolves evenly.
Cook the filling over medium heat, stirring constantly with a whisk, especially as it begins to thicken. Pay attention to the bottom and edges of the pan, where lumps and scorching can occur. Cook until the mixture is very thick and coats the back of a spoon heavily, often bubbling gently for a minute or two to ensure the starch is fully cooked and activated.
If using eggs for thickening (like in custard), tempering them by whisking a small amount of the hot mixture into the yolks before adding the yolks back to the pan helps prevent scrambling. Pass the finished filling through a fine-mesh sieve if you notice any small lumps before pouring it into the crust.
Troubleshooting Common Cream Pie Problems
Even with easy beginner cream pie recipes, issues can arise. If your cooked filling is too thin, it likely wasn't cooked long enough or at a high enough temperature to fully activate the thickener. You can sometimes return it to the saucepan and cook it gently for a few more minutes, stirring constantly, until it reaches the desired thickness. Be careful not to scorch it.
If your filling has a rubbery texture, it might have been overcooked, especially if it contains eggs. Overcooking can cause proteins to seize up. There's not much you can do to fix an overcooked filling, so it's best to discard and try again, being careful to stop cooking as soon as it thickens. If your whipped cream topping collapses, it might not have been whipped to stiff peaks, or it got too warm. Ensure your cream, bowl, and whisk are very cold, and whip until the peaks hold their shape firmly.
Cream Pie Variations for Beginner Bakers
Coffee Cream Pie: Adding a Bold Flavor
Once you're comfortable with the basic cooked vanilla cream filling, adding new flavors is an easy beginner cream pie recipe variation. Coffee cream pie is a popular choice for its sophisticated, bold flavor. You can adapt a standard vanilla or even chocolate cream filling recipe by incorporating coffee.
One simple method is to dissolve instant coffee granules or espresso powder directly into the milk before heating. For a filling using 3 cups of milk, start with 1-2 tablespoons of instant coffee or espresso powder, adjusting to your taste preference. Alternatively, you can replace some of the milk with strongly brewed coffee or espresso, ensuring the total liquid amount remains the same.
Cook the filling as usual, and the coffee flavor will infuse throughout the creamy base. Top with coffee-flavored whipped cream by adding a teaspoon of instant coffee dissolved in a tablespoon of hot water to your whipped cream before whipping.
Maple Cream Pie: A Sweet and Savory Treat
Maple cream pie offers a delightful sweet and slightly savory flavor profile, particularly appealing in the fall. This variation is also quite adaptable from a standard cream filling base, making it another easy beginner cream pie recipe to try.
To make a maple cream filling, substitute some or all of the granulated sugar in your base recipe with pure maple syrup. For a filling using 3 cups of milk and ¾ cup of sugar, you might try replacing ½ cup of the sugar with ½ cup of good quality maple syrup, keeping ¼ cup of sugar for structure. The liquid content changes slightly, so you might need a tiny bit more thickener (like ¼ teaspoon more cornstarch).
Cook the filling gently, stirring in a tablespoon of butter and an extra splash of vanilla or even a pinch of cinnamon at the end. Serve topped with whipped cream and perhaps a drizzle of extra maple syrup or chopped pecans.
Key Lime Cream Pie: A Tangy Variation
While traditional Key Lime Pie uses eggs and condensed milk, a cream pie version can be made using a simplified filling thickened with cornstarch or gelatin, making it accessible as an easy beginner cream pie recipe. The key is capturing that signature tangy citrus flavor.
For a cornstarch-thickened version, adapt a vanilla filling recipe. Instead of vanilla extract, whisk in the zest of 2-3 Key limes and ½ to ¾ cup of fresh Key lime juice after the filling has thickened and been removed from the heat. The acidity of the lime juice can sometimes thin the filling slightly, so ensure it's quite thick before adding the juice.
Alternatively, a no-bake version can be made by combining softened cream cheese, sweetened condensed milk (dairy or dairy-free), and Key lime juice, then folding in whipped cream. Use a graham cracker crust and top with more whipped cream and extra lime zest.
Storing and Serving Your Easy Cream Pies
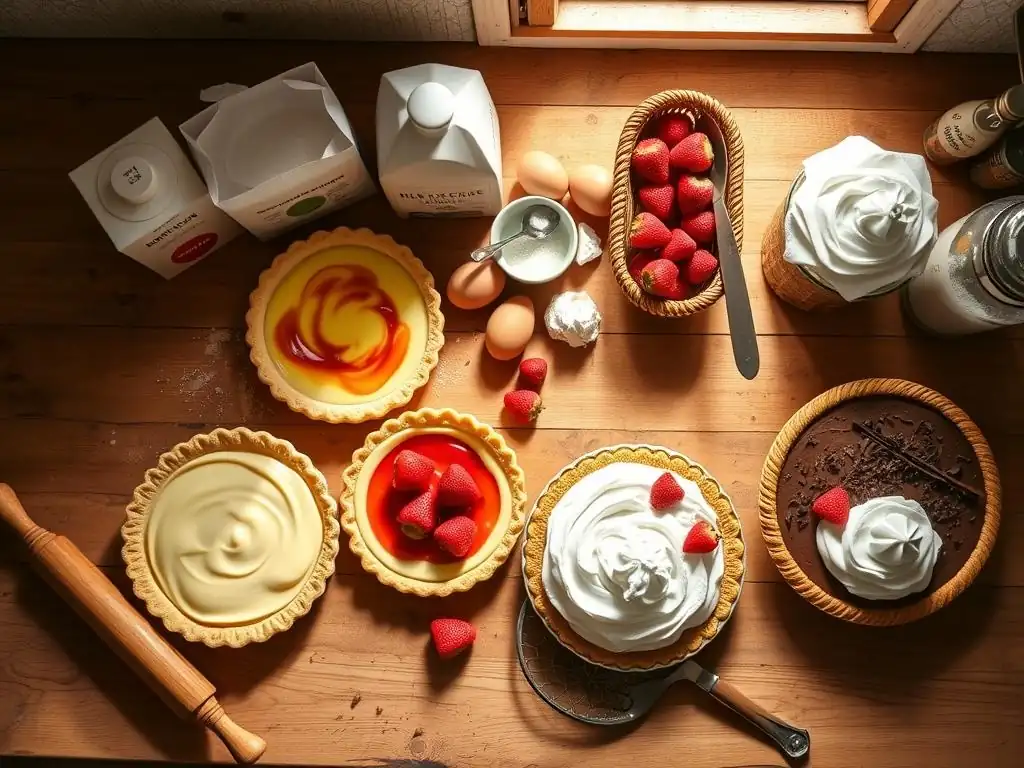
Proper Refrigeration Techniques
Proper refrigeration is crucial for easy beginner cream pie recipes, especially those with cooked fillings or dairy-based components, to ensure food safety and optimal texture. Cream pies should always be stored in the refrigerator. Once the pie has chilled and set initially (usually 4-8 hours), cover it loosely with plastic wrap or aluminum foil. Avoid covering it while it's still warm, as condensation will form and make the crust soggy.
If the pie has a whipped cream topping, loose covering is even more important to prevent the topping from being squashed. A pie carrier or a large inverted bowl placed over the pie plate works well. Store the pie on a flat shelf in the refrigerator to prevent tilting. Cream pies are best served cold, directly from the refrigerator.
Best Ways to Cut and Serve Cream Pie
Serving a beautiful slice of cream pie involves a few simple techniques. Ensure the pie is fully chilled and set before attempting to cut it; this is critical for clean slices, especially with easy beginner cream pie recipes that might be slightly softer. Use a sharp knife that has been run under hot water and wiped dry before each cut. The warm blade helps slice through the filling and crust smoothly.
Make the first cut through the center of the pie, then continue cutting outwards like spokes of a wheel to get even slices. For standard 9-inch pies, 6-8 slices are typical. Use a pie server or a wide spatula to lift the slice carefully from the pie plate. Serve immediately while cold for the best texture.
Shelf Life and Freezing Instructions
Most easy beginner cream pie recipes containing dairy or eggs are best consumed within 3-4 days when stored properly in the refrigerator. The quality, particularly the texture of the crust and topping, starts to decline after this time. A soggy crust is the most common issue with older cream pies.
Freezing cream pies can be tricky, as the texture of the filling and crust can change significantly upon thawing. Cooked custard fillings or fillings thickened primarily with cornstarch tend to weep or become grainy after freezing and thawing. No-bake pies made with cream cheese and whipped cream fare slightly better. If you choose to freeze, wrap the un-topped pie tightly in several layers of plastic wrap, then a layer of aluminum foil.
Freeze for up to 1-2 months. Thaw overnight in the refrigerator. Add fresh topping just before serving. However, for the best results, it's generally recommended to enjoy your easy beginner cream pie recipe fresh within a few days of making it.
Conclusion: Mastering the Art of Easy Cream Pie Baking
Continue Your Baking Journey
Congratulations on making your first easy beginner cream pie recipe! You've successfully navigated blind baking (or skipped it with a no-bake crust), created a smooth, creamy filling, and added a delightful topping. These foundational skills in measuring, mixing, cooking, and chilling are invaluable and apply to countless other baking projects. Don't stop here! Each successful bake builds confidence and expertise.
Now that you've mastered a basic cream pie, consider trying another easy beginner cream pie recipe variation presented in this guide, like the chocolate or peanut butter version. Or, explore other simple pie types, like fruit crisps or crumbles, which also feature straightforward steps. Continue practicing your techniques, and soon you'll be ready to tackle slightly more complex recipes. Remember, every baker, even the most experienced, started with simple steps just like these.
Baking is often about sharing the joy and delicious results with others. Your beautifully made easy beginner cream pie recipe is meant to be enjoyed! Slice it up and share it with family and friends. Their reactions will be a wonderful reward for your efforts. Don't be afraid to talk about the process – explaining how you made the crust or got the filling so smooth can be part of the fun.
We'd love to see your easy beginner cream pie recipes come to life! Sharing your results can also inspire other new bakers. Take a picture of your finished pie and celebrate your accomplishment. Each pie you bake is a step forward in your baking journey, bringing deliciousness and satisfaction to your kitchen and those you share it with. Keep baking and keep exploring new easy beginner cream pie recipes and beyond!
Frequently Asked Questions
What makes a cream pie recipe "beginner-friendly"?
Beginner-friendly cream pie recipes typically feature simple ingredients, easy-to-follow instructions, and minimal baking expertise required. They often avoid complex techniques that can intimidate novice bakers.
What are some common ingredients found in easy cream pie recipes?
Common ingredients include pre-made pie crusts, pudding mix, whipped topping, and simple flavorings like vanilla or chocolate. These streamline the baking process.
Can I make a cream pie without baking the crust?
Yes! Many easy cream pie recipes use pre-made graham cracker crusts or chocolate cookie crusts, which don't require baking. This significantly simplifies the recipe.
What are some flavor variations I can try with a basic cream pie recipe?
You can easily add flavor by incorporating fruit purees, chocolate shavings, extracts like almond or peppermint, or even coffee granules. Get creative with your toppings!
How should I store a cream pie to keep it fresh?
Cream pies should be stored in the refrigerator to prevent spoilage. Cover the pie loosely with plastic wrap or aluminum foil to maintain its moisture and flavor for up to 3 days.
Final Reflection: The Sweet Simplicity of Baking Success
The accessibility of baking, once perceived as a daunting task, is now within everyone's reach. Mastering even the most delicate desserts, like cream pies, can be a surprisingly straightforward and rewarding experience, proving that culinary artistry isn't reserved for the professionally trained. This article has demonstrated that with clear instructions and readily available ingredients, anyone can create a delightful cream pie.
The joy of baking, particularly for beginners, lies not just in the delicious outcome but in the process itself. It's a journey of discovery, a chance to connect with tradition, and a testament to the power of simple ingredients transformed into something extraordinary. The best things in life are simple.
This sentiment rings true when considering the satisfaction derived from creating a beautiful and tasty cream pie from scratch, a feat achievable by anyone willing to try.
Now, it's your turn. Don't let the fear of failure hold you back from exploring the world of baking. Choose a recipe from this article, gather your ingredients, and embark on your own culinary adventure. The sweet taste of success, both literally and figuratively, awaits you. Embrace the challenge, enjoy the process, and savor the delicious reward of a homemade cream pie—a testament to your newfound baking prowess.
Unleash Your Inner Pastry Chef!
Thanks for taking the time to explore these beginner-friendly cream pie recipes! We hope you've found some delicious inspiration. Now it's time to get baking!
- Whip up your favorite recipe: Choose one of the cream pie recipes that caught your eye and get started. Don't be afraid to experiment with flavors and fillings! This is your chance to shine.
- Share your creations: Snap a picture of your finished pie and share it on social media using #BakeWithEaseCreamPie – let's see those beautiful results!
- Challenge a friend: Tag a friend who loves baking (or needs a delicious pie in their life!) and challenge them to bake along with you.
Ready to taste the sweet success of a homemade cream pie?