
How to Make Pie Crust by Hand (Easy Method)

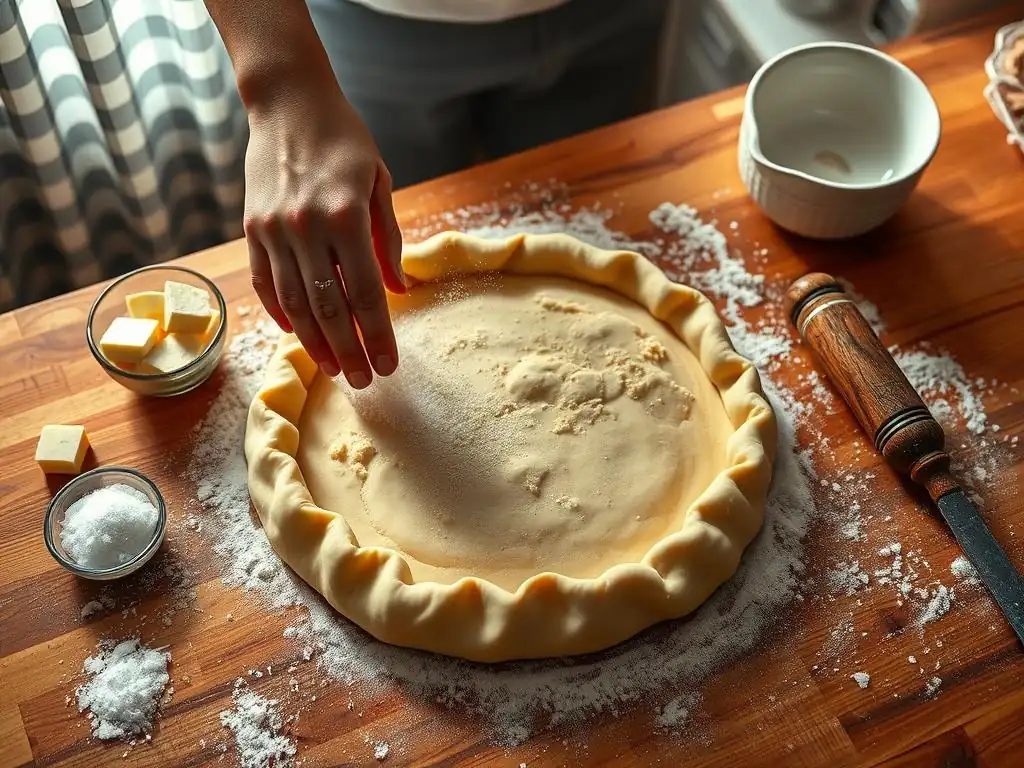
Welcome to BakeWithEase, your companion for confident baking! Ever dreamt of flaky, delicious hand pies but felt intimidated by the crust? You're not alone! In this article, we'll demystify the process and show you how to create an easy hand pie crust entirely by hand. Ready to ditch the mixer and unlock the secrets to perfect homemade pastry? Let's get baking – you might just be surprised at how simple it is!
- Mastering Shortcrust Pastry: A Comprehensive Guide
- A Baker's Journey to Perfect Shortcrust Pastry
- The Art of Homemade Pastry: Why Make It Yourself?
- Shortcrust Pastry Recipe: Essential Ingredients and Tools
- Step-by-Step: Crafting Shortcrust Pastry with Ease
- Rolling Out Your Homemade Pastry: Techniques and Tips
- Baking Your Pastry: Achieving Perfection
- Storing Homemade Pastry Dough
- Pastry Variations: Exploring Different Flavors and Textures
- Enjoy Your Homemade Shortcrust Pastry!
-
Frequently Asked Questions
- How is the BakeWithEase hand pie crust method considered "easy"?
- What are the key ingredients for the BakeWithEase easy hand pie crust?
- Can I substitute ingredients in the BakeWithEase easy hand pie crust recipe?
- How does BakeWithEase ensure a flaky crust when making it by hand?
- What types of pies are best suited for the BakeWithEase easy hand pie crust?
- Final Reflection: The Humble Pie Crust, a Testament to Effortless Baking
- Unleash Your Inner Baker: Craft the Perfect Pie Crust!
Mastering Shortcrust Pastry: A Comprehensive Guide
A Baker's Journey to Perfect Shortcrust Pastry
Embarking on the path to making a perfect easy hand pie crust from scratch might seem daunting at first, but it's a fundamental skill that unlocks a world of delicious possibilities in baking, from savory quiches to sweet fruit tarts. This guide is designed to demystify the process, breaking it down into simple, manageable steps that anyone can follow, regardless of their baking experience.
We'll explore the essential ingredients, the techniques that ensure flakiness and tenderness, and tips for achieving consistently excellent results every time you bake. Think of this as your friendly roadmap to mastering the art of shortcrust pastry.
Creating your own pastry by hand is not just about the end result; it's also about the enjoyable process itself. There's a unique satisfaction in transforming simple ingredients like flour, fat, and water into a versatile dough that forms the base of countless desserts and main courses. This method, focusing on making easy hand pie crust, emphasizes minimal equipment and hands-on technique, allowing you to feel the dough and understand its texture at each stage. It’s a foundational skill that builds confidence and deepens your connection to the craft of baking.
The Art of Homemade Pastry: Why Make It Yourself?
Choosing to make your own pastry dough, especially focusing on an easy hand pie crust, offers significant advantages over store-bought options. While convenience is appealing, the difference in quality, flavor, and texture is often substantial. Homemade pastry provides a depth of flavor that is hard to replicate, and you have complete control over the ingredients used, ensuring freshness and tailoring the pastry to your specific needs or dietary preferences. It's a rewarding endeavor that elevates your baked goods from good to truly exceptional.
Beyond the tangible results, the process of making pastry by hand is incredibly satisfying. It's a tactile experience, working the cold butter into the flour, feeling the dough come together as you add the water. This hands-on approach allows you to develop an intuition for the dough's consistency, a skill that improves with practice. Successfully creating a flaky, tender crust from scratch provides a sense of accomplishment and encourages further exploration in the world of baking.
Unrivaled Flavor and Texture in Homemade Pastry
Homemade shortcrust pastry, particularly when made with quality ingredients and the easy hand pie crust method, boasts a superior flavor profile and texture compared to pre-made versions. The fresh butter or shortening used imparts a rich, creamy taste that store-bought alternatives often lack. The flaky layers, achieved by incorporating cold fat into the flour, create a delightful contrast between a crisp exterior and a tender, yielding interior, a hallmark of well-made pastry.
Consider a classic apple pie. A crust made from scratch, with its buttery aroma and delicate layers that shatter slightly with each bite, elevates the entire dessert. In contrast, a pie made with a store-bought crust, while convenient, often results in a less flavorful, sometimes tough or overly uniform texture. The difference is palpable and truly showcases the value of making your own pastry by hand, ensuring your baked goods stand out.
Ingredient Control: Tailoring Your Pastry to Perfection
Making your own easy hand pie crust gives you complete authority over the ingredients used. This means you can select high-quality butter for better flavor, choose between butter and shortening or a blend for specific textural results, and even opt for organic or specialty flours. This level of control is invaluable, allowing you to avoid preservatives, artificial flavors, or hydrogenated fats often found in commercial pastry.
This control also extends to customizing the pastry for different applications or dietary needs. For instance, if you need a dairy-free crust, you can easily substitute butter with a plant-based alternative or shortening. You can also adjust the salt content or add a pinch of sugar for a sweeter crust, something not possible with pre-made options. This flexibility ensures your pastry is perfectly suited for whatever filling you plan to use, whether it's a savory quiche or a sweet berry tart.
The Rewarding Experience of Baking from Scratch
There's a profound sense of satisfaction that comes from creating something delicious entirely from scratch, and making an easy hand pie crust is a prime example. From measuring the flour to gently bringing the dough together, each step is a part of a creative process that culminates in a foundational element for countless baked goods. It's a tangible skill that provides immediate rewards in the form of delicious pies, tarts, and quiches.
This hands-on activity can also be incredibly therapeutic. The rhythmic motion of cutting butter into flour or gently kneading the dough can be calming and meditative. Furthermore, sharing a pie or tart made with your own homemade crust often garners appreciation and admiration, adding another layer of reward to the experience. It's more than just baking; it's about connecting with your food and the joy of creating.
Shortcrust Pastry Recipe: Essential Ingredients and Tools
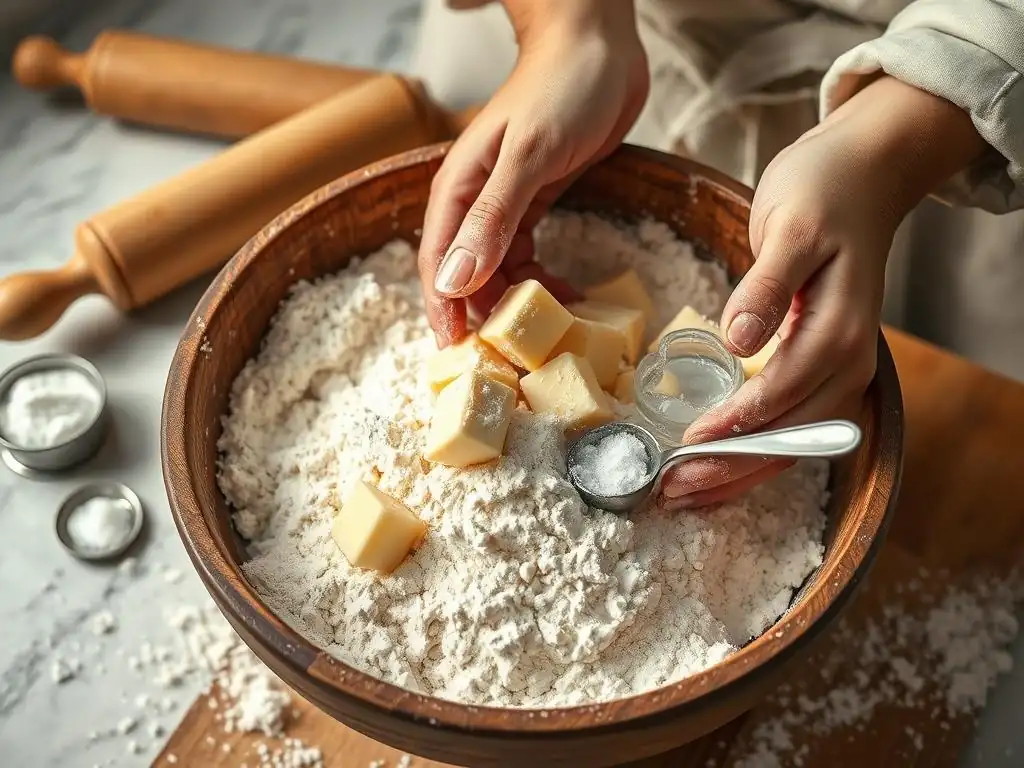
Crafting a successful easy hand pie crust relies on having the right ingredients and a few basic tools. The simplicity of the ingredients belies their importance; each plays a crucial role in achieving the desired flaky and tender texture. Using cold ingredients and handling the dough minimally are key principles that guide the process.
Gathering your ingredients and tools before you begin ensures a smooth and efficient baking experience. This recipe focuses on the traditional method using your hands and minimal equipment, making it accessible and truly an easy hand pie crust technique. Let's look at what you'll need to get started on your pastry-making journey.
Key Ingredients for a Tender and Flaky Pastry
The magic of a great shortcrust pastry lies in the interplay of simple, cold ingredients. The ratio of flour to fat is critical, typically around a 2:1 ratio by weight, though variations exist. The type of fat used significantly impacts the final texture – butter yields great flavor but can be trickier, while shortening ensures maximum flakiness.
The liquid component, ice water, is equally important. It binds the dough together without developing too much gluten, which would make the crust tough. Using ice water helps keep the fat solid, which is essential for creating those desirable flaky layers during baking. Salt is included to balance the sweetness and enhance the overall flavor.
Plain Flour: The Foundation of Your Pastry
All-purpose or plain flour is the standard choice for easy hand pie crust. It provides the necessary structure for the pastry. Too much gluten development leads to a tough crust, so handling the dough gently and minimally is crucial.
Typically, a recipe for a single standard pie crust might call for around 250-300 grams (about 2 cups) of plain flour. Sifting the flour isn't strictly necessary for shortcrust, but weighing it provides the most accurate measurement, ensuring consistent results.
Cold Butter or Shortening: Creating Flaky Layers
Using very cold fat is perhaps the most critical step in achieving a flaky easy hand pie crust. As the pastry bakes, the pieces of cold fat melt, creating steam that pushes apart the layers of dough. This process is what forms the characteristic flaky texture. Butter offers superior flavor, while shortening provides maximum flakiness and is easier to work with as it stays solid at warmer temperatures.
Many recipes use a blend of butter and shortening to get the best of both worlds – flavor from the butter and flakiness from the shortening. For a standard crust using 250g flour, you might use 125-150g (about 1/2 to 2/3 cup) of cold, cubed fat. Ensure the fat is very cold, straight from the refrigerator or even briefly in the freezer.
Ice Water: Binding the Dough
Ice water is the preferred liquid for binding the dough in an easy hand pie crust. The cold temperature helps maintain the chill of the fat, preventing it from melting prematurely. Only a small amount of water is needed, just enough to bring the dry ingredients and fat together into a cohesive dough.
Adding too much water is a common mistake that leads to a tough crust. Start with a small amount, perhaps 2-3 tablespoons for a single crust recipe, and add more, a teaspoon at a time, only if necessary, until the dough just comes together. The exact amount can vary depending on the flour and humidity.
Salt: Enhancing the Flavor
Salt is a simple but essential ingredient in both sweet and savory pastries. It doesn't just add saltiness; it brightens and enhances the flavors of the other ingredients, particularly the butter. It also helps to balance the sweetness in a dessert pie crust.
A typical amount of salt for a single crust recipe (using 250g flour) is around 1/2 teaspoon. Using fine salt ensures it distributes evenly throughout the flour mixture.
Essential Equipment for Pastry Making
While the easy hand pie crust method minimizes the need for fancy gadgets, a few basic tools will make the process smoother and more efficient. These are common kitchen items you likely already own.
Having your equipment ready alongside your ingredients prevents you from having to search for things mid-process, which is especially important when working with cold ingredients like the fat and water. Let's look at the key pieces you'll need.
Large Mixing Bowl: Combining Ingredients
A generously sized mixing bowl is essential for making pastry by hand. You need enough space to comfortably combine the dry ingredients and cut in the fat without making a mess. A bowl around 8-10 inches in diameter is usually sufficient for a single or double crust recipe.
Using a bowl also helps contain the flour as you work the fat into it, keeping your workspace cleaner. Choose a sturdy bowl that won't slide around easily as you rub or cut the fat into the flour.
Pastry Blender or Food Processor: Cutting in the Fat
While this guide focuses on the easy hand pie crust by hand method (using your fingertips or a fork), a pastry blender is a useful tool for cutting cold fat into flour if you prefer not to use your hands. Its wires are designed to efficiently break down the fat into smaller pieces while keeping it cold. Alternatively, a food processor can do this job very quickly (using the pulse function), but this moves away from the "by hand" emphasis.
If using the hand method, your fingertips are the primary tool. The key is to work quickly to avoid melting the fat with the warmth of your hands. A fork can also be used to mash the fat into the flour, especially for harder fats like cold butter.
Measuring Cups and Spoons: Precise Measurements
Accurate measurement of ingredients is foundational to successful baking. While weighing flour is recommended for precision, measuring cups are commonly used and perfectly adequate for making an easy hand pie crust, especially for beginners. Dry measuring cups should be used for flour, leveled off with a straight edge.
Measuring spoons are necessary for accurately adding smaller quantities like salt and, crucially, the ice water. Adding water a teaspoon at a time is key to getting the correct dough consistency without adding too much. Precision here helps avoid troubleshooting later.
Cling Film: Chilling the Dough
Cling film (plastic wrap) is indispensable for wrapping the dough disc before chilling. Chilling the dough is a non-negotiable step in making shortcrust pastry. It allows the gluten to relax, preventing shrinkage during baking, and solidifies the fat, which is vital for flakiness.
Wrapping the dough tightly in cling film prevents it from drying out in the refrigerator and makes it easy to handle and roll out later. Ensure it's wrapped securely to avoid exposure to air.
Step-by-Step: Crafting Shortcrust Pastry with Ease
Making easy hand pie crust involves a few key steps, each contributing to the final texture. The process is straightforward and relies on keeping ingredients cold and handling the dough minimally. Let's walk through the process from start to finish.
Following these steps carefully will help you achieve a tender, flaky crust ready for your favorite fillings. Remember, the goal is to work quickly and gently to maintain the cold temperature of the fat and avoid developing excess gluten.
Step 1: Preparing the Dry Ingredients
The first step is to combine the dry ingredients. This ensures the salt is evenly distributed throughout the flour before the fat is added. This simple step lays the foundation for the rest of the process.
Accuracy in measuring the flour is important here. While volume measurements (cups) are common, weighing provides the most consistent results for an easy hand pie crust.
Weigh and Combine Flour and Salt
Measure out the required amount of plain flour and add the salt to a large mixing bowl. Use a whisk or a fork to gently combine them, ensuring the salt is evenly distributed. This prevents pockets of saltiness in the final pastry.
- Measure 250g (approx. 2 cups) plain flour.
- Add 1/2 teaspoon salt.
- Whisk together in a large bowl.
Step 2: Incorporating the Fat for Flakiness
This step is crucial for creating the flaky texture of your easy hand pie crust. The goal is to break the cold fat into small pieces within the flour. As the pastry bakes, these pieces of fat will melt and create steam pockets, separating the layers of dough.
Whether using your hands, a pastry blender, or a fork, the key is to work the fat into the flour until it resembles coarse crumbs with some larger, pea-sized pieces remaining.
Maintain a Cold Temperature for Optimal Results
Keeping the fat and the mixture cold throughout this step is paramount. Warm fat will melt into the flour, resulting in a tough, rather than flaky, crust. If your kitchen is warm, or if you have warm hands, consider chilling your bowl and flour briefly before starting, or working quickly.
Using ice water in Step 3 also helps maintain this cold temperature. The colder the fat remains until it hits the oven, the flakier your easy hand pie crust will be.
Blend Fat into Flour Until Crumbly
Cut the cold butter or shortening (or a blend) into small cubes (about 1/2 inch). Add these cold cubes to the flour mixture in the bowl. Using your fingertips, a pastry blender, or a fork, begin to cut or rub the fat into the flour.
Work quickly, pressing the fat into the flour until the mixture resembles coarse crumbs. Lift the mixture and let it fall back into the bowl to help distribute the fat evenly. Avoid overworking the mixture; you don't want a uniform texture.
Achieve a Pea-Sized Texture
Continue working the fat into the flour until most of the fat is incorporated and the mixture looks like coarse meal, but with some visible pieces of fat still remaining. These pieces should be roughly the size of small peas or lentils.
It's these pea-sized pieces of cold fat that will create the flaky layers as they melt during baking. If all the fat is rubbed in until it's powdery, you'll get a tender but less flaky crust, sometimes called a "mealy" crust, which is better for preventing soggy bottoms but less desirable for overall flakiness.
Step 3: Adding Ice Water and Forming the Dough
The final step in bringing your easy hand pie crust dough together is adding the ice water. This binds the ingredients, but it's essential to add just enough water and mix minimally to avoid developing excess gluten, which leads to toughness.
Have your ice water ready, perhaps in a small bowl with a few ice cubes, measuring it out a little at a time.
Gradually Incorporate Cold Water
Sprinkle 2-3 tablespoons of ice water over the flour and fat mixture. Use a fork or your hands to gently bring the mixture together. It will still look quite dry and crumbly initially.
Add additional ice water, a teaspoon at a time, sprinkling it over the dry spots. Continue to gently mix until the dough just begins to come together. The exact amount of water needed can vary based on flour type, humidity, and how well the fat was incorporated. Be cautious not to add too much.
Mix Until Just Combined
Stop adding water and mixing as soon as the dough starts to cohere when you press a small amount between your fingers. It shouldn't be sticky or wet, but it should hold together. There might still be some dry bits in the bowl, which is okay.
Turn the dough out onto a clean surface. Gently bring the dough together into a rough ball or mound. Avoid kneading it vigorously like bread dough; this develops gluten and results in a tough crust.
Avoid Overworking for a Tender Pastry
The key to a tender easy hand pie crust is minimal handling after adding the water. The more you work the dough, the more gluten develops, leading to a tough texture. Simply gather the dough together until it forms a cohesive mass.
It's better to have a dough that is slightly crumbly than one that is sticky or smooth from overmixing. Any dry patches will hydrate slightly during the chilling phase.
Step 4: Shaping and Chilling the Dough
Once the dough has just come together, it needs to be shaped and, crucially, chilled. This step is non-negotiable for a successful easy hand pie crust. Chilling allows the gluten to relax and the fat to firm up.
This period of rest is essential for the dough's structure and makes it much easier to roll out later. Don't skip or shorten this step!
Form Dough into a Disc
On your work surface, gently press the rough ball of dough into a flattened disc shape, about 1 inch thick. This shape is ideal for chilling and makes rolling out much easier later on.
If you are making a double crust pie, divide the dough in half before shaping each half into a disc. This ensures you have the right amount for the bottom and top crusts or two single crusts.
Wrap Tightly in Cling Film
Wrap the dough disc (or discs) tightly in cling film. Ensure there are no exposed areas where the dough can dry out. Press the film against the surface of the dough.
Double-wrapping can provide extra protection against drying out in the refrigerator. Make sure the wrap is secure.
Chill for at Least 30 Minutes
Place the wrapped dough disc(s) in the refrigerator to chill for a minimum of 30 minutes. Ideally, chill for at least 1-2 hours. For best results, you can chill it for up to 2-3 days.
This chilling period is vital. It allows the fat to re-solidify, making it easier to roll without sticking, and gives the gluten a chance to relax, preventing the pastry from shrinking excessively when baked.
Rolling Out Your Homemade Pastry: Techniques and Tips
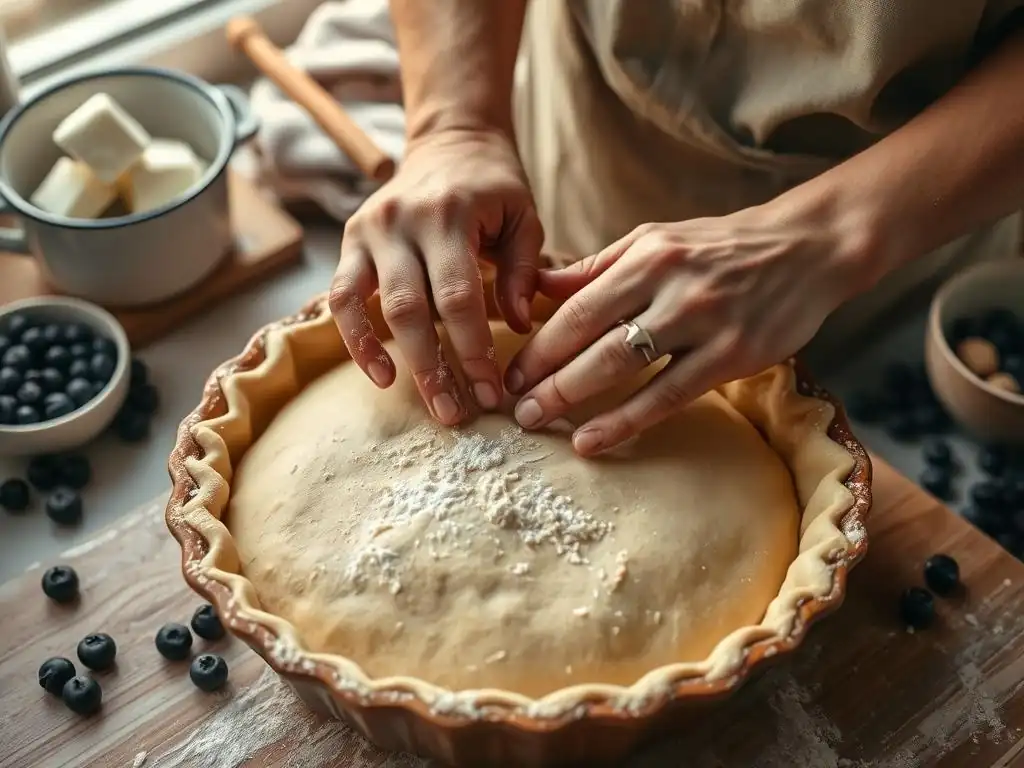
Once your easy hand pie crust dough is properly chilled, it's time to roll it out. This step requires a gentle touch and a bit of technique to achieve an even thickness and transfer it successfully to your pie dish or tin.
Working with cold dough is key here. If the dough becomes too warm and soft, it will be difficult to handle and can lose its flakiness.
Preparing Your Work Surface for Rolling
A clean, cool, and lightly floured surface is essential for rolling out pastry dough. This prevents the dough from sticking, which can cause tears and make it difficult to transfer.
Too much flour, however, can make the pastry tough, so aim for just enough to prevent sticking.
Lightly Flour the Surface to Prevent Sticking
Sprinkle a small amount of plain flour evenly over your clean work surface. You can also lightly flour your rolling pin. Place the chilled dough disc on the floured surface.
Start with just a tablespoon or two of flour and add more only if the dough begins to stick. You can also roll the dough between two sheets of parchment paper for a mess-free approach, which also eliminates the need for surface flour.
Achieving the Desired Thickness
Roll the dough gently and evenly from the center outwards, rotating the disc occasionally. Aim for a consistent thickness throughout the pastry.
For most pies and tarts, a thickness of about 1/8 inch (about 3mm) is ideal. This provides enough structure to hold the filling while ensuring a tender bite.
Aim for Consistent Thickness
Roll with even pressure, working from the center towards the edges. Lift and rotate the dough periodically to prevent it from sticking and to help you roll it into a relatively even circle.
Inconsistent thickness can lead to uneven baking, with some parts of the crust potentially burning while others remain undercooked. Take your time to achieve a uniform thickness.
Rotate the Dough While Rolling
After a few rolls, gently lift the dough and rotate it about a quarter turn. This helps maintain a round shape and prevents the dough from sticking to the surface in one spot. Re-flour the surface very lightly if needed before continuing to roll.
Rotating also allows you to check if the dough is sticking and address it immediately. If using parchment paper, you simply rotate the paper.
Transferring Pastry to a Baking Dish or Tin
Once your easy hand pie crust is rolled to the correct size and thickness, it needs to be carefully transferred to your pie dish or tart tin. This step can be a bit tricky, but there are simple methods to make it easier.
Handling the rolled dough gently is key to preventing tears and stretching.
Gently Fold or Roll the Dough
To transfer, you can either gently fold the rolled dough in half or quarters, or lightly roll it around your rolling pin. This makes the large, fragile sheet of dough more manageable.
If rolling it around the pin, place the pin at one edge of the dough and gently roll the dough up around it.
Carefully Position the Dough
Unfold or unroll the dough over your pie dish or tin, centering it as best as possible. Gently ease the dough into the contours of the dish, pressing it lightly into the bottom and up the sides.
Avoid stretching the dough, as this can cause it to shrink significantly during baking. Let the excess dough hang over the edges for now; you'll trim and crimp it later.
Baking Your Pastry: Achieving Perfection
Baking is the final step where your easy hand pie crust transforms from raw dough into a golden, flaky foundation for your filling. The baking method depends on whether you're pre-baking the crust (blind baking) or baking it with the filling.
Understanding a few key techniques and being aware of common issues can help you achieve a perfectly baked crust every time.
Blind Baking: Preventing a Soggy Base
Blind baking refers to partially or fully baking the pie crust before adding the filling. This is essential for fillings that are wet, uncooked, or require a shorter baking time than the crust itself. It helps prevent the dreaded soggy bottom.
To blind bake: Line the pastry shell with parchment paper and fill it with pie weights, dried beans, or rice. Bake at a high temperature (like 375°F or 190°C) for 15-20 minutes, or until the edges are set. Remove the weights and paper, then continue baking for another 10-15 minutes until the bottom is lightly golden, or until fully baked if the filling doesn't require further baking.
Crimping or Decorating the Edges for an Elegant Finish
Once the pastry is in the dish, the excess dough hanging over the edge can be trimmed, and the edges can be crimped or decorated. This not only looks appealing but also helps seal the filling inside and prevents the edges from slumping during baking.
Common methods include using your fingers to create a fluted edge, pressing with a fork, or creating decorative braids or cutouts with the excess dough. Aim for a consistent crimp around the entire edge.
Troubleshooting Common Pastry Issues
Even with the easy hand pie crust method, sometimes things don't go exactly as planned. Knowing how to identify and fix common problems is part of the baking process.
Here are a few issues you might encounter and how to address them:
Dough is Too Dry: Add More Ice Water
If your dough isn't coming together and remains crumbly even after adding the initial water, it's likely too dry. This can happen if your flour is particularly dry or humidity is low.
- Solution: Add ice water, a teaspoon at a time, sprinkling it over the dry spots and gently mixing until the dough just holds together when pressed. Be patient and add incrementally to avoid adding too much.
Dough is Too Sticky: Add More Flour
If your dough feels wet, sticky, and adheres to your hands and the bowl, you've likely added too much water.
- Solution: Sprinkle a very small amount of flour (about a teaspoon at a time) onto the dough and gently fold it in until the dough is no longer sticky but still soft. Avoid adding large amounts of flour, as this can make the pastry tough. Chilling the dough longer can also sometimes help manage stickiness.
Pastry Shrinks During Baking: Ensure Proper Chilling
Significant shrinkage of the pastry during baking, pulling away from the sides of the dish, is usually a sign that the gluten wasn't sufficiently relaxed before baking.
- Solution: Ensure you chill the dough for the recommended minimum time (at least 30 minutes, preferably longer) after shaping the disc and before rolling it out. Also, avoid stretching the dough when lining the pie dish; gently ease it in. Some bakers also chill the lined pie shell for 15-30 minutes before baking.
Storing Homemade Pastry Dough
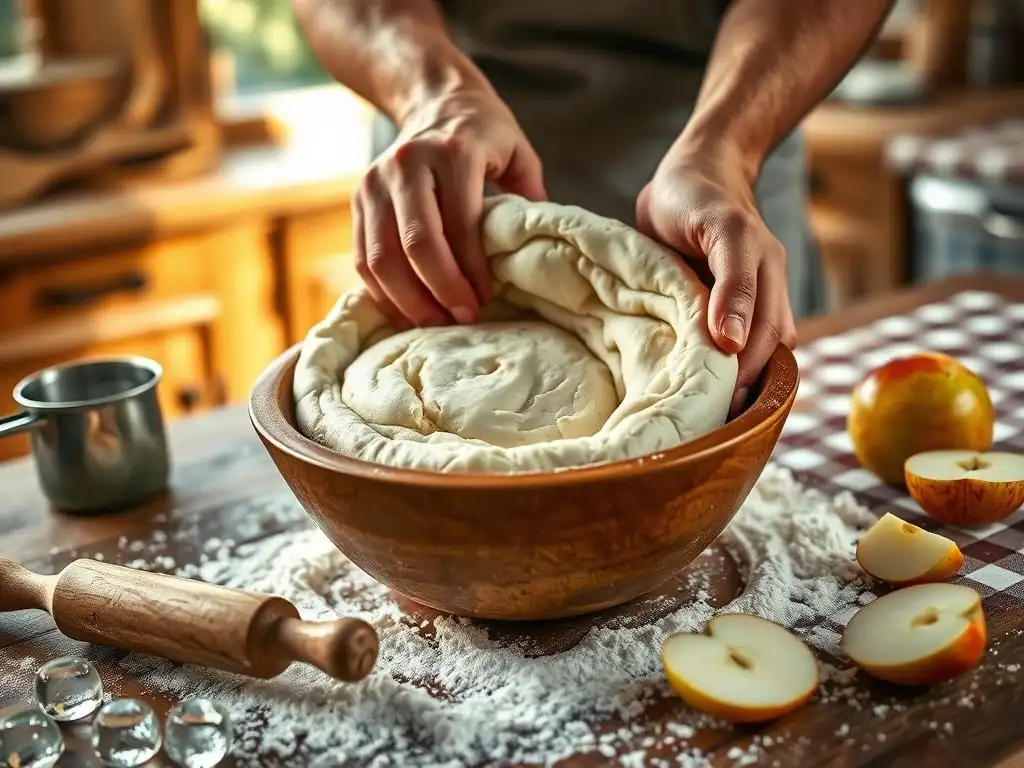
One of the great advantages of making your own easy hand pie crust is the ability to make it ahead of time. Homemade pastry dough stores well, allowing you to have it ready whenever the baking mood strikes.
Proper storage is key to maintaining the dough's quality and preventing it from drying out or absorbing odors from the refrigerator or freezer.
Freezing Pastry Dough for Extended Storage
Shortcrust pastry dough freezes beautifully and can be kept for several months. This is a great way to prep ahead for future baking projects.
To freeze, wrap the chilled dough disc tightly in several layers of cling film, then place it in a freezer-safe bag or container. Label with the date. Frozen dough is best used within 3-4 months for optimal quality. To thaw, transfer the dough to the refrigerator the day before you plan to use it. Avoid thawing at room temperature, as this can cause the fat to melt.
Refrigerating Pastry Dough for Short-Term Use
If you plan to use your easy hand pie crust dough within a few days, storing it in the refrigerator is sufficient.
Keep the dough wrapped tightly in cling film in the refrigerator. It will keep well for 2-3 days. If chilled for longer than a few hours, you may need to let the dough sit at room temperature for 10-20 minutes before rolling to make it pliable enough, but still cold.
Pastry Variations: Exploring Different Flavors and Textures
While the classic easy hand pie crust provides a perfect base, you can easily introduce variations to complement different fillings or add complexity to your baked goods. Simple additions can transform the basic recipe into something unique.
Experimenting with different flours, fats, or flavorings opens up a world of possibilities beyond the standard recipe.
Adding Sugar for Sweet Pastries
For dessert pies and tarts, adding a small amount of sugar to the dry ingredients creates a sweeter crust that pairs wonderfully with fruit or cream fillings.
Typically, adding 1-2 tablespoons of granulated sugar per single crust recipe (using 250g flour) is sufficient. This amount adds sweetness without making the dough too tender or difficult to handle.
Using Different Types of Flour (e.g., Wholemeal)
While plain flour is standard, you can experiment with substituting a portion of it with other flours for different flavors and textures. For example, using some wholemeal (whole wheat) flour adds a nutty flavor and slightly denser texture, perfect for rustic tarts.
If using wholemeal flour, you might need slightly more liquid as it absorbs more water than plain flour. Start by substituting 1/4 to 1/3 of the plain flour and adjust the water as needed.
Incorporating Herbs or Spices for Added Complexity
For savory applications, incorporating finely chopped fresh herbs (like rosemary, thyme, or chives) or dried spices (like black pepper, paprika, or a pinch of cayenne) into the dry ingredients before adding the fat can add a wonderful layer of flavor to your easy hand pie crust.
Add about 1-2 teaspoons of dried herbs or spices (or double for fresh) per single crust recipe. This works particularly well for quiches, savory tarts, or meat pies.
Enjoy Your Homemade Shortcrust Pastry!
You've successfully made your own easy hand pie crust from scratch! This fundamental skill is a cornerstone of baking and opens up a world of delicious possibilities. Whether you're filling it with sweet apples, tart berries, or a rich quiche mixture, your homemade crust will undoubtedly elevate your creation. Take pride in your accomplishment and savor the flavor and texture that only homemade pastry can provide.
Now that you have your beautiful, flaky pastry ready, it's time to transform it into a culinary masterpiece. Explore different fillings, experiment with decorative edges, and enjoy the process of turning simple ingredients into something truly special. Happy baking!
Frequently Asked Questions
How is the BakeWithEase hand pie crust method considered "easy"?
It focuses on simple techniques and minimal ingredients, making it accessible even for beginner bakers. We prioritize clear instructions and avoid overly complex steps.
What are the key ingredients for the BakeWithEase easy hand pie crust?
The fundamental ingredients are flour, fat (butter or shortening), ice water, and salt. The recipe emphasizes keeping the ingredients cold for the best results.
Can I substitute ingredients in the BakeWithEase easy hand pie crust recipe?
While substitutions are possible, they may affect the final texture. For example, using oil instead of butter will create a different, less flaky crust.
How does BakeWithEase ensure a flaky crust when making it by hand?
The key is to keep the butter cold and to avoid overmixing the dough. This creates layers of fat that melt during baking, resulting in flakiness.
What types of pies are best suited for the BakeWithEase easy hand pie crust?
This crust is versatile and works well for both sweet and savory pies, including fruit pies, pot pies, and quiches. Its simplicity makes it a great base for various fillings.
Final Reflection: The Humble Pie Crust, a Testament to Effortless Baking
The art of making a perfect pie crust by hand remains a surprisingly relevant skill in our fast-paced world. While store-bought options abound, the satisfaction of creating a flaky, buttery crust from scratch is an unparalleled experience, a testament to the enduring power of simple, homemade goodness. This isn't just about baking; it's about connecting with a tradition, a process, and ultimately, yourself.
The influence of hand-crafted food, and the pie crust in particular, continues to resonate in our culture, reminding us of the importance of slowing down and appreciating the tactile nature of cooking. The best things in life are homemade,
a sentiment echoed across generations, speaks to the inherent value we place on things created with care and attention. This simple act of mixing flour, fat, and water transcends mere culinary skill; it becomes a meditative practice, a grounding experience in a world often characterized by speed and convenience.
Now, I invite you to roll up your sleeves, gather your ingredients, and embark on this rewarding journey. Don't be intimidated by the seemingly simple task; embrace the process, feel the texture of the dough between your fingers, and savor the aroma of freshly baked pie. The perfect pie crust isn't just a delicious addition to your dessert; it's a symbol of your own capability, a testament to your patience, and a delicious reward for your efforts. Go forth and bake!
Unleash Your Inner Baker: Craft the Perfect Pie Crust!
Thanks for taking the time to learn the secrets of easy, hand-made pie crust! You've just gained a skill that will elevate your baking game. Now it's time to put your new knowledge into practice.
- Bake your masterpiece! Try out this recipe today – the flaky, buttery results will be incredibly rewarding. Don't be afraid to experiment with different fillings!
- Share your creation: Snap a picture of your stunning pie crust and share it on social media using #BakeWithEasePieCrust. We'd love to see your baking journey!
- Join our community: Head over to our forum to discuss your pie-making experience, ask questions, and get inspired by other bakers.
What unique twist will you add to your first hand-made pie crust?