
Simple Steps to Beautifully Shaped Classic Cookies

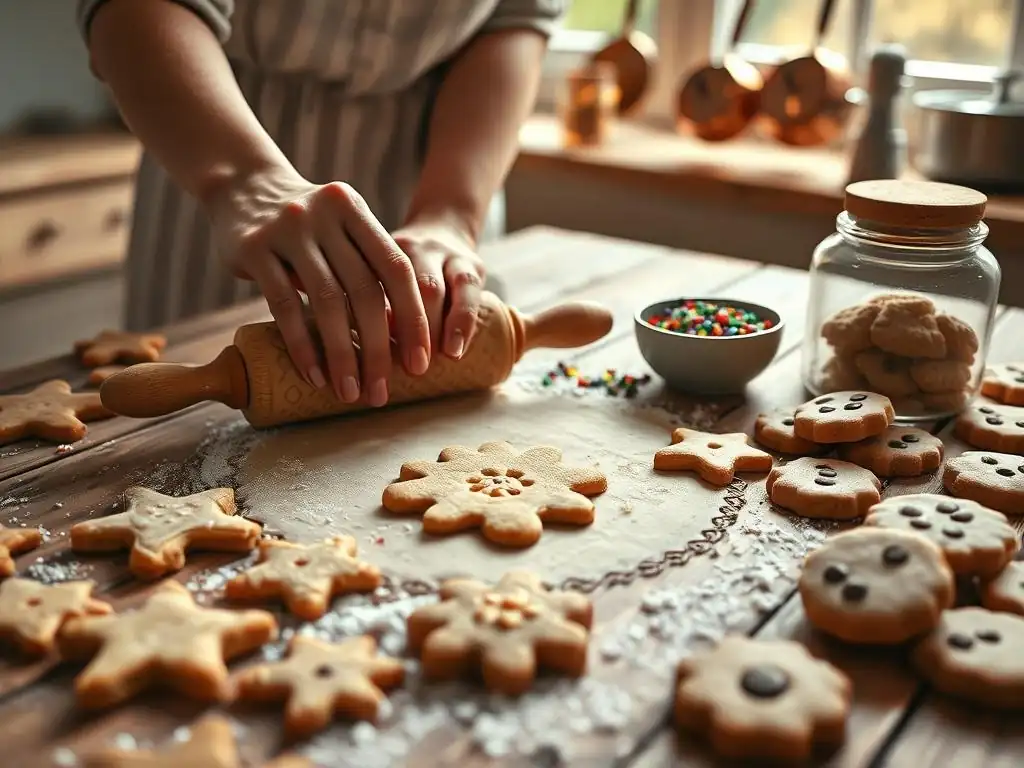
Welcome to BakeWithEase, your haven for all things baking! Ever wondered how to achieve perfectly shaped cookies that look as good as they taste? You're in the right place. Discover our easy classic cookie shaping tips and unlock the secrets to creating bakery-worthy treats in your own kitchen. Read on to transform your simple dough into edible masterpieces and impress everyone with your newfound skills!
- Simple Steps to Beautifully Shaped Classic Cookies: BakeWithEase Guide
- Introduction to Easy Classic Cookie Shaping Tips for Beginners
- Essential Tools for Shaping Classic Cookies
- Dough Preparation: The Foundation for Beautiful Cookies
-
Step-by-Step Guide to Shaping Common Classic Cookies
- Shaping Drop Cookies: Simple and Effective Techniques
- Shaping Rolled Cookies: Achieving Uniform Thickness and Clean Cuts
- Shaping Molded Cookies: Using Cookie Molds for Intricate Designs
- Shaping Slice-and-Bake Cookies: Perfect Rounds Every Time
- Shaping Thumbprint Cookies: Creating the Perfect Indentation
- Troubleshooting Common Cookie Shaping Problems
- Tips for Consistent and Professional-Looking Cookies
- Adding Finishing Touches to Shaped Cookies
- Storing Your Beautifully Shaped Classic Cookies
- Conclusion: Mastering Easy Classic Cookie Shaping with BakeWithEase
-
Frequently Asked Questions
- How important is chilling the dough before shaping cookies?
- What are some easy tools I can use for shaping cookies if I don't have fancy equipment?
- How can I prevent my cookie dough from sticking to the rolling pin or surface?
- What's the best way to achieve consistent cookie sizes?
- Can I re-roll cookie dough scraps, and will it affect the final product?
- Final Reflection: The Enduring Charm of Perfectly Shaped Cookies
- Unleash Your Inner Baker: Craft Perfect Cookies Today!
While the aroma and flavor of freshly baked cookies are undeniably paramount, the visual appeal plays a significant role in the overall baking experience. A batch of uniformly shaped cookies, whether they are perfectly round drop cookies or intricately cut shapes, simply looks more inviting and professional. This attention to form isn't just about aesthetics; it also contributes to consistent baking results, as similarly sized and shaped cookies bake more evenly, preventing some from burning while others are underdone.
Mastering easy classic cookie shaping tips allows you to elevate your home baking from simple treats to impressive delights. Think about a plate of perfectly round chocolate chip cookies compared to a plate where each cookie is a different size and thickness – the former immediately suggests care and skill. This consistency in shape ensures that every bite delivers a similar texture and doneness, enhancing the eating experience for you and anyone you share them with. It's a fundamental skill that builds confidence and makes the process of baking classic cookies even more rewarding.
Welcome to BakeWithEase, your friendly companion on the journey to mastering baking, starting with easy classic cookie shaping tips. We understand that for beginners, achieving those picture-perfect cookie shapes can sometimes feel daunting. That's why we've put together this comprehensive guide, breaking down the process into simple, manageable steps that anyone can follow, regardless of their previous baking experience.
At BakeWithEase, we believe that baking should be enjoyable and accessible. This article focuses on practical, easy classic cookie shaping tips for the most common types of classic cookies, providing you with the foundational knowledge and techniques needed to create beautiful results every time. We'll cover everything from preparing your dough correctly to using the right tools and troubleshooting common issues, ensuring your path to perfectly shaped cookies is smooth and successful.
Getting started with shaping classic cookies doesn't require a vast collection of gadgets. A few essential tools will cover most basic techniques. A reliable rolling pin is crucial for rolled cookies like sugar cookies or gingerbread, allowing you to achieve an even thickness across the dough. Simple cookie cutters in various shapes (circles, squares, stars) are also fundamental for transforming rolled dough into defined forms.
For drop cookies, such as classic chocolate chip or oatmeal, a cookie scoop is invaluable. Using a scoop ensures each cookie is the same size, which is key for even baking. Common sizes range from 1 tablespoon for smaller cookies up to 3 tablespoons for larger ones. Finally, a sturdy spatula is essential for transferring shaped cookies from your work surface to the baking sheet and then from the sheet to a cooling rack without distorting their shape.
While not strictly necessary, several tools can make the process of shaping classic cookies even easier and more efficient, especially for beginners looking to refine their techniques. Silicone baking mats, placed on your baking sheets, provide a non-stick surface that helps maintain cookie shape during baking and prevents sticking. They also offer a slightly cushioned surface for rolling dough evenly.
Rolling pin guides or rings that fit onto the ends of your rolling pin are excellent for ensuring uniform dough thickness, typically available in sizes like 1/8 inch or 1/4 inch. For molded cookies, specific cookie molds are required, often made of wood, ceramic, or silicone, featuring intricate designs. Lastly, a bench scraper or pastry blender can be helpful for dividing dough or cleaning your work surface, further assisting in maintaining a tidy and efficient shaping process.
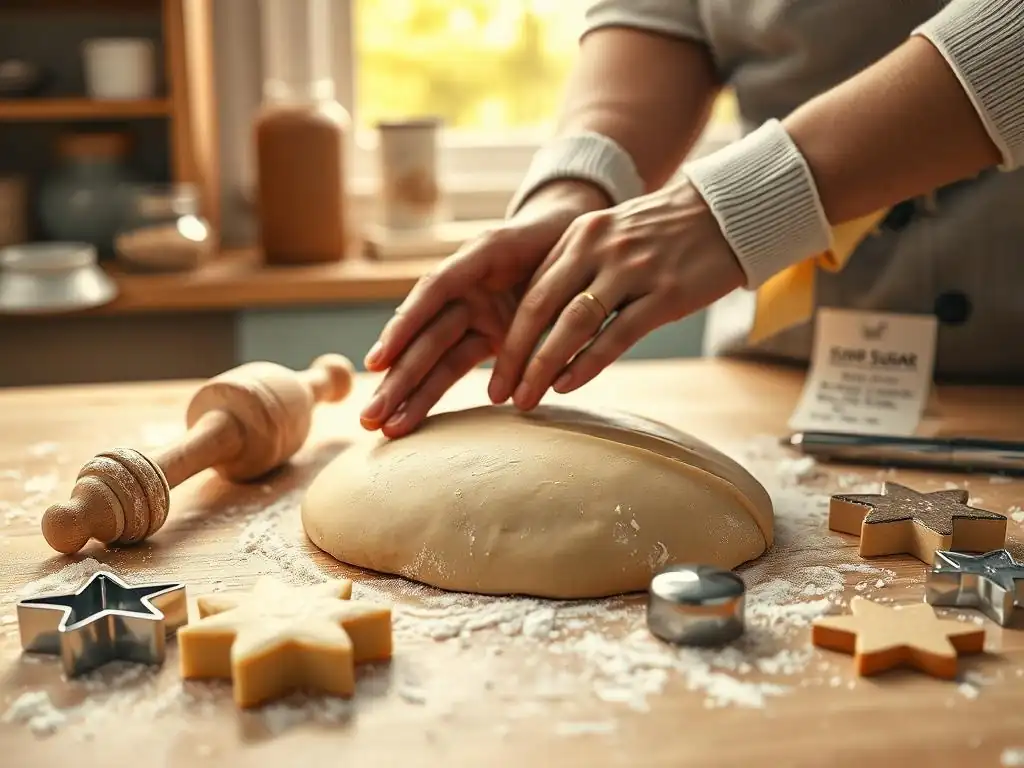
Achieving the Right Dough Consistency for Easy Shaping
The texture and consistency of your cookie dough are perhaps the most critical factors influencing how easily and successfully you can shape your classic cookies. Dough that is too sticky will cling to your hands, tools, and surfaces, making clean shaping nearly impossible. Conversely, dough that is too dry will be crumbly and difficult to form without cracking or falling apart. The ideal dough should be pliable, relatively smooth, and hold its shape when pressed or rolled.
Achieving this consistency often depends on the balance of ingredients, particularly the flour-to-fat ratio and the temperature of your butter. Using softened, but not melted, butter is usually key for creaming with sugar, which incorporates air for texture. Adding flour gradually until the dough just comes together without being sticky is essential. If your dough feels too dry, a tiny splash of milk or an extra egg yolk can sometimes help bring it together, while a dusting of flour on your surface can combat slight stickiness during shaping.
Chilling cookie dough is a non-negotiable step for many classic cookie recipes, especially those that are rolled, molded, or slice-and-bake. This process solidifies the fat (butter) in the dough, making it much firmer and easier to handle. Cold dough is less likely to stick to your rolling pin or cutters and holds intricate shapes much better before baking. For drop cookies, chilling helps prevent excessive spreading in the oven, leading to thicker, chewier results.
A typical chilling time is anywhere from 30 minutes to 2 hours in the refrigerator. For some doughs, like slice-and-bake logs or dough for very intricate molds, chilling overnight can yield even better results. This firming period allows the gluten in the flour to relax and the flavors to meld, contributing not only to better shape retention but also to improved texture and taste. Don't skip this step if your recipe calls for it; it's an easy classic cookie shaping tip that makes a significant difference.
Drop cookies are arguably the easiest classic cookies to shape, making them perfect for beginners. The most common method involves using two spoons to scoop and push mounds of dough onto the baking sheet. Scoop a rounded portion with one spoon, then use the other spoon to gently push the dough onto the prepared baking sheet, leaving ample space between cookies (usually about 2 inches, depending on the recipe's spread).
For greater uniformity and ease, a cookie scoop is the preferred tool. Simply dip the scoop into the dough, level off the excess against the side of the bowl, and release the dough onto the baking sheet. This ensures consistent size, leading to more even baking times across the batch. Gently pressing the tops of the scooped dough mounds slightly can also help them spread more evenly as they bake.
Shaping rolled cookies like classic sugar cookies or gingerbread requires a bit more precision than drop cookies, but it's still an accessible process with the right technique. Start with chilled dough. Lightly flour your work surface and rolling pin, or roll the dough between two sheets of parchment paper to prevent sticking – the parchment method minimizes the need for extra flour, which can toughen cookies.
Roll the dough evenly from the center outwards, rotating the dough or parchment occasionally to prevent sticking and ensure uniform thickness. Aim for a thickness specified in your recipe, typically between 1/4 inch and 1/2 inch. Once rolled, use your desired cookie cutters to press straight down firmly, avoiding wiggling the cutter. Carefully lift the cut shapes using a thin spatula and transfer them to your prepared baking sheet, re-rolling scraps as needed.
Molded cookies, like traditional shortbread or springerle, rely on pressing dough into patterned molds to create decorative shapes. This technique works best with firm, often less sweet, doughs that hold intricate details well. The key is to get the dough into the mold completely and evenly without trapping air bubbles, which can obscure the design.
Typically, you'll press a piece of dough firmly into the mold, ensuring it fills all the crevices. Some recipes suggest rolling the dough slightly thicker than the mold's depth and then pressing the mold onto the dough. Excess dough is then scraped away from the back of the mold using a straight edge, leaving a clean, level surface. The shaped cookie is then carefully released from the mold onto the baking sheet.
Preparing the Cookie Molds for a Flawless Impression
Proper preparation of your cookie molds is essential for ensuring the dough releases cleanly and captures the intricate details of the design. For wooden molds, which can be prone to sticking, dusting the mold generously with flour, powdered sugar, or a mix of both is a common practice. Tap out any excess powder from the mold before pressing the dough in, leaving just a fine coating in the crevices.
Another effective technique, particularly for non-stick or silicone molds, is to lightly grease the mold with a neutral oil or melted butter and then dust with flour or powdered sugar, again tapping out the excess. For some doughs, especially those with high butter content, chilling the mold itself before pressing the dough can also help facilitate a clean release of the beautifully shaped classic cookies.
Slice-and-bake cookies are known for their convenience and consistently round shape, making them an easy classic cookie shaping method. This technique involves forming chilled dough into logs, which are then sliced into individual cookies. Start by gathering your dough, which should be firm from chilling (at least 1-2 hours is usually sufficient).
On a clean surface, shape the dough into one or more uniform logs using your hands, aiming for a consistent diameter along the entire length. Wrap the logs tightly in plastic wrap or parchment paper, twisting the ends to secure. Chill the logs until they are very firm, which might take another 1-2 hours or longer. When ready to bake, unwrap a log and use a sharp knife to slice uniform rounds, typically 1/4 to 1/2 inch thick, placing them directly onto the baking sheet.
Thumbprint cookies are a simple and charming classic that involves shaping dough into small balls and then creating an indentation in the center before baking, which is later filled with jam, chocolate, or other fillings. Start with a soft but not sticky dough, often a simple butter cookie base. Roll portions of the dough into small, uniform balls, usually about 1 inch in diameter.
Place the balls on your prepared baking sheet, spaced about 2 inches apart. Use your thumb or the back of a small spoon (like a 1/2 teaspoon measuring spoon) to gently press an indentation into the center of each ball. Be careful not to press all the way through to the baking sheet. If the edges crack, gently press them back together. This indentation will hold your delicious filling after the cookies have slightly cooled or are fully baked, depending on the recipe.
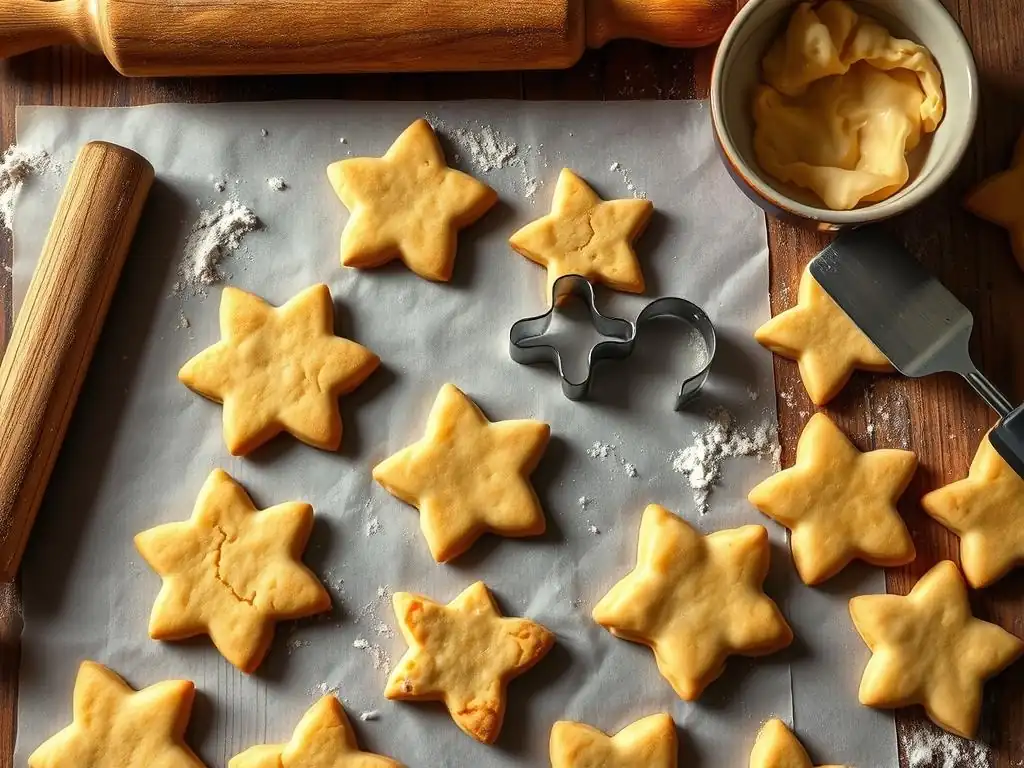
Dough Too Sticky: Solutions for Easier Handling
One of the most common challenges when shaping classic cookies is dealing with dough that is too sticky to handle cleanly. This often occurs if the dough is too warm, contains too much liquid or fat relative to flour, or hasn't been chilled sufficiently. The simplest fix is often chilling the dough for an extended period, perhaps another 30 minutes to an hour in the refrigerator, allowing the fats to firm up.
If chilling isn't enough, you can try adding a small amount of flour, one tablespoon at a time, mixing it in gently until the dough is less sticky but still pliable. Avoid adding too much, as this can result in tough cookies. Working on a lightly floured surface or between sheets of parchment paper can also significantly reduce stickiness during rolling or shaping, making the process much more manageable.
Dough Too Dry: Adding Moisture for Better Shaping
Dough that is too dry and crumbly can be just as frustrating as sticky dough, making it difficult to form shapes without them breaking apart. Dryness can result from adding too much flour, not enough liquid or fat, or overmixing the dough. If your dough crumbles when you try to roll or shape it, it needs a little extra moisture.
Try adding a very small amount of liquid, such as a teaspoon of milk, cream, or even just a few drops of water, and gently knead it into the dough until it becomes pliable. For richer doughs, a tiny bit of softened butter or an extra egg yolk can also add needed moisture and bind the dough together. Add liquid cautiously, just a bit at a time, until the dough holds together without being sticky.
Cookies that spread excessively in the oven, losing their intended shape and becoming thin and flat, are a frequent issue. This problem is often linked to warm dough, too much butter (especially if it's melted or overly soft), insufficient flour, or an oven temperature that is too low. Proper chilling is your first line of defense – ensuring the dough is firm before it goes into the hot oven helps the cookies set before the fat melts completely.
Ensure your butter is softened but not melted when creaming. Measure your flour accurately, as too little can lead to excessive spread. If the problem persists, try increasing the flour amount by a tablespoon or two in future batches. Baking on a cooler baking sheet (not one that just came out of the oven) can also help control spread. These easy classic cookie shaping tips focus on temperature and ingredient balance.
Achieving consistent, even cookie shapes is key to a professional-looking batch and ensures uniform baking. Uneven shapes can result from inconsistent dough thickness (when rolling), using varying amounts of dough (when dropping or rolling balls), or inconsistent pressure (when molding). For drop cookies, using a cookie scoop of a specific size (e.g., a 2-tablespoon scoop for standard cookies) is the easiest way to ensure each portion of dough is the same.
When rolling dough for cut-out cookies, use rolling pin guides or aim for a consistent thickness across the entire sheet of dough, perhaps 1/4 inch for standard cut-outs. For molded cookies, ensure you press the dough firmly and evenly into every part of the mold. Taking a moment to ensure each cookie is roughly the same size and shape before baking makes a significant difference in the final appearance and bake time.
As mentioned earlier, a cookie scoop is an indispensable tool for achieving uniform size in drop cookies like chocolate chip, oatmeal, or peanut butter cookies. Scoops come in various sizes, typically measured by volume (e.g., 1, 2, or 3 tablespoons) or by the number of scoops per quart (#20, #30, #40, etc.). Using the same scoop for every cookie ensures that each dough portion is virtually identical in volume.
This consistency in size directly translates to consistency in baking time. When all cookies on a sheet are the same size, they are far more likely to finish baking at the same moment, preventing some from being overdone while others are still raw in the center. Beyond the practical benefit of even baking, using a scoop results in a batch of cookies that look beautifully uniform, adding to their appeal. It's a simple yet highly effective easy classic cookie shaping tip.
Rolling Dough Evenly for Consistent Thickness
Achieving uniform thickness when rolling dough is crucial for cookies that bake evenly and have a consistent texture. Whether you're making classic cut-out sugar cookies or gingerbread, dough that is thicker in some spots than others will result in some cookies being underbaked while others are crisp or even burnt. The goal is to roll the dough to the thickness specified in your recipe (commonly 1/4 inch).
Using rolling pin guides or rings is the simplest way to guarantee even thickness. These adjustable rings fit onto the ends of your rolling pin and prevent the dough from being rolled thinner than the chosen setting. Alternatively, you can use two wooden dowels or rulers of the desired thickness placed parallel to each other on your work surface as guides for your rolling pin. Roll from the center of the dough outwards, turning the dough periodically to ensure even rolling.
Even the most perfectly shaped cookies can bake unevenly if your oven has hot spots, which is very common in home ovens. One side or corner of your baking sheet might be closer to a heating element or experience more circulating hot air than another. This can lead to cookies on one part of the sheet browning faster than those elsewhere.
To combat this and ensure all your beautifully shaped classic cookies bake evenly, make it a habit to rotate your cookie sheets halfway through the baking time specified in the recipe. Simply open the oven door (as quickly as possible to minimize heat loss), carefully turn the baking sheet 180 degrees, and close the door. This exposes all parts of the sheet and all the cookies to different areas of the oven, promoting a more consistent bake.

Once your beautifully shaped classic cookies are baked and cooled, adding decorations can transform them from simple treats into edible works of art. Even beginner-friendly techniques can significantly enhance their visual appeal. Simple dusting with powdered sugar over a stencil can create elegant patterns on shortbread or sugar cookies. Dipping half of a cookie in melted chocolate is another easy way to add flavor and visual interest.
For rolled cookies, a simple flood icing (a thin royal icing) can cover the surface smoothly, providing a base for sprinkles, edible glitter, or further detail work once it sets. Using different colors of icing can make a batch vibrant and festive. Even just pressing coarse sugar or sprinkles onto the dough before baking can add a lovely sparkle and texture to your finished cookies.
Glazes and icings are classic ways to finish shaped cookies, offering both flavor and a smooth, decorative surface. A simple glaze made from powdered sugar and a liquid (like milk, lemon juice, or water) is easy to whisk together and can be drizzled or spread thinly over cookies. For more defined decoration, royal icing or buttercream can be piped onto cookies using pastry bags and tips to create borders, patterns, or cover the entire surface.
Sprinkles are an effortless way to add color and fun to cookies. They can be added to wet icing or glaze, pressed into the dough before baking (especially coarse sugars), or scattered over melted chocolate dips. Combining different types of sprinkles – jimmies, nonpareils, sanding sugar – can create varied textures and looks. Elevating your cookie presentation with these simple additions makes your beautifully shaped classic cookies even more delightful.
Proper Storage Methods to Maintain Freshness
Proper storage is key to keeping your beautifully shaped classic cookies fresh, maintaining their texture and flavor for as long as possible. Most baked cookies should be stored in an airtight container at room temperature. Ensure the cookies are completely cooled before storing them, as trapping warmth can create condensation and make them soggy.
If you're storing different types of cookies together, especially those with strong flavors (like gingerbread or peppermint), it's best to store them separately to prevent flavors from mingling. Layering cookies with parchment or wax paper can prevent them from sticking together or decorations from smudging. For longer storage, many types of baked cookies can be frozen in airtight containers or freezer bags for up to 3-4 weeks.
Sharing your beautifully shaped classic cookies is one of the joys of baking, and thoughtful packaging adds an extra touch of care. For gifting, consider using decorative tins, boxes, or cellophane bags tied with ribbon. Layering cookies with parchment or tissue paper prevents them from breaking or sticking together during transport, preserving their perfect shapes.
For a rustic look, stack cookies in mason jars. For delicate or decorated cookies, using cupcake liners or small paper dividers within a box can protect individual shapes and designs. Always ensure the cookies are fully cooled before packaging. Presenting your easy classic cookie shaping efforts in attractive packaging makes them an even more welcome gift or contribution to any gathering.
Mastering easy classic cookie shaping tips is an achievable goal for any home baker, transforming simple ingredients into delightful, visually appealing treats. We've covered the importance of dough consistency and temperature, stressing the crucial step of chilling dough for better handling and shape retention. Essential tools like cookie scoops and rolling pins were highlighted as key aids in achieving uniformity.
We walked through specific techniques for popular classic cookies – dropping, rolling, molding, slicing, and creating thumbprints – offering practical advice for each. Troubleshooting common issues like sticky or dry dough and excessive spreading equips you to handle challenges confidently. Finally, tips on using scoops, rolling evenly, and rotating sheets, along with simple decorating and proper storage, provide a comprehensive guide to creating beautiful, consistent cookies every time.
Further Baking Resources on BakeWithEase.com
This guide to easy classic cookie shaping tips is just the beginning of your baking adventure with BakeWithEase. Our website is filled with resources designed to help bakers of all levels succeed. Explore our extensive collection of classic cookie recipes, featuring step-by-step instructions tailored for beginners. Learn more about essential baking techniques beyond shaping, such as creaming butter and sugar or understanding different types of flour.
Dive into our articles on ingredient science, oven calibration, and decorating ideas to further refine your skills. Whether you're looking for your next baking project or seeking solutions to common baking problems, BakeWithEase.com is here to support you. Continue exploring our site to build your baking confidence and create even more delicious and beautifully shaped classic cookies.
Frequently Asked Questions
Chilling the dough is extremely important for preventing cookies from spreading too much during baking. It allows the fats to solidify, resulting in a more defined shape.
You can use everyday items like spoons, forks, and drinking glasses for creating simple cookie shapes. A rolling pin and cookie cutters are also affordable and versatile options.
Lightly flour your rolling pin and work surface before rolling out the dough. You can also try using parchment paper between the dough and the surface.
Using a cookie scoop or measuring spoons is the easiest way to ensure uniform size. Consistent sizing allows for even baking and a more professional look.
Yes, you can re-roll scraps, but the texture might be slightly tougher. To minimize this, chill the scraps before re-rolling and avoid overworking the dough.
The seemingly simple act of shaping a cookie holds a surprising power; it's a gateway to expressing creativity, connecting with tradition, and ultimately, enhancing the joy of baking and sharing. From the perfectly round sugar cookie to the elegant swirl of a snickerdoodle, the shape of a cookie profoundly impacts its visual appeal and the overall baking experience. This isn't just about aesthetics; it's about taking ownership of the process and elevating a beloved treat to something truly special.
The influence of perfectly shaped cookies extends far beyond the kitchen table. They evoke memories of childhood, family gatherings, and the comforting rituals of home baking. A cookie is a little bit of happiness you can hold in your hand.
This sentiment perfectly captures the emotional resonance of these seemingly simple treats, and the care taken in their shaping amplifies that feeling. The act of carefully forming each cookie becomes a meditative practice, a mindful connection to the process and the people who will enjoy the final product.
Now, consider your own baking journey. What shapes resonate most with you? What memories are stirred by a particular cookie's form? I encourage you to experiment with the techniques outlined in this article, to find your own rhythm and style in shaping cookies. Don't be afraid to get creative, to deviate from the norm, and to discover the unique joy that comes from crafting your own perfectly imperfect, beautifully shaped cookies. Let the simple act of shaping become a celebration of the baking process itself.
Thanks for taking the time to explore the art of classic cookie baking! We hope you’ve discovered some new techniques to elevate your baking game. Ready to put your newfound skills to the test?
- Bake a batch of your favorite cookies using the tips you just learned! Let’s see those perfectly shaped, golden-brown beauties.
- Share your baking journey with us on social media – we’d love to see your creations! Use #BakeWithEase.
- Consider experimenting with a new cookie recipe – perhaps one you've always been curious about.
What unique twist will you add to your next batch of cookies?