
BakeWithEase Tips for Perfect Choux Every Time

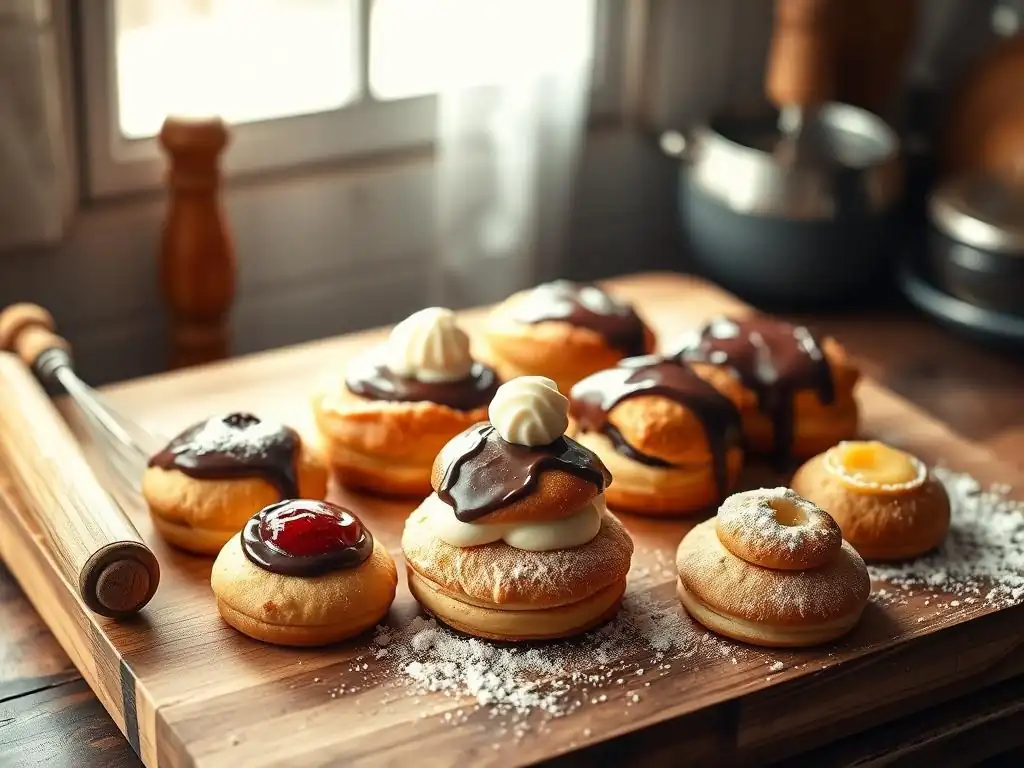
Welcome to BakeWithEase, where unlocking your inner baker is simple! Ever dream of crafting light-as-air éclairs or perfectly puffed cream puffs? This week, we're diving deep into the secrets behind a flawless choux. Discover our perfect choux pastry recipe – a game-changer for intermediate bakers eager to elevate their skills. Ready to banish soggy bottoms and embrace pastry perfection? Let's get baking!
- Mastering Choux Pastry: Expert Tips for Light and Airy Creations
- Achieving Perfect Choux Pastry: Essential Techniques for Home Bakers
- Step-by-Step Guide to Perfect Choux Pastry
- Avoiding Common Choux Pastry Mistakes: A Troubleshooting Guide
- Creative Choux Pastry Variations and Fillings
- Storing Your Perfect Choux Pastry: Expert Advice
- Pro Tips for Advanced Choux Pastry Baking
- Conclusion: Your Journey to Perfect Choux Pastry
- Frequently Asked Questions
- Final Reflection: The Enduring Allure of the Perfect Choux
- Unlock Your Inner Pâtissier: Master Choux Pastry Today!
Mastering Choux Pastry: Expert Tips for Light and Airy Creations
Achieving Perfect Choux Pastry: Essential Techniques for Home Bakers
Baking choux pastry, also known as pâte à choux, might seem intimidating at first glance, but with a solid understanding of the fundamental techniques, you can consistently create light, airy, and hollow shells perfect for filling. This versatile dough is the base for beloved treats like éclairs, profiteroles, and gougères.
The magic lies in a simple combination of water (or milk), butter, flour, and eggs, cooked twice – first on the stovetop, then in the oven – to create steam that puffs the dough dramatically. Achieving a perfect choux pastry recipe relies on precision and attention to detail throughout the process.
The key to success with choux pastry is developing a strong structure on the stovetop before the dough even sees the oven. This structure, created by cooking the flour and liquid together into a thick paste called a panade, is what traps the steam during baking. Mastering the panade and incorporating the right amount of egg are critical steps that differentiate a flat, sad dough from beautifully puffed shells. By following proven methods and understanding the science behind each stage, you'll be well on your way to baking perfect choux every time.
Understanding the Fundamentals of Choux Dough for Baking Success
The foundation of any perfect choux pastry recipe is the initial cooking phase on the stovetop. Here, butter and liquid (usually water or a mix of water and milk) are brought to a boil, then flour is added all at once. This mixture is vigorously stirred over medium heat until it forms a cohesive ball of dough that pulls away from the sides of the pan and leaves a thin film on the bottom. This process, known as making the panade, gelatinizes the starch in the flour, creating a stable matrix capable of holding a significant amount of moisture.
Cooking the panade for a minute or two after it forms a ball is essential. This helps to dry out the dough slightly, making it ready to absorb the eggs. A well-cooked panade is firm and pulls away cleanly. If the panade is too wet, the final dough will be too loose, making it difficult to pipe and potentially leading to less rise in the oven. Conversely, an undercooked panade won't develop the necessary structure to support the steam expansion. Aim for a dough that feels smooth and slightly sticky but holds its shape.
Key Ingredients for a Flawless Choux Pastry Recipe
Selecting the right ingredients is paramount for a flawless choux pastry recipe. Each component plays a specific role in the final texture, structure, and flavor of the baked shells. While the ingredient list is simple, the quality and type of each item can significantly impact your results, contributing to the lightness and hollow interior characteristic of perfect choux.
Using the correct proportions and ensuring your ingredients are at the right temperature (particularly the eggs) are crucial. Cold eggs, for example, can cool the warm panade too quickly, making it harder to achieve the desired consistency. Room temperature eggs incorporate more smoothly and evenly into the dough. Paying attention to these details sets the stage for a successful baking experience and helps ensure your choux pastry is consistently perfect.
The Importance of High-Gluten Flour in Choux
High-gluten flour, typically all-purpose flour or bread flour, is preferred for a perfect choux pastry recipe because of its protein content. When the flour is cooked with the liquid and butter, the gluten develops, creating a strong, elastic network. This network is vital for trapping the steam generated during baking. As the water in the dough turns to steam in the hot oven, it expands rapidly. The strong gluten structure provides the necessary support for the dough to puff up dramatically without collapsing.
Using a low-protein flour, such as cake flour, might result in a more tender crumb, but it often lacks the structural integrity needed for maximum rise and a stable, hollow interior. The gluten framework acts like a balloon, inflating with steam. A stronger balloon (from high-gluten flour) can expand more and hold its shape better as it bakes and cools. Aim for an all-purpose flour with a protein content around 10-12% for reliable results in your choux pastry.
Why Use Unsalted Butter for the Best Choux Pastry?
Unsalted butter is the standard choice for almost all baking, including a perfect choux pastry recipe, primarily because it gives the baker control over the salt content. Different brands of salted butter can vary significantly in their salt levels, making it difficult to achieve consistent results. Using unsalted butter allows you to add the precise amount of salt needed for flavor balance without worrying about over-salting the dough or having unpredictable outcomes.
Beyond salt control, butter provides richness and contributes to the tenderness of the choux shell. It also contains water, which turns to steam during baking, aiding in the leavening process. Using high-quality unsalted butter ensures pure butterfat, contributing positively to the texture and flavor of your finished choux creations. A typical recipe might call for around 1/2 cup (113g) of unsalted butter for a batch yielding 12-15 medium éclairs or profiteroles.
The Role of Eggs in Achieving Perfect Choux Texture
Eggs are perhaps the most critical ingredient in achieving the signature light, airy, and hollow interior of a perfect choux pastry. Added after the panade has cooled slightly, eggs emulsify the fat and water, enrich the dough, and, most importantly, provide the primary leavening agent. The protein in the eggs coagulates during baking, setting the structure, while the moisture in the eggs turns to steam, causing the dough to puff.
Adding the eggs one at a time, ensuring each is fully incorporated before adding the next, is crucial. The amount of egg needed can vary depending on the humidity, the type of flour used, and how much the panade was dried out. This is why recipes often give a range or instruct you to check for a specific consistency rather than just adding a fixed number of eggs. The correct consistency is key to a perfect choux pastry recipe that rises beautifully.
Step-by-Step Guide to Perfect Choux Pastry
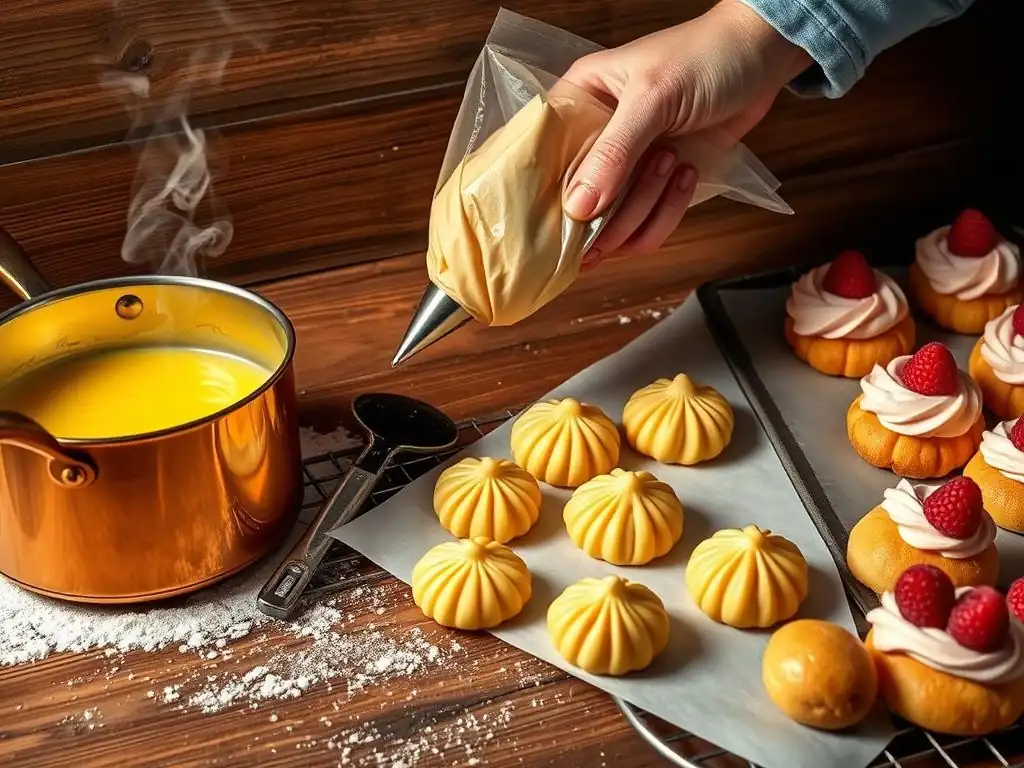
Mastering choux pastry is a matter of following a precise sequence of steps, each building upon the last. From preparing the initial dough on the stovetop to baking it to a golden crisp, attention to detail at every stage is vital. This guide breaks down the process into manageable steps, helping you navigate your way to consistently perfect choux pastry.
By focusing on the technique involved in each step, you gain a deeper understanding of how the ingredients interact and why certain things happen. This knowledge is invaluable for troubleshooting and adapting recipes. Whether you're making profiteroles, éclairs, or savory gougères, these fundamental steps form the basis for all choux pastry creations.
Step 1: Preparing the Panade - The Foundation of Your Choux
Begin by combining your liquid (water, milk, or a mix), unsalted butter cut into pieces, and a pinch of salt and sugar (if using) in a heavy-bottomed saucepan. Heat this mixture over medium heat, stirring occasionally, until the butter is completely melted and the liquid comes to a rolling boil. It's important that the liquid is boiling before adding the flour to ensure the starch gelatinizes properly and quickly.
Once boiling, remove the pan from the heat and add all the flour at once. Stir vigorously with a wooden spoon or heatproof spatula until the mixture comes together into a smooth ball. Return the pan to medium heat and continue to cook and stir the dough for 1-2 minutes. This step dries out the panade, evaporating excess moisture and developing that crucial thin film on the bottom of the pan.
The dough should look smooth and pull away cleanly from the sides. Transfer the panade to a large bowl or the bowl of a stand mixer and let it cool for 5-10 minutes until it's warm but not hot to the touch (around 140°F or 60°C). This prevents the eggs from scrambling when added.
Step 2: Incorporating Eggs for the Right Consistency
Adding the eggs is a critical stage that determines the final texture and ability of your choux to rise. With the panade slightly cooled, add the eggs one at a time. If using a stand mixer with a paddle attachment, mix on low speed until each egg is fully incorporated before adding the next. If mixing by hand, use a sturdy wooden spoon and beat vigorously. The dough will initially look broken or curdled after adding an egg, but keep mixing; it will smooth out.
The amount of egg is crucial. Too little egg results in a dense dough that won't puff properly, while too much egg makes the dough too loose, causing it to spread rather than hold its shape and rise poorly. You are looking for a specific consistency, often described as the "ribbon stage." This is typically achieved with 3-5 large eggs for a standard recipe using about 1 cup of flour. Stop adding eggs when the dough reaches the correct consistency, even if you haven't used all the eggs a recipe suggests, or if you need slightly more.
Visual Cues for Perfect Egg Incorporation
The "ribbon stage" is the key visual cue for perfect egg incorporation in your choux pastry dough. To test for this, lift your paddle or spoon out of the dough. The dough should fall back into the bowl in a thick, glossy ribbon or 'V' shape. This ribbon should hold its shape momentarily before slowly melting back into the mass.
Another test is to run your finger through the dough on the back of the spoon or paddle. The furrow should hold its shape without the dough immediately flowing back to fill it.
If the dough is too stiff and breaks off without forming a ribbon, you need to add a little more egg (start with just a tablespoon or two more, mixing thoroughly). If the dough is too runny and flows back instantly, unfortunately, it's over-egged and difficult to salvage for perfect choux shapes, though it might still be usable for something like craquelin topping or a very thin layer.
Troubleshooting Common Egg Incorporation Issues
One common issue is adding eggs too quickly or when the panade is too hot, leading to scrambled eggs within the dough. Ensure the panade has cooled sufficiently before adding the eggs. If using a stand mixer, start on low speed to prevent splattering and ensure gradual incorporation.
Another issue is misjudging the consistency. If your dough is too stiff after adding the recommended eggs, it won't rise well. Add a small amount more egg (a tablespoon at a time) until the ribbon stage is reached.
If the dough is too loose, it will spread during piping and baking. While difficult to fix completely, you can sometimes add a small amount of extra flour to the panade before adding eggs in future batches, or try baking the overly wet dough at a slightly higher initial temperature to encourage setting. The goal for a perfect choux pastry recipe is always that ideal ribbon consistency.
Step 3: Piping Techniques for Uniform Choux Shapes
Once your choux dough has reached the perfect consistency, it's ready to be piped. Piping helps create uniform shapes and sizes, which ensures even baking. Transfer the dough to a piping bag fitted with your desired tip. For standard profiteroles or gougères, a large round tip (like an Ateco 808 or 809) is ideal. For éclairs, a large open star tip (like an Ateco 826 or 827) or a large plain tip works well, giving them a classic shape.
Pipe the dough onto a baking sheet lined with parchment paper or a silicone baking mat. Hold the piping bag at a consistent angle (usually perpendicular for rounds, or slightly angled for éclairs) and apply even pressure. Stop piping just before you reach the desired size, then flick the bag away quickly to minimize peaks. Peaks can be smoothed down gently with a wet finger or the back of a wet spoon before baking. Uniformity is key to ensuring all your choux bake correctly and achieve that perfect choux pastry texture.
Choosing the Right Piping Tip for Different Choux Creations
The piping tip you choose depends on the final shape you want for your choux pastry. A large round tip (like a 1M or an 808/809) is versatile and perfect for piping classic rounds for profiteroles or cream puffs. It creates a nice, even dome that puffs up symmetrically.
For éclairs, a large star tip (like an 826 or 827) is traditional as it gives the éclair ridges that bake up crisp and provide a classic look. A large plain tip can also be used for a smoother éclair surface. If making smaller choux like chouquettes (sugar-topped choux puffs), a slightly smaller round tip might be used. Using a consistent tip size for a single batch is essential for even baking times.
Mastering Piping Bag Pressure for Consistent Results
Achieving uniform choux shapes relies heavily on mastering the pressure you apply to the piping bag. Squeeze from the top of the bag, using steady, even pressure to push the dough through the tip. Avoid squeezing from the middle or bottom, as this makes it harder to control the flow.
For round shapes, hold the bag perpendicular to the baking sheet and pipe mounds of even size. For éclairs, hold the bag at a slight angle and pipe straight lines of equal length. Practice makes perfect; if your first few shapes aren't ideal, you can scrape the dough back into the bag and try again. Consistent pressure ensures each choux puff is the same size and thickness, leading to even baking and contributing to a perfect choux pastry result.
Step 4: Baking Your Choux to Golden Perfection
Baking is where the magic truly happens with choux pastry. The high heat of the oven turns the moisture within the dough into steam, causing the shells to puff dramatically and create that essential hollow center. The baking process is typically done in two stages: an initial period at a higher temperature to create maximum steam and lift, followed by a longer period at a lower temperature to dry out and crisp the shells.
It is absolutely critical not to open the oven door during the first stage of baking, and ideally not at all until the choux are set and golden brown. Opening the door releases the steam and drops the temperature rapidly, which can cause the delicate, puffed shells to collapse. Patience during the baking process is key to achieving a perfect choux pastry that holds its shape and remains crisp.
Oven Temperature and Baking Time: The Keys to Success
A common approach for baking choux pastry involves starting the oven at a relatively high temperature, such as 400-425°F (200-220°C), for the first 10-15 minutes. This initial blast of heat creates a powerful burst of steam, maximizing the rise. After this initial period, the temperature is typically reduced to 350-375°F (175-190°C) for an additional 20-30 minutes (or longer, depending on size). This lower temperature allows the shells to dry out thoroughly and become crisp without burning.
Total baking time can range from 25 to 45 minutes, depending on the size of the choux. Smaller profiteroles might take 25-30 minutes, while larger éclairs or Paris-Brests could take 35-45 minutes. Some bakers also recommend propping the oven door open slightly with a wooden spoon for the last 5-10 minutes to allow steam to escape and further crisp the shells. This two-stage baking process is fundamental to achieving a perfect choux pastry with a crisp exterior and a dry, hollow interior ready for filling.
Recognizing When Your Choux Are Perfectly Baked
Knowing when your choux pastry is done baking is crucial to prevent collapse. Perfectly baked choux should be significantly puffed, golden brown all over (not just on top), and feel light and hollow when lifted. If they are pale or feel heavy, they likely need more time in the oven to dry out.
A good test is to take one choux puff out of the oven and let it sit for a minute. If it deflates, it needs more baking time. The shells should be firm and hold their shape.
Once baked, turn off the oven and, for extra crispness, you can leave the choux inside with the oven door propped open for another 5-10 minutes to cool down gradually. This slow cooling helps prevent the shells from collapsing as they adjust to room temperature. A well-baked choux pastry recipe yields shells that are sturdy enough to fill without becoming soggy too quickly.
Avoiding Common Choux Pastry Mistakes: A Troubleshooting Guide
Even experienced bakers encounter issues with choux pastry from time to time. Understanding the common pitfalls and how to avoid or fix them is essential for consistently achieving a perfect choux pastry recipe. Most problems stem from issues with the dough consistency, baking temperature, or baking time.
Don't be discouraged if your first attempt isn't perfect. Choux pastry requires a bit of practice to get a feel for the right dough consistency and baking cues. By learning from common mistakes, you'll improve with each batch and get closer to baking perfect choux every time.
Why Did My Choux Collapse? Troubleshooting Tips
Choux pastry collapsing is a common and frustrating issue, often indicating the shells were not baked long enough to fully dry out and set their structure. The steam inside, which caused them to puff, condenses upon cooling if the shell isn't firm enough to support itself, leading to deflation.
To avoid collapse, ensure your choux are deeply golden brown and feel very light. Don't rely solely on visual cues; they must be baked until the shell is truly dry. Extend the baking time at the lower temperature if necessary. Also, avoid opening the oven door during the first 15-20 minutes of baking. Sudden temperature drops can cause delicate structures to fall. Finally, consider leaving the baked choux in the turned-off oven with the door ajar for a few minutes to cool gradually, further helping to set the structure.
My Choux Didn't Rise Properly: What Went Wrong?
If your choux pastry didn't puff up as expected, several factors could be at play. One common reason is insufficient heat in the oven; the initial high temperature is crucial for generating enough steam for lift. Ensure your oven is accurately calibrated or use an oven thermometer.
Another frequent cause is the dough consistency being too stiff or too wet. If the panade wasn't cooked long enough, or too little egg was added, the dough might be too stiff to expand properly. Conversely, if too much egg was added, the dough might be too loose and spread out rather than puff up. Ensure your panade is cooked until a film forms and you achieve the correct ribbon consistency when adding eggs for a perfect choux pastry result.
Achieving the Ideal Hollow Center in Your Choux
The hallmark of a perfect choux pastry is a large, hollow cavity inside, ideal for filling. This hollow forms when the steam pushes the dough outwards during baking, and the structure sets before the steam dissipates entirely. If your choux are dense or have only small pockets inside, it's likely related to moisture and baking time.
Insufficient baking time, especially at the lower temperature stage, is a primary culprit for dense centers. The shells weren to dry out completely. They need enough time for the interior moisture to evaporate. Over-egged dough can also sometimes lead to a less hollow interior as it's heavier. Ensure you bake until the choux are very golden brown and feel light. Cutting one open after the minimum baking time can help you assess if the interior is dry and hollow; if not, return the rest to the oven.
Creative Choux Pastry Variations and Fillings
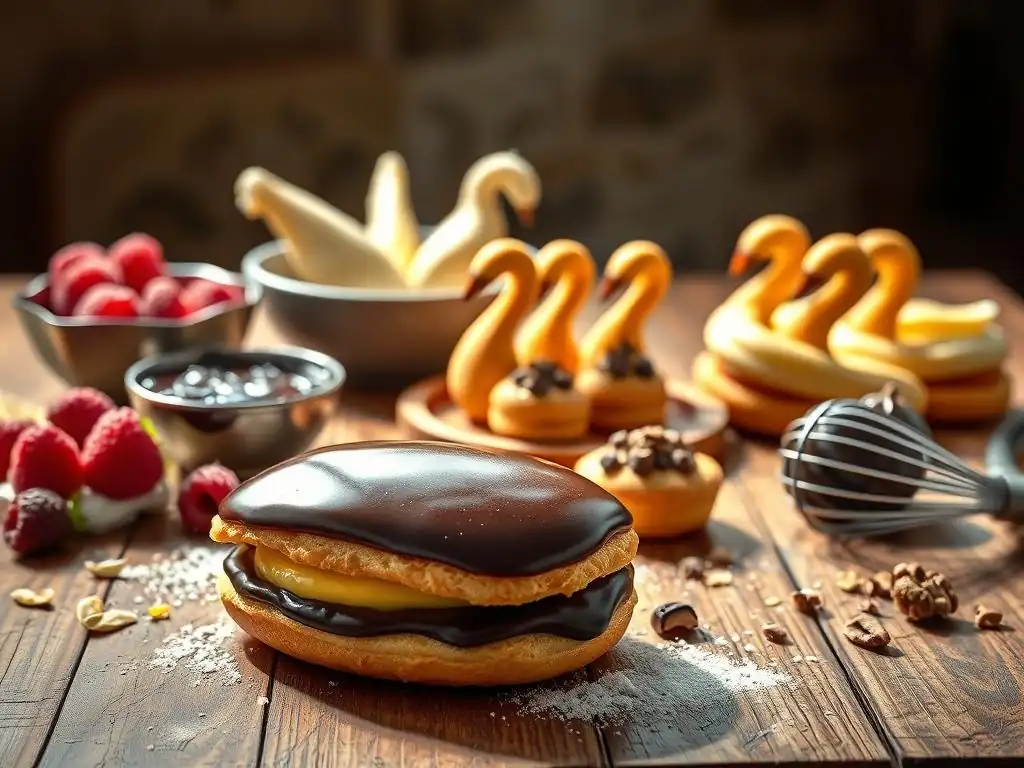
The beauty of a perfect choux pastry recipe lies in its versatility. Once you've mastered the basic shell, the possibilities for fillings and variations are nearly endless, ranging from classic sweet creams to savory applications. This allows you to transform a simple dough into impressive desserts or appetizers.
Experimenting with different shapes, toppings, and fillings keeps baking choux pastry exciting. From delicate chouquettes rolled in pearl sugar to elaborate croquembouches, the basic choux dough serves as a canvas for creativity. Don't be afraid to try new flavor combinations and presentations.
Exploring Savory Choux Pastry Options
Choux pastry isn't just for sweets! By omitting or reducing the sugar in the panade and perhaps adding cheese, herbs, or spices, you can create delicious savory choux. These are often called gougères when mixed with cheese, typically Gruyère or Parmesan.
Savory choux can be served warm as appetizers or a side dish. They pair wonderfully with soups, salads, or can be filled with savory mousses, smoked salmon cream cheese, or chicken salad. A simple savory choux pastry recipe might involve adding about 1/2 cup of grated cheese per standard batch of dough before piping and baking. Bake them until golden and crisp, just like sweet choux.
Delicious Sweet Filling Ideas for Your Choux Creations
The hollow interior of a perfect choux pastry is practically begging to be filled with something delicious. Classic fillings include pastry cream, whipped cream, or diplomat cream (pastry cream folded with whipped cream). Chocolate mousse, fruit curds, or even ice cream are also popular choices.
When filling choux, it's best to do so shortly before serving to prevent the shells from becoming soggy. You can either poke a small hole in the bottom or side of the choux and pipe the filling in, or slice the choux in half horizontally and spoon the filling inside. The choice of filling can dramatically change the character of your perfect choux pastry dessert.
Classic Crème Pâtissière Recipe for Choux Filling
Crème Pâtissière, or classic pastry cream, is a staple filling for choux pastries. It's a thick, rich custard made from milk, sugar, egg yolks, cornstarch (or flour), and vanilla.
Here's a basic outline for a batch sufficient for about 15-20 choux:
- Heat 2 cups (475ml) milk with 1/2 cup (100g) sugar and a vanilla bean split lengthwise (or 1 tsp vanilla extract added later) until simmering.
- In a separate bowl, whisk together 4 large egg yolks with 1/4 cup (50g) sugar until pale.
- Whisk in 1/4 cup (30g) cornstarch (or 1/3 cup flour) until smooth.
- Temper the egg mixture by slowly whisking about half of the hot milk into it.
- Pour the tempered egg mixture back into the saucepan with the remaining milk.
- Cook over medium heat, whisking constantly, until the mixture thickens considerably and comes to a gentle boil. Boil for 1 minute while whisking to ensure the starch is cooked.
- Remove from heat, stir in 2 tablespoons (30g) unsalted butter and vanilla extract (if using).
- Strain the pastry cream through a fine-mesh sieve into a clean bowl.
- Press plastic wrap directly onto the surface to prevent a skin from forming.
- Chill completely before using to fill your perfect choux pastry.
Chocolate Pastry Cream Recipe
A decadent variation on classic pastry cream is chocolate pastry cream. This involves adding chocolate to the hot pastry cream base.
Follow the classic crème pâtissière recipe as above. Once the pastry cream has thickened and boiled for 1 minute, remove it from the heat. Stir in 4-6 ounces (115-170g) of finely chopped good quality dark or semi-sweet chocolate until completely melted and smooth. You can also add 1-2 tablespoons of butter at this stage for extra richness and shine. Strain, cover with plastic wrap directly on the surface, and chill thoroughly before filling your perfect choux pastry shells. The amount of chocolate can be adjusted based on your preference for intensity.
Decorating Your Choux: From Simple to Stunning
Once your choux pastries are baked and filled, decoration adds the final touch. Simple decorations can be just a dusting of powdered sugar or a drizzle of melted chocolate. For éclairs, a classic chocolate glaze or fondant icing is traditional.
More elaborate decorations can include dipping the tops in tempered chocolate and adding sprinkles or chopped nuts, piping rosettes of whipped cream, or adding fresh fruit. Savory gougères can be topped with extra grated cheese before baking or sprinkled with herbs like chives or rosemary. The decoration is a chance to be creative and make your perfect choux pastry creations visually appealing.
Storing Your Perfect Choux Pastry: Expert Advice
Proper storage is key to maintaining the crispness of your choux pastry shells. Because they are designed to be light and airy, they can absorb moisture from the air and become soggy if not stored correctly. How you store them depends on whether they are filled or unfilled.
Planning ahead and baking the shells in advance can be a great time-saver, provided you store them properly. This allows you to focus on preparing fillings and decorations closer to serving time, ensuring your perfect choux pastry is enjoyed at its best.
Best Practices for Storing Unfilled Choux
Unfilled choux pastry shells are best stored at room temperature in an airtight container after they have completely cooled. Ensure they are fully cooled before placing them in the container; otherwise, residual heat will create condensation, making them soggy.
For longer storage, unfilled choux can be frozen. Once completely cooled, place them in a single layer on a baking sheet and freeze until solid. Then, transfer them to a freezer-safe bag or container. They can be stored in the freezer for up to 1-2 months. To re-crisp frozen choux, place them directly from the freezer onto a baking sheet and bake in a preheated oven at 350°F (175°C) for 5-10 minutes until crisp again. This method helps preserve the texture of your perfect choux pastry shells.
How to Store Filled Choux Pastries
Filled choux pastries, especially those filled with dairy-based creams like pastry cream or whipped cream, must be stored in the refrigerator due to the perishable nature of the filling. Place them in a single layer in an airtight container.
Be aware that the moisture from the filling will gradually migrate into the choux shell over time, causing it to soften. Filled choux are best enjoyed within 1-2 days of filling for optimal texture, though they may be safe to eat for slightly longer depending on the filling. Freezing filled choux is generally not recommended as the texture of both the shell and the filling can degrade significantly upon thawing. Aim to fill your perfect choux pastry shells as close to serving time as possible.
Pro Tips for Advanced Choux Pastry Baking
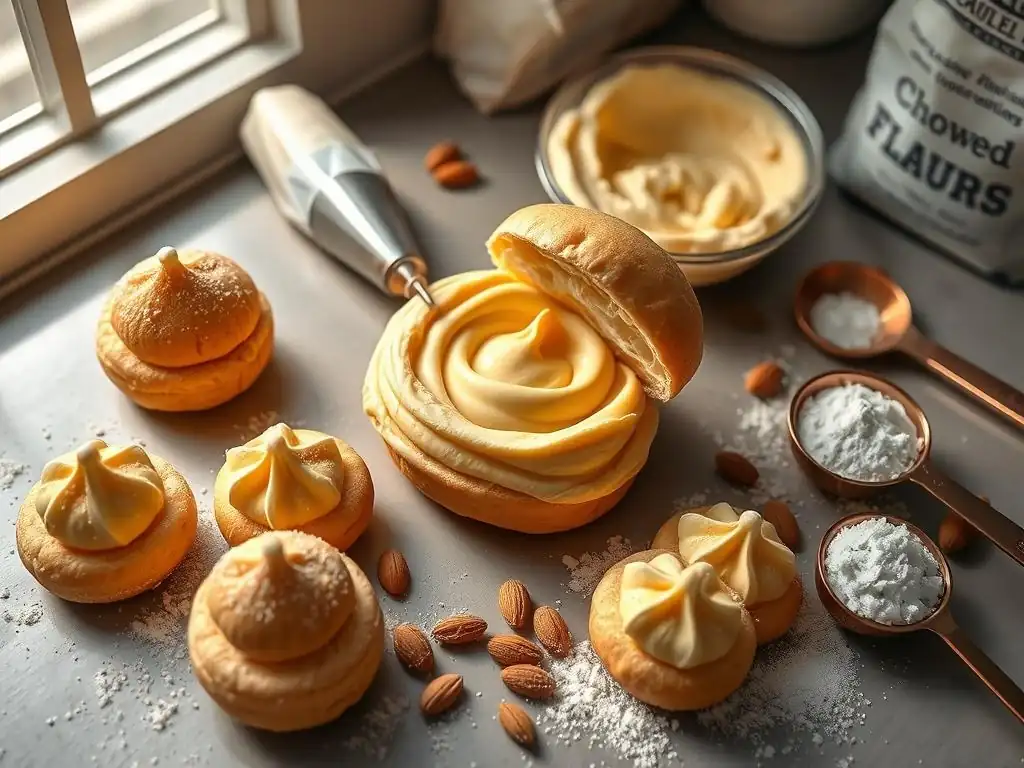
Once you've mastered the basics of a perfect choux pastry recipe, you might want to explore advanced techniques and variations to elevate your baking. These tips can add extra flavor, texture, and visual appeal to your choux creations, taking them to the next level.
Experimenting with different ingredients and methods can lead to exciting new results. Don't be afraid to deviate slightly from the standard recipe once you understand the underlying principles, pushing the boundaries of what a perfect choux pastry can be.
Adding Flavor Extracts and Zests to Your Choux
While classic choux pastry has a relatively neutral flavor, you can infuse it with subtle hints of flavor by adding extracts or zests to the panade or the eggs. A touch of vanilla extract, almond extract, or even a citrus zest like lemon or orange can add a lovely dimension that complements your chosen filling.
Add extracts or zests when incorporating the eggs. For a standard batch, a teaspoon of extract or the zest of half a lemon or orange is usually sufficient. Be mindful not to add too much liquid if using extracts, as this could affect the dough consistency. These small additions can make your perfect choux pastry shells even more special.
Experimenting with Different Flours for Unique Textures
While high-gluten flour is standard for its structural strength, you can experiment with incorporating small amounts of other flours for different textures and flavors. For example, substituting a small portion (perhaps 10-20%) of the all-purpose flour with bread flour can result in an even stronger structure and potentially more puff.
Conversely, using a small amount of pastry or cake flour might yield a slightly more tender crumb, though this risks less rise. Whole wheat or alternative flours can also be used in small percentages (start with 10-15%) for added flavor and nutrition, but be aware that they absorb liquid differently and may require slight adjustments to the recipe. Always use a majority of high-gluten flour to ensure you still achieve a perfect choux pastry structure.
Mastering the Art of Craquelin Topping for Choux
Craquelin is a simple sweet dough topping that adds a delightful crisp texture and uniform appearance to choux pastry. It's made by creaming together butter and sugar, then mixing in flour to form a dough. This dough is rolled very thin, chilled, and then cut into circles or squares placed on top of the piped choux dough before baking.
As the choux bakes and expands, the craquelin melts and spreads, creating a thin, cracked cookie-like crust over the puff. This not only looks beautiful but also helps the choux rise evenly and adds a pleasant textural contrast. To make craquelin, cream 1/2 cup (113g) softened butter with 1/2 cup (100g) sugar (white or brown) until smooth.
Mix in 1 cup (120g) flour until combined. Roll between two sheets of parchment paper to about 1/16 inch (1.5mm) thickness, chill for at least 30 minutes, cut out shapes, and place on top of your piped dough for truly stunning and perfect choux pastry.
Conclusion: Your Journey to Perfect Choux Pastry
Frequently Asked Questions
What is choux pastry and what makes it unique?
Choux pastry is a light, hollow pastry dough used for items like éclairs, cream puffs, and gougères. Its uniqueness comes from its high moisture content and double-cooking process: first on the stovetop, then in the oven.
What are the key ingredients in a perfect choux pastry recipe?
The essential ingredients include butter, water (or milk), flour, eggs, and a pinch of salt. The correct ratio of these ingredients is crucial for achieving the desired texture.
Why is the cooking process so important for choux pastry?
The cooking process is vital because it gelatinizes the starch in the flour and evaporates the moisture, creating steam that causes the pastry to puff up and form a hollow center.
What are some common mistakes to avoid when making choux pastry?
Common mistakes include adding the eggs too quickly (make sure the dough has cooled slightly), not cooking the dough long enough on the stovetop (it needs to form a ball), and opening the oven door during baking (this can cause the pastry to collapse). Ensure the dough is cooked appropriately and the oven is not opened.
How can I store choux pastry and what's the best way to fill it?
Unfilled choux pastry can be stored in an airtight container at room temperature for a day or two, or frozen for longer storage. It's best to fill them just before serving to prevent them from becoming soggy; use a pastry bag or a small knife to create a filling hole. Fill the pastry when ready to serve to avoid sogginess.
Final Reflection: The Enduring Allure of the Perfect Choux
The pursuit of the perfect choux pastry transcends mere culinary skill; it's a testament to precision, patience, and the undeniable joy of creation. From the delicate cream puffs to the majestic éclairs, mastering choux pastry unlocks a world of delectable possibilities, a world increasingly sought after in our fast-paced, convenience-driven society. The desire for homemade, handcrafted treats remains strong, a counterpoint to the mass-produced.
The journey to mastering choux, as detailed in this article, is a microcosm of life itself – requiring careful attention to detail, a willingness to learn from mistakes, and the unwavering belief that perfection is attainable with practice. The secret to success is to start where you are, use what you have, do what you can.
This quote, though not specifically about baking, perfectly encapsulates the spirit of choux-making and the broader lessons it imparts. The subtle nuances, the seemingly insignificant details – they all contribute to the final, glorious result.
Now, it's your turn. Don't be intimidated by the seemingly complex nature of choux pastry. Embrace the challenge, experiment with the techniques outlined, and savor the satisfaction of creating something truly beautiful and delicious. The perfect choux pastry awaits – dare to bake your way to it!
Unlock Your Inner Pâtissier: Master Choux Pastry Today!
Thanks for taking the time to explore our tips for perfect choux pastry! We hope you gained valuable insights and feel more confident in tackling this classic technique. Now it's time to put your newfound knowledge into action.
- Try our foolproof choux recipe: It’s designed to guide you every step of the way, even if you're a beginner. We've included troubleshooting tips to ensure success.
- Share your choux creations: Tag us on social media – we love seeing what you bake! Use #BakeWithEaseChoux to join our community.
- Experiment with fillings and toppings: Take your choux to the next level with creative flavor combinations! What surprising flavor profile are you going to try first?
What unexpected choux pastry creation will you whip up next?