
The Secret to Consistently Great Choux Shells

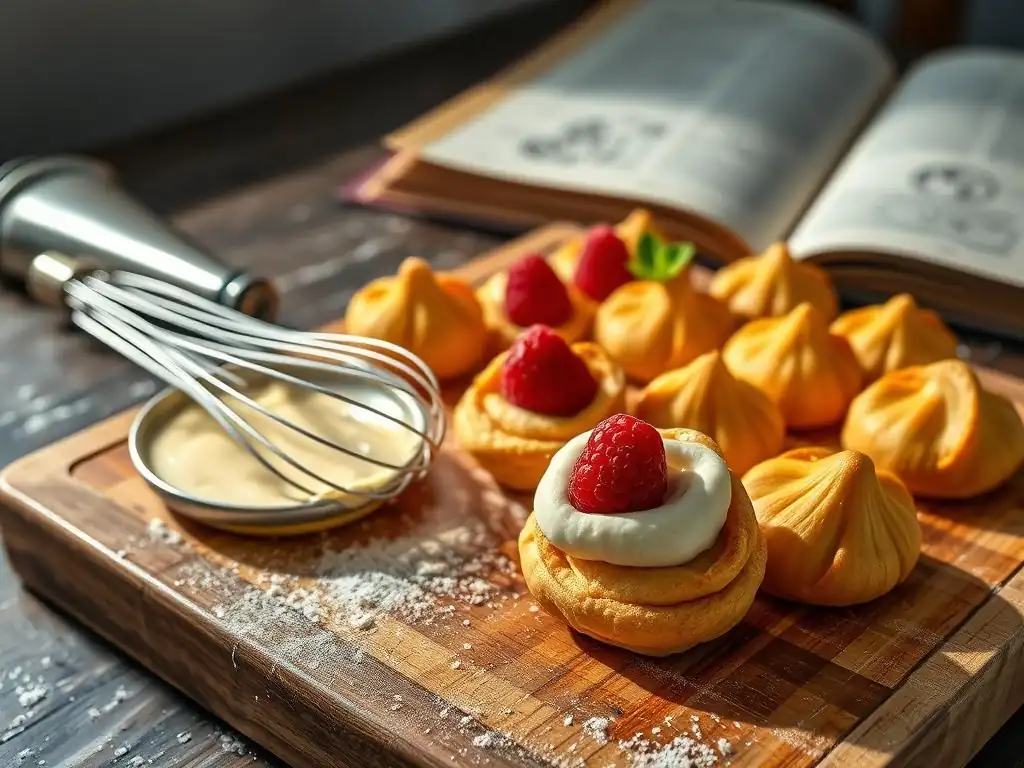
Welcome to BakeWithEase, your trusted guide to the delightful world of baking! Are you ready to unlock the secrets behind light and airy creations? This week, we're diving deep into the art of pâte à choux, revealing the key to perfecting choux shells consistently easy. Discover the techniques that will transform your baking and leave everyone wondering what your secret is! Curious to know more? Let's get baking!
- The Secret to Consistently Great Choux Shells: BakeWithEase Guide
- Mastering Choux Pastry: Your Path to Perfect Choux Shells
- Understanding the Fundamentals for Consistent Choux Success
- The Step-by-Step Guide to Baking Consistently Great Choux Shells
- Troubleshooting Common Choux Pastry Problems: Solutions for Baking Success
- Expert Tips for Consistently Perfect Choux Shells
- Advanced Techniques for Choux Pastry Perfection
- Enjoying Your Perfectly Baked Choux Shells
- Frequently Asked Questions
- Final Reflection: Mastering the Art of the Perfect Choux Shell
- Unlock Your Choux Pastry Perfection!
The Secret to Consistently Great Choux Shells: BakeWithEase Guide
Mastering Choux Pastry: Your Path to Perfect Choux Shells
Choux pastry, or pâte à choux, is a fundamental dough in the world of baking, renowned for its ability to puff up into light, hollow shells perfect for filling. While seemingly simple – made from just butter, water (or milk), flour, and eggs – achieving consistently great choux shells can feel elusive to many bakers. The magic lies in the unique cooking method on the stovetop before baking, which creates a stable, paste-like dough capable of incredible expansion in the oven.
This guide is designed to take the mystery out of choux pastry, helping you master the techniques required for perfecting choux shells consistently easy. We'll walk through the essential ingredients, equipment, and step-by-step process, along with troubleshooting common pitfalls. Whether you dream of delicate profiteroles, elegant éclairs, or towering croquembouches, understanding the science and technique behind choux will unlock a world of pastry possibilities, making the journey to consistent choux results smoother and more enjoyable.
Understanding the Fundamentals for Consistent Choux Success
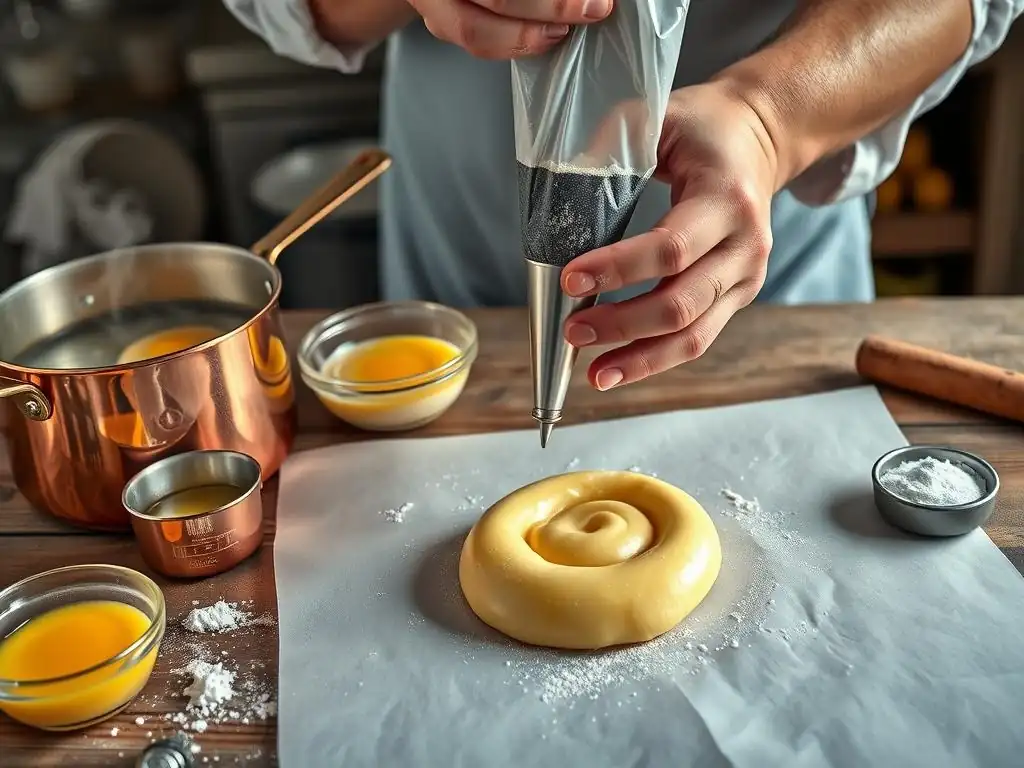
Before you even turn on your stove or oven, success with choux pastry starts with a solid understanding of its basic components and the tools you'll need. Think of it as building a strong foundation for your delicious pastry creations. Getting these fundamentals right is crucial for perfecting choux shells consistently easy.
The Key Ingredients for Flawless Choux Pastry
The four main ingredients in choux pastry each play a vital role in its structure and rise. Water (or milk), butter, and salt (and sometimes a touch of sugar) are heated together. The liquid creates steam, the butter provides fat and tenderness, and the salt/sugar balance flavor. The ratio of liquid to fat is important; typically, recipes call for roughly equal parts liquid and butter by weight. For instance, a common starting point might be 1 cup (240ml) water and 1/2 cup (115g) unsalted butter. Using unsalted butter allows you to control the salt content precisely.
Flour is added next, absorbing the liquid and fat to create a thick paste called the panade. The type of flour matters; all-purpose flour is standard, providing enough protein (around 10-12%) to build structure without making the shells tough. The panade is cooked on the stovetop to gelatinize the starch in the flour, making it capable of absorbing a large amount of egg. Finally, eggs are incorporated one by one.
Eggs are critical for leavening; their high water content turns into steam during baking, causing the dough to puff dramatically. They also add richness and structure. The exact number of eggs can vary slightly depending on their size and the humidity, so adding them gradually and checking for the "ribbon stage" is key for perfecting choux shells consistently easy.
Essential Equipment for Baking Perfect Choux Shells
Having the right tools can significantly impact your success when making choux pastry. A heavy-bottomed saucepan is indispensable. Its thick base distributes heat evenly, preventing the bottom of your panade from scorching while you cook out the moisture. A sturdy wooden spoon or a heat-resistant silicone spatula is needed for vigorously mixing the dough both on the stovetop and when incorporating the eggs by hand. If you have a stand mixer, it can make adding the eggs much easier and faster, ensuring they are fully incorporated without overworking the dough; use the paddle attachment on low to medium speed.
For shaping your choux shells, a piping bag fitted with a piping tip is highly recommended for achieving uniform size and shape, which is essential for even baking. While a round tip can be used, many bakers prefer a French star tip, such as an Ateco 806 or 807. The ridges created by the star tip provide points for the choux to expand from, often resulting in a more dramatic and even rise.
Using parchment paper or a silicone baking mat on your baking sheet prevents sticking and makes transferring the delicate shells easier. These tools, while simple, are fundamental to perfecting choux shells consistently easy.
The Step-by-Step Guide to Baking Consistently Great Choux Shells
Follow these steps carefully, paying attention to the details, and you'll be well on your way to perfecting choux shells consistently easy. Each stage builds upon the last, so precision is key.
Step 1: Preparing the Pate a Choux Dough
The initial cooking of the dough on the stovetop is a critical phase. Combine your liquid (water or milk), butter, salt, and optional sugar in a heavy-bottomed saucepan. Heat over medium heat until the butter is completely melted and the mixture is just coming to a rolling boil. Remove the pan from the heat immediately and add all the flour at once. Stir vigorously with a wooden spoon or sturdy spatula until the mixture comes together into a cohesive ball and pulls away cleanly from the sides of the pan.
Return the pan to low heat and continue to cook the dough, stirring constantly, for 2-3 minutes. This step is called drying out the panade. You'll notice a slight film forming on the bottom of the pan, and the dough will look less sticky.
This process gelatinizes the starch and drives off excess moisture, which is crucial for the dough's ability to absorb the eggs and puff correctly. Transfer the panade to a bowl (or the bowl of a stand mixer) and let it cool slightly for about 5 minutes before adding the eggs. Adding eggs when the dough is too hot will scramble them.
Achieving the Right Consistency: Ribbon Stage Explained
Adding the eggs is perhaps the most nuanced part of making choux pastry. Add the eggs one at a time, incorporating each fully before adding the next. If using a stand mixer, beat on low-medium speed. If mixing by hand, beat vigorously with your wooden spoon or spatula. The dough will initially look curdled or slippery, but keep mixing, and it will come back together and become smooth.
The goal is to reach the "ribbon stage." This is the point where the dough is smooth, glossy, and falls from the spoon or paddle in a thick, V-shaped ribbon that holds its shape for a few seconds before slowly sinking back into the mass. You might not need the full quantity of the last egg; add it gradually, perhaps whisking it first and adding a tablespoon at a time, checking the consistency after each addition.
Overly stiff dough won't rise well, while overly loose dough will spread out rather than puff up. Achieving this specific consistency is vital for perfecting choux shells consistently easy.
Preventing Lumps: Using a Wooden Spoon and Gradual Flour Addition
To prevent lumps in your panade, the key is to add the flour all at once to the boiling liquid/fat mixture and then stir vigorously and immediately. This ensures the flour is hydrated uniformly. Using a sturdy wooden spoon or a firm, heat-resistant silicone spatula provides the leverage needed to quickly incorporate the flour into the hot liquid and beat out any potential lumps as the dough comes together.
Cooking the panade on low heat after the flour is incorporated also helps create a smooth, homogenous dough. The constant stirring during this drying-out phase ensures even heat distribution and prevents sticking or clumping. While some recipes suggest sifting the flour, the vigorous beating action when adding the flour to the hot liquid is usually sufficient to prevent lumps, making the process of perfecting choux shells consistently easy more straightforward.
Step 2: Piping the Choux Shells for Uniformity
Once your choux pastry dough is ready, proper piping techniques are essential for achieving consistently sized and shaped shells that bake evenly. Skipping this step and just spooning dough onto the baking sheet often leads to irregular shapes and uneven puffing.
Choosing the Right Piping Tip: French Star Tip (Ateco 806) Recommendation
While a plain round tip (like an Ateco 804 or 805) works perfectly well for choux, a French star tip (such as the Ateco 806 or 807, which have many small teeth) is often preferred. The star shape provides more surface area and creates ridges on the piped dough. These ridges act as expansion points, encouraging the dough to puff upwards and outwards in a controlled manner, often resulting in a more symmetrical and impressive shell with a lovely texture.
For éclairs, an open star tip or a large round tip is used to create elongated shapes. For profiteroles or cream puffs, a star or round tip is used to pipe mounds. Using a specific tip size consistently helps ensure your shells are roughly the same size, which is critical for uniform baking times and perfecting choux shells consistently easy.
Piping Techniques for Consistent Size and Shape
Fill your piping bag about two-thirds full with the cooled choux dough. Twist the top of the bag to seal it and apply even pressure from the top downwards. For rounds, hold the piping bag perpendicular to the baking sheet. Pipe mounds of dough, stopping the pressure before lifting the bag away with a slight twist to create a clean break. For éclairs, hold the bag at a slight angle and pipe straight lines of dough, maintaining even pressure.
Consistency in size is paramount. Piping shells of similar diameter and height ensures they all bake at the same rate. If some shells are significantly larger than others, the smaller ones will overbake and potentially burn while the larger ones are still undercooked. Using a template drawn on the underside of your parchment paper can help guide your piping for uniform size and spacing, taking you one step closer to perfecting choux shells consistently easy. Smooth any peaks left from piping by gently dabbing them with a wet fingertip.
Step 3: Baking Choux Shells to Golden Perfection
The baking process for choux pastry is unique and requires careful attention to temperature and timing to achieve that characteristic hollow, crispy shell. Rushing this stage or opening the oven door too early are common mistakes that can lead to flat or collapsed choux.
Oven Temperature and Baking Time: 400°F (200°C) for 15 Minutes, then 350°F (175°C) for 20-25 Minutes
A common and highly effective method for baking choux utilizes two different temperatures. Start by preheating your oven to a relatively high temperature, typically 400°F (200°C). Place your piped choux shells in the hot oven and bake at this temperature for about 15 minutes. The initial burst of high heat creates a rapid production of steam inside the dough, causing the shells to puff up dramatically and set their structure.
After the initial high-heat phase, reduce the oven temperature to 350°F (175°C) and continue baking for another 20-25 minutes (or longer for larger shells). Crucially, do not open the oven door during the first high-heat phase. The lower temperature allows the shells to dry out and crisp up thoroughly without burning.
This drying process is essential for preventing the shells from collapsing after they are removed from the oven. The total baking time will depend on the size of your shells and the specifics of your oven, so look for a deep golden-brown color and firm feel. This dual-temperature approach is key to perfecting choux shells consistently easy.
The Importance of Steam: Creating Steam with Ice Cubes in a Lower Pan
Steam plays a vital role in the initial puff of choux pastry. As the water in the dough turns to steam, it expands rapidly, pushing the dough outwards and creating the hollow cavity inside. While some ovens naturally retain enough moisture, creating additional steam can boost your choux's rise, especially in drier environments.
A simple way to generate steam is to place a shallow metal pan on the bottom rack of your oven while it preheats. Just before you put the choux in, carefully add a handful of ice cubes (about 1-2 cups) to the hot pan. Close the oven door quickly. The melting ice will create a burst of steam that surrounds the choux as it begins to bake. This humid environment helps the shells expand evenly before the crust sets, contributing significantly to perfecting choux shells consistently easy.
Preventing Collapsing Choux: Cooling in the Oven with the Door Ajar
One of the most frustrating moments in baking choux is watching your beautifully puffed shells deflate as they cool. This usually happens because the shells are not fully dried out inside. The steam trapped within cools and condenses, causing the structure to collapse.
To prevent this, do not remove the choux shells from the oven immediately after the baking time is complete. Once they are deeply golden brown and feel light and hollow when lifted, turn off the oven. Prop the oven door open slightly (you can use a wooden spoon handle) and let the choux shells cool gradually inside the warm oven for 15-30 minutes. This slow cooling process allows the remaining moisture to dissipate, ensuring the shells are crispy and stable. This step is crucial for perfecting choux shells consistently easy and ensuring they hold their shape for filling.
Troubleshooting Common Choux Pastry Problems: Solutions for Baking Success
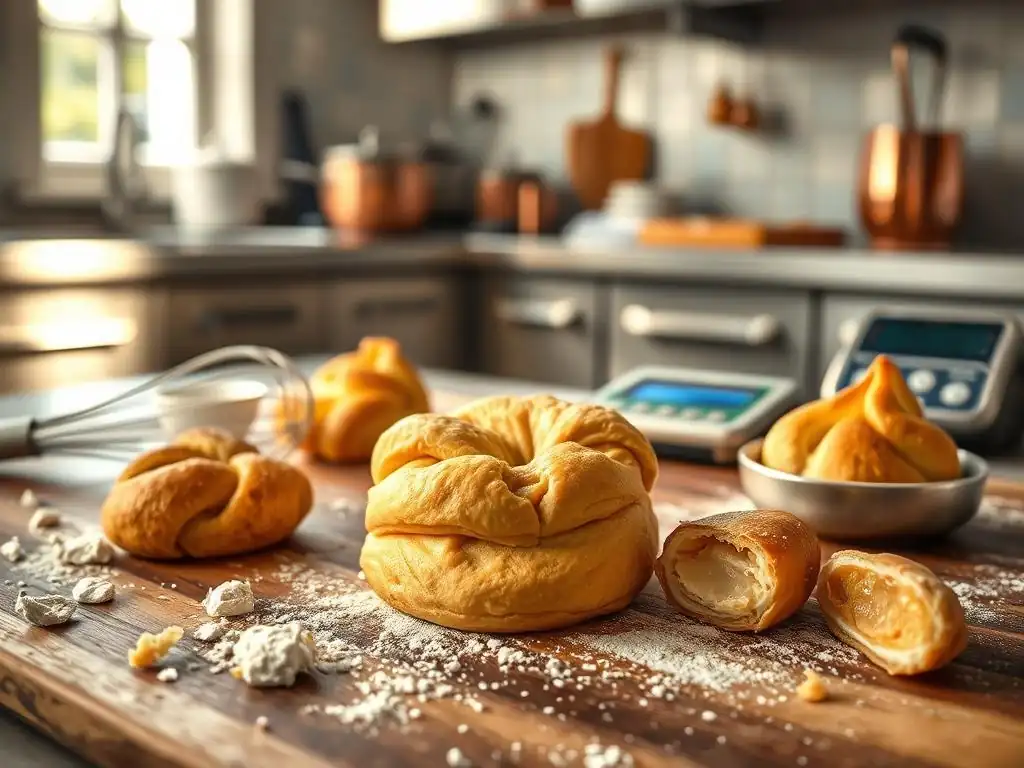
Even with careful attention to detail, choux pastry can sometimes be temperamental. Understanding why common problems occur and how to fix them is essential for perfecting choux shells consistently easy.
Why Are My Choux Shells Flat? [Explanation and Solutions]
Flat choux shells are a common disappointment. This can happen for several reasons. One frequent cause is adding too much egg, which makes the dough too wet and unable to hold its structure as it bakes.
Another is not cooking the panade on the stovetop long enough to dry it out and properly gelatinize the starch; the dough needs to be stiff enough to hold its shape when piped. Insufficient oven temperature, especially during the initial high-heat phase, can also prevent the necessary rapid steam expansion. Lastly, opening the oven door too early releases the crucial steam and heat needed for the initial puff.
To solve this, ensure you cook the panade until a film forms on the bottom of the pan and the dough is relatively stiff. Add eggs gradually, stopping once the "ribbon stage" is reached – it's better to err on the side of slightly too stiff than too wet dough. Always preheat your oven fully and consider using an oven thermometer to verify accuracy. And resist the urge to peek during the first 15-20 minutes of baking! These adjustments are key steps in perfecting choux shells consistently easy.
Soggy or soft choux shells indicate they were not baked long enough, specifically during the lower-temperature drying phase. While the shells may look golden on the outside, the interior is still damp, leading to a soft or chewy texture rather than a crisp, hollow one. Cooling the shells in a humid environment can also cause them to absorb moisture and become soft.
The solution is to extend the baking time at the lower temperature (350°F / 175°C). Bake until the shells are a deep golden brown and feel very light when you pick one up – this indicates the moisture has evaporated from the inside. If you're unsure, you can sacrifice one shell by cracking it open to check if the inside is dry and hollow.
Always cool the choux shells in a dry place; the turned-off oven with the door propped open is ideal for this purpose, as it allows them to dry out completely before being exposed to room humidity. This careful drying is vital for perfecting choux shells consistently easy.
Choux shells that turn out excessively hard or dense are usually a result of over-baking, particularly during the drying phase, or sometimes from not having enough liquid or fat in the initial panade. If baked for too long at the lower temperature, all the moisture is driven out, and the dough becomes brittle and hard rather than crisp.
To avoid this, monitor your shells carefully during the drying phase. They should be deeply golden brown and feel light, but not rock hard. The baking time provided (20-25 minutes at 350°F / 175°C) is a guideline; ovens vary. Start checking for doneness around the 20-minute mark. You can also verify your initial ingredient measurements to ensure the correct ratio of liquid and fat to flour was used. Adjusting baking time is the primary fix for perfecting choux shells consistently easy that are light and airy, not hard.
Lack of rise in choux pastry can be incredibly frustrating. This problem often stems from issues during the panade stage or egg incorporation. If the panade isn't cooked long enough on the stovetop, the starch won't properly gelatinize, limiting its ability to absorb eggs and expand.
Adding eggs when the panade is too hot can partially cook or scramble them, hindering their leavening ability. Conversely, not adding enough eggs results in a dough that is too stiff and lacks the necessary moisture for steam production. Finally, an oven that isn't hot enough during the initial bake won't provide the rapid heat needed for the steam to inflate the shells.
Ensure you cook the panade for the full 2-3 minutes on low heat, stirring constantly, until a film forms. Let the panade cool slightly (to around 140°F / 60°C) before incorporating the eggs. Add eggs gradually, checking for the "ribbon stage" consistency, which indicates the correct amount of egg has been added. Always preheat your oven thoroughly to the specified initial high temperature. Addressing these points meticulously is key to perfecting choux shells consistently easy with excellent puff.
Expert Tips for Consistently Perfect Choux Shells
Beyond the basic steps, a few expert tips can elevate your choux pastry from good to consistently great. These nuances can make a significant difference in texture, flavor, and overall success when perfecting choux shells consistently easy.
Achieving a Light and Airy Texture: Using High-Quality Butter and Proper Egg Incorporation
The quality of your ingredients, particularly the butter, can influence the final texture. Using a high-quality unsalted butter with a higher fat content (typically 82% or more) contributes to a richer flavor and helps create a tender, light crumb. The fat coats the flour particles, inhibiting gluten development and resulting in a more delicate shell.
Proper egg incorporation is equally crucial for a light and airy interior. Add the eggs one by one, ensuring each is fully emulsified into the dough before adding the next. This creates a smooth, glossy batter. The water content in the eggs is what generates the steam for leavening, while the fat and protein contribute to richness and structure. Achieving the correct "ribbon stage" consistency ensures the dough has enough moisture and elasticity to expand dramatically in the oven, resulting in that signature hollow center and airy texture sought after when perfecting choux shells consistently easy.
Adding Flavor Variations to Your Choux Pastry
While classic choux is delicious on its own, you can easily infuse it with different flavors for added versatility. A pinch of sugar is often added to the initial liquid mixture even for savory choux, as it aids in browning. For sweet applications, a teaspoon or two of vanilla extract can be added with the eggs. Citrus zest (lemon, orange, or lime) can be incorporated into the panade with the flour for a subtle brightness.
For savory choux, omit the sugar and increase the salt slightly. You can also mix in grated hard cheese like Parmesan or Gruyère, or finely chopped fresh herbs like chives or thyme, into the dough after the eggs are fully incorporated. These variations are simple ways to customize your choux creations and make perfecting choux shells consistently easy for a wide range of recipes, from sweet cream puffs to savory gougères.
Storing Choux Shells for Optimal Freshness
Baked choux shells are best enjoyed the day they are made, especially once filled, as fillings can make them soggy over time. However, plain, unfilled shells can be stored successfully. Once completely cooled (ensure they are fully dry inside! ), store them in an airtight container at room temperature for 1-2 days. Avoid refrigerating unfilled shells, as the humidity can make them soft.
For longer storage, baked and cooled choux shells freeze exceptionally well. Place them in a single layer on a baking sheet and freeze until solid, then transfer them to a freezer-safe bag or container. They can be frozen for up to 2-3 months. To use, simply place the frozen shells directly on a baking sheet and reheat them in a preheated oven at 350°F (175°C) for 5-10 minutes until crisp again. This storage method is great for batch baking, making perfecting choux shells consistently easy for future use.
Advanced Techniques for Choux Pastry Perfection
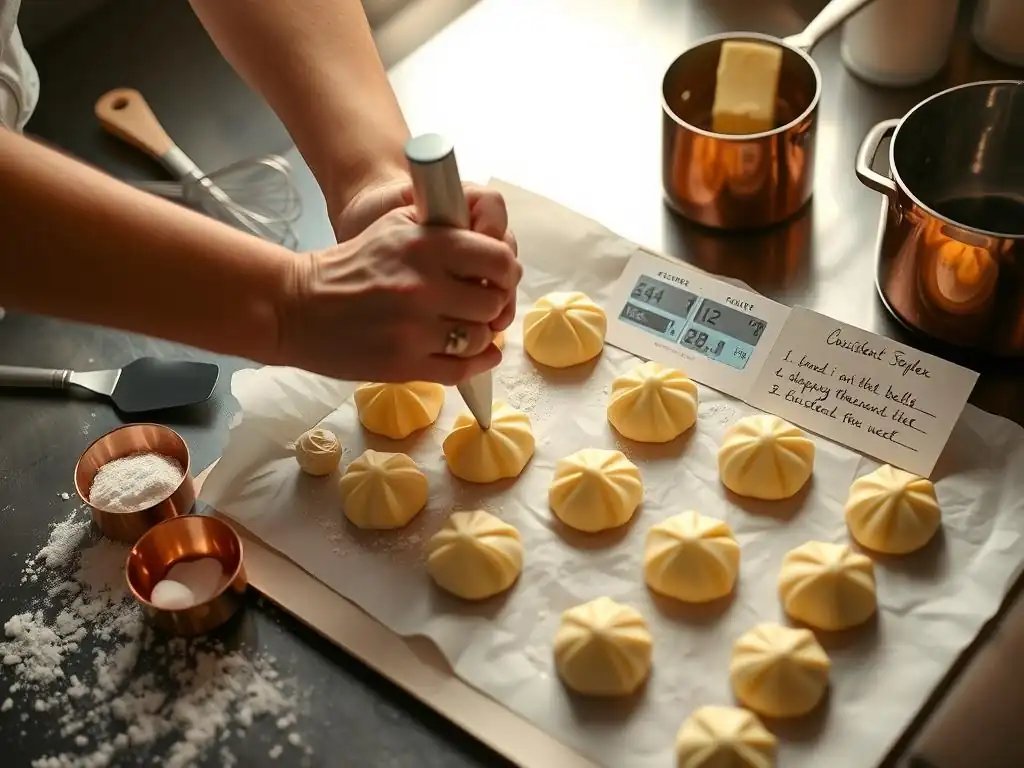
Once you've mastered the basic choux pastry, you can explore advanced techniques that add texture, flavor, and visual appeal, further enhancing your ability to create beautiful and delicious choux creations.
Craquelin Topping: Adding Texture and Flavor
Craquelin is a simple mixture of butter, sugar (often brown sugar for color and flavor), and flour that is rolled thin and cut into discs. These discs are placed on top of the piped choux dough before baking. As the choux bakes and expands, the craquelin cracks, creating a beautiful, sugary, cookie-like cap.
This topping serves several purposes: it adds a delightful crisp texture and sweetness to the choux shell, helps the shells maintain a rounder, more uniform shape as they bake, and prevents the tops from cracking unevenly. Making craquelin is straightforward: cream softened butter and sugar, mix in flour until a dough forms, roll it out between two sheets of parchment paper, chill it until firm, and then cut out discs slightly larger than your piped choux mounds. It's a simple addition that takes perfecting choux shells consistently easy to the next level with added crunch and visual appeal.
Éclair Glazes and Fillings: Elevating Your Choux Creations
The beauty of choux pastry lies in its versatility as a vessel for various fillings and glazes. Classic fillings include smooth pastry cream (crème pâtissière), lightened pastry cream (crème diplomat, which is pastry cream folded with whipped cream), whipped cream, or chocolate mousse. These are typically piped into the cooled shells through a small hole in the bottom or side.
Éclairs are traditionally finished with a glaze, most commonly chocolate ganache or a simple fondant icing. Ganache is made by pouring hot cream over chopped chocolate and stirring until smooth. Fondant glaze is a mixture of powdered sugar, a liquid (water, milk, or juice), and sometimes a touch of corn syrup for shine. Dipping the tops of filled éclairs into a warm glaze adds flavor and a professional finish. Experimenting with different fillings and glazes allows you to continuously explore the possibilities of choux pastry after perfecting choux shells consistently easy.
Enjoying Your Perfectly Baked Choux Shells
You've put in the effort, followed the steps, and now you have a batch of beautiful, perfectly baked choux shells. The best part is enjoying the fruits of your labor!
Serving Suggestions and Presentation Ideas
The classic way to enjoy choux is filled. Profiteroles are typically filled with ice cream or whipped cream and often drizzled with chocolate sauce. Éclairs are filled with pastry cream and glazed. Savory gougères are delicious on their own or served with cheese and wine. You can also use choux shells to build impressive structures like a croquembouche, a cone of cream puffs bound together with caramel, or create elegant individual desserts by filling them with various creams, mousses, or even savory ingredients like cheese or smoked salmon mousse.
Presenting your choux creations beautifully adds to the enjoyment. Arrange profiteroles in a pyramid, lay éclairs neatly on a platter, or simply dust cream puffs with powdered sugar. The light, airy texture and delightful crispness of a well-made choux shell, combined with a delicious filling, make for a truly satisfying treat. By focusing on perfecting choux shells consistently easy through careful technique and practice, you open up a world of delicious pastry possibilities to share and enjoy.
Frequently Asked Questions
How can I ensure my choux pastry dough has the right consistency?
The dough should be smooth and pipeable. A good test is the "ribbon test" - it should fall slowly and steadily from your spoon, forming a ribbon. If it's too stiff, add a tiny bit of liquid.
Why do my choux shells sometimes collapse after baking?
Collapsing is often due to insufficient baking. Ensure the shells are golden brown and completely dry before removing them from the oven. Don't open the oven door during baking!
What's the best temperature for baking choux shells?
A common method is to start at a higher temperature (e.g., 400°F/200°C) to create steam, then reduce it slightly (e.g., 350°F/175°C) to dry them out. This creates a hollow interior.
What type of flour is best for choux pastry?
All-purpose flour is generally suitable, but bread flour can provide a slightly stronger structure, which may help prevent collapsing. Experiment to see what works best for your oven.
Can I freeze unbaked choux pastry dough?
Yes, you can! Pipe the dough onto a baking sheet, freeze until solid, then transfer to a freezer bag. Bake directly from frozen, adding a few minutes to the baking time. This is a great time-saver!
Final Reflection: Mastering the Art of the Perfect Choux Shell
The pursuit of the perfect choux shell is more than just a culinary quest; it's a testament to the power of precision and understanding. A seemingly simple pastry, the choux shell demands respect for its delicate balance of ingredients and technique. Mastering it unlocks a world of culinary possibilities, from elegant éclairs to whimsical profiteroles, proving that even the most challenging recipes can be conquered with patience and practice.
The journey to consistently flawless choux shells has profoundly impacted my own baking journey. It's taught me the importance of meticulous measurement, the subtle nuances of temperature control, and the undeniable satisfaction of achieving a perfect rise. The reward of a perfectly executed recipe is not just in the taste, but in the mastery of the process itself.
This quote resonates deeply, as the consistent success with choux pastry has instilled a newfound confidence in tackling more complex baking challenges. The process itself, with its seemingly unforgiving nature, has become a meditative practice, a testament to the beauty of precision and the rewarding nature of perseverance.
Now, it's your turn. Don't be intimidated by the seemingly complex nature of choux pastry. Embrace the challenge, experiment with the techniques outlined in this article, and savor the joy of creating your own consistently perfect choux shells. The journey may have its bumps, but the reward – the delightful crunch, the airy interior, and the endless creative possibilities – is well worth the effort. Let the pursuit of perfection inspire you, not discourage you, and remember that even the smallest details can make all the difference in achieving culinary greatness.
Unlock Your Choux Pastry Perfection!
Thanks for joining us on this delicious journey into the world of choux pastry! We hope you've gained the confidence to create flawlessly puffed shells every time. Now it's time to put your new skills into practice.
- Bake a batch of your favorite choux-based treats: Whether it's classic cream puffs, elegant éclairs, or whimsical profiteroles, put your newfound knowledge to the test! Don't forget to share your baking triumphs (and challenges!) with us!
- Experiment with different fillings and toppings: Get creative and personalize your choux creations! Try unique flavor combinations – you might discover your next signature dessert.
- Share your baking journey: Tag us on social media with your choux pastry creations and use #BakeWithEaseChoux. Let's inspire each other!
Ready to transform your baking game? What's your favorite choux pastry creation, and what exciting fillings will you experiment with next?