
Ensuring Every Slice is Perfect: Baking Large Celebration Cakes

Welcome to BakeWithEase, your baking companion!
Ever wondered how to achieve perfectly even layers in a large celebration cake, ensuring every slice is as stunning as it is delicious? We're diving deep into the secrets of achieving flawless results, starting with the crucial step of leveling. Discover techniques that will transform your cakes from good to unforgettable. Intrigued? Let's unlock the secrets to celebration cake perfection!
- Baking Large Celebration Cakes: Achieving Level Perfection
- Essential Tools for Leveling Large Cakes
- Step-by-Step Guide: Leveling Your Large Celebration Cake Layers
- Pro Tips for Leveling Large Celebration Cakes Like a Pro
- Leveling Beyond the Surface: Addressing Internal Cake Structure
- Decorating a Perfectly Leveled Large Celebration Cake
- Troubleshooting Leveling Problems in Large Cakes
- Large Celebration Cake Leveling: Frequently Asked Questions
-
Frequently Asked Questions
- How do I level a large celebration cake efficiently?
- What's the best way to ensure my large cake layers are even in thickness before baking?
- What type of frosting works best for large celebration cakes that need sturdy support?
- How do I prevent my large celebration cake from drying out during the baking process?
- What tools, besides a serrated knife, are helpful for assembling and decorating large celebration cakes?
- Final Reflection: The Art and Science of the Perfectly Level Cake
- Unleash Your Inner Cake Boss: Bake a Celebration Masterpiece!
Baking Large Celebration Cakes: Achieving Level Perfection
Why Leveling is Crucial for Large Celebration Cakes
Achieving a perfectly level surface is paramount when baking large celebration cakes. An uneven cake layer can lead to a multitude of problems during assembly and decoration, ultimately affecting the final aesthetic and structural integrity of your masterpiece. Imagine stacking a three-tier cake where the base layer slopes by just half an inch; this slight tilt can become dramatically exaggerated as you add subsequent tiers, potentially causing the entire structure to lean or even collapse.
Furthermore, an uneven top surface makes applying a smooth, flawless layer of buttercream or fondant incredibly challenging, often resulting in thicker icing on one side and thinner on the other, which impacts both taste and appearance. Precision in leveling large celebration cakes ensures a stable foundation for stacking and a smooth canvas for intricate decoration, making every slice not just delicious but also visually appealing.
Beyond structural and aesthetic concerns, proper large celebration cake leveling contributes significantly to the ease of decoration and the overall presentation. When a cake layer is perfectly flat, it provides a uniform height, allowing for consistent filling layers between tiers. If one side is higher than the other, the filling will be unevenly distributed, leading to an unbalanced flavor profile in each slice and potentially causing the layers to slide.
For instance, a 12-inch cake layer might require 3-4 cups of filling; if it's not level, one side might get 2 cups while the other gets only 1, leaving a noticeable difference. Effective leveling techniques are a fundamental skill for any baker tackling large celebration cakes, ensuring that the effort put into baking and decorating results in a truly impressive and stable creation worthy of any special occasion.
The Baker's Guide to Perfect Cake Layers for Big Occasions
Crafting perfect cake layers, especially for large celebration cakes, begins long before you even think about leveling. The baking process itself is critical. Using the right pan size for your batter volume prevents overflow and promotes even heat distribution.
For large cakes (e.g., 10-inch or 12-inch rounds), consider using cake strips soaked in water and wrapped around the outside of the pan. These strips help the cake bake more evenly from the edges towards the center, reducing the likelihood of a large dome forming. Without them, the edges of a large cake can cook and set faster than the center, pushing the still-liquid batter upwards and creating a significant dome that requires substantial leveling.
Moreover, ensuring your oven temperature is accurate and consistent is vital. Hot spots or fluctuating temperatures can cause uneven rising and baking, leading to dense spots or excessive doming. Rotating large cakes halfway through the baking time can also help promote even browning and rising.
Once baked, allowing the cake to cool properly in the pan for 10-15 minutes before inverting it onto a cooling rack is essential. Prematurely removing a large cake can cause it to break, while leaving it in the hot pan for too long can lead to overbaking or steaming. Proper cooling is the first step in preparing your large celebration cake for successful leveling.
Essential Tools for Leveling Large Cakes
The Baker's Leveling Toolkit: Knives, Levelers, and Measuring Tools
A baker serious about flawless large celebration cake leveling needs the right arsenal of tools. The most basic tool is a long serrated knife, ideally one with a blade at least 12 inches long to comfortably span across a large cake. The serrations help saw through the cake crumb cleanly without tearing or compressing it. For added precision when using a knife, a cake turntable is indispensable, allowing you to rotate the cake smoothly while holding the knife steady. A ruler or cake marker can also be helpful to mark the desired height around the cake's circumference before cutting.
Beyond a knife, dedicated cake levelers offer an easier path to consistent results, particularly for large celebration cake leveling. These tools come in various forms, from simple wire levelers with adjustable height settings to more robust, saw-like levelers designed for larger diameters. A wire leveler typically has a thin wire stretched between two legs, which you pull through the cake.
Adjustable versions allow you to set the wire height precisely, ensuring multiple layers are cut to the exact same thickness. For large cakes, look for levelers designed to accommodate widths of 10 inches or more. While a good knife requires skill to use perfectly, a quality cake leveler can significantly simplify the process of achieving uniform layers for your large celebration cakes.
Investing in the Right Equipment for Large Cake Success
Choosing the appropriate tools for large celebration cake leveling is an investment that pays dividends in consistency and reduced frustration. While a standard bread knife might suffice for small cakes, attempting to level a 14-inch cake with one is challenging and often results in an uneven cut. A long, professional-grade serrated knife designed for cakes provides the necessary reach and sharpness. Expect to spend anywhere from $20 to $50 or more on a quality knife suitable for large cakes.
Adjustable cake levelers are particularly beneficial for beginner and intermediate bakers working on large scale projects. A basic wire leveler might cost $10-$30, while more heavy-duty, large-format levelers can range from $30 to $70. Consider the size of cakes you typically bake; if you frequently make 12-inch or larger cakes, ensure your leveler can handle that diameter.
While these tools represent an upfront cost, the time saved and the improved quality of your large celebration cake leveling results make them a worthwhile addition to your baking toolkit. Using the right equipment drastically increases your chances of success and makes the process of preparing large cakes much more enjoyable.
Step-by-Step Guide: Leveling Your Large Celebration Cake Layers
Preparing Your Cake for Leveling: Cooling and Wrapping
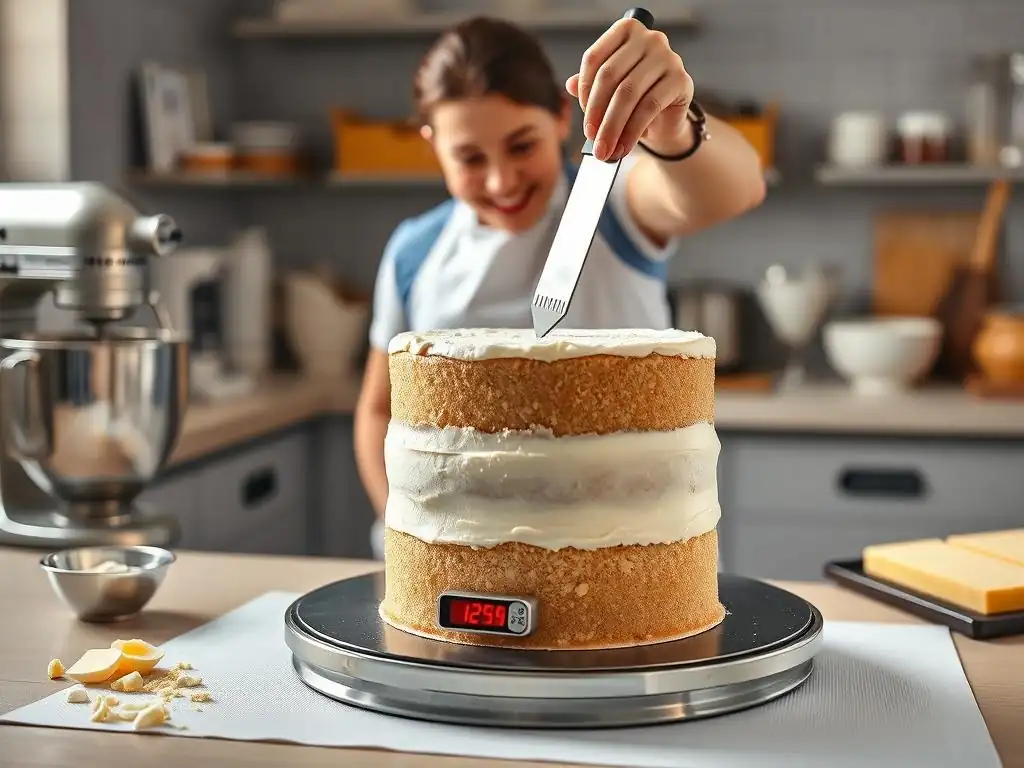
Proper preparation is key before you begin the large celebration cake leveling process. Once your large cake layers are baked and have cooled in their pans for the recommended time, invert them onto a cooling rack. Allow them to cool completely at room temperature. Attempting to level a warm cake will result in crumbling and tearing, making a clean cut impossible. For large cakes, this cooling process can take several hours, potentially 2-3 hours for an 8-inch cake, and even longer, perhaps 4-6 hours, for a 12-inch cake or larger.
Once completely cool, wrapping your cake layers is a crucial step, especially if you plan to level them later. Wrap each layer tightly in plastic wrap, then in a layer of aluminum foil. This helps retain moisture and makes the cake slightly firmer, which can facilitate cleaner cuts during leveling. For even better results with large celebration cake leveling, consider chilling the wrapped layers in the refrigerator for at least 30 minutes, or ideally, for several hours or even overnight. A slightly firm, chilled cake is much easier to handle and level precisely than a soft, room-temperature one.
Precise Leveling Techniques for Large Cakes
Leveling a large celebration cake requires a steady hand and a systematic approach. The goal is to remove the dome and create a perfectly flat surface.
Using a Long Serrated Knife for Leveling Cakes
Leveling large cakes with a serrated knife requires practice but offers great control. First, place the cooled, prepared cake on a flat surface or a cake turntable. If using a ruler, mark the desired height around the cake's edge with toothpicks or a gentle score line. Holding the long serrated knife parallel to your work surface (this is critical!
), begin to saw gently into the side of the cake, keeping the blade level. Slowly rotate the cake on the turntable while continuing the sawing motion, working your way towards the center. Use your free hand to lightly press down on the top of the cake to stabilize it, but avoid pressing so hard that you compress the crumb.
Maintain a consistent angle and height as you cut across the entire diameter of the large cake. Once you've cut through to the other side, gently slide the removed dome layer off. Inspect the cut surface for any uneven spots and make small, careful adjustments if necessary. The key to successful large celebration cake leveling with a knife is patience, keeping the knife level, and using a gentle sawing motion rather than trying to push straight through.
Employing an Adjustable Cake Leveler for Consistent Results
Using an adjustable cake leveler is often the preferred method for achieving uniform large celebration cake leveling, especially when multiple layers need to be exactly the same height. Start by placing the cooled, prepared cake on a flat surface. Adjust the wire or blade on your cake leveler to the desired height. Many levelers have notches or markings to help you set the height precisely. For instance, you might set it to 1.5 inches for a standard layer.
Position the leveler with its feet flat on your work surface on one side of the large cake. Gently begin to saw the wire or blade back and forth, applying even pressure. Work your way steadily through the cake, keeping the feet of the leveler firmly on the surface.
The wire or blade will cut through the cake, removing the dome. This method is particularly effective for consistent large celebration cake leveling across multiple layers because once the leveler is set, it automatically cuts at the same height every time. Slide the removed dome away and you are left with a perfectly level cake layer ready for stacking or decorating.
Addressing Uneven Baking in Large Cakes
Even with the best techniques, large cakes can sometimes bake unevenly, resulting in a more pronounced dome on one side or even a slight slope across the entire layer. This is often due to subtle variations in oven temperature, pan placement, or batter distribution. When you encounter a cake with significant unevenness that can't be fixed by simply slicing off the top dome (i.e., the entire layer is thicker on one side), you might need to adjust your leveling strategy for large celebration cakes.
One approach is to measure the height of the cake at several points around the circumference. Identify the lowest point and the highest point. When using a serrated knife, you will need to angle your cut slightly to level the entire surface relative to the lowest point, rather than just cutting parallel to the counter.
Alternatively, if using a cake leveler, you might need to make two passes: one to remove the main dome, and then a second, more careful pass, potentially angling the leveler slightly (though this requires practice) or using a knife to shave down the higher side after the initial cut. For severely sloped layers, sometimes the best approach is to embrace it and use a thicker layer of filling on the lower side to compensate when stacking, although this is not ideal for perfect large celebration cake leveling.
Pro Tips for Leveling Large Celebration Cakes Like a Pro
Mastering Even Cake Baking for Celebrations
The secret to minimizing the need for excessive large celebration cake leveling starts in the oven. Consistent baking is paramount. Use professional-grade heavy-gauge cake pans; thin pans heat up too quickly and can cause uneven baking.
For large pans (10 inches and above), consider using heating cores or flower nails in the center of the batter. These metal objects conduct heat to the center of the cake, helping it cook at a similar rate to the edges and reducing the dome effect. For a 12-inch cake, one heating core might be sufficient, while a 14-inch or 16-inch cake might benefit from two or more placed strategically.
Ensuring your batter is evenly distributed in the pan before baking is also crucial. Gently tap the filled pan on the counter a few times to release any large air bubbles and help the batter settle evenly. Avoid overfilling the pan; typically, fill pans about two-thirds full to allow room for rising. Using parchment paper circles on the bottom of the pan prevents sticking and ensures the cake releases cleanly, preventing damage that could complicate large celebration cake leveling later. Paying meticulous attention during the baking phase significantly reduces the amount of leveling required.
Avoiding Common Leveling Mistakes with Large Cakes
Several pitfalls can hinder successful large celebration cake leveling. One common mistake is trying to level a cake that is still warm. Warm cakes are soft and prone to tearing and crumbling, making a clean, straight cut nearly impossible. Always ensure your cakes are completely cool, and ideally chilled, before attempting to level them. Another error is rushing the cut; whether using a knife or a leveler, a slow, steady sawing motion yields the best results. Trying to push straight through the cake can cause compression and an uneven surface.
Not keeping your knife or leveler parallel to the counter is perhaps the most frequent mistake, resulting in a sloped layer. Use your knuckles on your free hand as a guide against the counter or use a turntable to help maintain a consistent height. For large cakes, attempting to level the entire surface in one swift motion with a knife is difficult; it's better to make multiple passes, working your way around the cake.
Finally, neglecting to clean your knife or leveler between cuts, especially when working with sticky cakes, can cause drag and unevenness. Wipe the blade clean as needed for smooth large celebration cake leveling.
Leveling Frozen Cake Layers: A Time-Saving Technique
Leveling frozen cake layers is not only possible but often preferred by professional bakers for large celebration cakes. Freezing makes the cake firm and much easier to handle without crumbling, allowing for exceptionally clean and precise cuts. After your cake layers have cooled completely, wrap them tightly in plastic wrap and then a layer of aluminum foil. Place them in the freezer until firm, typically at least 4-6 hours, or overnight.
Once frozen, unwrap a layer and place it on a flat surface or turntable. Use a long serrated knife or a sturdy cake leveler. Because the cake is frozen, you'll need a slightly firmer sawing motion than with a chilled cake, but the process is essentially the same: keep the blade or wire parallel to the counter and work your way through the cake.
The firmness of the frozen cake allows for incredibly sharp, clean cuts, making large celebration cake leveling remarkably easy and precise. After leveling, you can re-wrap the layers and return them to the freezer or allow them to thaw in the refrigerator before frosting.
Leveling Beyond the Surface: Addressing Internal Cake Structure
Preventing Cake Sagging in Large Celebration Cakes
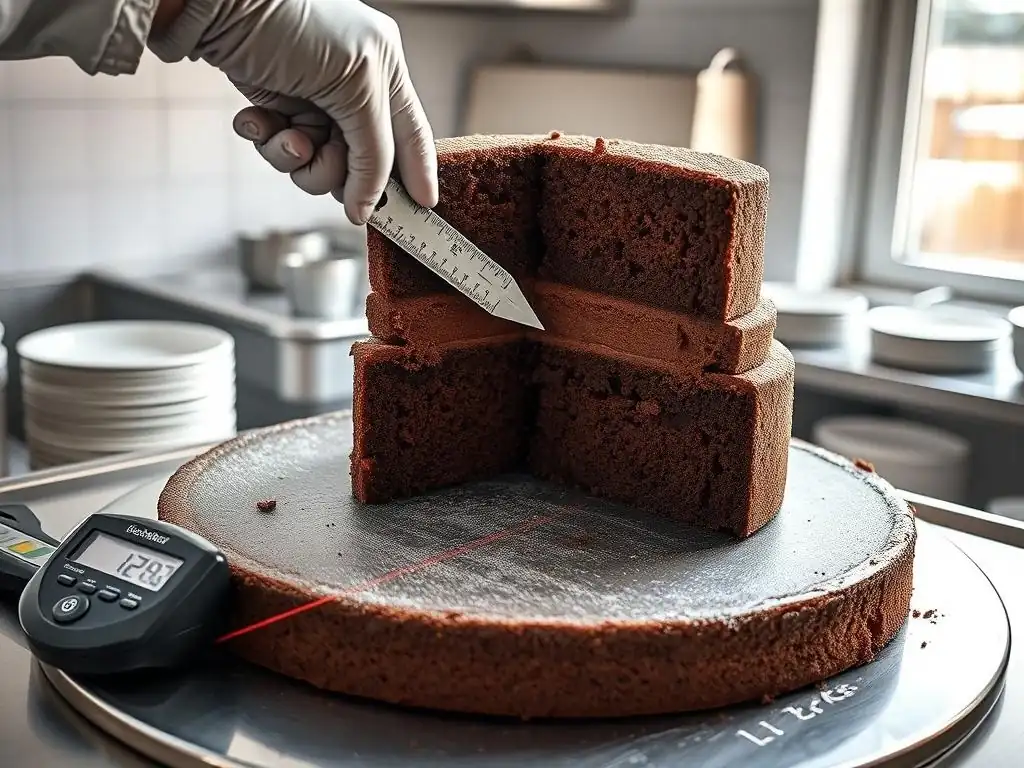
Leveling addresses the top surface, but the internal structure of large celebration cakes is equally important, particularly in preventing sagging, especially in multi-tiered designs. Sagging can occur if the cake layers are too moist, too delicate, or if they are not adequately supported. Using a recipe designed for structural stability in large formats is key; these recipes often contain slightly less fat or more flour relative to liquid compared to a standard home recipe, resulting in a firmer crumb suitable for stacking.
Over-soaking cake layers can also lead to sagging. While a little simple syrup adds moisture, excessive soaking can weaken the cake's structure. For large layers, apply syrup sparingly or only to the cut surface. Ensuring the cake is fully cooled and chilled before stacking helps the crumb firm up. If you notice a large cake layer seems particularly delicate or moist after leveling, consider chilling it thoroughly before adding heavy fillings or stacking another layer on top. Proper ingredient ratios and careful handling contribute significantly to preventing sagging in large celebration cakes.
The Importance of Dowels and Cake Boards in Multi-Tiered Cakes
For any large celebration cake that is more than one tier high, internal support structures are absolutely non-negotiable. Relying solely on the cake itself to support the weight of upper tiers will inevitably lead to crushing and sagging of the lower layers. This is where dowels and cake boards become essential. A cake board, cut to the exact size of the tier it will support, should be placed under each upper tier. For example, a 10-inch tier sitting on a 12-inch base needs a 10-inch cake board underneath it.
Dowels (plastic or wooden) are inserted into the lower tier to bear the weight of the tier above. The number and placement of dowels depend on the size of the upper tier.
A general rule of thumb is to place dowels in a pattern that mirrors the footprint of the tier above, plus one in the center for stability. For a 12-inch base supporting a 10-inch tier, you might use 5-7 dowels cut to the exact height of the leveled base layer.
These dowels rest on the cake board below the base layer (or the main cake drum) and rise up to meet the cake board of the 10-inch tier, effectively transferring the weight of the upper tier through the lower tier onto the support below, preventing the lower cake from being crushed. Proper large celebration cake leveling ensures the dowels can be cut to a uniform height, providing even support.
Decorating a Perfectly Leveled Large Celebration Cake
Creating a Flawless Canvas for Cake Decoration
A perfectly leveled large celebration cake provides the ideal foundation for smooth, professional-looking decoration. Once your layers are leveled and stacked with filling, the flat, even surfaces allow you to apply your crumb coat (a thin layer of frosting that seals in crumbs) and final frosting layer smoothly and consistently. With a level surface, achieving sharp edges on your buttercream or fondant becomes much easier, as there are no dips or slopes to contend with.
Imagine trying to cover a cake that is half an inch higher on one side with fondant; you would either have to stretch the fondant unevenly, leading to potential tearing or thin spots, or end up with a visibly lopsided cake. A level surface ensures that your frosting thickness is uniform across the entire cake, which not only looks better but also provides a consistent taste experience in every bite. Proper large celebration cake leveling is the invisible step that makes beautiful cake decoration possible.
Achieving Sharp Edges on a Leveled Cake
Sharp edges are a hallmark of professional cake decorating, and they are significantly easier to achieve on a perfectly leveled large celebration cake. After applying your final layer of frosting (usually a thicker layer than the crumb coat), use a bench scraper or a long offset spatula to smooth the sides, holding the tool perpendicular to the cake and parallel to the leveled surface. Work your way around the cake, removing excess frosting and creating smooth sides.
Once the sides are smooth, use a spatula to gently pull the excess frosting that has accumulated at the top edge towards the center of the cake. Repeat this process around the entire circumference until you have a crisp, sharp angle where the side meets the top. For buttercream, chilling the cake at various stages can help firm up the frosting, making it easier to get sharp edges.
For fondant, applying it over a perfectly smooth and level ganache or buttercream base ensures a flawless finish. The level top surface provided by careful large celebration cake leveling is the critical factor in achieving those coveted sharp edges.
Troubleshooting Leveling Problems in Large Cakes
Common Issues and Solutions for Cake Leveling
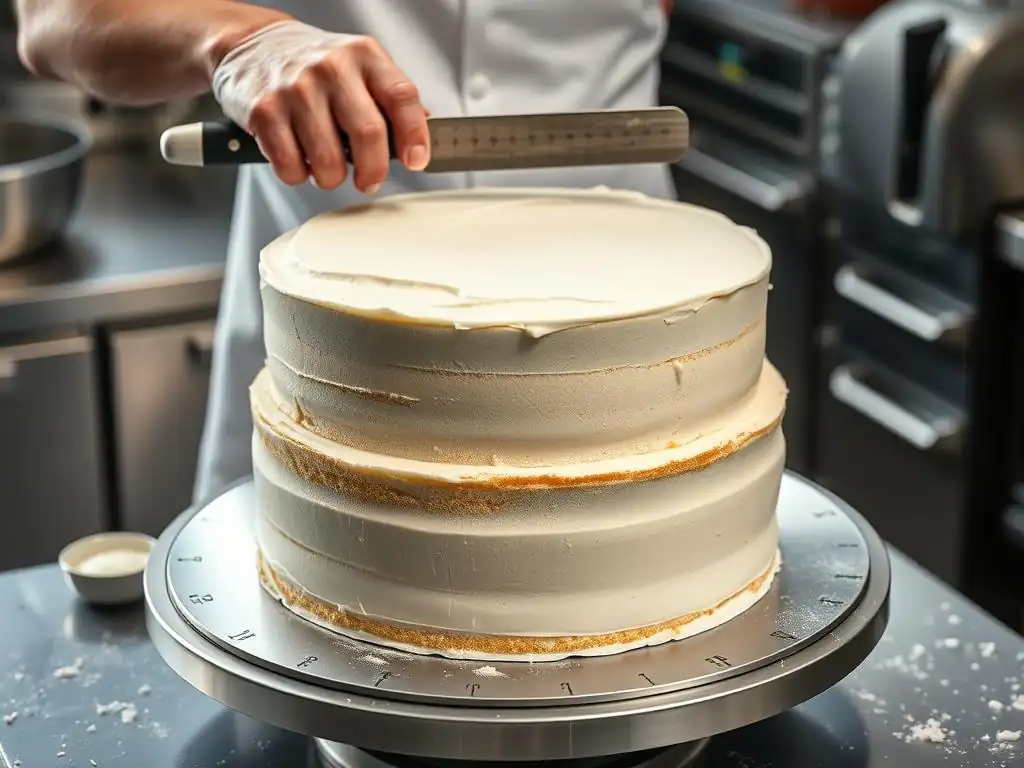
Despite best efforts, you might encounter issues during large celebration cake leveling. A common problem is crumb tearing or excessive crumbling, often indicating the cake wasn't fully cooled or wasn't firm enough. Solution: Ensure cakes are completely cool and chilled before leveling. Using a sharper knife or leveler can also help. If the cake is very delicate, try freezing it briefly before cutting.
Another issue is cutting at an angle, resulting in a sloped layer. Solution: Pay close attention to keeping your knife or leveler parallel to the work surface. Use a turntable and rotate the cake smoothly. If using a knife, rest your knuckles on the counter as a guide. If using a leveler, ensure its feet are flat on the surface throughout the cut. For large cakes, practicing on a less critical cake layer first can be beneficial.
Sometimes, even after leveling, the cake seems slightly compressed or uneven internally. Solution: This can happen if you press too hard while cutting or if the cake is too warm. Gentle, even pressure and a completely cooled/chilled cake are essential for clean cuts. If the compression is minor, a thick layer of filling can sometimes help compensate.
Correcting a Cake Layer Cut at an Angle
If you've cut a large celebration cake layer at an angle, don't despair – it can often be salvaged! If the angle is slight, you might be able to correct it by placing the sloped layer back on your surface and carefully shaving off a thin layer from the higher side using a long serrated knife, aiming to make the surface level. Use a ruler or your eye to check the height at different points as you go. This requires a steady hand and patience.
For a more significant angle, you have a few options. You can embrace the angle and build your filling layer thicker on the lower side to create a level surface for the next layer. This works for single layers but is problematic for multi-tier cakes where layers need to be consistently level for stability.
Alternatively, if you have baked multiple layers, you might be able to pair a sloped layer with another layer cut at the opposite angle to create a relatively level stack, though this is not ideal for perfect large celebration cake leveling. In some cases, for severely angled cuts on large cakes, it might be necessary to discard the layer and bake a new one, especially for the crucial bottom tiers of a multi-tiered cake where stability is paramount.
Large Celebration Cake Leveling: Frequently Asked Questions
How Do I Level a Cake That is Dome-Shaped?
Leveling a dome-shaped large celebration cake is a standard part of the process. The dome is the rounded top that forms as the cake bakes, often higher in the center than at the edges. To level a dome, you simply need to slice off the excess height to create a flat top surface. Place your cooled, chilled cake on a flat surface or turntable. Decide on the desired height of your finished layer (e.g., 2 inches). Use a long serrated knife or an adjustable cake leveler set to that height.
If using a knife, hold it parallel to your work surface and saw through the dome, keeping your knife steady and rotating the cake. If using a leveler, set the wire or blade to the desired height and pull it through the cake, keeping the leveler's feet flat on the surface. The removed dome can be discarded, used for cake pops, or enjoyed as a baker's treat! Proper large celebration cake leveling ensures that only the excess dome is removed, leaving you with a consistently thick, flat layer.
What is the Best Way to Level a Very Tall Cake Layer?
Leveling a very tall cake layer (e.g., 3-4 inches high) requires careful technique, whether for a single tall tier or for splitting a single deep cake into multiple layers. A long serrated knife is often the most flexible tool for very tall layers, allowing you to make multiple passes if needed. Mark your desired cutting lines around the cake's circumference using a ruler and toothpicks or a cake marker.
Hold your knife parallel to the surface and begin sawing gently at the marked line. For very tall cakes, you may need to insert the knife partway, then reposition your hand or change your angle slightly while maintaining parallelism to complete the cut. An adjustable cake leveler designed for taller cakes (some have wires that can be set up to 4 inches high) can also work well, provided it is sturdy enough.
For exceptionally tall cakes, chilling or freezing the cake before leveling is highly recommended to prevent wobbling and ensure a clean cut through the significant height. Patience and a steady hand are key to successful large celebration cake leveling on tall layers.
Frequently Asked Questions
How do I level a large celebration cake efficiently?
Leveling a large celebration cake is best achieved using a long serrated knife and a rotating cake stand. Slowly rotate the cake while gently sawing off the uneven top.
What's the best way to ensure my large cake layers are even in thickness before baking?
Using a kitchen scale to measure the batter for each pan ensures consistent layer thickness. Aim for the same weight of batter in each pan for even baking and easier leveling.
What type of frosting works best for large celebration cakes that need sturdy support?
Buttercream frosting, particularly American or Swiss meringue buttercream, provides excellent structure and support. Avoid whipped cream frosting, as it's less stable and prone to melting.
How do I prevent my large celebration cake from drying out during the baking process?
Baking with cake strips (dampened fabric strips wrapped around the pan) helps ensure even baking and prevents the edges from drying out before the center is cooked.
What tools, besides a serrated knife, are helpful for assembling and decorating large celebration cakes?
Essential tools include an offset spatula for frosting, a cake smoother for a professional finish, and dowels or cake supports for multi-tiered cakes to prevent collapsing.
Final Reflection: The Art and Science of the Perfectly Level Cake
The quest for the flawlessly level large celebration cake isn't just about aesthetics; it's about the confidence and joy it brings to the baker and the awe it inspires in those who share it. Achieving this level of precision, as detailed throughout this article, requires careful attention to detail, from ingredient measurement to baking technique and, crucially, the leveling process itself. This isn't merely a matter of cutting a straight line; it's about understanding the science behind batter consistency and heat distribution to prevent uneven rises.
The pursuit of the perfect level cake transcends the simple act of baking; it reflects a dedication to craftsmanship and a desire to create something truly special. This dedication resonates deeply with the tradition of celebratory baking, where cakes are more than just desserts; they are symbols of joy, community, and shared experiences. A cake is a celebration of life, a symbol of joy, and a testament to the power of shared moments.
This sentiment, while not directly quoted from a specific source, encapsulates the emotional weight we place on these culinary creations, and a perfectly level cake elevates that experience.
Now, consider your own baking journey. Perhaps you've wrestled with a lopsided layer, or maybe you've achieved that perfect, flat surface and felt the immense satisfaction it brings. Regardless of your experience, remember the techniques outlined in this article. Embrace the challenge, refine your skills, and let the pursuit of the perfectly level large celebration cake be a source of pride and joy. The next time you face a towering cake, remember the power of precision and the artistry involved in creating a truly memorable centerpiece.
Unleash Your Inner Cake Boss: Bake a Celebration Masterpiece!
Thanks for taking the time to explore the art of baking large celebration cakes! We hope you gained valuable tips and tricks to create a truly stunning and delicious dessert. Now it's time to put your new knowledge into practice.
- Dive into your next baking adventure: Choose your favorite recipe (or try a new one!) and start baking that show-stopping cake you've always dreamed of. Remember those tips on layering and frosting!
- Share your baking journey: Post a picture of your creation on social media and tag us – we'd love to see your masterpiece!
- Challenge yourself: Try a new flavor combination or a unique decorating technique to further elevate your cake-baking skills.
Ready to transform your kitchen into a celebratory bakery? What exciting flavor combination will you try for your next large cake?